
home made beef burgers

title 1
home made beef burgers
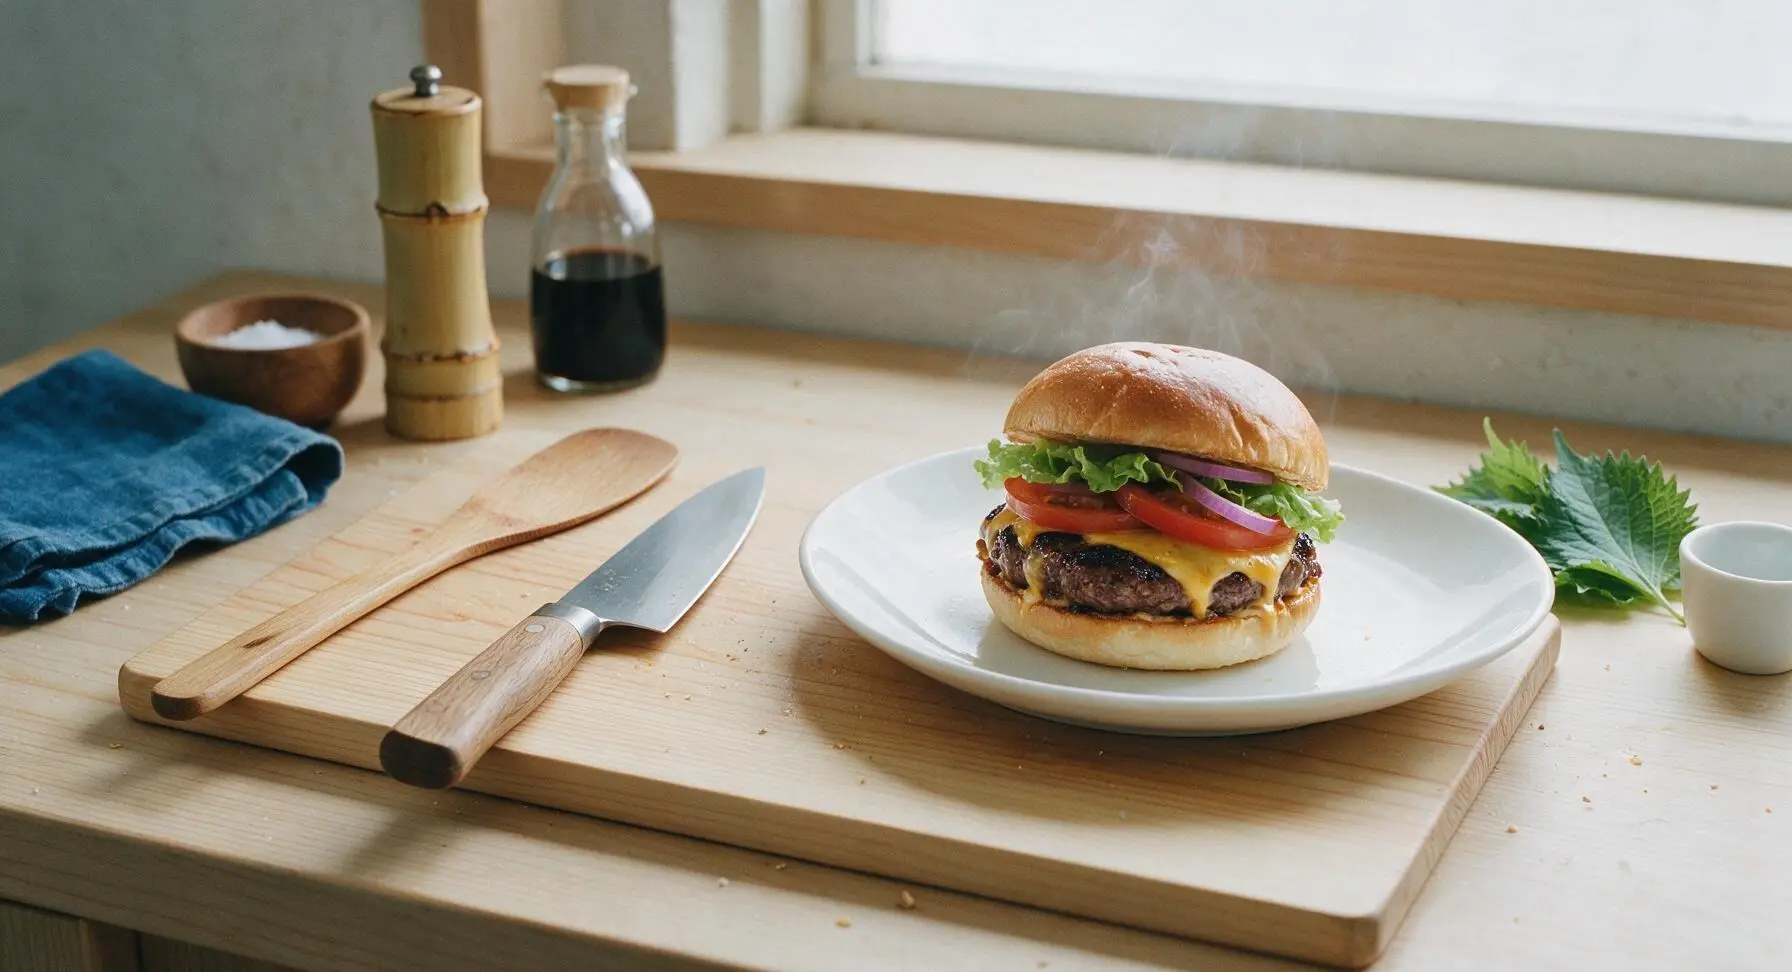
⏱️ cook time 12 minutes
🍽️ servings 4
⚡ Difficulty easy

intro

Juicy, seared beef patties with melted cheddar, crisp fresh toppings, and soft toasted brioche buns — this classic homemade burger beats takeout for summer gatherings.

Ingredients
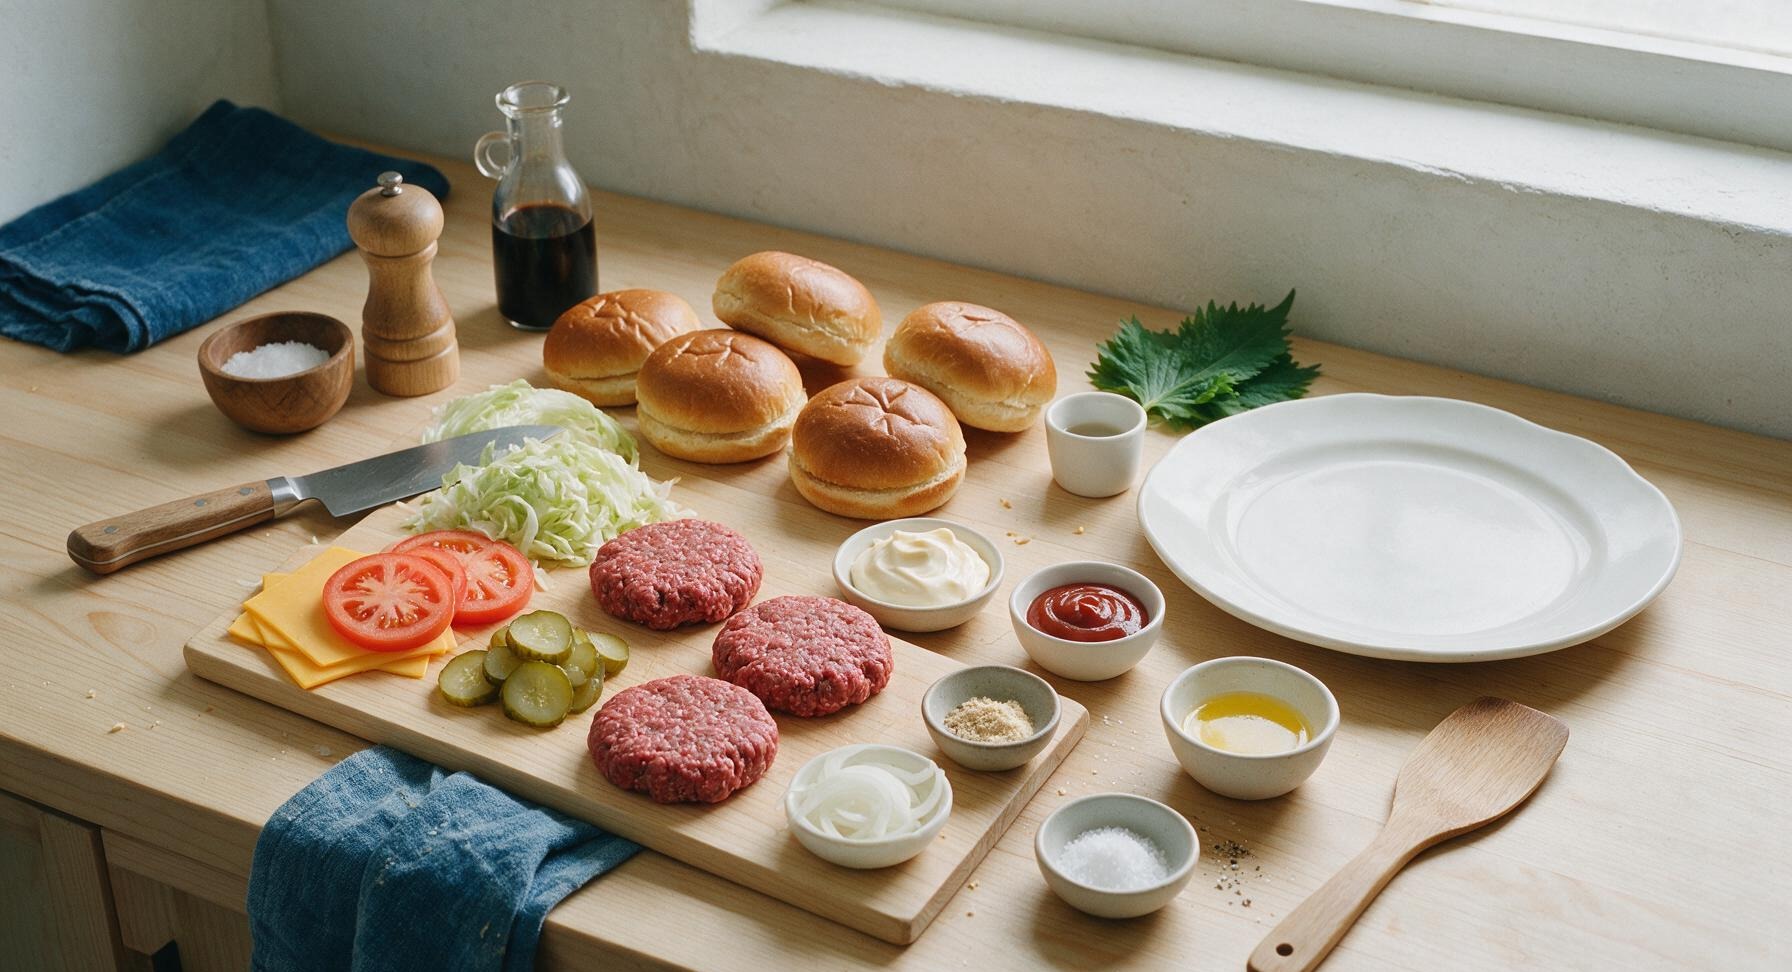
80/20 ground beef (chilled) 560g (1.25 lbs)
Brioche hamburger buns, split 4
Sharp cheddar cheese slices 4 (1oz each)
Iceberg lettuce 1/4 small head, shredded
Beefsteak tomato 1 medium, sliced 1/4-inch thick
Dill pickle slices 12 slices (1/2 cup)
Small yellow onion 1/2, thinly sliced
Mayonnaise 1/4 cup
Ketchup 2 tbsp
Kosher salt 1 tsp
Freshly ground black pepper 1/2 tsp
Garlic powder 1/2 tsp
Unsalted butter, melted 2 tbsp

Steps

1

Gently Form Beef Patties

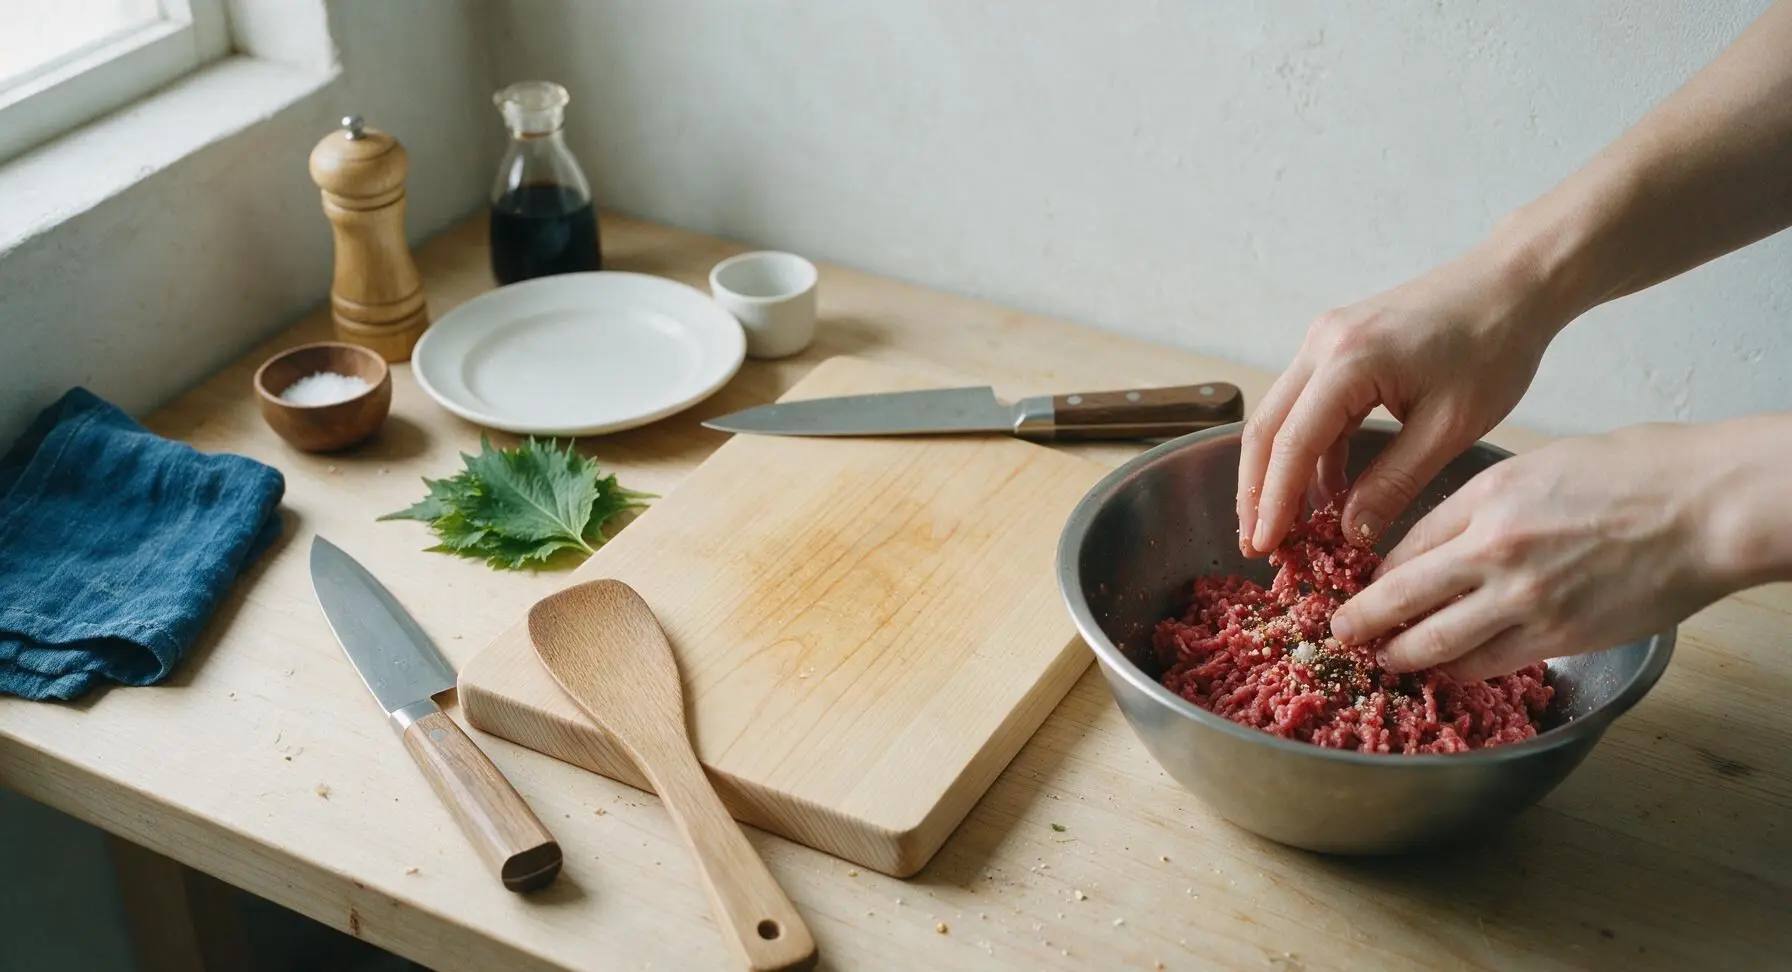
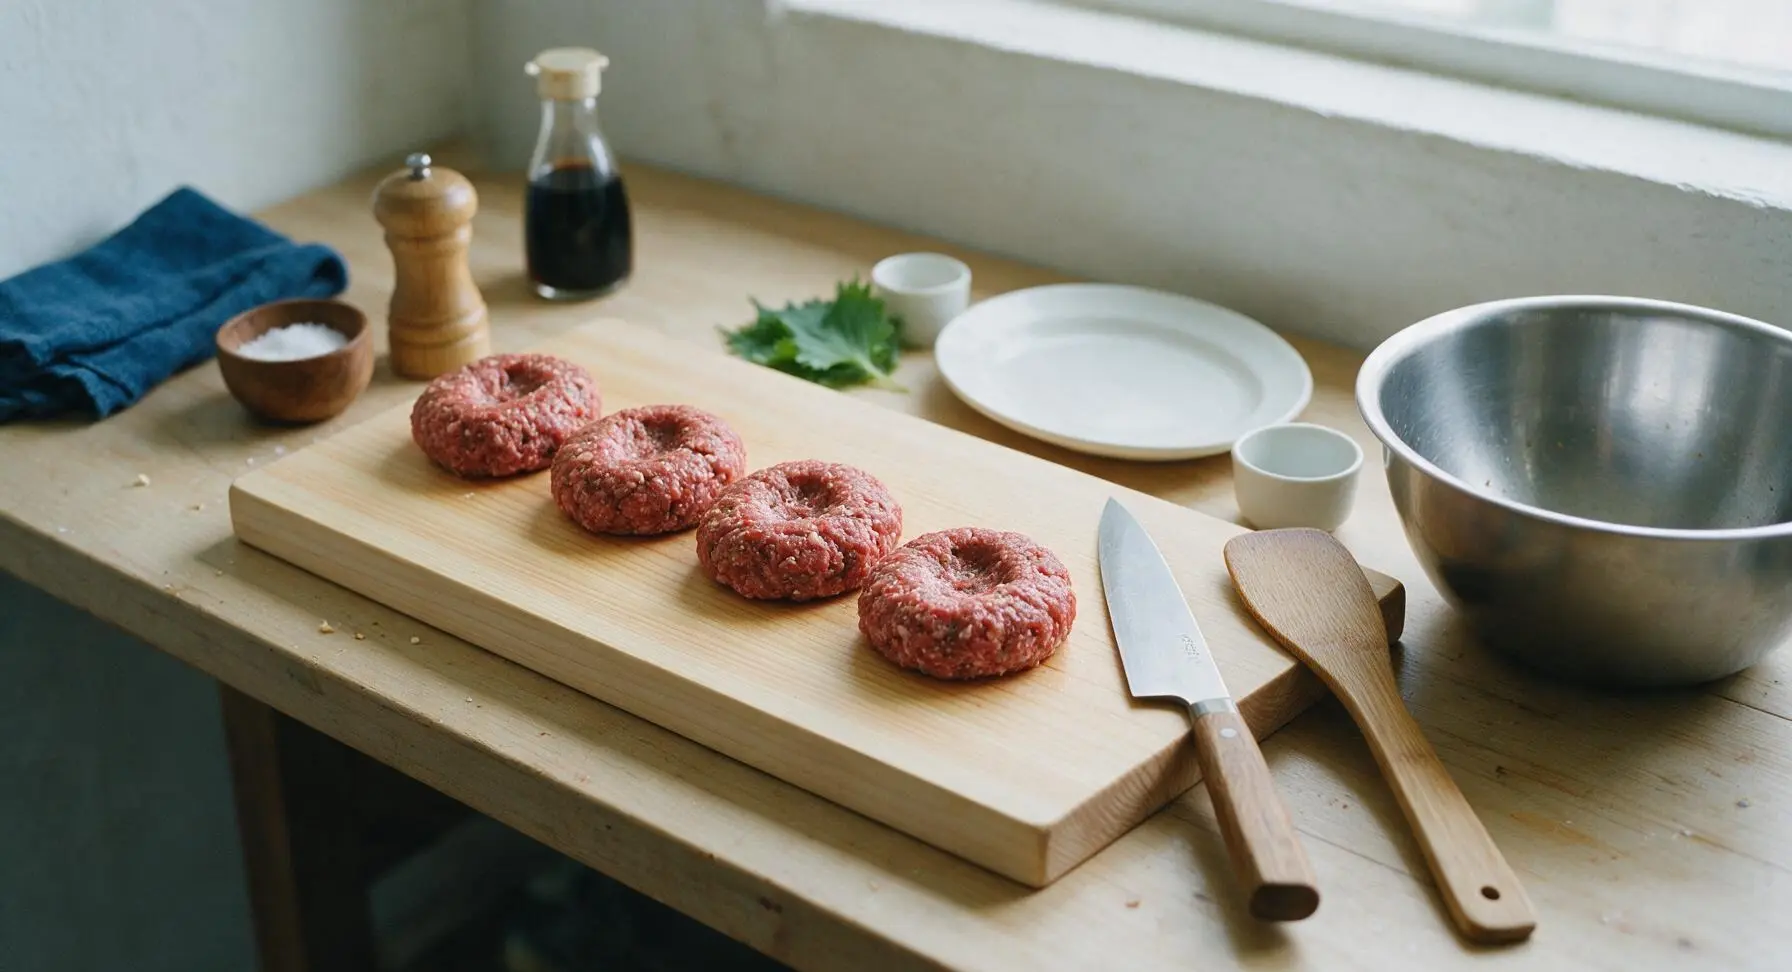
Place the chilled 560g 80/20 ground beef in the large stainless steel mixing bowl. Sprinkle with 1 tsp kosher salt, 1/2 tsp freshly ground black pepper, and 1/2 tsp garlic powder. Gently toss with your fingertips to distribute seasonings, taking extreme care not to overwork or compress the meat (overmixing creates tough, dense burgers). Divide the beef evenly into 4 portions (140g / 5oz each). Form each portion into a loose 10cm (4-inch) wide patty, 2cm (3/4-inch) thick, pressing a shallow 1cm dimple in the center of each patty with your thumb to prevent bulging during cooking. Set formed patties on the front edge of the beech cutting board.
Step 1
step1:Gently Form Beef Patties
Step 1
step1:Gently Form Beef Patties
2

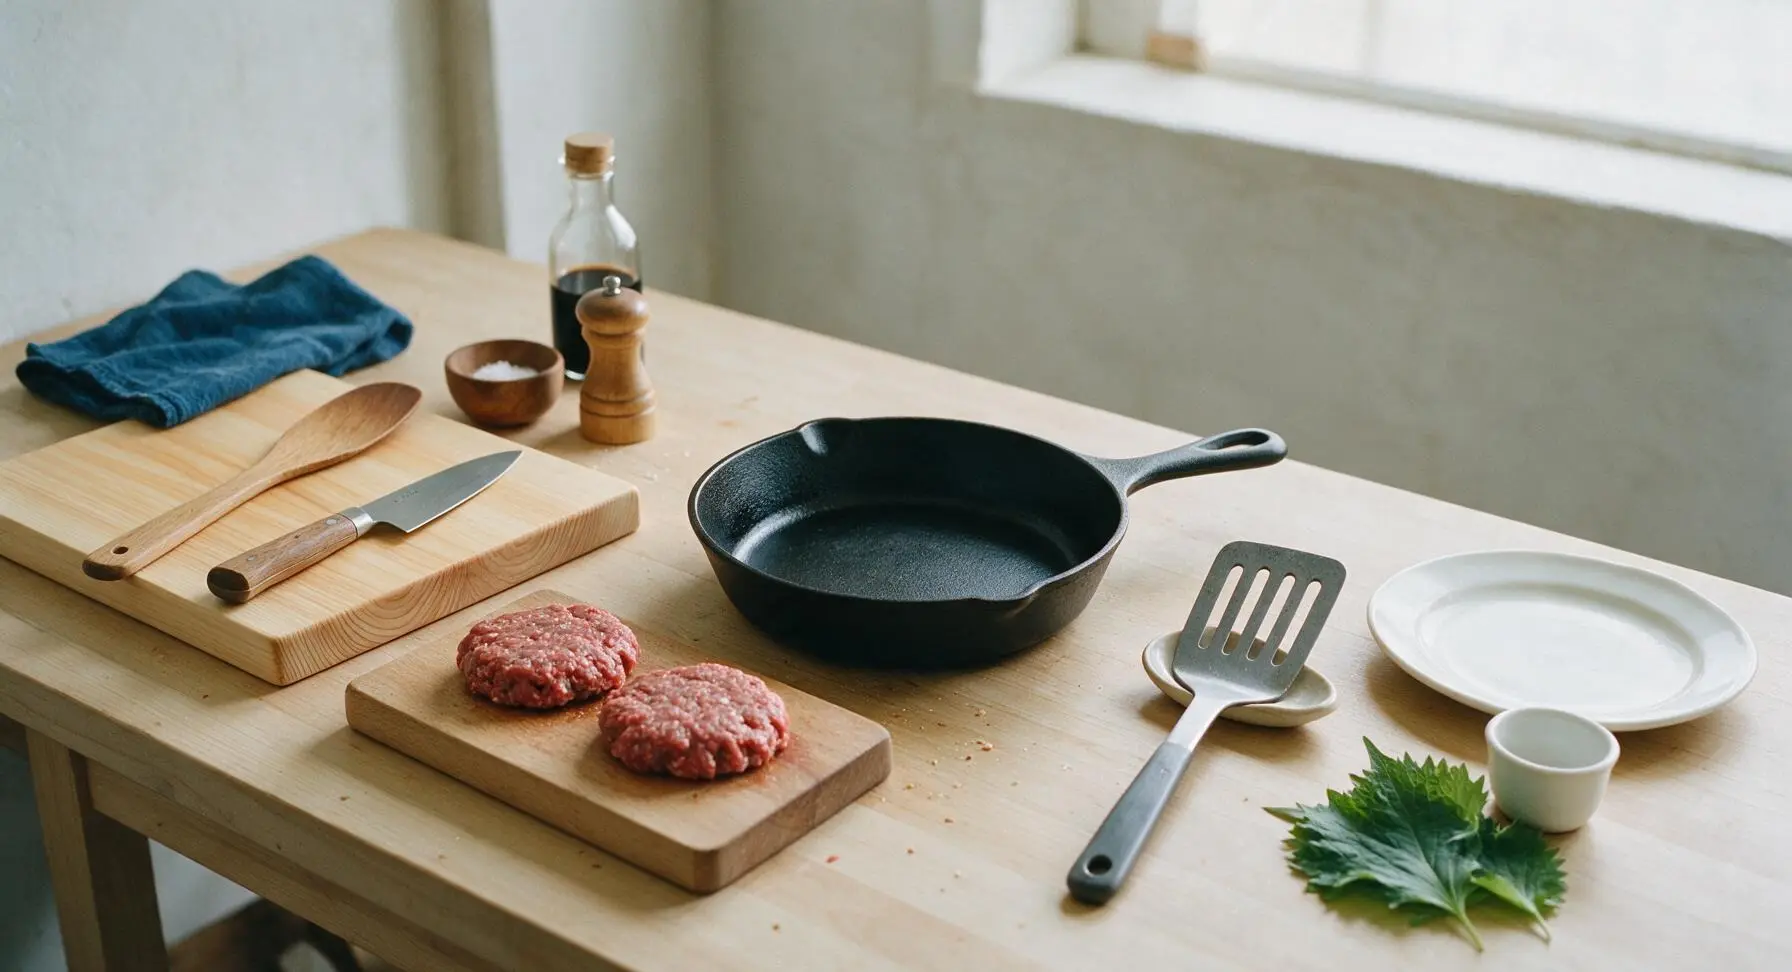
Preheat Cast Iron Skillet

Place the pre-seasoned 30cm cast iron skillet on the stovetop burner over medium-high heat, and allow it to preheat for 5 minutes until evenly hot (a drop of water will dance across the surface and evaporate in 1-2 seconds when ready). For outdoor cooking, preheat a gas or charcoal grill to 200C / 400F for direct high heat, and scrape grates clean before cooking.
Step 2
step2:Preheat Cast Iron Skillet
3

Sear Patties and Add Cheese

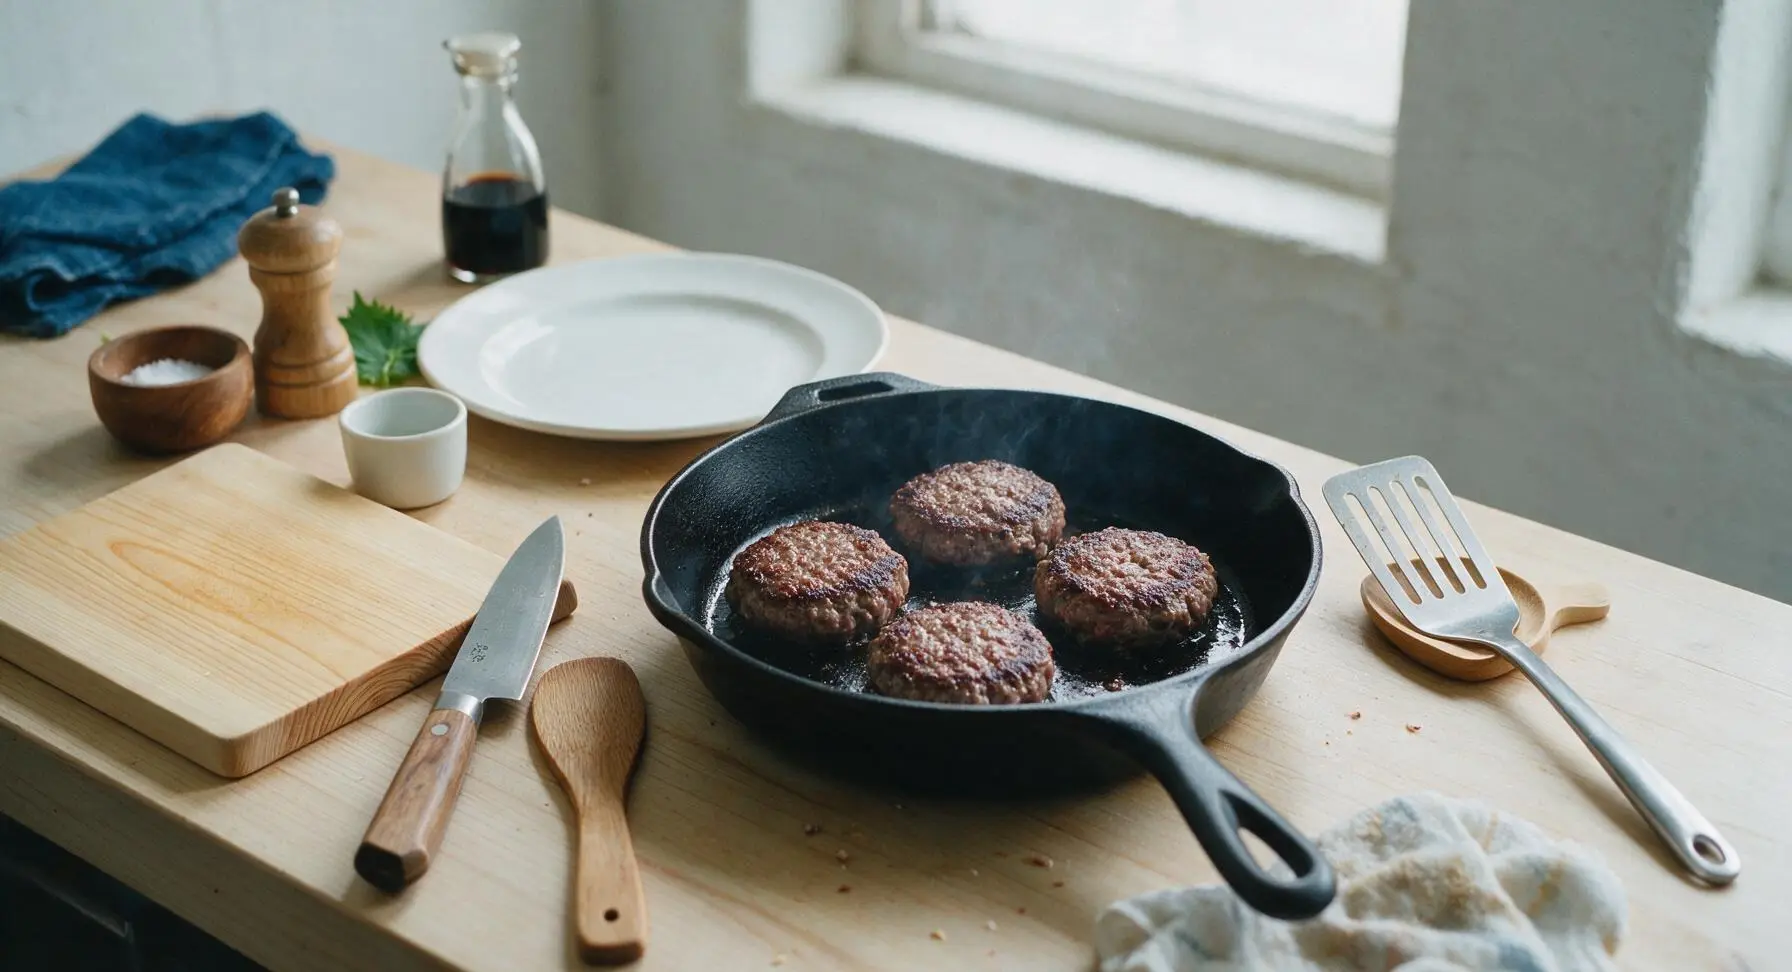
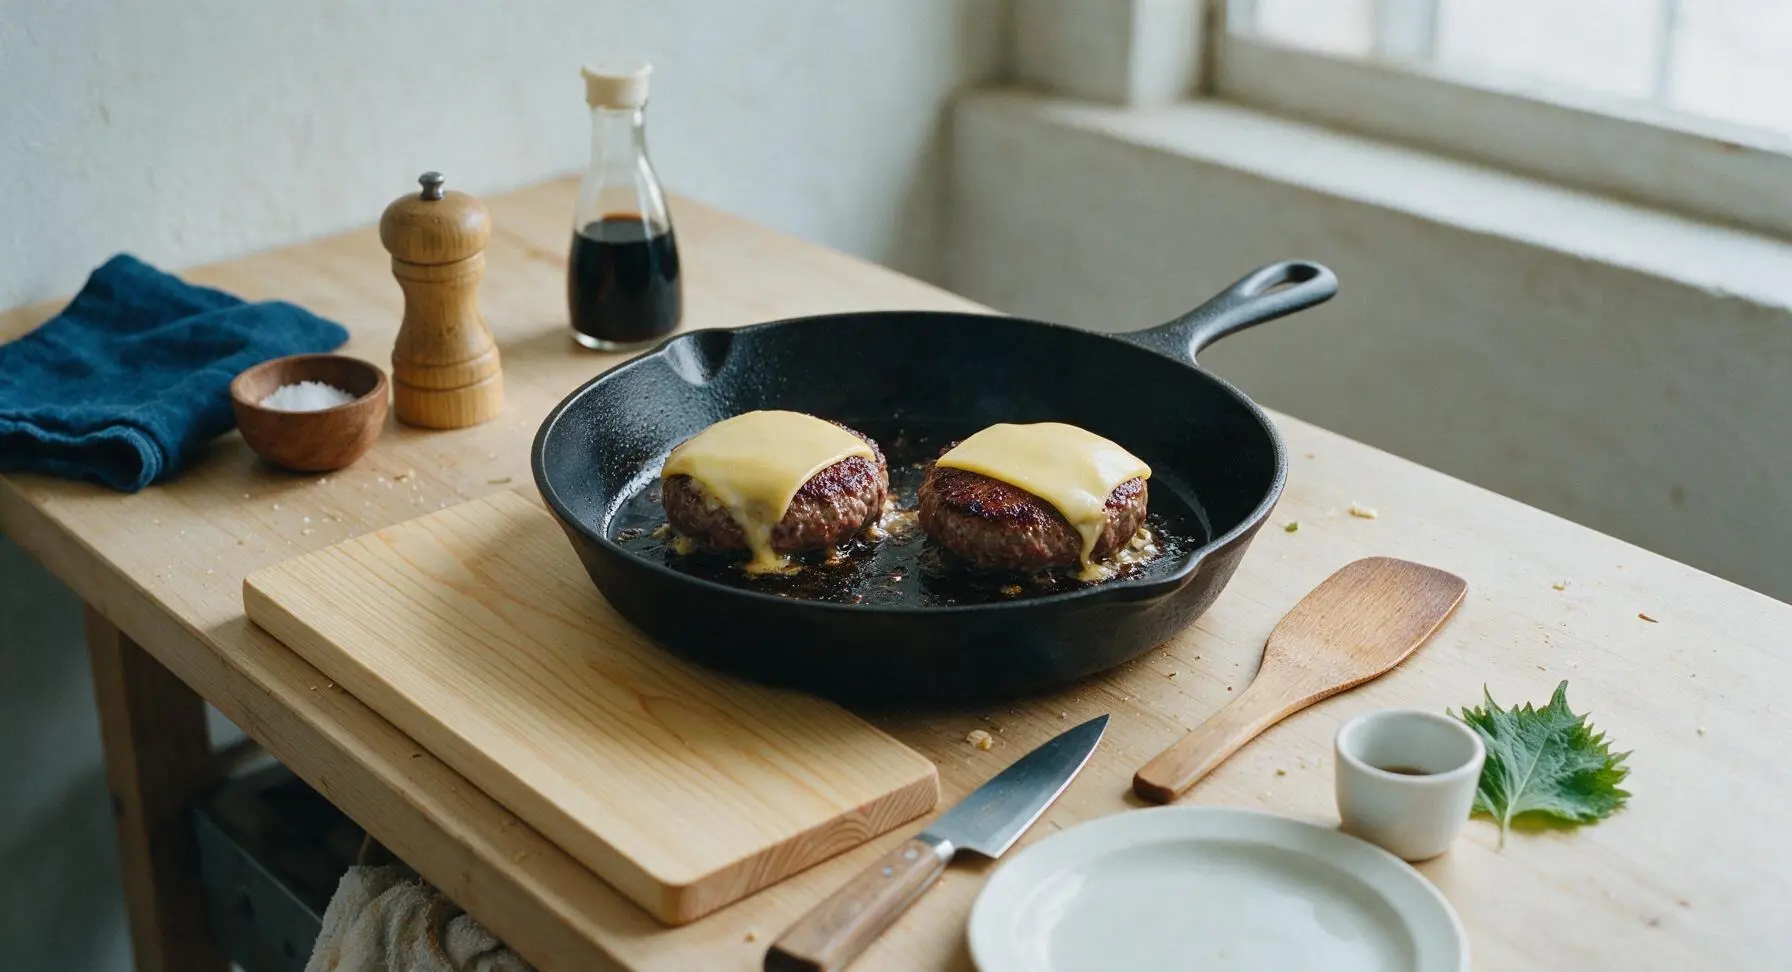
Carefully place the patties dimple-side down in the hot cast iron skillet, working in 2 batches if needed to avoid crowding the pan (crowding causes steaming instead of a crisp, flavorful sear). Cook for 3 minutes without moving the patties, until a deep golden-brown crispy crust forms on the bottom. Use the slotted spatula to flip each patty once, then immediately top each patty with one slice of sharp cheddar cheese. Cook for an additional 2-3 minutes for medium doneness (internal temperature 71C / 160F), or 4 minutes for medium-well. Never press down on the patties with the spatula while cooking, as this squeezes out flavorful fat and juices that keep the burger moist.
Step 3
step3:Sear Patties and Add Cheese
Step 3
step3:Sear Patties and Add Cheese
4

Toast Buttered Brioche Buns

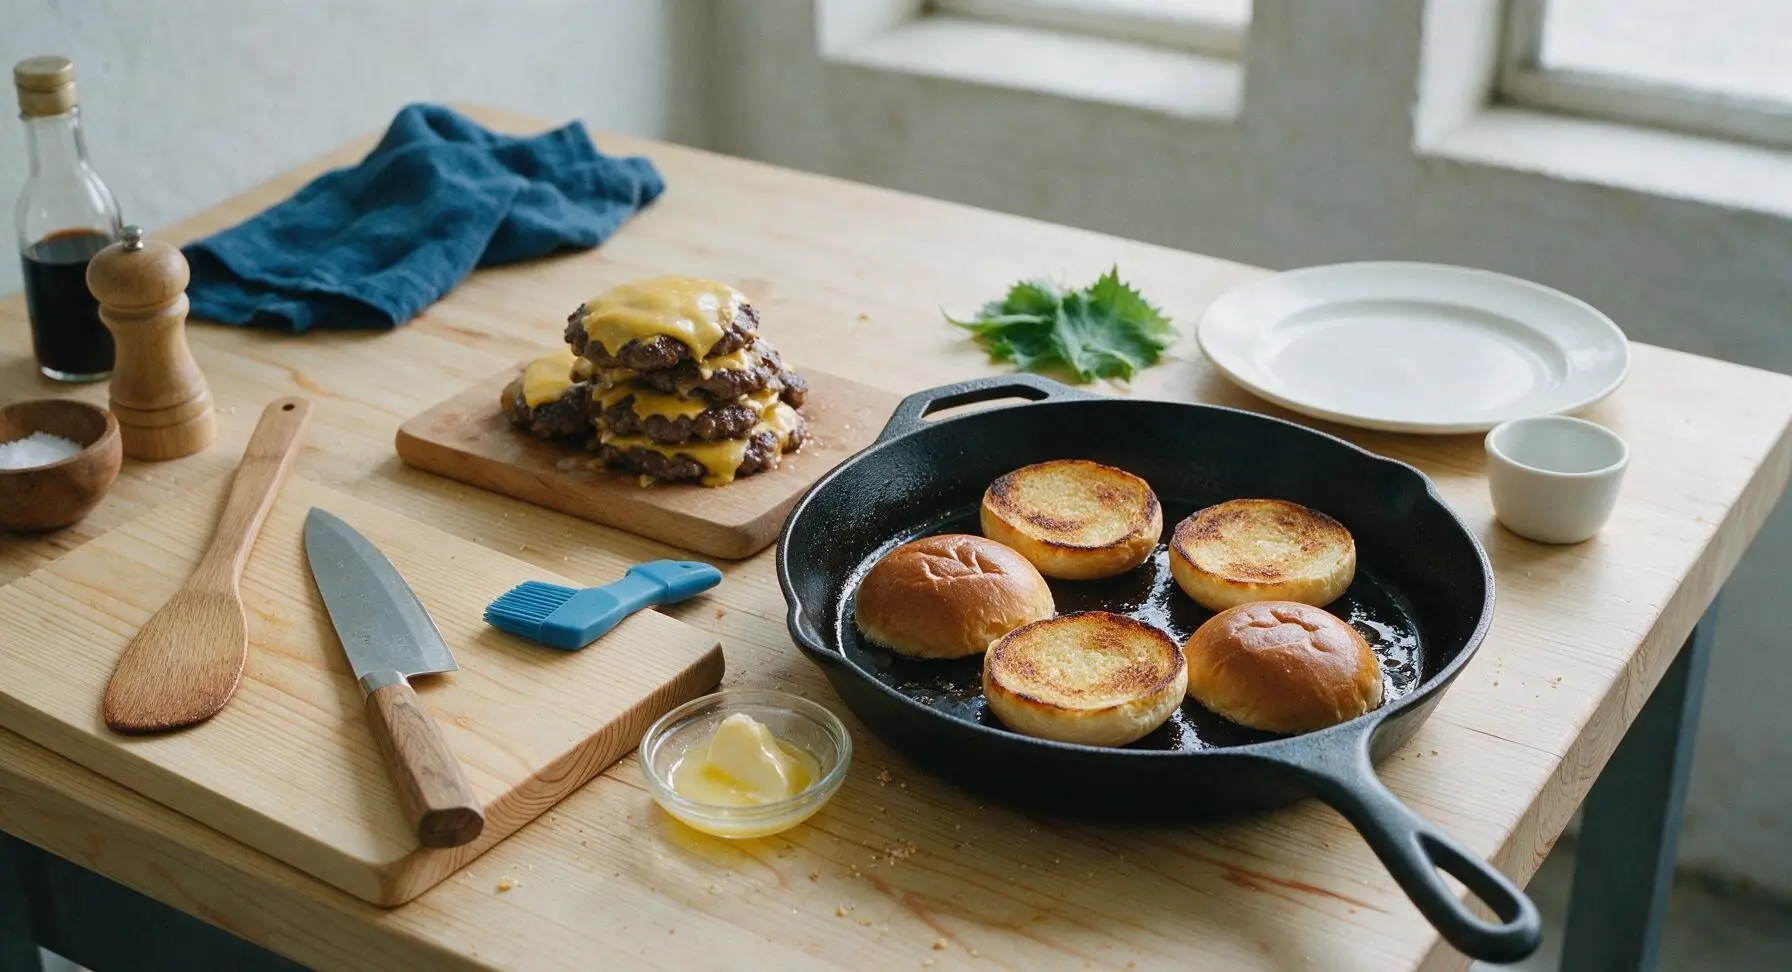
Once patties reach your desired doneness, use the slotted spatula to transfer them to a clean edge of the beech cutting board to rest for 2 minutes. Brush the cut sides of the 4 split brioche buns with the 2 tbsp melted unsalted butter, then place the buns cut-side down in the same hot cast iron skillet (using the remaining burger drippings for extra flavor). Toast for 30-45 seconds until the cut surfaces are golden brown and slightly crisp, with faint dark toasting marks.
Step 4
step4:Toast Buttered Brioche Buns
5

Sauce Buns and Layer Toppings

Remove toasted buns from the skillet and set them cut-side up on the beech cutting board. Use the small stainless steel butter knife to spread 1 tbsp of mayonnaise on the cut side of each bottom bun, and 1.5 tsp of ketchup on the cut side of each top bun. Layer the bottom buns first with a small handful of shredded iceberg lettuce, followed by one thin tomato slice, 3 dill pickle slices, and a few thin onion slices if using.
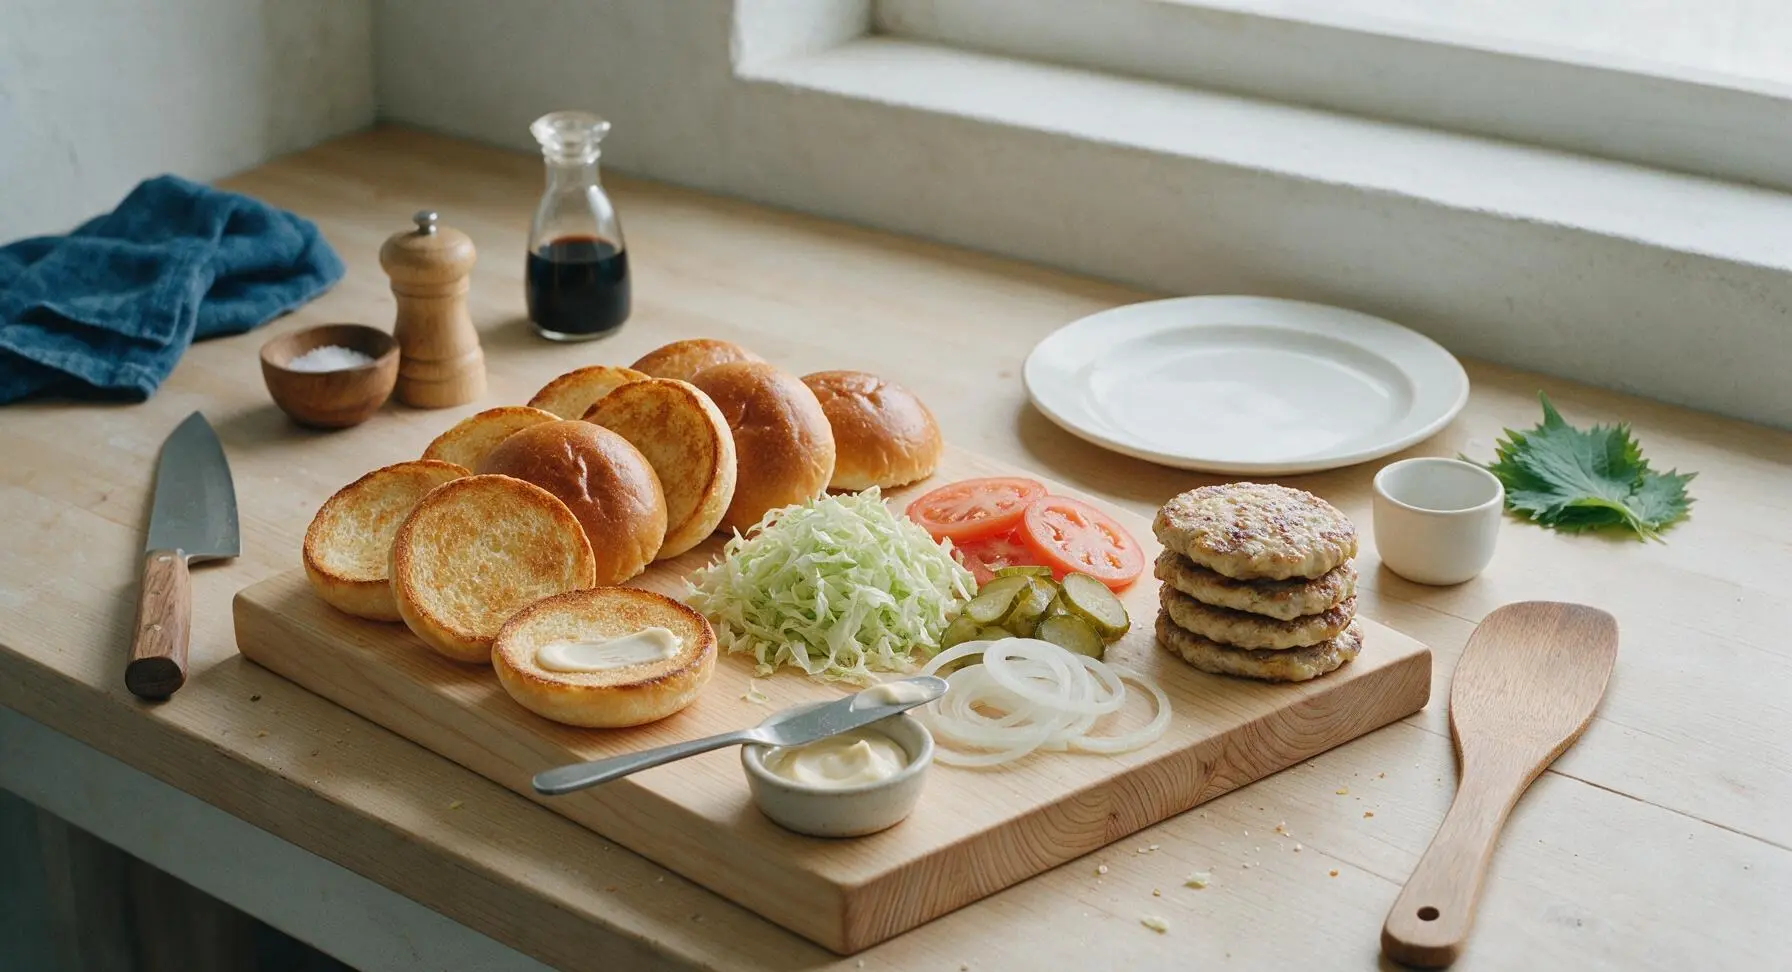
Step 5
step5:Sauce Buns and Layer Toppings
6

Assemble and Plate Burgers

Place one rested, cheese-topped beef patty directly on top of the layered vegetable toppings on each bottom bun. Align the top bun (ketchup-side down) over the patty, then press very gently to secure the layers without squeezing out juices. Transfer one fully assembled burger to the matte cream ceramic dinner plate for serving, ready to enjoy.
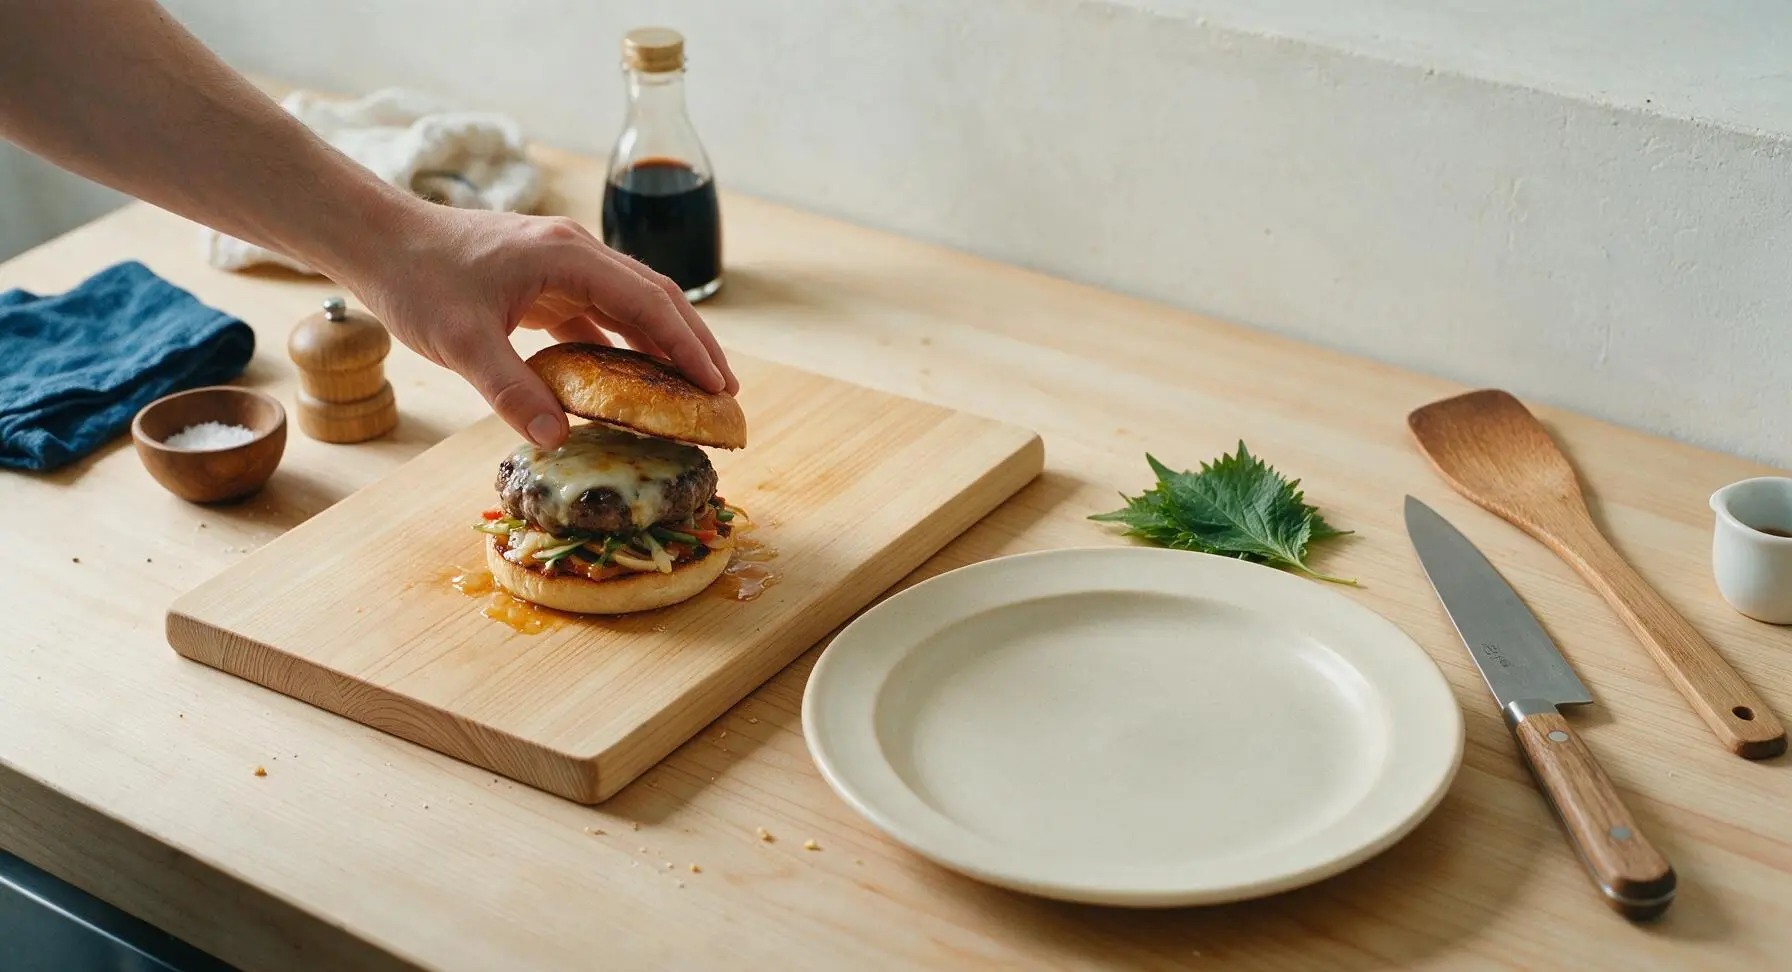
Step 6
step6:Assemble and Plate Burgers

Tips

1.Keep your ground beef ice-cold until you are ready to form patties: warm fat sticks to your hands and melts too quickly during cooking, leading to dry, shrunken patties instead of juicy, evenly seared ones. Chilling the beef also makes it easier to form loose patties without overworking the meat.
2.Resist the urge to press patties with your spatula while cooking: this squeezes out all the rendered fat and flavorful juices into the pan, leaving you with a dry, flavorless burger. The crispy crust will form on its own if you leave the patties undisturbed for the first 3 minutes of searing.
3.Let cooked patties rest for 2 minutes before assembling the burger: this allows the muscle fibers to relax and reabsorb their juices, so every bite is juicy instead of having all the liquid run out onto your plate when you take the first bite.


✨ You May Also Like

BBQ & Grilling
🍜 United States

Tender, melt-in-your-mouth beef brisket with a crisp, spiced bark, slow-smoked to deep smoky perfection, the iconic centerpiece of Texas backyard barbecue.

⏱️ 12 hours BBQ & Grilling ★ 4.4
BBQ & Grilling
🍜 Korea

Tender, sweet-savory marinated beef short ribs, a beloved Korean BBQ staple with caramelized, slightly charred edges and deep umami flavor, perfect for outdoor summer gatherings.

⏱️ 4 hours 2BBQ & Grilling ★ 4.8
BBQ & Grilling
🍜 United States

Juicy grilled beef patties topped with smoky homemade chili, melted cheddar, and tangy pickles on toasted brioche buns for a hearty, flavor-packed handheld meal.

⏱️ 40 minuteBBQ & Grilling ★ 4.7
BBQ & Grilling
🍜 United States

A sweet, smoky, tangy BBQ sauce brightened with peak-season dark cherries, ideal for glazing grilled ribs, chicken, pork, or summer roasted veggies.

⏱️ 35 minuteBBQ & Grilling ★ 4.7
BBQ & Grilling
🍜 United States

Rich, smoky, slightly sweet homemade bourbon BBQ sauce with deep caramel notes, ideal for glazing grilled ribs, chicken, and burgers at cookouts.

⏱️ 25 minuteBBQ & Grilling ★ 4.7
BBQ & Grilling
🍜 United States

Iconic Alabama-style BBQ featuring tender hickory-smoked chicken slathered in tangy creamy white sauce, a beloved regional Southern cookout staple.

⏱️ 3 hoursBBQ & Grilling ★ 5

home made beef burgers:Frequently Asked Questions

1.Why do you recommend 80/20 ground beef for these burgers instead of a leaner blend? ▾
The 20% fat content in 80/20 ground beef is the secret to that rich, juicy, takeout-beating texture without needing extra fillers or binders. Leaner blends cook up dry and crumbly even if you don’t overcook them, since there’s not enough rendered fat to baste the patty as it sears. Always keep the beef chilled right up until you form patties to prevent fat from softening too early.
2.Do I need to add breadcrumbs, eggs, or other binders to my burger patties? ▾
No binders like eggs or breadcrumbs are needed for these classic burgers! Mixing those additives into the beef and overworking the meat will create a dense, meatloaf-like texture instead of the tender, juicy patty we want. Just season the exterior of formed patties lightly with salt and pepper right before cooking for best results.
3.How thick should I form my burger patties to keep them juicy? ▾
Aim for 6-ounce patties that are roughly ¾-inch thick, with a shallow ½-inch dimple pressed into the center of each one. The dimple stops the patty from puffing up into a round dome as it cooks, so it sits flat on the bun and cooks evenly. Form patties slightly wider than your brioche buns, since they will shrink a bit as they sear.
4.Why is it important to keep the ground beef chilled before cooking? ▾
Keeping your ground beef chilled until the second you lay patties on a hot cooking surface ensures the fat stays solid before it hits heat. If fat softens or melts while you form patties, it will leak out faster as you cook, leaving you with a dry, less flavorful patty and causing excess grease flare-ups on your grill or skillet.
5.What’s the best way to toast brioche buns for these burgers? ▾
Toast your split brioche buns cut-side down on the same hot grill or skillet you use for patties for 30 to 45 seconds, right after you pull cooked patties off to rest. The light toasting creates a slight crisp barrier that keeps the soft bun from getting soggy from patty juices and condiments, while bringing out the bun’s rich, buttery sweetness.
6.When should I add the sharp cheddar to get that perfect melted texture? ▾
Add your sharp cheddar slices to the top of each patty during the last 60 to 90 seconds of cooking. If you’re using a grill, close the lid for that minute to trap heat, which melts the cheese evenly into a smooth, gooey layer that sticks to the patty, instead of sliding off when you transfer it to the bun.
7.How do I keep my burger patties from shrinking too much as they cook? ▾
First, avoid overworking the beef when you form patties, since compacted meat shrinks far more as it cooks. Remember to press that shallow dimple in the center of each patty before cooking, and never press down on patties with a spatula while they sear—that squeezes out fat and juices, leading to excess shrinkage and dry burgers.
8.What order should I layer toppings to keep the bun from getting soggy? ▾
Layer your toppings strategically to block sogginess: after toasting, spread a thin layer of your chosen condiment on both bun halves, then add crisp iceberg lettuce to the bottom bun before setting the cheesy patty down. Add thick-sliced beefsteak tomato to the top of the patty, so the lettuce acts as a moisture barrier between juices and the soft bottom bun.
9.What internal temperature should I cook patties to for juicy, safe results? ▾
For juicy, properly cooked burgers that are food-safe, cook patties to an internal temperature of 160°F as measured with an instant-read thermometer inserted into the thickest part. If you prefer medium-rare, use freshly ground high-quality beef, cook to 145°F, and let patties rest 3 minutes before serving so juices redistribute.
10.Can I form these burger patties ahead of time for a summer cookout? ▾
Absolutely! You can form the chilled beef patties up to 24 hours ahead of time, stacking them between small squares of parchment paper on a plate, and keeping them tightly covered in the fridge. Don’t pull them out until your grill or skillet is fully preheated and ready to cook, to keep fat solid for maximum juiciness.
11.Why do you recommend iceberg lettuce instead of softer leafy greens for these burgers? ▾
Crisp iceberg lettuce holds up far better to hot patties, melted cheese, and juicy tomato slices than delicate greens like arugula or spring mix, which wilt immediately on contact with heat. Its mild, fresh crunch also balances the rich, fatty beef and buttery brioche bun perfectly, without overpowering that classic burger flavor.
12.Should I salt the patties ahead of time, or right before cooking? ▾
Salt patties right before you lay them on the hot cooking surface, not ahead of time. If you salt ground beef more than 15 minutes before cooking, the salt will draw out moisture, break down meat proteins, and leave you with a tougher, less juicy patty. A light sprinkle of coarse kosher salt on both sides right before searing builds the best flavorful crust.

Comments (7)

yesterday

OMG these were SO good!!! I made these for our Sunday family dinner last night and even my super picky 7 year old asked for seconds! I’ve tried so many homemade burger recipes over the years that turn out dry and crumbly but these stayed juicy the whole time, even after I melted cheddar on top. Total game changer for our summer cookout rotation!

2 hours ago

Same exact vibe over here! My kiddo usually turns his nose up at anything that’s not a fast food burger but he devoured two of these when I made them last weekend. I added a little extra garlic powder per his request and it was chef’s kiss

30 minutes ago

So happy to hear the whole family loved them! The biggest trick to not drying them out is not overworking the meat when you form the patties, so glad that tip worked out for you. Extra garlic powder sounds like such a delicious add-in!

3 days ago

Perfect easy recipe for weeknight meal prep! I made a batch of these patties on Sunday, kept them in the fridge, and cooked one up each night for dinner this week. The 12 minute cook time is no joke, even when I’m rushing home straight from the gym. Tastes way better than the sad frozen patties I used to stock up on, will be making these on constant rotation from now on!

1 week ago

Brought these to our neighborhood block party potluck last weekend and people were hounding me for the recipe left and right! I topped them with caramelized onions and dill pickles like the recipe note suggested and it hit so hard. Only L is I didn’t make enough — they were gone in 15 minutes flat lmao

5 days ago

Love that these were a potluck hit! Next time you might want to double the batch — they always go faster than expected at group events. Caramelized onions are such a great topping choice!

2 days ago

Super easy even for someone like me who can barely boil water without messing up! I don’t have a grill in my apartment so I cooked these in a beat up cast iron pan on my stovetop and they still came out juicy and packed with flavor. Way cheaper than dropping $15 on takeout burgers every night, already saved me a ton of money this week

5 days ago

These are so solid, but has anyone tried mixing diced jalapeños and pepper jack into the patties? I want to spice things up next time I make these but I’m worried extra mix-ins will mess with the juiciness?

3 days ago

I did exactly that last week! Just dice the jalapeños really small and pat them dry with a paper towel before mixing into the meat so they don’t add extra moisture that makes the patties fall apart. It was insane with the pepper jack melted all over the top, 10/10

2 days ago

Great question! Diced jalapeños and pepper jack are such a fun, tasty add-in — just like the commenter above mentioned, patting any wet mix-ins dry first will keep your patties perfectly juicy and intact while they cook. Let us know how it turns out if you give it a try!

30 minutes ago

Wait a second, the recipe says don’t press down on the patties while they cook — I’ve always smashed my burgers with a spatula as soon as they hit the grill, who knew that’s why they were always bone dry?! Tried it this time without pressing at all and wow, so much juicier, my wife couldn’t believe how much better they turned out than my usual ones

5 minutes ago

I used to press mine too! It makes such a massive difference when you leave them alone to cook — all that fat and flavor stays in the patty instead of dripping down into the grill grates. So glad you gave the tip a shot!

2 weeks ago

Made these a couple weeks ago with gluten free buns for me and buttery brioche buns for my partner, and we both agreed these are the best homemade burgers we’ve ever had! The seasoning ratio is perfect, I didn’t even need to add extra salt or ketchup to mine. 10/10 will be a permanent staple in our house

1 week ago

That makes us so happy to hear! Love that you were able to adapt them to fit your dietary needs without losing any of that great flavor. Thanks for leaving such a kind review!



