
Homemade Almond Milk (Plant-based Milk)
intro
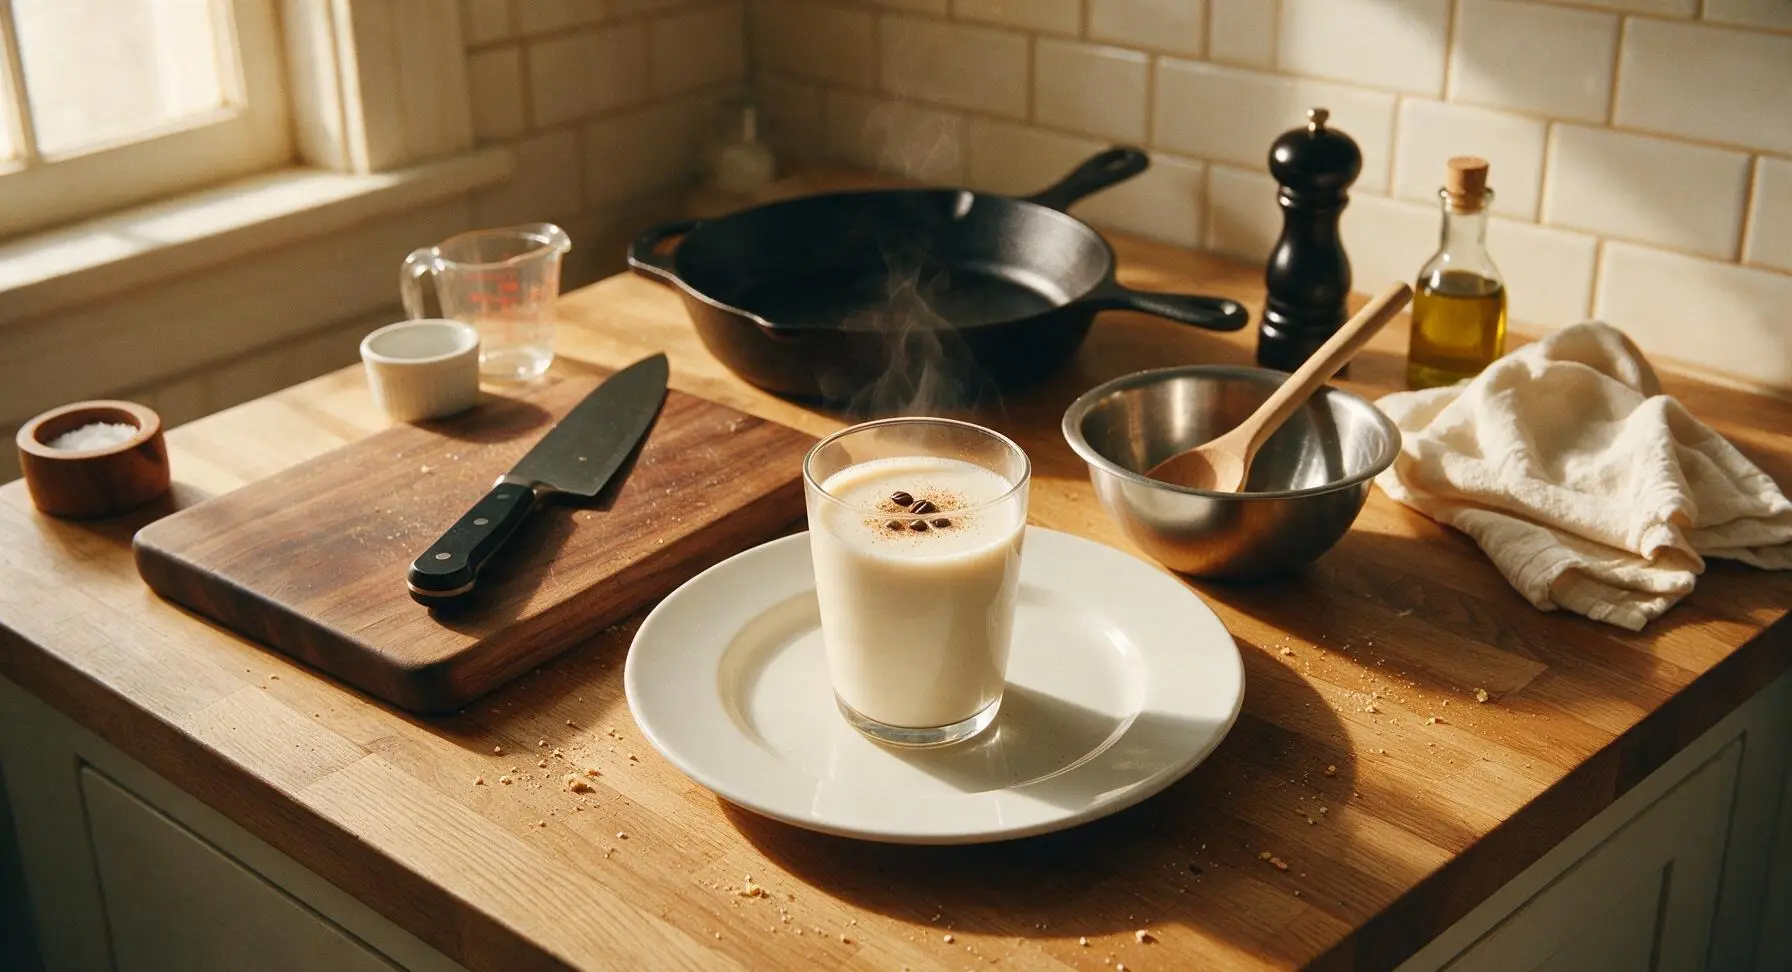
Creamy, additive-free homemade almond milk has a bright, nutty flavor and silky texture—perfect for coffee, cereal, baking, or sipping ice-cold straight.
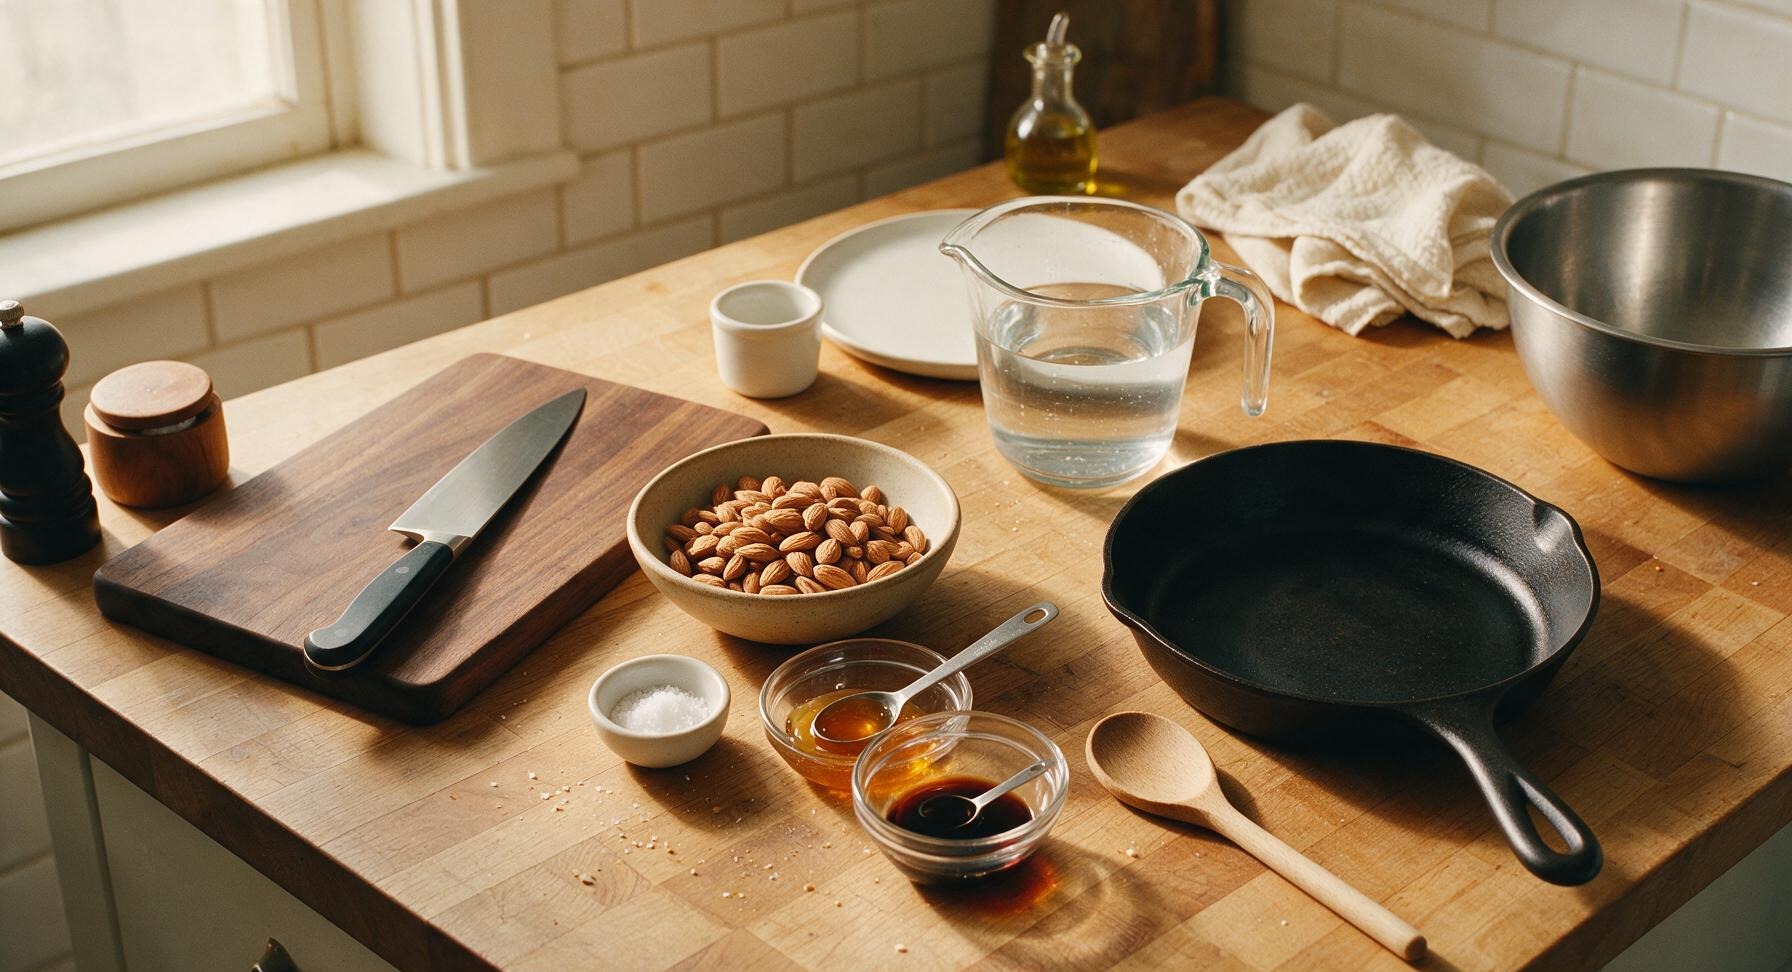
Ingredients
Steps
Soak Raw Almonds
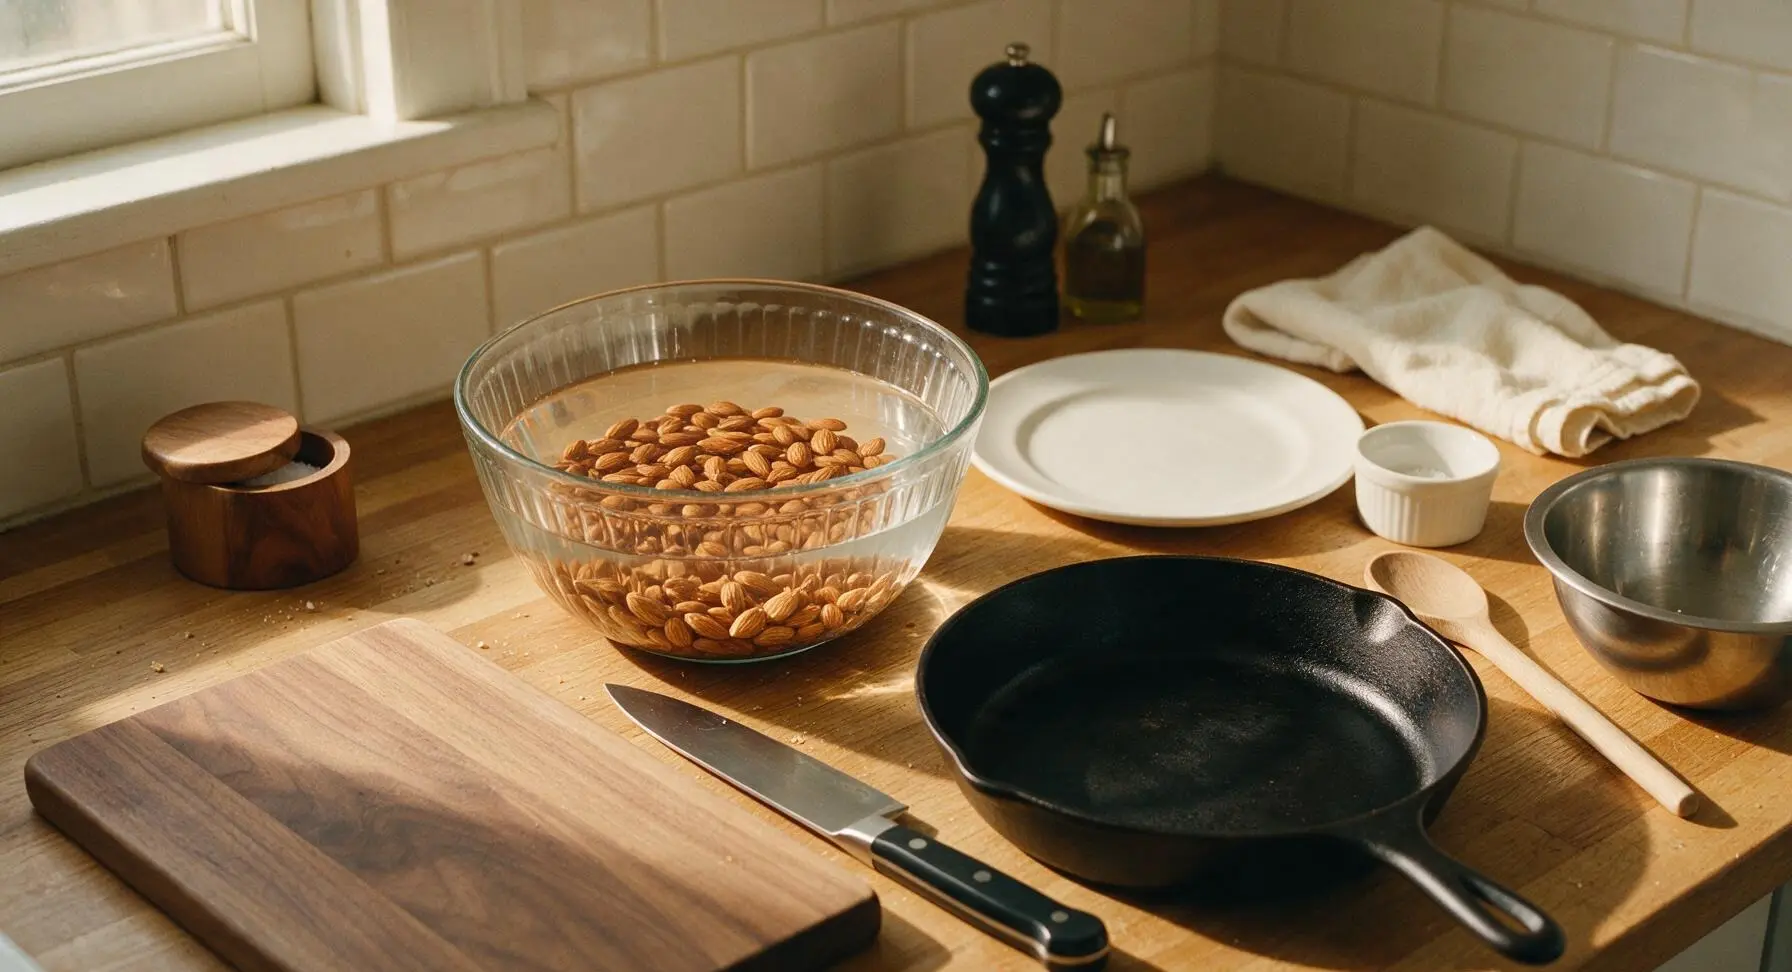
Place 1 cup (140g) raw unsalted almonds into the medium ribbed glass mixing bowl. Pour cold filtered water over the almonds until they are covered by 2 inches of water, ensuring no nuts are floating above the surface. Leave to soak at room temperature for 8–12 hours (or overnight); almonds will plump to 1.5x their original size when fully soaked. Avoid soaking longer than 24 hours, as nuts may develop a sour, fermented flavor.
Drain and Rinse Almonds
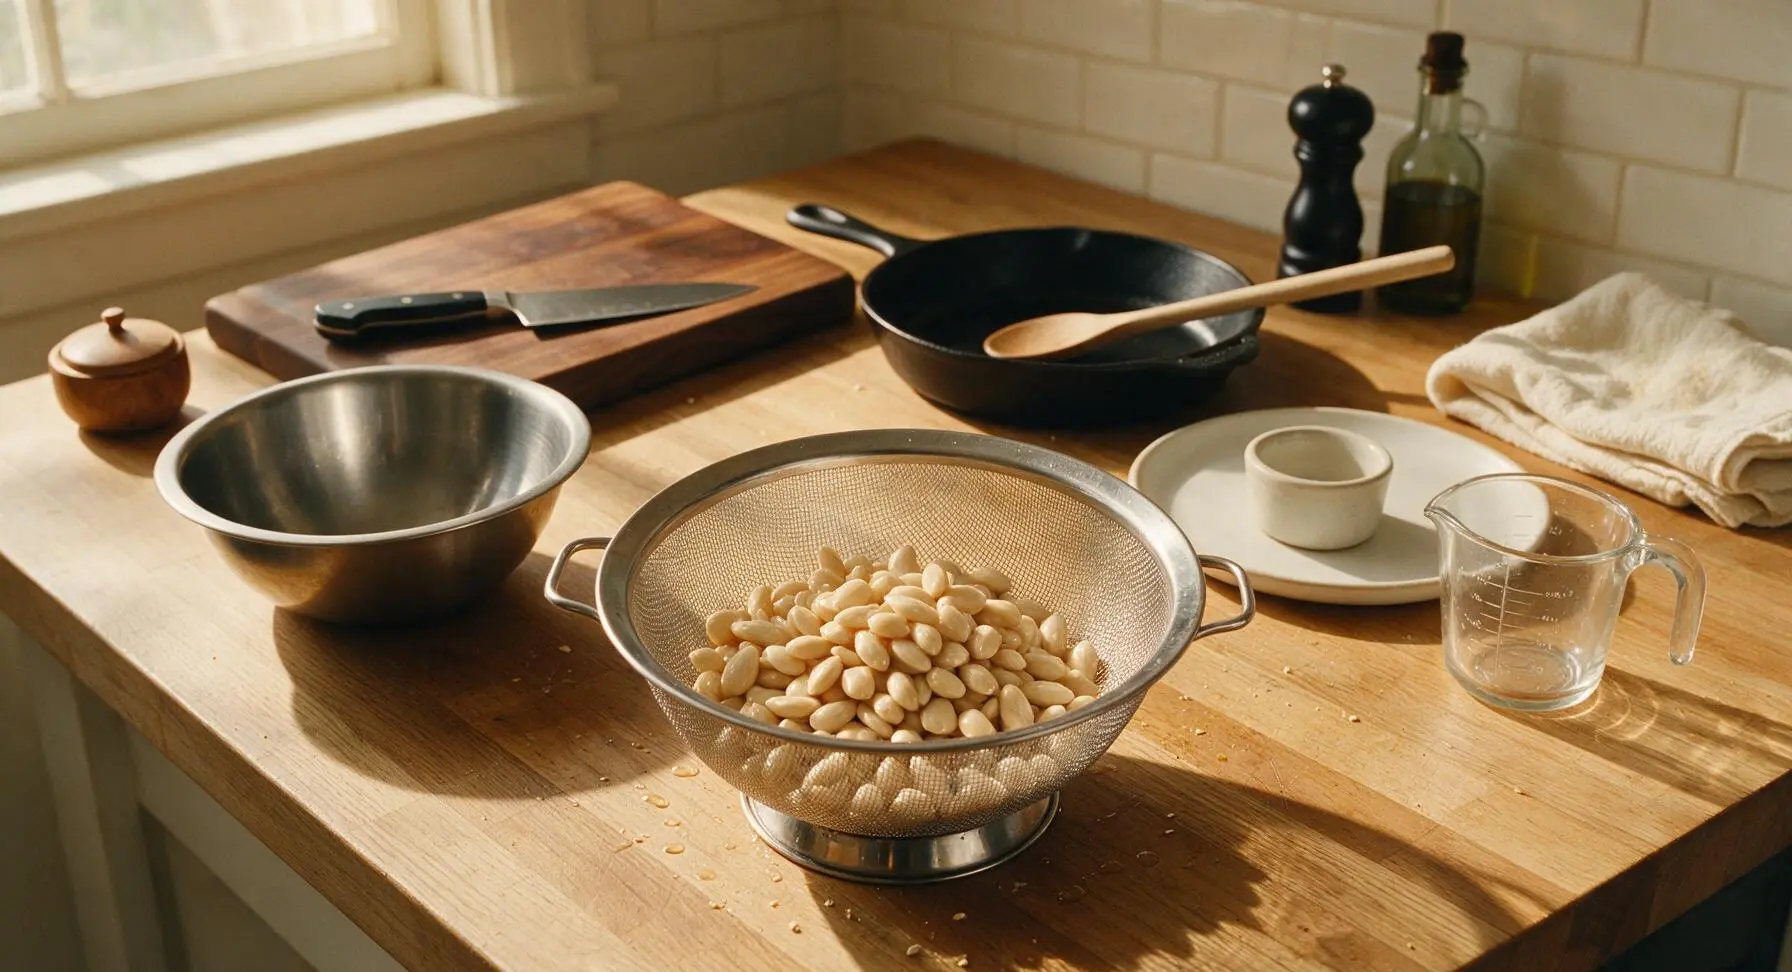
After soaking, pour the almonds and cloudy soaking water into the stainless steel fine-mesh strainer. Rinse the plumped almonds thoroughly under cold running water for 30 seconds, until the water running through the strainer is completely clear, with no cloudy residue. Discard the soaking water, as it contains enzyme inhibitors that can make milk taste bitter.
Load Blender Jar
Transfer all rinsed, drained almonds to the clear blender pitcher. Add 4 cups (960ml) cold filtered water, 1/8 tsp fine sea salt, and any optional flavor add-ins (1 tsp raw honey or maple syrup, 1/2 tsp vanilla extract, 1 pitted Medjool date for deeper sweetness) if using. Leave 1 inch of empty headspace at the top of the blender pitcher to prevent overflow during blending.
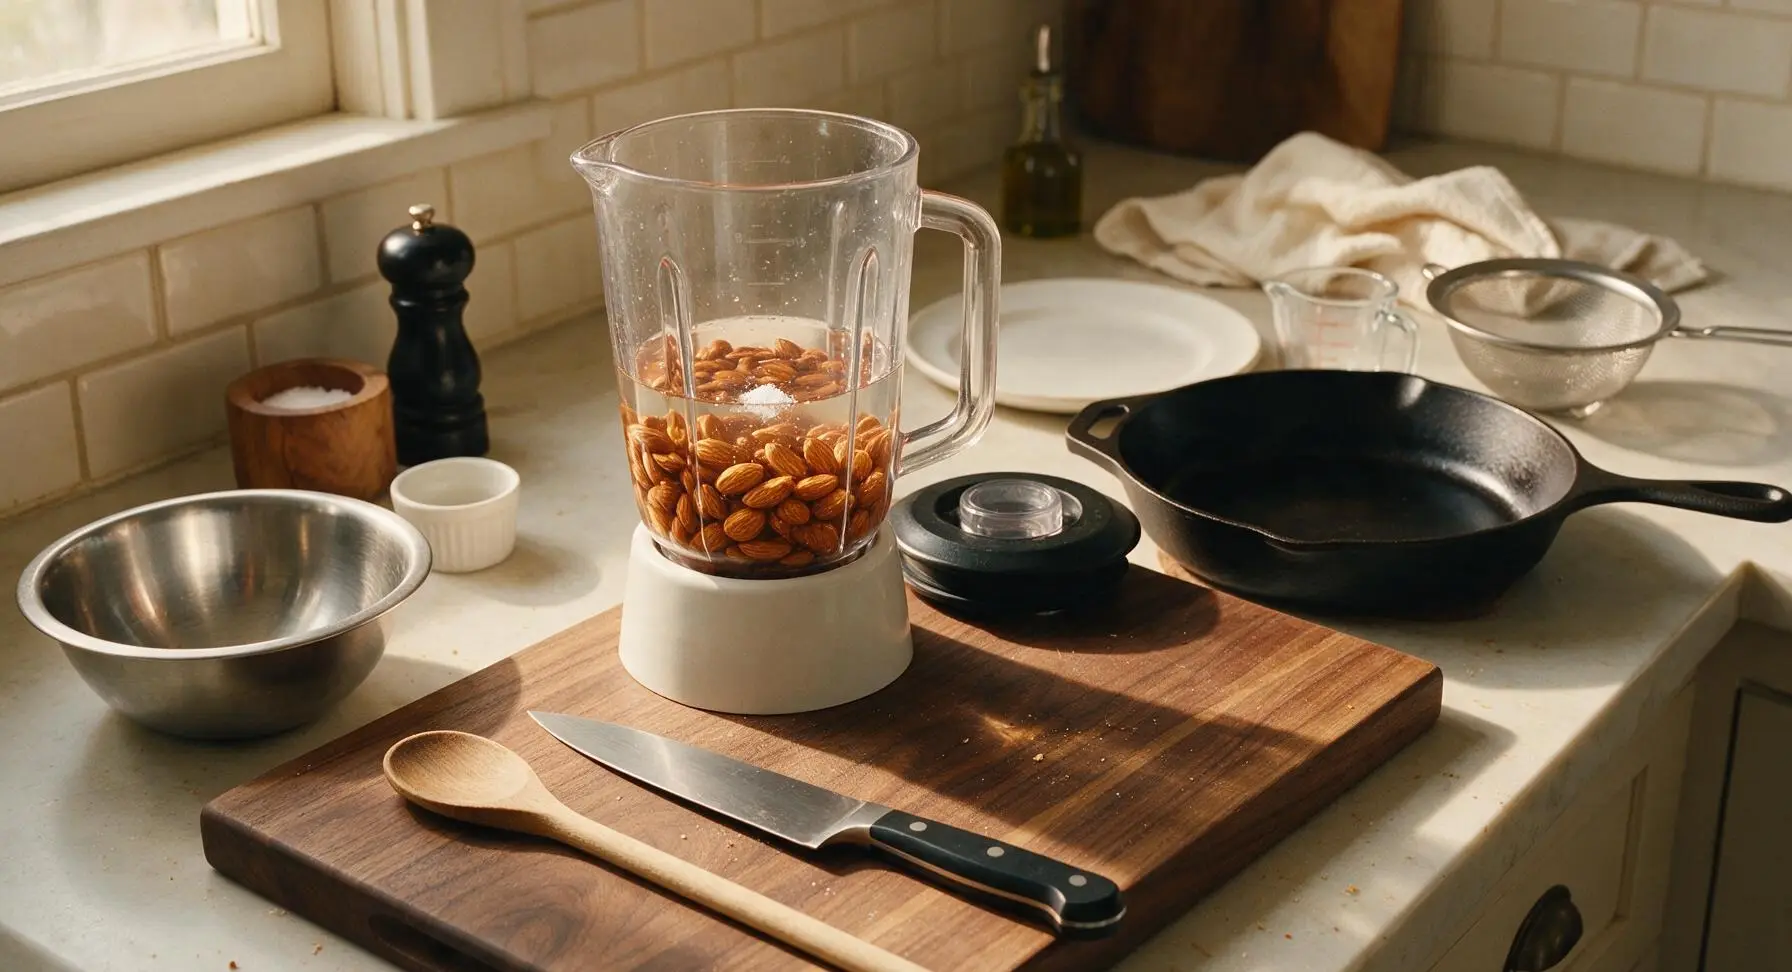
Blend Until Smooth
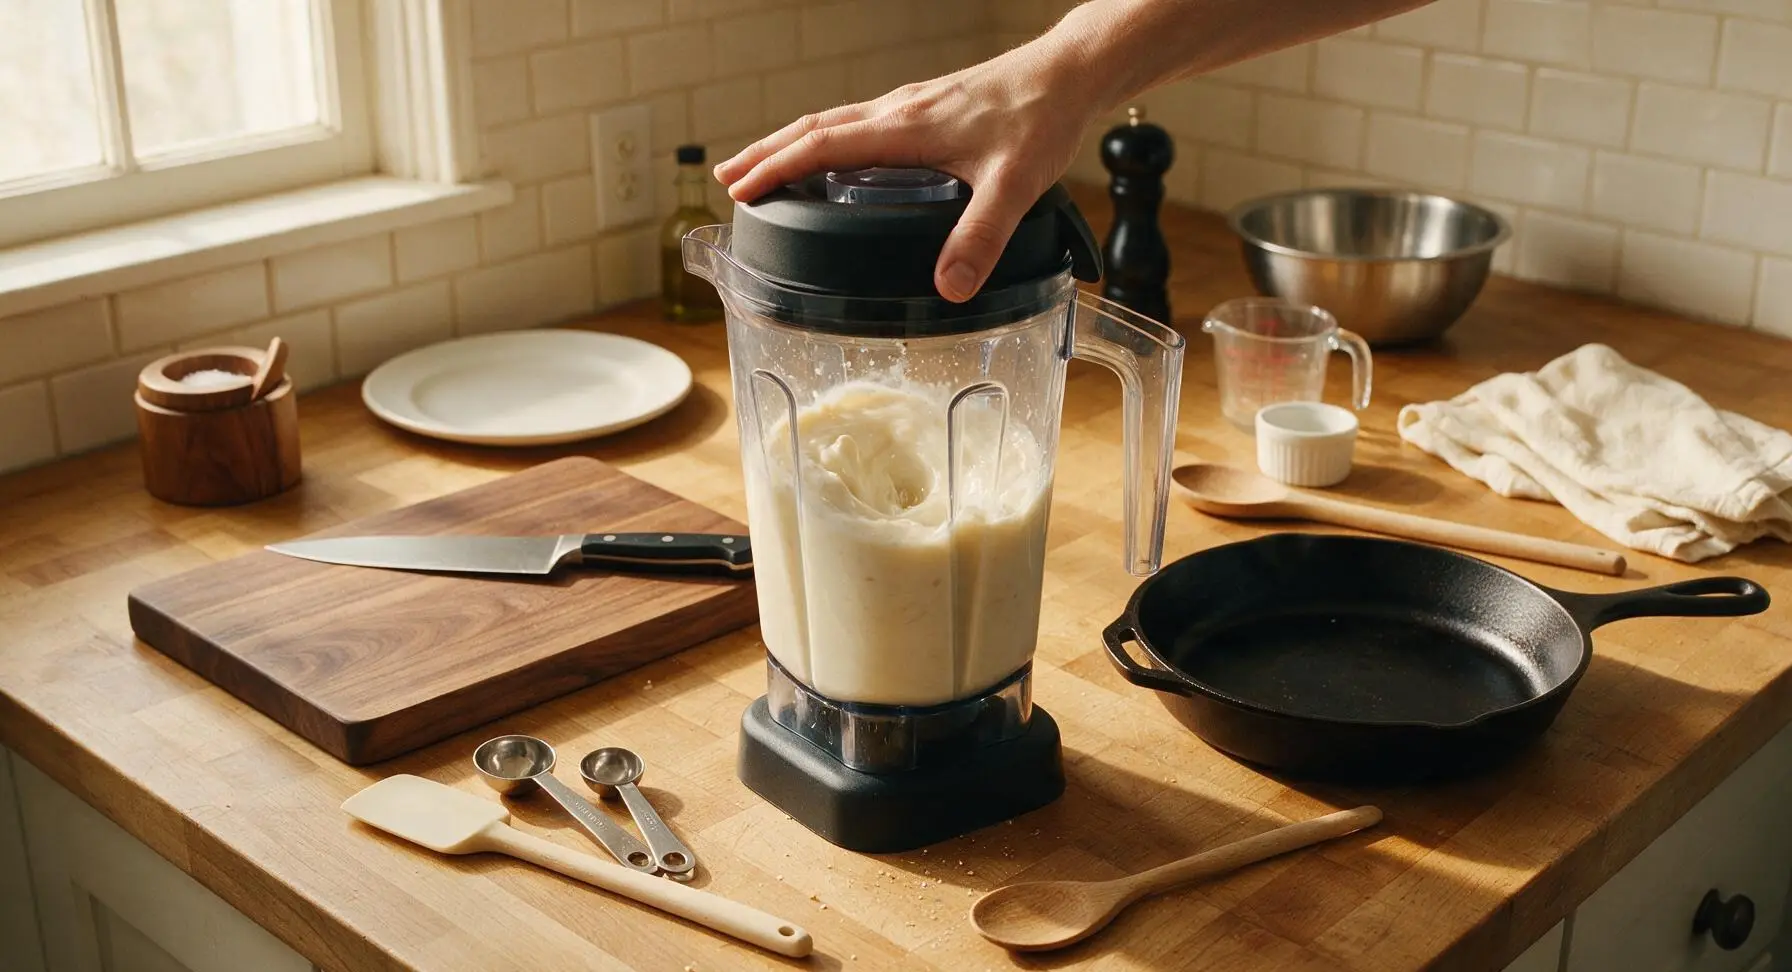
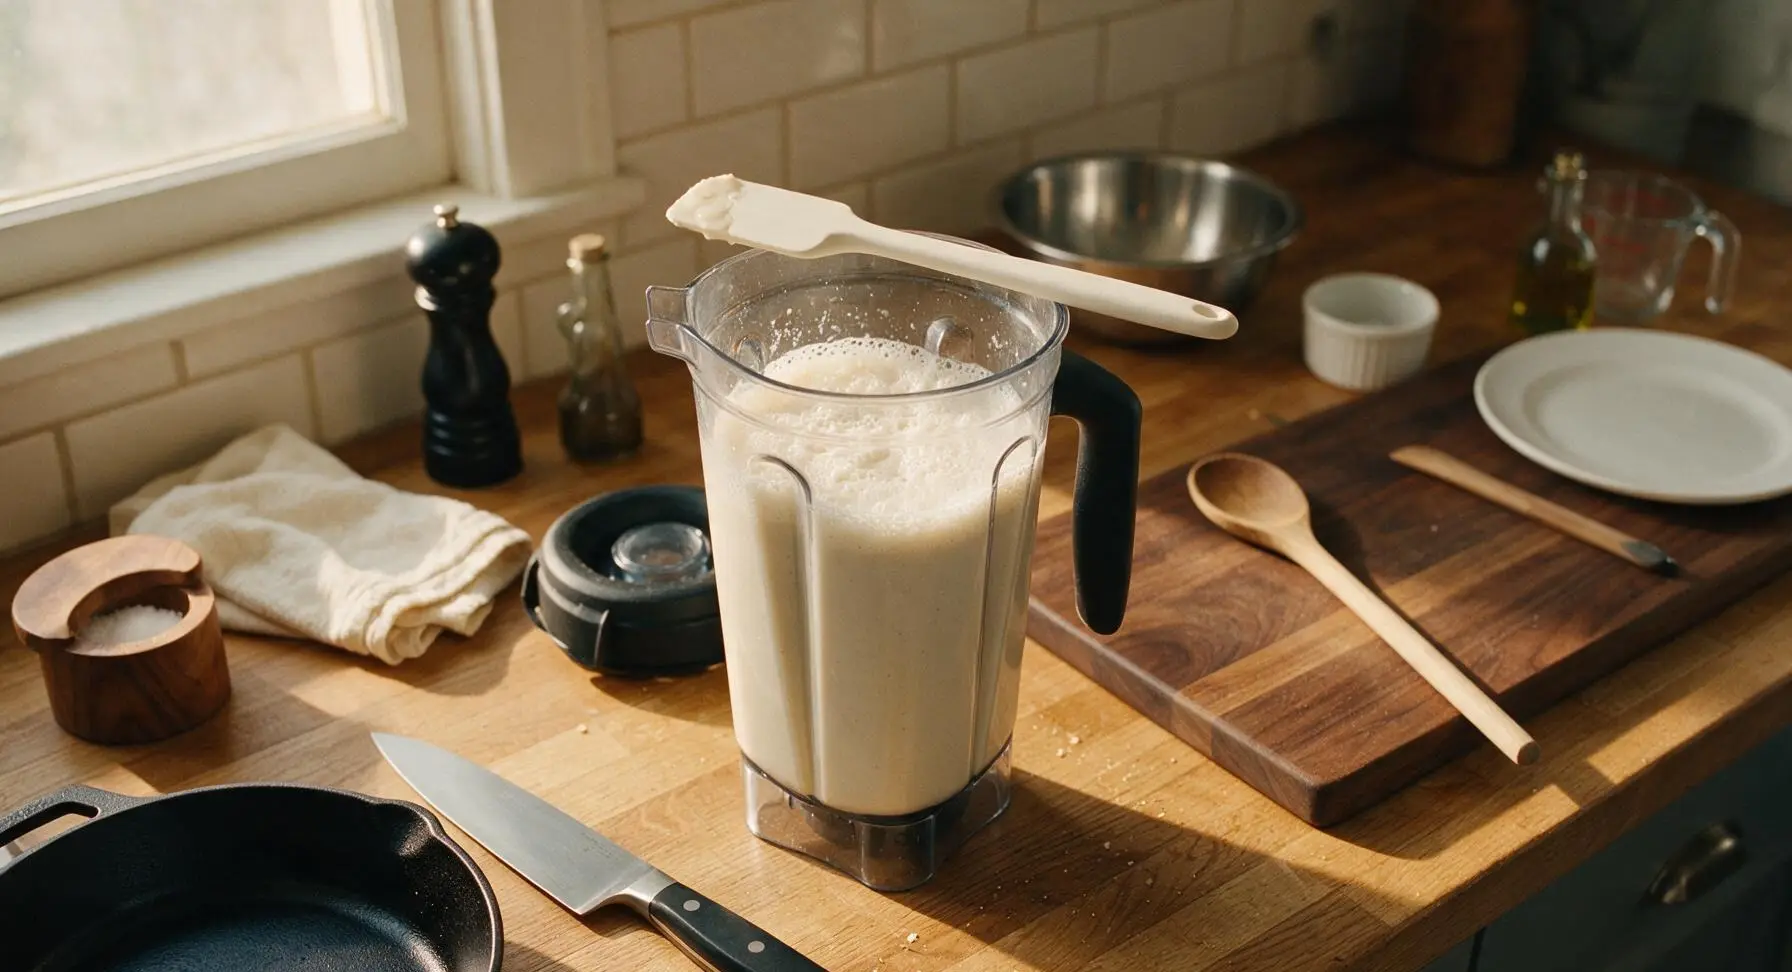
Secure the blender lid tightly, pressing firmly to create a seal. Blend on the highest speed setting for 90 seconds, stopping once after 45 seconds to scrape down any almond pieces stuck to the pitcher sides with the matte white silicone spatula. The finished mixture will be pale creamy ivory, frothy on top, with no visible large almond chunks when you stir it. Avoid blending for longer than 2 minutes, as friction heat can cook the almonds and create a bitter off-flavor.
Strain to Remove Pulp
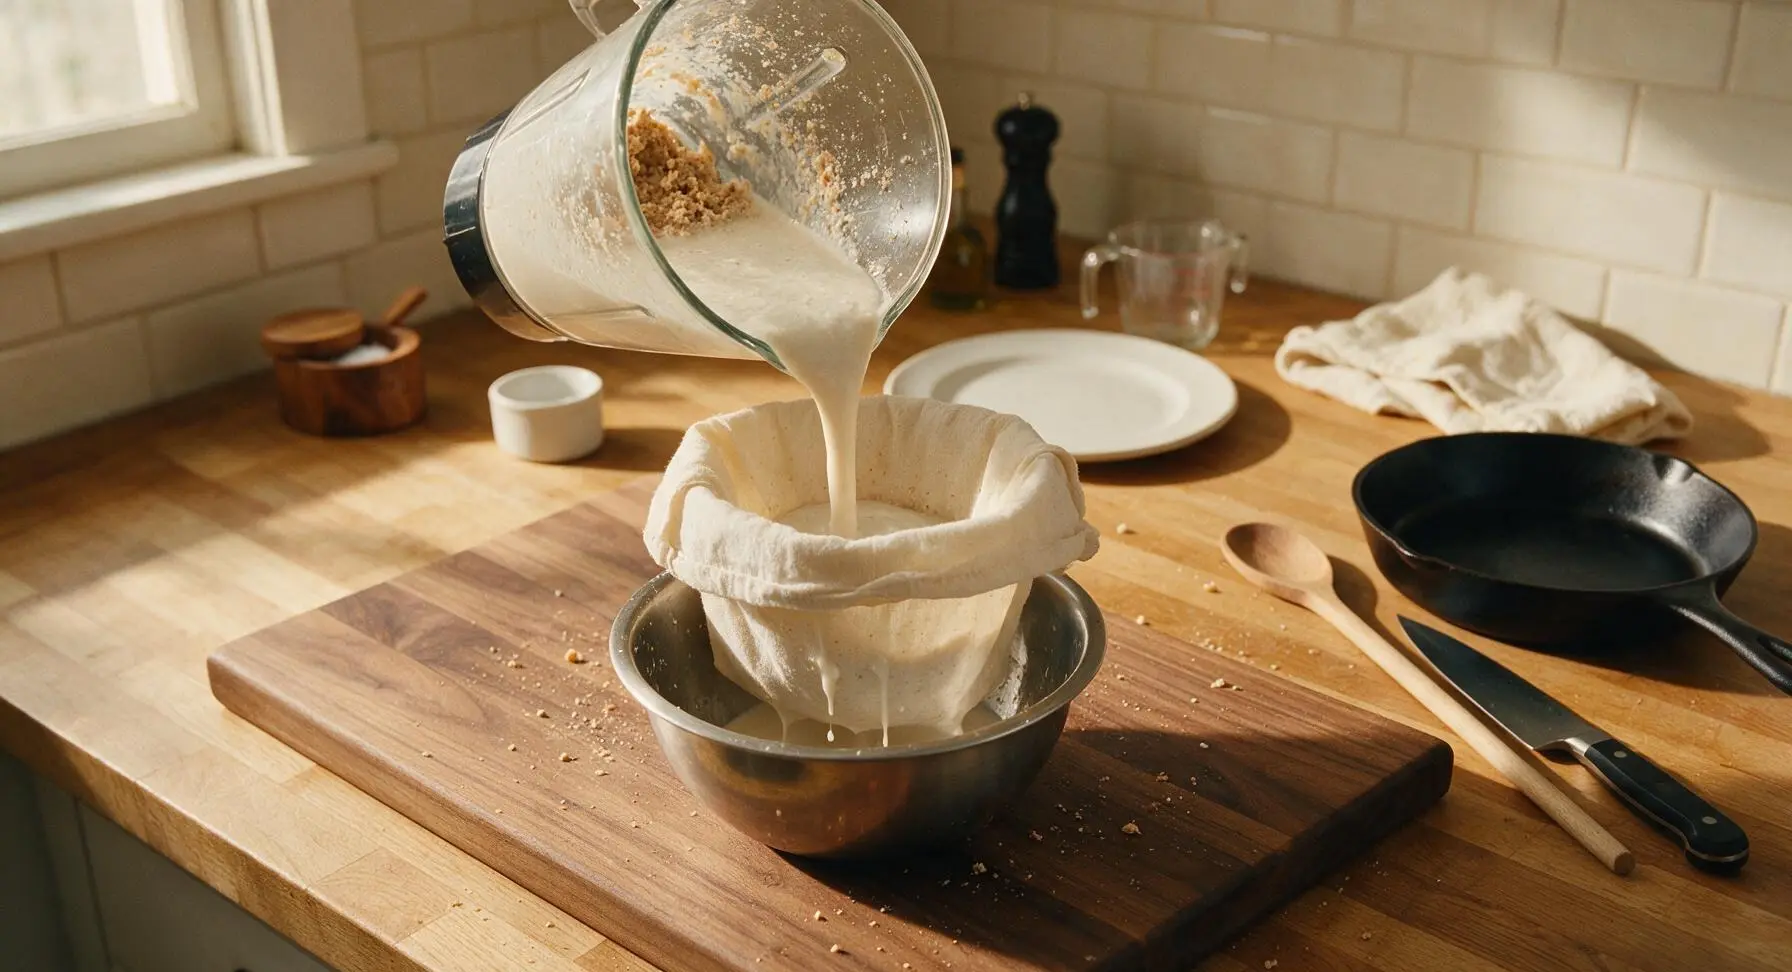
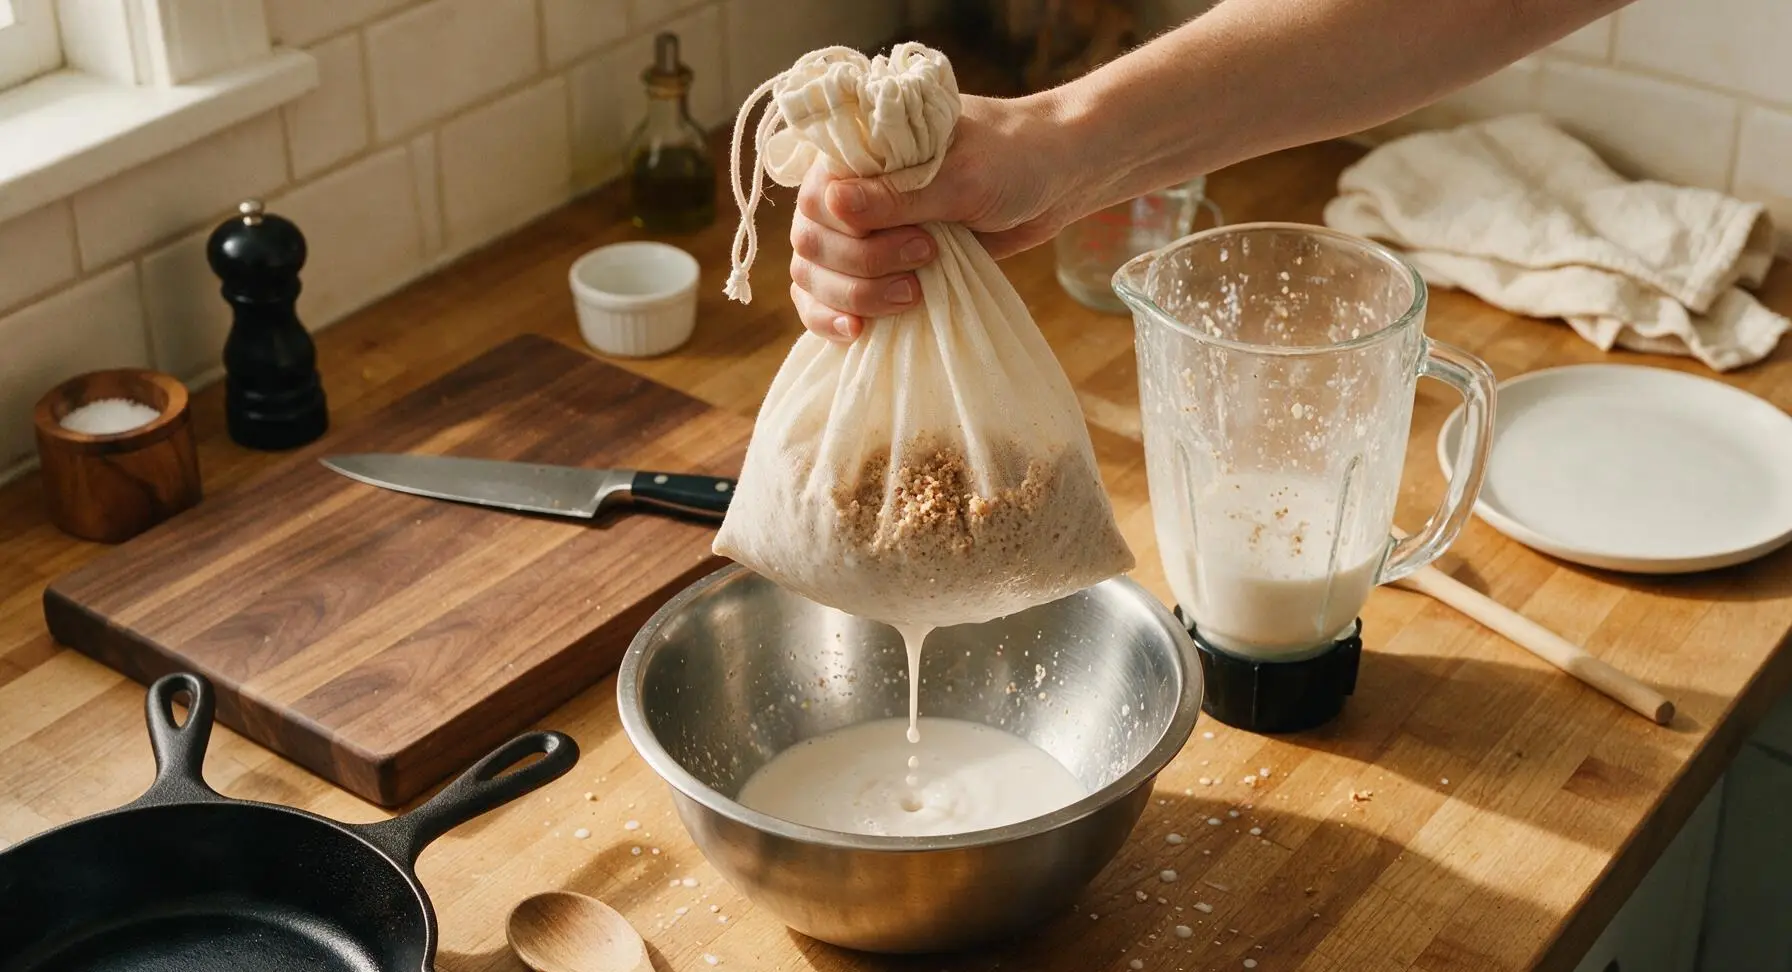
Drape the unbleached cotton nut milk bag over the now-empty glass mixing bowl, folding the top 2 inches of the bag over the bowl rim to hold it securely open. Slowly pour all of the blended almond mixture from the blender pitcher into the bag. Gather the top of the bag and pull the drawstring tight, then squeeze gently from the top down to press all smooth milk through the fabric into the bowl, leaving damp, crumbly light brown almond pulp inside the bag. Apply even, gentle pressure; squeezing too hard will push fine pulp through the weave and result in gritty milk.
Serve or Store Milk
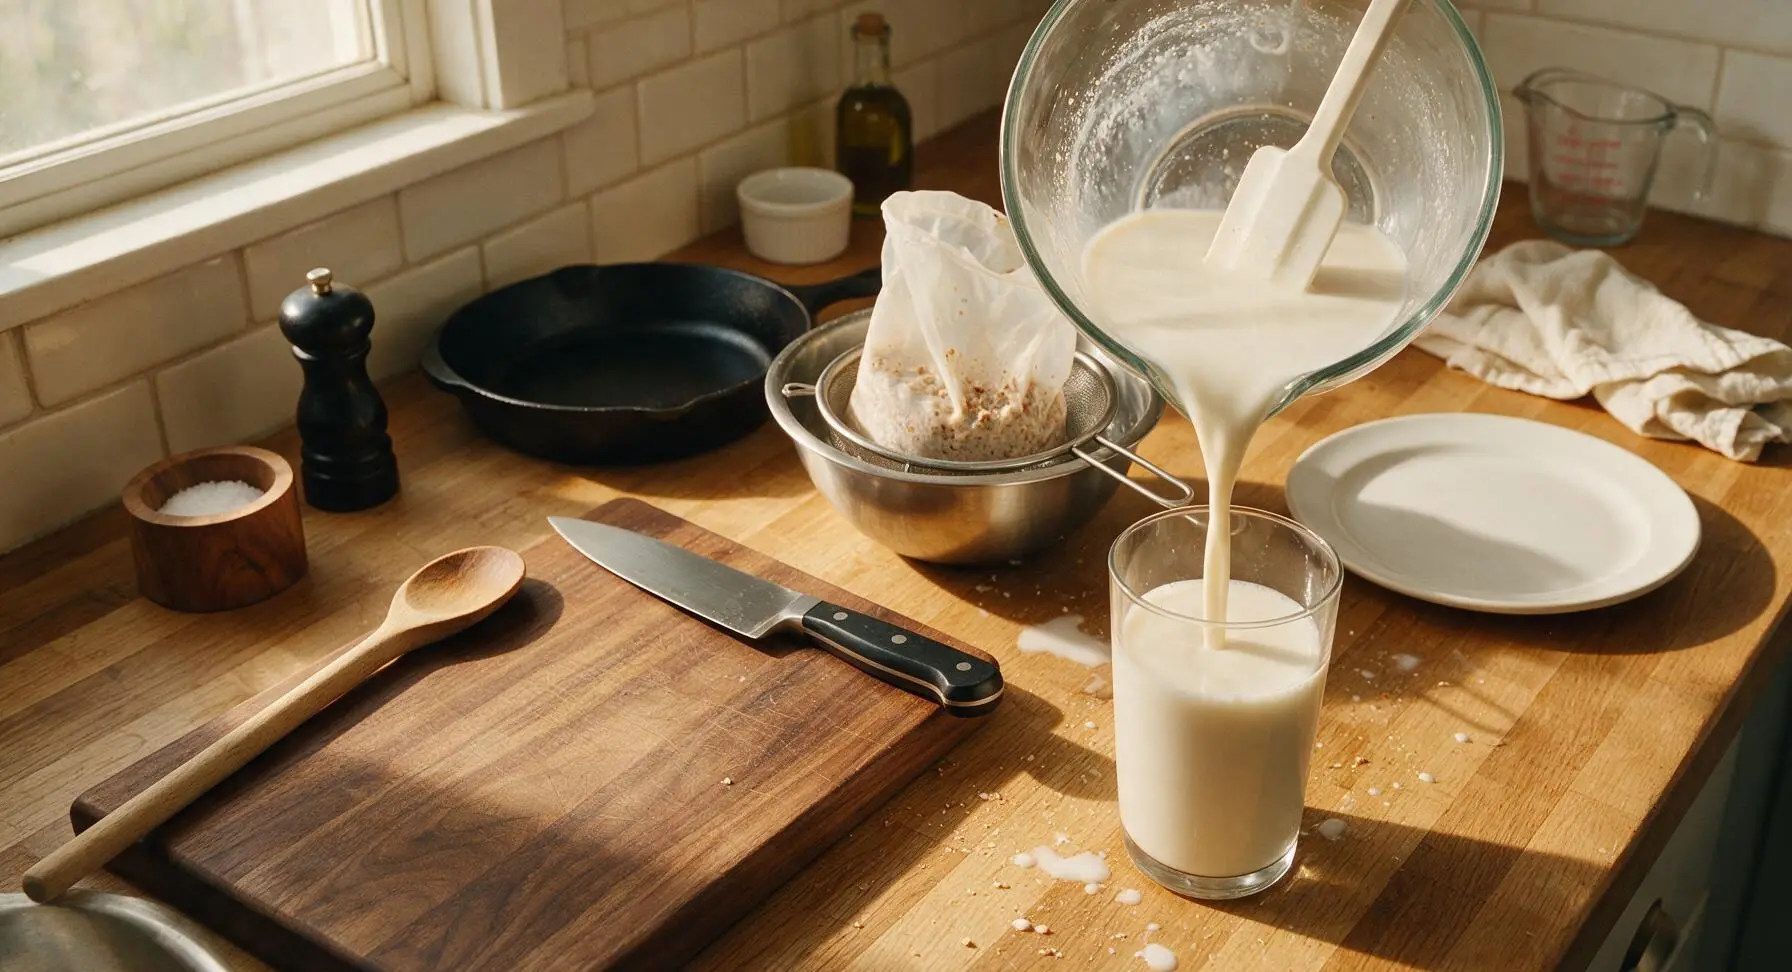
Set the pulp-filled nut milk bag in the stainless steel strainer to drain fully; reserve the leftover almond pulp for use in baking, smoothies, or homemade granola if desired. Pour the freshly strained almond milk from the mixing bowl into the clear glass tumbler for immediate serving, or funnel into a lidded glass jar for refrigerated storage. Stir gently before serving or drinking, as fine particles will settle to the bottom over time. Fresh almond milk will keep sealed in the refrigerator for 3–4 days.
Tips
2.Reserve leftover almond pulp to reduce waste: The damp, crumbly pulp left in the nut milk bag can be spread on a baking sheet and dried at 200°F (95°C) for 2–3 hours, then ground into fine almond flour for baking, or stirred into oatmeal, smoothies, or cookie dough for extra fiber and nutty flavor.
3.Add a small amount of emulsifier for coffee-friendly milk: If you plan to use almond milk in lattes or hot coffee, stir 1/4 tsp sunflower lecithin or 1 tsp melted unflavored coconut oil into the blender before mixing; this prevents curdling and helps the milk create a smooth, stable foam for barista-style drinks.






OMG this homemade almond milk is a total game changer! I’ve been wasting so much money on store-bought versions that have weird additives, and this was SO easy to throw together for my weekly meal prep. My kids loved it over their cereal this morning, no complaints at all!
Wait, no cooking required at all? That’s perfect for my chaotic weeknights when I’m running between soccer practice and PTA meetings. I’ve been nervous to try making plant-based milk at home because I thought it’d be super fussy, but this looks totally doable. Quick question: how long does it stay good in the fridge?
Tried this yesterday to use in my morning lattes, and it’s so much creamier than the grocery store almond milk I used to buy! No weird watery texture, it froths up so nicely for lattes. 10/10 will be making this every week from now on.
Just calculated the cost vs my usual brand, and this saves me almost $15 a month on milk for my apartment! I brought a batch to my friend’s potluck last weekend and everyone was asking for the recipe. Only thing I messed up on my first try was forgetting to soak the almonds long enough oops.
Super solid base recipe! I added a tiny bit of maple syrup and a pinch of sea salt on my last batch and it tasted exactly like the premium fancy almond milk they sell at the health food store for $8 a carton. So good.
I just went plant-based last month and have been struggling to find milk alternatives that don’t make me miss dairy, honestly? This recipe is so straightforward even someone as culinarily challenged as me can pull it off. I don’t have a fancy nut milk bag, would a regular fine mesh sieve work?
Made a double batch of this for my weekly meal prep a couple weeks back, and used the leftover almond pulp to bake chocolate chip energy bites! Zero waste, super creamy, and my roommate who swears he hates all plant-based milks even poured himself a second glass. Total weeknight win.