
homemade chicken broth
intro
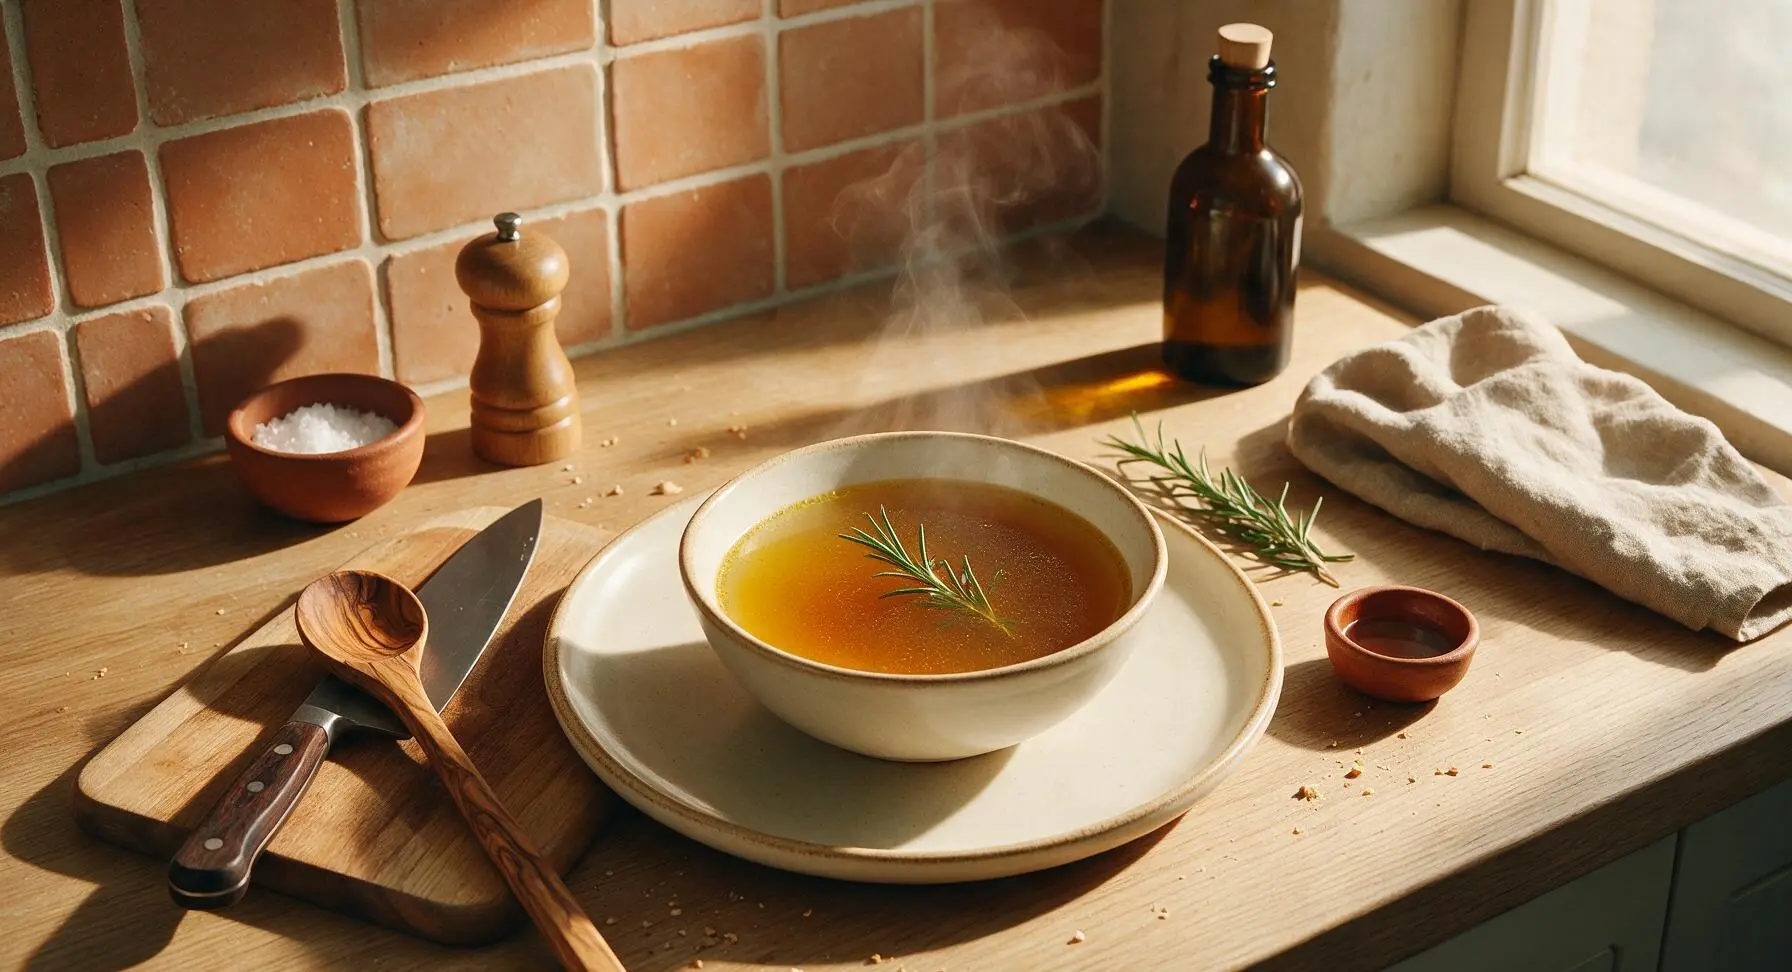
Rich, deeply savory homemade chicken broth is the versatile kitchen staple that elevates soups, sauces, and grains, with bright, clean depth far beyond store-bought cartons.
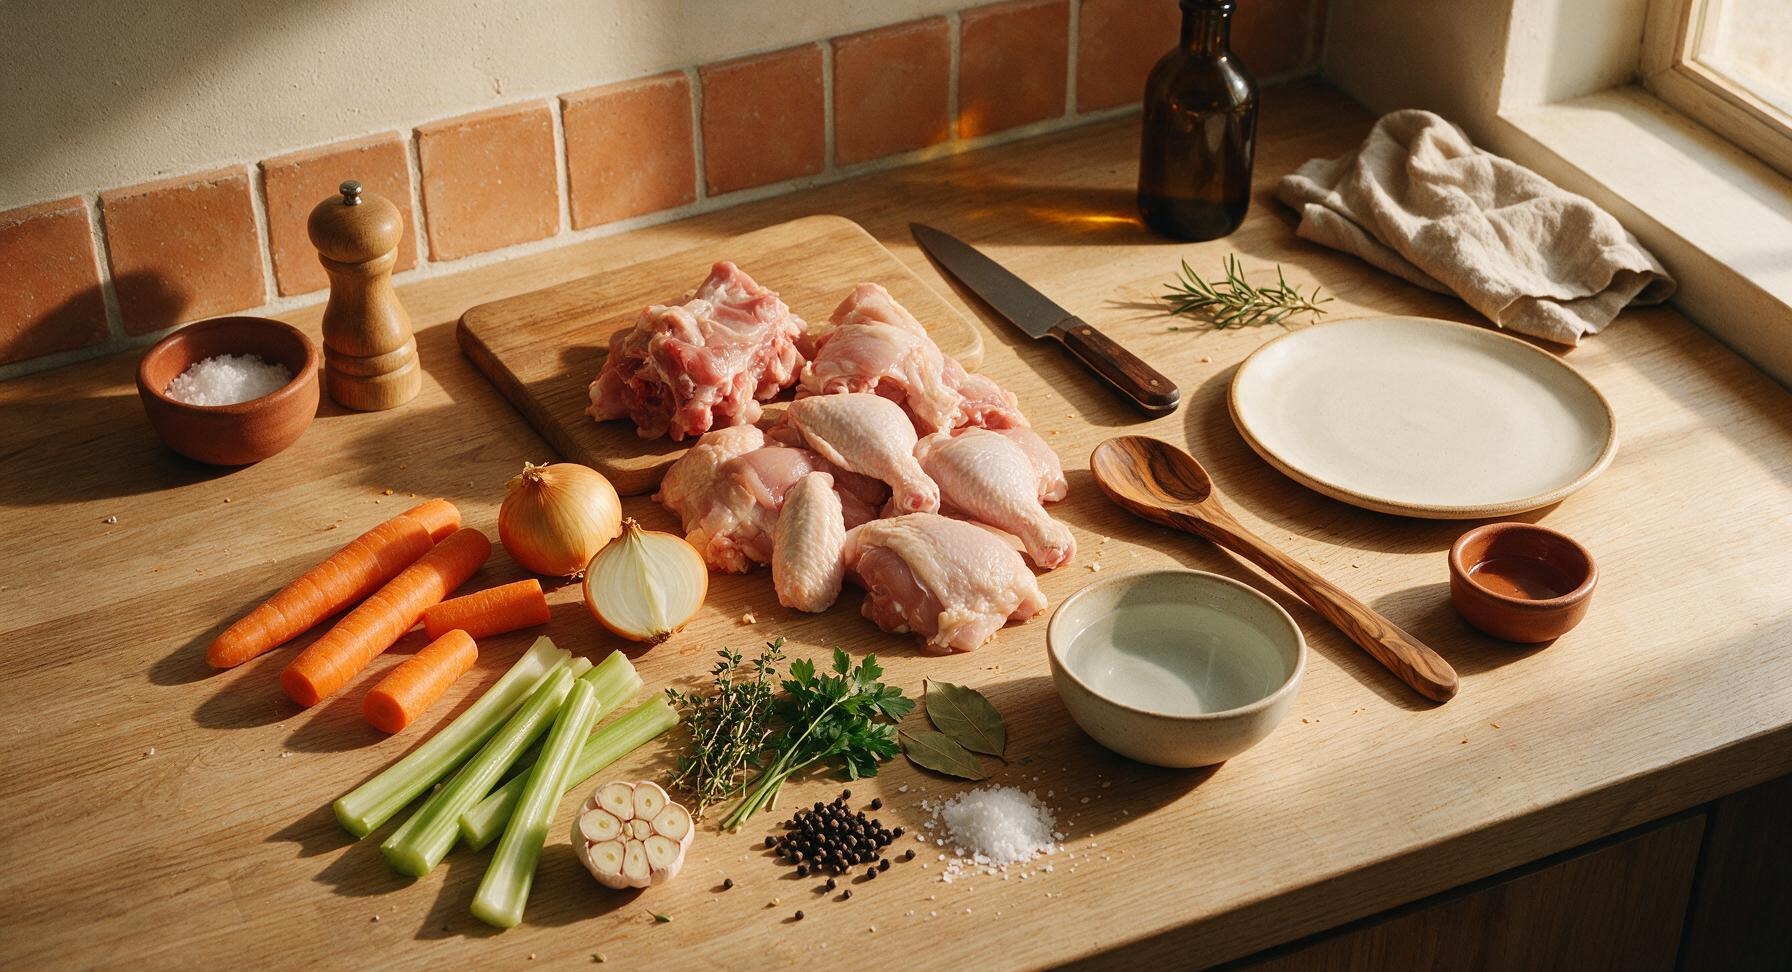
Ingredients
Steps
Prep Chicken and Vegetables
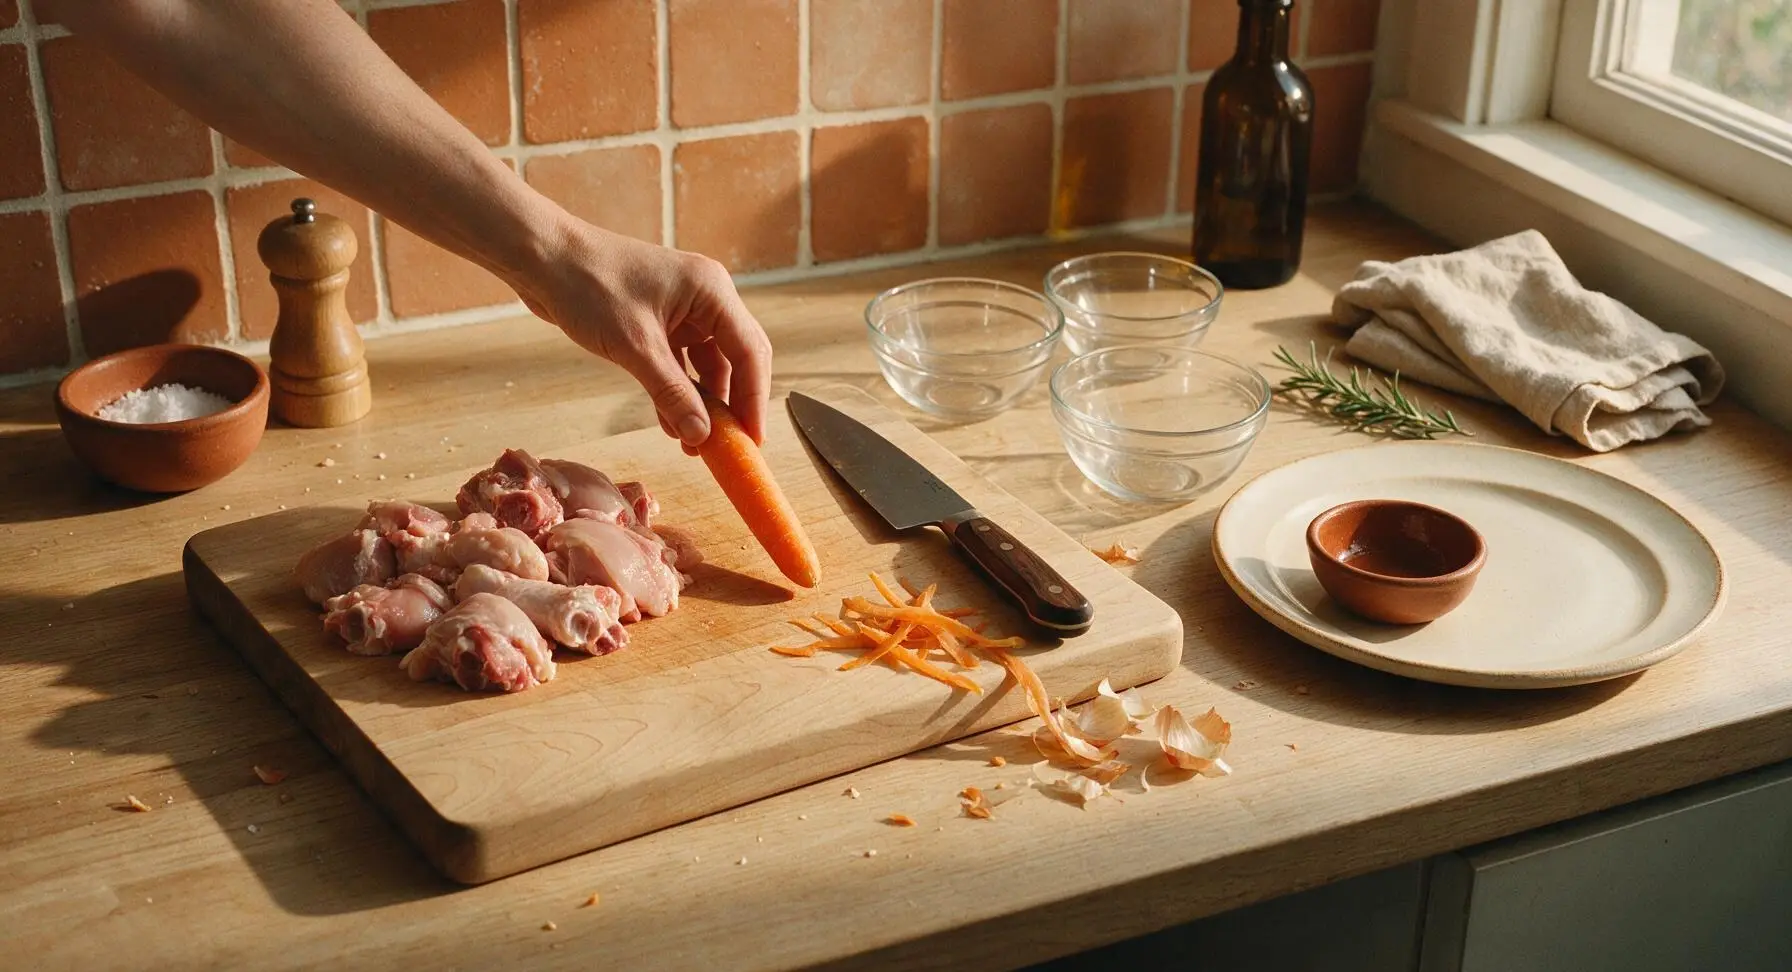
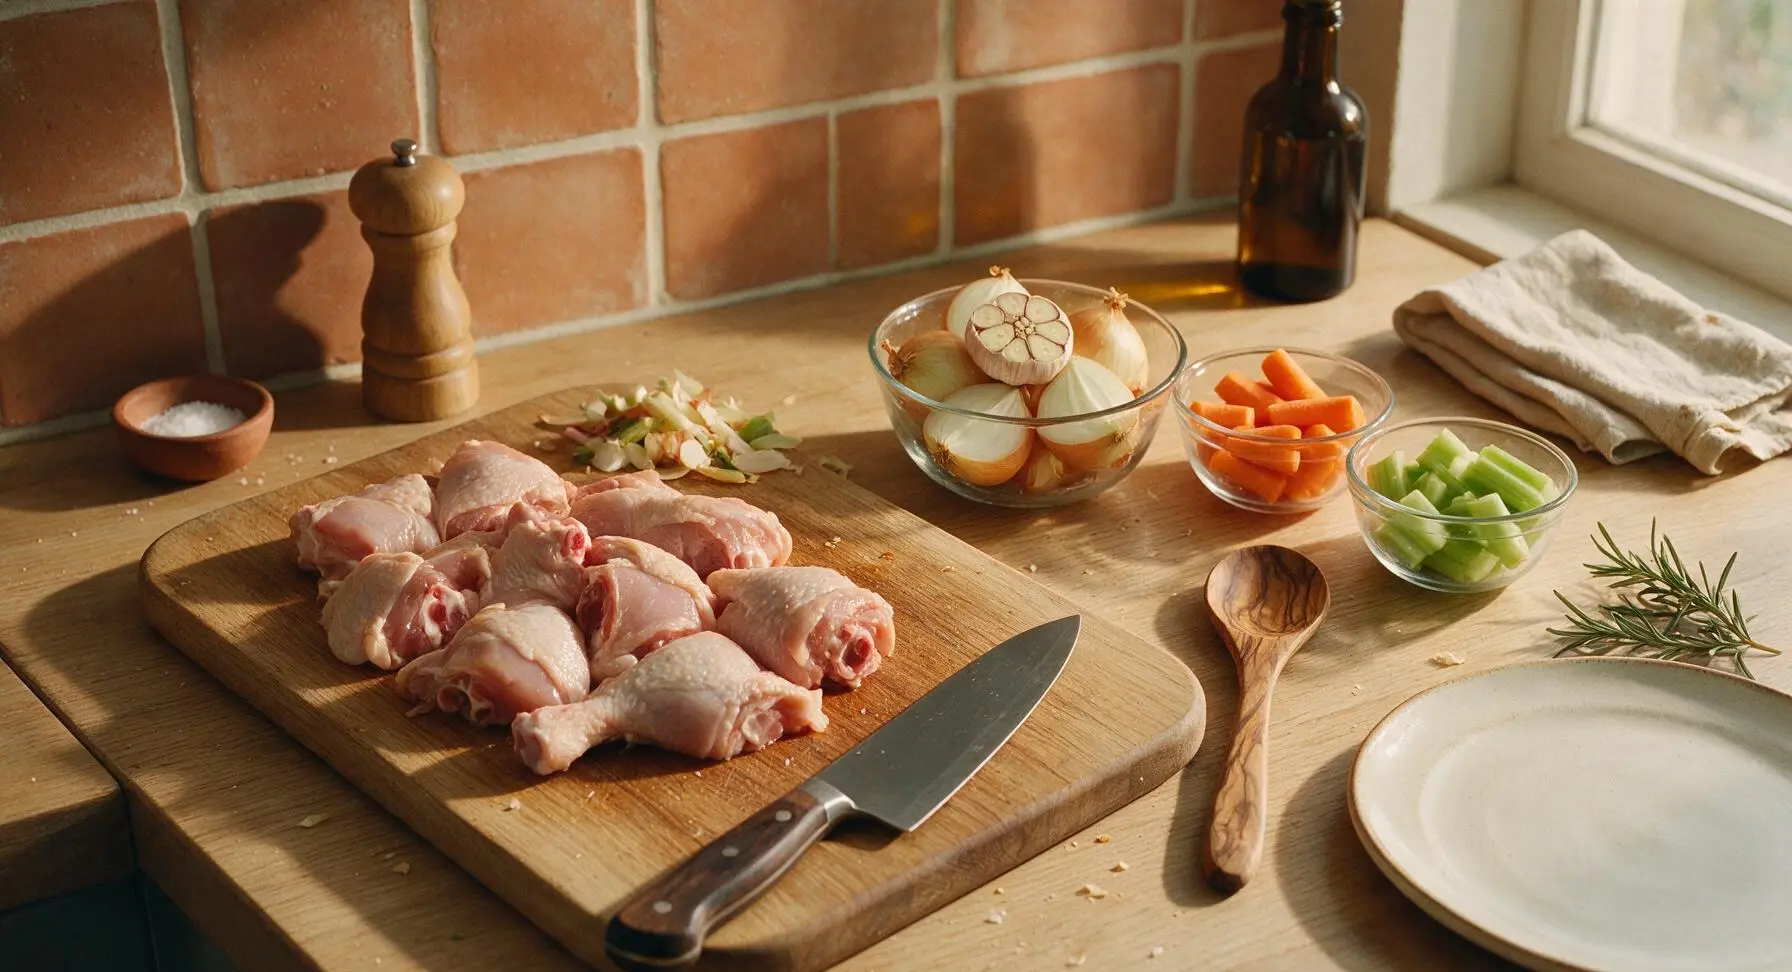
Position the large maple cutting board center-left on the counter. Rinse 1.5kg bone-in chicken pieces under cold running water, pat dry with a corner of the linen towel, and set on the left side of the cutting board. Quarter unpeeled yellow onions, scrub carrots and cut into 5cm chunks, trim celery and cut into 5cm chunks, and slice the whole garlic head in half crosswise (leave papery skins on onions and garlic for deeper golden color and flavor). Transfer prepped vegetables to the clear glass prep bowls to the right of the board.
Load the Stock Pot
Set the 12-quart brushed stainless steel stock pot on the back center gas burner. First add all chicken pieces in an even layer at the bottom of the pot, then top with all prepped vegetables, thyme, parsley, bay leaves, whole black peppercorns, and measured kosher salt. Slowly pour 4 liters of cold water over the ingredients, checking that all solids are submerged by 2cm of liquid; top up with 100-200ml extra cold water if any ingredients poke above the surface.
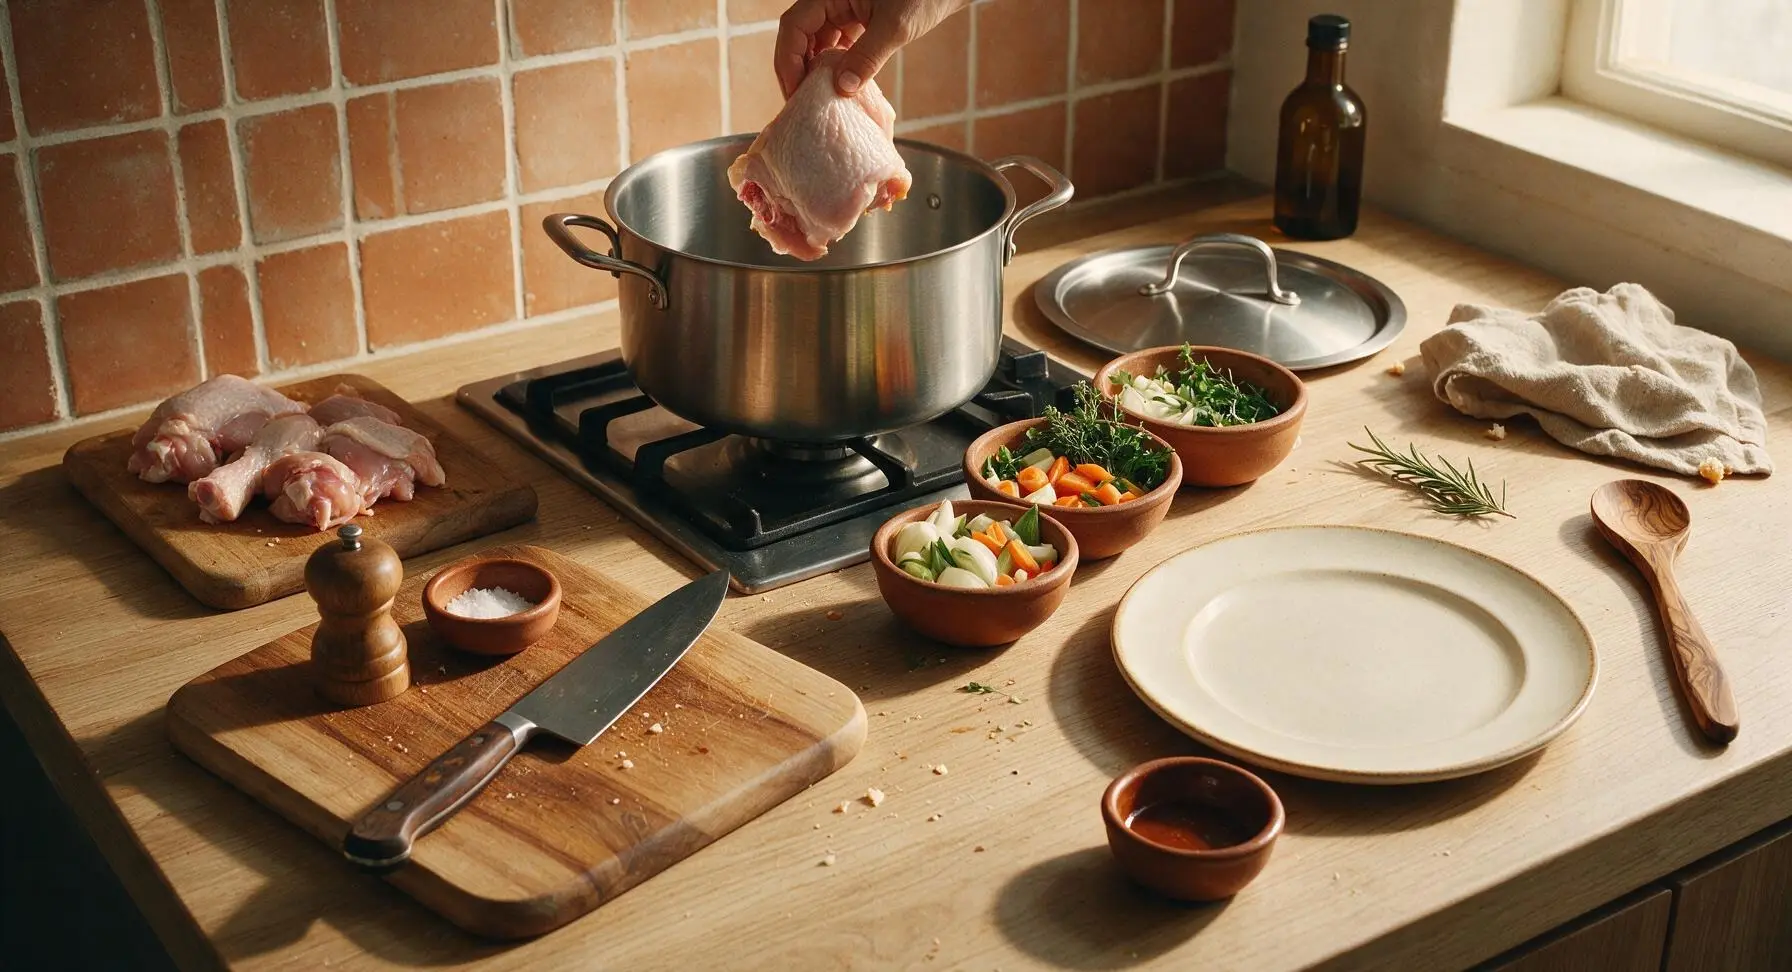
Bring to Gentle Simmer
Turn the burner to medium-high heat, and bring the water to a very gentle simmer (small bubbles breaking slowly at the surface, 90-95C / 195-205F) — do NOT let the broth come to a rolling boil, as this will make it cloudy. As the water heats, watch for gray, foamy scum rising to the surface.
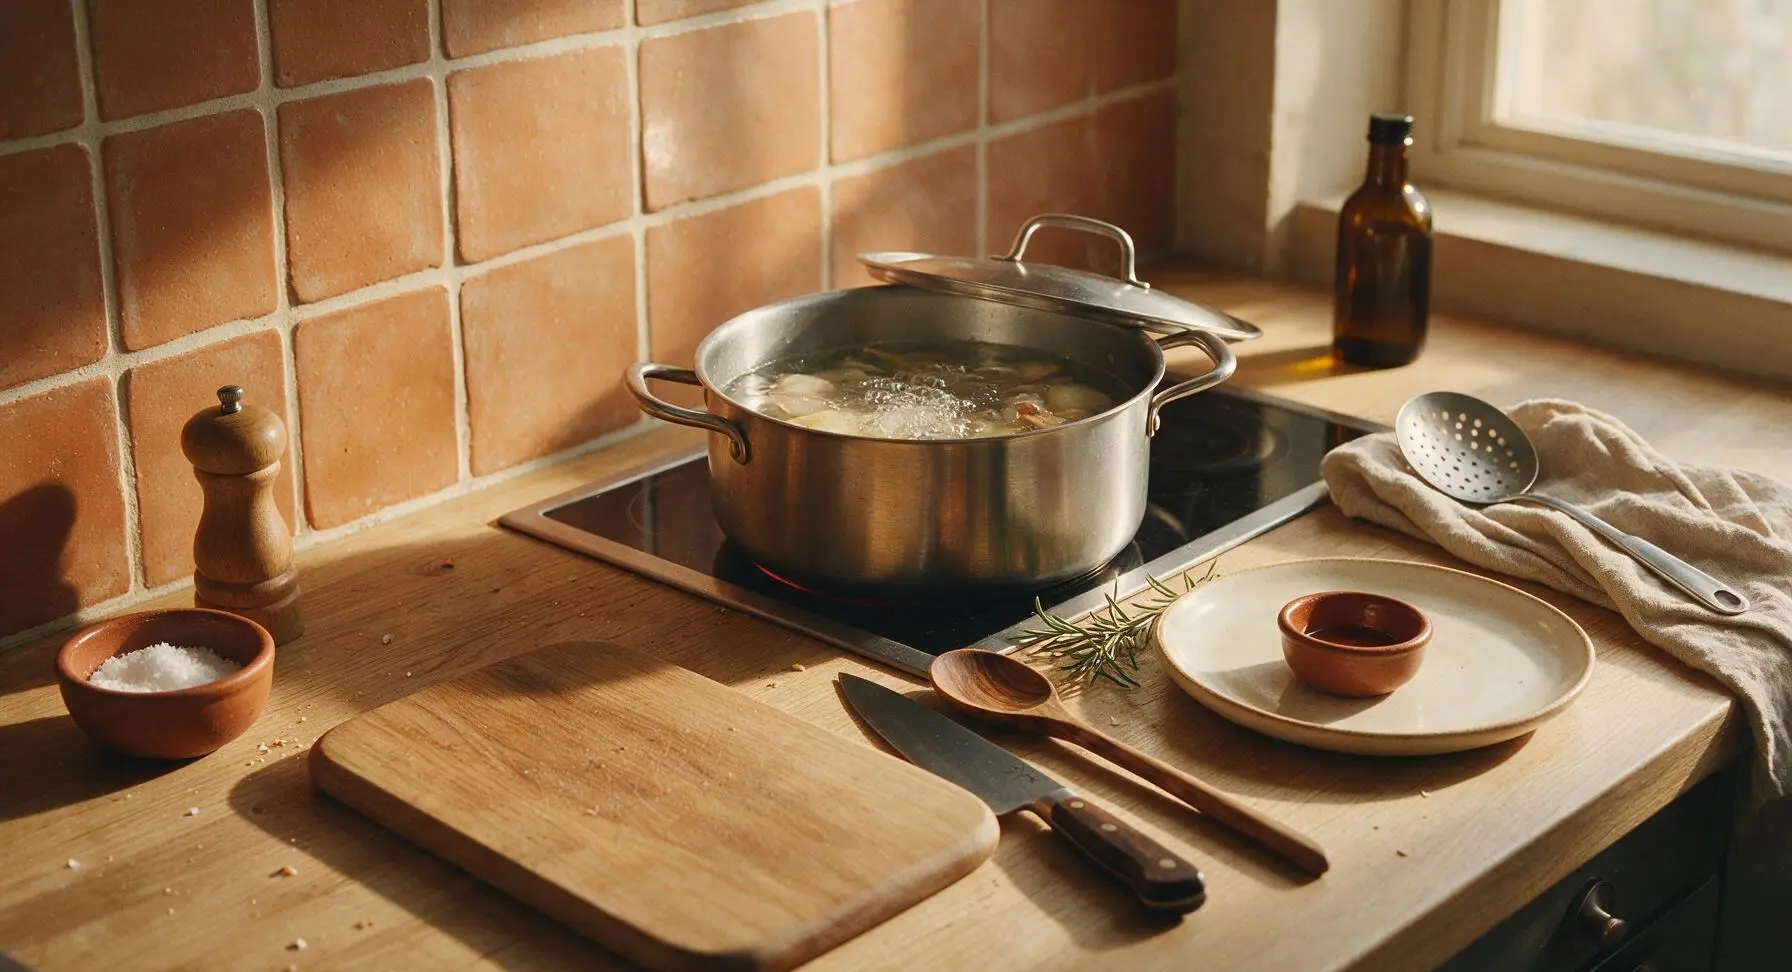
Skim Surface Foam
Once the first gray foam rises to the surface, use the slotted stainless steel skimmer to gently lift and discard the scum from the broth. Skim every 10 minutes for the first 30 minutes of cooking, until no more foam rises to the top. This step ensures the finished broth is clear, not murky.
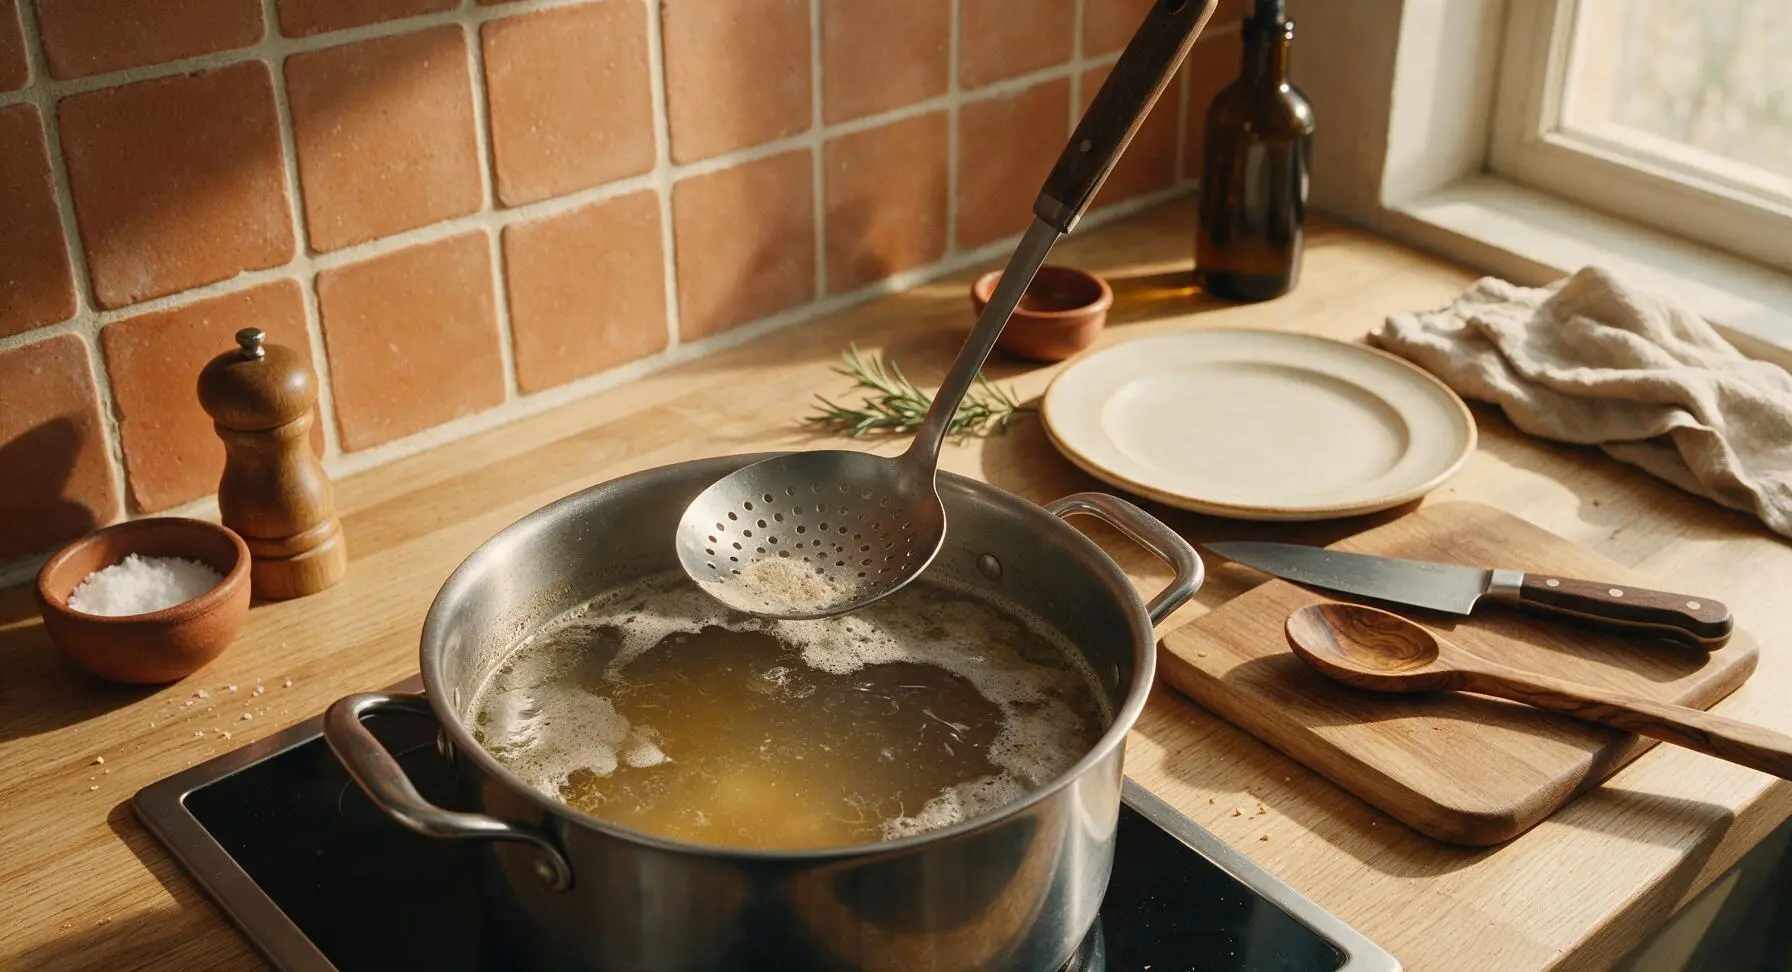
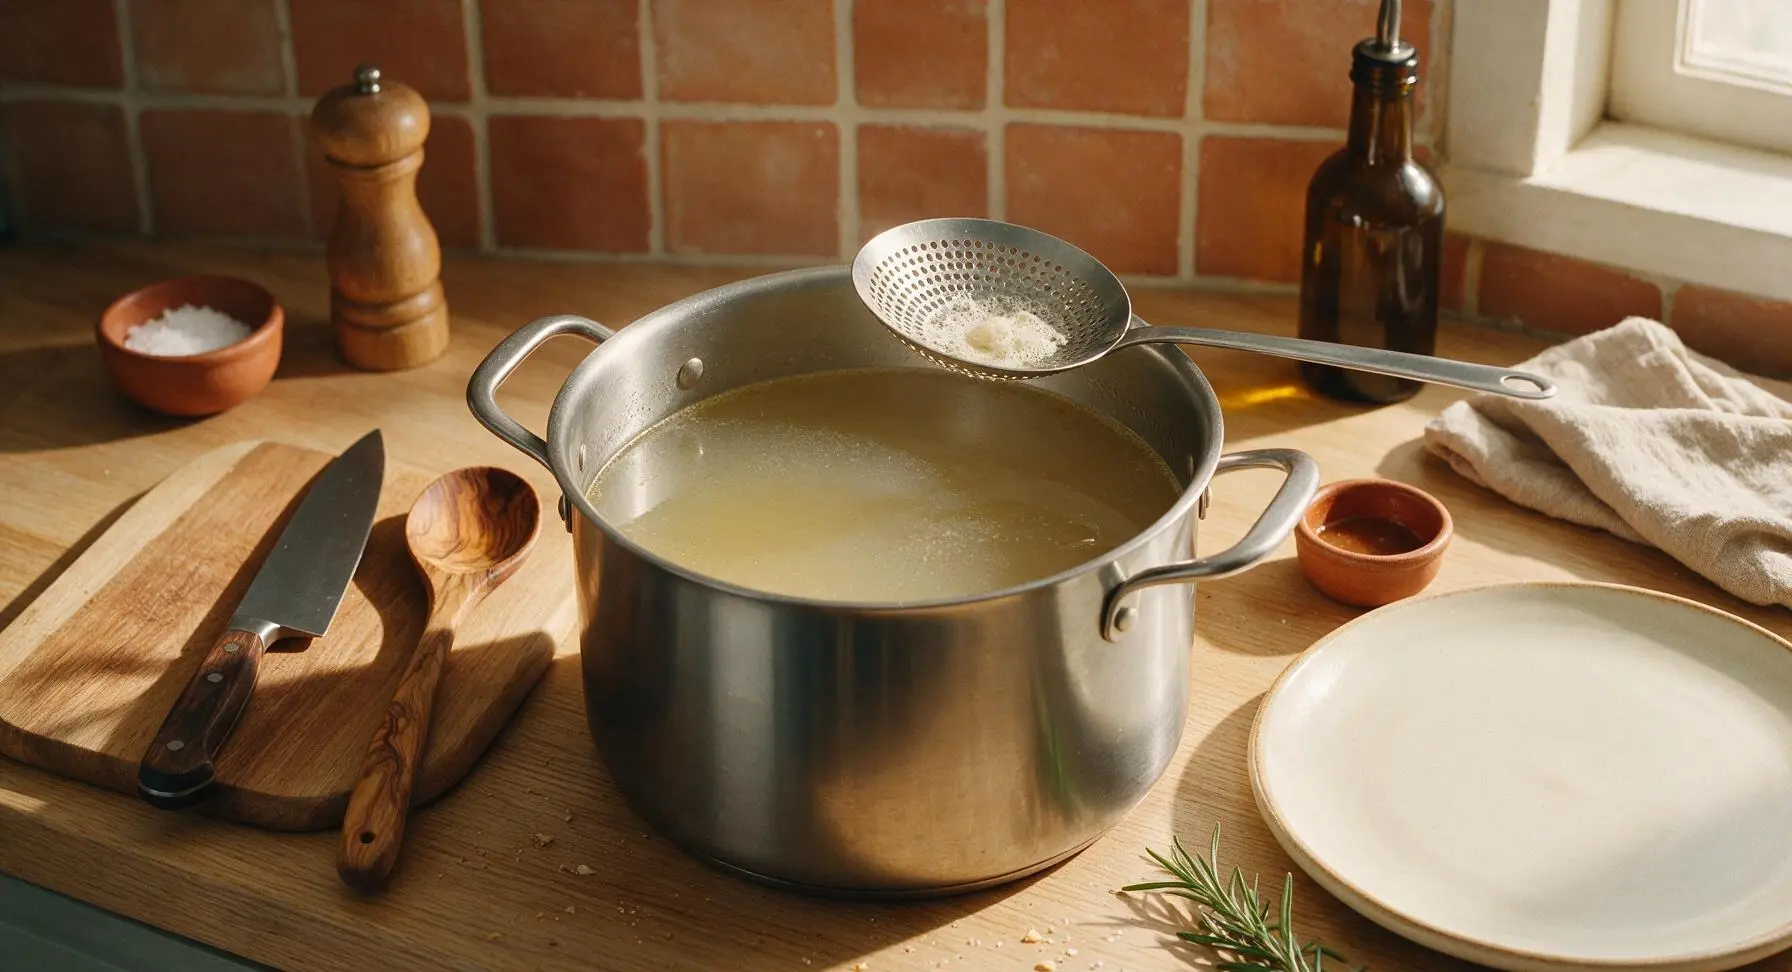
Simmer Low and Slow
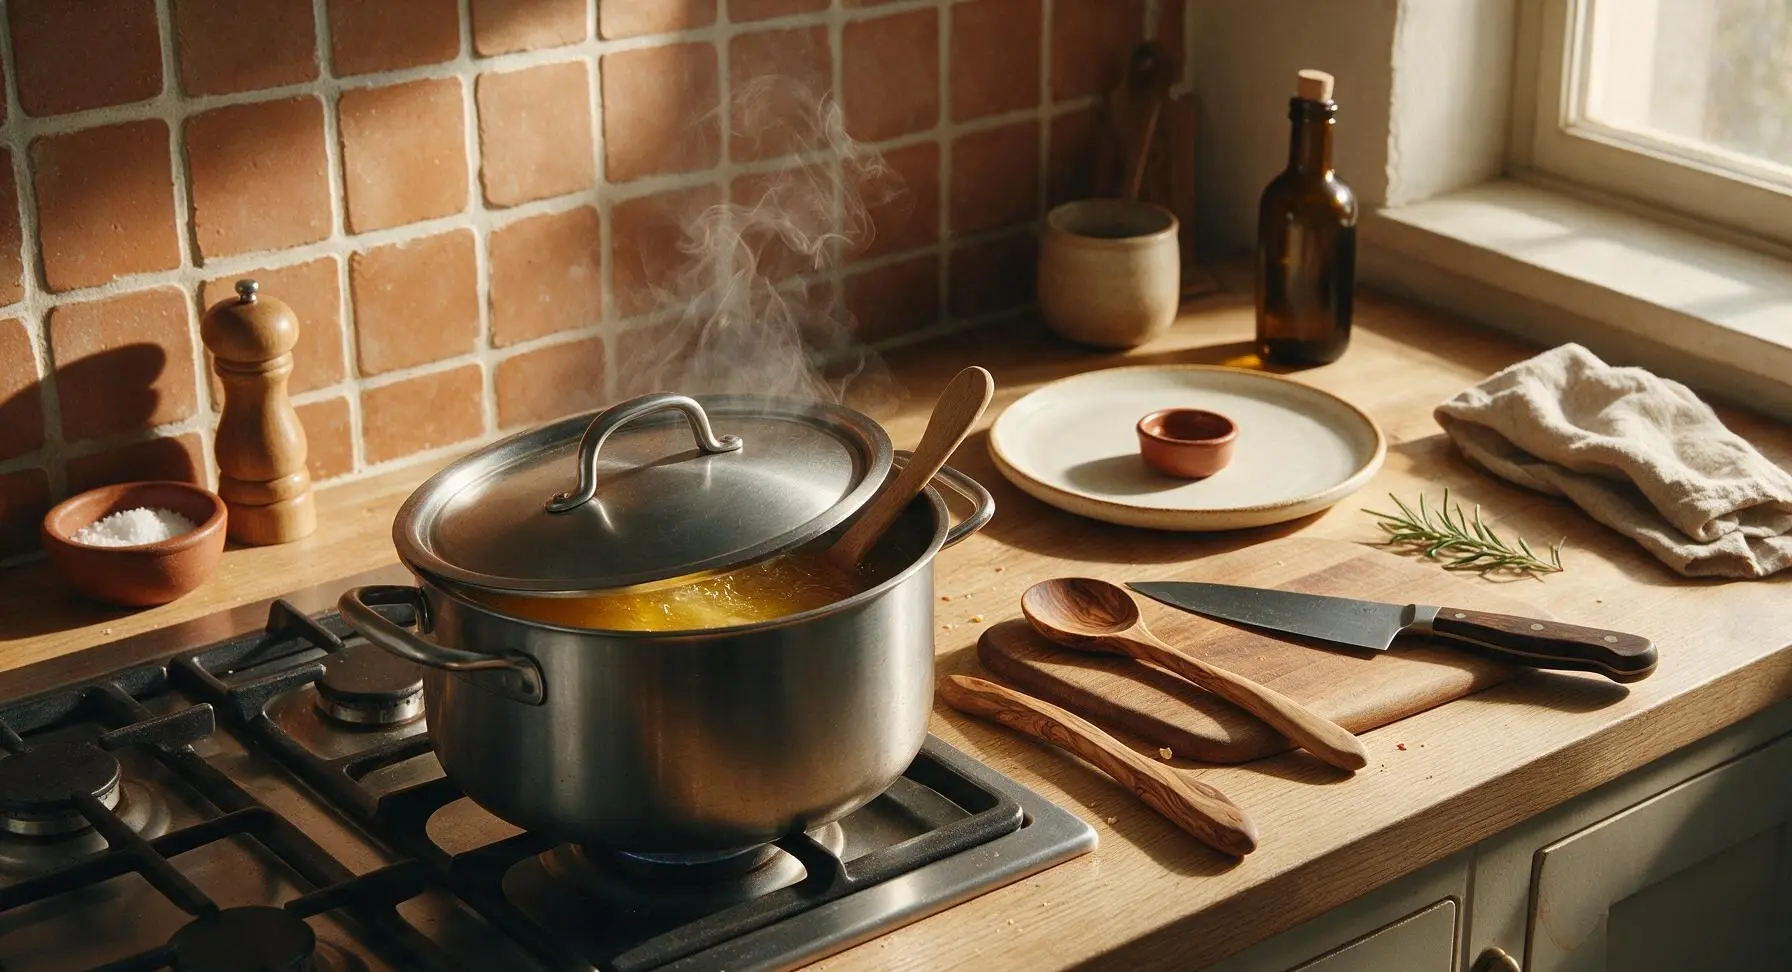
Reduce the burner heat to low, partially cover the pot with the lid (leave a 2cm gap to let steam escape and prevent boiling), and let the broth simmer at a gentle bubble for 2.5 hours. Do not stir the broth vigorously during this time; only gently push ingredients down with the beech wood spoon once every 30 minutes if they rise above the liquid line. The broth will deepen to a rich pale golden color as it simmers.
Remove Cooked Solids
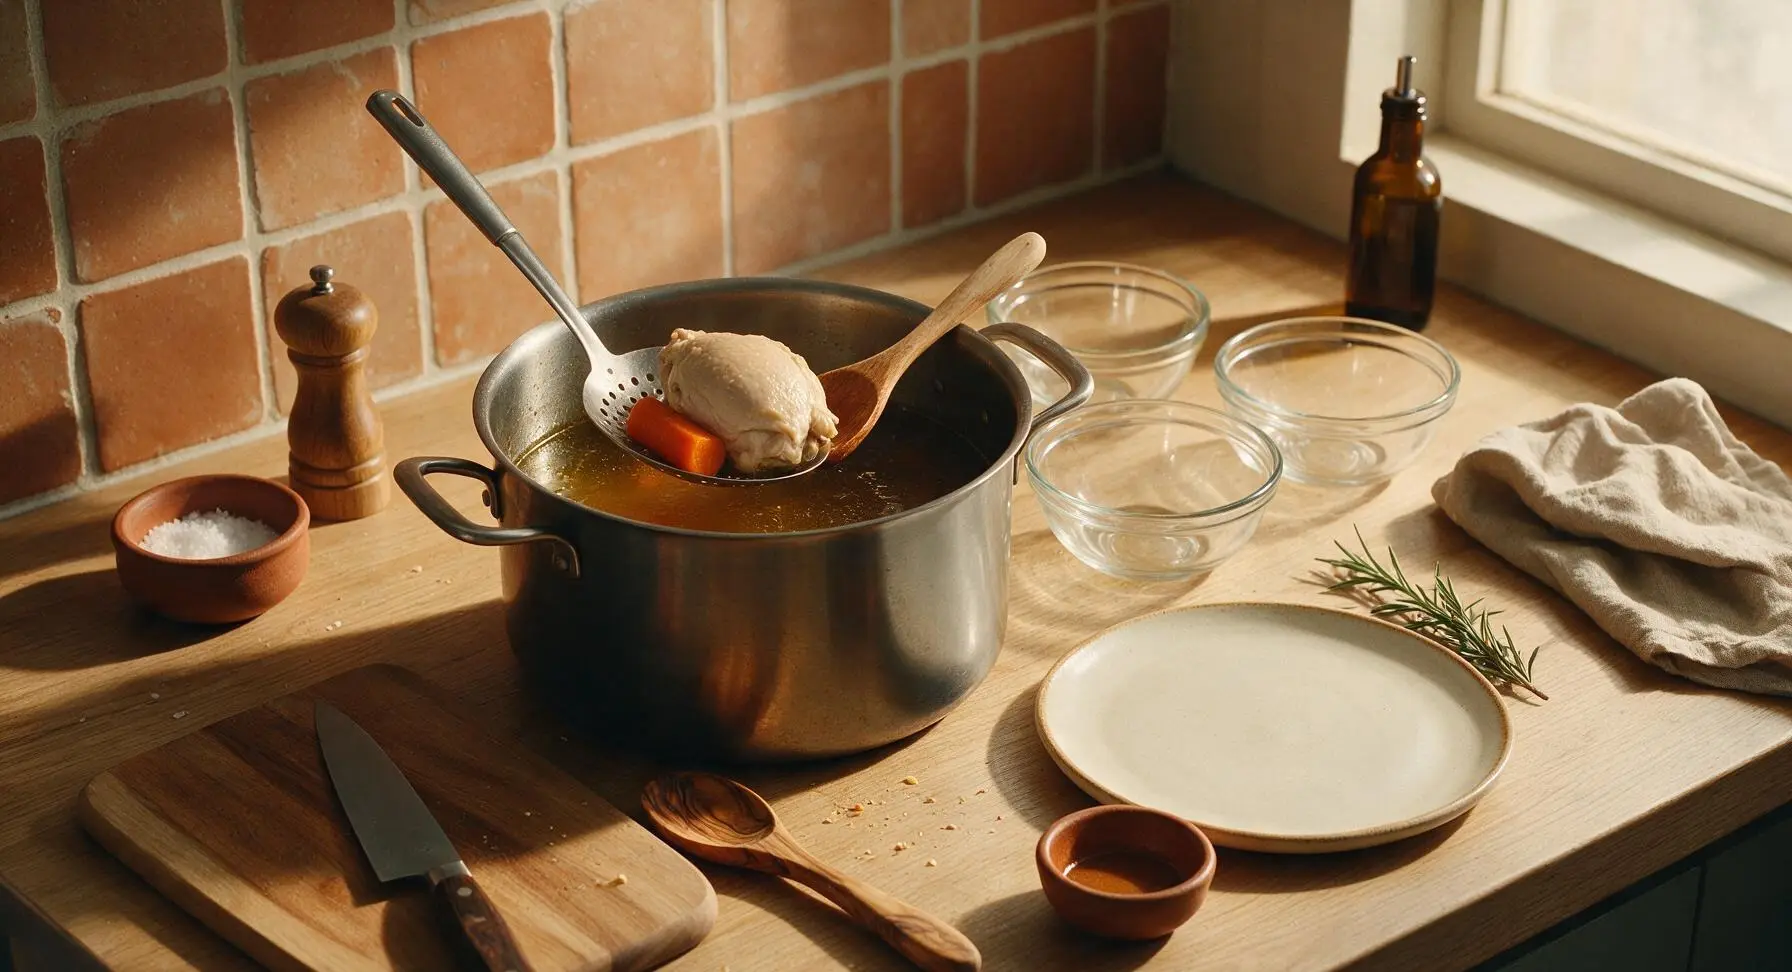
After 2.5 hours of simmering, turn off the heat. Use the slotted skimmer and beech wood spoon to lift out all large solid pieces (chicken bones, vegetable chunks, herb bundles) from the pot, transferring them to the now-empty clear glass prep bowls to cool before discarding (or reserve picked chicken meat for other uses). Do not press on the solids as you remove them, as this will make the broth cloudy.
Strain for Clear Broth
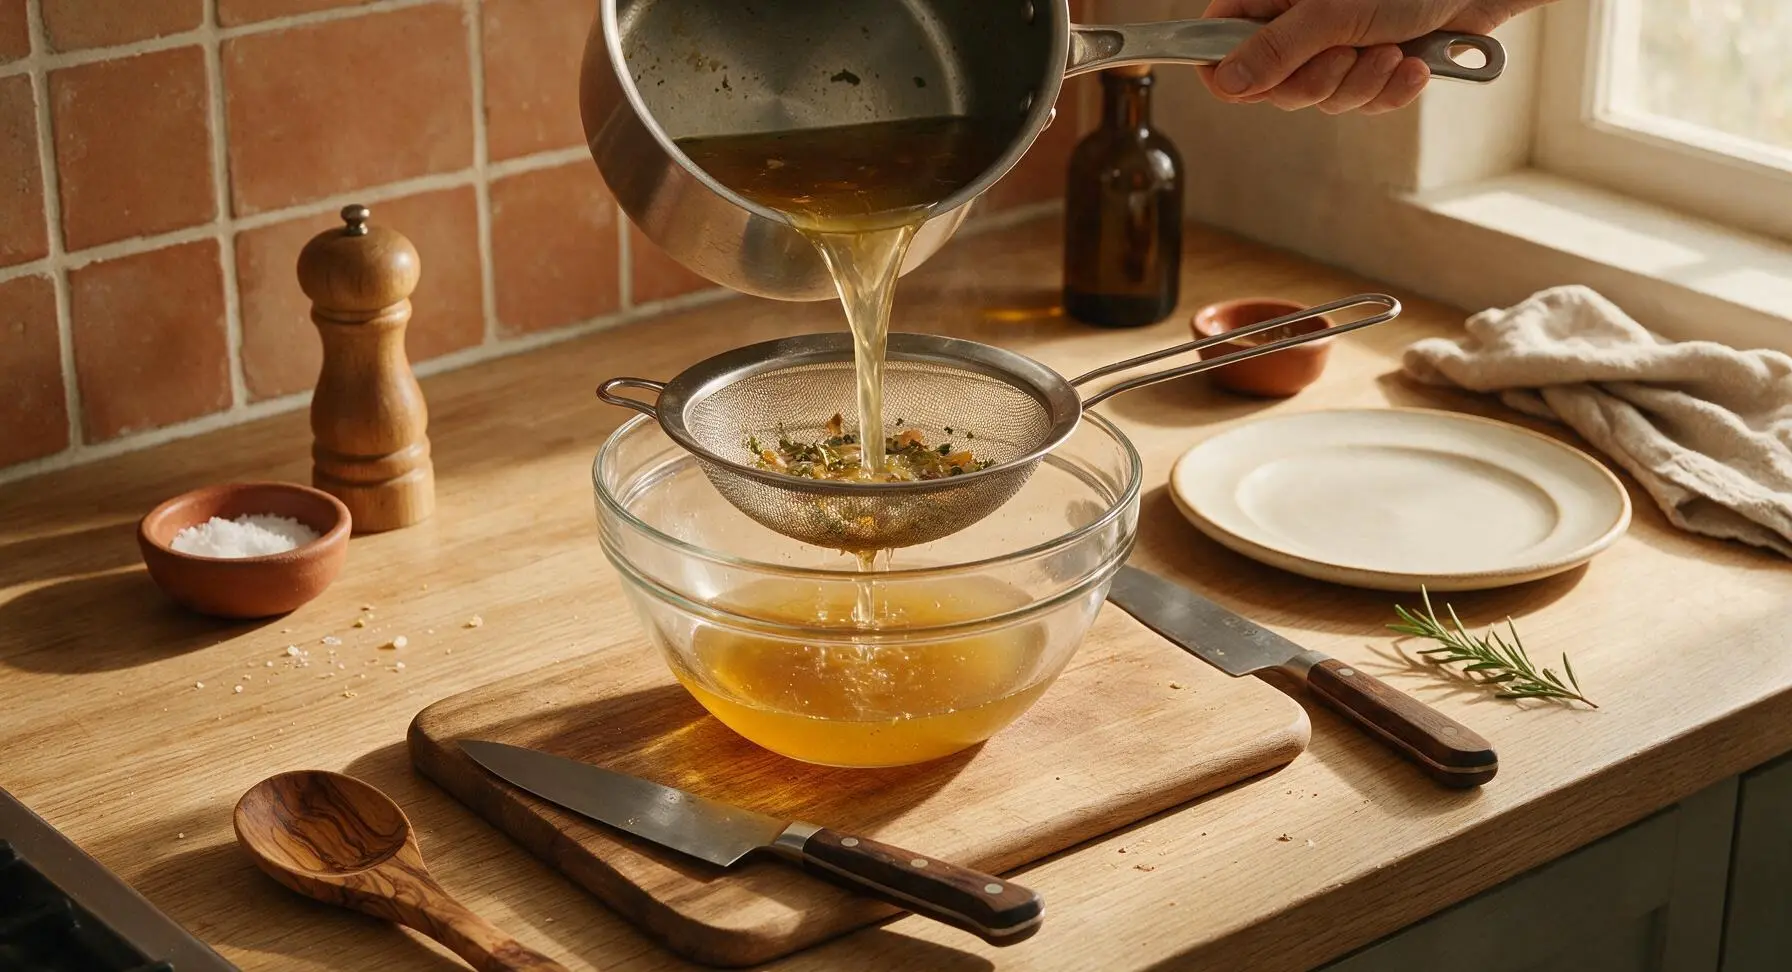
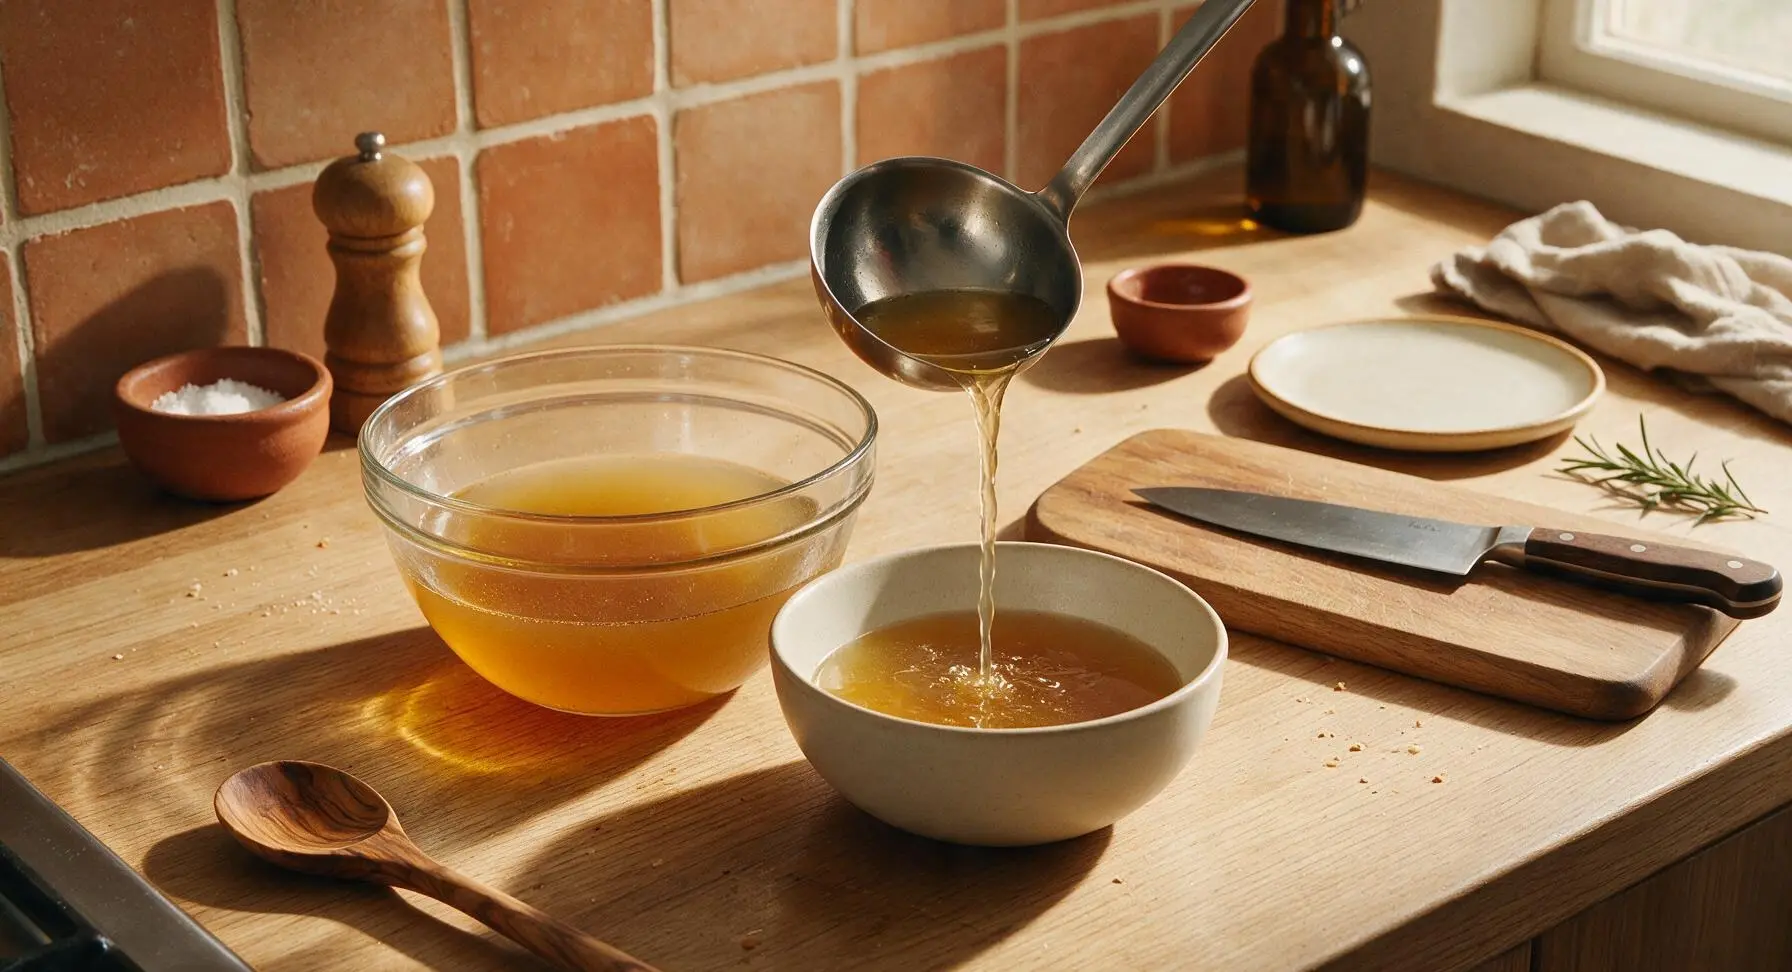
Set the fine-mesh stainless steel strainer over the 4L clear glass heatproof mixing bowl placed to the right of the burner. Slowly pour the hot broth through the strainer, letting it drain naturally without pressing on any remaining small solids caught in the mesh. For extra-clear broth, line the strainer with a single layer of cheesecloth (optional) before pouring.
Ladle and Serve or Store
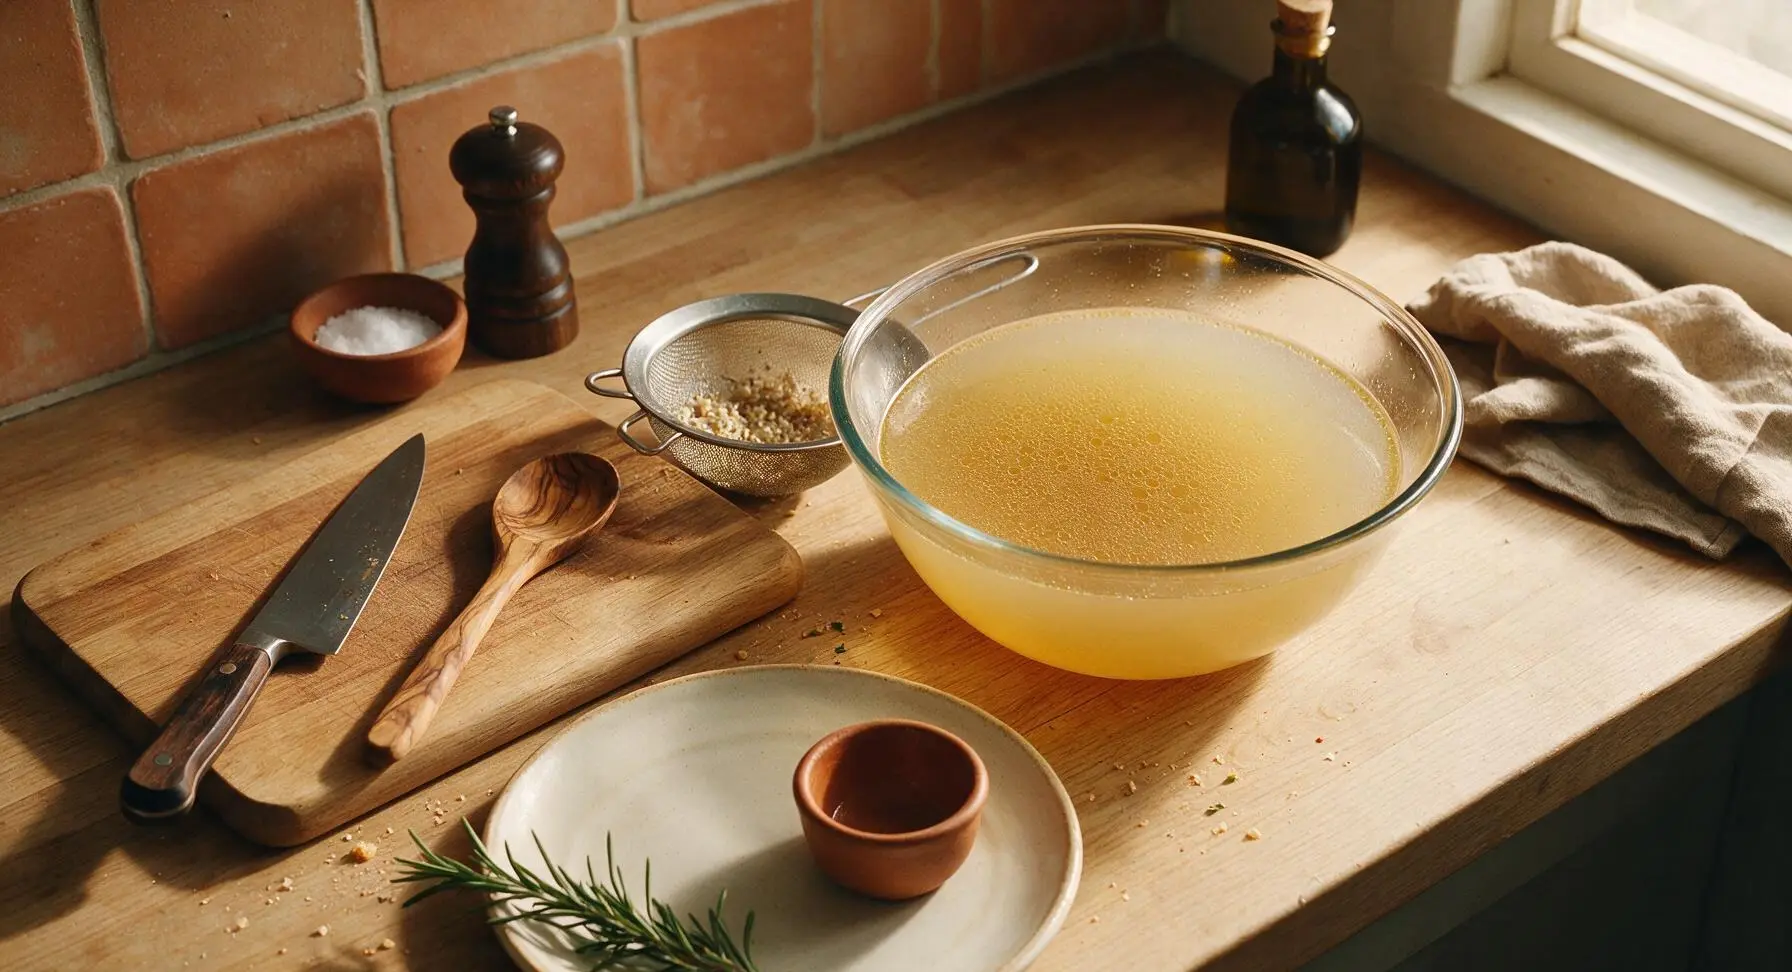
After straining, let the broth rest for 5 minutes to let any remaining fine particles settle to the bottom. Ladle a serving into the matte off-white ceramic soup bowl, garnish with a small thyme sprig and thin carrot slice if desired, and serve hot. For storage, let broth cool to room temperature within 2 hours, transfer to sealed glass containers, and refrigerate for up to 5 days or freeze for up to 3 months.
Tips
2.Never let broth come to a hard rolling boil: violent boiling emulsifies fat and fine solid particles into the liquid, creating a cloudy, greasy broth with flat flavor instead of a clean, bright, clear result.
3.Reserve the tender cooked chicken meat picked from the bones after simmering: it works perfectly in chicken noodle soup, tacos, salads, or chicken salad, so you get two usable products from one batch with zero waste.





OMG this homemade chicken broth is a total game changer! I used it for my chicken noodle soup for Sunday family dinner and even my super picky 7 year old asked for seconds. So much better than the canned stuff I’ve been buying for years! No weird preservatives, just that rich, cozy flavor I remember my grandma making. 10/10 will make a big batch every month for meal prep now.
Made this to use as the base for my smoked chicken and wild rice soup for our neighborhood potluck last weekend and people were begging me for the recipe! The 3 hour cook time is totally worth it for that deep, savory flavor. I tossed in a couple extra parmesan rinds I had stashed in the fridge like I do with most broths and it leveled it up even more. SO good.
Super easy recipe even for a total beginner like me! I only had a couple chicken thighs instead of a whole carcass and it still turned out way better than the bouillon cubes I was using. Only reason I’m not giving 5 stars is I forgot to skim the foam off the top at the start so it was a little cloudier than I expected, but that’s totally my bad. Will definitely make again now that I know that trick.
This is my go-to broth recipe now! I make a huge pot every Sunday, portion it into silicone freezer bags, and I have broth ready for risottos, soups, gravy, you name it all week long. Saves me so much money instead of buying the organic cartons at the grocery store, and it tastes 100x better. Worth every minute of cook time.
I’ve been making chicken broth for 50+ years and this recipe is exactly how my mom taught me! No fancy ingredients, just simple veggies, chicken, and time. It’s perfect for when anyone in the house is feeling under the weather – nothing beats a warm mug of this broth when you have a cold. I add a little extra thyme and a dash of apple cider vinegar to pull all the good nutrients out of the bones, works like a charm.
It was fine, but I felt like it was a little bland for my taste? I followed the recipe exactly, but next time I’m gonna add more garlic and maybe some bay leaves and peppercorns like my abuela used to. Maybe it’s just because I’m used to really heavily seasoned broths for posole and tortilla soup? Not bad, just not as flavorful as I hoped.
Perfect high-protein, low-sodium base for all my post-workout meals! I sip on a warm cup of this after my morning runs in the winter and it keeps me full and fueled until lunch. Way better than the expensive bone broth they sell at the health food store that’s loaded with hidden sodium. Super easy to make, even when I’m crunched for time between work and the gym.
Wait why did I wait so long to make homemade broth??? I used the leftover carcass from our roast chicken dinner last night, tossed in the sad wilted carrots and celery I had in the crisper drawer, and 3 hours later I had the most delicious broth ever. Zero food waste, zero extra cost, maximum coziness. Game. Changer.
Made this on my camp stove last weekend when we were car camping and it was the perfect cozy meal after a long day of hiking. We added some egg noodles and canned corn right into the pot and it fed all 4 of us no problem. Only bummer was I couldn’t let it simmer the full 3 hours because we ran out of propane, but even at 2 hours it was still really tasty.
My kids loved it! I was worried they’d turn their noses up because it’s not the salty canned broth they’re used to, but they drank mugs of it with a little parmesan sprinkled on top after school yesterday. I used it to make rice for our stir fry last night too and they didn’t even notice the difference, it just made the rice taste extra rich. Win for mom!
Idk, I feel like 3 hours is way too long to wait for broth? I tried to speed it up by boiling it on high the whole time and it turned out really greasy and tough bits of chicken were floating all in it. Maybe I did something wrong? Probably not for me, I’ll stick to the carton stuff that’s ready in 2 minutes.
It’s finally fall here in New York so I made a giant pot of this to kick off soup season! My apartment smelled amazing for literally 3 days after making it. I’ve already used it for butternut squash soup, chicken and dumplings, and to deglaze my pan when I made chicken thighs earlier this week. Such a versatile staple to have in the fridge.
I have 6 kids so I go through so much broth every week, this recipe is a lifesaver. I make a double batch in my big 12 quart stock pot once a week and it lasts us through all the soups, sauces, and mashed potatoes I make for family dinners. Saves me like $20 a week on store bought broth, no cap. The flavor is so much better too, even the teenagers don’t complain about it.
So happy I found this recipe! So many store bought broths have hidden gluten or weird additives that mess with my IBS, but making it at home means I know exactly what’s going in it. I skip the onion and garlic to make it low FODMAP for me and it still tastes incredible. Perfect for all my gluten free soups and stews this winter.
First time making anything from scratch in my new house’s kitchen and this felt like such a win! I didn’t have a whole chicken so I used a pack of bone-in skin-on chicken breasts I had in the freezer, and it still turned out really good. Next time I’ll grab a whole chicken or save up bones like some of the other comments say to make it even richer. Super easy even for a total newb.
I never throw away vegetable scraps anymore thanks to this recipe! I keep a bag in my freezer of carrot peels, celery ends, onion skins, mushroom stems, and leftover chicken bones, and when it’s full I dump it all in a pot with some water and make broth. This recipe taught me that you don’t need fancy, fresh ingredients to make amazing broth at home. Saved me so much money and cut down on my food waste so much!
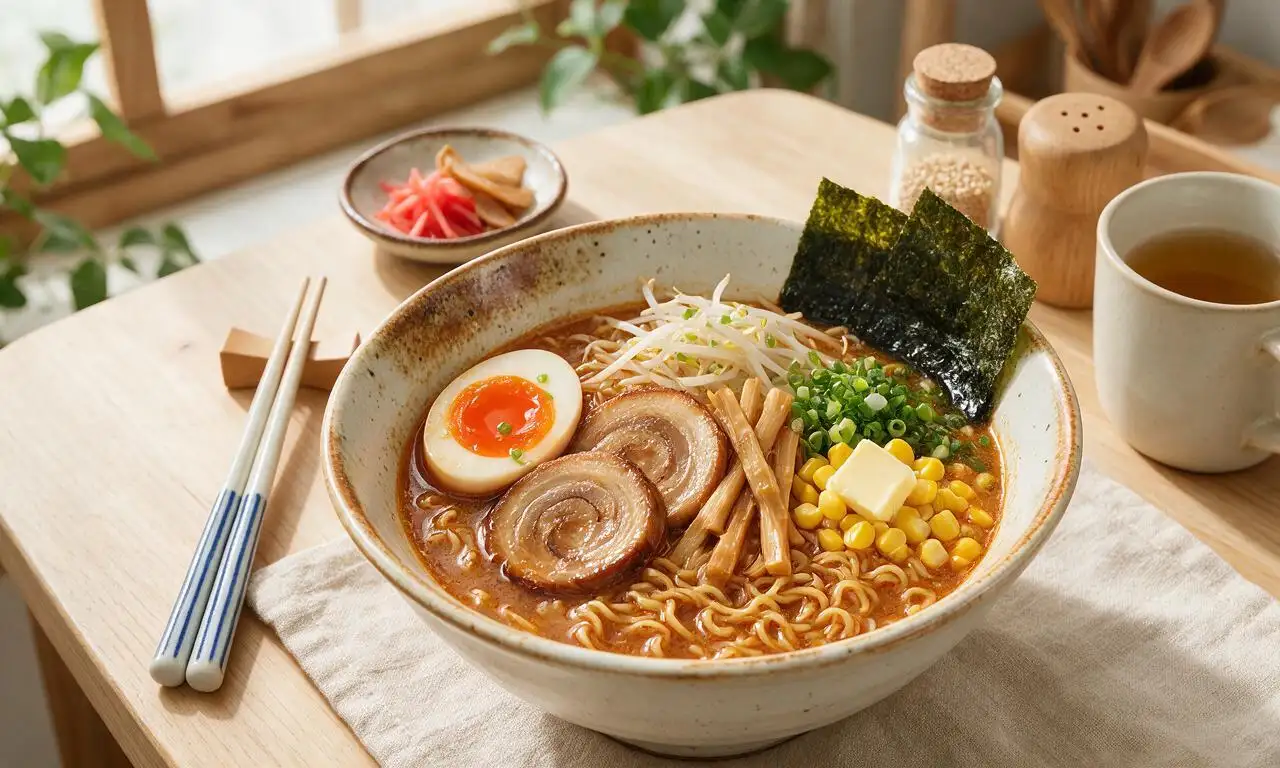
Wait y’all, I made this and even my dog goes crazy for it! I pour a little bit over his dry kibble as a special treat and he does a little happy dance every time. Obviously I set aside a plain portion for him before adding any salt or extra seasonings, don’t worry! It’s so good I don’t blame him for being obsessed. I’ve been putting it in everything from ramen to gravy all week.