
Homemade chocolate liqueur
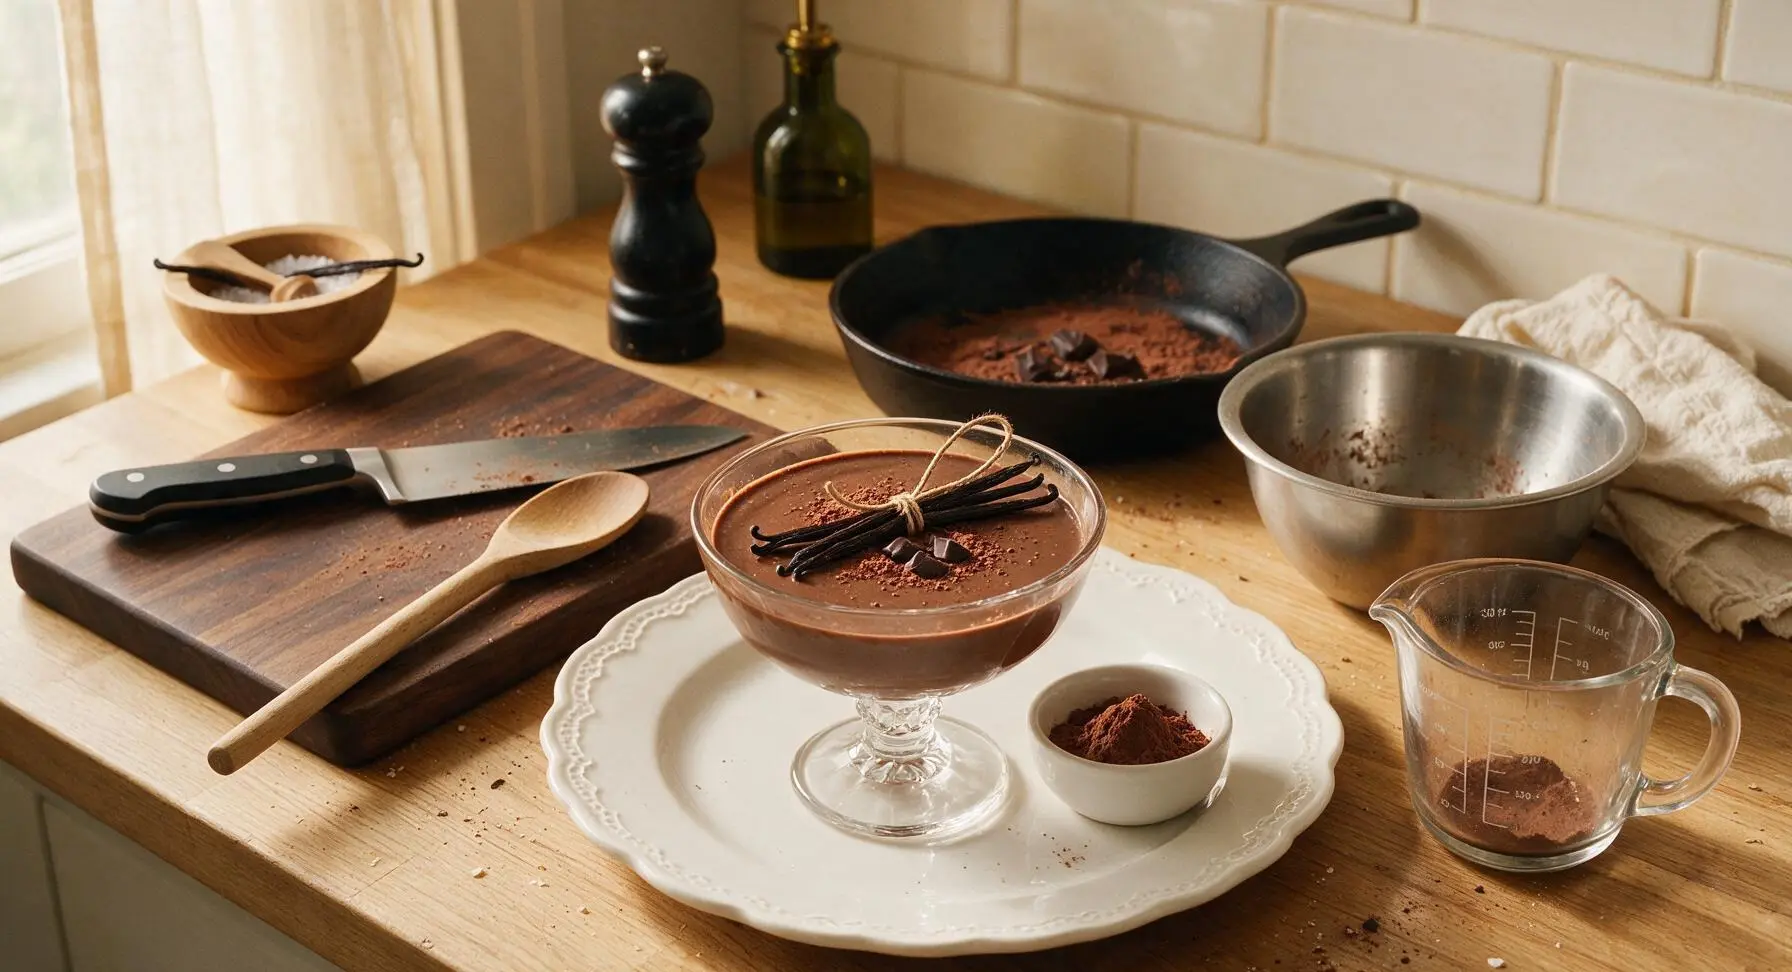
intro
Velvety, rich homemade chocolate liqueur with deep cocoa notes, a hint of vanilla, and a smooth warm finish—perfect for sipping, gifting, or stirring into winter holiday cocktails.
Ingredients
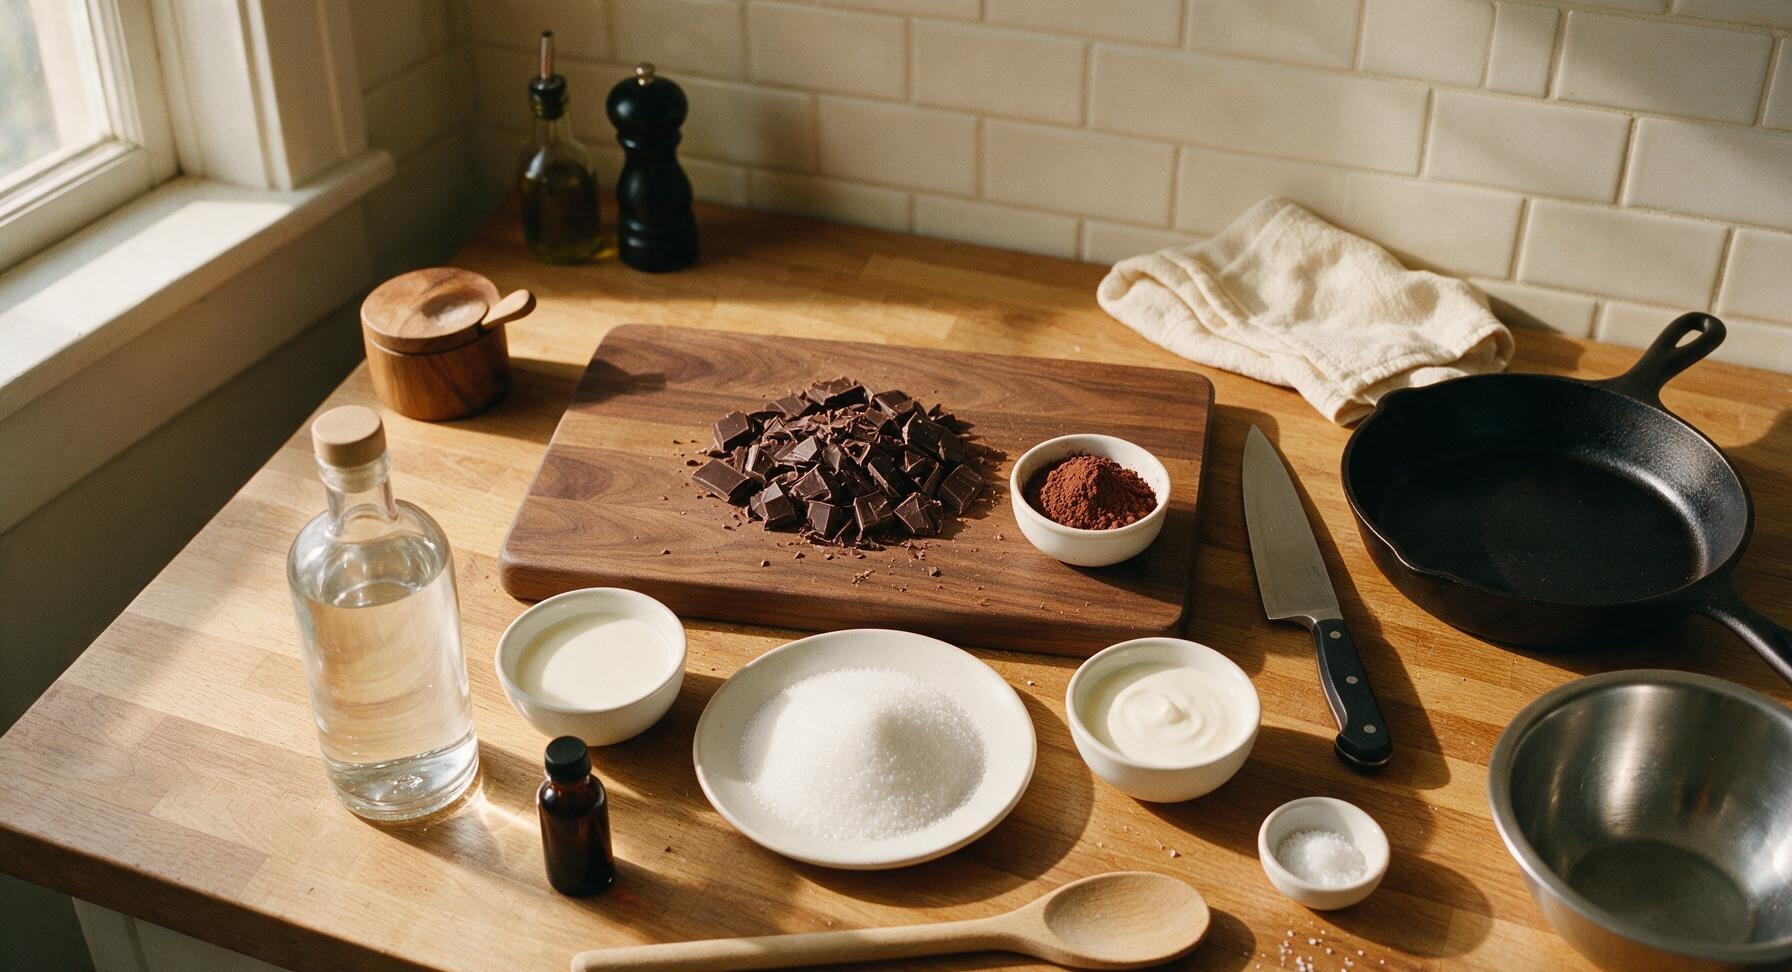
Steps
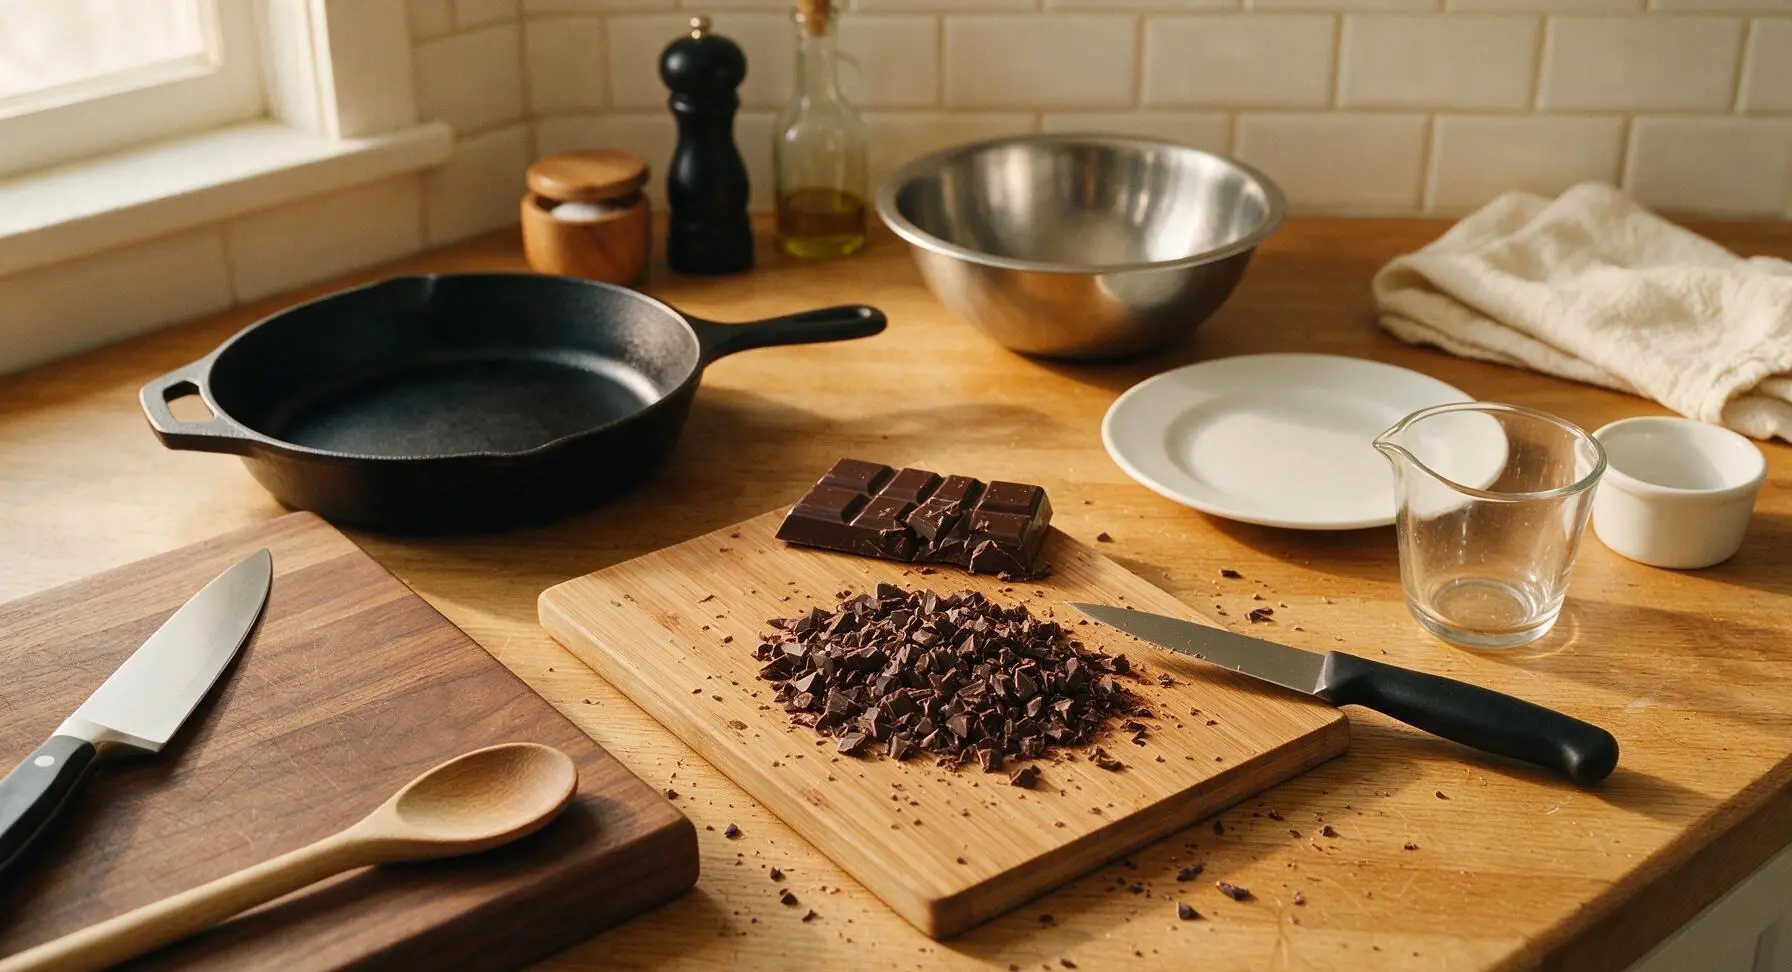
Chop Dark Chocolate
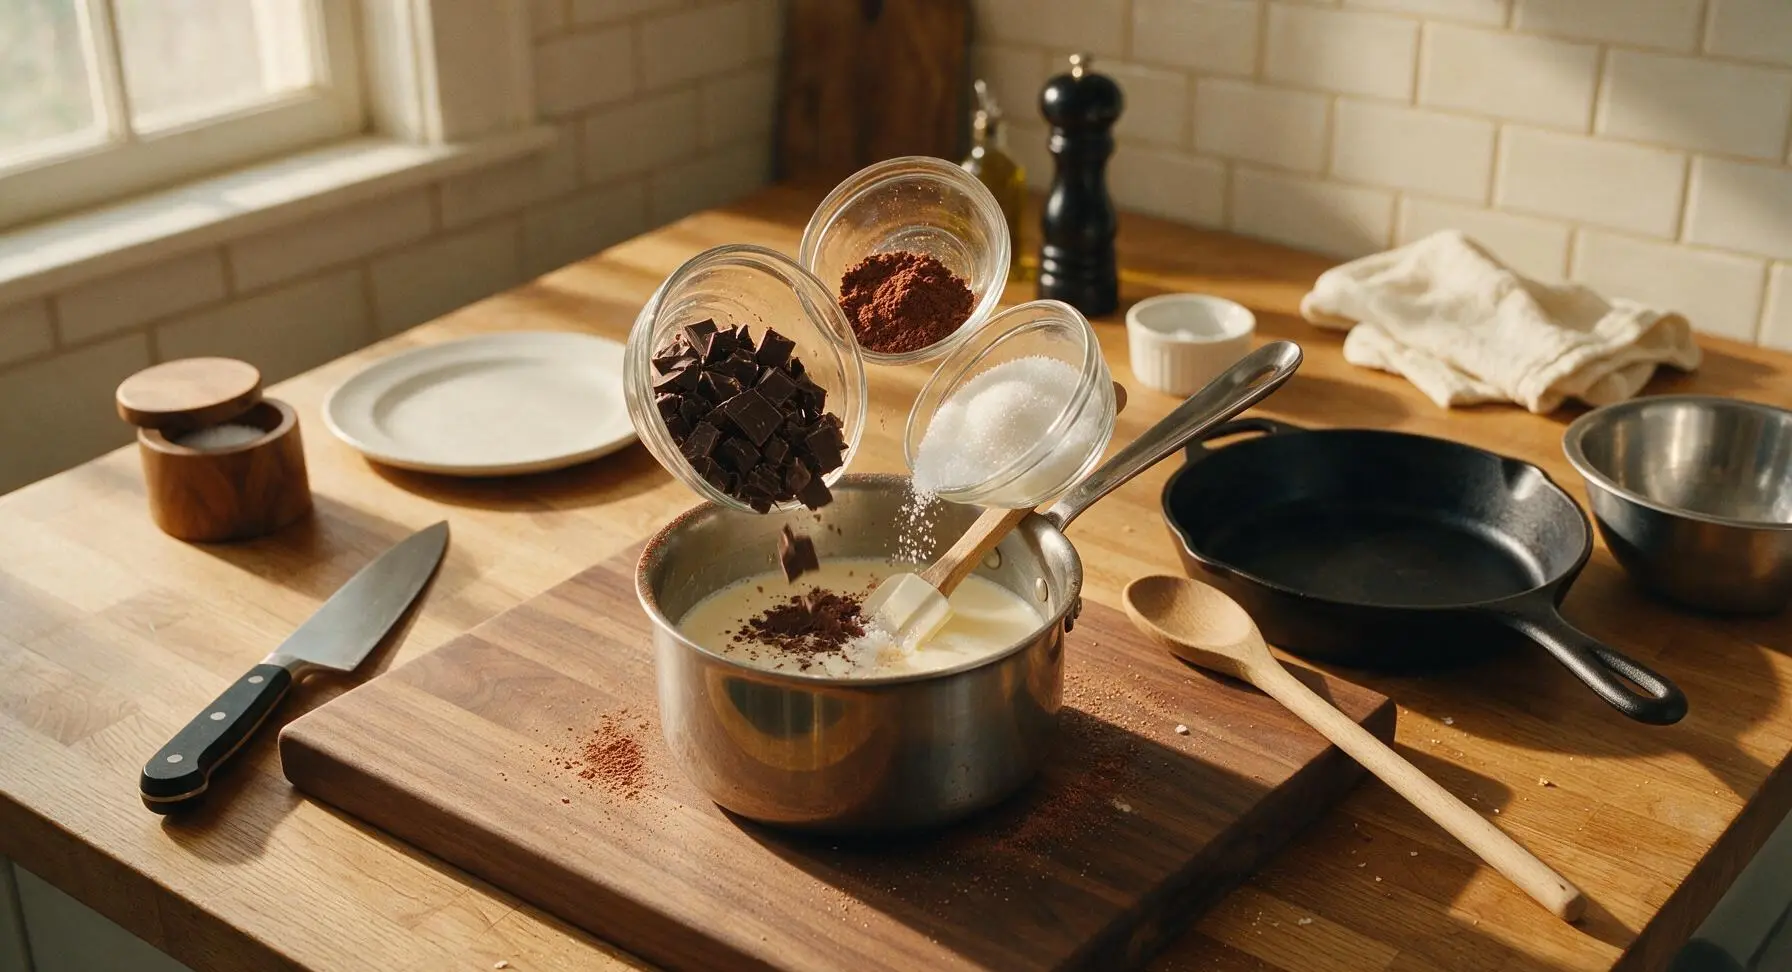
Place the 100g bar of 70% dark chocolate on the small bamboo cutting board. Use the paring knife to finely chop the chocolate into uniform 5mm pieces, which will melt quickly and evenly without leaving lumps. Transfer the chopped chocolate to a small clear glass ramekin, leaving a few small crumbs on the cutting board. Discard any large, unchopped chunks that will not melt smoothly.
Heat Dairy Mixture
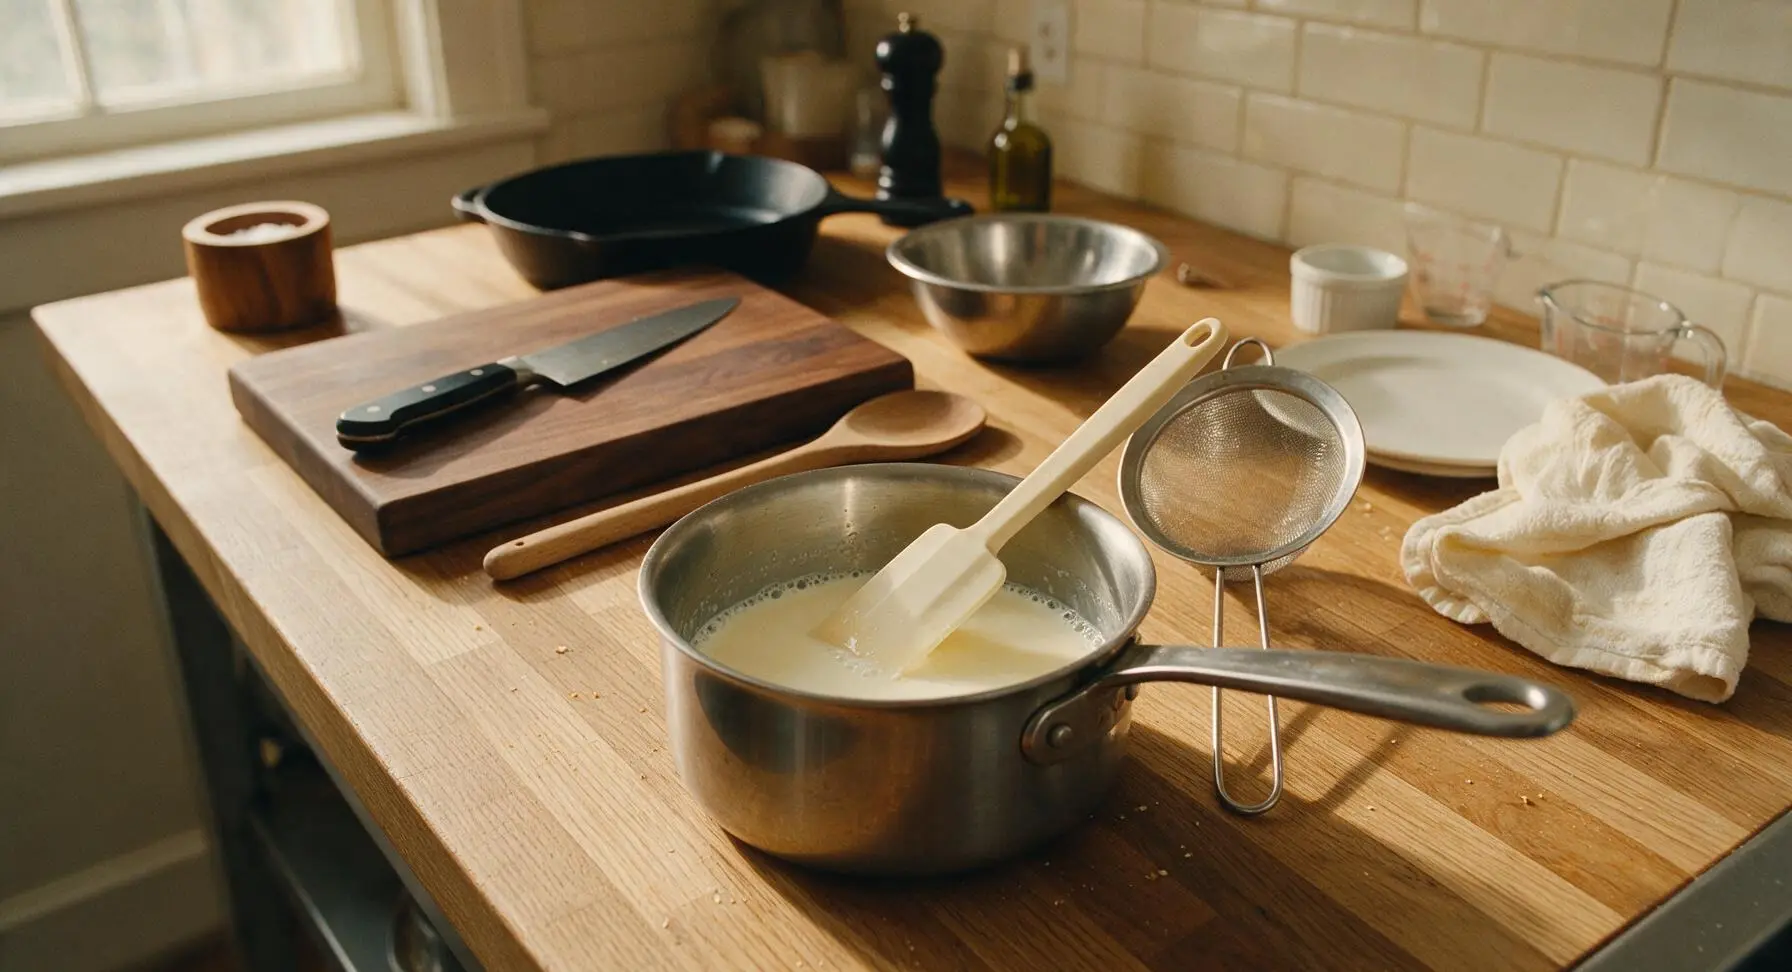
Pour the 200ml whole milk and 100ml heavy cream into the small stainless steel saucepan. Place over low stovetop heat (setting 2/10), warming slowly until the mixture reaches a gentle 85°C/185°F simmer, identified by tiny bubbles forming around the pan edges. Do not bring the mixture to a rolling boil, as scalded dairy will create a grainy texture in the finished liqueur.
Melt Chocolate Into Base
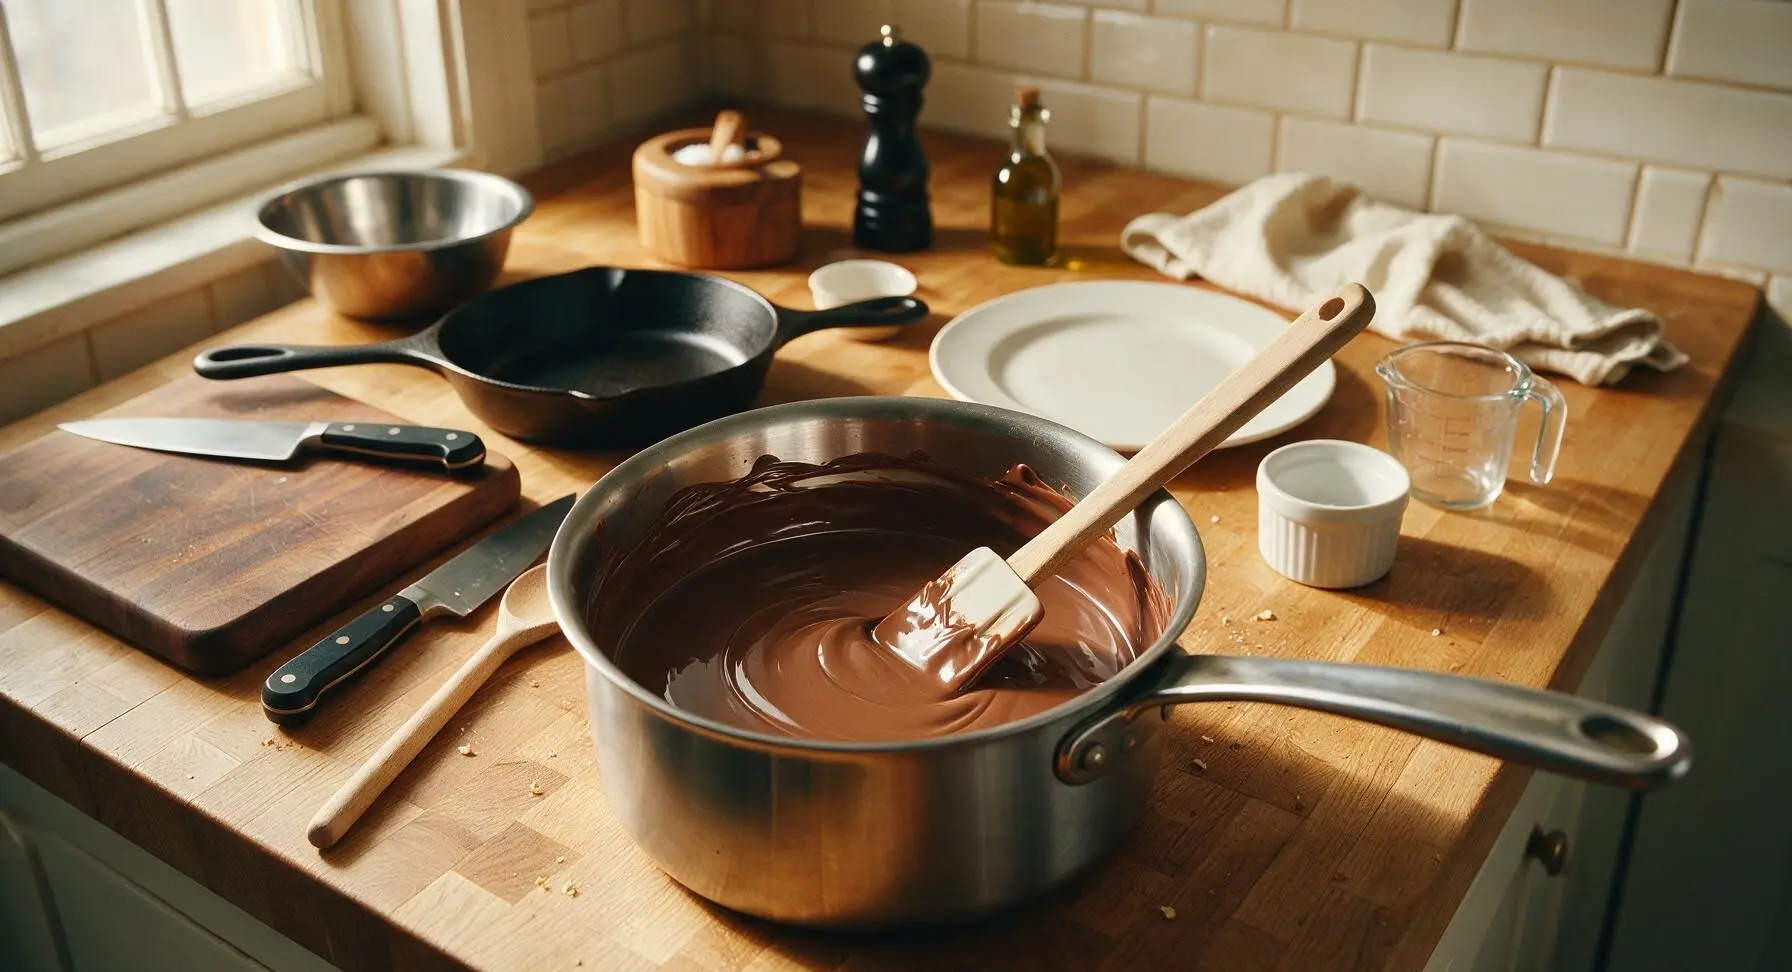
Remove the saucepan from heat immediately once the dairy reaches a gentle simmer. Add the finely chopped dark chocolate, 30g Dutch cocoa powder, 150g granulated sugar, and pinch of fine sea salt to the warm dairy. Stir slowly and consistently with the silicone spatula for 2-3 minutes, until all chocolate is melted, sugar and cocoa are fully dissolved, and the mixture is smooth, glossy, and completely free of lumps. Do not return the pan to high heat, as this can cause chocolate to seize into a grainy mass.
Cool Chocolate Base
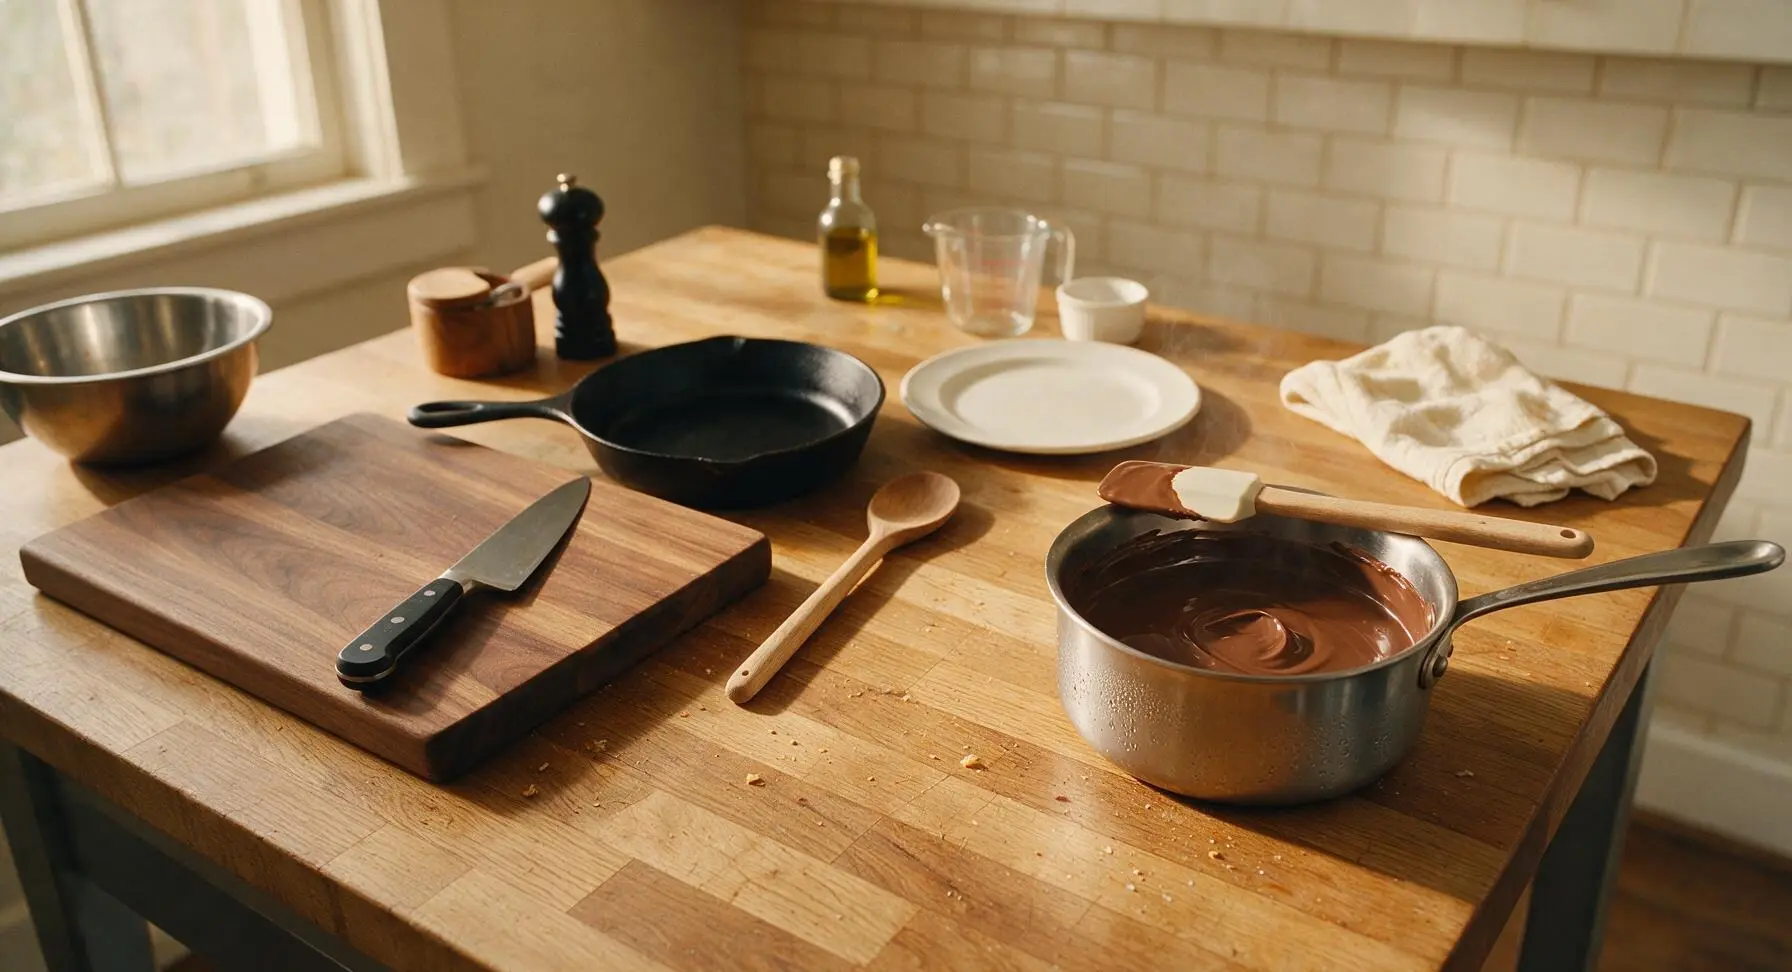
Move the saucepan to a cool section of the counter away from stovetop heat to cool to room temperature (approximately 21°C/70°F), which takes about 30 minutes. Stir the mixture occasionally with the spatula as it cools to prevent a thick skin from forming on the surface. Do not proceed to add alcohol until the base is fully cool to the touch, as heat will evaporate alcohol and create a harsh flavor.
Combine Alcohol and Vanilla
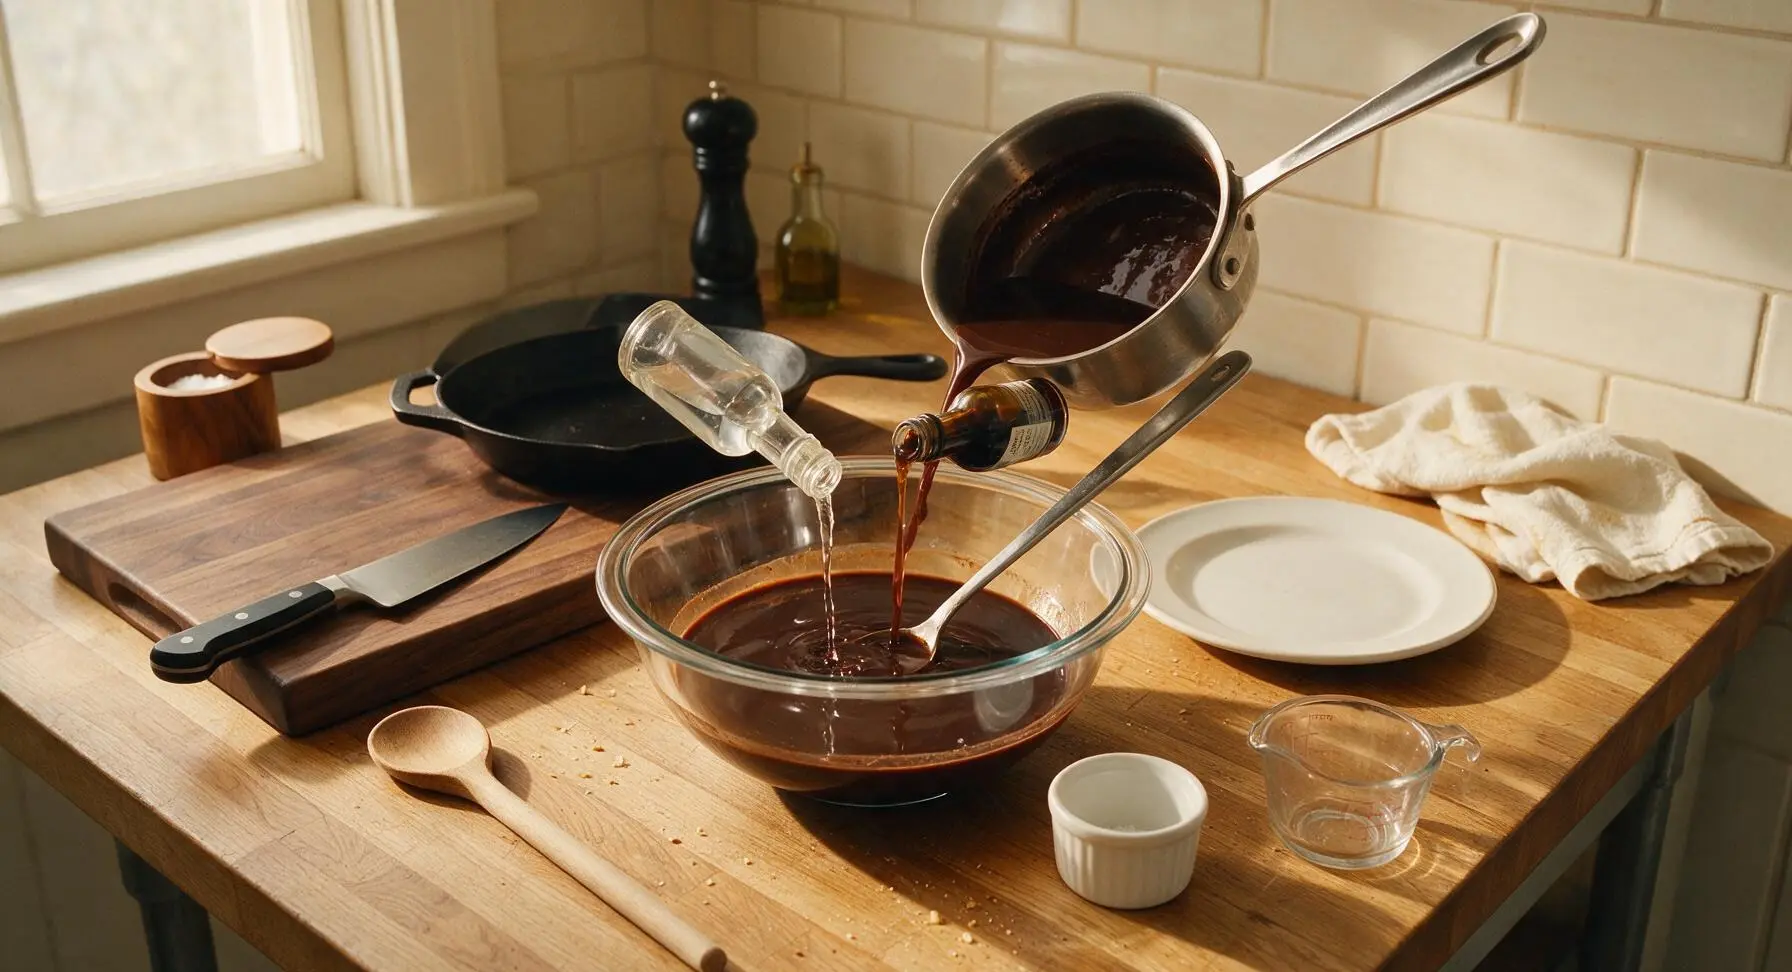
Once the chocolate base is fully cooled, pour it into the medium clear glass mixing bowl. Add the 300ml neutral vodka and 1 tsp pure vanilla extract. Stir gently but thoroughly with the long-handled stainless steel stirring spoon for 1 minute, until the mixture is fully uniform with no separation between the chocolate base and alcohol. The finished mixed base will be a thin, pourable deep brown liquid.
Strain Into Bottle
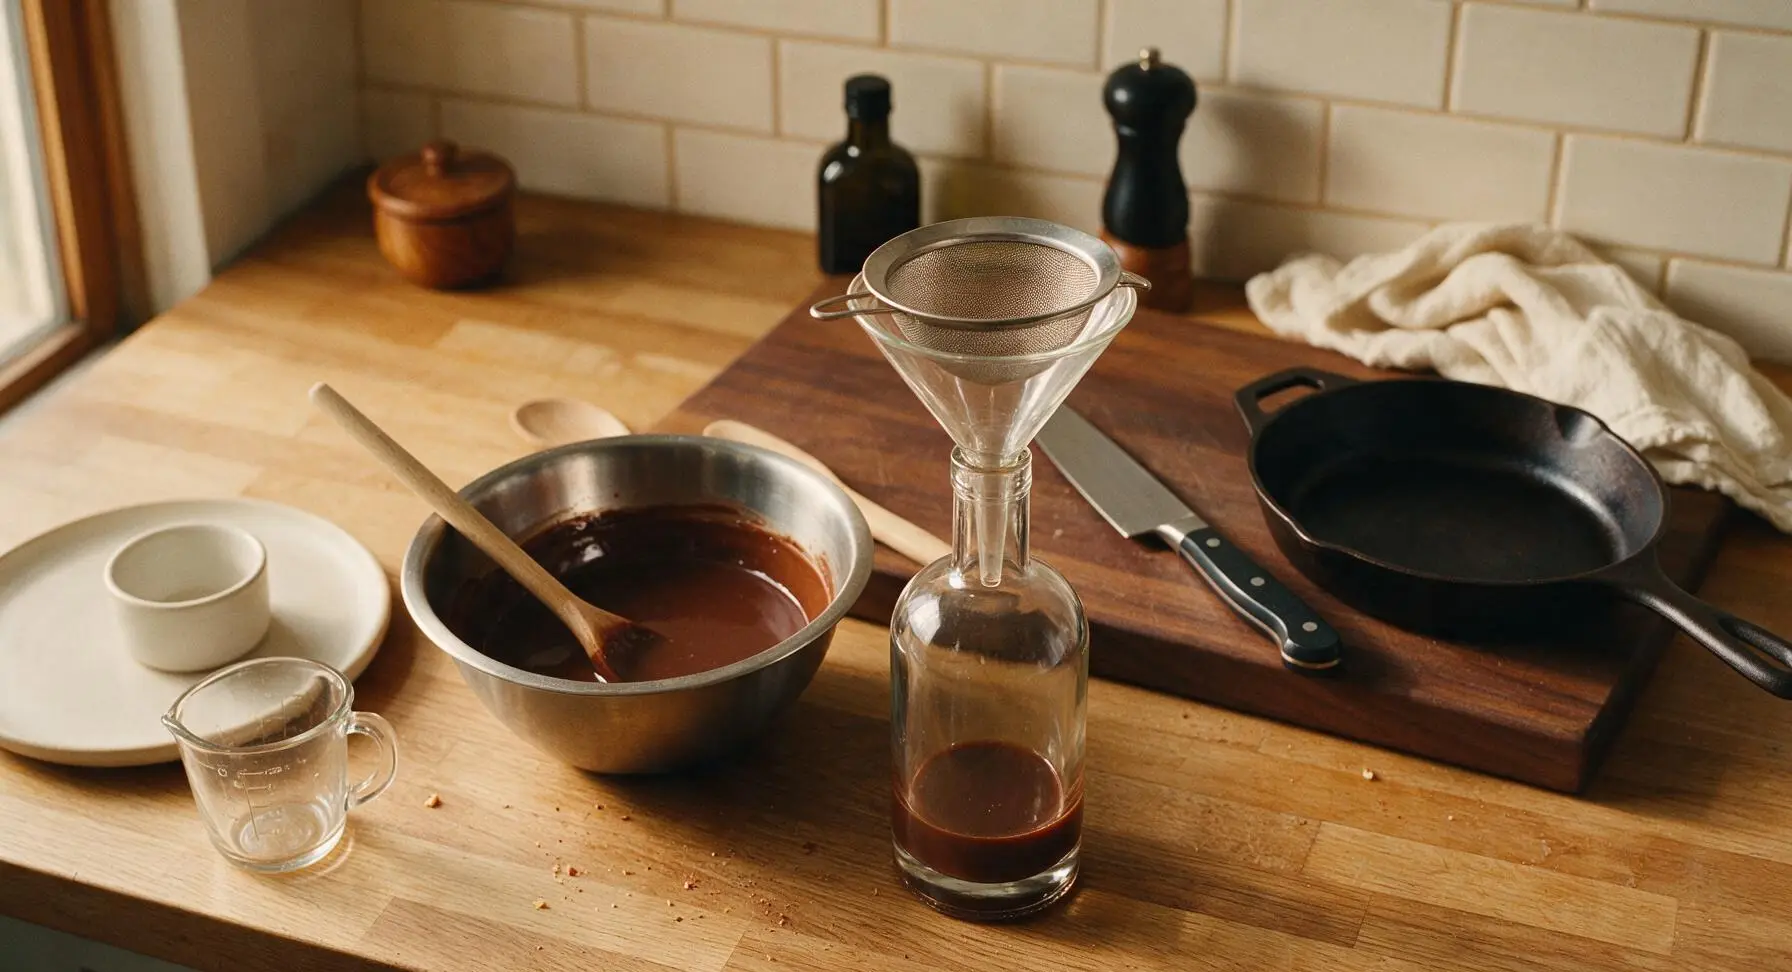
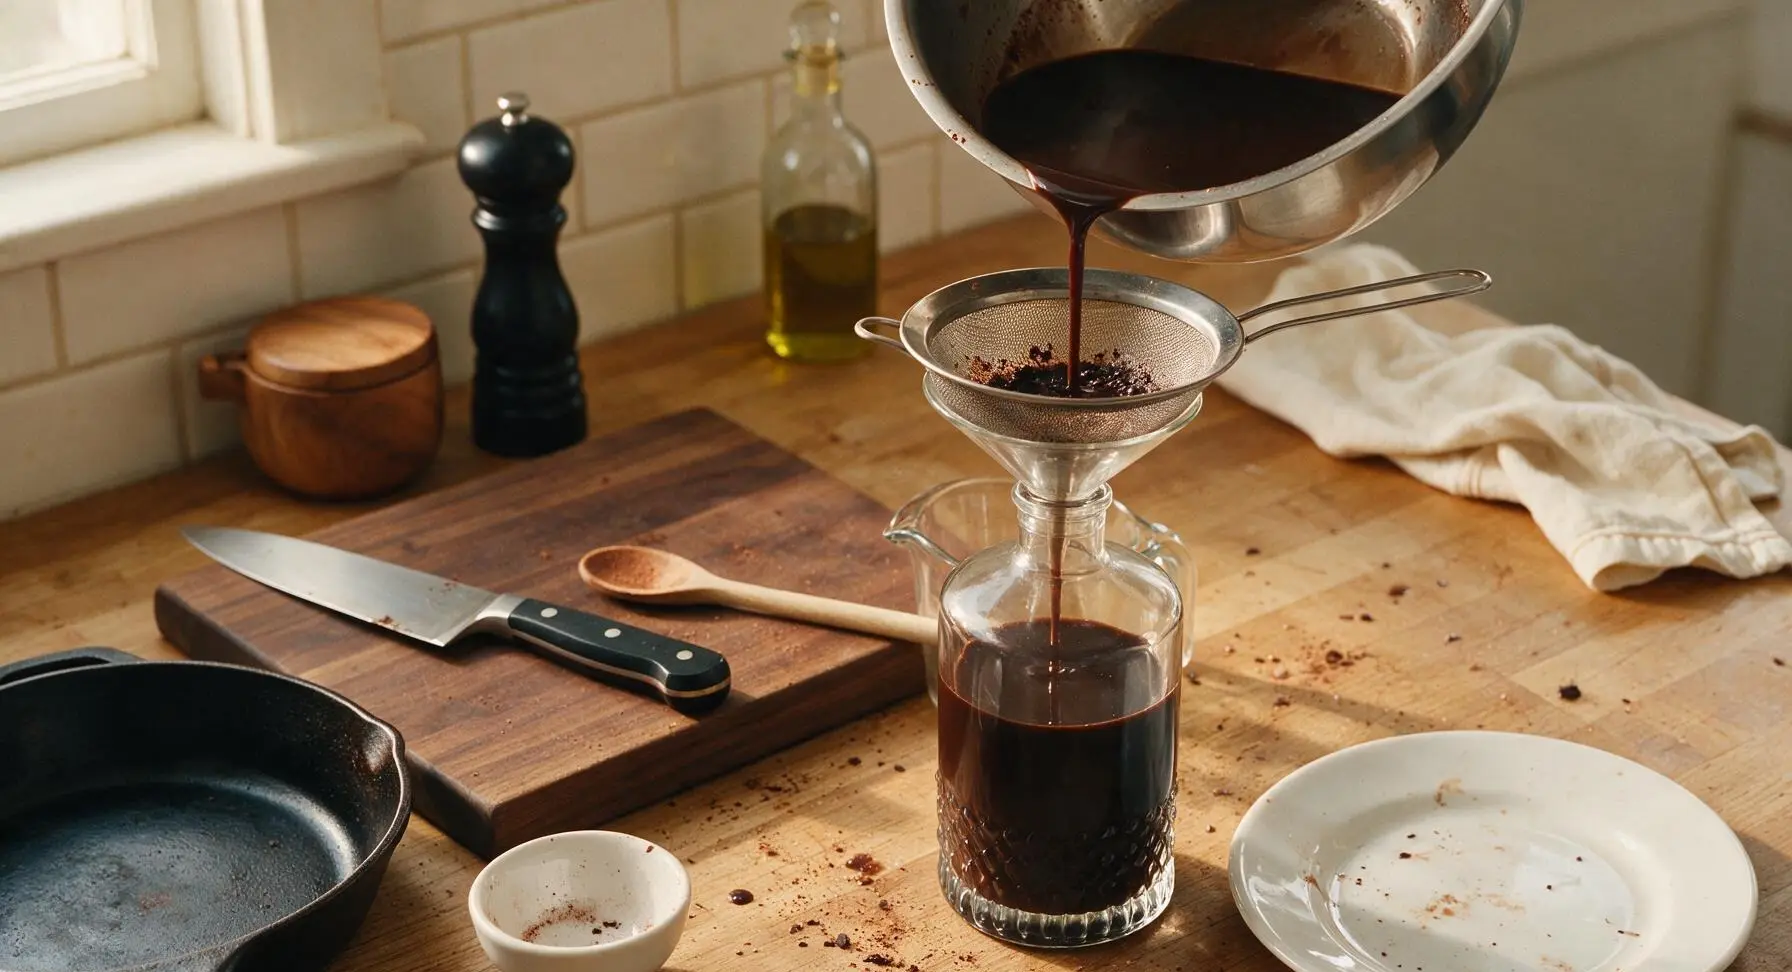
Place the clear glass funnel snugly in the neck of the 750ml clear glass liqueur bottle. Set the fine-mesh stainless steel sieve over the top of the funnel to catch any undissolved cocoa lumps or solid chocolate bits. Pour the mixed liqueur slowly through the sieve and funnel into the bottle, taking care not to overfill. Discard any small cocoa particles caught in the sieve mesh, without pressing down on the solids to avoid pushing gritty sediment into the finished liqueur.
Rest to Infuse
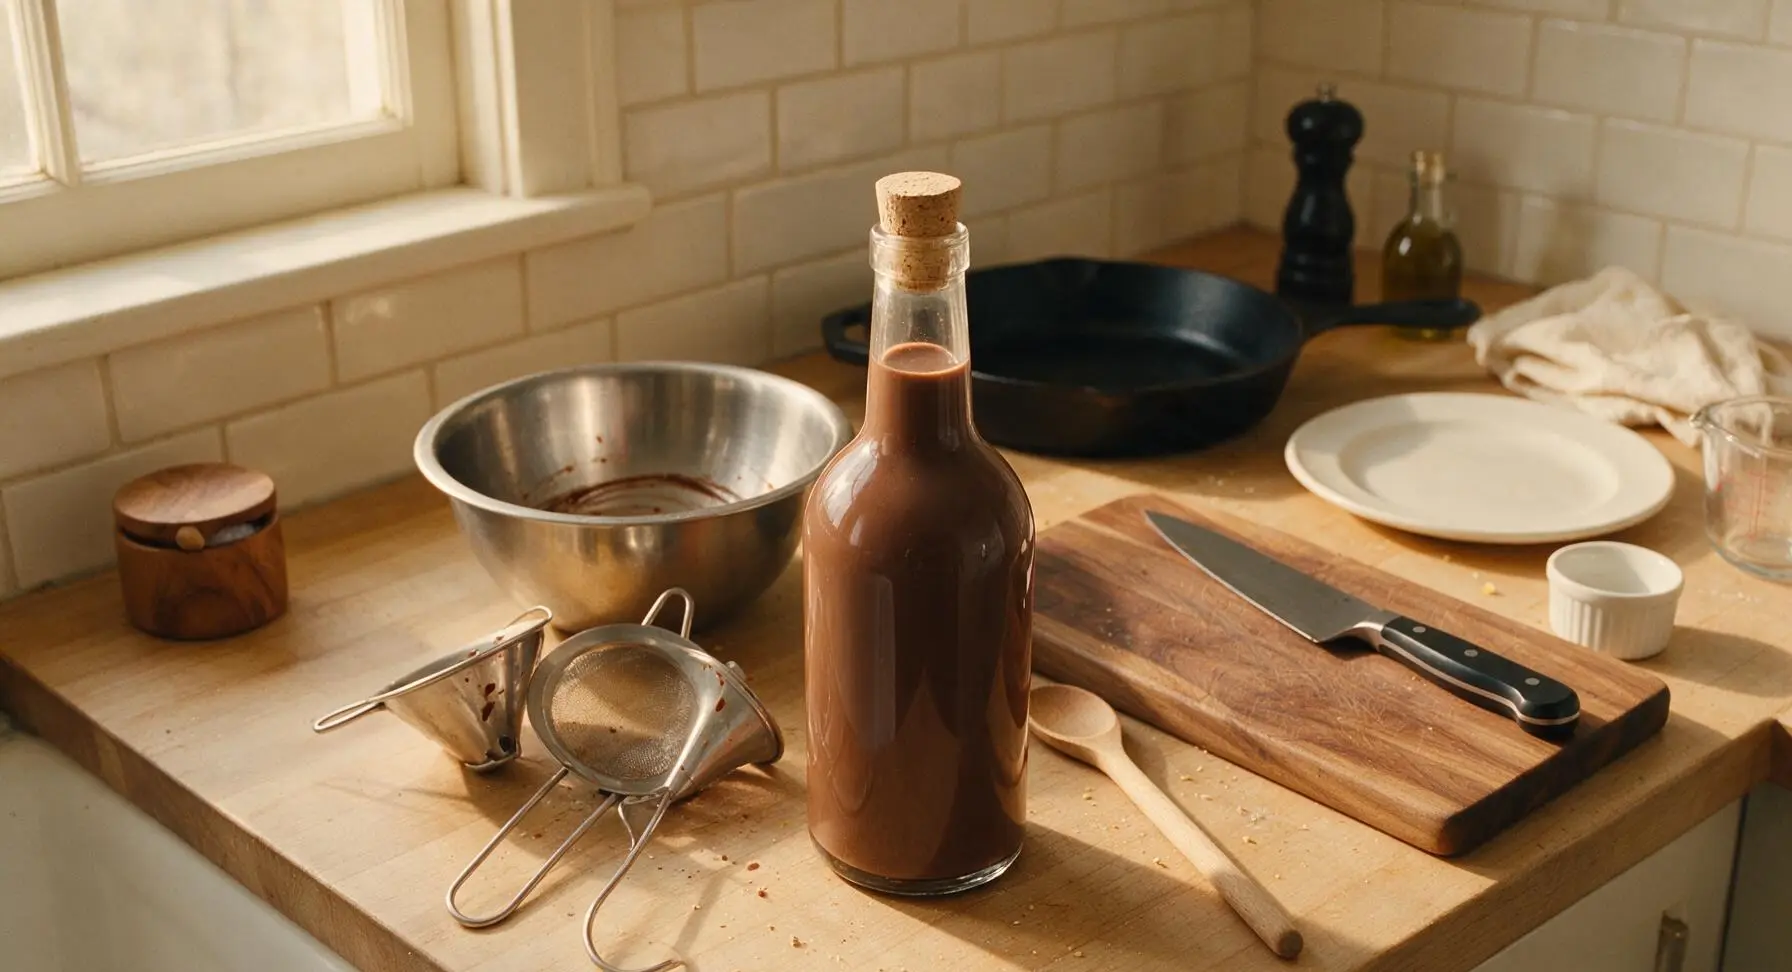
Seal the filled liqueur bottle tightly with its natural cork stopper. Place the bottle in the refrigerator to rest and infuse for 14 days, shaking the bottle gently for 10 seconds once every 2 days to mix any settled cocoa sediment. During this rest period, the flavors will mellow and blend, creating a smooth, well-balanced liqueur ready to serve chilled straight, over ice, or in cocktails.
Tips
2.Wait until the chocolate base is fully room temperature before adding vodka: Alcohol evaporates at 78°C (172°F), so mixing it into even slightly warm base will lower the final alcohol content and create a harsh, bitter, unbalanced flavor instead of a smooth, warm finish.
3.Store the sealed liqueur in the refrigerator for up to 1 month, and shake gently for 5 seconds before every pour: The dairy content makes this liqueur non-shelf-stable, and cold storage prevents bacterial growth while creating the ideal thick, silky serving texture; natural cocoa solids will settle during storage, so shaking ensures consistent flavor in every glass.






OMG this homemade chocolate liqueur is a GAME CHANGER! I made a batch for my friend’s holiday potluck last weekend and everyone was begging me for the recipe. Tastes way richer than the store-bought stuff, and I couldn’t believe it only took 10 minutes to throw together. Used dark cocoa powder for extra depth, 10/10 would recommend.
Made this last night to drizzle over my chocolate cake for Sunday family dinner, and Y’ALL. It’s SO good. Even my picky teenager who turns his nose up at everything “homemade” asked for a second drizzle (and may have snuck a tiny sip straight from the jar, oops). Super easy too, no fancy equipment needed.
This is going to be my go-to holiday gift this year! I bottled it up in cute little mason jars with ribbon and custom tags, and the first test batch came out perfect. Quick question though — how long does this stay good stored in the fridge? I want to make batches a week ahead to hand out to coworkers.
Wait, has anyone tried making this with dairy-free milk? My sister is lactose intolerant and I want to make a batch she can enjoy at our New Year’s get together. The regular version was a hit when I made it last month, just need to tweak it for her!
Mixed a splash of this into my cold brew this morning and wow, that’s my new weekend morning treat. Took me all of 10 minutes to make, zero mess, tastes like a fancy coffee shop drink for a fraction of the cost. Already told all my tailgate crew about this recipe.
I was a little worried I’d mess this up since I’m not big on making my own bar ingredients, but it was genuinely so easy! The only note I have is I added a tiny pinch of sea salt on top when it was done, and it made the chocolate flavor pop so much more. Highly recommend that little hack.
Made this for my husband for our first married anniversary, since he’s obsessed with all things chocolate. We had it over vanilla ice cream after dinner and he said it was better than the expensive chocolate liqueur we had on our honeymoon! Only thing is I think I added a little too much vanilla extract, oops, still tasted amazing though.
Tried making this for my holiday cocktail party last weekend, and I used it to make chocolate martinis all night. People were raving! So much smoother than the stuff you buy at the liquor store, and I didn’t have to pay $30 a bottle for it. Will absolutely be making this on repeat all winter long.
I’ve been making chocolate liqueur for my grandkids (the grown ones, ha!) at Christmas for over 40 years, and this recipe is even easier than my old hand-me-down one! Tastes just as rich and chocolatey, no weird artificial aftertaste. I added a dash of cinnamon like I always do, and it turned out perfect.
Whipped up a batch on Sunday during my weekly meal prep to have on hand for after-dinner drinks all week. It’s so creamy, not too sweet, and the chocolate flavor is spot on. Love that I can control how much sugar goes in, too — the store bought versions are always way too cloying for me.
Brought a bottle of this up to our cabin ski trip last week, and we mixed it into hot cocoa after a long day on the slopes. Absolute chef’s kiss. Warm, chocolatey, boozy, exactly what we needed to warm up. Even my friend who “hates sweet drinks” loved it.
Wait why did I never think to make this at home before?! It’s so easy! I added a splash to my mimosa at brunch yesterday and it was life changing. Chocolate orange mimosa vibes, 10/10. Don’t knock it till you try it.