
Homemade Coconut Milk (Plant-based Milk)

title 1
Homemade Coconut Milk (Plant-based Milk)
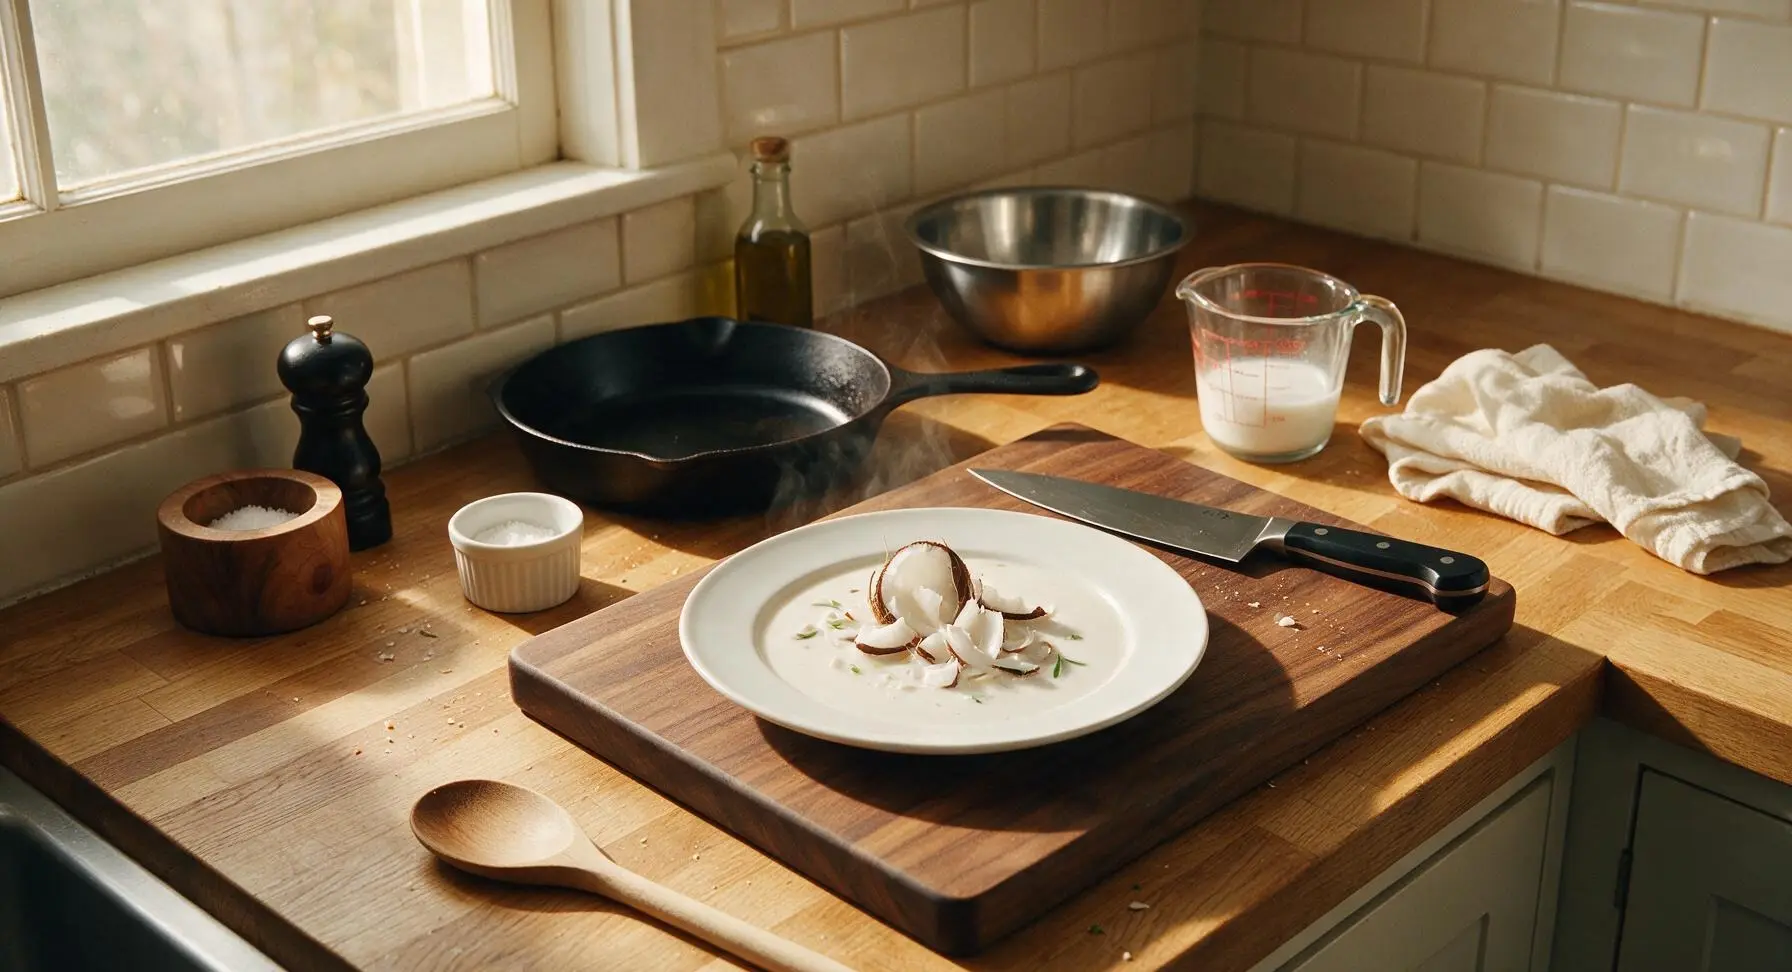
⏱️ cook time 5 minutes
🍽️ servings 4
⚡ Difficulty easy

intro

Rich, creamy homemade coconut milk with no additives or stabilizers, perfect for smoothies, curries, baking, or sipping — fresher and cheaper than store-bought versions.

Ingredients
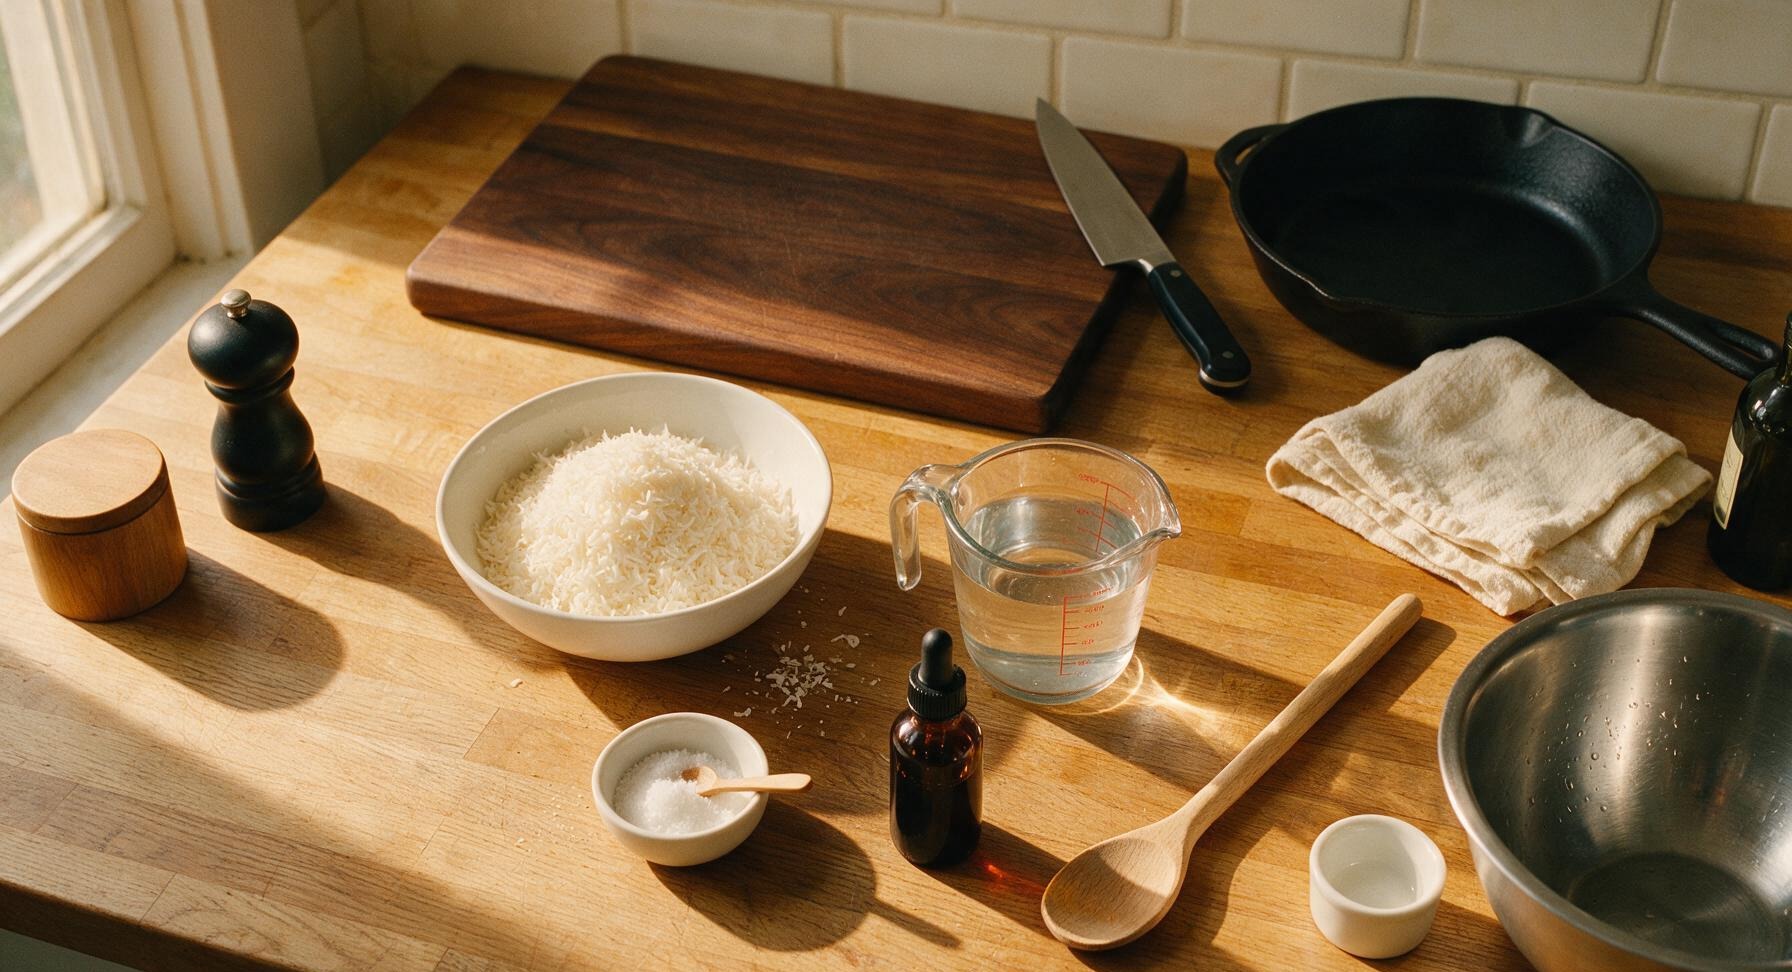
Unsweetened dried shredded coconut 120g (1.5 cups, unsweetened, no added preservatives)
Filtered water 960ml (4 cups)
Fine sea salt 1/8 tsp (pinch)
Pure vanilla extract (optional) 2.5ml (1/2 tsp)

Steps

1

Heat Steeping Water

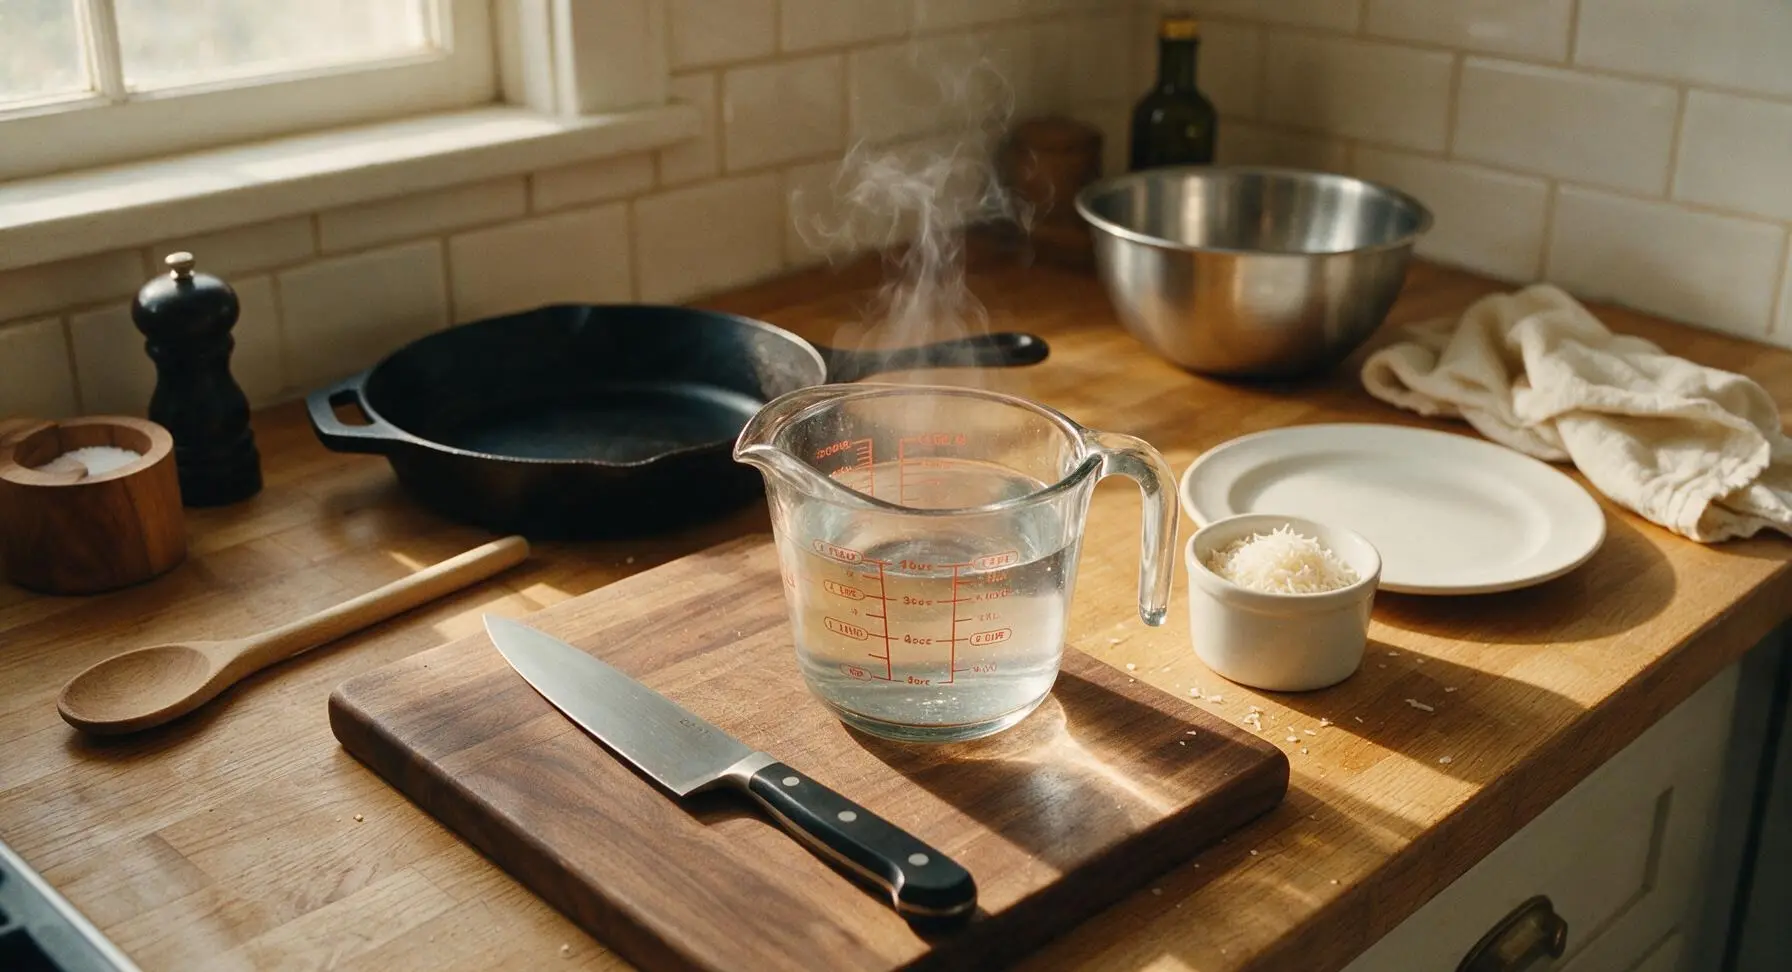
Pour the 4 cups of filtered water into the 1L glass measuring cup. Heat the water until it reaches 75-80C (165-175F) — it should be hot to the touch but not bubbling or boiling, as boiling water can make the coconut milk taste bitter. Set aside for 1 minute to cool slightly if it overheats.
Step 1
step1:Heat Steeping Water
2

Combine Coconut and Water

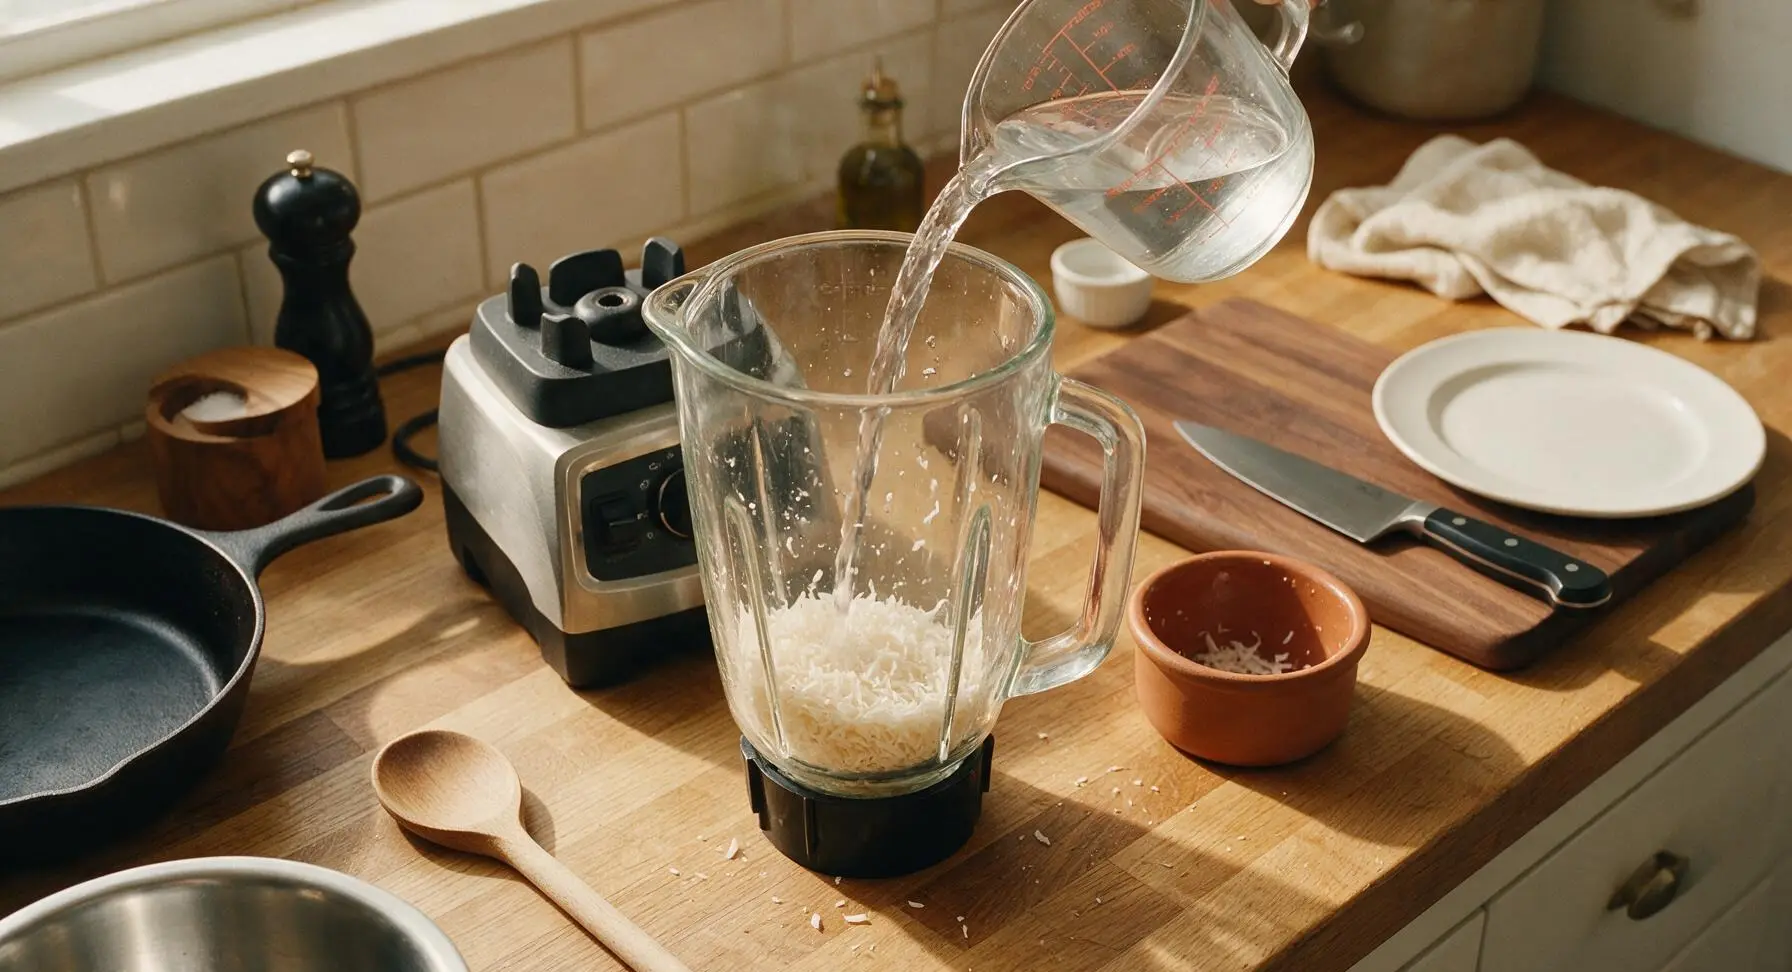
Add all 120g of dried shredded coconut from the terracotta ramekin into the blender pitcher. Carefully pour the hot water from the measuring cup over the coconut, making sure all shreds are fully submerged. Add the optional 1/8 tsp sea salt and 1/2 tsp vanilla extract if using a sweet, drinkable version of the milk.
Step 2
step2:Combine Coconut and Water
3

Let Coconut Steep

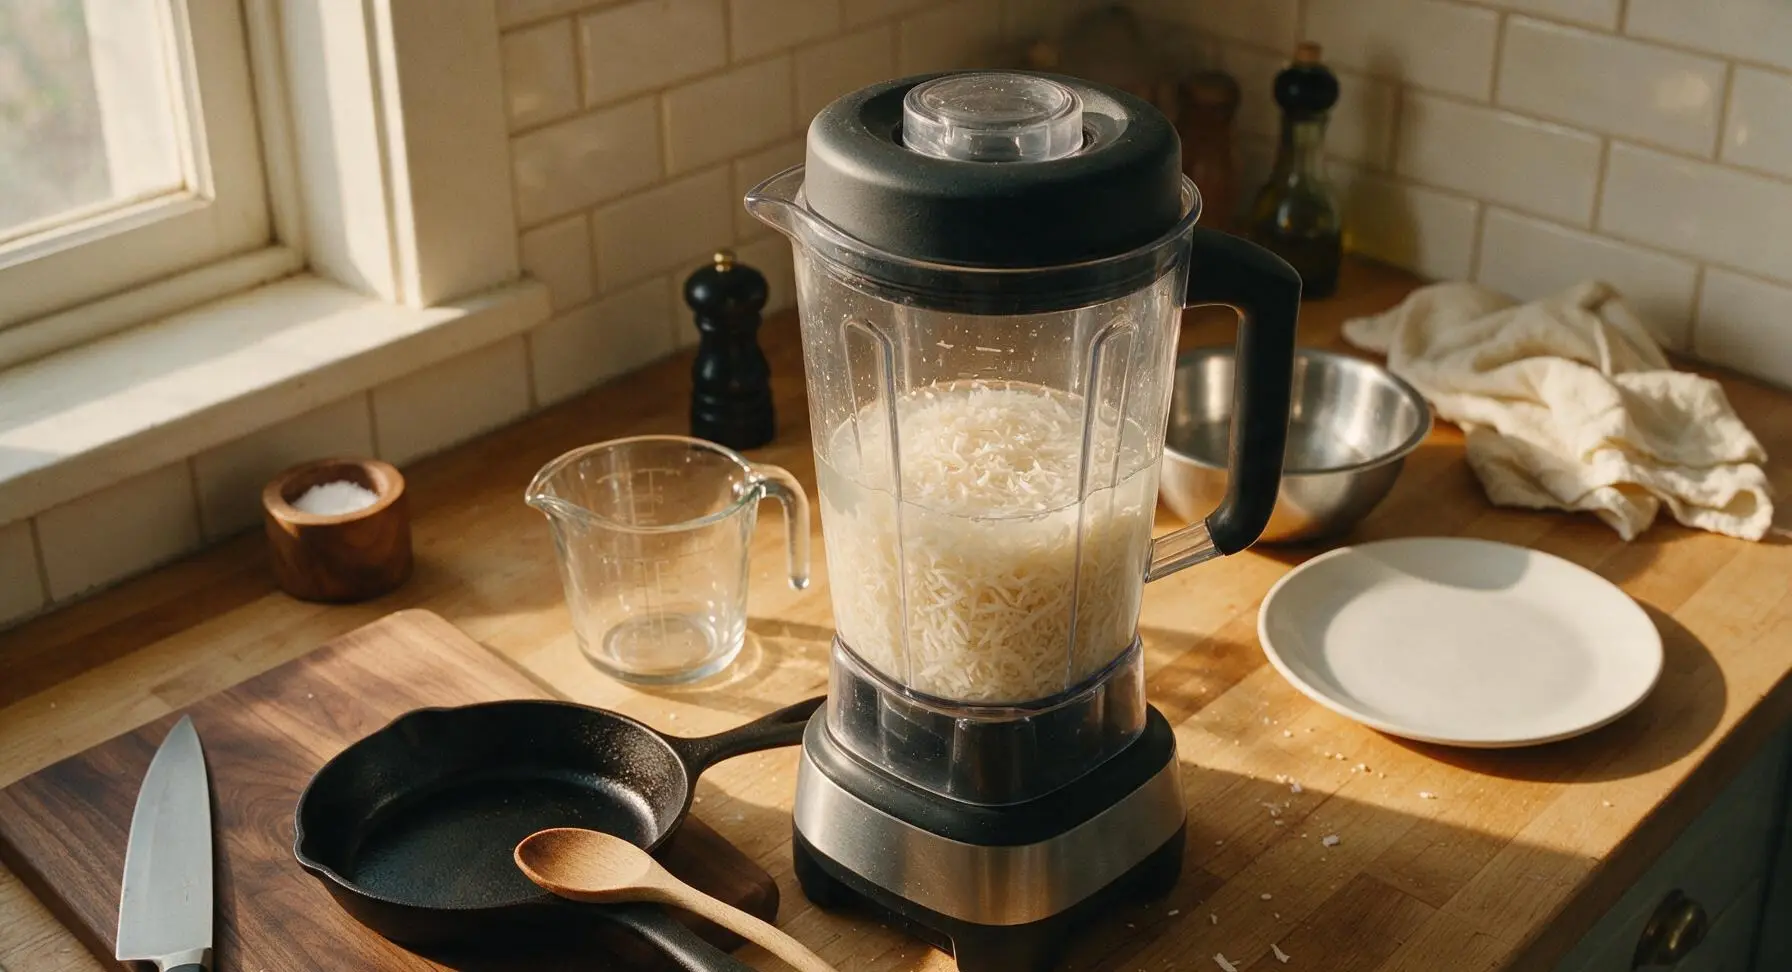
Place the lid securely on the blender pitcher. Let the coconut soak in the hot water for 5 minutes to soften the shreds — this softening step ensures a creamier, richer milk and reduces strain on the blender motor. Do not blend immediately, as dry coconut shreds will not break down fully and will produce a thin, watery milk.
Step 3
step3:Let Coconut Steep
4

Blend Until Smooth

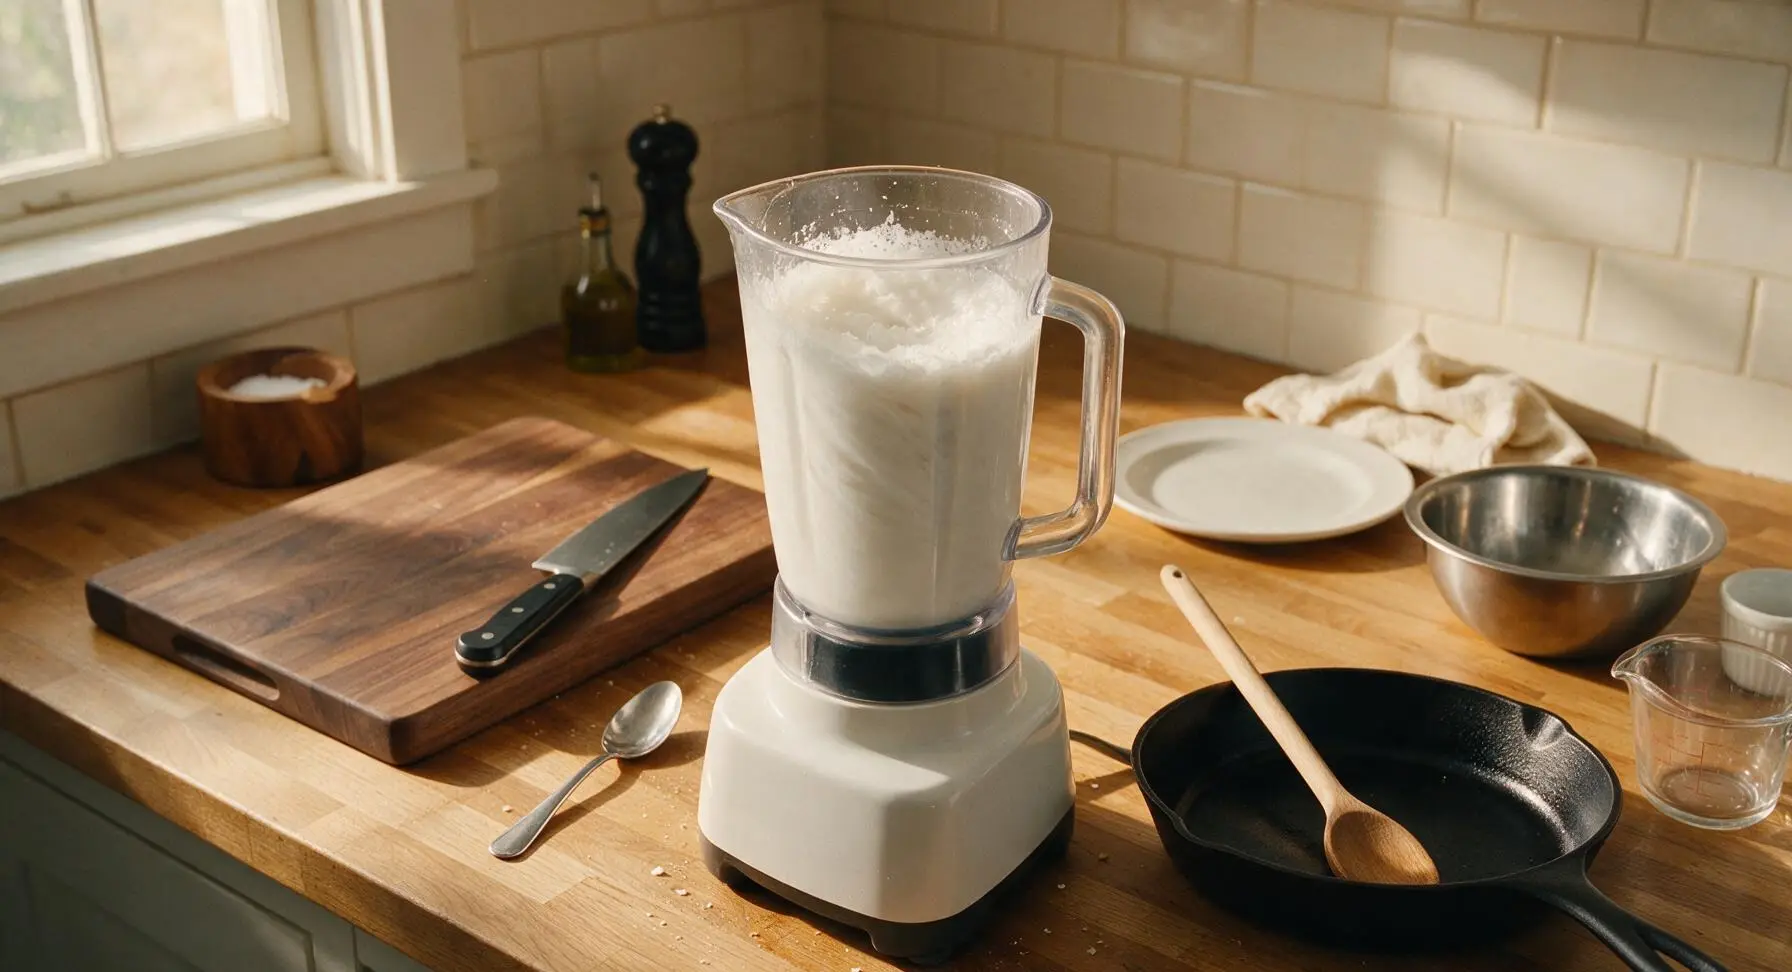
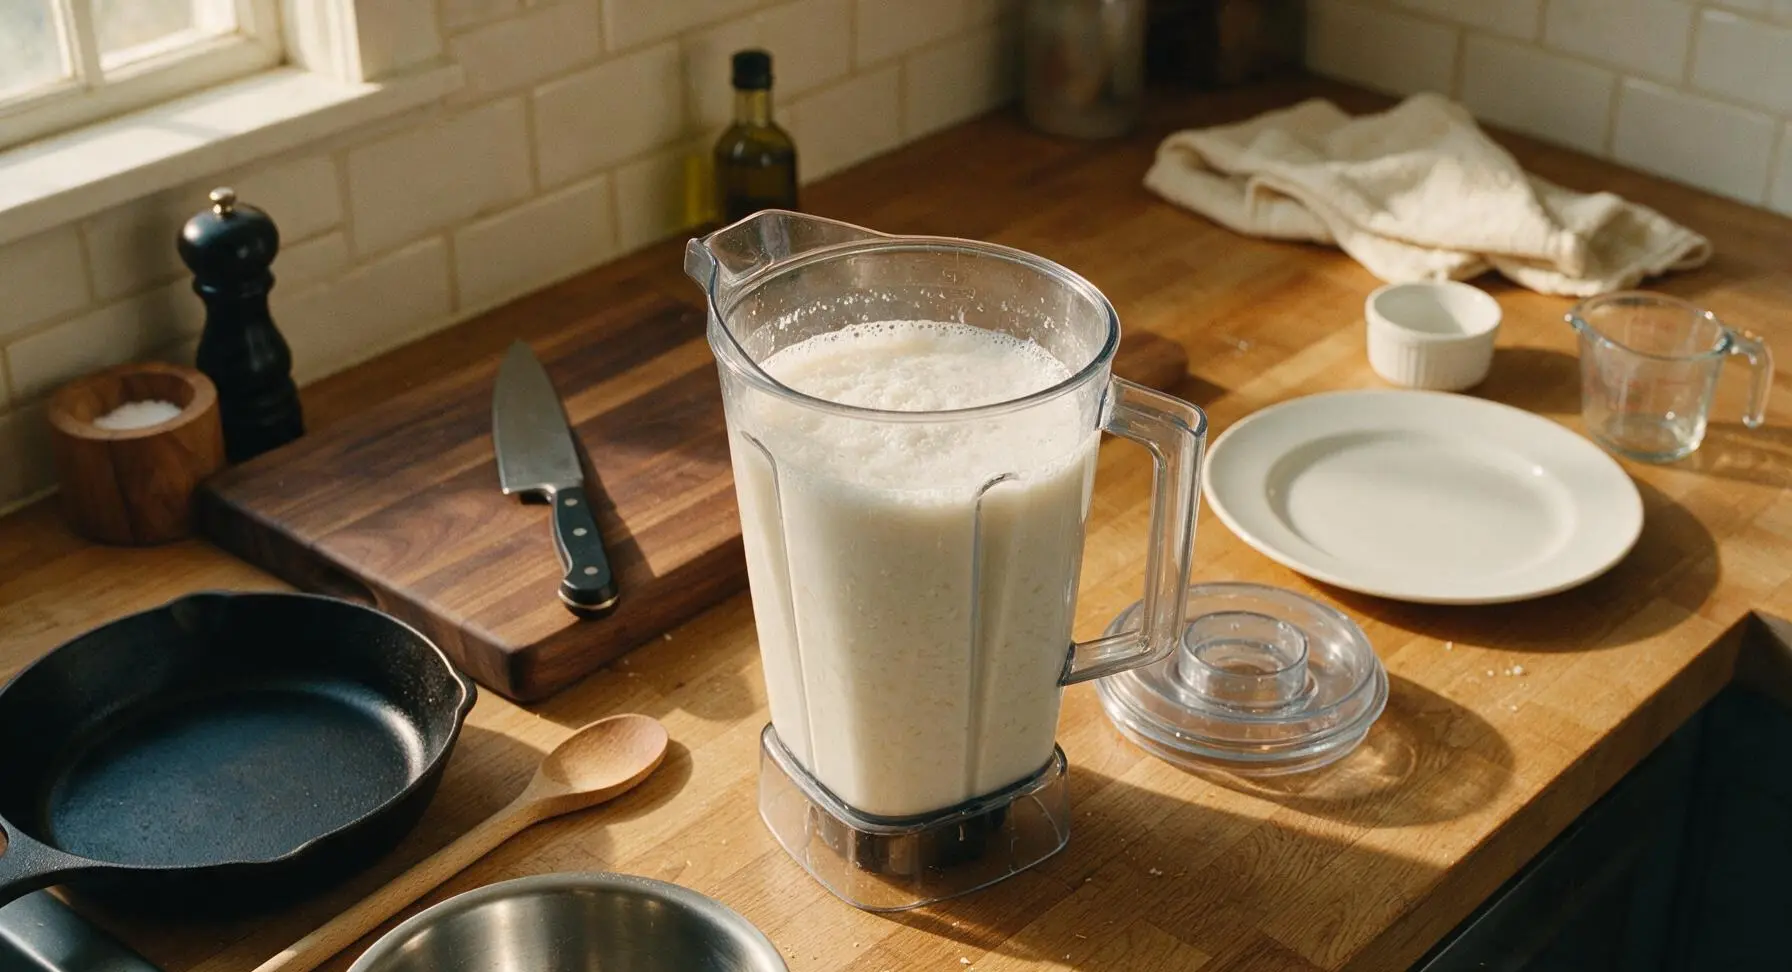
Blend the coconut and water mixture on high speed for 45-60 seconds, stopping once if needed to scrape down the sides of the pitcher with the stainless steel spoon. The mixture will turn opaque milky white, and the coconut shreds will be broken down into a fine pulp. Do not blend for longer than 90 seconds, as over-blending can make the milk taste gritty and warm the mixture too much.
Step 4
step4:Blend Until Smooth
Step 4
step4:Blend Until Smooth
5

Set Up Straining Station

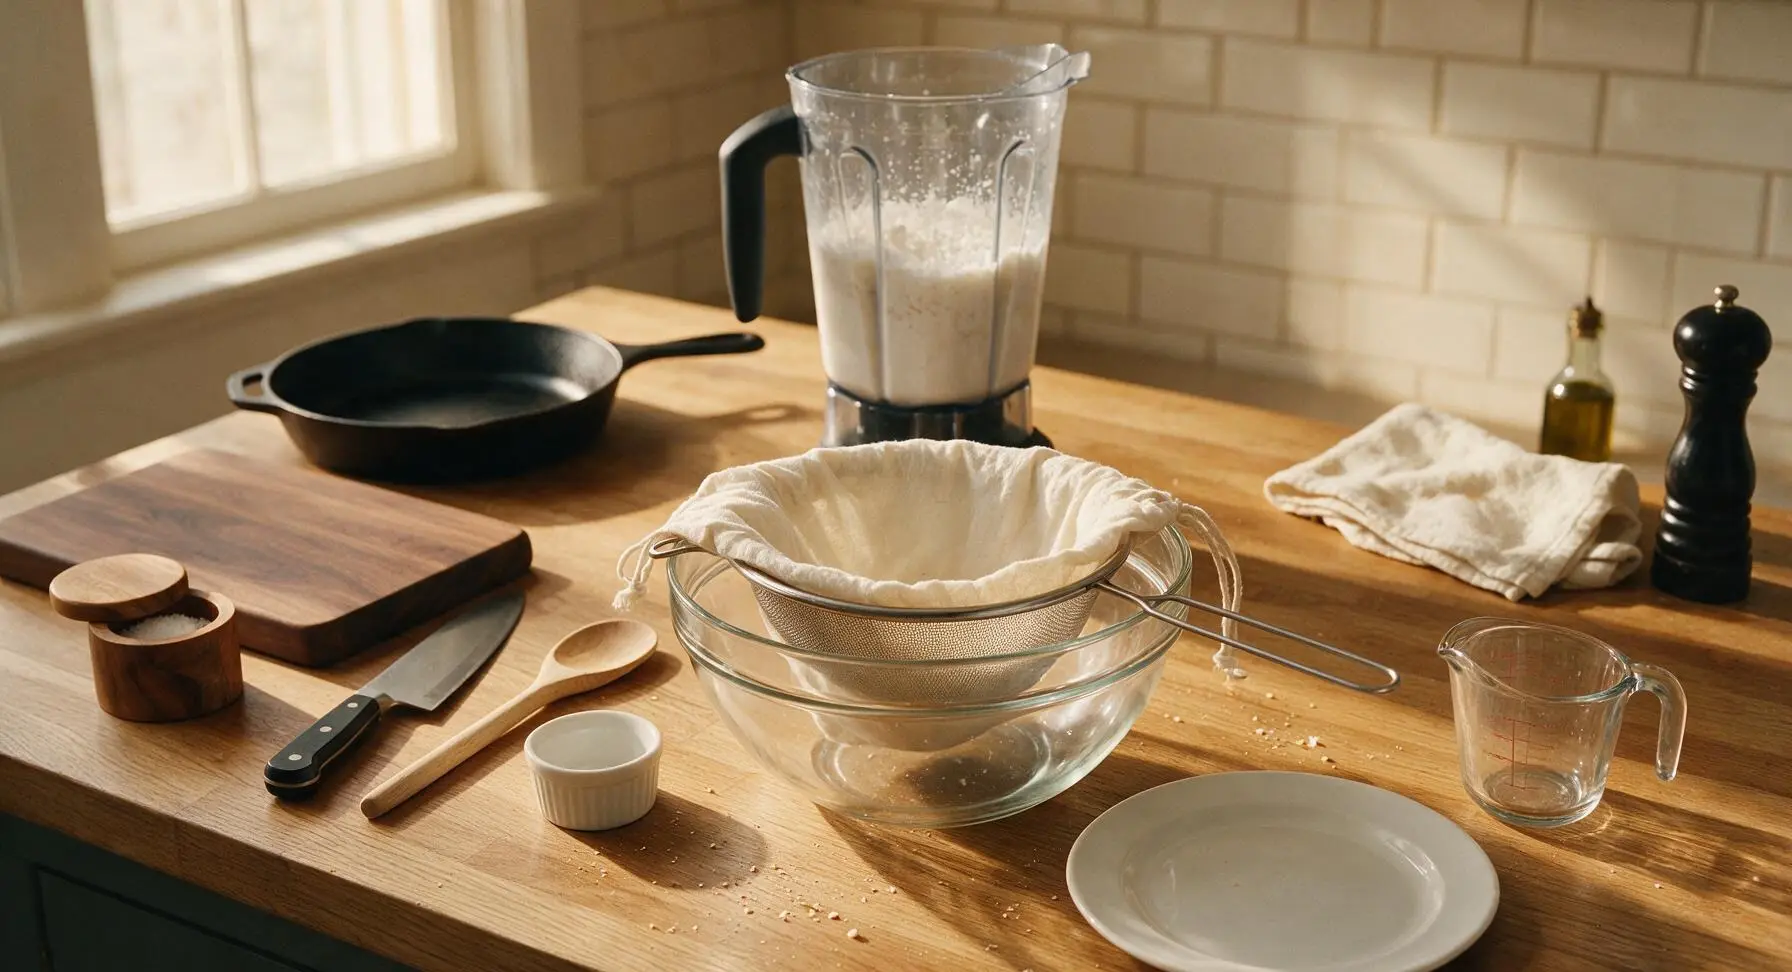
Place the 2L clear glass mixing bowl on the counter directly in front of the blender. Rest the stainless steel fine-mesh sieve across the top of the bowl, then line the sieve with the open cotton nut milk bag, draping the bag edges over the sieve rim to hold it in place. This double-straining setup ensures no fine pulp gets into the finished milk, producing a smooth, silky texture.
Step 5
step5:Set Up Straining Station
6

Pour Mixture to Strain

Slowly pour the warm blended coconut mixture from the blender pitcher into the nut milk bag-lined sieve. Pour gently to avoid splashing, and let the liquid drain naturally into the bowl below for 2 minutes, until most of the milk has passed through and only wet pulp remains in the bag. Do not press the pulp yet, as this can force fine grit through the bag.
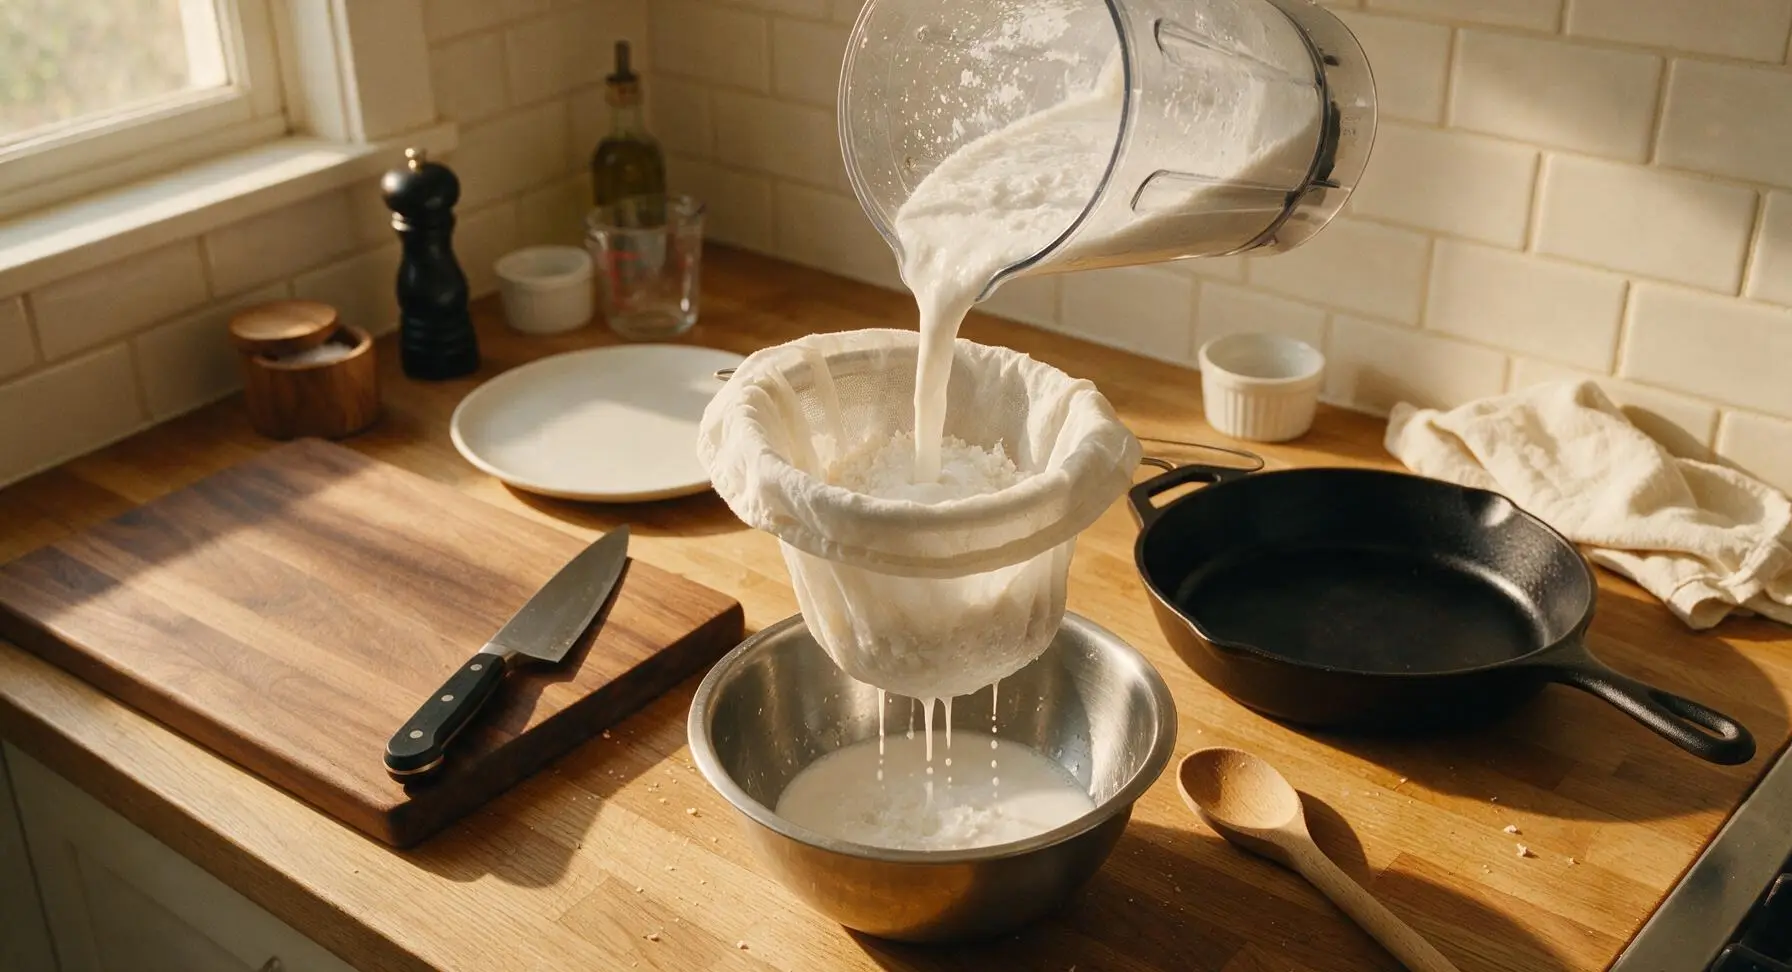
Step 6
step6:Pour Mixture to Strain
7

Press Pulp for Milk

Once the initial draining slows, gather the edges of the nut milk bag and twist the top closed to enclose the coconut pulp. Use the back of the stainless steel spoon to firmly press the pulp against the sieve, squeezing out every last drop of thick coconut milk into the bowl. Stop pressing when only dry, crumbly coconut pulp remains in the bag (this pulp can be reserved for baking or smoothies).
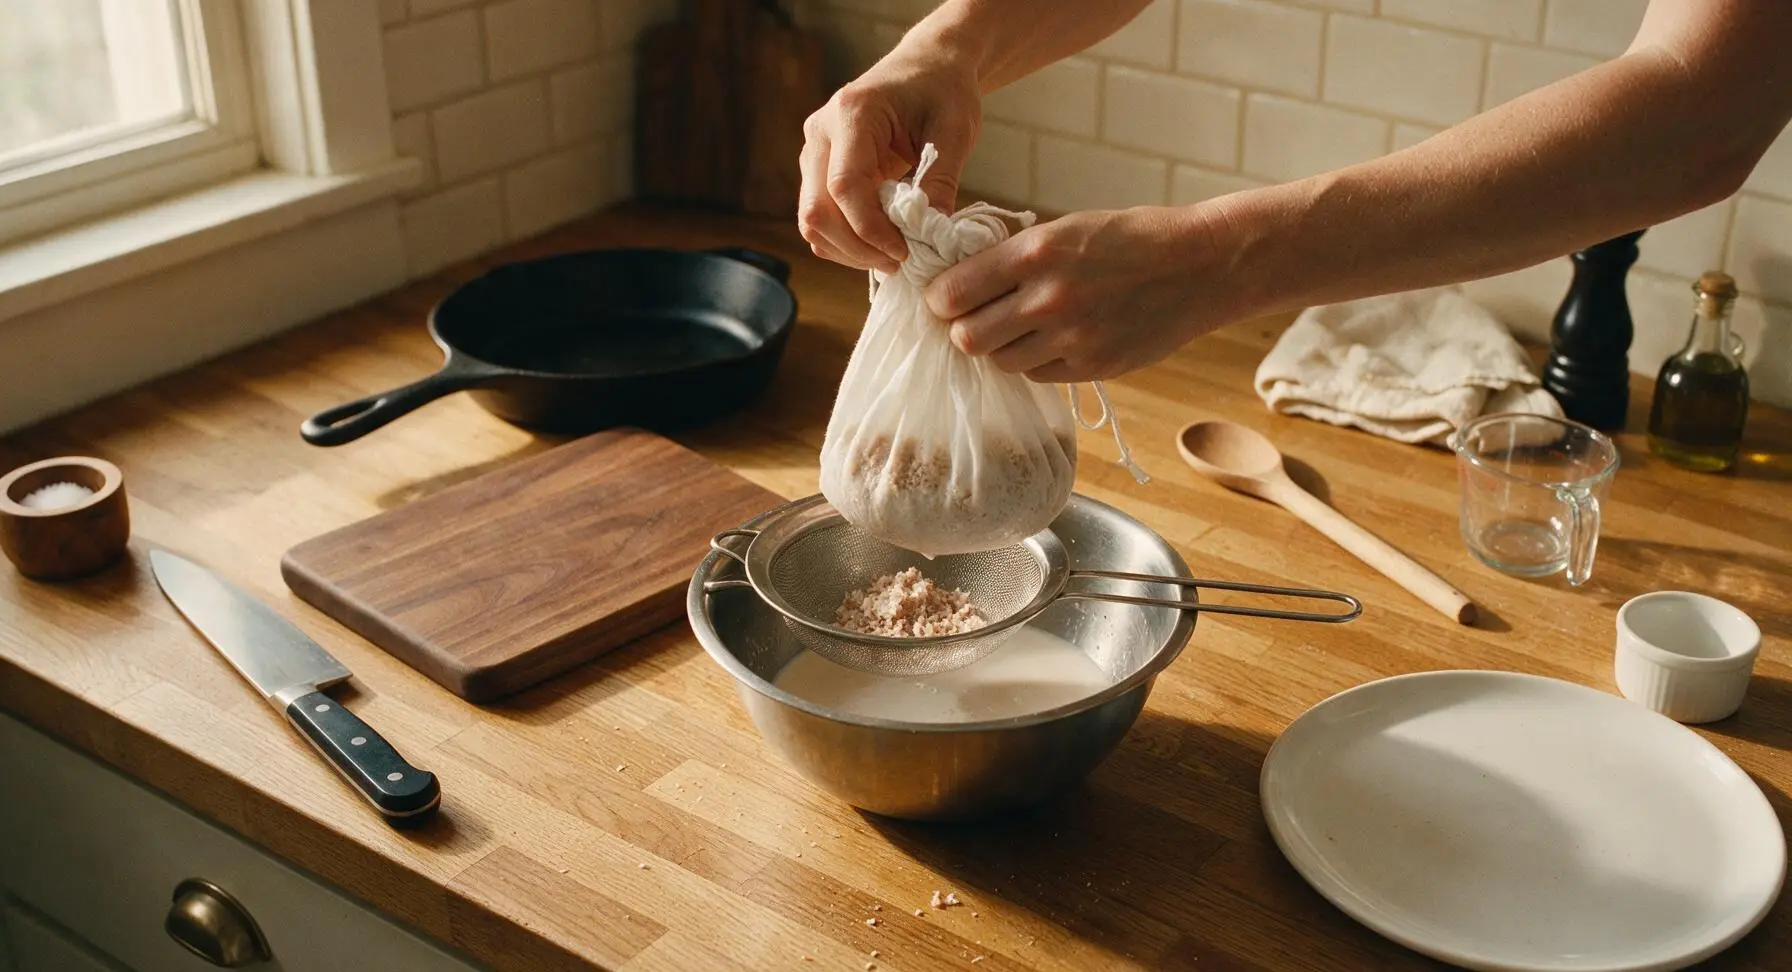
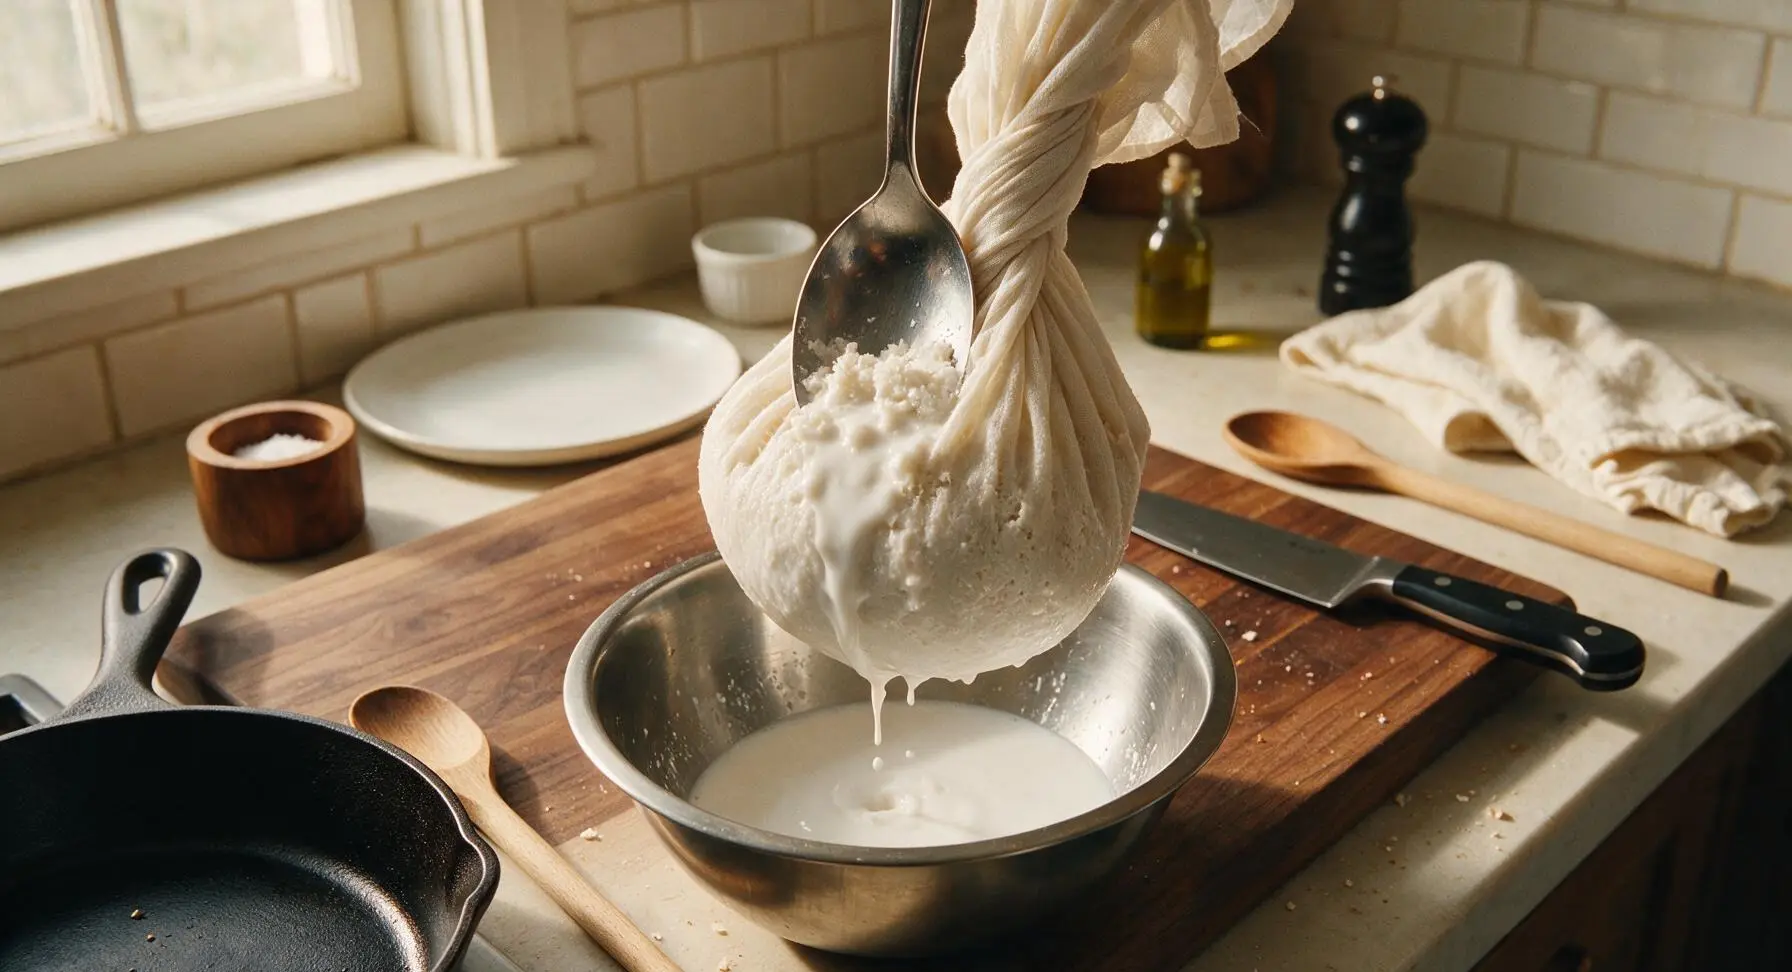
Step 7
step7:Press Pulp for Milk
Step 7
step7:Press Pulp for Milk
8

Transfer Milk to Bottle

Remove the sieve and nut milk bag from the top of the mixing bowl. Carefully pour the strained, smooth coconut milk from the mixing bowl into the 1L clear glass swing-top bottle. Seal the clasp, then gently swirl the bottle to mix any slight separation of cream and water. The milk is now ready to use, or can be stored in the refrigerator for up to 5 days.
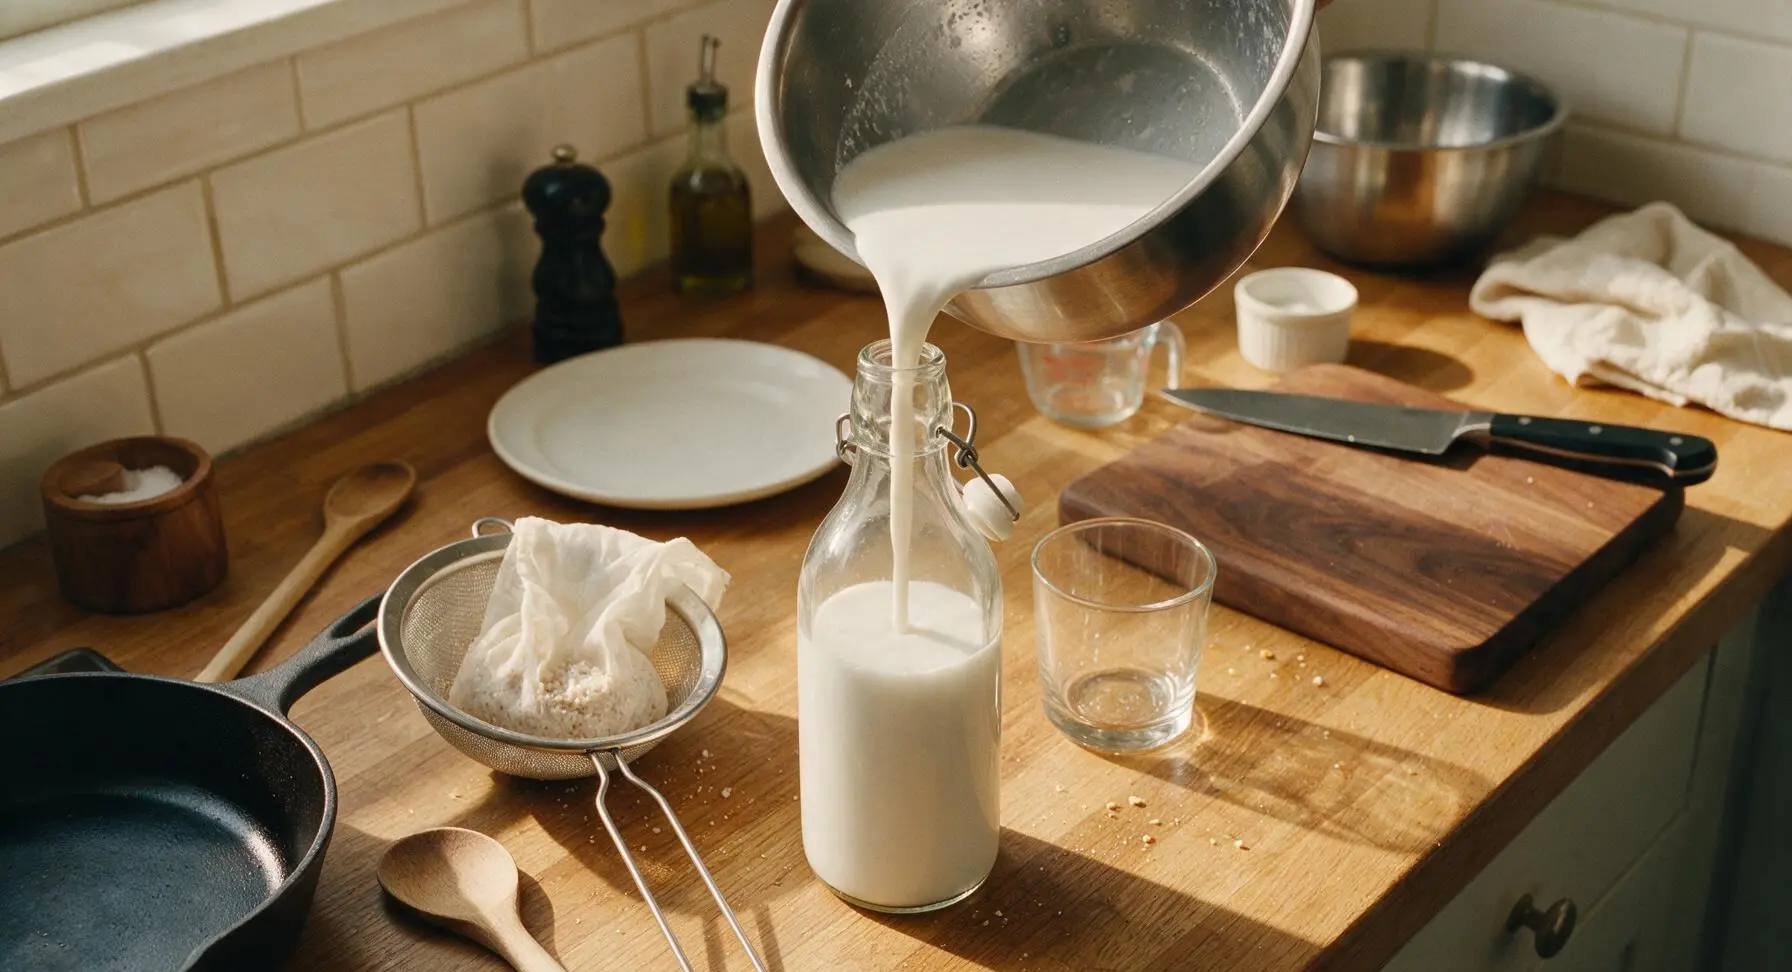
Step 8
step8:Transfer Milk to Bottle

Tips

1.Avoid using boiling water to steep coconut: water hotter than 80C/175F extracts bitter, soapy-tasting compounds from the coconut pulp, resulting in off-flavored milk, while hot (not boiling) water pulls out rich, sweet coconut cream without bitterness.
2.Save the leftover dry coconut pulp from the nut milk bag: spread it thin on a baking sheet and dry at 90C/200F for 2 hours, then grind into fine coconut flour for gluten-free baking, or stir into oatmeal, smoothies, or energy balls to cut down on food waste.
3.Homemade coconut milk will naturally separate in the fridge, with thick coconut cream rising to the top: there is no need for added emulsifiers — simply shake the bottle vigorously for 10 seconds before use to recombine. For a richer, higher-fat milk ideal for curries or coconut whipped cream, increase dried coconut to 2 cups (160g) instead of 1.5 cups.


✨ You May Also Like

Drinks & Beverages
🍜 Mexico

A bright, balanced tequila-based cocktail with zesty fresh lime, smooth orange liqueur, and a signature salt rim, perfect for warm summer sipping.

⏱️ 5 minutesDrinks & Beverages ★ 4.9
Drinks & Beverages
🍜 United States

Thick, creamy, nostalgic classic vanilla milkshake with a rich, smooth texture, topped with whipped cream and a cherry for cool, sweet refreshment.

⏱️ 5 minutesDrinks & Beverages ★ 4.7
Drinks & Beverages
🍜 United States

A bright, golden strong ale with fruity banana-clove notes, subtle hop spice, and soft carbonation, brewed in classic Trappist Tripel tradition.

⏱️ 2 hours aDrinks & Beverages ★ 4.5
Drinks & Beverages
🍜 United States

A frothy, nostalgic American soda fountain treat pairing bubbly cold root beer with creamy vanilla ice cream, perfect for cooling down at warm weather gatherings.

⏱️ 20 minuteDrinks & Beverages ★ 4.8
Drinks & Beverages
🍜 United States

Tart, funky, effervescent American Wild Ale is a complex fruity craft beer brewed with wild yeast, delivering bright, zesty notes perfect for warm-weather sipping.

⏱️ 2 hours aDrinks & Beverages ★ 4.4
Drinks & Beverages
🍜 United States

Bright, bubbly copycat of the iconic American caramel cola, balanced with citrus and warm spice, perfect for sipping ice-cold on hot days.

⏱️ 15 minuteDrinks & Beverages ★ 4.8

Homemade Coconut Milk (Plant-based Milk):Frequently Asked Questions

1.What coconut-to-water ratio should I use for the creamiest homemade coconut milk? ▾
For rich, full-fat coconut milk that matches canned store-bought consistency, use 1 cup of unsweetened dried shredded coconut to 2 cups of filtered water. If you want lighter drinking milk for cereal or sipping, use 3 to 4 cups of water per cup of coconut. Stick to the 1:2 ratio for curries and baking for the best texture.
2.Do I have to soak the shredded coconut before blending it? ▾
Soaking is not strictly required, but it yields a smoother, creamier final milk and puts less strain on lower-powered blenders. Pour hot (not boiling) water over the coconut and let it rest 10 to 15 minutes before blending if you don’t have a high-speed machine. High-speed blender owners can skip soaking entirely with no major texture issues.
3.What’s the best way to strain blended coconut to get perfectly smooth milk? ▾
Line a fine-mesh sieve with two layers of cheesecloth, a clean nut milk bag, or a lint-free thin cotton kitchen towel set over a bowl. Pour the blended mixture in, gather the cloth edges, and squeeze firmly to extract every bit of liquid. Skipping straining will leave you with gritty, fibrous coconut bits in your finished milk.
4.How long does homemade coconut milk stay fresh in the refrigerator? ▾
Since it has no added stabilizers or preservatives, homemade coconut milk stays fresh for 3 to 4 days stored in a sealed, airtight glass jar in the coldest part of your fridge. Give it a good shake before every use, as the rich coconut cream will naturally separate and rise to the top as it chills, which is totally normal.
5.Why does my coconut milk separate when cold, and how do I fix it? ▾
Separation is 100% normal for coconut milk made without commercial emulsifiers or stabilizers—you’re just seeing heavy coconut cream rise above the thinner coconut water. There’s no safety issue; just screw the jar lid on tight and shake vigorously for 10 to 15 seconds, or give it a quick stir, and it will be ready to use.
6.Can I use sweetened shredded coconut to make this milk? ▾
You technically can, but I don’t recommend it. Sweetened shredded coconut is coated in added sugar and often preservatives that make the final milk overly sweet, with a slightly artificial aftertaste that doesn’t work for savory uses like curries. Stick to unsweetened dried coconut for a versatile milk that works for every recipe, sweet or savory.
7.What’s the purpose of adding a tiny pinch of fine sea salt? ▾
That small pinch of salt won’t make the milk taste salty at all—it actually amplifies the natural, nutty sweetness of the coconut, cuts flat, bland notes from filtered water, and rounds out the overall flavor so the milk tastes richer and more balanced. You only need about 1/8 teaspoon per 2 cups of finished milk to get that effect.
8.Can I freeze leftover homemade coconut milk for later use? ▾
Absolutely! Freeze it in silicone ice cube trays or sealed, freezer-safe containers for up to 3 months. It may separate a bit more after thawing, so give it a good blend or vigorous shake once it fully defrosts in the fridge. It works perfectly for smoothies, curries, and baking, though it’s not ideal for sipping plain due to slight texture shifts.
9.What can I do with the leftover coconut pulp after straining? ▾
Don’t toss that pulp! Spread it thin on a baking sheet and dry it out in a 200°F oven for 1 to 2 hours, then blitz it to make homemade coconut flour for baking. You can also stir it into oatmeal, add it to smoothies for extra fiber, mix it into energy bites, or toast it to top yogurt and smoothie bowls for zero-waste cooking.
10.Is the optional vanilla extract necessary, and when should I add it? ▾
Vanilla is totally optional, and I only recommend adding it if you plan to use the coconut milk for sweet applications like smoothies, chia pudding, baking, or sipping plain. Skip it if you’re making milk for savory curries or soups, where vanilla flavor will feel out of place. Stir it in right after straining for even mixing.
11.Why does my homemade coconut milk have a slightly bitter aftertaste? ▾
Bitter off-notes almost always come from over-blending the coconut, or using old, rancid shredded coconut. Blitz the coconut on high for no more than 45 to 60 seconds total—blending too long heats up the mixture and pulls bitter compounds from the coconut fiber. Always taste your dried coconut first to make sure it’s fresh, not stale or soapy.
12.Can I use fresh coconut instead of dried shredded coconut for this recipe? ▾
You absolutely can! Use 1.5 cups of fresh, peeled coconut meat cut into small chunks per 2 cups of water, and blend for a full minute since fresh coconut is firmer than dried. The flavor will be brighter and slightly grassier than dried coconut milk, with a lighter texture that’s perfect for drinking straight.

Comments (9)

3 days ago

OMG this is such a game changer! I've been buying overpriced canned coconut milk for years and had no idea it only takes 5 MINUTES to make at home? Tastes so much fresher than store-bought, no weird added gums or preservatives. I used it in my morning smoothie today and it was chef's kiss. 10/10 will be making this weekly for meal prep!

2 days ago

Wait do you strain it with a nut milk bag or is a regular fine mesh sieve good enough? I don't have any special equipment at home!

2 days ago

Great question! A fine mesh sieve lined with a clean kitchen towel or cheesecloth works perfectly if you don't have a nut milk bag. Just squeeze gently to get all that creamy milk out!

2 days ago

My kids loved it! I was worried they'd turn their noses up at homemade plant milk but they said it tastes "like coconut candy" when they tried a sip straight. Used it to make coconut rice for our family taco night last night and everyone asked for seconds. SO good, way better than the stuff from the grocery store that tastes watery half the time.

1 day ago

That makes us so happy to hear! Coconut rice with this milk is such a perfect use, we love that the whole family enjoyed it. Thanks for sharing!

5 days ago

Super easy recipe, came together exactly as written. I added a tiny pinch of cinnamon and a splash of vanilla to mine to make it extra nice for my morning coffee. No separation issues even after 2 days in the fridge, just give it a quick shake before pouring.

1 week ago

Wait wait, hold on—this costs like a quarter of what I pay for the organic coconut milk at my local grocery store? Why did I wait so long to try making my own? I made a batch last weekend to bring to a neighborhood potluck for my curry, and people kept asking what brand I used because it was so creamy. Total win.

5 days ago

How long does this keep in the fridge for? I want to make a batch for meal prep but don't want it to go bad before I use it all!

4 days ago

It stays fresh for 3-4 days in a sealed glass jar in the fridge! Just give it a good shake before each use, as natural separation is totally normal with no added stabilizers.

yesterday

I've been struggling to find a barista-friendly plant milk that froths well for lattes without weird additives, and this? It works! Frothed up so creamy this morning for my iced coconut latte, no weird aftertaste at all. Will be keeping a constant batch in my fridge from now on.

2 hours ago

Wait do you use the thick creamy part from the top for frothing or the whole mixed batch? I've tried other homemade milks that wouldn't froth at all!

yesterday

I have so many food sensitivities and it's nearly impossible to find coconut milk without added sulfites or weird fillers that trigger my migraines. This recipe is an absolute lifesaver! Just two ingredients, no junk, and it tastes incredible. Used it to make dairy-free hot cocoa last night and it was so cozy.

2 hours ago

Oh my gosh same! The additives in store-bought milk give me horrible headaches too, I'm so glad I found this recipe, just made my first batch last night!

2 weeks ago

Made this a couple weekends ago to go with my Thai grilled chicken, and it made the best peanut sauce I've ever made. Super creamy, no weird metallic can taste like I usually get from canned coconut milk. Took literally no time at all, I'll never go back to store bought.

30 minutes ago

First time making any kind of homemade plant milk and I was so nervous it would be complicated, but this was so easy! I messed up and added a little too much water at first but it still turned out great. Next time I'll measure properly for extra creaminess. Highly recommend for new plant-based folks like me!

2 hours ago

Obsessed with how little waste this produces! I saved the leftover coconut pulp to make coconut flour for baking, so literally nothing goes to waste. This is going to be a permanent staple in my zero-waste kitchen routine. So quick too, I can whip up a batch while my morning oatmeal cooks.

30 minutes ago

Wait how do you turn the pulp into coconut flour? I've been throwing mine out and that feels so wasteful!



