
Homemade Crescent Rolls

title 1
Homemade Crescent Rolls
⏱️ cook time 15 minutes
🍽️ servings 12
⚡ Difficulty medium

intro

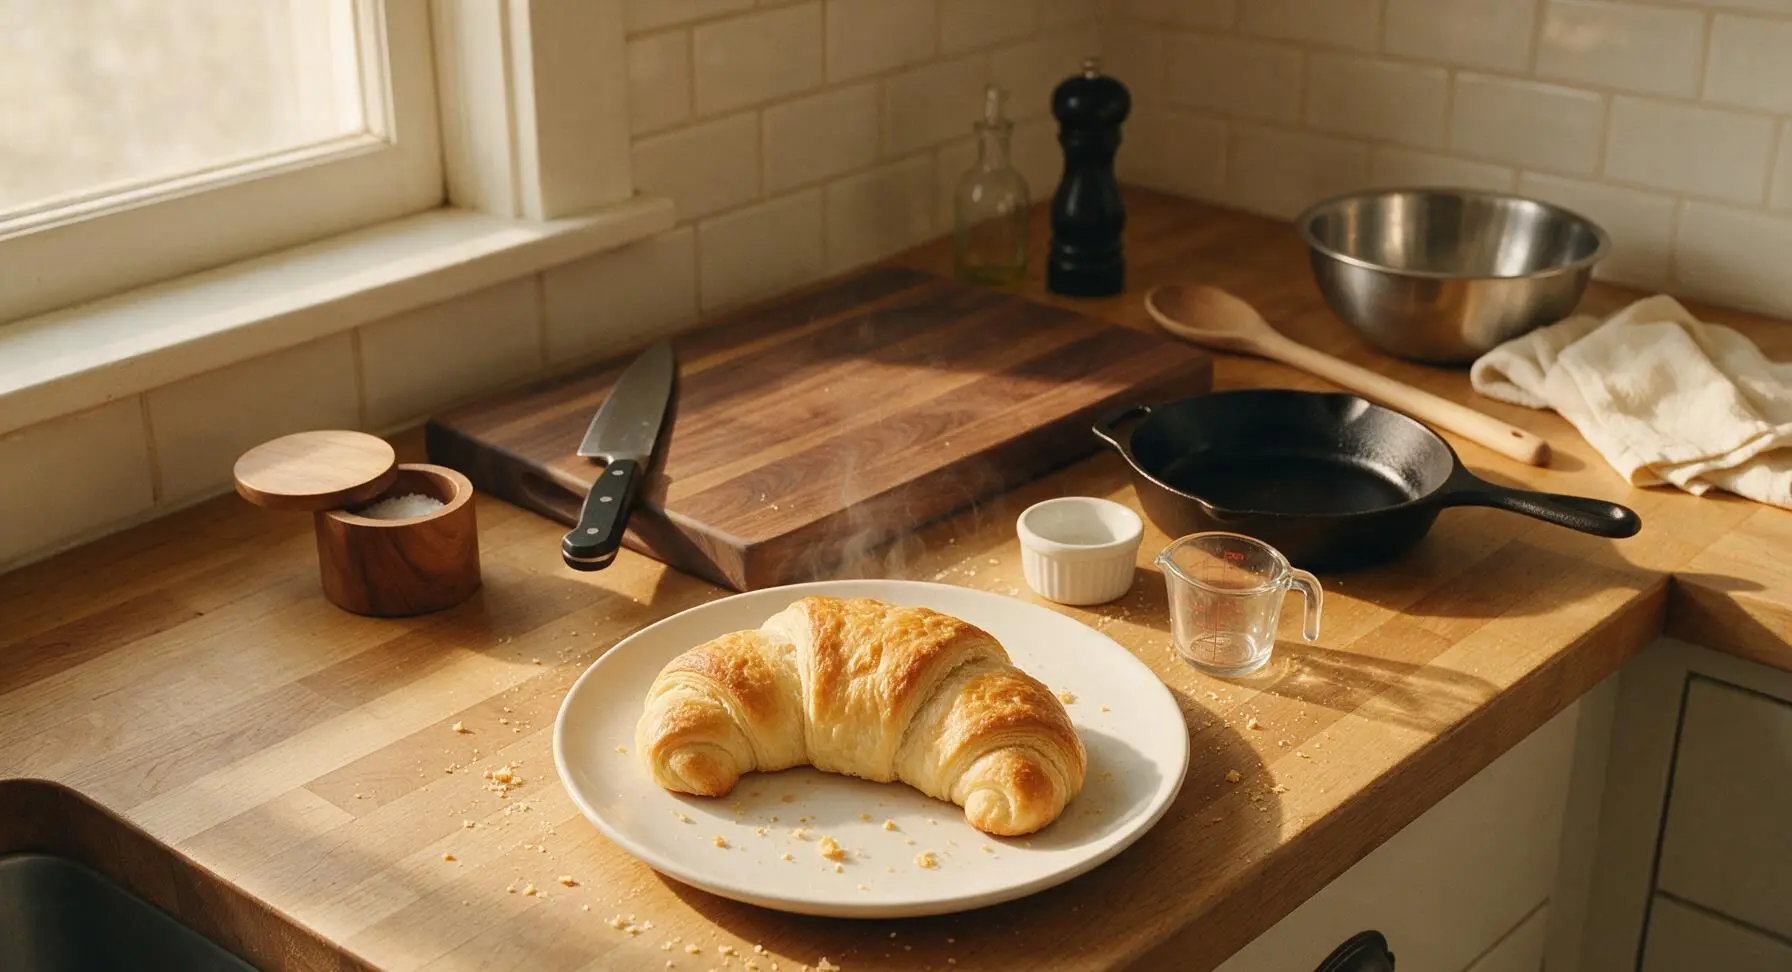
Soft, buttery, flaky homemade crescent rolls with a golden crisp crust and pillowy, tender center, perfect for holiday tables or weekend breakfasts.

Ingredients
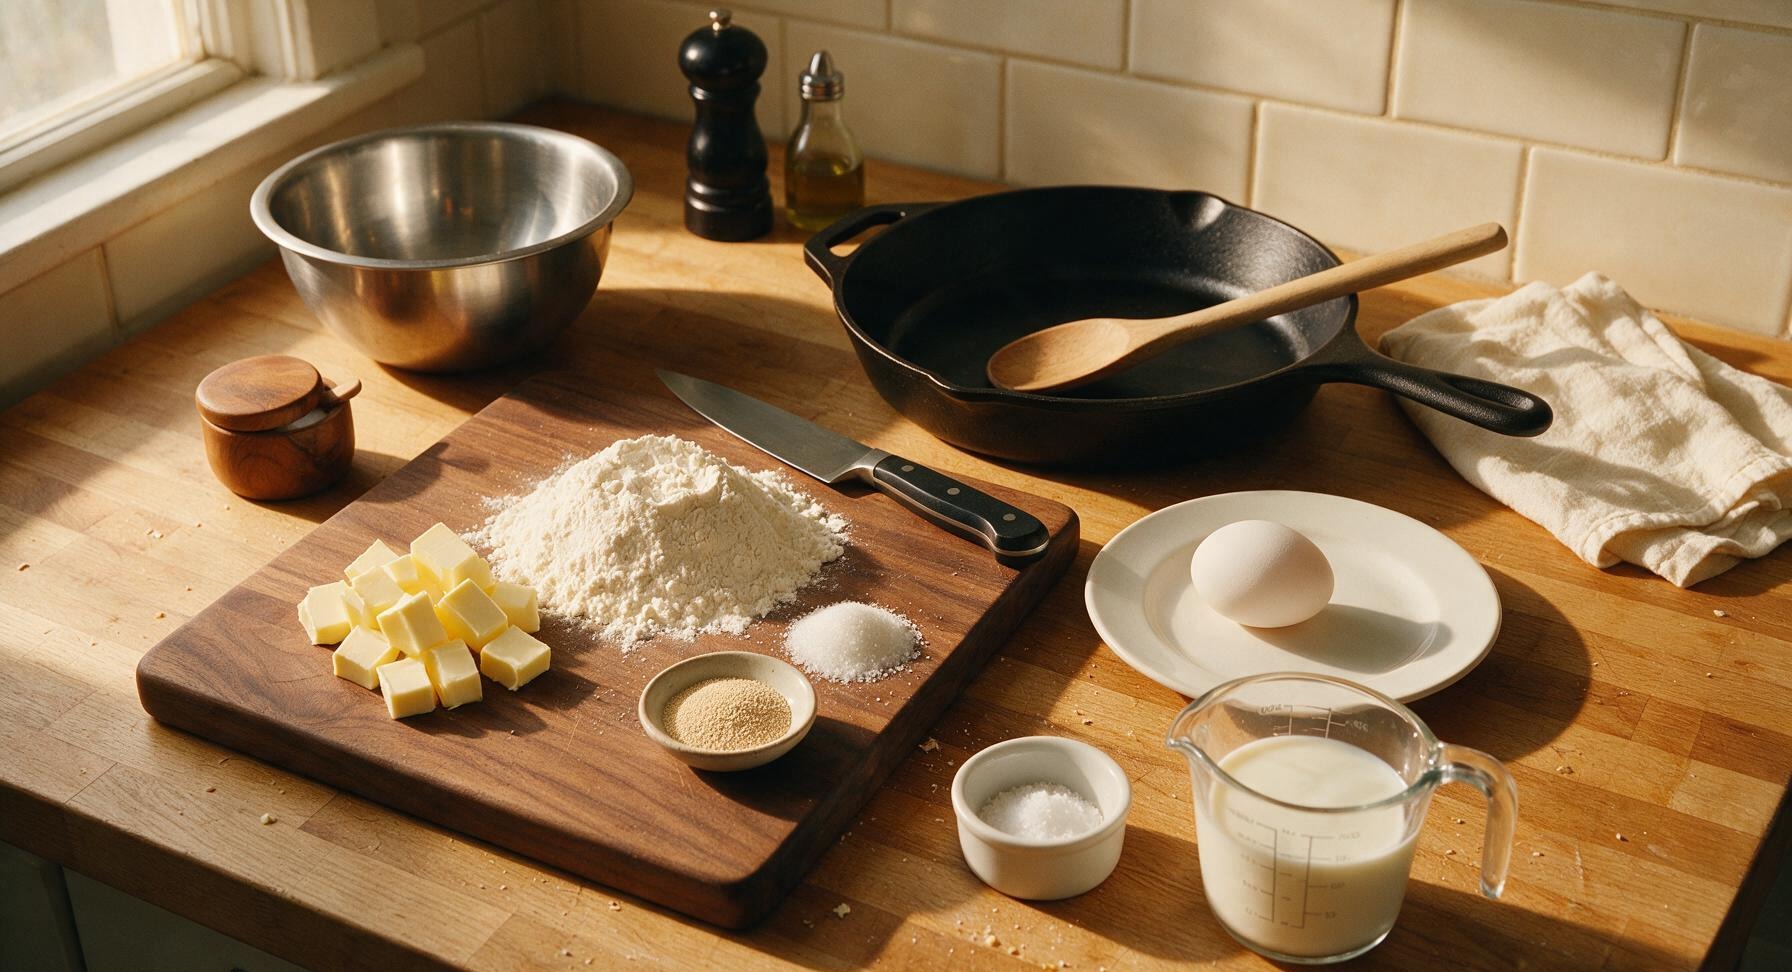
All-purpose flour 420g (3 1/2 cups)
Whole milk 240ml (1 cup)
Unsalted butter 113g (1/2 cup, divided)
Active dry yeast 7g (2 1/4 tsp, 1 packet)
Granulated sugar 25g (2 tbsp)
Fine sea salt 1 tsp
Large egg 1 (room temperature)

Steps

1

Activate the Yeast

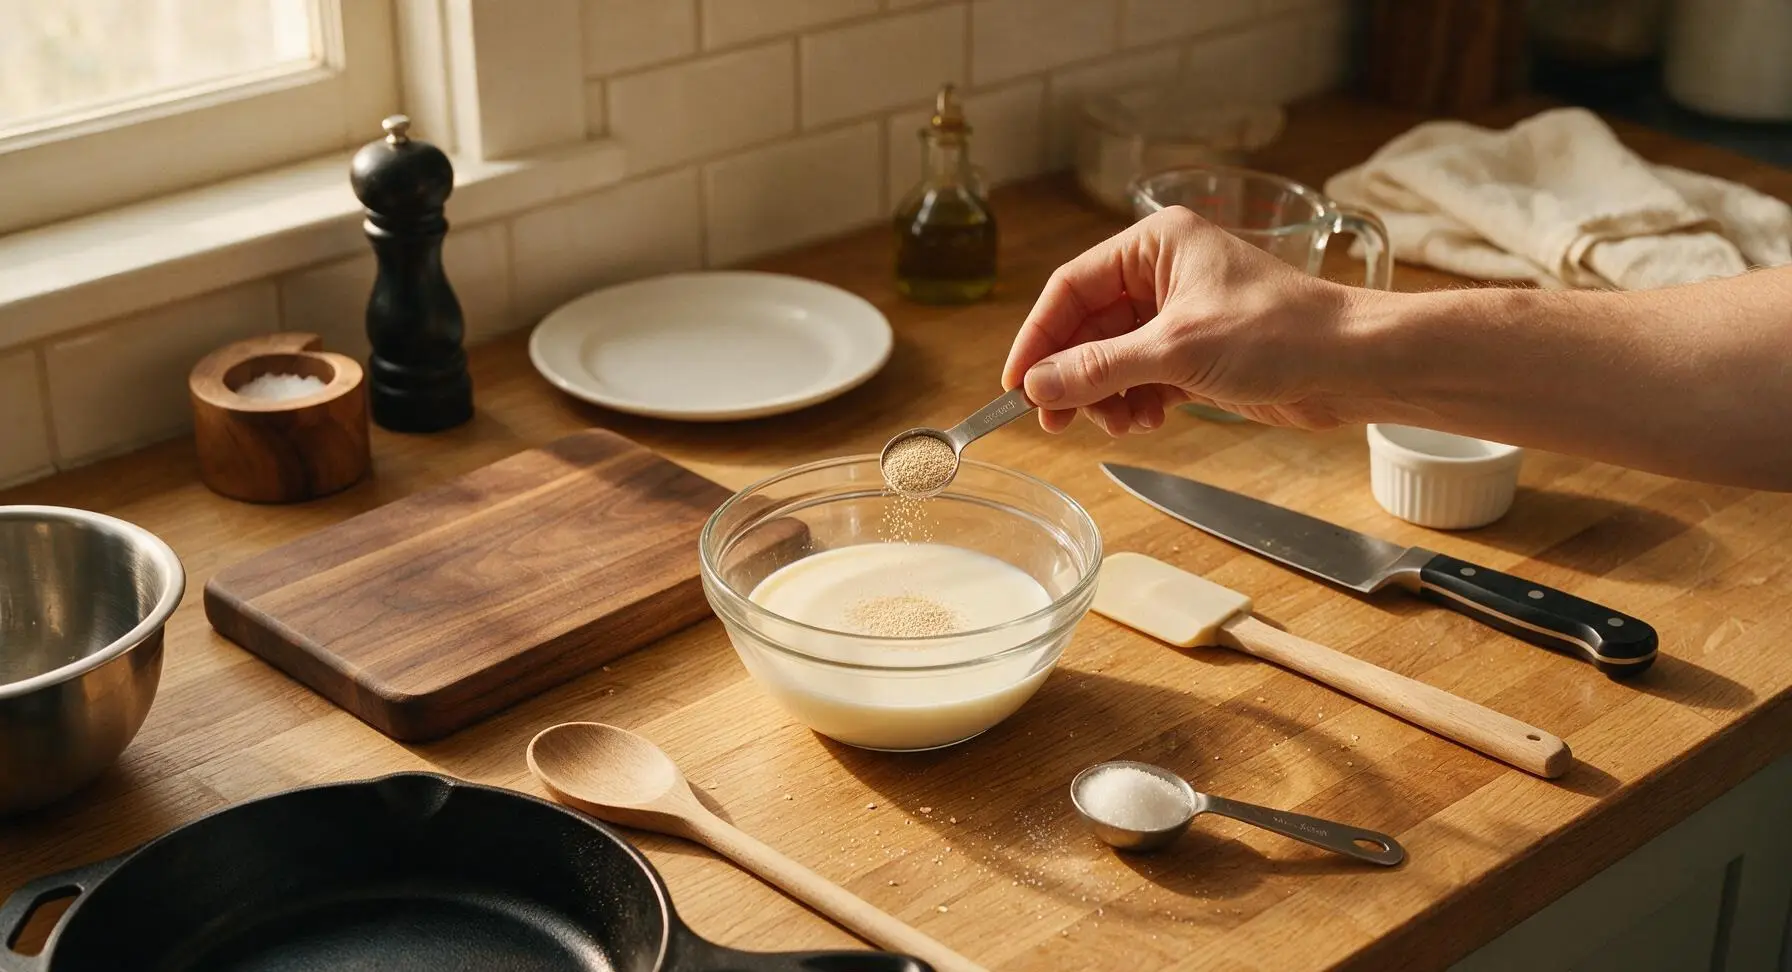
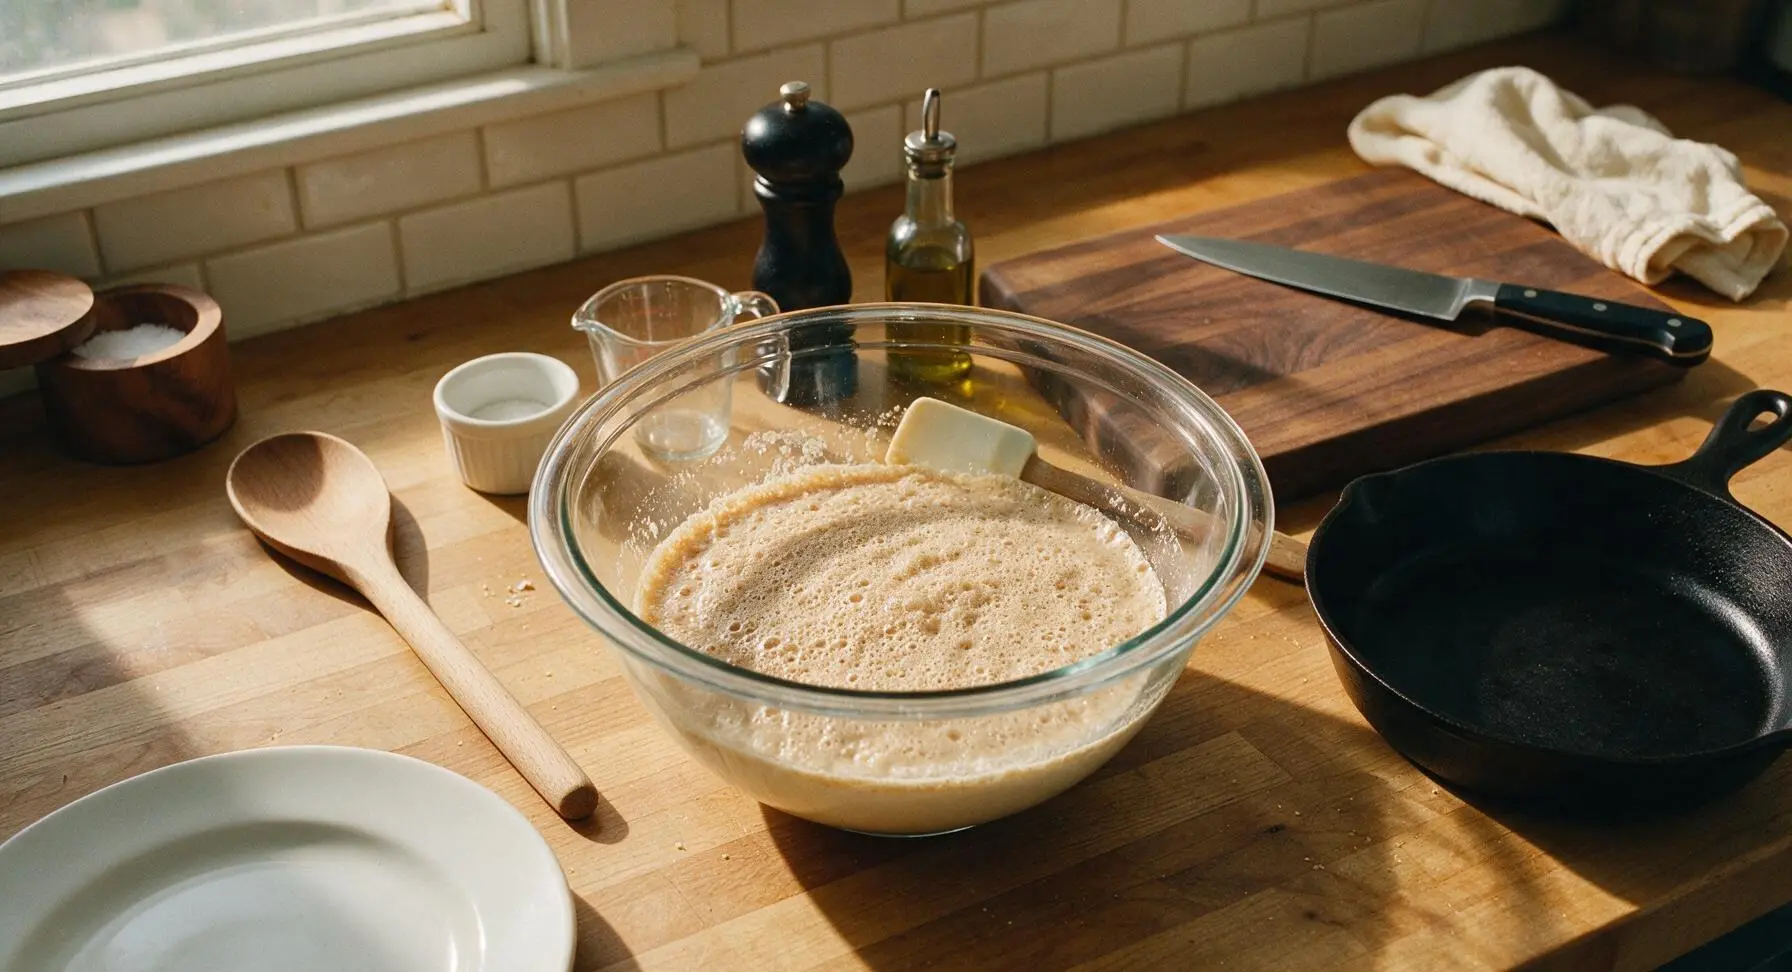
Pour 240ml warm whole milk (110°F, lukewarm to the touch, not hot enough to burn skin) into the small glass mixing bowl. Stir in 1 tbsp granulated sugar and the full 7g packet of active dry yeast with the silicone spatula. Let rest for 5-7 minutes in a warm spot until the mixture foams into a frothy, beer-like layer on top, confirming the yeast is active. If no foam forms, the yeast is dead and should be replaced.
Step 1
step1:Activate the Yeast
Step 1
step1:Activate the Yeast
2

Combine Dough Ingredients

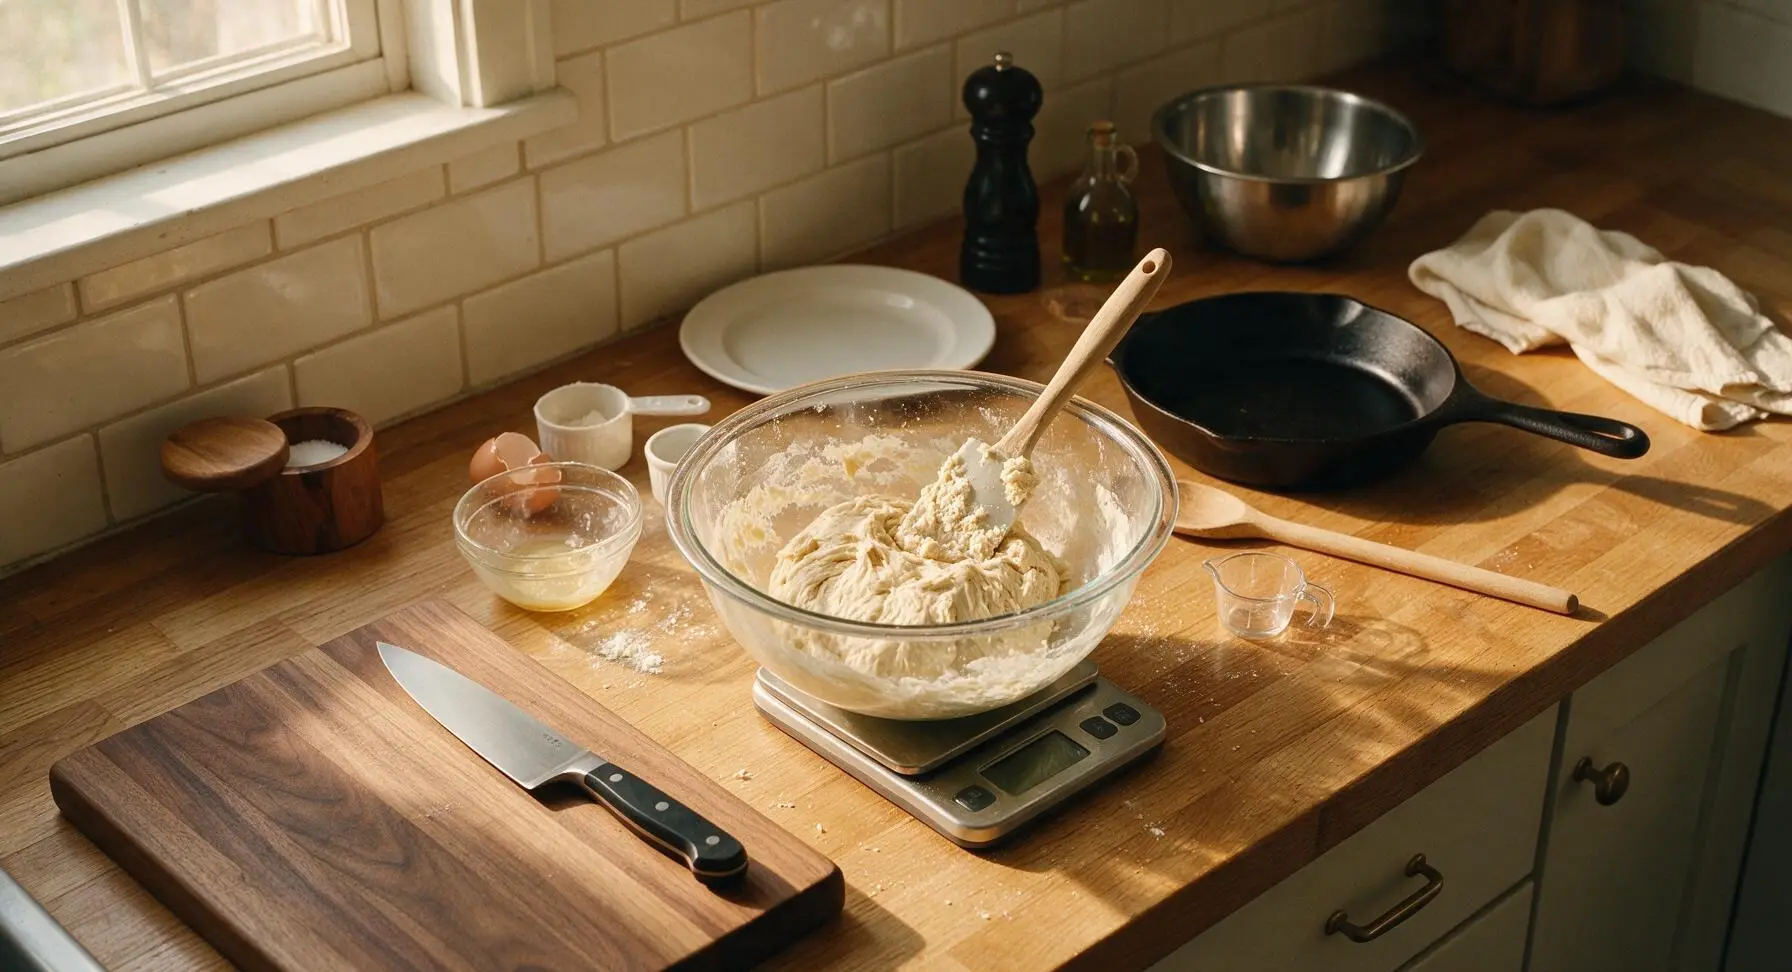
Place the large glass mixing bowl on the digital scale. Add 420g all-purpose flour, remaining 1 tbsp granulated sugar, and 1 tsp fine sea salt, stirring briefly to combine. Add the activated yeast mixture, 1 room temperature large egg, and 56g (4 tbsp) melted, cooled unsalted butter. Stir with the silicone spatula until a shaggy, sticky dough forms, with no dry flour pockets remaining at the bottom of the bowl.
Step 2
step2:Combine Dough Ingredients
3

Knead Until Smooth

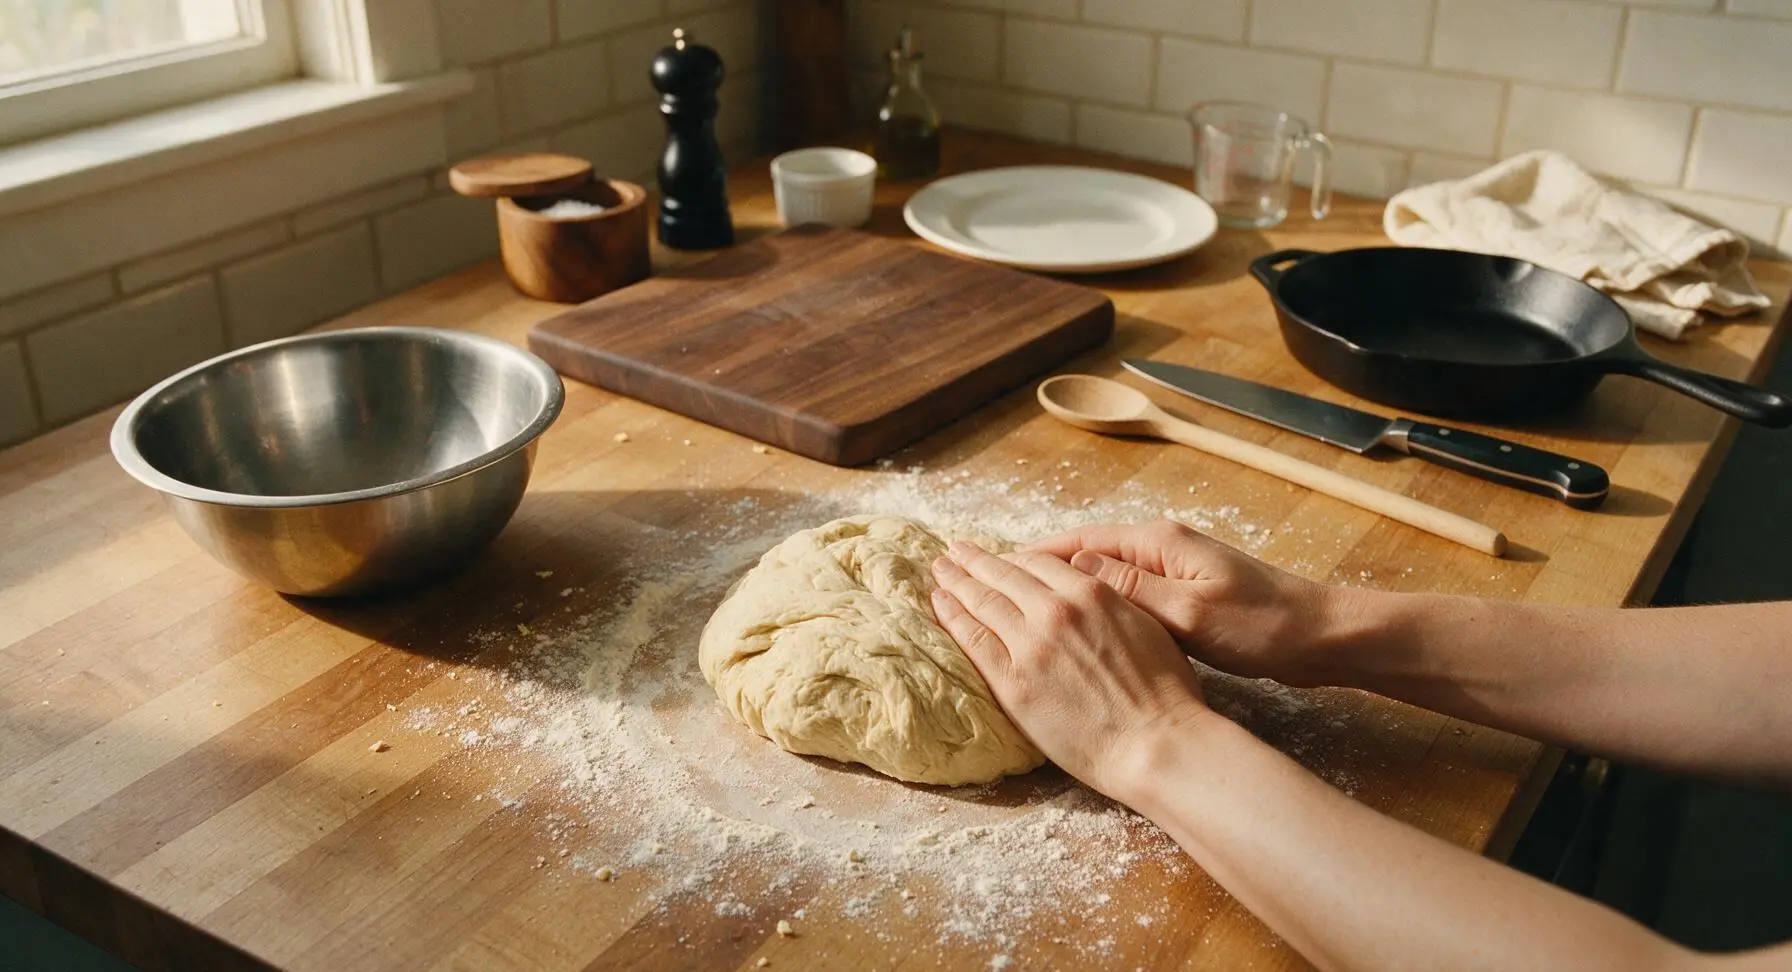
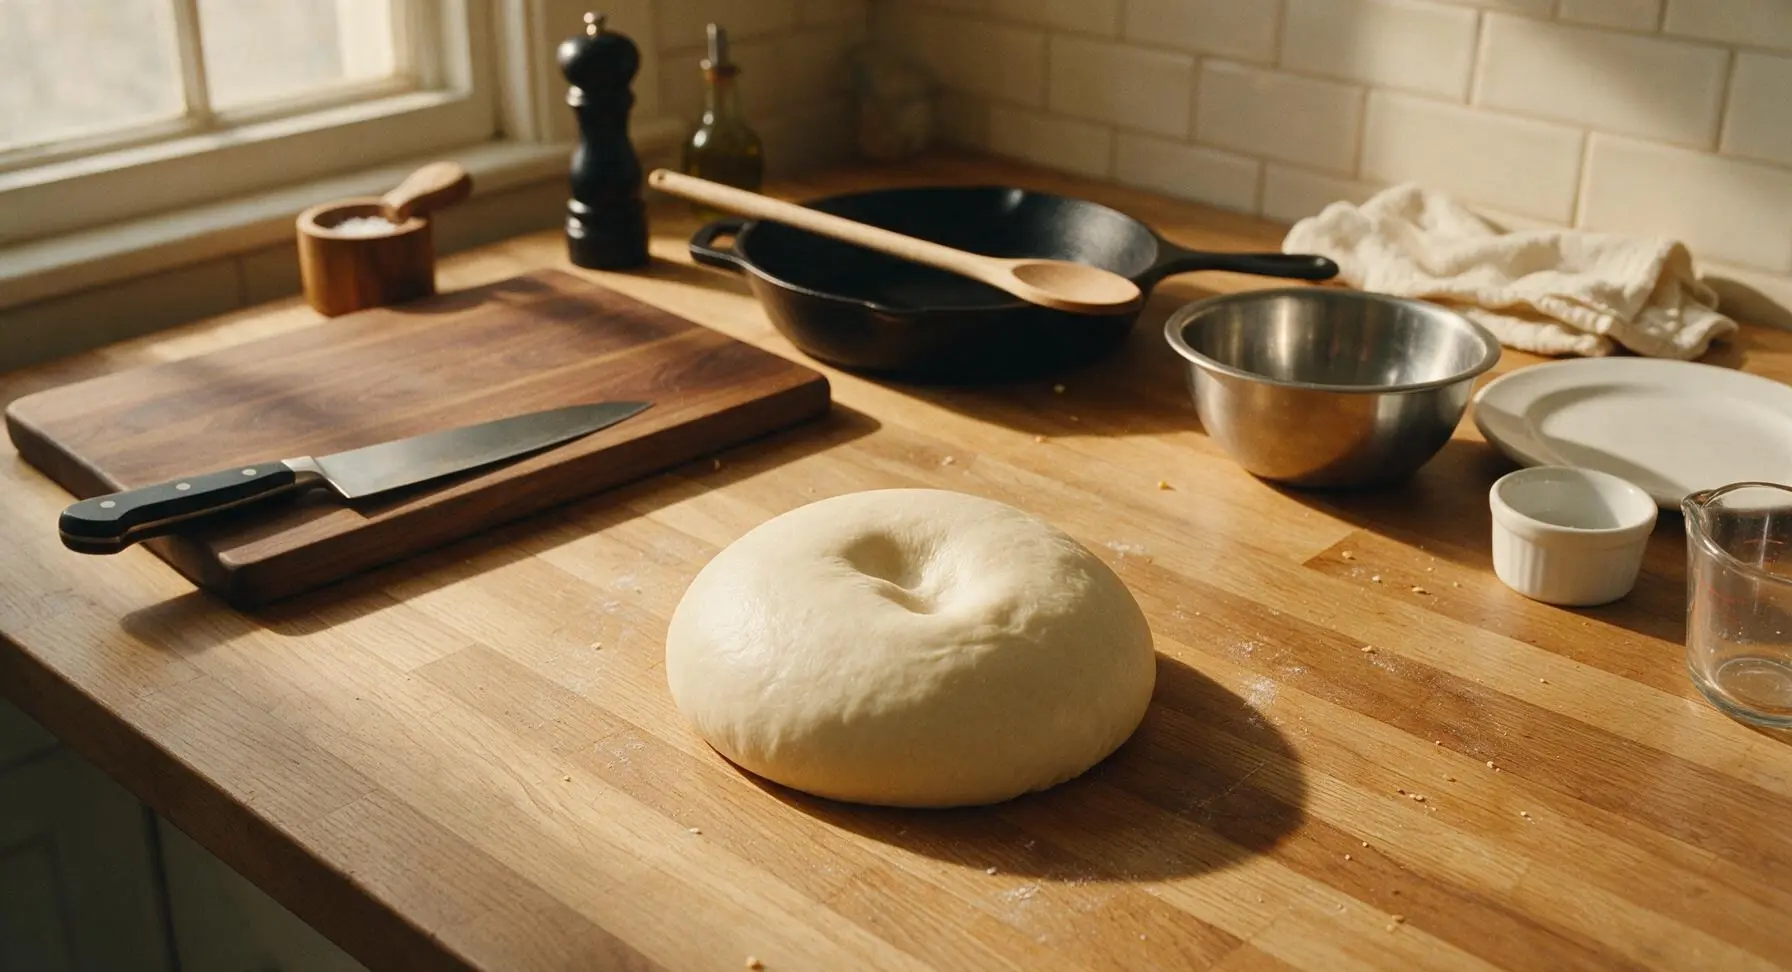
Turn the shaggy dough out onto a lightly floured section of the counter (use 1 tbsp extra flour to prevent sticking). Knead by hand for 8-10 minutes, folding the dough over itself and pushing forward with the heel of your hand, until the dough is smooth, elastic, and springs back slowly when poked with a finger. The dough should feel soft, not tight or tough.
Step 3
step3:Knead Until Smooth
Step 3
step3:Knead Until Smooth
4

Let Dough Rise

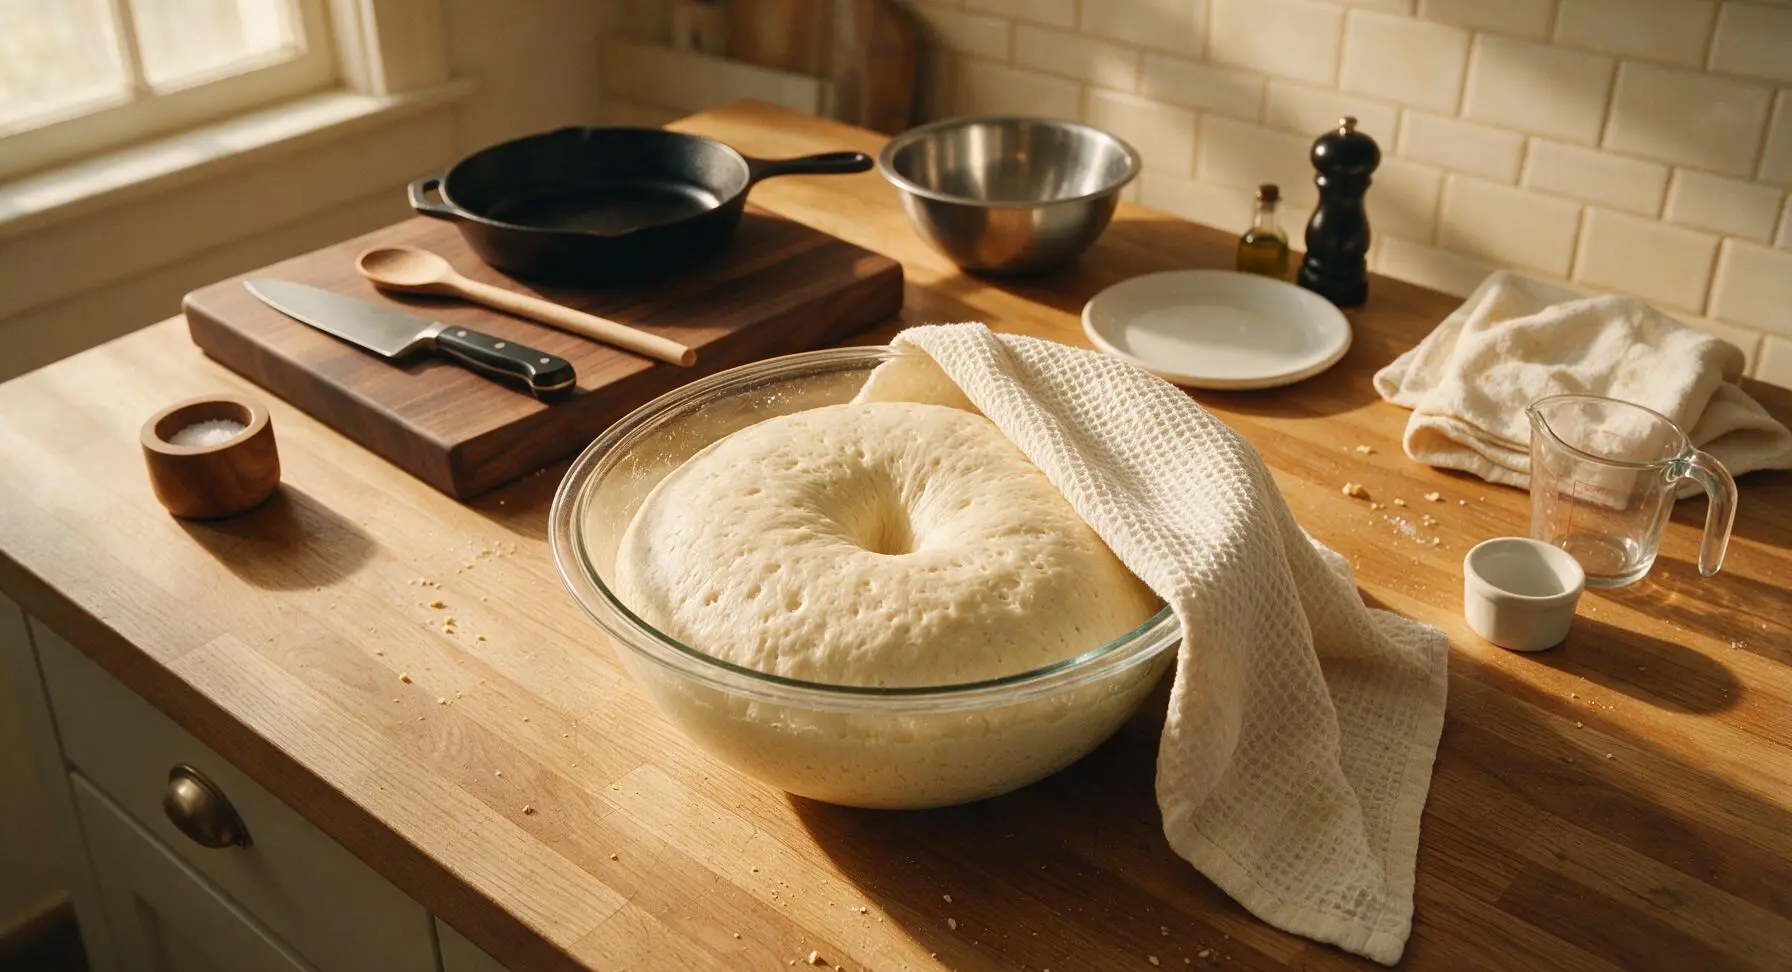
Form the kneaded dough into a tight ball, place it back into the large glass mixing bowl (lightly greased with a thin swipe of butter), and cover the bowl tightly with the off-white waffle-weave kitchen towel. Let rise in a warm, draft-free spot for 1 to 1.5 hours, until the dough has doubled in size, and a finger poked into the center leaves an indentation that does not bounce back.
Step 4
step4:Let Dough Rise
5

Roll and Cut Triangles

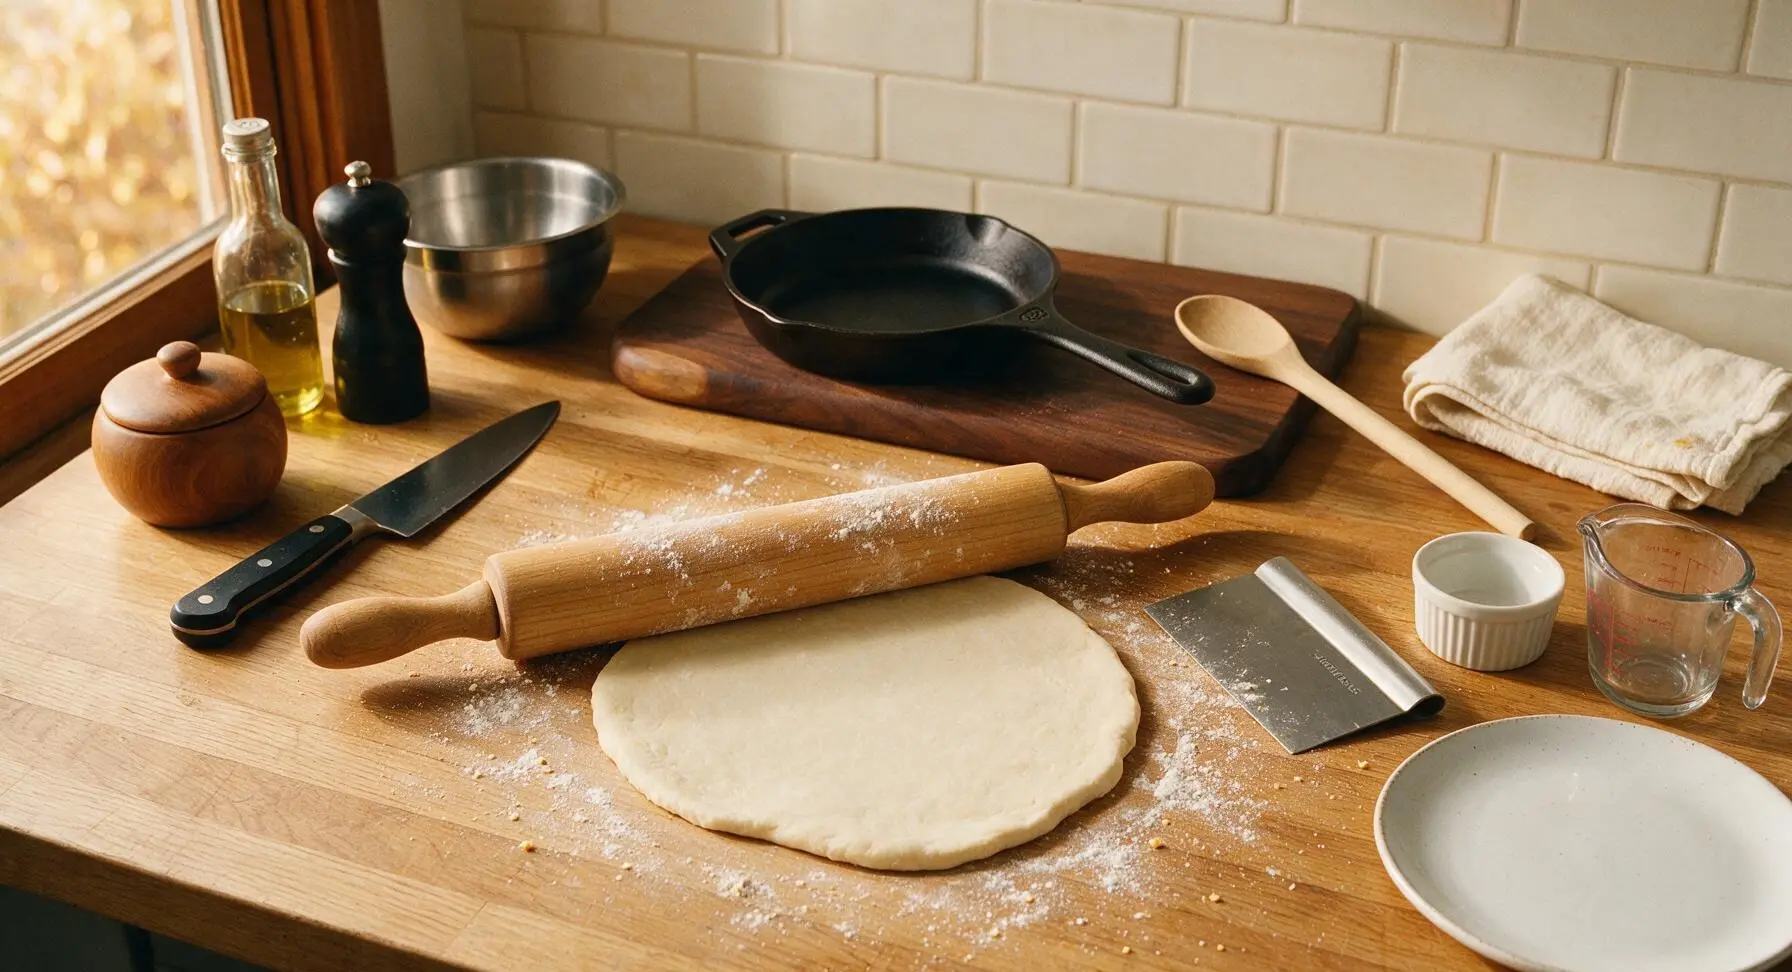
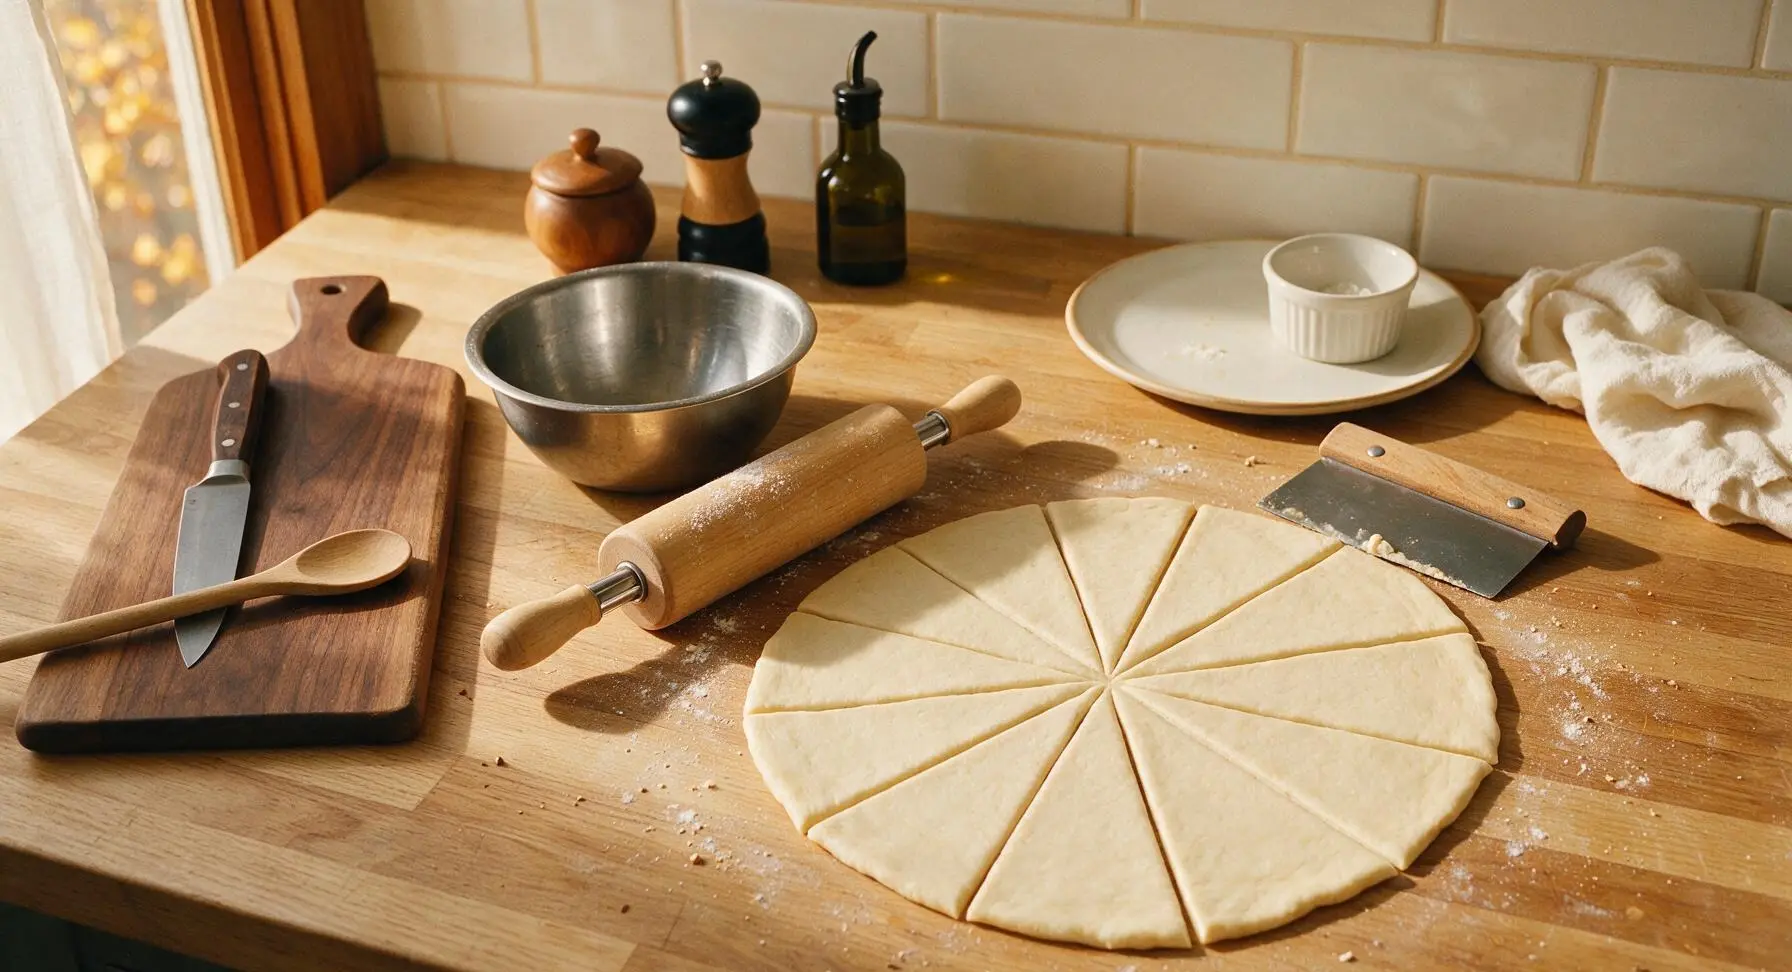
Punch the risen dough down firmly to release all trapped air, then turn it out onto the clean counter. Use the maple rolling pin to roll the dough into a large, even 16-inch circle, 1/4-inch thick across the entire surface. Use the bench scraper to cut the circle evenly into 12 equal triangle wedges, like slices of a pie, each wedge approximately 4cm wide at the wide outer edge.
Step 5
step5:Roll and Cut Triangles
Step 5
step5:Roll and Cut Triangles
6

Shape Crescent Rolls

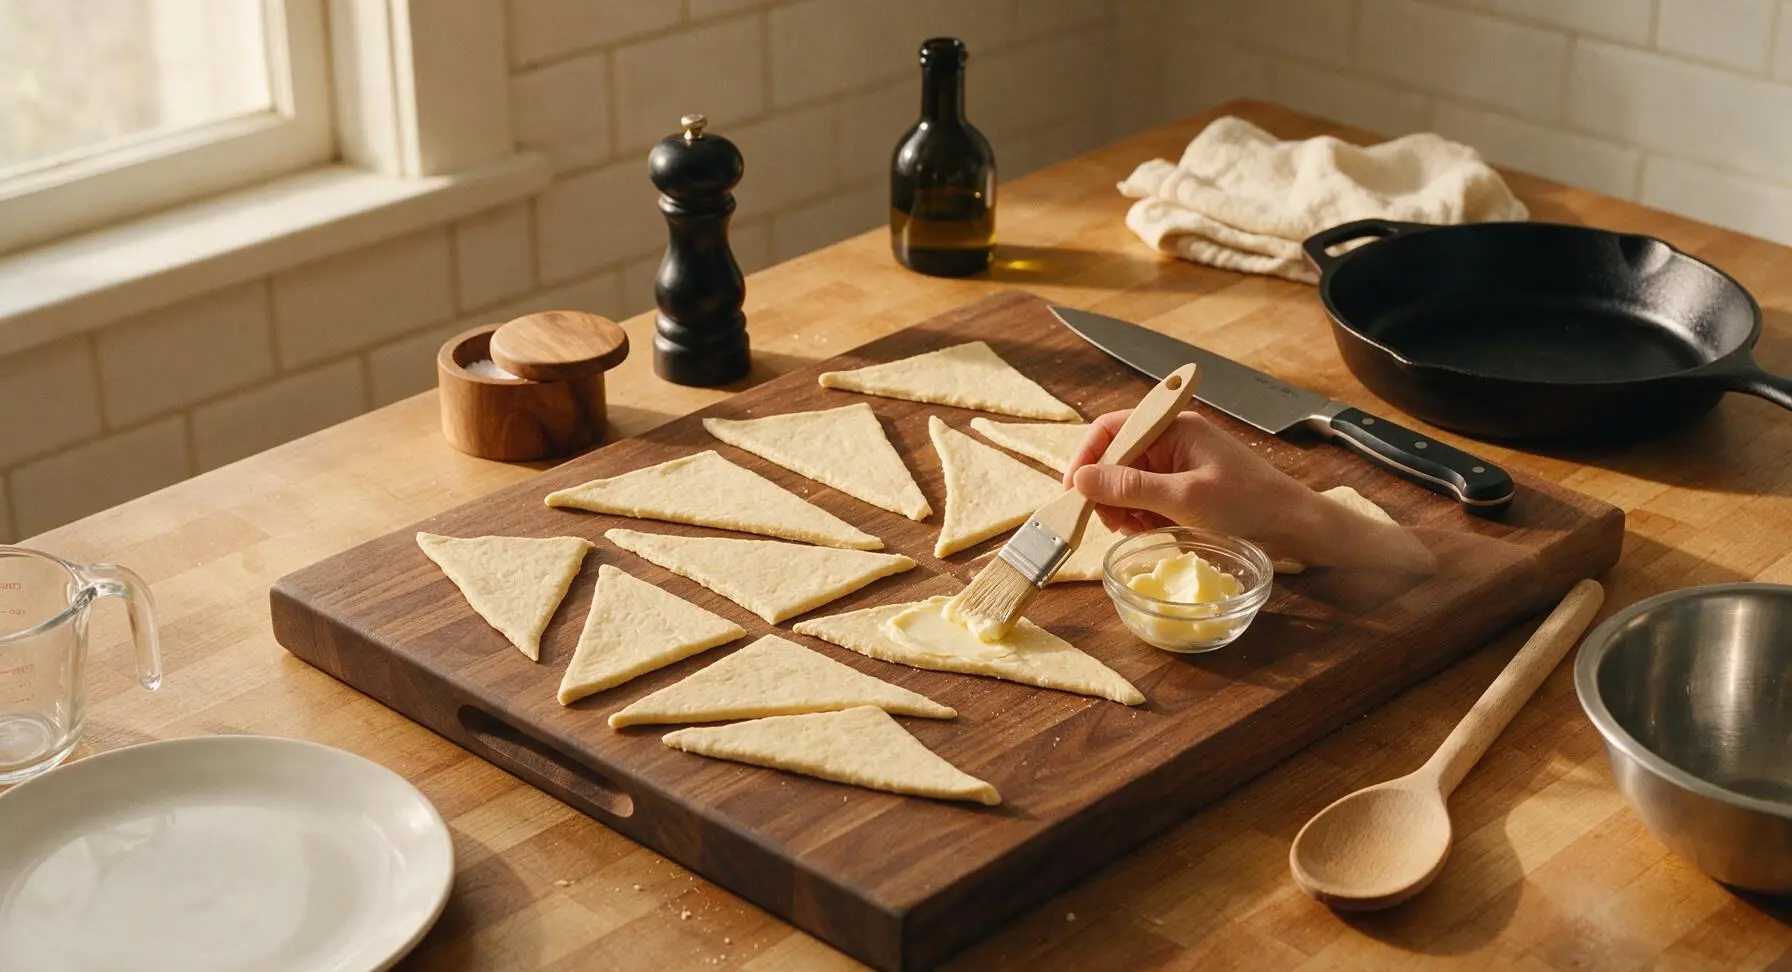
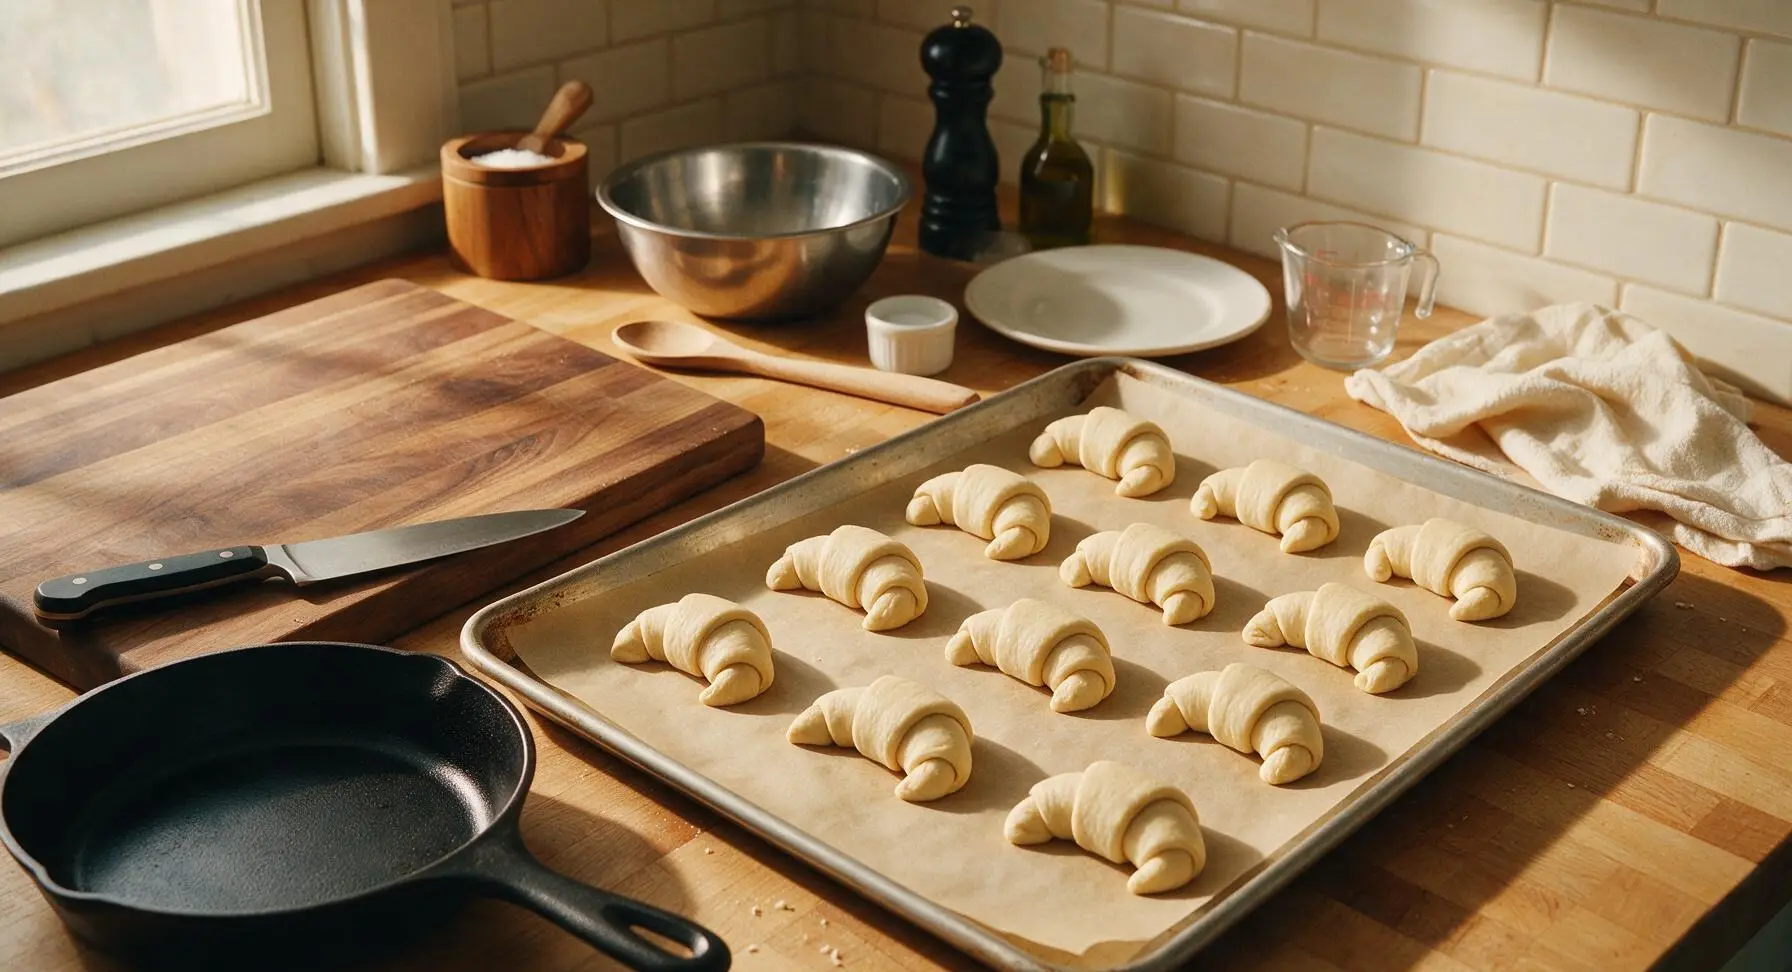
Spread the remaining 56g (4 tbsp) softened unsalted butter evenly across the surface of each dough triangle, leaving a 1/8-inch border at the edges. Starting at the wide outer edge of each triangle, roll the dough tightly toward the pointed tip, then curve the ends slightly inward to form the classic crescent shape. Place each shaped roll 2 inches apart on the parchment-lined aluminum baking sheet, with the pointed tip tucked underneath to prevent unrolling during baking.
Step 6
step6:Shape Crescent Rolls
Step 6
step6:Shape Crescent Rolls
7

Bake to Golden Perfection

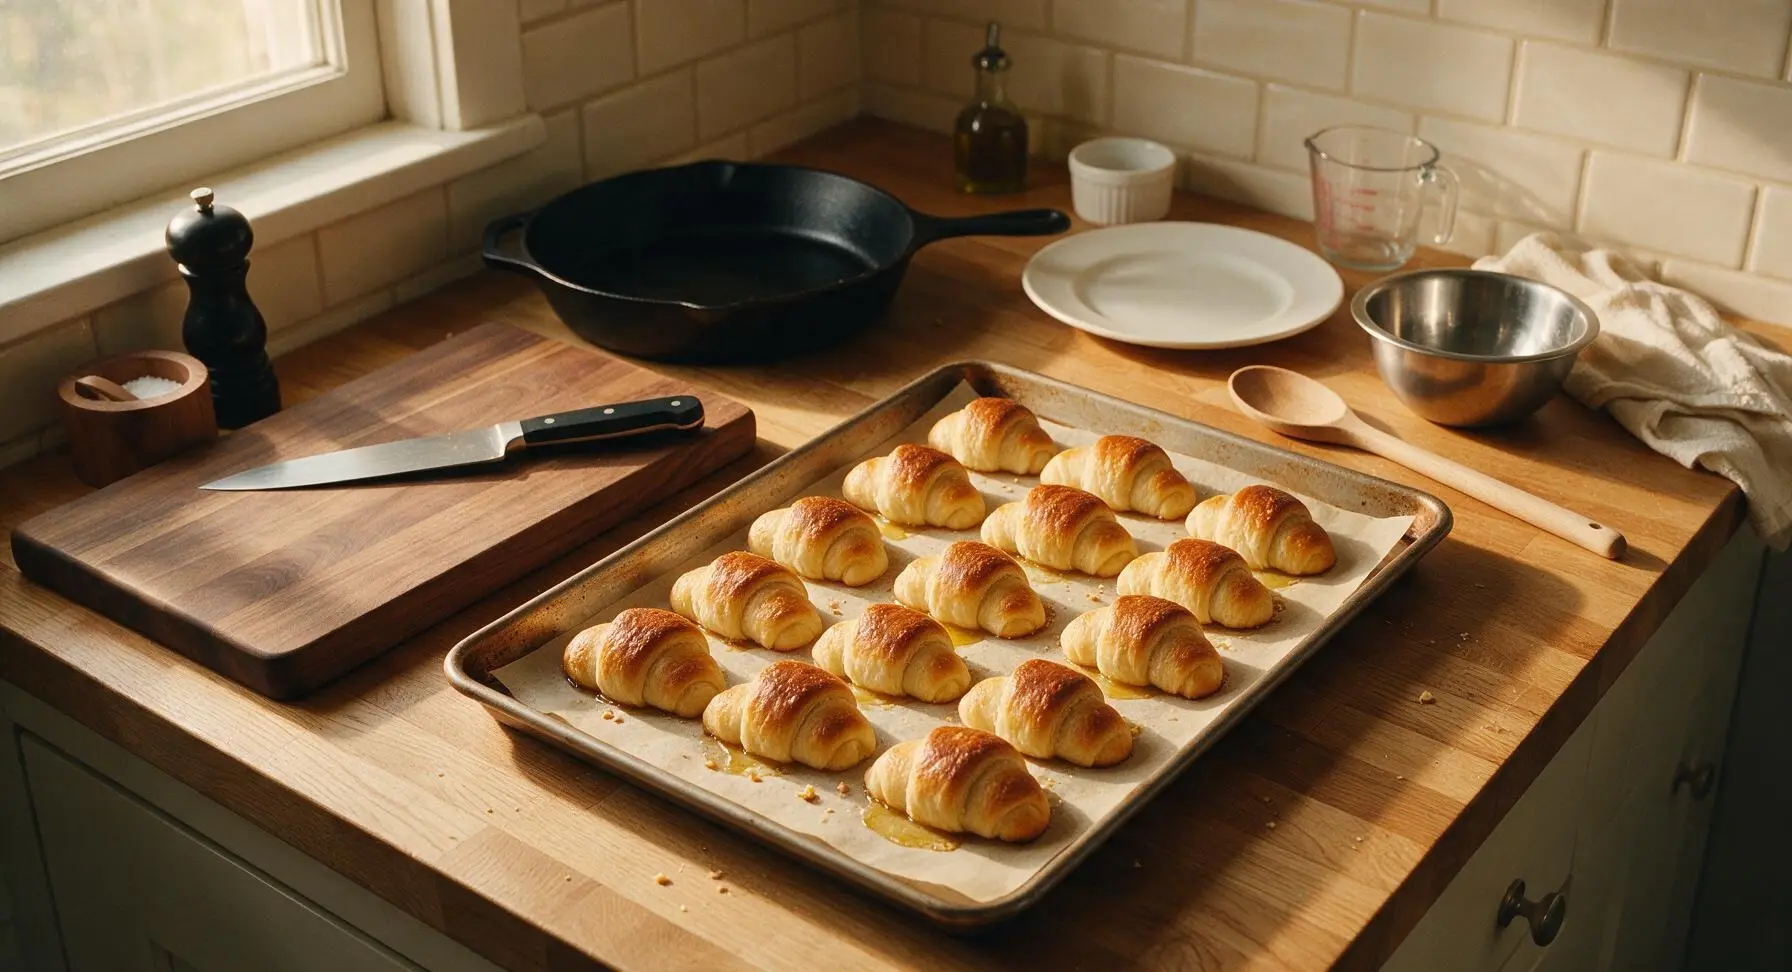
Cover the shaped rolls loosely with the waffle-weave kitchen towel and let rise a second time for 30-40 minutes, until puffy and nearly doubled in size. Preheat oven to 375°F (190°C) while rolls rise. Remove the towel, bake for 12-15 minutes, rotating the baking sheet halfway through, until the rolls are deep golden brown on top and sound hollow when tapped on the bottom. Internal temperature should read 190°F (88°C) on an instant-read thermometer.
Step 7
step7:Bake to Golden Perfection
8

Butter and Serve Warm

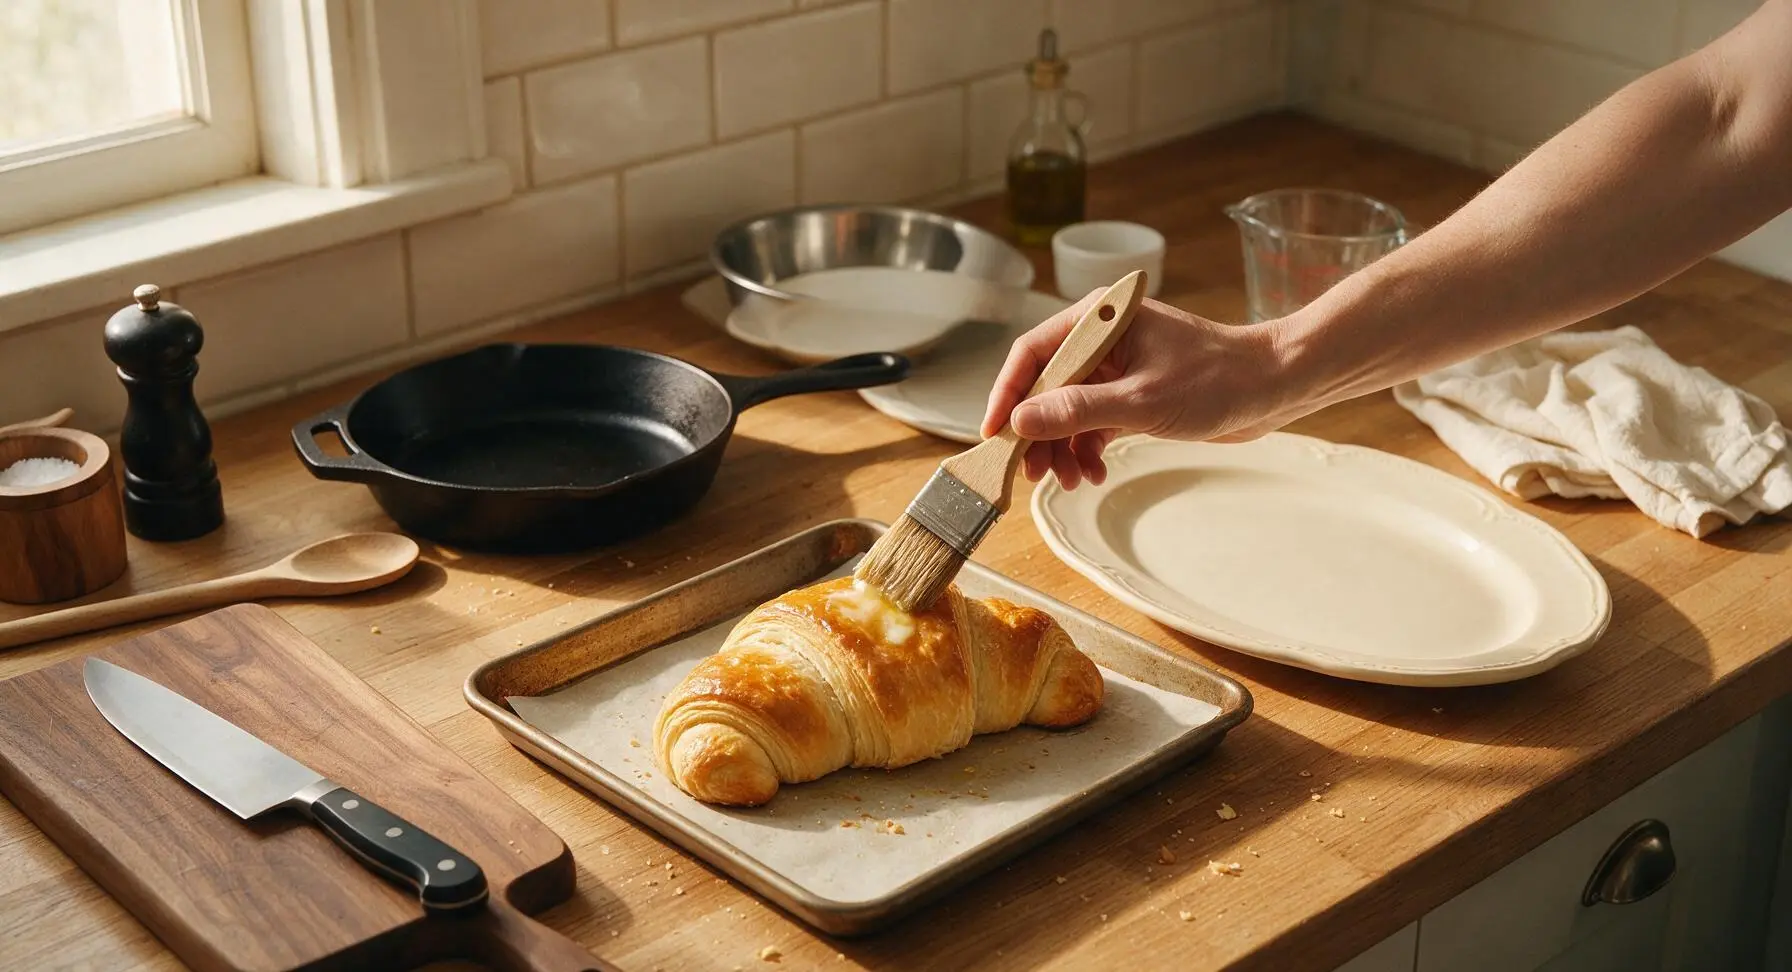
Immediately after removing rolls from the oven, use the pastry brush to brush the tops with extra melted butter for a glossy, rich finish. Let cool on the baking sheet for 5 minutes, then transfer to the cream ceramic serving platter. Serve warm, with extra butter or jam on the side if desired.
Step 8
step8:Butter and Serve Warm

Tips

1.Always test your milk temperature before adding yeast: milk hotter than 115°F will kill the yeast, while milk colder than 105°F will slow activation, leading to dense, flat rolls that do not rise properly.
2.Use only a light dusting of flour on your counter when kneading and rolling: too much extra flour will mix into the dough and create tough, dry rolls instead of the soft, pillowy texture these crescent rolls are known for.
3.Always tuck the pointed tip of each rolled crescent underneath the roll before placing it on the baking sheet: this prevents the tip from popping up and the roll from unravelling as it puffs up during baking, keeping the classic curved crescent shape intact.


✨ You May Also Like

Desserts & Baking
🍜 Italy

Creamy, coffee-kissed classic Northern Italian no-bake dessert, with layers of rum-spiked mascarpone cream, soft ladyfingers, and a rich cocoa dusting.

⏱️ 4 hours 3Desserts & Baking ★ 4.7
Desserts & Baking
🍜 France

Flaky, shatteringly crisp, buttery French croissants with golden exteriors and soft, airy layered interiors, perfect for pairing with coffee for a special morning treat.

⏱️ 12 hours Desserts & Baking ★ 4.5
Desserts & Baking
🍜 United States

Warm, spiced baked apples topped with a fluffy golden biscuit crust, this cozy dessert pairs perfectly with vanilla ice cream for cool-weather comfort.

⏱️ 55 minuteDesserts & Baking ★ 4.6
Desserts & Baking
🍜 United States

A star-spangled classic American blueberry pie with buttery flaky crust and bright sweet-tart filling, perfect for summer patriotic gatherings.

⏱️ 1 hour 25Desserts & Baking ★ 4.7
Desserts & Baking
🍜 United States

A beloved no-bake regional Maine candy with a chewy coconut-potato center coated in rich dark chocolate, a New England holiday staple since the 1870s.

⏱️ 2 hours 3Desserts & Baking ★ 4.8
Desserts & Baking
🍜 France

Luxuriously creamy, floral frozen custard made with aromatic Tahitian vanilla beans, boasting a smooth, rich texture that melts slowly on the tongue.

⏱️ 3 hours 3Desserts & Baking ★ 4.5

Homemade Crescent Rolls:Frequently Asked Questions

1.Why do my crescent rolls turn out dense instead of light and pillowy? ▾
Dense rolls almost always trace back to inactive yeast, under-kneading, or rushed rise time. First, test your active dry yeast by proofing it in warm (105–110°F) milk with a pinch of sugar for 5 minutes—if it doesn’t foam, it’s dead. Knead until the dough passes the windowpane test, and let it rise in a draft-free spot until fully doubled.
2.Do I have to use whole milk, or can I swap in lower-fat milk? ▾
Whole milk adds rich, tender texture and subtle creaminess that makes these rolls feel luxe, but you can swap in 2% if that’s what you have. Skip skim milk, though—it will make the rolls drier and less flavorful. If using 2%, add 1 extra tablespoon of melted unsalted butter to the dough to make up for the missing milk fat.
3.How do I get that signature flaky, layered texture in my crescents? ▾
The secret is keeping your unsalted butter cold when you roll and fold the dough! Cut butter into thin, chilled slices, layer it into the rolled-out dough, and do 3 quick letter folds before cutting the triangles. If the butter gets soft and sticky while you work, pop the dough in the fridge for 10 minutes to firm it back up.
4.Can I make this crescent roll dough ahead of time? ▾
Absolutely! This dough holds up beautifully in the fridge for up to 24 hours. After your first knead, wrap the dough tightly and refrigerate for a slow, cold rise that builds deeper, buttery flavor. When you’re ready to bake, pull it out, roll, shape, let formed rolls rise for 45 minutes, then bake as directed—ideal for holiday prep.
5.What temperature should milk be to properly activate active dry yeast? ▾
Aim for milk between 105°F and 110°F—think warm bath water, not piping hot. If it’s cooler than 100°F, the yeast won’t wake up, and your rolls won’t rise. If it’s over 115°F, you’ll kill the yeast entirely, leaving you with flat, dense rolls. I use a quick-read thermometer to take all the guesswork out.
6.Can I freeze baked crescent rolls for later use? ▾
You sure can! Let baked rolls cool completely to room temperature, then wrap them tightly in two layers of plastic wrap and a layer of aluminum foil, and freeze for up to 3 months. When you’re ready to eat, thaw on the counter for an hour, then warm in a 300°F oven for 5 to 7 minutes until soft and heated through.
7.Why is granulated sugar used if these crescent rolls aren’t sweet? ▾
The small amount of granulated sugar does double duty in this recipe! First, it feeds the active dry yeast to help it activate and create that light, airy rise. Second, it balances the savoriness of butter and salt, and helps form that perfect golden, crisp crust on the outside of the rolls as they bake.
8.Can I use bread flour instead of all-purpose flour for these rolls? ▾
You can, but expect a slightly chewier, more structured roll than the tender, pillowy texture all-purpose flour creates. If you do swap for bread flour, hold back 2 tablespoons of whole milk at first, since bread flour absorbs more liquid than AP flour. Add the extra milk only if the dough feels too stiff to knead smoothly.
9.How tight should I roll the crescent triangles when shaping them? ▾
Roll them gently but firmly, starting from the wide base of the triangle and tucking the pointed tip under the bottom of the roll once you reach the end. Don’t roll so tight that the dough can’t expand during the second rise—if squeezed too tight, the layers won’t puff properly, and you’ll lose that signature flaky texture.
10.My rolls spread out instead of holding their crescent shape while baking—what went wrong? ▾
That almost always happens if the second rise was too long, or if your butter got too warm and oozed out while baking. Stick to a 30 to 40 minute second rise at room temperature, until rolls are puffy but not jiggly. Keep butter chilled when shaping, and always place the tucked point face-down on the baking sheet to prevent unrolling.
11.Do I need to add extra salt if I’m using unsalted butter? ▾
Yes! Add 1 teaspoon of fine sea salt to the dough when you mix in the flour, since unsalted butter has no added salt to balance the overall flavor. If you only have salted butter on hand, you can use it, just cut added salt down to 1/4 teaspoon to keep the rolls from tasting overly salty. Unsalted butter gives you full flavor control.
12.How do I get that shiny, golden crust on top of baked crescent rolls? ▾
Right before popping them in the oven, brush the tops of shaped rolls with a light coat of melted unsalted butter, or a beaten egg mixed with 1 tablespoon of whole milk. The milk and butter encourage even browning, while egg wash adds extra gloss and crispness. Avoid brushing the cut dough sides, as that can seal layers and prevent puffing.
13.How long should I knead the dough for the best texture? ▾
If kneading by hand, aim for 8 to 10 minutes of steady, gentle kneading on a lightly floured surface. If using a stand mixer with a dough hook, it only takes 4 to 5 minutes on low speed. You’ll know it’s ready when the dough is smooth, pulls cleanly from the bowl, and passes the windowpane test without tearing.
14.Can I add fillings to these crescent rolls before baking? ▾
Absolutely! Stick to light, low-moisture fillings so they don’t make the dough soggy. Great options include a thin sprinkle of shredded cheddar, a tiny square of herb butter, a light dusting of cinnamon sugar, or a thin slice of deli ham. Add fillings at the wide triangle base before rolling, and don’t overstuff to avoid messy leaks.

Comments (20)

2 days ago

OMG these came out SO flaky! I made them for our Sunday family dinner and every last one was gone before we even finished the main course. Way better than the canned stuff I’ve been buying for years, no weird preservatives either. 10/10 will be making these every week from now on.

30 minutes ago

Quick question — my dough didn’t double in size after the first rise, did I kill the yeast? I used warm water like the recipe said but maybe it was too hot? They still tasted good but were a little denser than I wanted.

5 minutes ago

Hi there! So sorry your dough was a little dense! If your water is over 110°F it can absolutely kill the yeast, I recommend testing with a food thermometer if you have one next time. You can also let your dough rise in a warm, draft-free spot (like inside your turned-off oven with the light on) to help it puff up better! Hope that helps for your next batch.

2 hours ago

Game changer! I swapped the regular butter for vegan butter to make these dairy free for my son’s allergy, and they came out perfectly! No weird texture or off flavor, you’d never know they were vegan.

30 minutes ago

Oh thank you for sharing this swap! My daughter has a dairy allergy too and I’ve been scared to try homemade rolls, I’m definitely going to try your vegan butter trick this weekend!

yesterday

Brought these to my office potluck yesterday and people were begging me for the recipe! I brushed a little melted garlic butter on top right when they came out of the oven and *chef’s kiss*. Perfectly soft inside, crispy golden edges.

2 weeks ago

Wait, my kitchen is always super cold in the winter, so my dough takes forever to rise! Any tips for getting a good rise when your house is 65 degrees max? I don’t want to wait 3 hours for dough to rise every time I make these.

1 week ago

I have the same issue in my drafty old Chicago apartment! I heat a mug of water in the microwave for 2 minutes until it’s steamy, then stick the covered bowl of dough in the closed microwave with the mug. It creates the perfect warm, humid little spot for rising, cuts my rise time almost in half!

5 days ago

That’s such a great hack! I also recommend setting your bowl of dough on top of a heating pad set to low, wrapped in a kitchen towel, if you have one. The key is keeping it around 75-80°F and draft free for the fastest, puffiest rise!

5 days ago

Wait, the cook time says 15 minutes but mine were perfectly golden at 12 minutes in my oven! I almost burnt them because I set the timer for 15, glad I checked early. Still turned out incredible though, so buttery.

3 days ago

Great catch! Oven temperatures can vary a lot between models, so it’s always smart to start checking a few minutes early. I’m glad they still turned out delicious for you — I’ll add a note about that to the recipe tips!

1 week ago

I made these for my sister’s bridal shower brunch last weekend, and they were the hit of the spread! I added a little sprinkle of everything bagel seasoning on half the batch and parmesan on the other half, so there was a savory option for everyone.

5 days ago

The everything bagel seasoning addition sounds insane! I’m making these for my mom’s birthday brunch next month and I’m 100% stealing that idea. Did you put the seasoning on before or after baking?

3 days ago

I brushed the tops with a little melted butter right before baking and sprinkled the seasoning on then, so it stuck perfectly and got nice and toasty in the oven! It was so good, even the plain ones got devoured though lol.

3 days ago

Okay as someone who’s barely mastered boxed mac and cheese, I was nervous this would be too hard, but the instructions were super straightforward! Mine didn’t get quite as puffy as the photos but they still tasted amazing. Great for meal prep too, I froze half the batch for quick breakfasts this week.

2 weeks ago

Has anyone made these the night before for a holiday meal? I’m hosting Christmas dinner and want to get as much prep done ahead as possible so I’m not stuck in the kitchen all day.

1 week ago

I made these for Thanksgiving last month! I prepped the dough, cut the crescents, and stored them covered on the baking sheet in the fridge overnight, then pulled them out 30 minutes before baking to come up to temp. They came out exactly the same as when I make them same-day!

5 days ago

I wanted to love these, but I found the dough really hard to work with! It kept shrinking back when I tried to roll it into the big circle, so my crescents were all weird shapes. Maybe it’s because I skipped letting the dough rest after rolling? Not sure, might try again later.

3 days ago

Oh that’s such a common issue! When dough shrinks back, it usually means the gluten is too tight — if you let the rolled-out dough rest for 5 minutes before cutting the triangles, it won’t shrink on you. I had the exact same problem my first time making these!

2 days ago

That’s exactly right! If the dough is springing back while you roll it, just cover it with a towel and let it rest 5-10 minutes to let the gluten relax, it’ll roll out perfectly after that. Don’t give up on them — they’re so worth the second try!

1 week ago

SO good. I ate three straight off the baking sheet, no shame. The layers are so flaky they practically melt in your mouth. I don’t think I can ever go back to store bought crescent rolls again, these are just on another level.

5 days ago

Same! I made them last week and ate half the batch by myself before my partner even got home from work, oops. No regrets though, they’re that good.

3 days ago

Wait has anyone tried stuffing these with things? I’m thinking cheese, maybe a little ham and cheese for a quick grab-and-go breakfast for my husband’s work commute. Would the filling leak out while baking?

2 days ago

I stuffed mine with pepper jack and a little bit of jalapeño last week! Just make sure you seal the edges really well when you roll them up, and don’t overstuff them (I learned that the hard way when a bunch of cheese oozed out onto the baking sheet, lmao). They were incredible!

yesterday

Stuffed crescents are such a fun twist! As mentioned, don’t overstuff and pinch the seams tightly when rolling to prevent leaks. My personal favorite is a little bit of Nutella and banana for a sweet treat version!

1 week ago

These taste exactly like the crescent rolls my grandma used to make for Thanksgiving! I was worried I’d never find a recipe that nailed that soft, buttery, slightly sweet flavor, but this is it. My whole family got nostalgic eating them, total win.

3 days ago

I totally messed up the rolling step at first — my triangles were all lopsided so some rolls were thicker than others, but even the wonky ones tasted amazing! I dusted a little extra flour on my counter when rolling the dough out and that kept it from sticking like it did on my first try.

2 days ago

The wonky rolls are always the best ones, right? So glad you found the extra flour trick for sticking — I’ll add that tip to the recipe instructions for other bakers who run into that issue!

2 days ago

Wait, do I have to use active dry yeast for this? I only have instant yeast in my pantry right now and I don’t feel like running to the grocery store just for yeast. Will that work as a substitute?

yesterday

I used instant yeast when I made these last week! I didn’t even proof it first, just mixed it right in with the dry ingredients, and they turned out perfectly fluffy. I did cut the first rise time by about 15 minutes since instant yeast works faster.

2 hours ago

Instant yeast works perfectly as a swap! You can either mix it directly into the dry ingredients like the commenter above mentioned, or proof it the same way you would active dry yeast — either way works great. No grocery store run needed!

yesterday

Used this dough to make mini pigs in a blanket for our football watch party last weekend! Wrapped little smokies in the crescent triangles, baked them up, and served with cheese dip. Absolute home run, my friends were raving all night.

2 hours ago

What a genius idea! I was trying to figure out what to make for our tailgate next weekend, and these mini pigs in a blanket are going on the menu for sure. Thanks for the inspo!

5 days ago

Made these to pack for our weekend camping trip and they held up perfectly! We ate them with eggs for breakfast, with chili for dinner, even as little sandwich buns for lunch. Super versatile, not too fussy once you get the hang of the rolling step.

1 week ago

I made these for Thanksgiving this year and I swear my uncle talked about them for 3 days after dinner. He kept saying they were better than the ones his mom used to make, which is the highest possible compliment in our family. 1000/10, this recipe is going in my permanent holiday recipe box.

5 days ago

This is exactly the endorsement I needed! I was tasked with bringing rolls to our family Christmas dinner and I’ve been scrolling recipes for hours trying to find a good one. I’m sold, making these!

3 days ago

You’re going to love them! Pro tip: make a double batch, because people will go back for seconds and thirds. I only made a single batch for 8 people and we ran out in 10 minutes, total chaos lol.

5 minutes ago

I cut the sugar in half when I made these because I prefer less sweet dinner rolls, and they were perfect for me! Great base recipe that’s super easy to tweak to your taste preferences.

just now

Love that customization! The recipe is really flexible, so adjusting the sugar to match your preference is such a smart call. So glad they turned out great for you!

just now

My kids loved it! I let them help roll up the crescents before baking and they had a blast. They kept sneaking bites off the cooling rack before dinner, little rascals. Definitely a new family favorite.



