
Homemade Crescent Rolls (Version 2)
intro
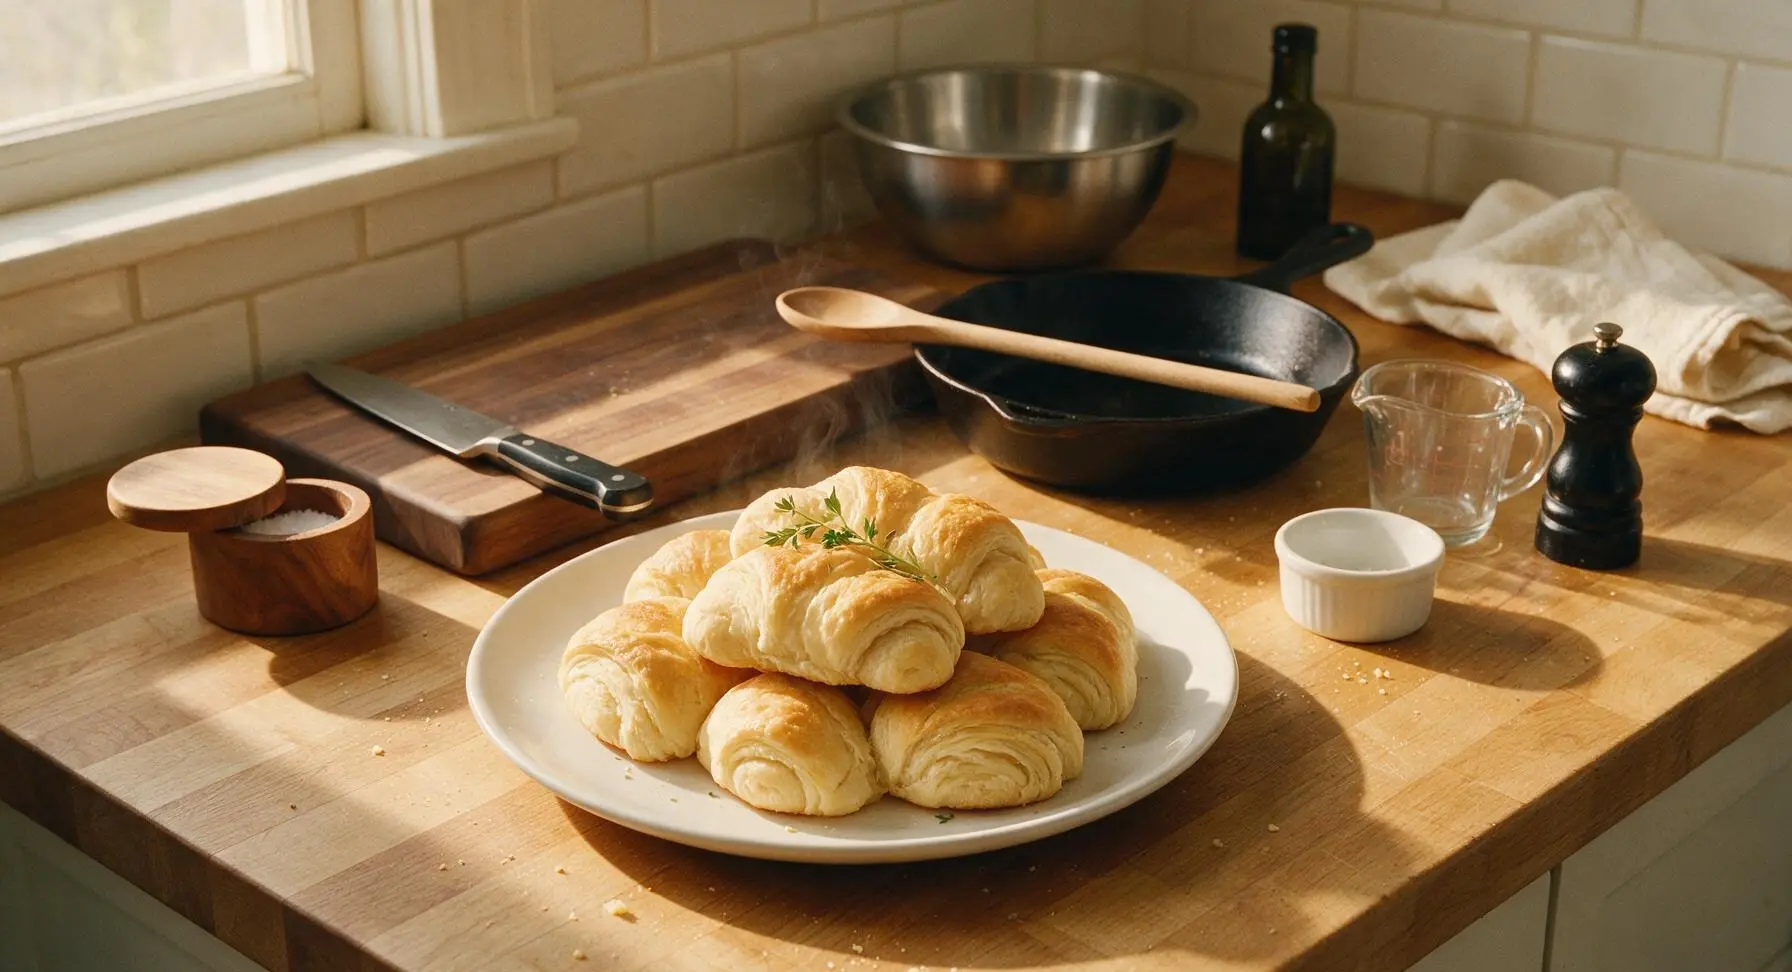
Soft, pillowy, flaky golden crescent rolls oozing with buttery flavor—perfect for holiday tables, weekend brunches, and sopping up gravy.
Ingredients
Steps
Activate the Yeast
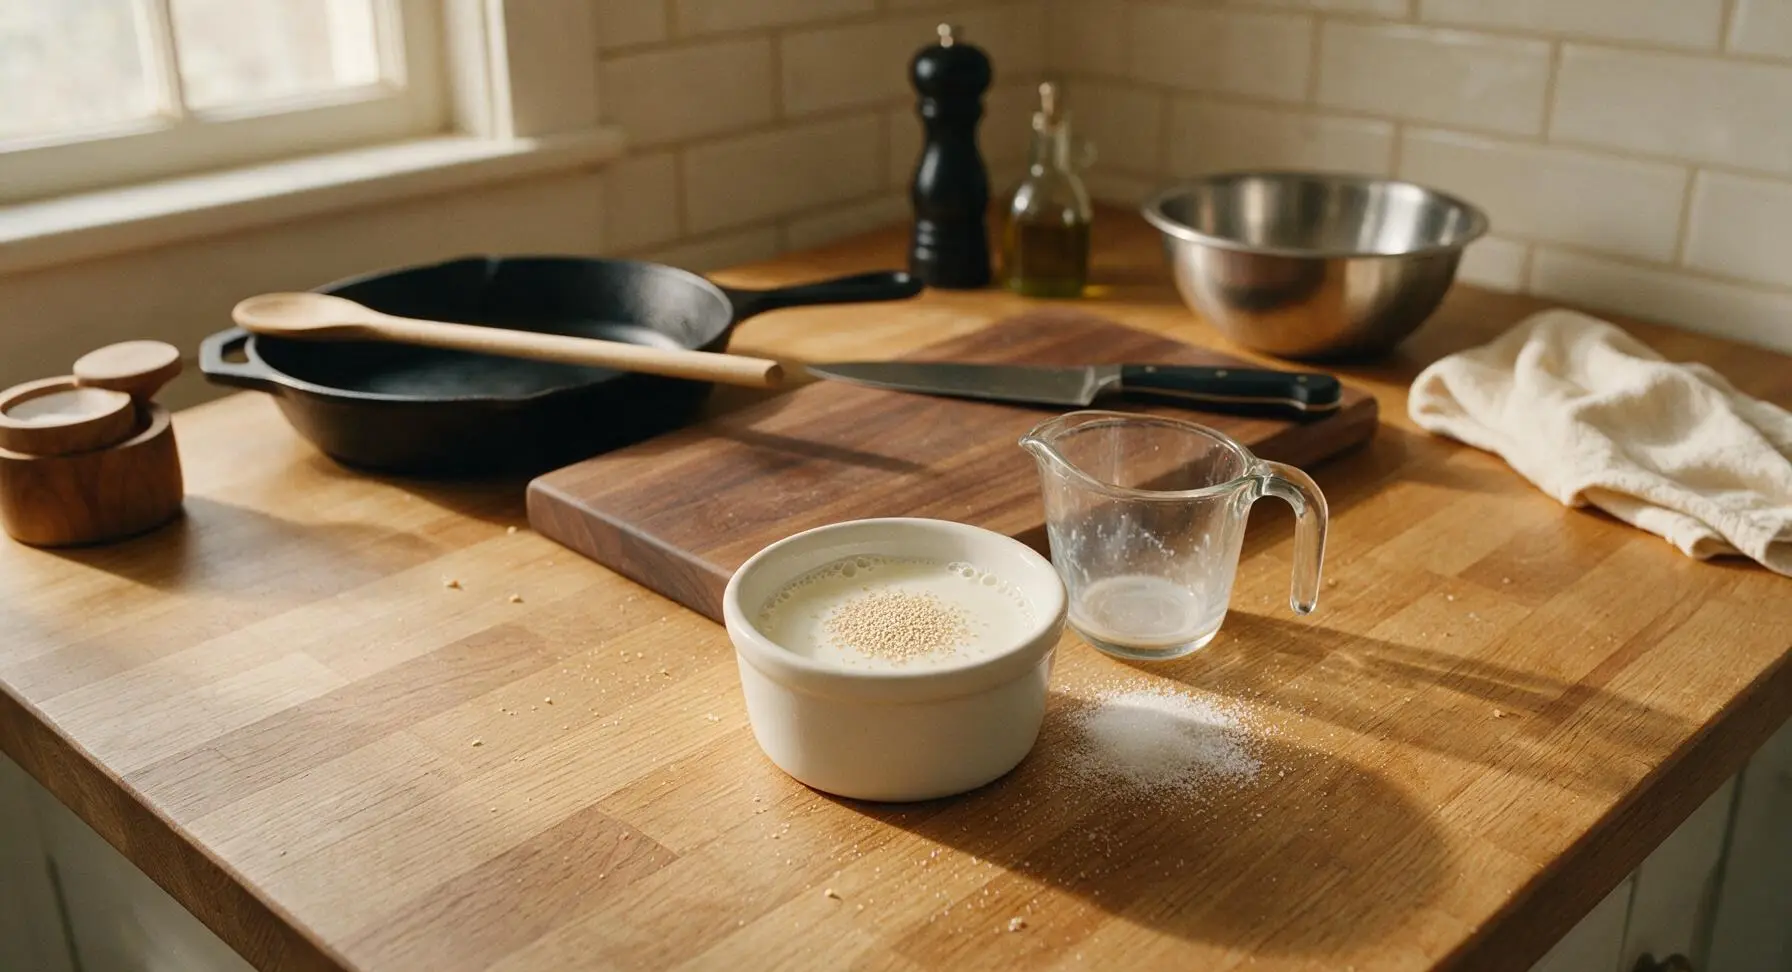
Pour the warmed whole milk (110°F, lukewarm to the touch, not hot enough to burn skin) into the small matte white ceramic ramekin. Stir in 1 tsp of the granulated sugar, then sprinkle the measured active dry yeast over the milk surface. Let rest for 5-7 minutes, until the mixture forms a frothy, tan foam layer ½ inch thick, indicating the yeast is active. If no foam forms after 7 minutes, the yeast is expired and should be replaced to avoid dense, flat rolls.
Mix Dough Base
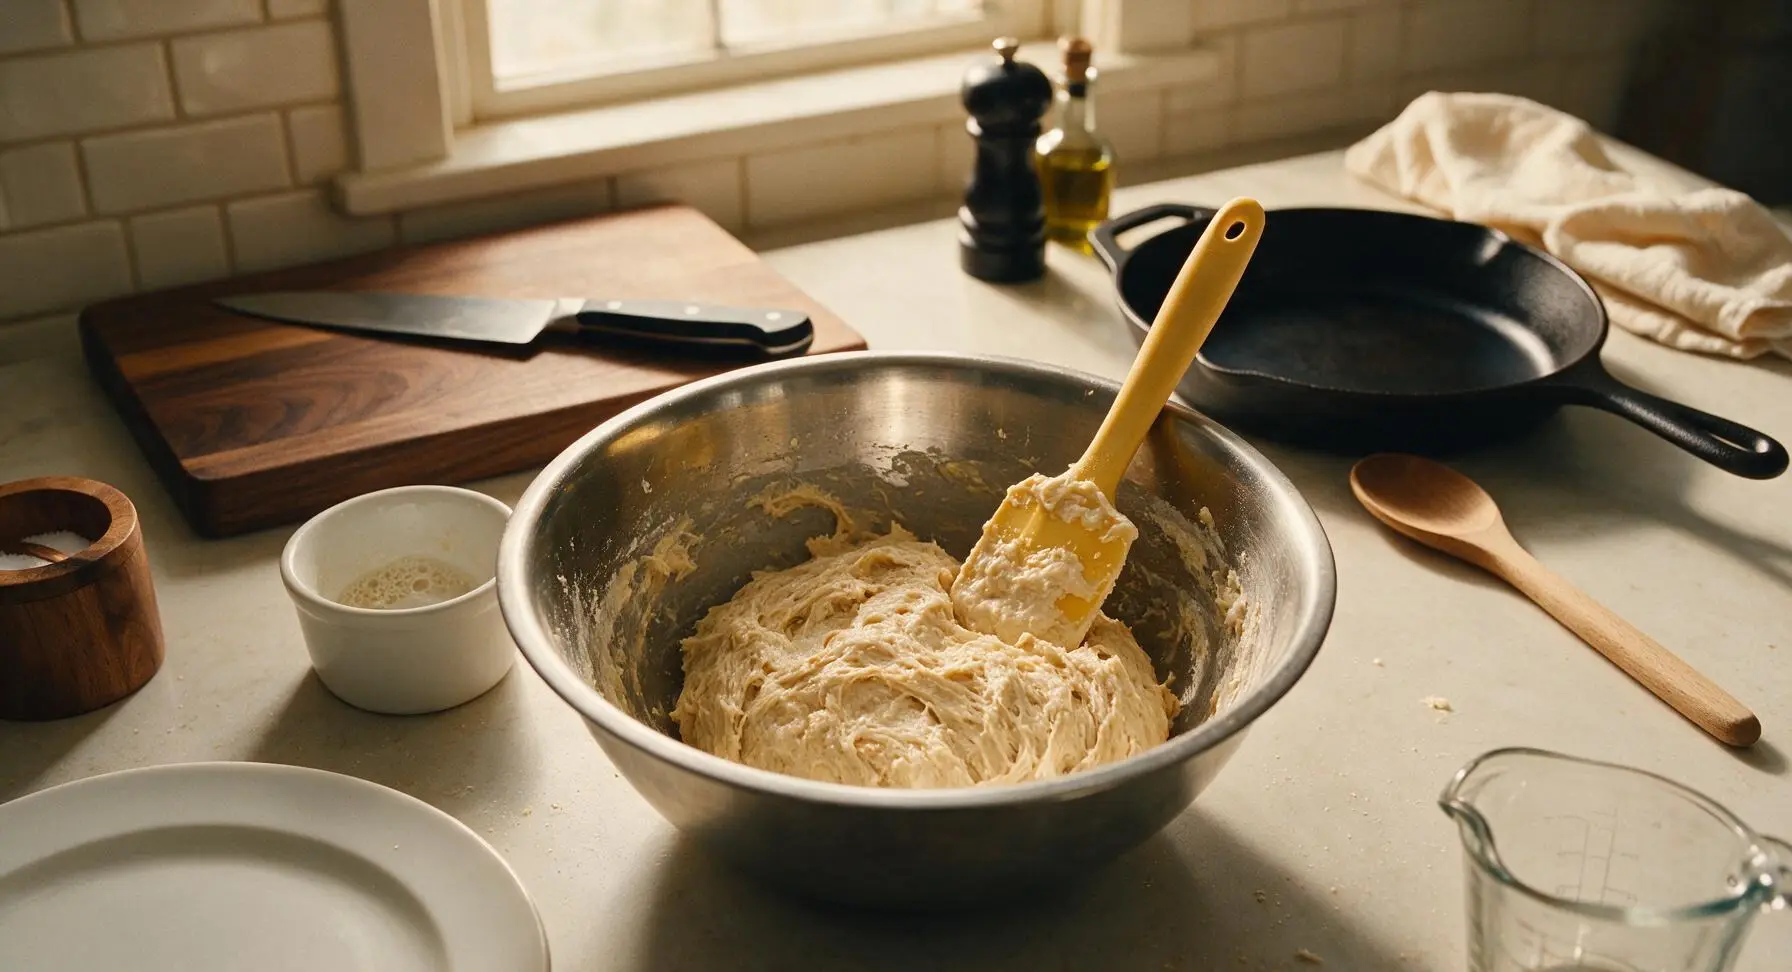
In the large stainless steel mixing bowl, combine 2 cups of the all-purpose flour, remaining 1 tbsp granulated sugar, fine sea salt, softened ¼ cup unsalted butter, beaten room-temperature egg, and the fully foamy activated yeast mixture. Stir with the butter yellow silicone spatula until a shaggy, thick batter forms, with no dry flour pockets remaining at the bottom of the bowl.
Knead Smooth Dough
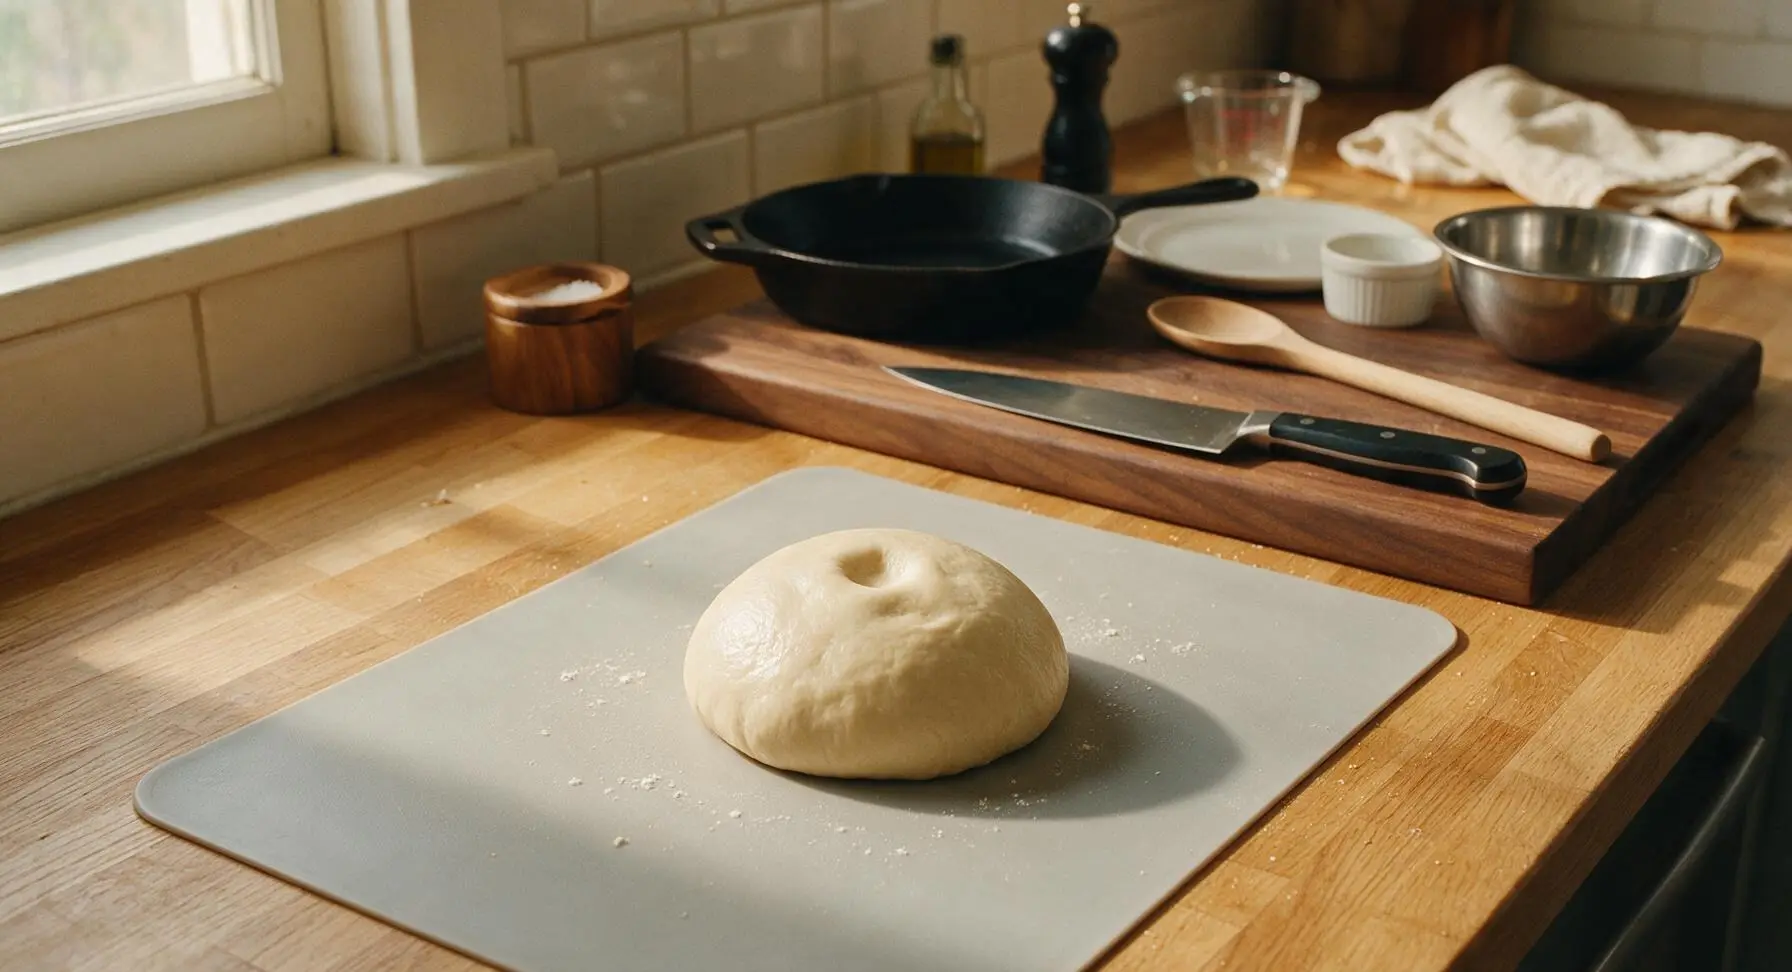
Gradually add the remaining 1 ½ cups all-purpose flour to the bowl, ¼ cup at a time, stirring between additions, until the dough pulls away from the bowl sides. Turn the dough out onto the lightly floured light gray silicone baking mat, and knead for 6-8 minutes, until the dough is smooth, elastic, and springs back slowly when poked ½ inch deep with a finger. Add only a light dusting of extra flour if the dough sticks excessively to the mat or your hands.
First Dough Rise
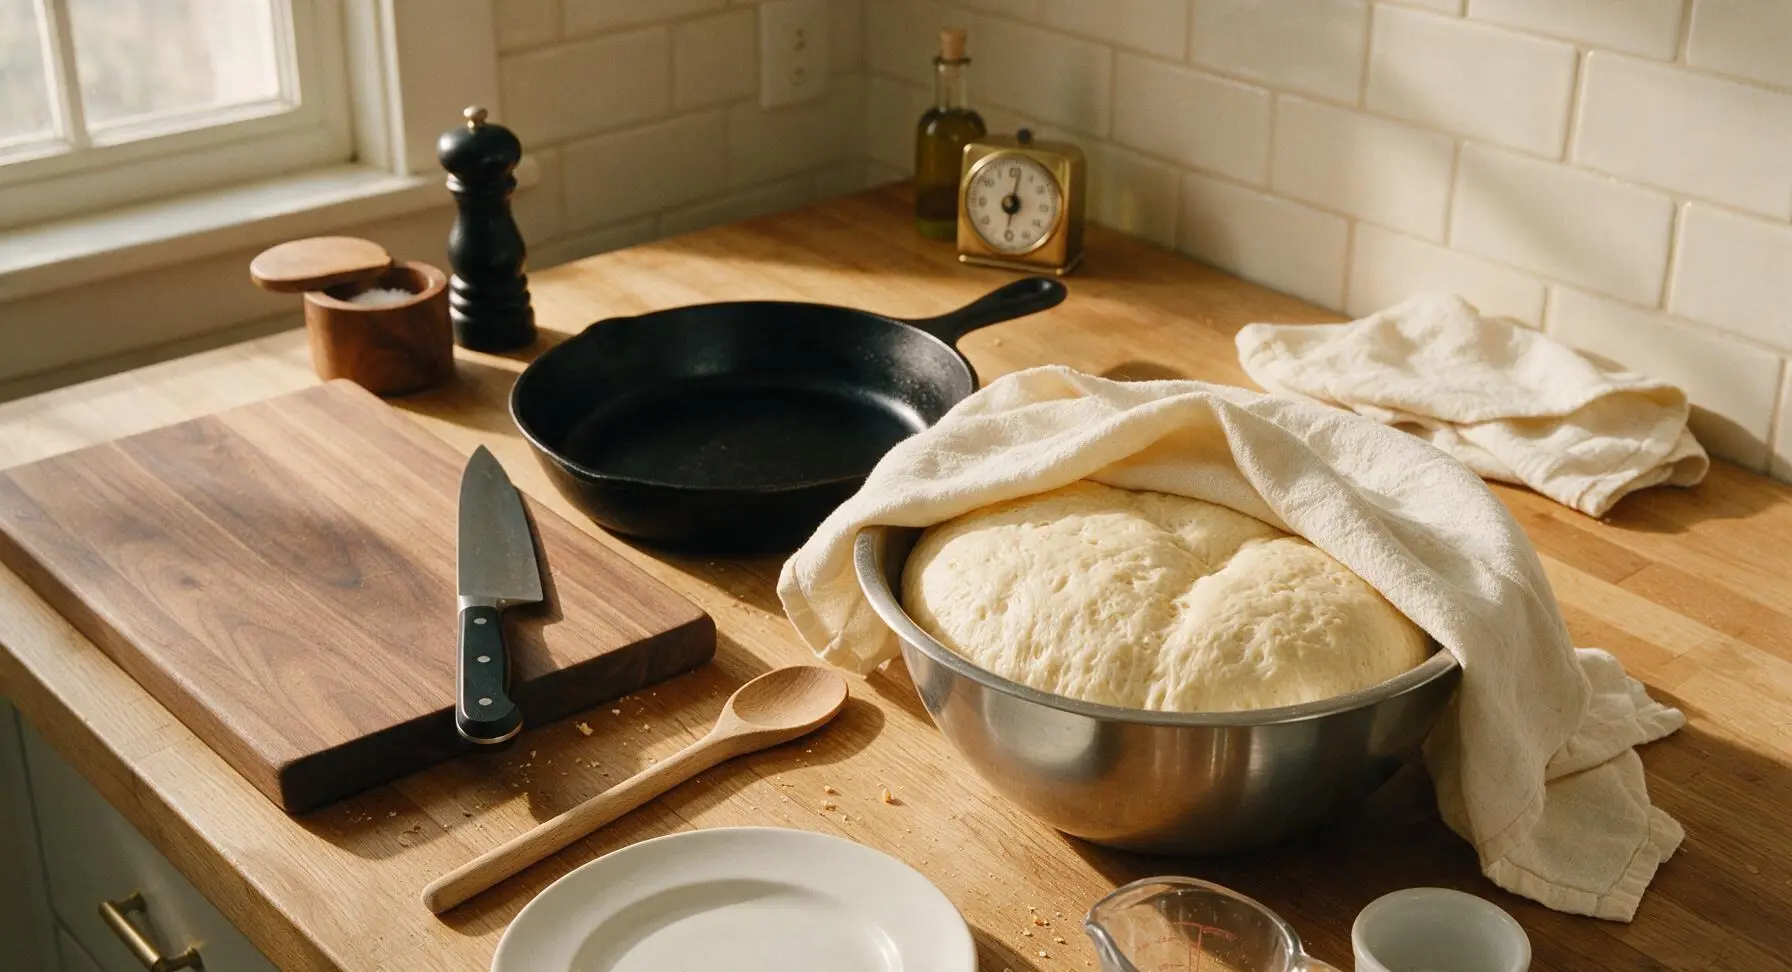
Wipe the large stainless steel mixing bowl lightly with a thin coating of butter, place the smooth dough ball back inside, and turn to coat the dough surface lightly. Cover the bowl loosely with the oatmeal linen tea towel, and let rise in a warm, draft-free spot for 1 hour, until the dough doubles in size, and an indent pressed 1 inch deep remains without bouncing back.
Roll and Butter Dough
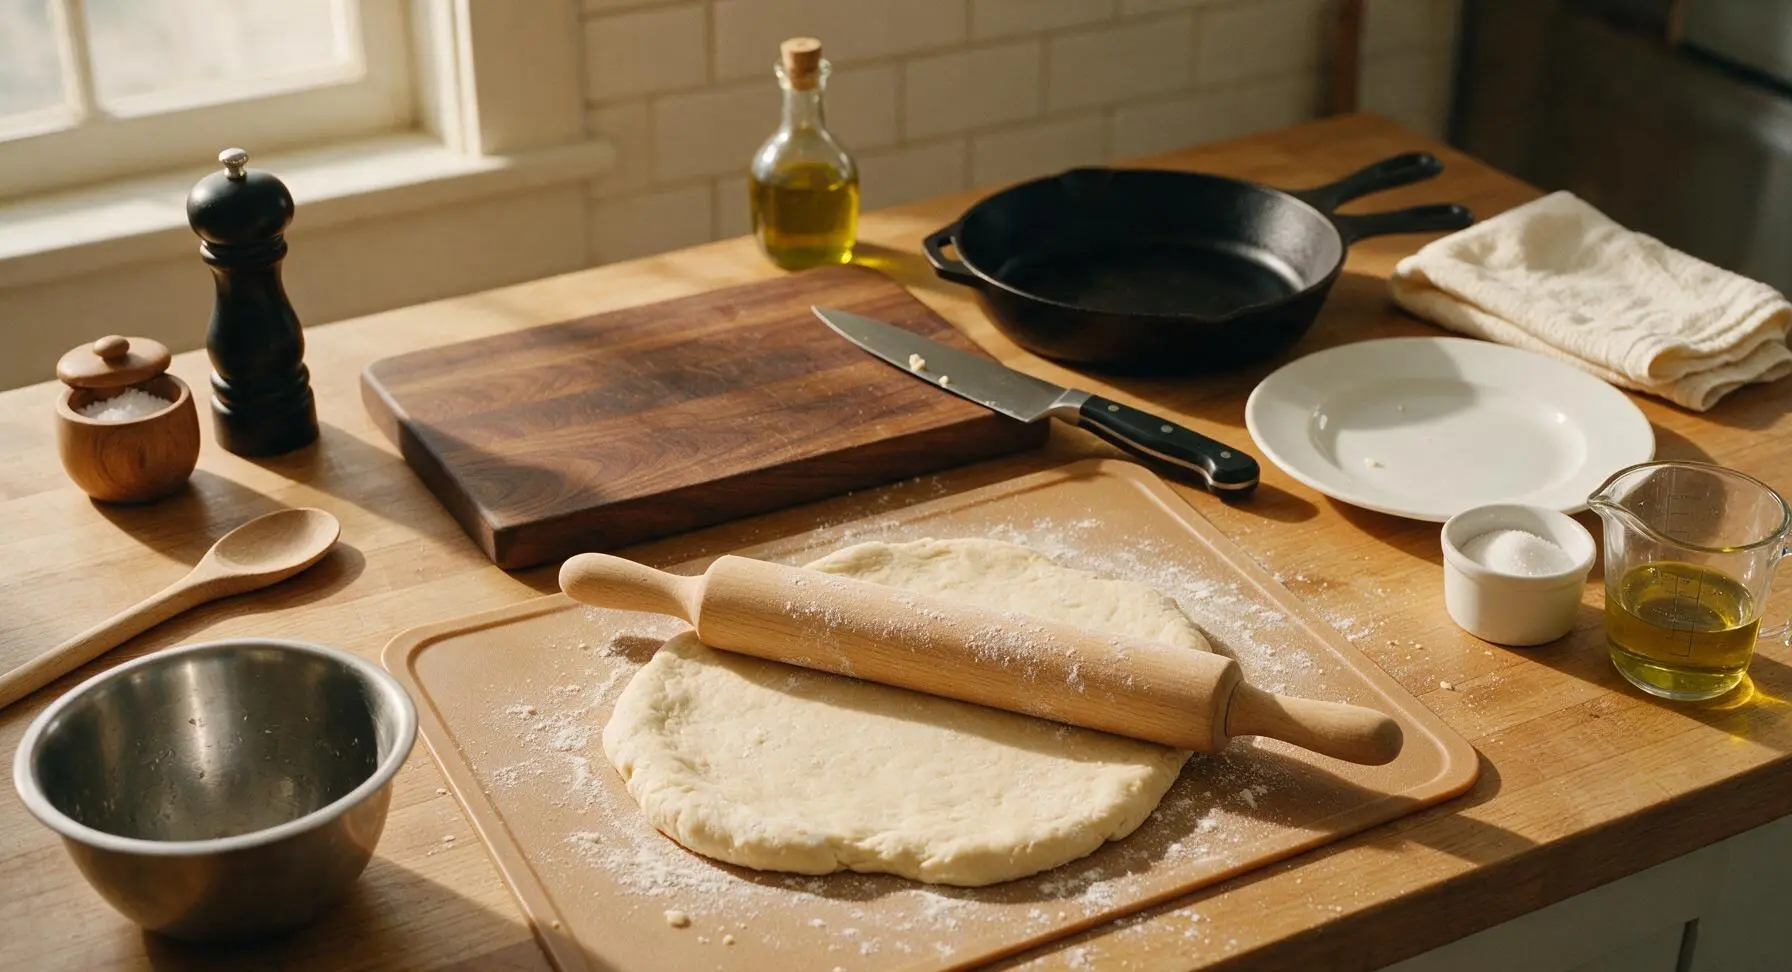
Punch the risen dough down firmly to release all trapped air, then transfer it back to the lightly floured silicone baking mat. Use the beech wood rolling pin to roll the dough into a perfect 16-inch circle, ¼-inch thick, with even thickness across the entire surface. Use the boar bristle pastry brush to spread ¼ cup of the melted unsalted butter evenly across the entire surface of the dough circle, leaving a ¼-inch unbuttered border around the outer edge.
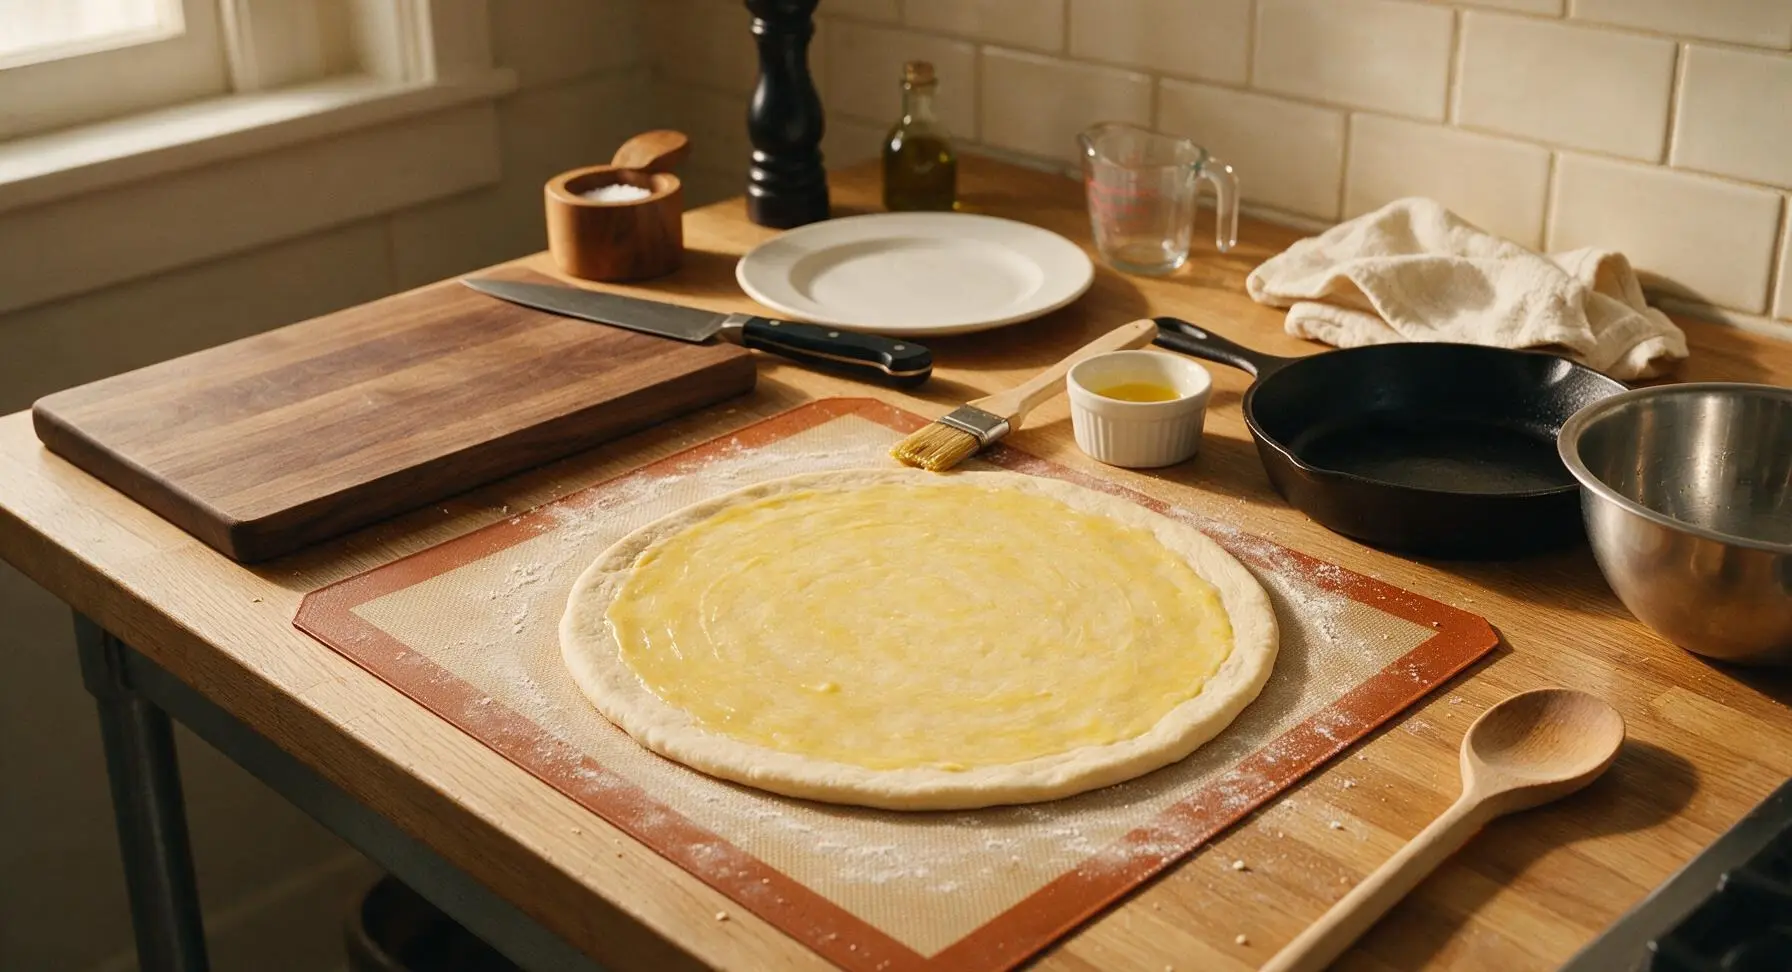
Cut and Shape Rolls
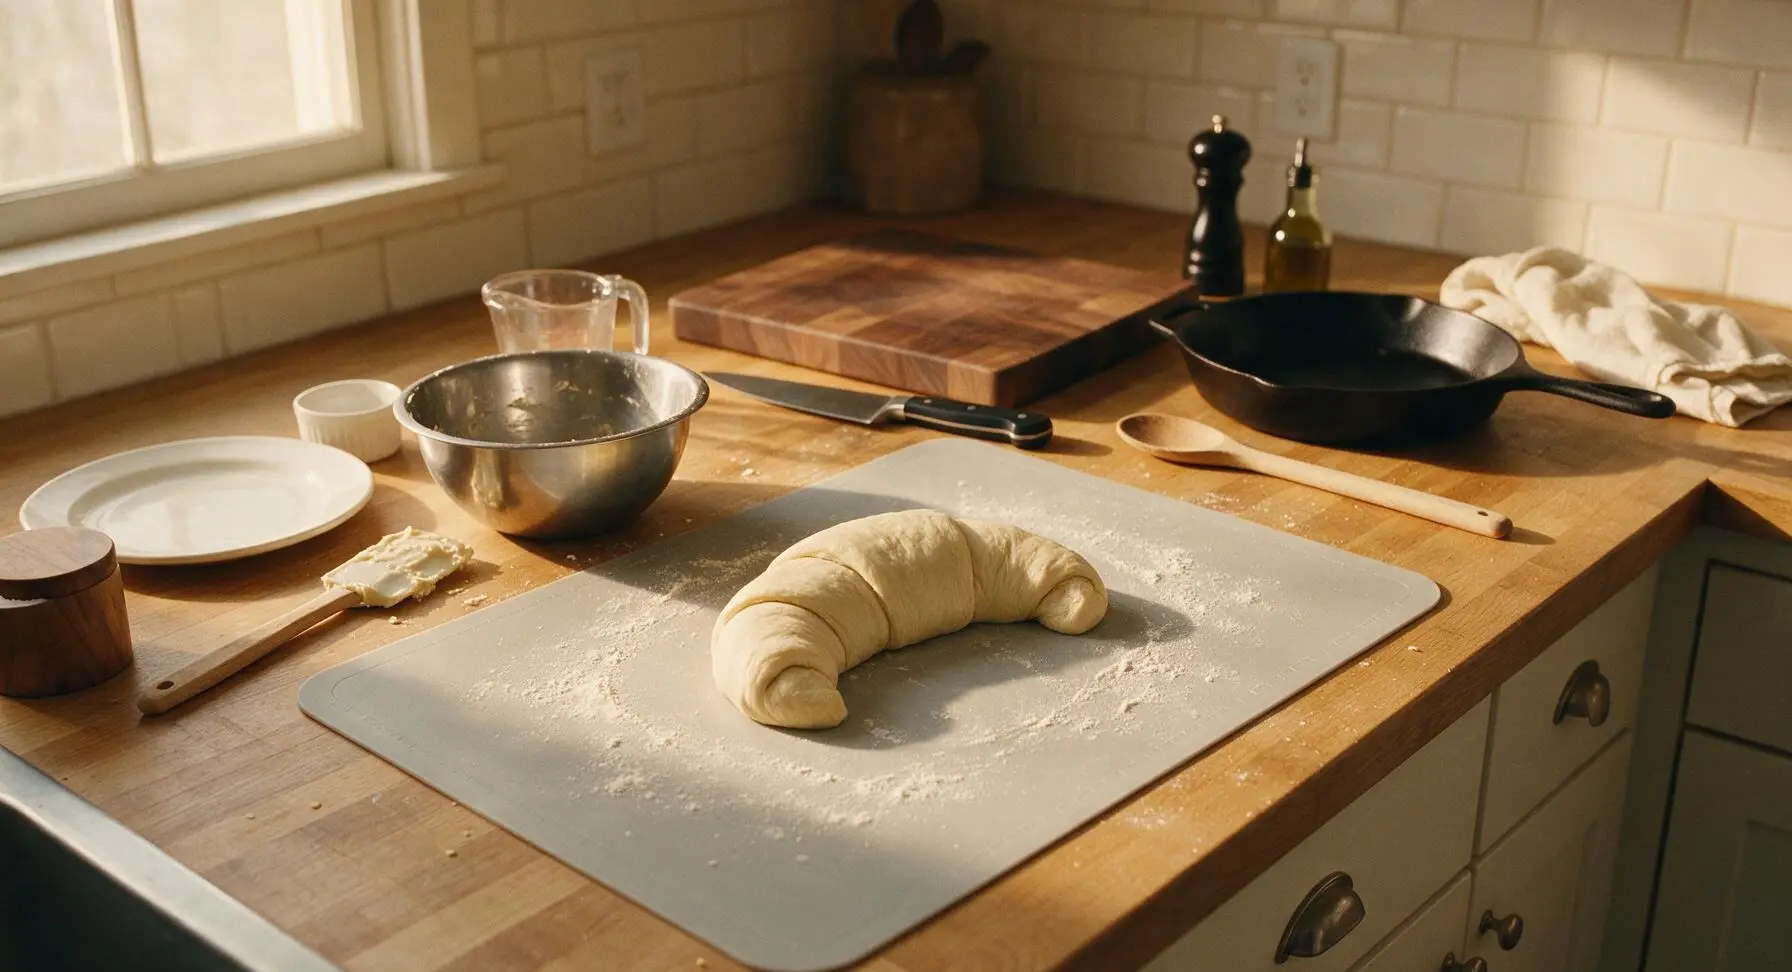
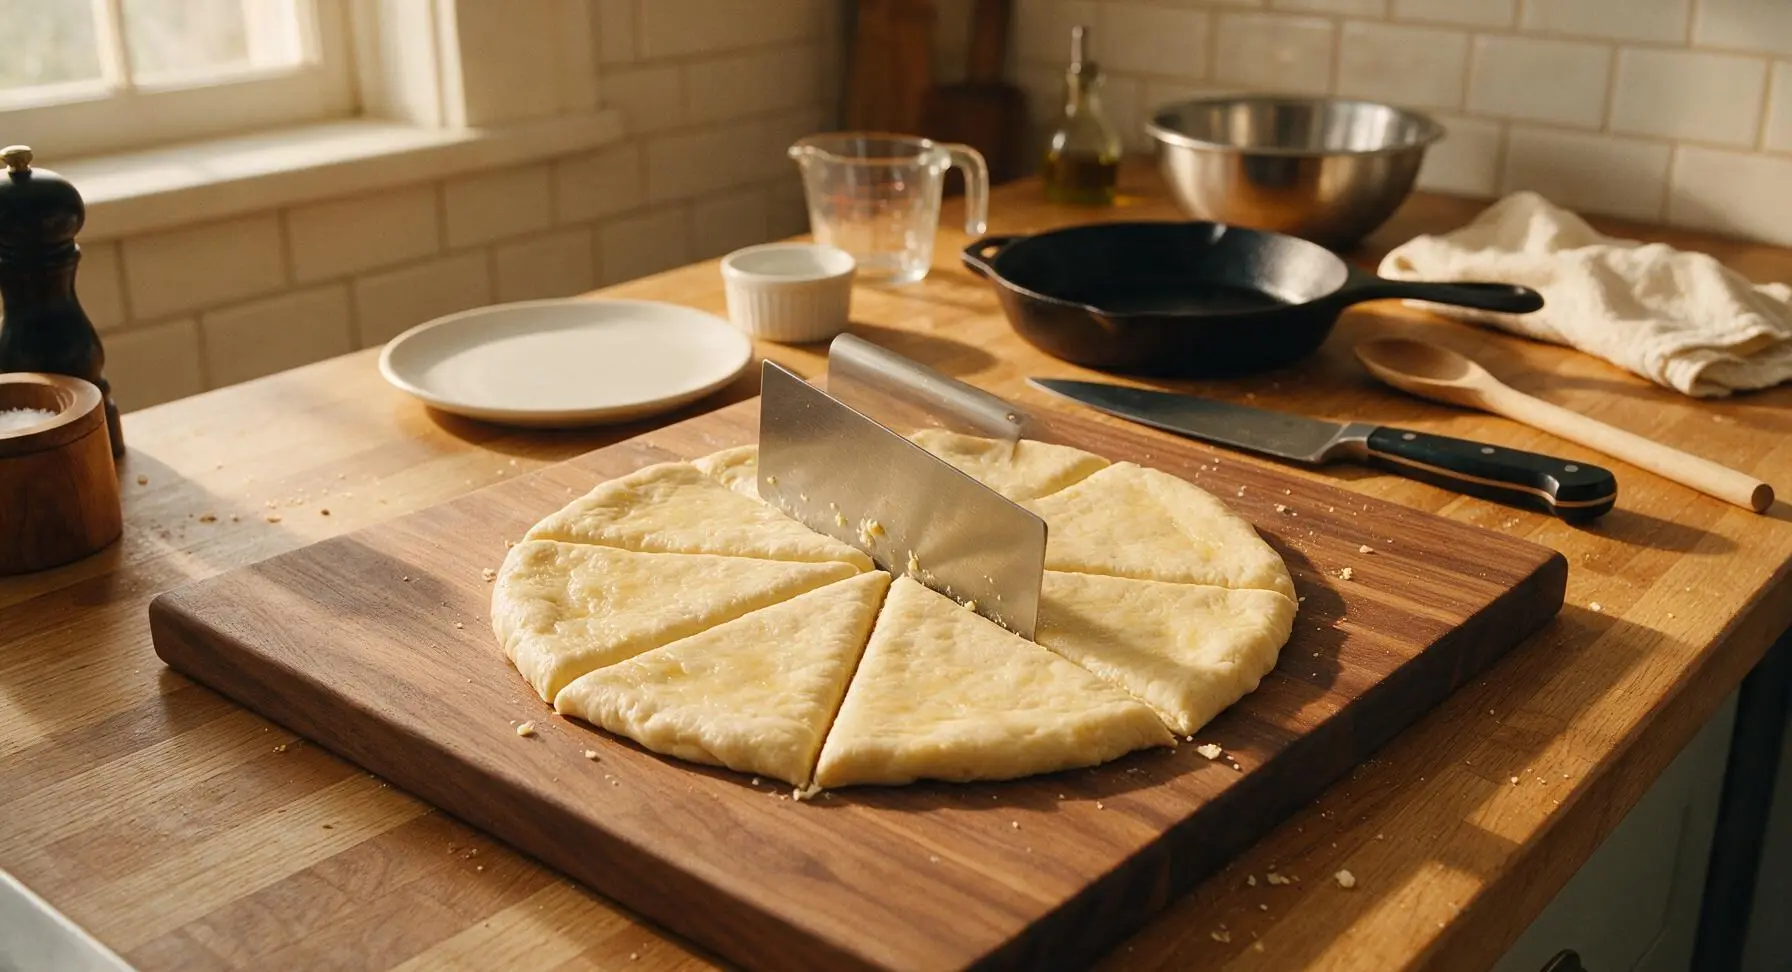
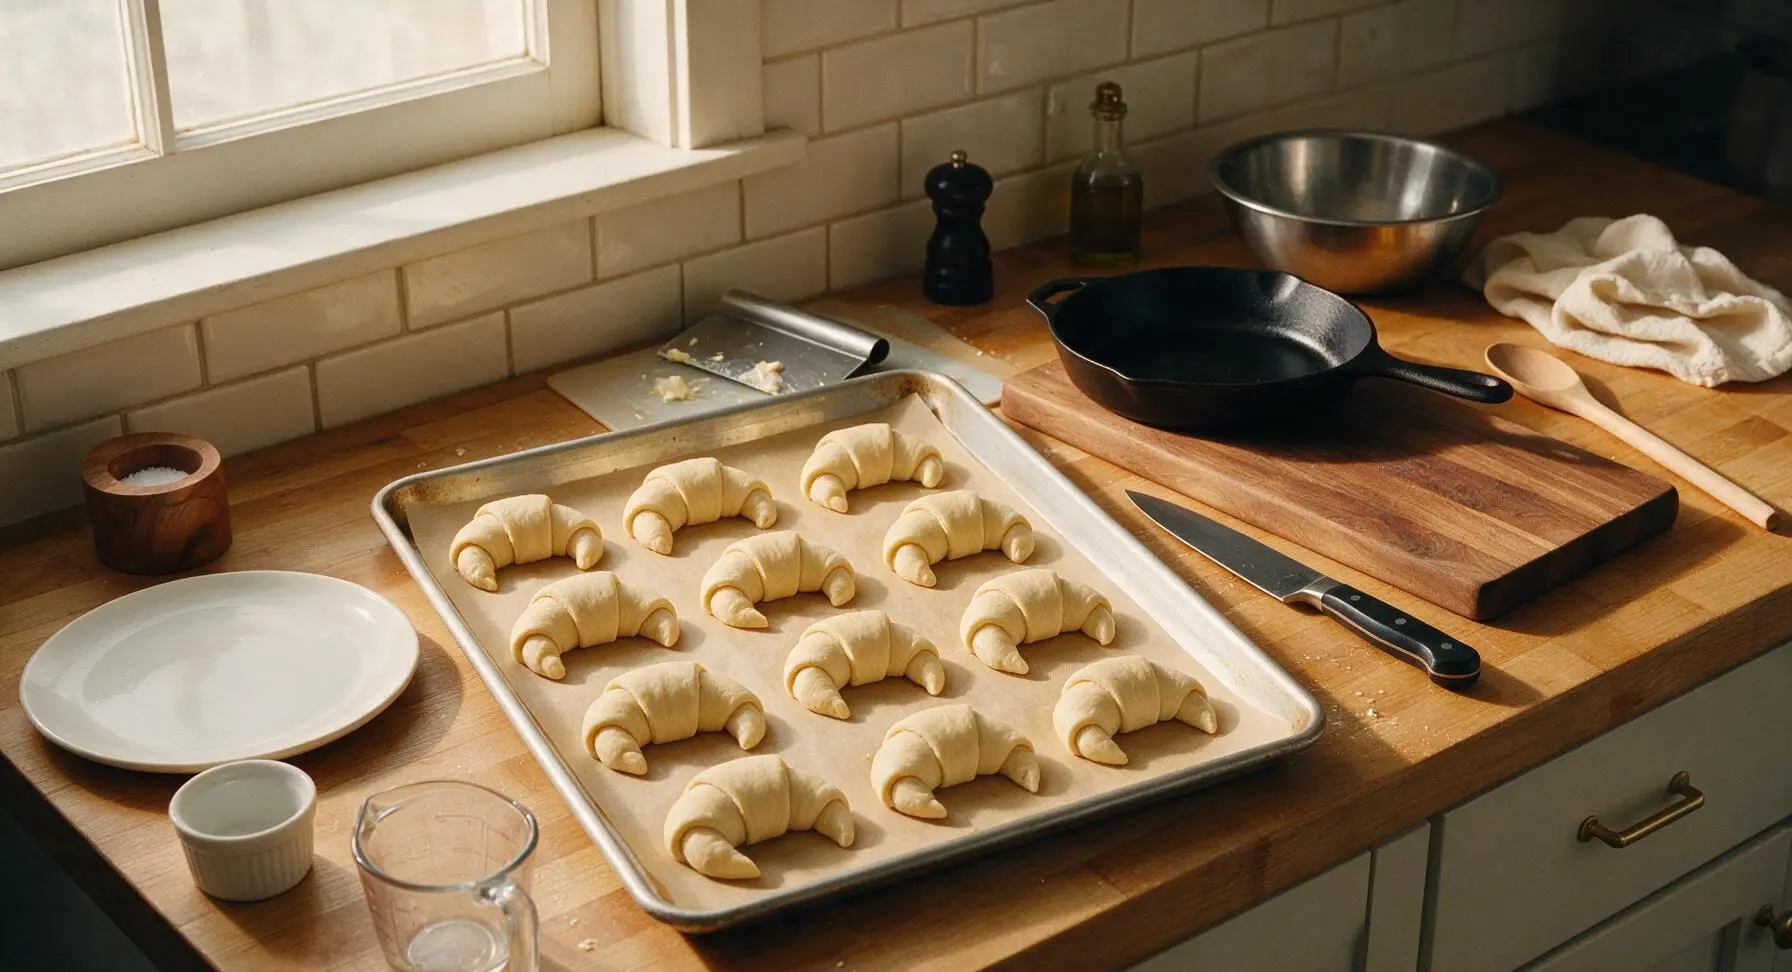
Use the stainless steel dough scraper to cut the buttered dough circle into 12 equal triangular wedges, like slicing a pizza. Starting at the wide outer edge of each triangle, roll the dough tightly toward the pointed tip, then curve the ends slightly to form the classic crescent shape. Place each shaped roll 2 inches apart on the parchment-lined aluminized steel baking sheet, with the pointed tip tucked underneath the roll to prevent unrolling during baking.
Rise and Bake Rolls
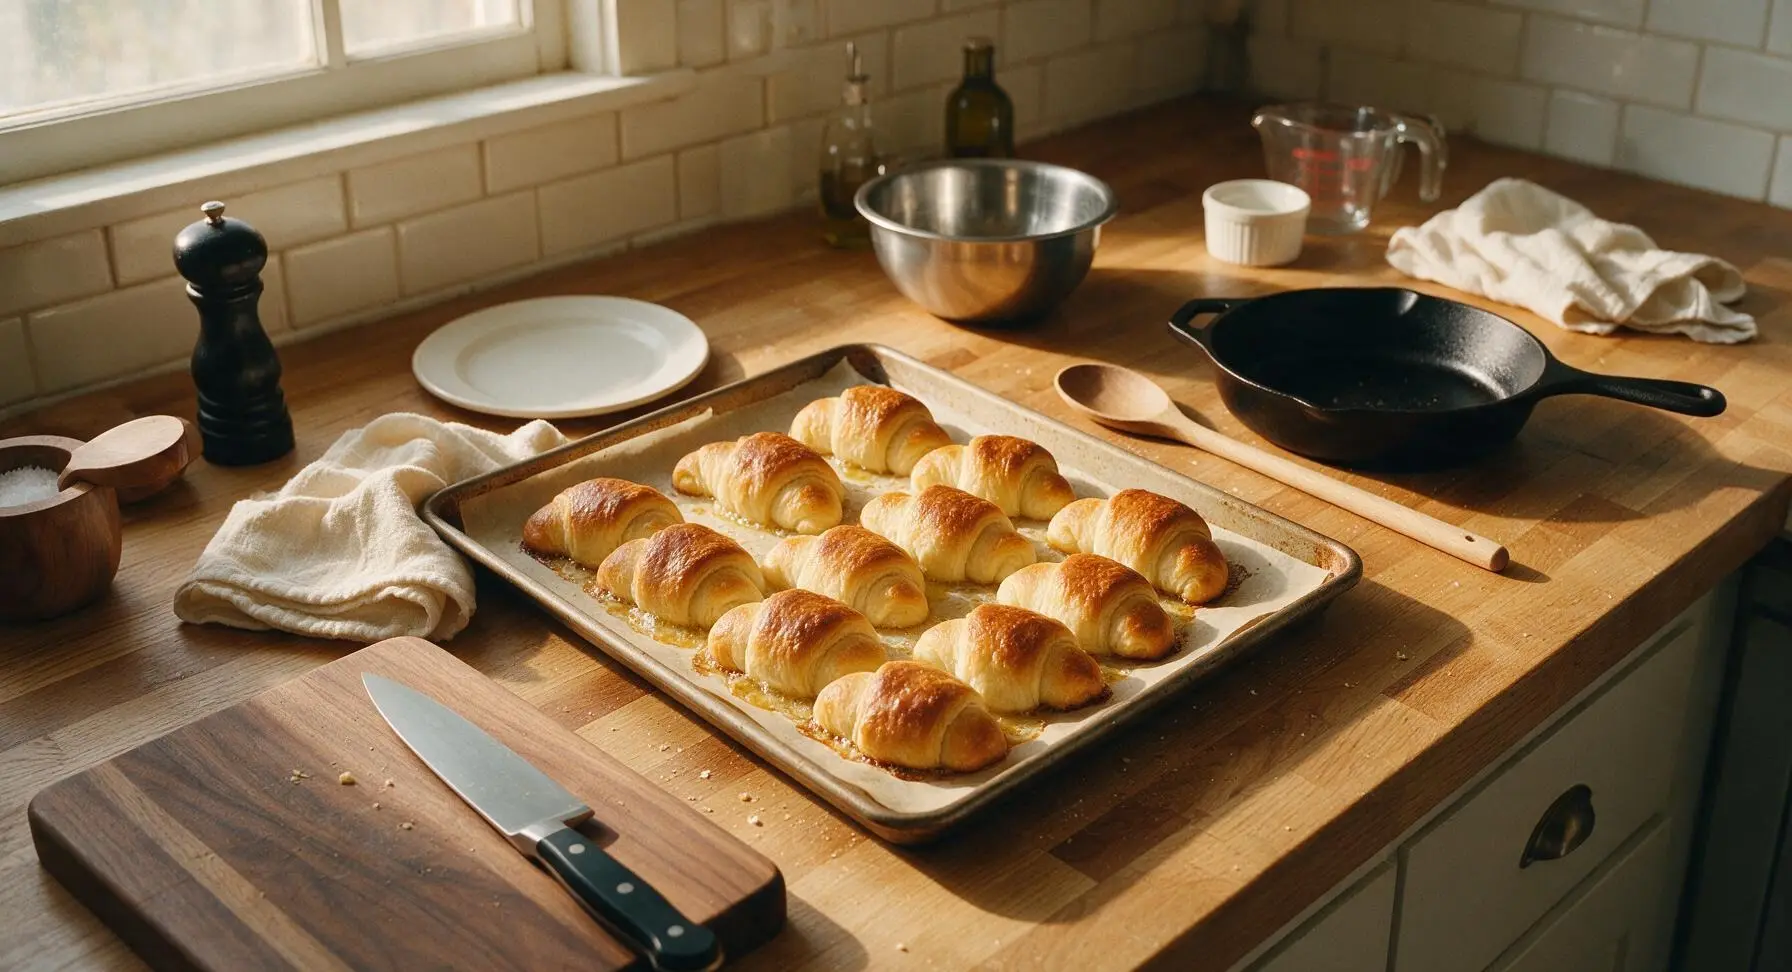
Loosely cover the shaped rolls on the baking sheet with the linen tea towel, and let rise for a second time for 45 minutes, until puffy and nearly doubled in size. Preheat oven to 375°F (190°C) while the rolls rise. Remove the towel, then bake the rolls for 10-12 minutes, until the tops are deep golden brown and flaky, and the internal temperature reaches 190°F (88°C) at the center of a roll.
Butter and Serve
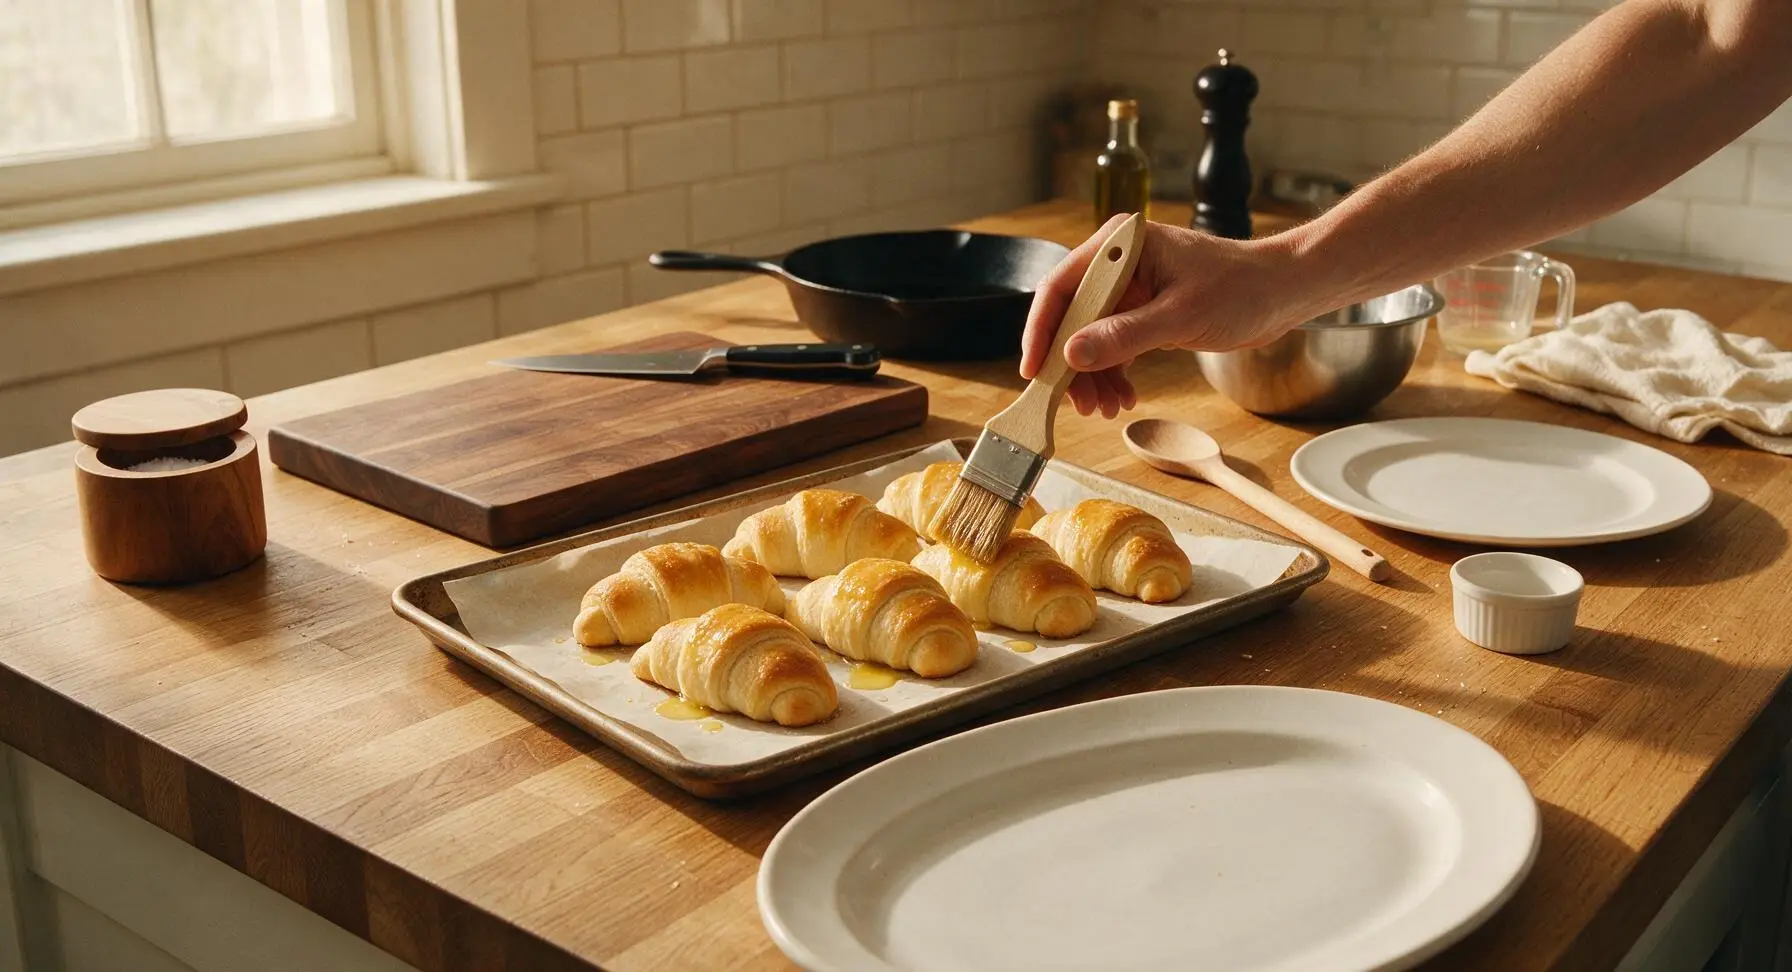
Immediately after removing the rolls from the oven, use the pastry brush to brush the tops with the remaining ¼ cup melted unsalted butter, letting the butter soak into the warm crevices between layers. Let the rolls cool for 5 minutes on the baking sheet, then transfer them to the large matte white ceramic serving platter to serve warm.
Tips
2.Always tuck the pointed dough tip under each roll before the second rise: this small step prevents rolls from unravelling as they puff up in the oven, keeping their signature curved crescent shape instead of baking flat.
3.Brush melted butter on rolls immediately after pulling them from the oven: the hot roll surface absorbs the butter to create a rich, soft, flavorful crust, rather than letting butter pool on the surface if applied once rolls cool.






First time ever making yeast rolls from scratch and these turned out pretty good! Mine came out a little denser than I expected though—did I maybe knead them too little? I was scared to overwork the dough, so I probably stopped too early. On the bright side, the 12 minute cook time was spot on for my oven, they got perfectly golden on top right at the 12 minute mark.
Brought these to my neighborhood block party potluck over the weekend and people were begging me for the recipe before I even set the platter down! I brushed a little melted garlic butter on top right when they came out of the oven and *chef’s kiss*. Total game changer for any get together, there were zero leftovers left by the end of the night.
Just pulled these out of the oven and wow, the whole house smells insane. I was nervous about the medium difficulty rating since I barely cook beyond grilled cheese, but the steps were way easier to follow than I thought. Can’t wait to dip these in the loaded potato soup I made for dinner tonight.
The flavor was great but my rolls kept uncurling while they baked? I rolled them up tight like the instructions said too, so I’m not sure what went wrong. Ended up looking more like lumpy triangle butter rolls than pretty crescents, haha. Still edible, just not the Pinterest-worthy shape I was going for when I made them for family dinner.
I do meal prep every Sunday and these freeze so well! I make a double batch, bake them for 6 minutes, let them cool, then freeze them. When I need a quick side for busy weeknights when the kids have hockey practice, I pop them in the oven for 8 minutes and they taste fresh baked. SO good even after being frozen, saved me so much time!
I’ve been making crescent rolls for 40 years and this Version 2 recipe is hands down better than my old go-to! The little hint of honey in the dough adds such a nice subtle sweetness that pairs so well with ham and cheese at our family brunches. My grandkids said these taste like the fancy rolls from the bakery downtown, which is the highest praise possible.
Solid recipe! I swapped half the butter for vegan butter for my partner who’s dairy free and it worked almost perfectly. Only note is I needed to add an extra splash of oat milk because the dough was a little dry and crumbly when I was mixing it. Would absolutely make again for our next pasta night.
Made these for my book club meeting last night and everyone raved! I added a little sprinkle of parmesan and Italian seasoning on top before baking to go with the lasagna we served, and they were chef’s kiss. Will 100% be adding this to my regular side dish rotation.
OMG just pulled my first batch of these out of the oven and they look perfect! The house smells like an old school bakery, and the first bite test was so buttery and flaky. Can’t wait to serve these with meatloaf for dinner tonight, I already know my kids are going to lose their minds. Will report back if there are any leftovers (spoiler: there won’t be).
OMG these were so flaky and buttery! I made them to go with our taco night spread last night (don’t judge, carbs go with everything) and my kids loved them so much they ate half the batch before we even sat down to eat. Only tiny issue is I found the dough a little tricky to cut and roll into perfect triangles, but that’s definitely a me problem, not the recipe’s fault.