
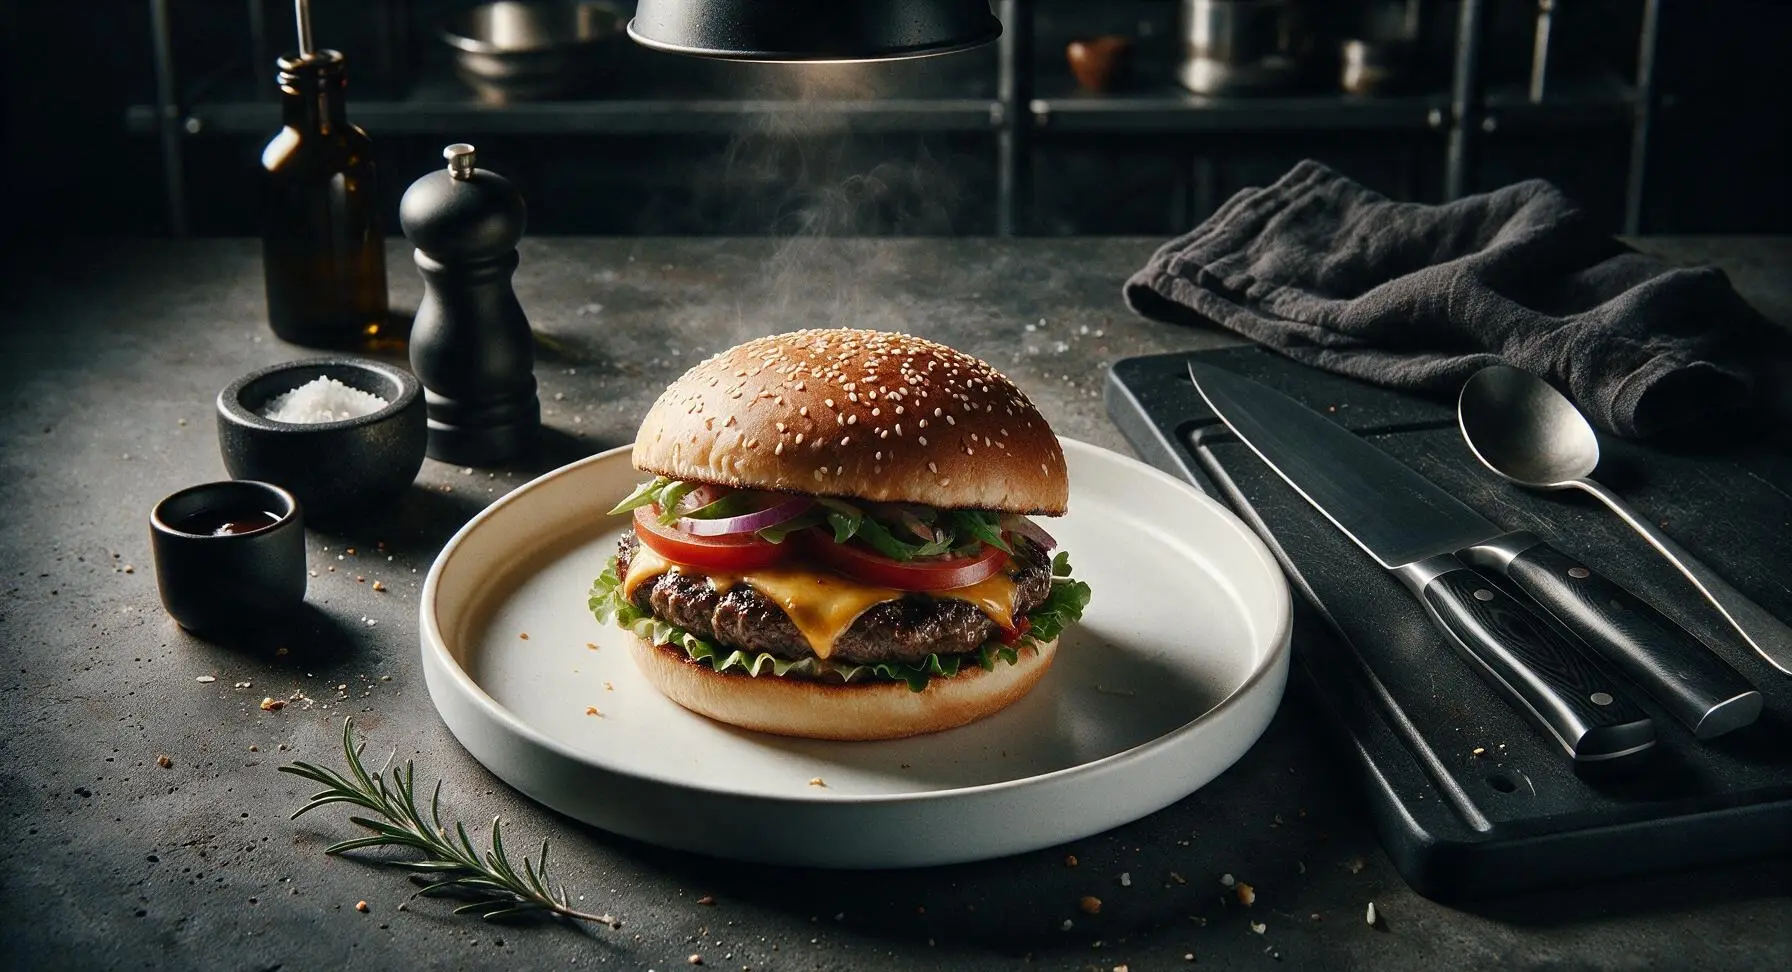
homemade hamburger

title 1
homemade hamburger
⏱️ cook time 10 minutes
🍽️ servings 4
⚡ Difficulty easy

intro

Juicy seared beef patties with melted cheddar, crisp fresh toppings, and soft toasted sesame buns—this classic homemade hamburger is flavorful, juicy, and far better than takeout.

Ingredients
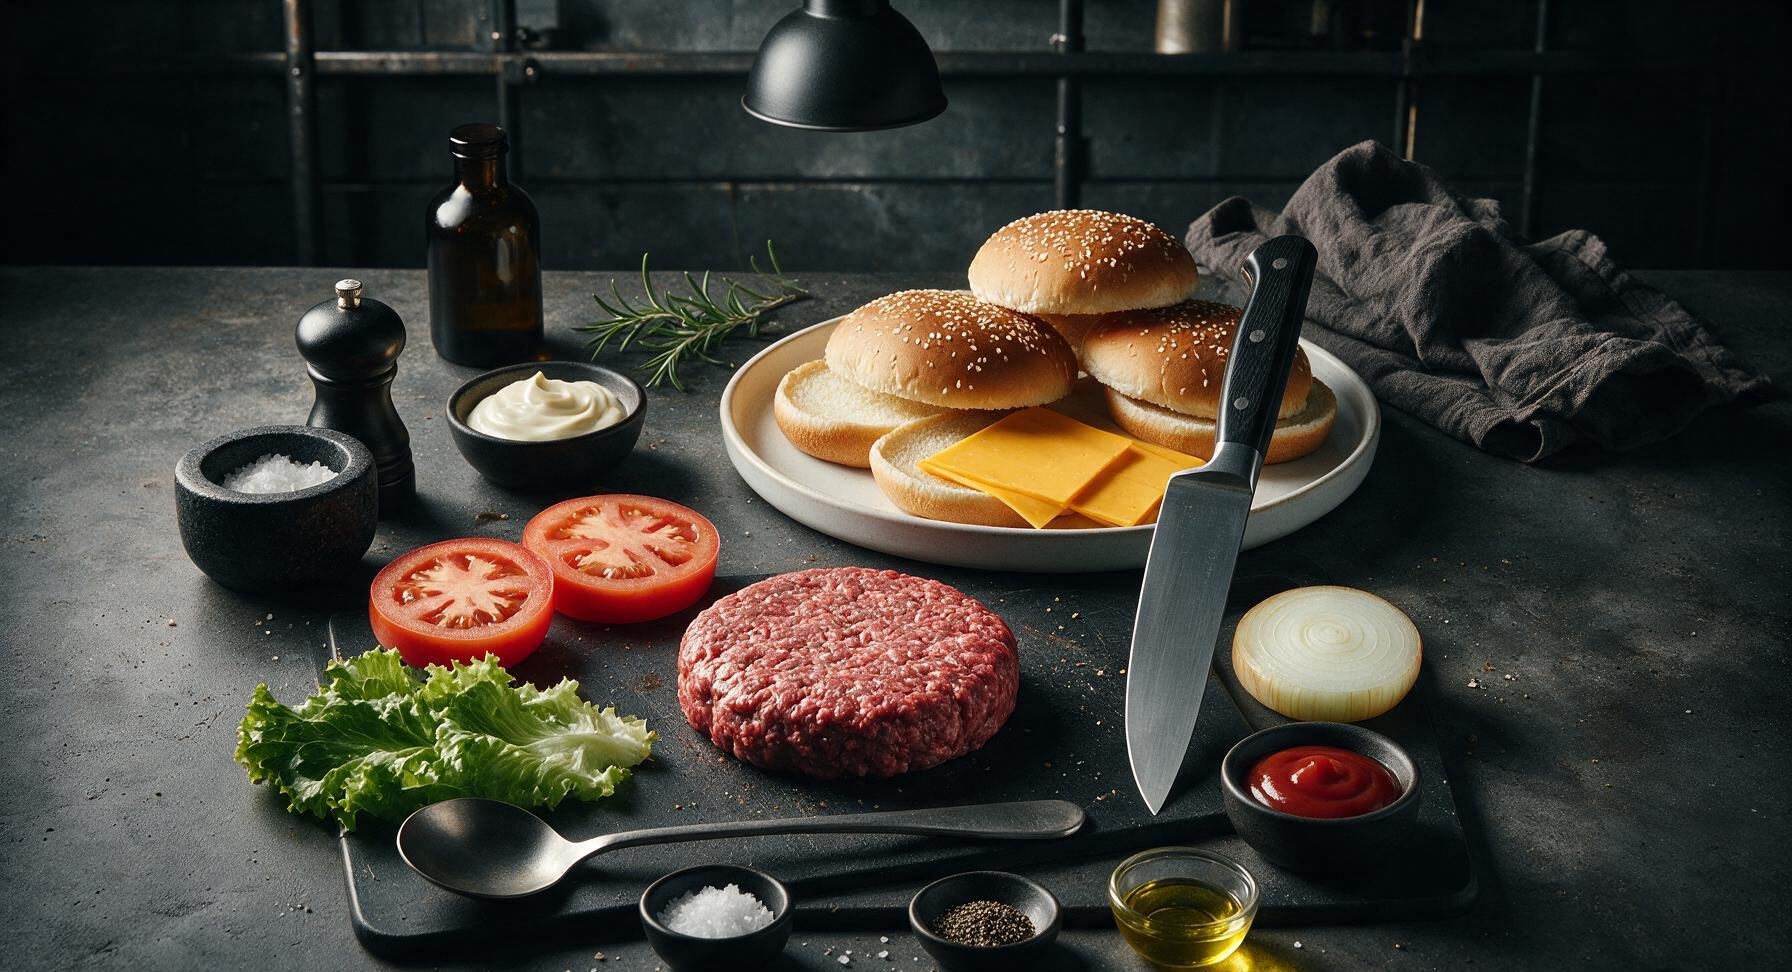
80/20 ground beef 680g
Sesame seed hamburger buns 4 each
Sharp cheddar cheese slices 4 slices (120g)
Beefsteak tomato 1 large (180g)
Green leaf lettuce 4 leaves (60g)
Yellow onion 1 small (100g)
Mayonnaise 4 tbsp (60g)
Ketchup 2 tbsp (30g)
Coarse kosher salt 1 tsp (5g)
Freshly ground black pepper 1/2 tsp (2g)
Canola oil 1 tsp (5ml)

Steps

1

Prep Fresh Toppings

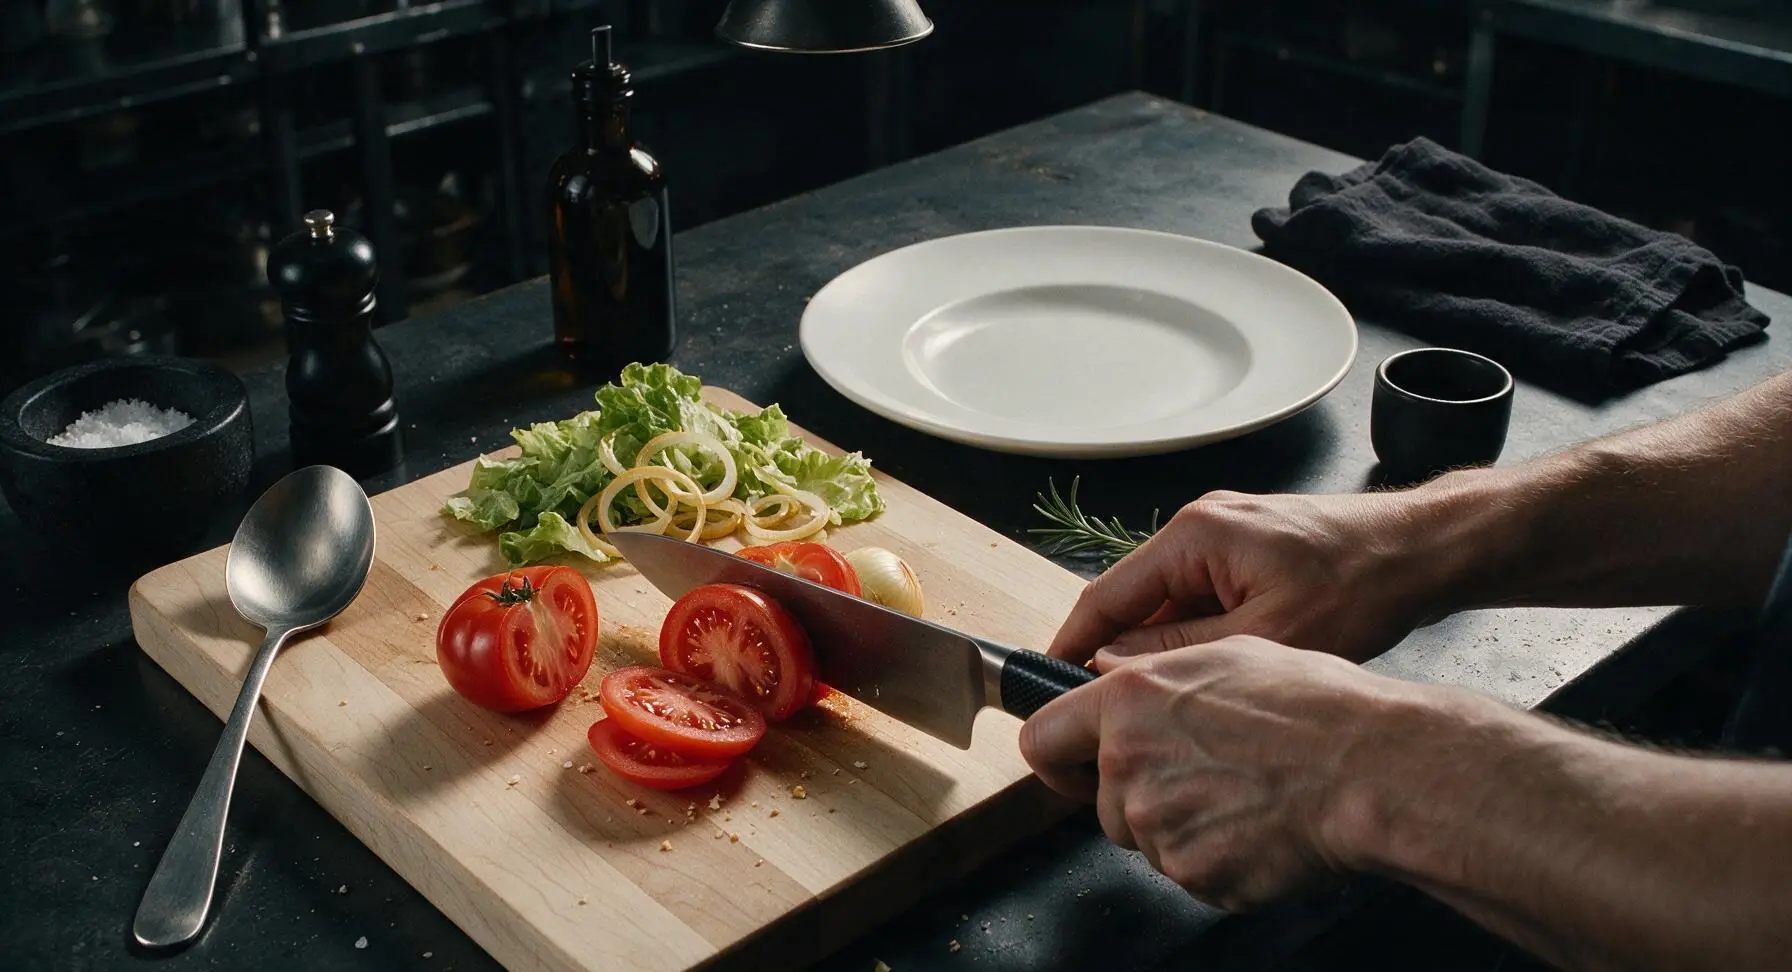
Place the light birch cutting board in its fixed center-left position, rest the 8-inch chef’s knife on the board’s top edge. Slice the beefsteak tomato into 1/4-inch thick rounds, slice the yellow onion into thin 1/8-inch rings, and separate 4 whole, unbroken leaves from the head of green leaf lettuce. Pat tomato slices and lettuce leaves dry with a corner of the fixed linen towel to remove excess moisture that would make buns soggy. Pile prepped toppings on the far top edge of the cutting board.
Step 1
step1:Prep Fresh Toppings
2

Season Ground Beef

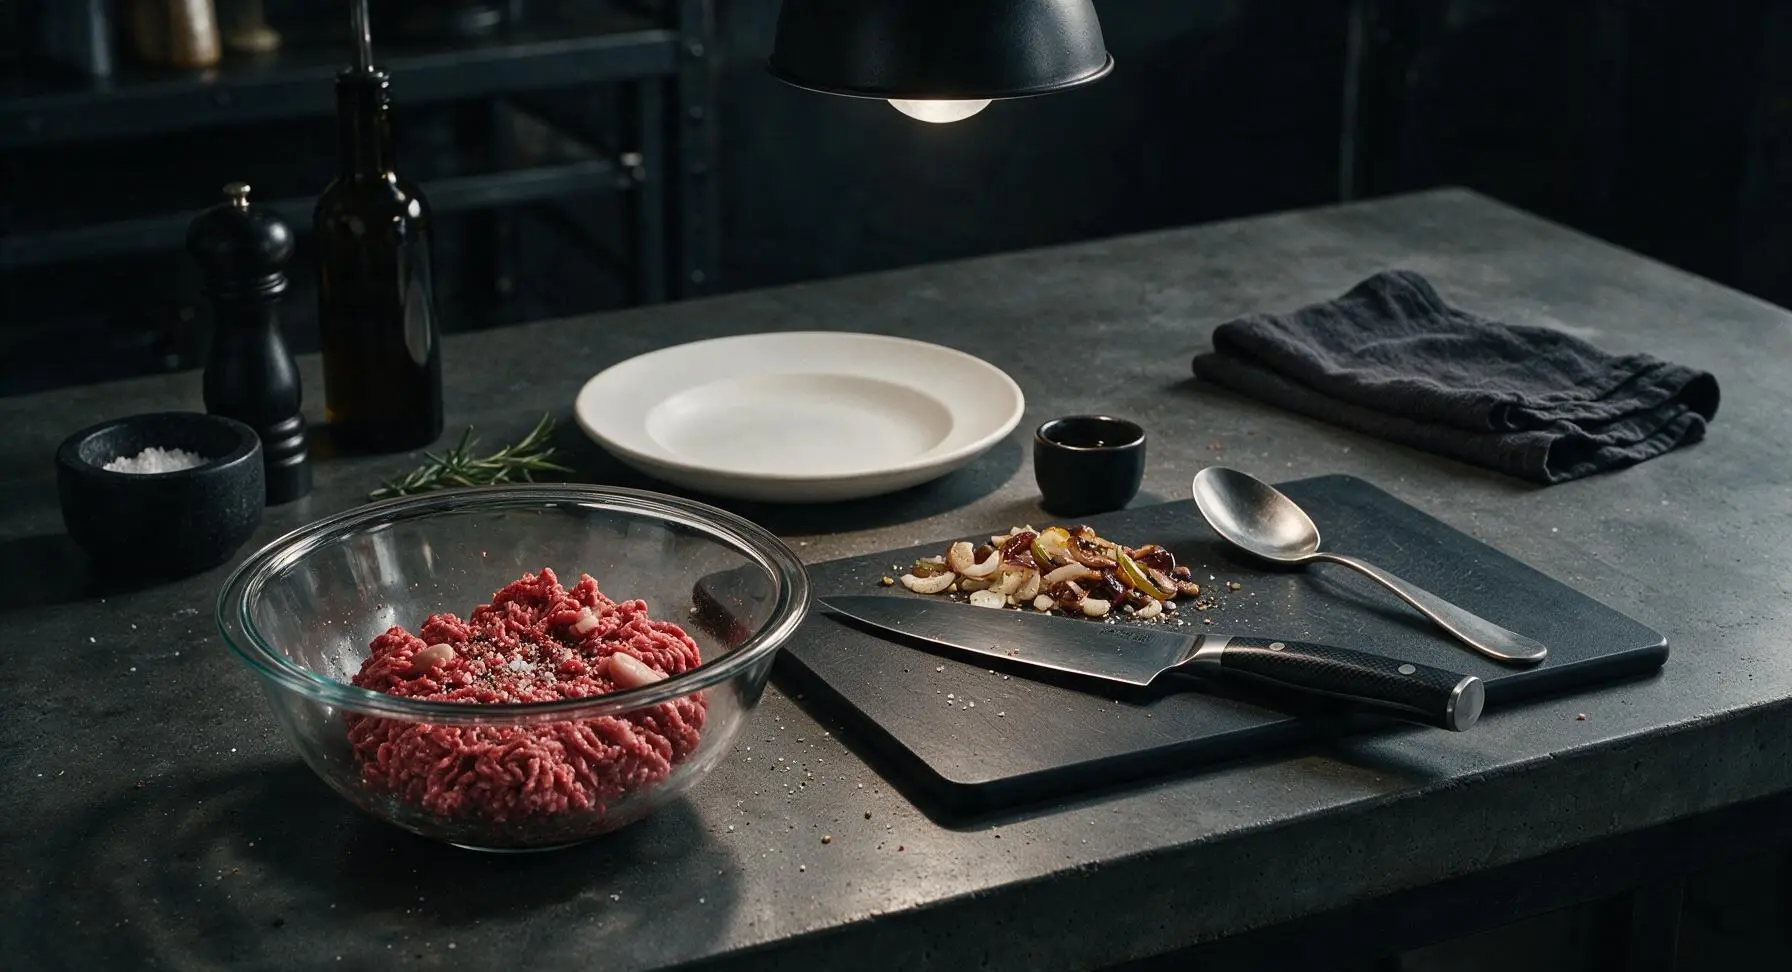
Place the clear glass mixing bowl in its fixed position to the left of the cutting board. Add the full 680g of 80/20 ground beef to the bowl, then sprinkle evenly with 1 tsp coarse kosher salt and 1/2 tsp freshly ground black pepper. Toss the beef very gently with your fingertips to distribute the seasoning evenly—do not squeeze or overwork the meat, as this creates tough, dense patties.
Step 2
step2:Season Ground Beef
3

Form Loose Beef Patties

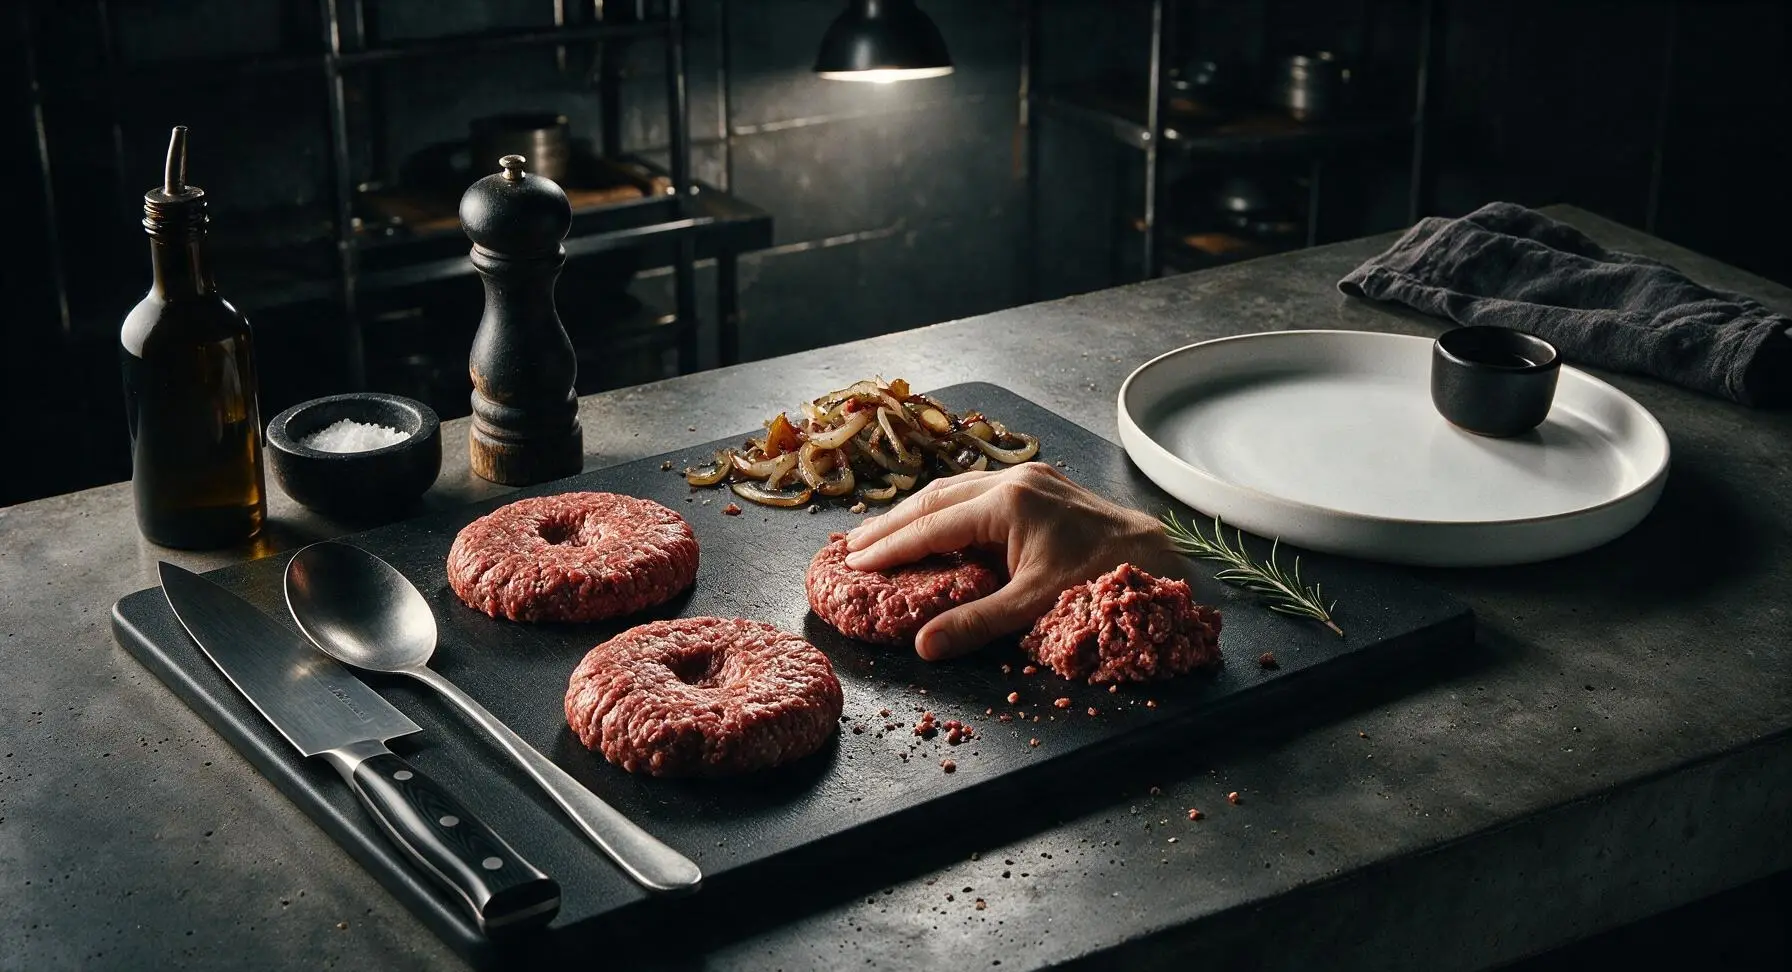
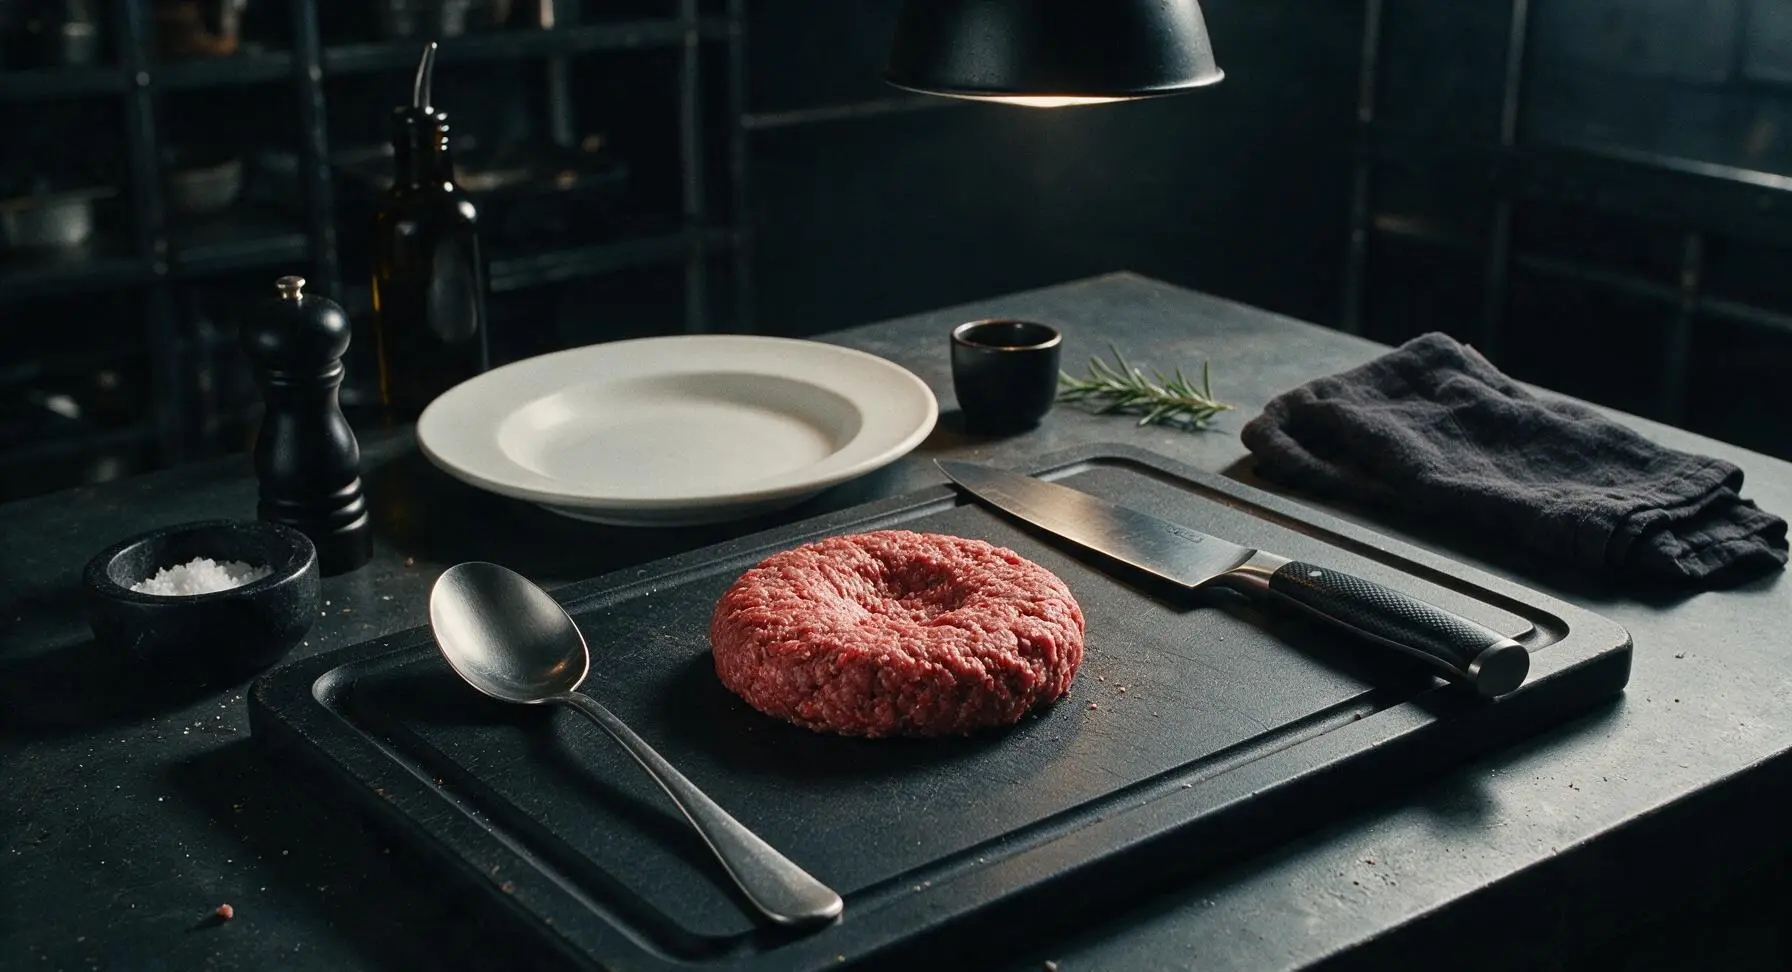
Divide the seasoned ground beef into 4 equal 170g portions. Gently shape each portion into a round patty roughly 1cm wider than the hamburger buns (patties will shrink during searing), pressing a shallow 1cm dimple in the center of each patty to prevent bulging as they cook. Keep patties loosely packed—tightly compacted meat produces tough burgers. Set formed patties on the empty front section of the cutting board.
Step 3
step3:Form Loose Beef Patties
Step 3
step3:Form Loose Beef Patties
4

Preheat Cast Iron Skillet

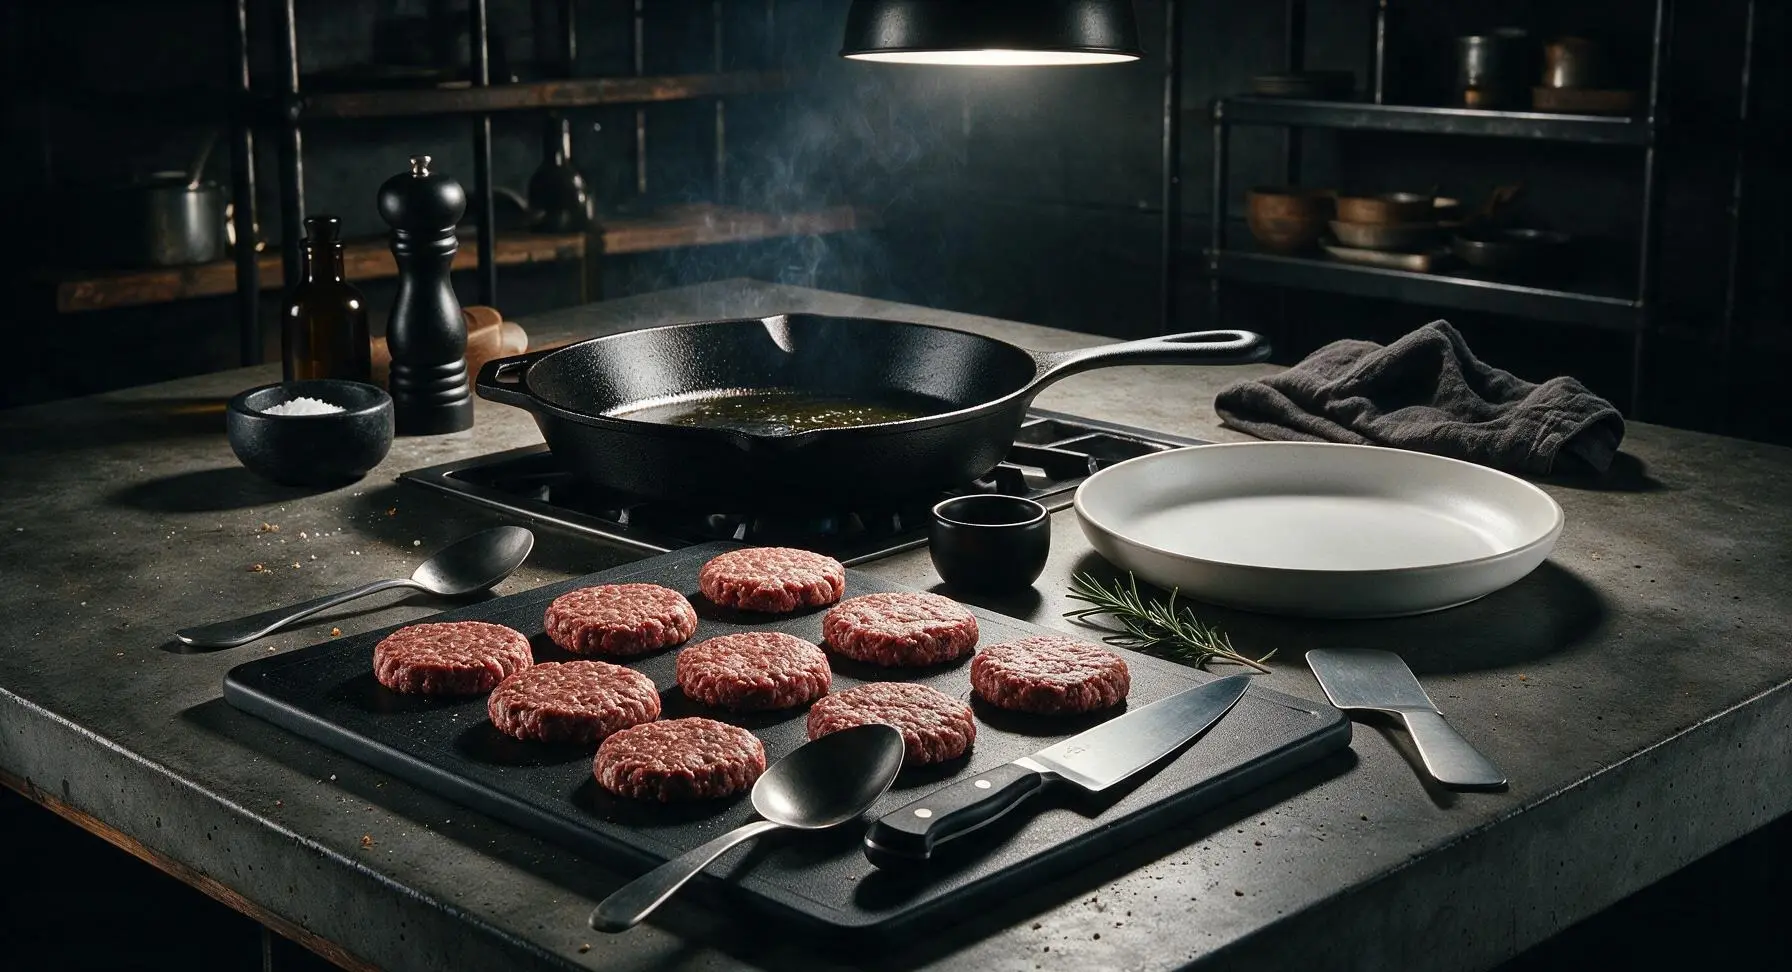
Place the matte black cast iron skillet in its fixed position on the rear stovetop burner behind the cutting board. Set the thin stainless steel turner spatula in its fixed position to the right of the cutting board. Turn stovetop heat to medium-high, add 1 tsp canola oil to the skillet, and heat for 3 minutes until the oil shimmers and just begins to release thin wisps of smoke, indicating the pan is hot enough for a proper sear.
Step 4
step4:Preheat Cast Iron Skillet
5

Sear Patties to Perfection

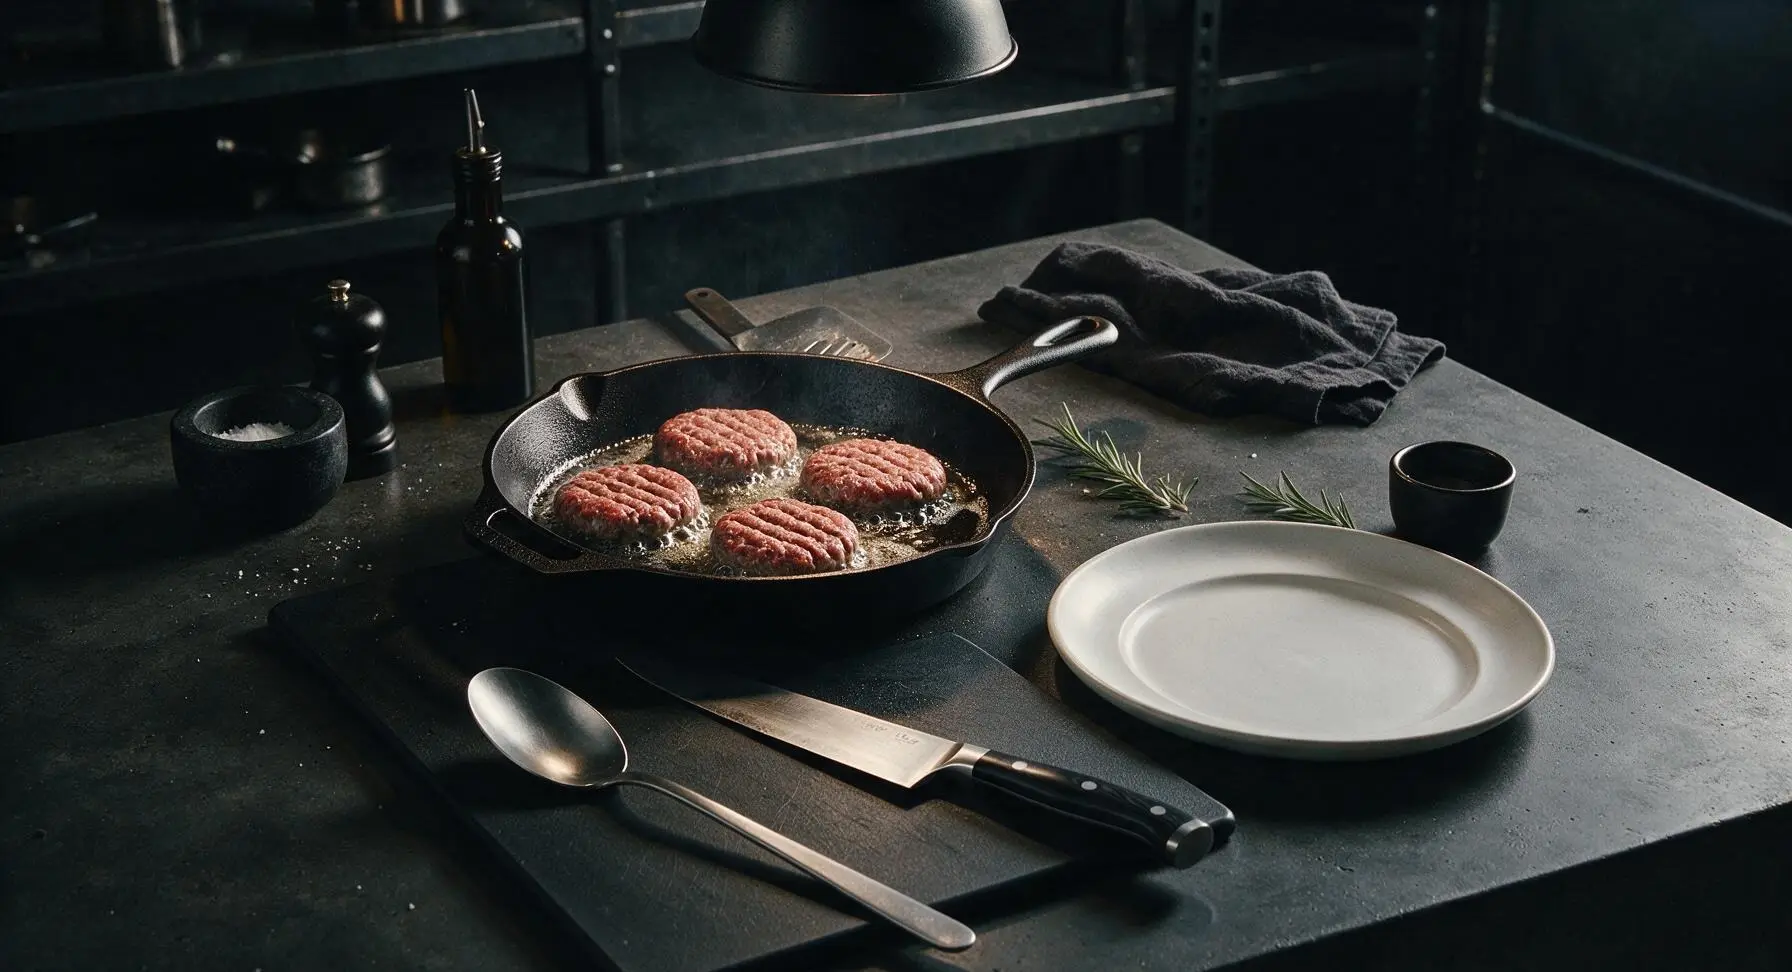
Carefully lay each patty in the hot skillet, dimple-side up. Do not move, press, or flatten the patties for 4 full minutes—this uninterrupted contact builds a deep, savory, crisp crust. After 4 minutes, use the metal turner to flip each patty once in a single smooth motion.
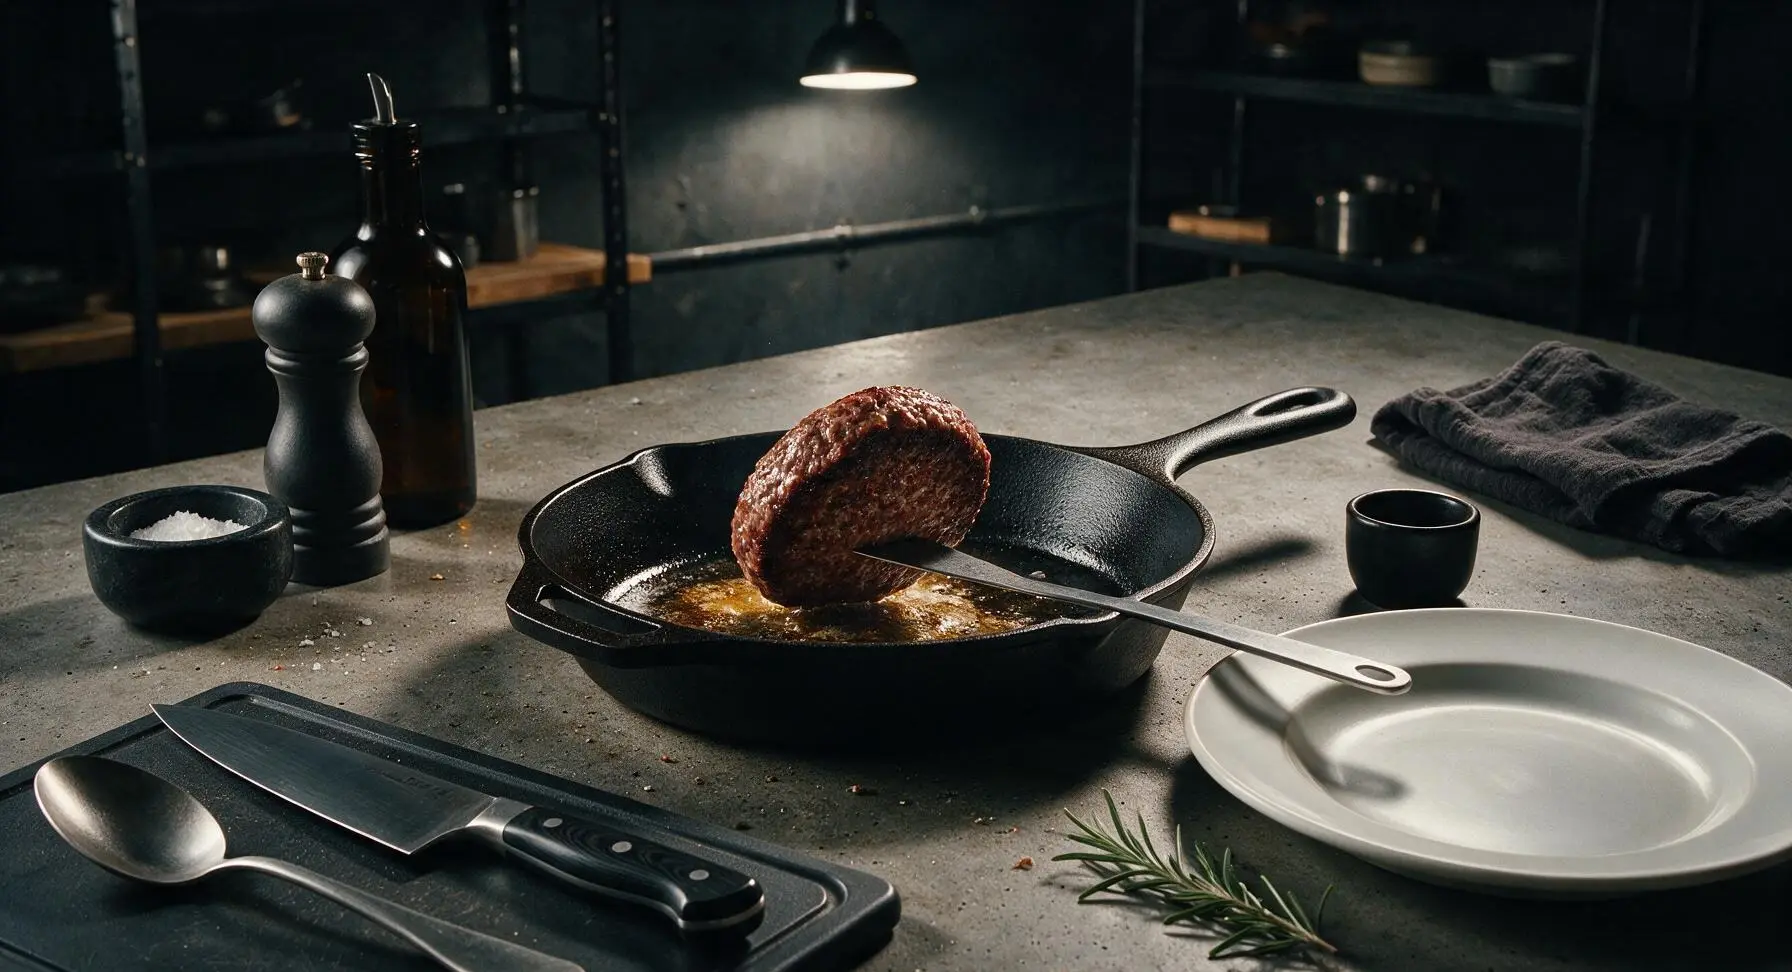
Step 5
step5:Sear Patties to Perfection
Step 5
step5:Sear Patties to Perfection
6

Melt Cheese on Patties

Immediately after flipping all patties, lay one slice of sharp cheddar cheese on top of each patty. Cook for 3 additional minutes for medium doneness (internal temperature 71°C / 160°F), until the cheese is fully melted and bubbling slightly at the patty edges. Use the metal turner to transfer cooked patties to the fixed off-white ceramic plate, and let them rest for 2 minutes to let juices redistribute.
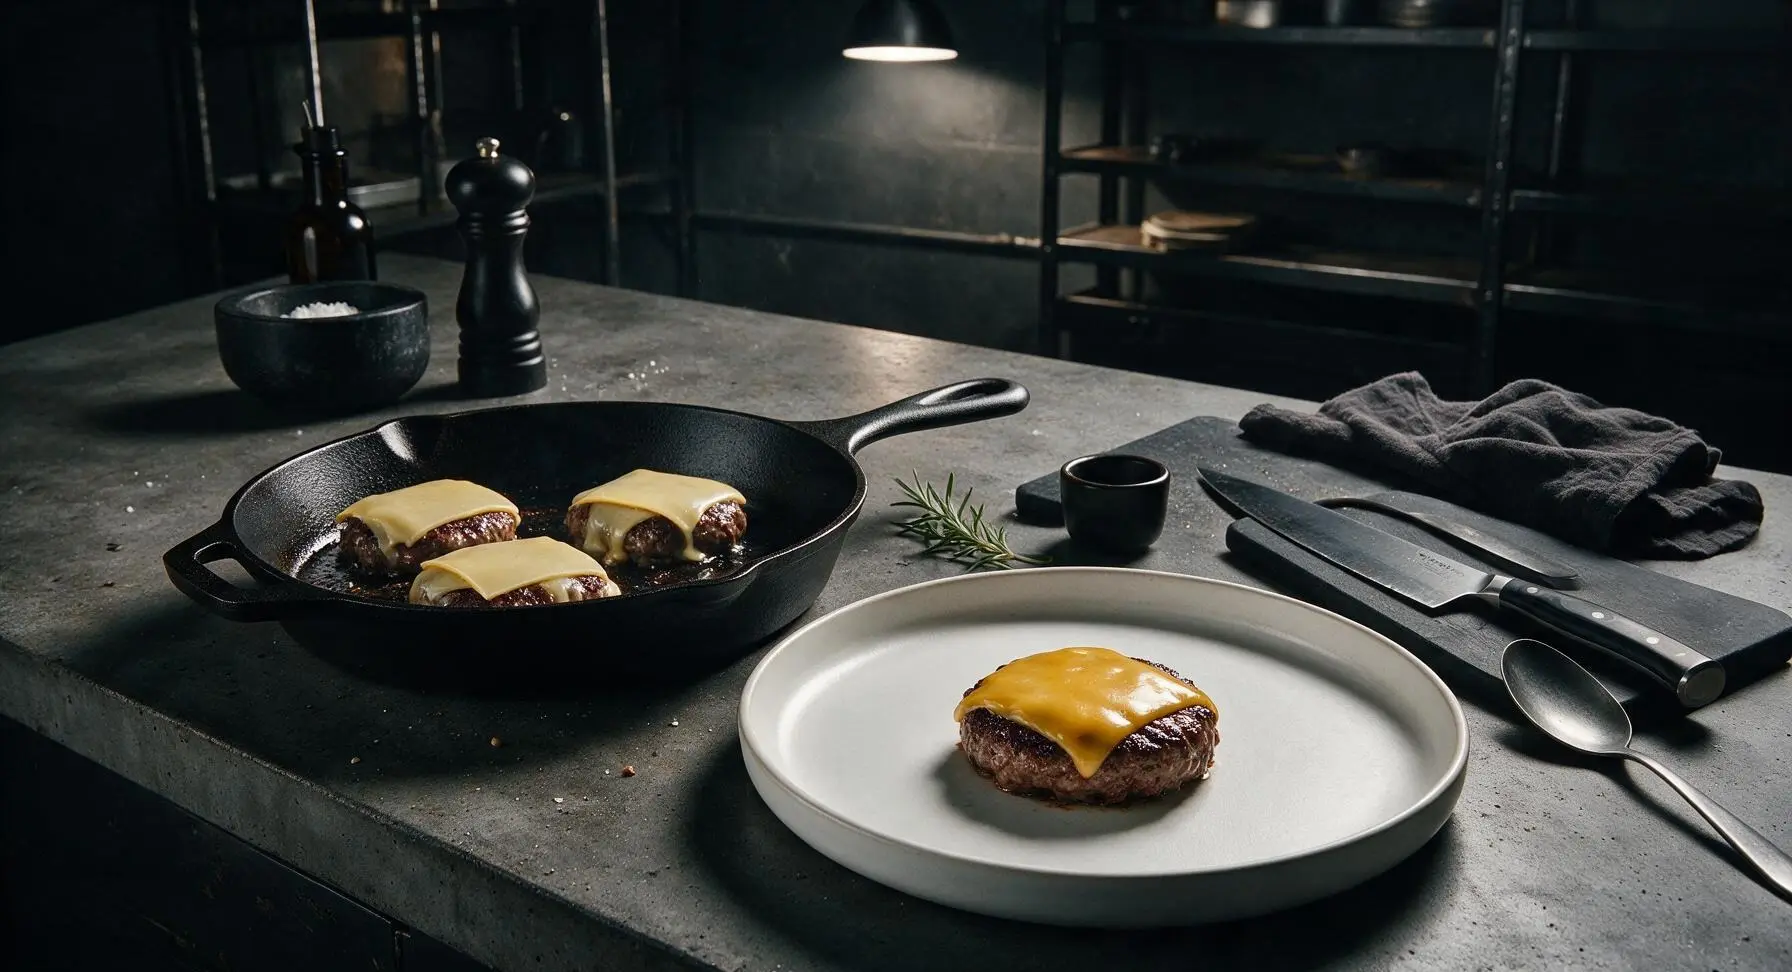
Step 6
step6:Melt Cheese on Patties
7

Toast Sesame Buns

Reduce stovetop heat to medium. Place the off-white silicone spatula in its fixed position beside the metal turner. Split the hamburger buns, then place them cut-side down in the rendered beef fat left in the skillet. Toast for 1 minute until the cut surfaces are golden brown and slightly crisp—this creates a moisture barrier to prevent soggy buns. Use the silicone spatula to transfer toasted buns to the plate beside the resting patties.
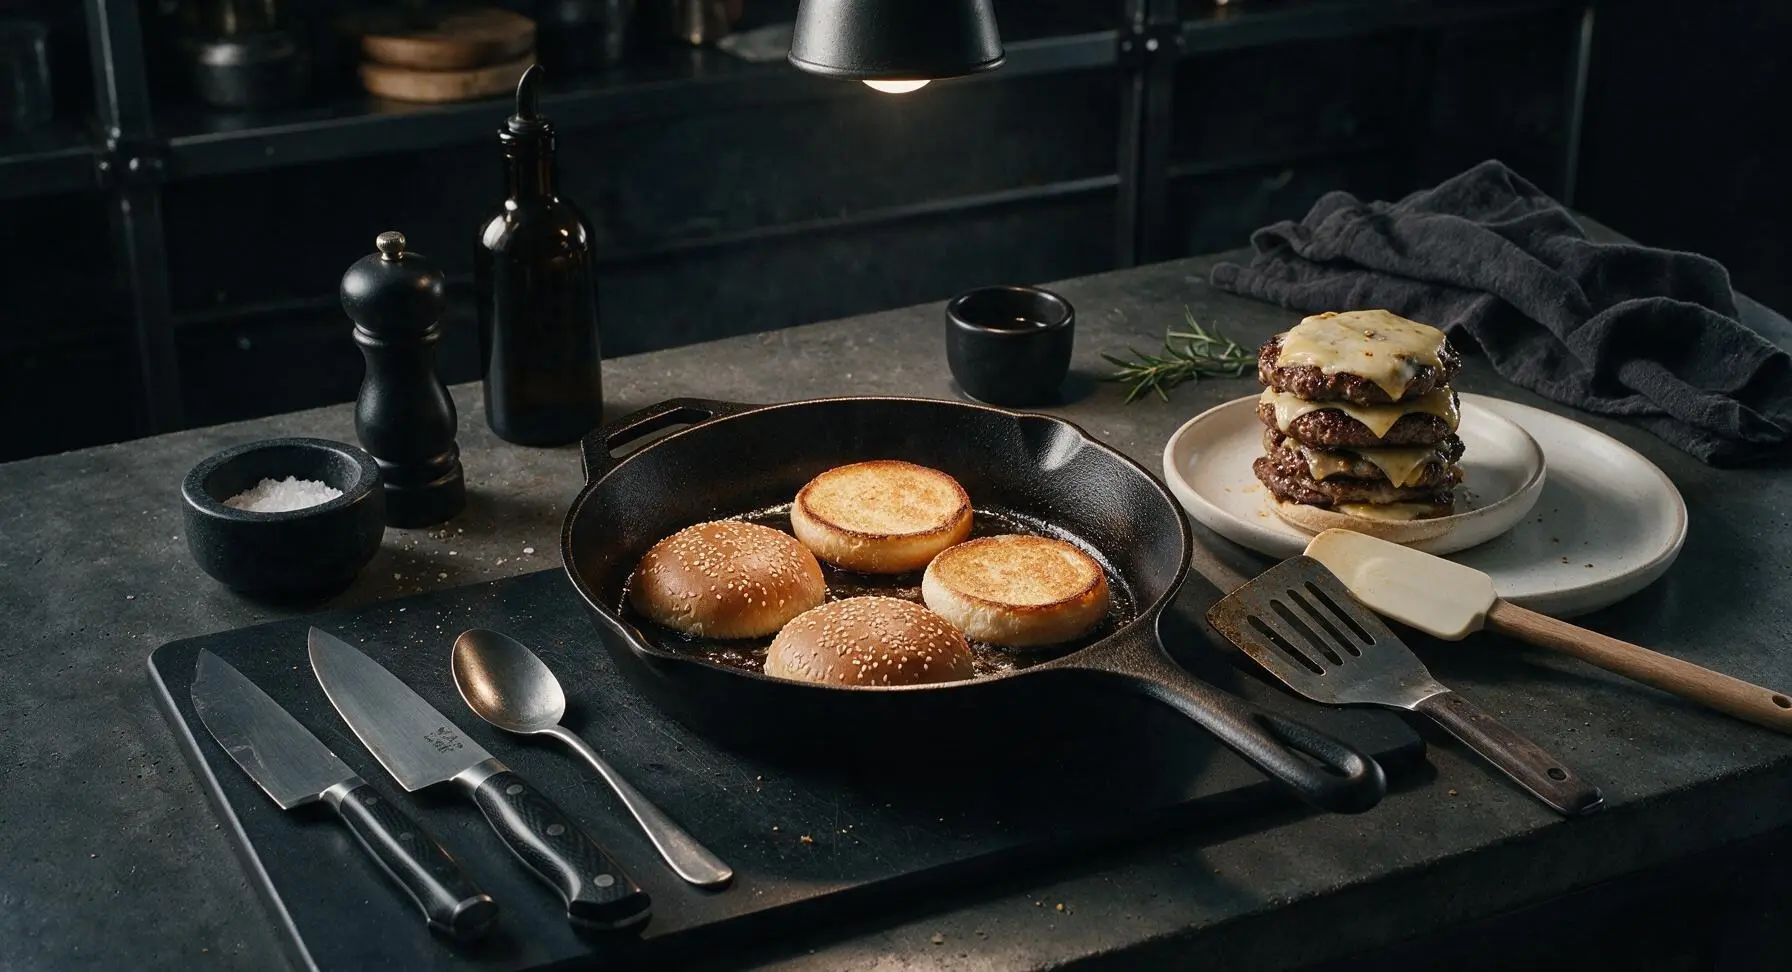
Step 7
step7:Toast Sesame Buns
8

Assemble Hamburgers

Spread 1 tbsp of mayonnaise on the cut side of each toasted bottom bun, then top with one lettuce leaf, one tomato slice, a few thin onion rings, one rested cheese-topped patty, and 1/2 tbsp of ketchup. Place the toasted top bun on each burger, pressing gently to secure the layers. Serve immediately while warm.
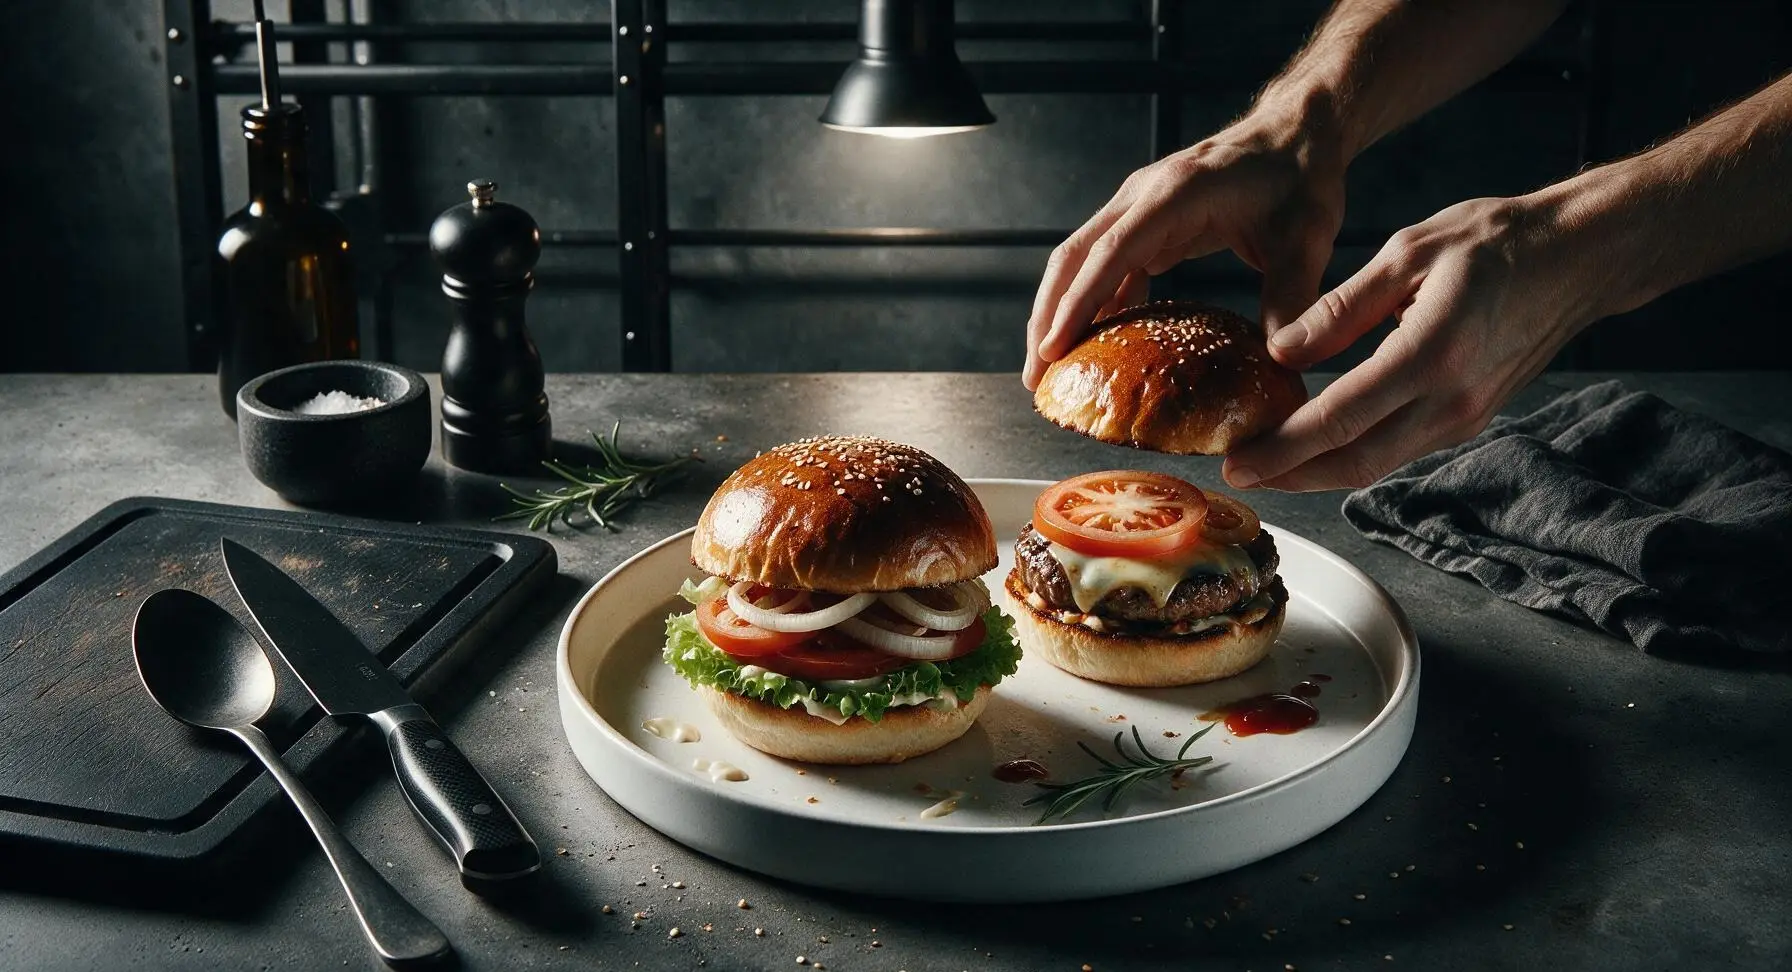
Step 8
step8:Assemble Hamburgers

Tips

1.Use 80/20 ground beef (20% fat by weight) for the juiciest results: leaner beef blends will dry out during high-heat searing, while blends with higher fat content cause excess grease shrinkage and heavy, greasy burgers.
2.Never press down on patties with your spatula while searing: this squeezes out all the flavorful, juicy rendered fat from the meat, leaving you with dry, flavorless patties and dangerous grease flare-ups.
3.Pat tomato slices and lettuce completely dry before assembling: excess water from fresh produce will soak through the toasted bun within minutes, turning your burger soggy before you can take the first bite.


✨ You May Also Like

BBQ & Grilling
🍜 United States

Tender, melt-in-your-mouth beef brisket with a crisp, spiced bark, slow-smoked to deep smoky perfection, the iconic centerpiece of Texas backyard barbecue.

⏱️ 12 hours BBQ & Grilling ★ 4.4
BBQ & Grilling
🍜 Korea

Tender, sweet-savory marinated beef short ribs, a beloved Korean BBQ staple with caramelized, slightly charred edges and deep umami flavor, perfect for outdoor summer gatherings.

⏱️ 4 hours 2BBQ & Grilling ★ 4.8
BBQ & Grilling
🍜 United States

Juicy grilled beef patties topped with smoky homemade chili, melted cheddar, and tangy pickles on toasted brioche buns for a hearty, flavor-packed handheld meal.

⏱️ 40 minuteBBQ & Grilling ★ 4.7
BBQ & Grilling
🍜 United States

A sweet, smoky, tangy BBQ sauce brightened with peak-season dark cherries, ideal for glazing grilled ribs, chicken, pork, or summer roasted veggies.

⏱️ 35 minuteBBQ & Grilling ★ 4.7
BBQ & Grilling
🍜 United States

Rich, smoky, slightly sweet homemade bourbon BBQ sauce with deep caramel notes, ideal for glazing grilled ribs, chicken, and burgers at cookouts.

⏱️ 25 minuteBBQ & Grilling ★ 4.7
BBQ & Grilling
🍜 United States

Iconic Alabama-style BBQ featuring tender hickory-smoked chicken slathered in tangy creamy white sauce, a beloved regional Southern cookout staple.

⏱️ 3 hoursBBQ & Grilling ★ 5

homemade hamburger:Frequently Asked Questions

1.Why do you recommend 80/20 ground beef instead of leaner blends for these burgers? ▾
That 20% fat content is non-negotiable for juicy, deeply flavorful patties! Leaner blends like 90/10 cook up dry and crumbly, because the fat renders as the patty sears, basting the meat from the inside and delivering that rich, classic beefy burger taste. Skip extra-lean grinds here—you won’t get that takeout-beating texture without it.
2.Is it bad to overwork the ground beef when I’m forming the patties? ▾
Great question—absolutely! Overmixing or squeezing the beef too tightly when shaping leads to tough, dense, rubbery patties. Gently form loose, ¾-inch thick discs that just barely hold together, and press a small dimple in the center to stop them from puffing up as they cook. That small step guarantees a perfect tender, even bite every time.
3.How do I keep my burger patties from shrinking a ton while they cook? ▾
Shrinkage happens when fat renders quickly and meat tightens up from high heat, so two easy fixes work perfectly here. First, shape your patties about ½ inch wider than your sesame buns, since they’ll naturally pull in as they cook. Second, never press down on patties with your spatula while searing—that squeezes out juicy fat and ramps up shrinkage big time.
4.When should I add the cheddar cheese to get that perfect gooey melt? ▾
Add your sharp cheddar slice during the last 60 to 90 seconds of cooking, right after you flip the patty to its second side. Tent the pan with a lid for 30 seconds to trap gentle steam, which melts the cheese into that perfect gooey, drippy layer, instead of letting it burn or slide off the patty before it softens all the way through.
5.Do I really need to toast the sesame seed hamburger buns? ▾
You don’t technically have to, but toasting makes a world of difference! Untoasted buns get soggy fast from patty juices and condiments, but a quick 30-second toast on your hot pan or griddle adds subtle nutty flavor, creates a slight crisp barrier, and makes the soft sesame buns sturdy enough to hold all toppings without falling apart mid-bite.
6.What internal temperature should I cook the patties to for the best texture and food safety? ▾
For a classic juicy burger with just a hint of pink in the center, aim for a 160°F internal temperature measured at the thickest part of the patty, per USDA food safety guidelines for ground beef. If you prefer a more well-done burger, pull it at 165°F, but any higher and you’ll start to dry out that perfectly marbled 80/20 beef.
7.Why use beefsteak tomatoes instead of other tomato varieties for toppings? ▾
Beefsteak tomatoes are ideal for classic burgers because they’re large, meaty, and strike the perfect balance of juiciness and structure. You can cut thick ¼-inch slices that cover the whole patty without making a drippy, seedy mess. Smaller varieties like cherry or Roma tomatoes are too firm, too seedy, or too tiny to deliver that bright, fresh bite in every mouthful.
8.Should I season the ground beef before or after I form the patties? ▾
Season the outside of your formed patties right before you put them on the hot pan—don’t mix salt directly into the ground beef ahead of time. Mixing salt in early breaks down meat proteins, leading to a tough, sausage-like texture instead of that tender, loose burger bite. A generous sprinkle of kosher salt and black pepper on both sides right before searing is all you need.
9.Why do you call for green leaf lettuce instead of iceberg for this classic burger? ▾
Green leaf lettuce has a softer, more delicate texture and slightly sweet, fresh flavor that pairs perfectly with rich beef and melted cheddar, plus its flexible leaves fold neatly over the patty without cracking or slipping. Iceberg is crisp but can be stiff and overly watery, often sliding right out of the bun when you take a bite and throwing off the whole burger balance.
10.Can I form the beef patties ahead of time for a cookout or weeknight meal prep? ▾
Absolutely! You can form the patties up to 24 hours ahead, stack them between squares of parchment paper, and store them in an airtight container in the fridge. Just hold off on seasoning them until right before you cook to keep that perfect tender texture. Let them sit at room temperature for 15 minutes before searing so they cook evenly edge to edge.
11.What heat level should I use on my pan to get a good sear without burning the patties? ▾
Use medium-high heat for your cast iron skillet or griddle, and let it preheat for 3 to 4 minutes before adding patties. You want a loud, satisfying sizzle when the patty hits the pan to build that deep, browned, flavorful crust, but if the pan is smoking hot, you’ll burn the outside before the inside cooks to a safe, juicy temperature.
12.How do I stop my burger toppings from making the bottom bun soggy? ▾
Sogginess is such a common burger letdown! First, toast both cut sides of your sesame buns as recommended earlier to create a moisture barrier. Second, layer drier toppings like green leaf lettuce right against the bottom bun, then add the cheesy patty, then juicier toppings like tomato, so the lettuce catches excess juice instead of it soaking straight into the bread.
13.Can I use a different type of cheese if I don’t have sharp cheddar on hand? ▾
Of course! Sharp cheddar is classic for its tangy, bold flavor that cuts through rich, fatty beef, but you can swap it for any good melting cheese you have on hand. American, Swiss, pepper jack, or smoked gouda all work beautifully—just remember to add it at the end of cook time so it gets that perfect gooey melt over the hot patty.
14.Do I need to let the cooked patties rest before assembling the burgers? ▾
Let your cooked, cheese-topped patties rest for 2 to 3 minutes on a clean plate before stacking them on the buns. This short rest lets the hot juices redistribute through the meat instead of running all over your bun and toppings the second you take a bite. You don’t need to tent them with foil unless you’re waiting a bit longer to assemble, to keep the cheese perfectly melty.
15.Do I need to add binders like breadcrumbs or egg to hold the patties together? ▾
Nope, this isn’t meatloaf! Those binders make patties tough and dilute that pure, beefy classic burger texture. As long as you’re using 80/20 ground beef and handling the meat gently when forming patties, they’ll hold together perfectly while searing without any extra fillers getting in the way of that rich, fresh beef taste.

Comments (9)

2 days ago

OMG this is the classic burger I’ve been searching for my whole life! No fancy weird add-ins, just perfectly seasoned juicy patties that don’t shrink up to nothing on the grill. Made these for my weekend cookout and every single guest asked for the recipe. 10/10, no more store-bought pre-made patties for me ever.

yesterday

Same! I used to overcomplicate burgers with breadcrumbs and egg and all that jazz and this simple method is such a game changer. My patties actually stay juicy now!

2 hours ago

So glad these were a hit at your cookout! Pro tip: don’t press down on the patties while they cook if you want to lock in all that juicy flavor.

yesterday

My kids loved it! I was in a total weeknight dinner rut last night and threw these together in literally 10 minutes just like the recipe said. Served with oven fries and carrot sticks and not a single complaint from the picky 7 year old, which is basically a miracle in my house. SO good.

2 hours ago

That’s what we love to hear! Quick, kid-approved weeknight meals are exactly what this recipe is made for. So glad your whole family enjoyed it.

3 days ago

Solid basic burger recipe, no frills, no nonsense. I added a slice of American cheese and some pickled onions on top and it tasted just like the old school diner burgers I grew up eating. Way cheaper than grabbing takeout too.

1 week ago

Game changer for my Sunday meal prep! I mixed up a double batch of the patty mix, formed them into patties, and stuck them in the freezer between parchment paper squares. They cook up perfectly straight from frozen for quick lunches all week. No more sad desk salads for me!

5 days ago

Wait how long do you cook them from frozen? I’ve been scared to try frozen homemade patties because I always worry they’ll be raw in the middle!

3 days ago

Great question! If cooking from frozen, add 3-4 minutes to the total cook time, and make sure the internal temp hits 160°F for food safety. So stoked this works for your meal prep routine!

just now

Super easy even for someone who barely knows how to turn on a stove lmao. I didn’t have a grill so I cooked mine in a cast iron skillet on the stovetop and it still came out crispy on the outside and juicy inside. Topped with mayo, ketchup, and a ton of pickles. Chefs kiss.

5 days ago

Made these for our neighborhood block party potluck last weekend and they were gone in 20 minutes flat! People kept coming back for seconds and thirds. The simple seasoning blend is perfect, it doesn’t overpower the beef flavor at all. I’ll be making these for every summer get together from now on.

2 days ago

I was at that potluck! Those burgers were insane, I’ve been checking the group chat all week waiting for someone to share the recipe, so glad I found it here!

2 weeks ago

I’ve been grilling burgers for 40+ years and I have to say, this recipe nails the classic ratio. I was skeptical that 10 minutes cook time would be enough, but on a medium high grill it’s perfect for a 1/3 lb patty that’s pink but not raw in the middle. My grandkids said these are better than the ones I make at our annual camping trip, high praise!

1 week ago

Wait do you toast the buns on the grill too? I always forget that step and it makes such a difference for texture.

5 days ago

Absolutely toasting the buns is a chef’s kiss move! Just throw them cut side down on the cool side of the grill for 30 seconds right before you pull the patties off for the perfect crispy, buttery bun. Thanks for the kind words, Bob!

5 minutes ago

I was really craving a burger last night and decided to give this a shot instead of hitting the drive thru. So worth it! I topped mine with pepper jack, grilled jalapeños, and chipotle mayo for a little kick, and the base patty recipe held up perfectly to all the toppings. Way more flavorful than fast food for half the price.

2 hours ago

I messed up the first patty because I forgot to let the meat come up to temp a little before cooking, but even that one was still pretty good! The second batch turned out perfect, juicy all the way through with that nice crispy crust on the outside. 10 minute cook time is no joke, this is going into my regular weeknight rotation for sure.

30 minutes ago

So glad you stuck with it after the first patty! Letting the meat sit out for 15-20 minutes before forming patties helps them cook evenly, but even when you skip that step the recipe is pretty forgiving. Happy it’s made it into your rotation!



