
homemade hamburger patties
intro
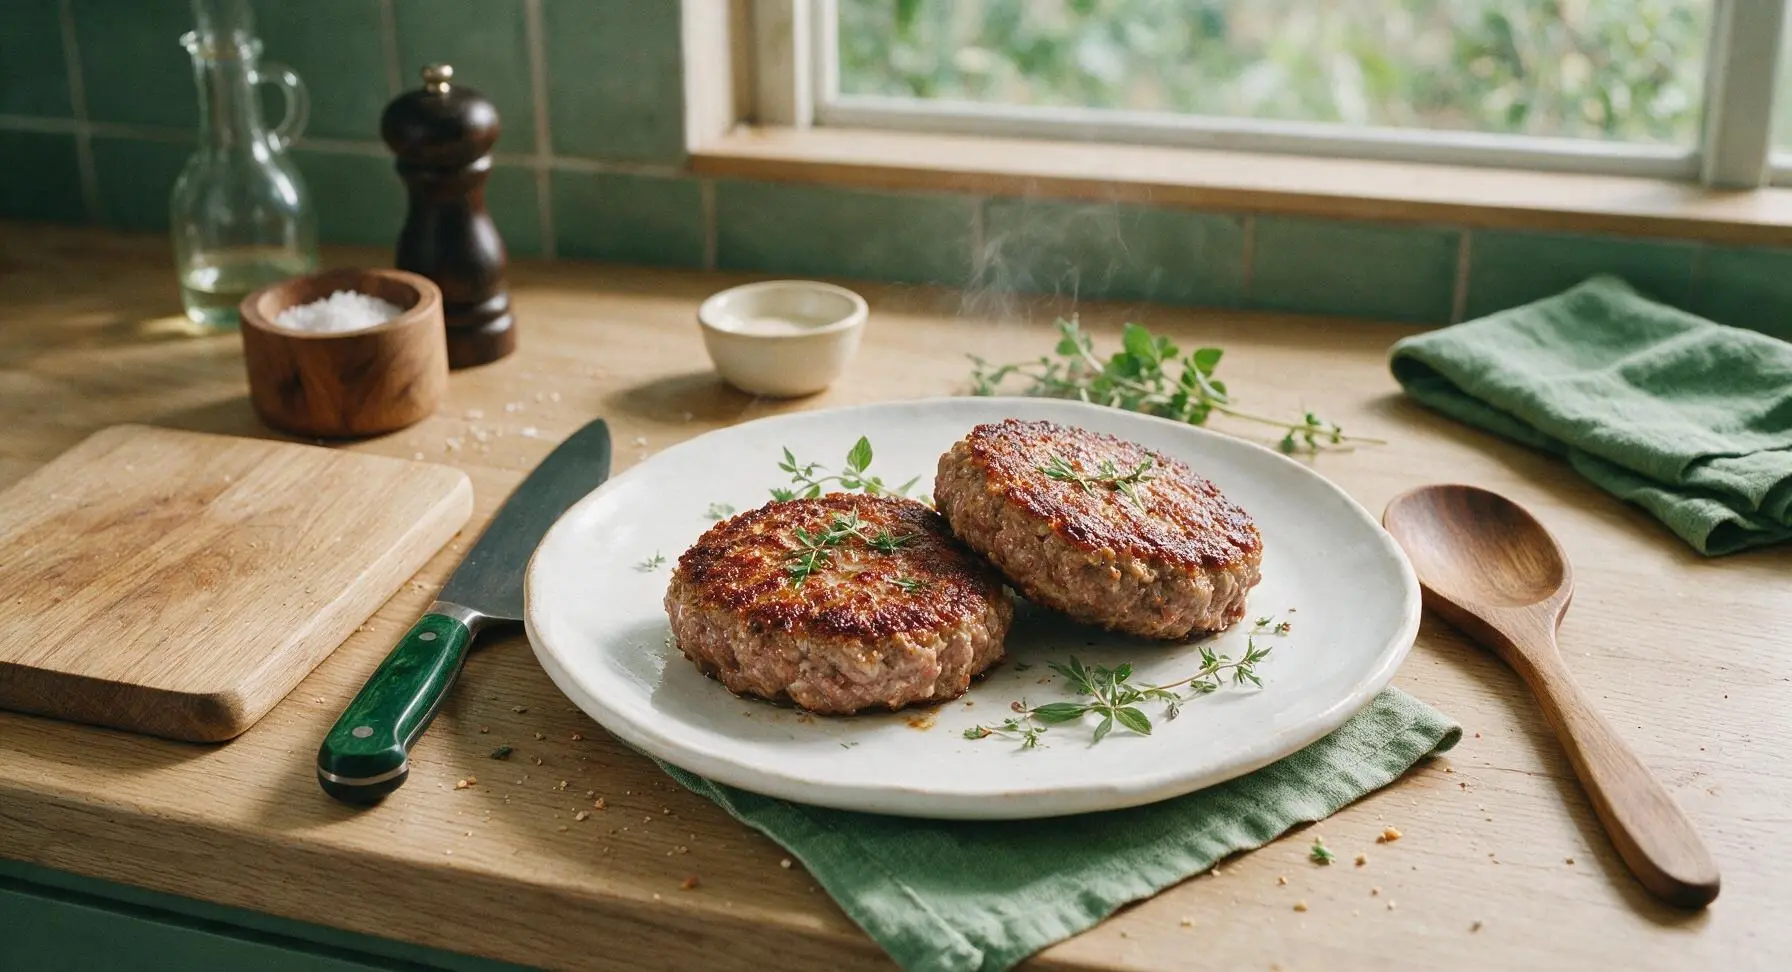
Juicy, no-filler homemade hamburger patties with a crispy seared crust and tender, juicy center, perfect for summer backyard cookouts. Simple, bold beefy flavor with no unnecessary additives.
Ingredients
Steps
Gently Mix Patty Base
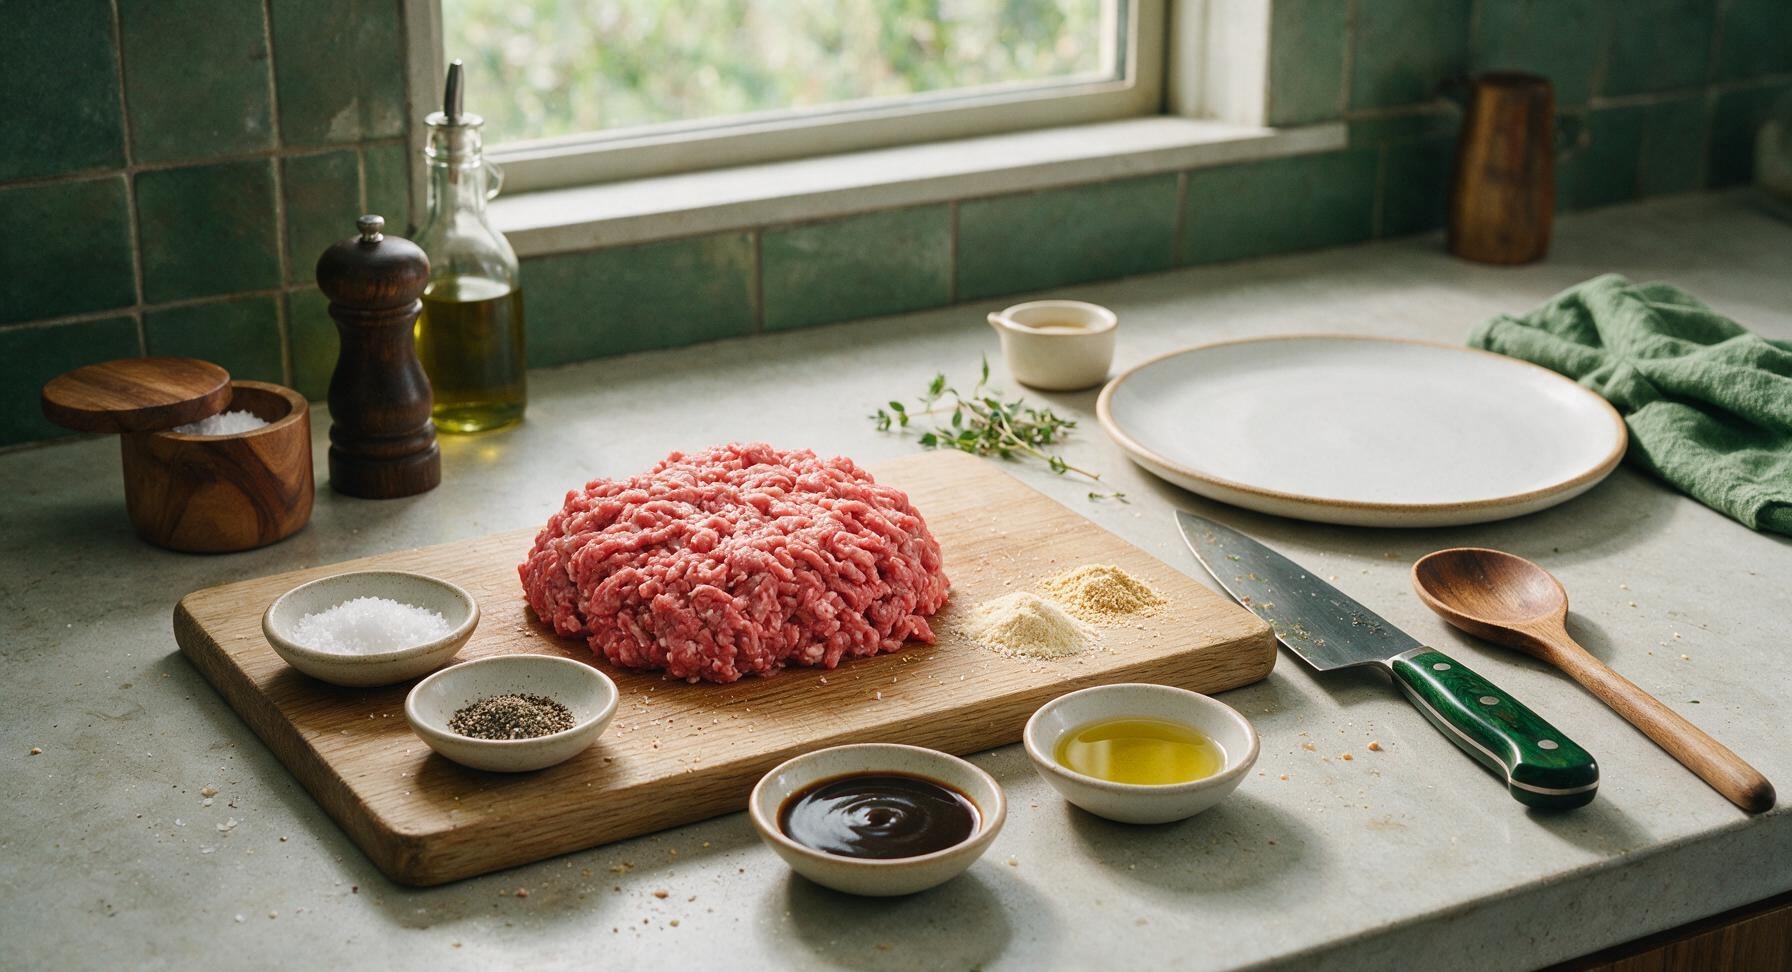
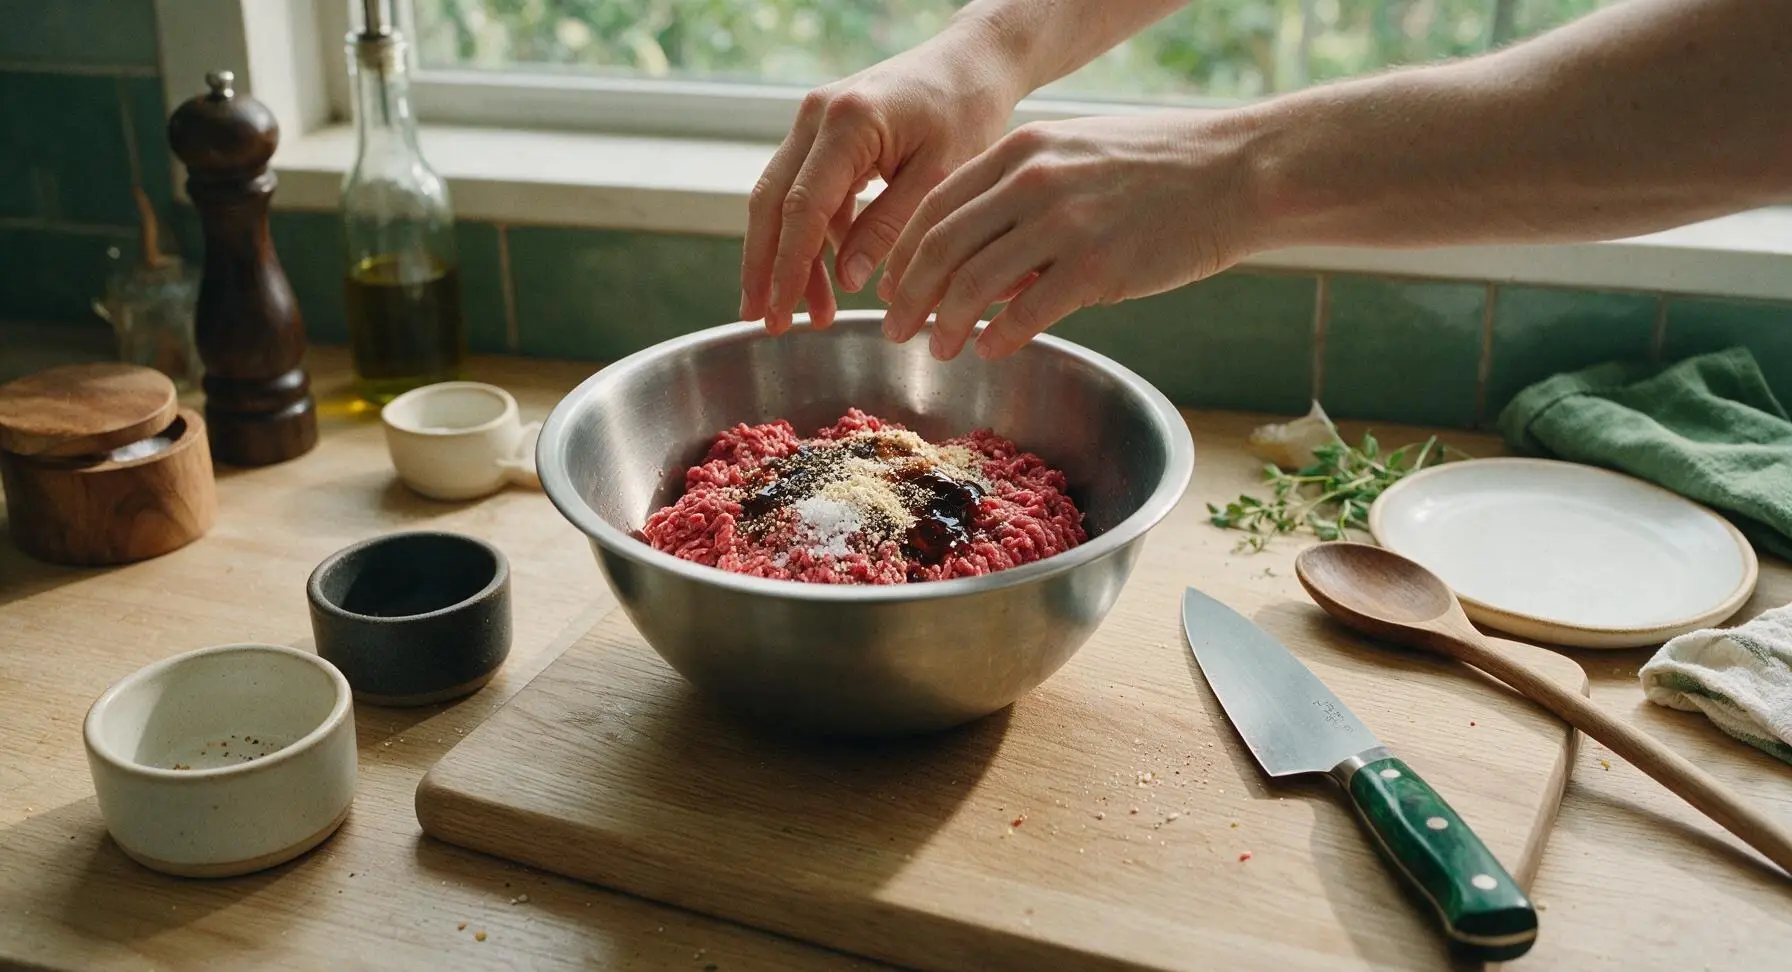
Add the cold 80/20 ground beef, kosher salt, black pepper, garlic powder, onion powder, and Worcestershire sauce to the stainless steel mixing bowl. Use clean, cold hands to gently toss and combine the ingredients for no more than 30 seconds. Do not squeeze, knead, or overwork the meat, as this will create tough, dense patties. The mixture should look loosely combined, with spices evenly distributed but meat strands still distinct.
Divide Meat into Portions
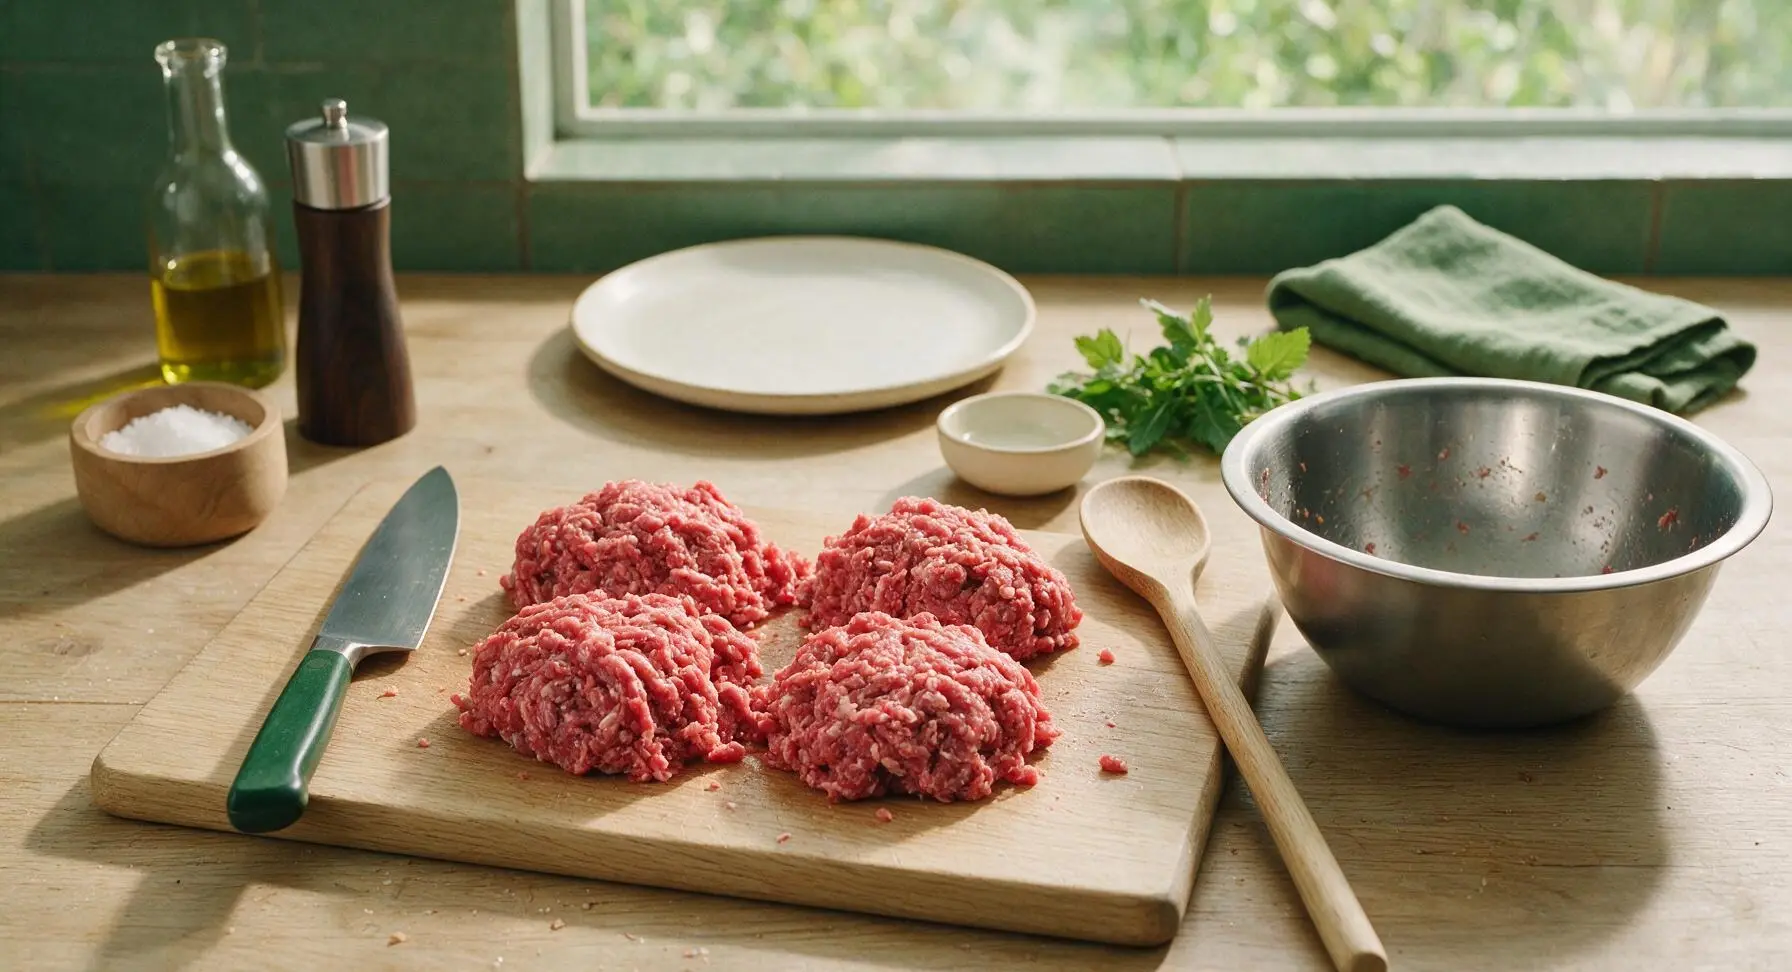
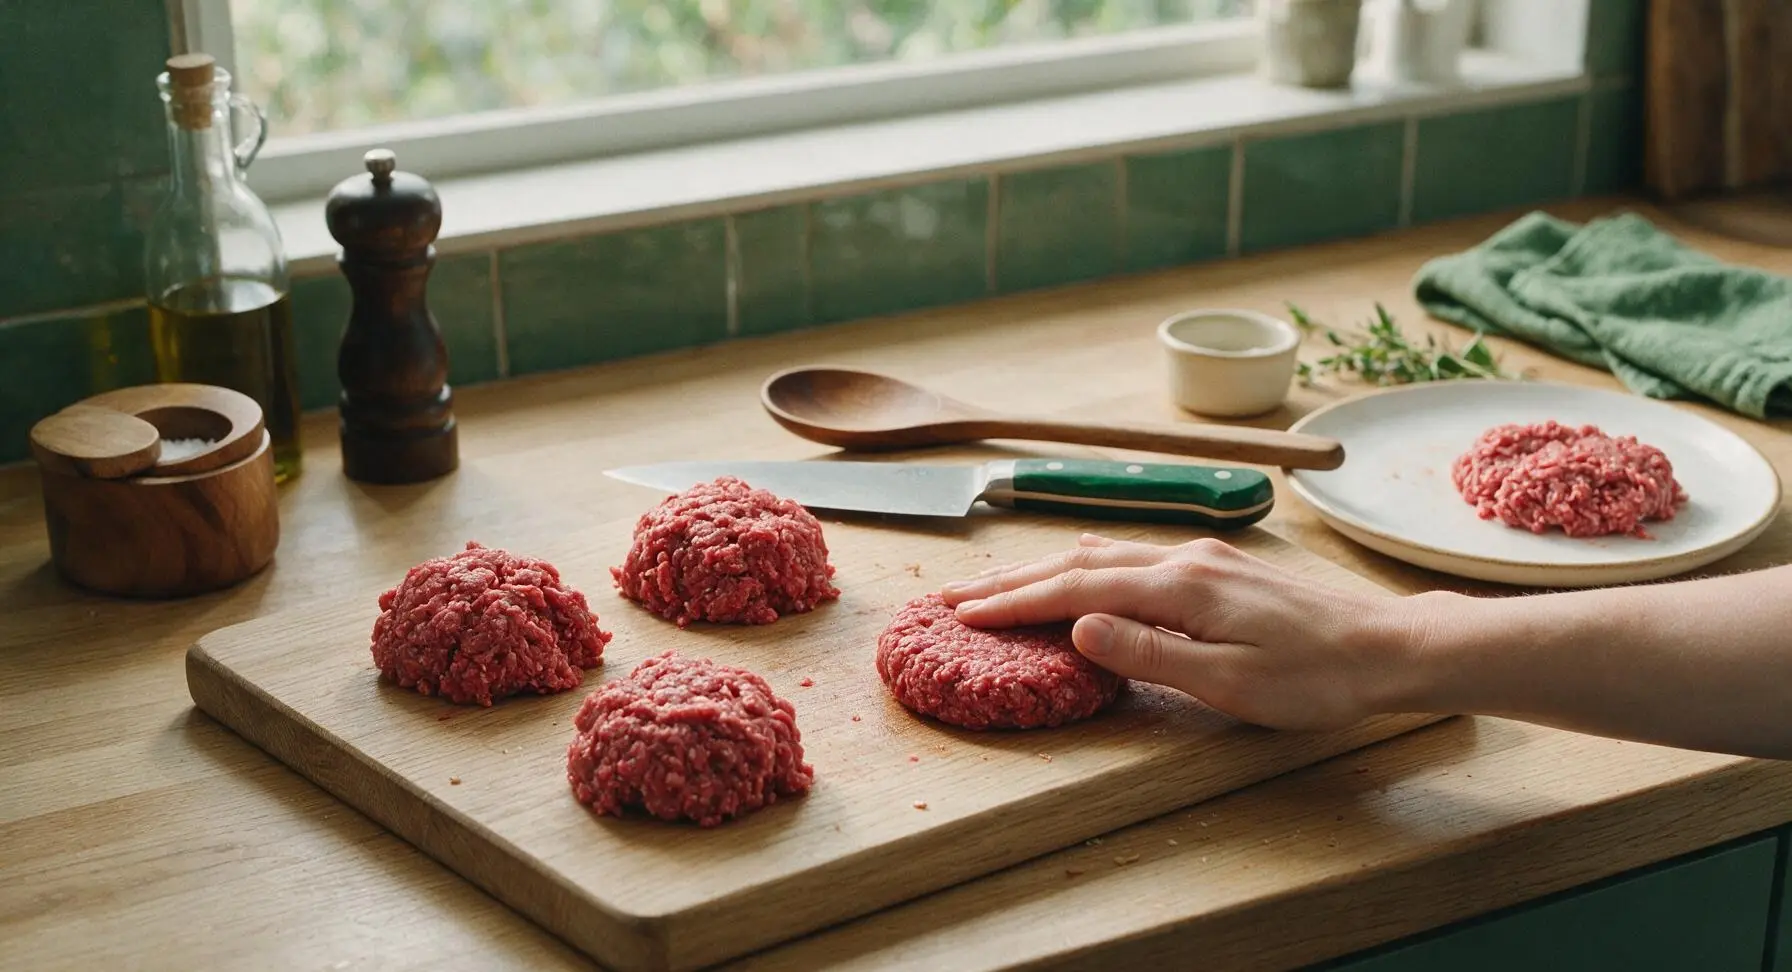
Turn the loosely mixed meat out onto the center of the maple cutting board. Divide it evenly into 4 equal portions, each weighing approximately 170g (6oz). Do not compress the meat tightly as you portion; keep the mounds light and loosely packed for the juiciest result.
Form Loose Patty Shapes
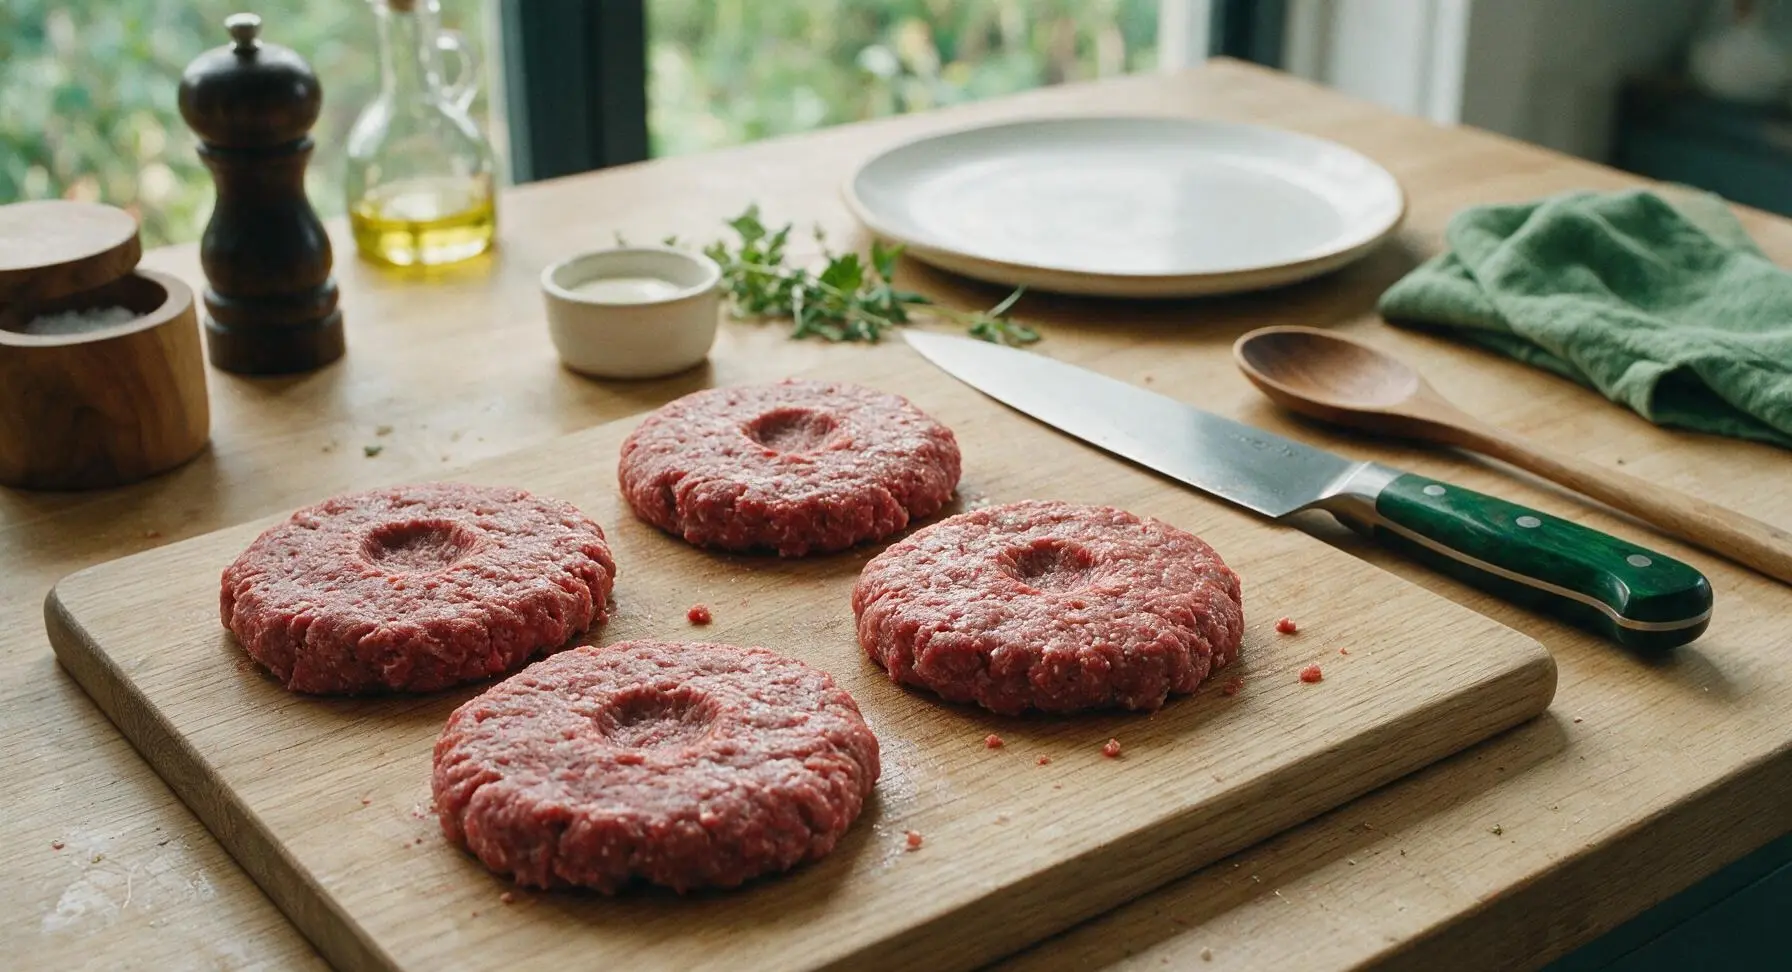
Gently shape each portion into a round patty that is approximately 1cm (1/2 inch) wider than your intended hamburger bun, as the patties will shrink slightly during cooking. Press a shallow 1cm dimple into the center of each patty with your thumb to prevent bulging as it cooks. Handle the meat as little as possible—patty edges can be slightly ragged, which creates crispy, textured bits when seared.
Preheat Skillet for Searing
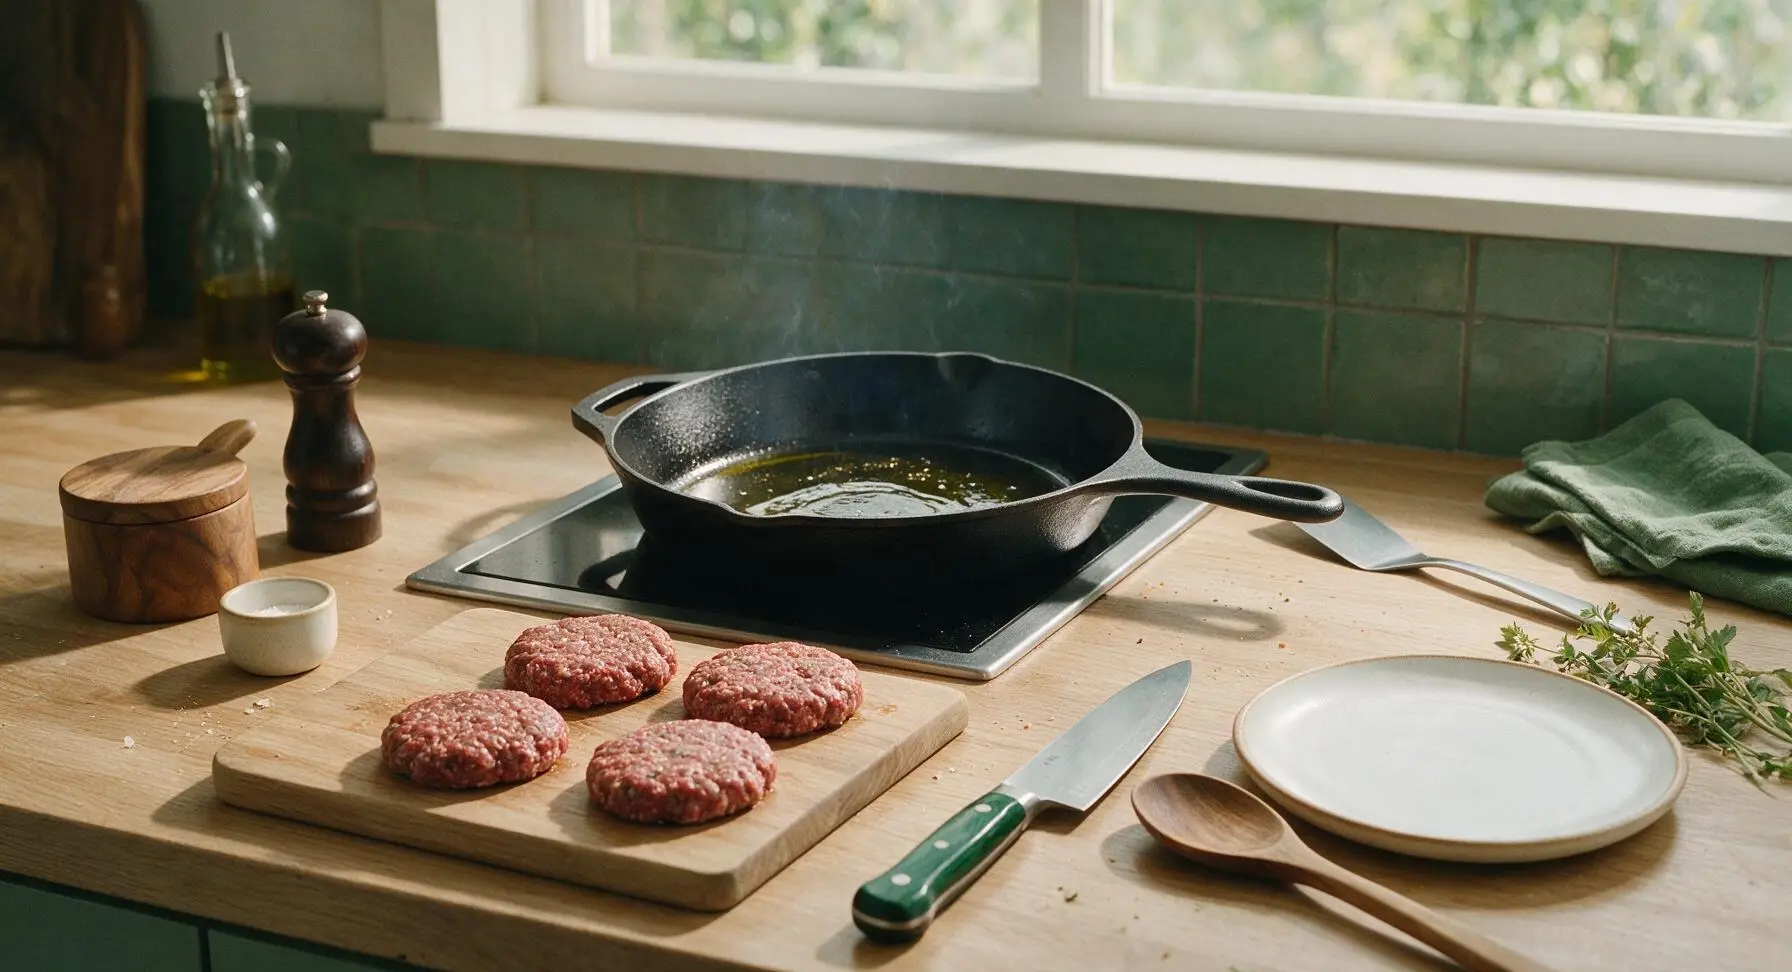
Place the 12-inch cast iron skillet on the stovetop back center counter position over medium-high heat. Add 1 tablespoon of canola oil, and heat until the oil is shimmering and just starting to send up thin wispy trails of smoke, approximately 3 minutes. This high heat creates the signature crispy, flavorful crust on the patty exterior.
Sear Patties Undisturbed
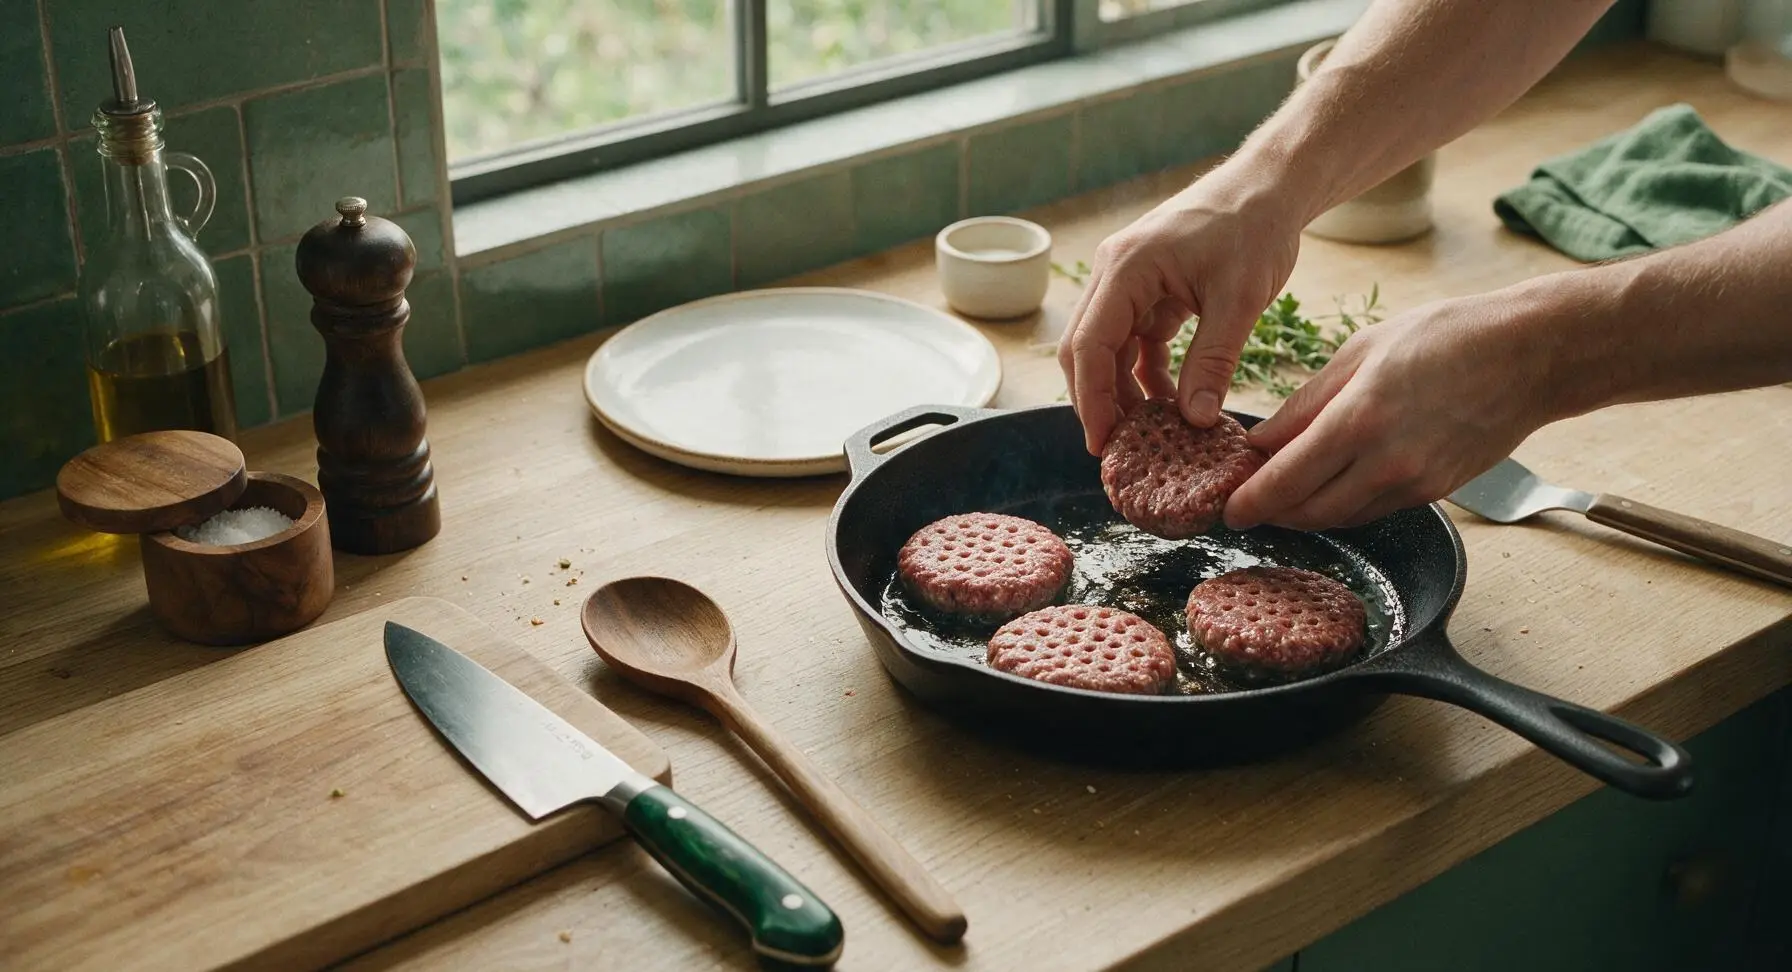
Carefully place the patties in the preheated skillet, dimple-side up. Do not move, press, or flatten the patties for the first 3 minutes of cooking. This undisturbed sear builds a deep, crispy crust and locks in juices. After 3 minutes, the bottom of each patty will be a deep golden-brown with dark, caramelized edges.
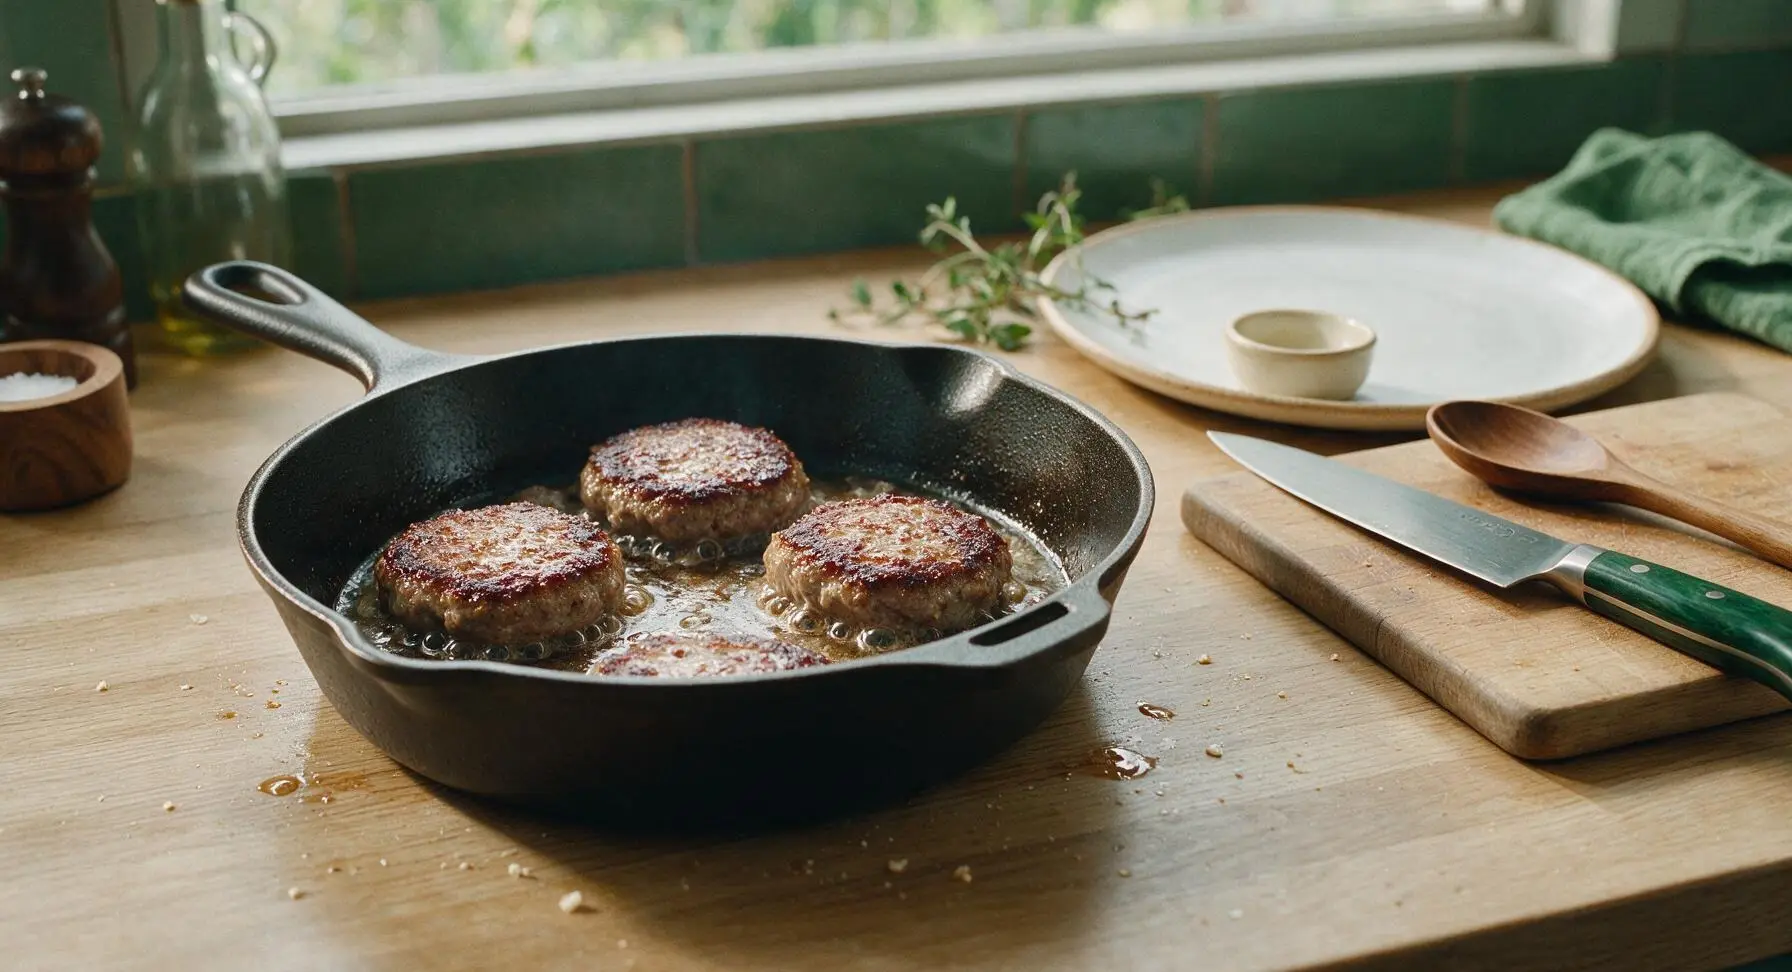
Flip and Cook to Doneness
Use the thin stainless steel spatula to flip each patty in one smooth motion. Cook for an additional 2-4 minutes, depending on desired doneness: 2 minutes for medium-rare (internal temp 57°C/135°F), 3 minutes for medium (63°C/145°F), 4 minutes for medium-well (71°C/160°F). Use the instant-read thermometer to check temperature by inserting the probe into the thickest part of the patty, avoiding contact with the pan. Do not press the patties with the spatula while cooking, as this squeezes out flavorful fat and juice.
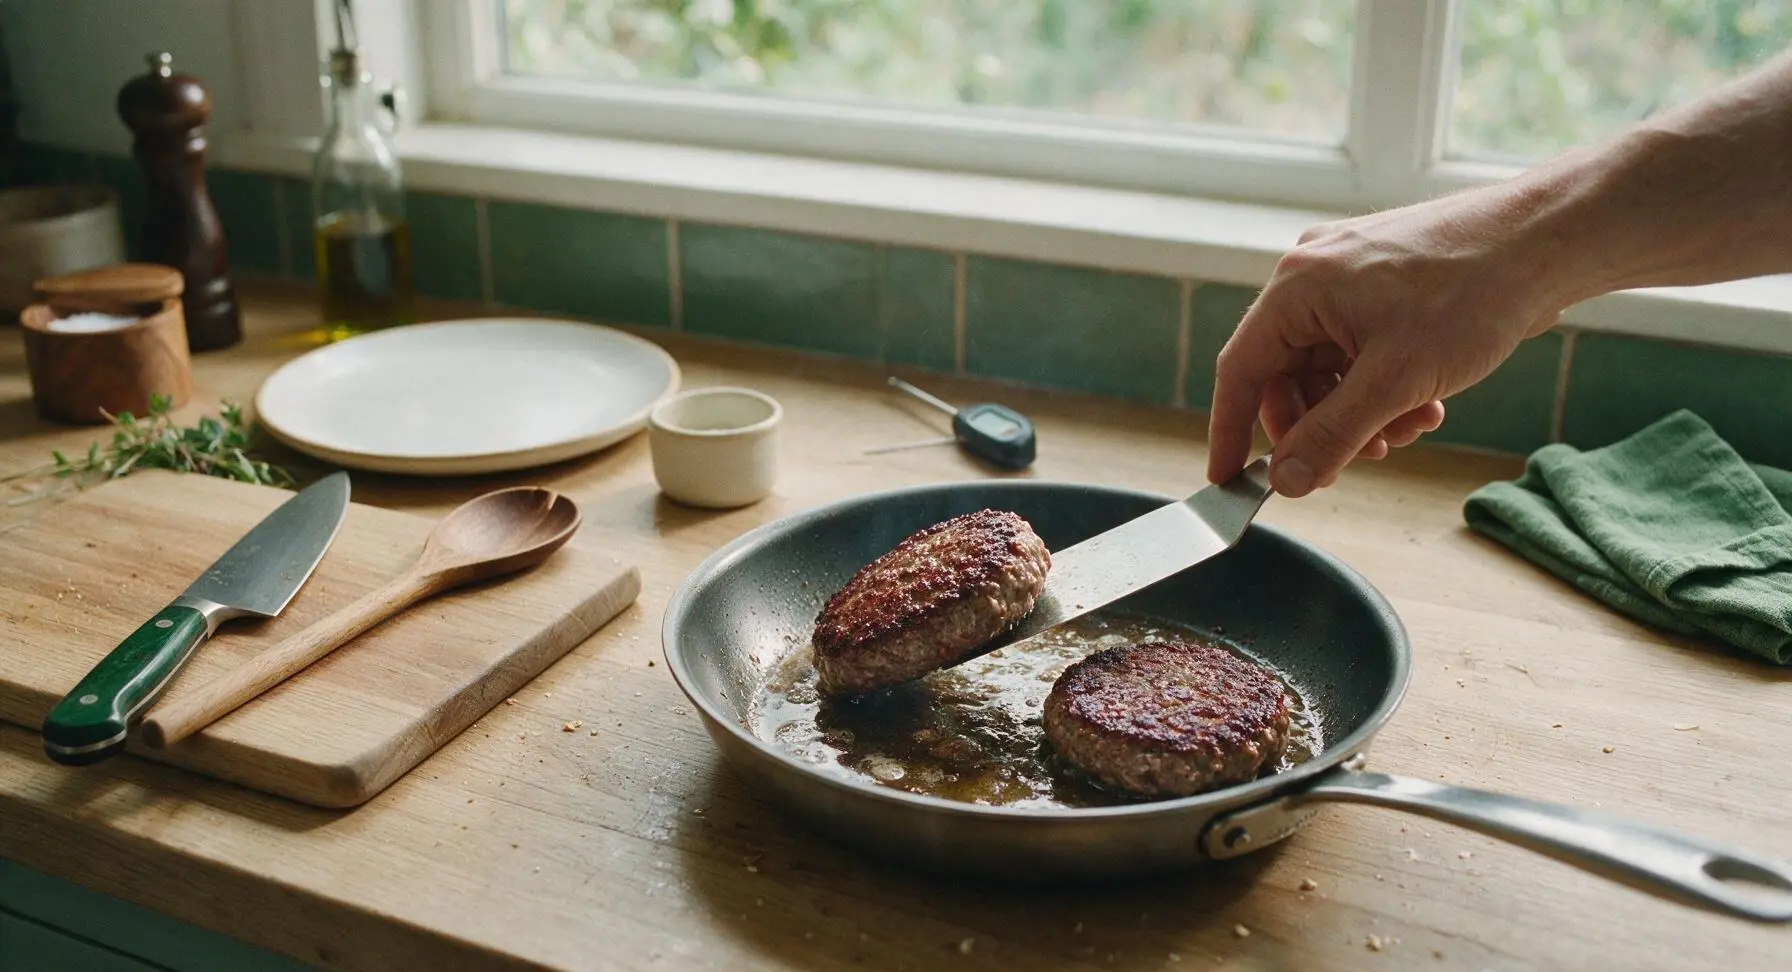
Rest Patties Before Serving
Transfer the cooked patties to the top matte white ceramic dinner plate pulled from the back right stack. Let them rest for 3 minutes to allow juices to redistribute through the meat, rather than running out when the patty is bitten into. Lightly sprinkle the top of each patty with a pinch of flaky sea salt if desired, before assembling into burgers or serving.
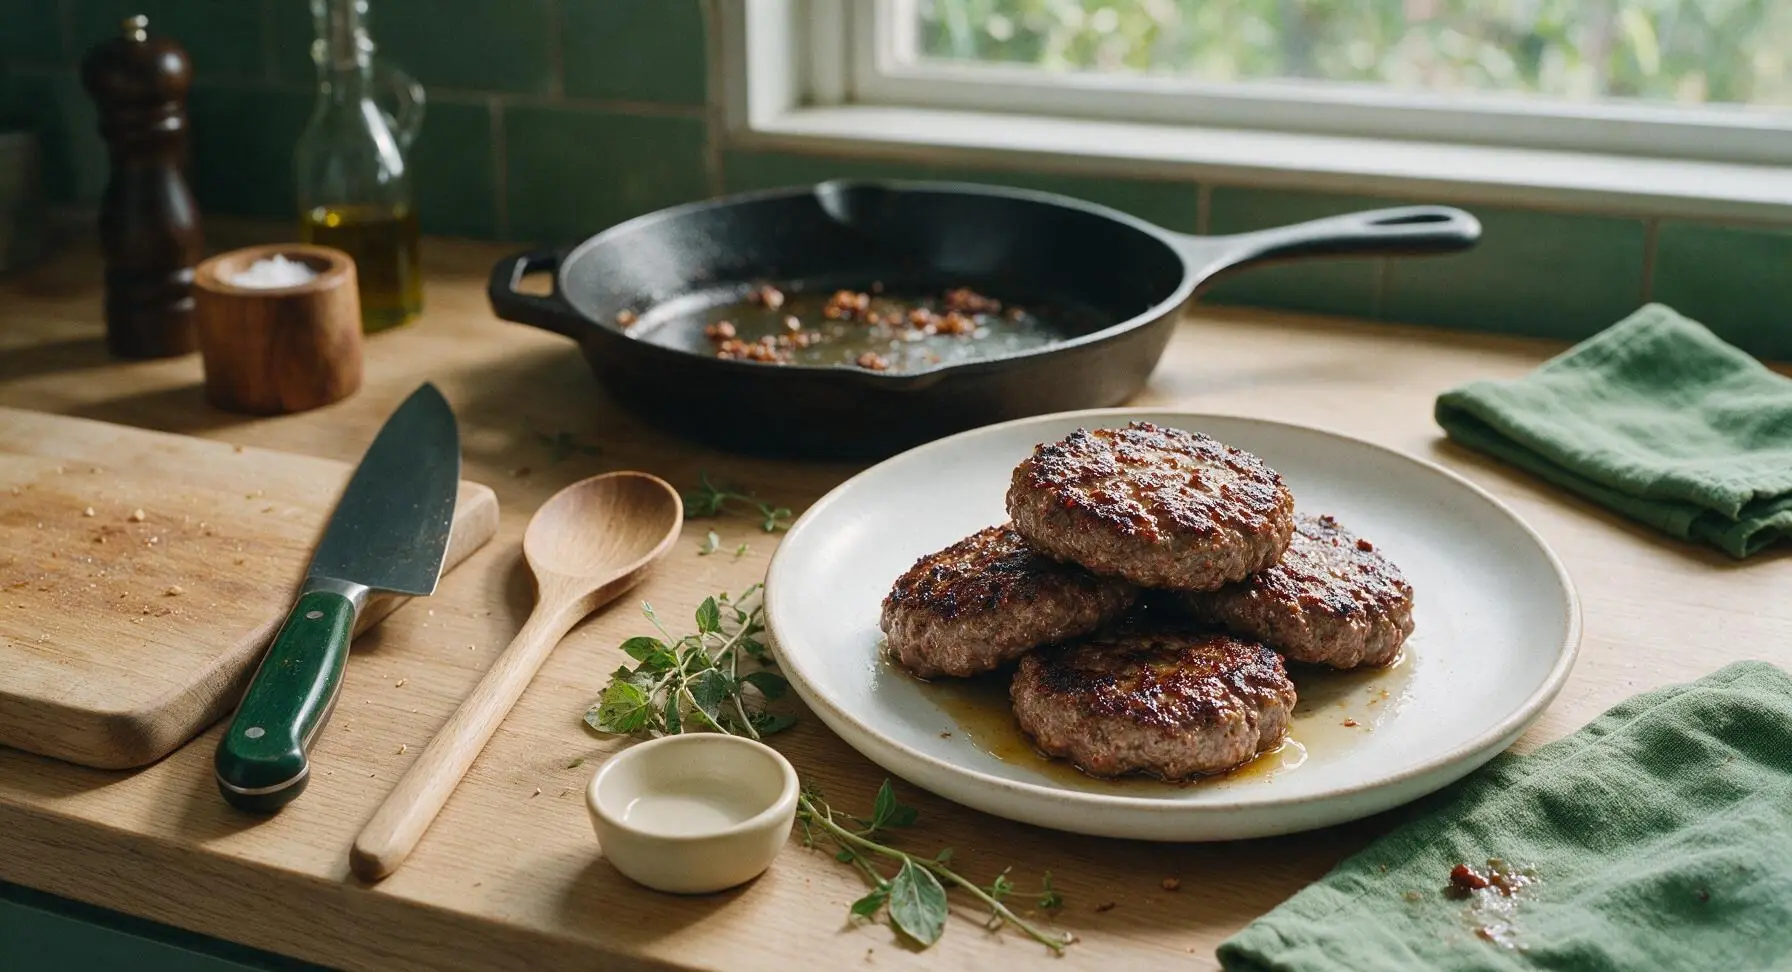
Tips
2.Skip fillers like breadcrumbs or eggs: Traditional hamburger patties need no binders when made with 80/20 ground beef and handled gently. Fillers create a meatloaf-like texture that masks the pure beefy flavor of a classic burger patty.
3.Resist the urge to press patties with a spatula while cooking: Pressing squeezes out all the rendered fat and flavorful juices that keep patties moist, leaving you with dry, tough meat and a greasy stovetop or grill.






OMG these are the juiciest hamburger patties I’ve ever made at home! I made these for our Sunday family dinner and my husband and two kids went back for seconds, even my super picky 7 year old! I didn’t have any breadcrumbs on hand so I used crushed panko and it worked perfectly. Total game changer for our summer cookouts.
Perfect easy recipe for weeknights! Cook time is so fast, I mixed up the patties during my Sunday meal prep and they held up great all week in the fridge. No more dry, crumbly burgers for us — these stay SO juicy even when I reheat them for quick lunches. 10/10.
First time ever making hamburger patties from scratch instead of buying the frozen ones and WOW. So much cheaper and way more flavorful. I added a little extra garlic powder because I’m obsessed with garlic and it slapped. 10/10 will be making these every week now.
Made these for our block party last weekend and everyone asked for the recipe! Only reason I’m not giving 5 stars is I found them a little too salty for my taste when I followed the exact measurements, so next time I’ll cut the salt by half. Other than that, super juicy and held up perfectly on the grill.
Took these camping last weekend and cooked them over the campfire grate — they didn’t fall apart at all and were so juicy even with the uneven campfire heat! We ate them with toasted buns and all the fixins, best camp meal we had all trip.
Added a dash of cayenne and some shredded pepper jack into the center of the patties for a little spicy kick and oh my GOD it was so good. The cheese got all melty in the middle and the patty stayed juicy, no dryness at all. Will be making these for our Fourth of July cookout for sure!
I’ve been grilling burgers for 40 years and I thought I had my recipe down pat, but I tried this on a whim last week when my grandkids came over and I’m never going back. The tip about not overworking the meat? That’s the real secret right there. No more tough patties for this old guy.
These are perfect for my weekly meal prep! I made 12 patties on Sunday, grilled them all in 8 minutes exactly like the recipe said, and I’ve been having them for lunch on salads and in wraps all week. No dry burgers even after reheating in the microwave, which is basically a miracle.
Super easy recipe even for someone who can barely boil water like me! Only issue is my first patty fell apart when I flipped it, but the rest turned out perfect. Tasted just like the burgers I get at my favorite diner, honestly. Saved this recipe to my favorites folder.
Made these for our fantasy football draft party last weekend and they were gone in 10 minutes flat. I set up a little topping bar with cheese, pickles, caramelized onions, all the good stuff, and people were raving all night. Way better than ordering takeout burgers for a crowd.
So happy I found this recipe! My son has an egg allergy so I can never use the pre-made patties from the store that have egg fillers, and this recipe uses zero binders that he reacts to. He said these are the best burgers he’s ever had, and that’s a win in my book. We’ll be making these all summer long.