
homemade hot dog chili with ground beef

title 1
homemade hot dog chili with ground beef
⏱️ cook time 25 minutes
🍽️ servings 6
⚡ Difficulty easy

intro

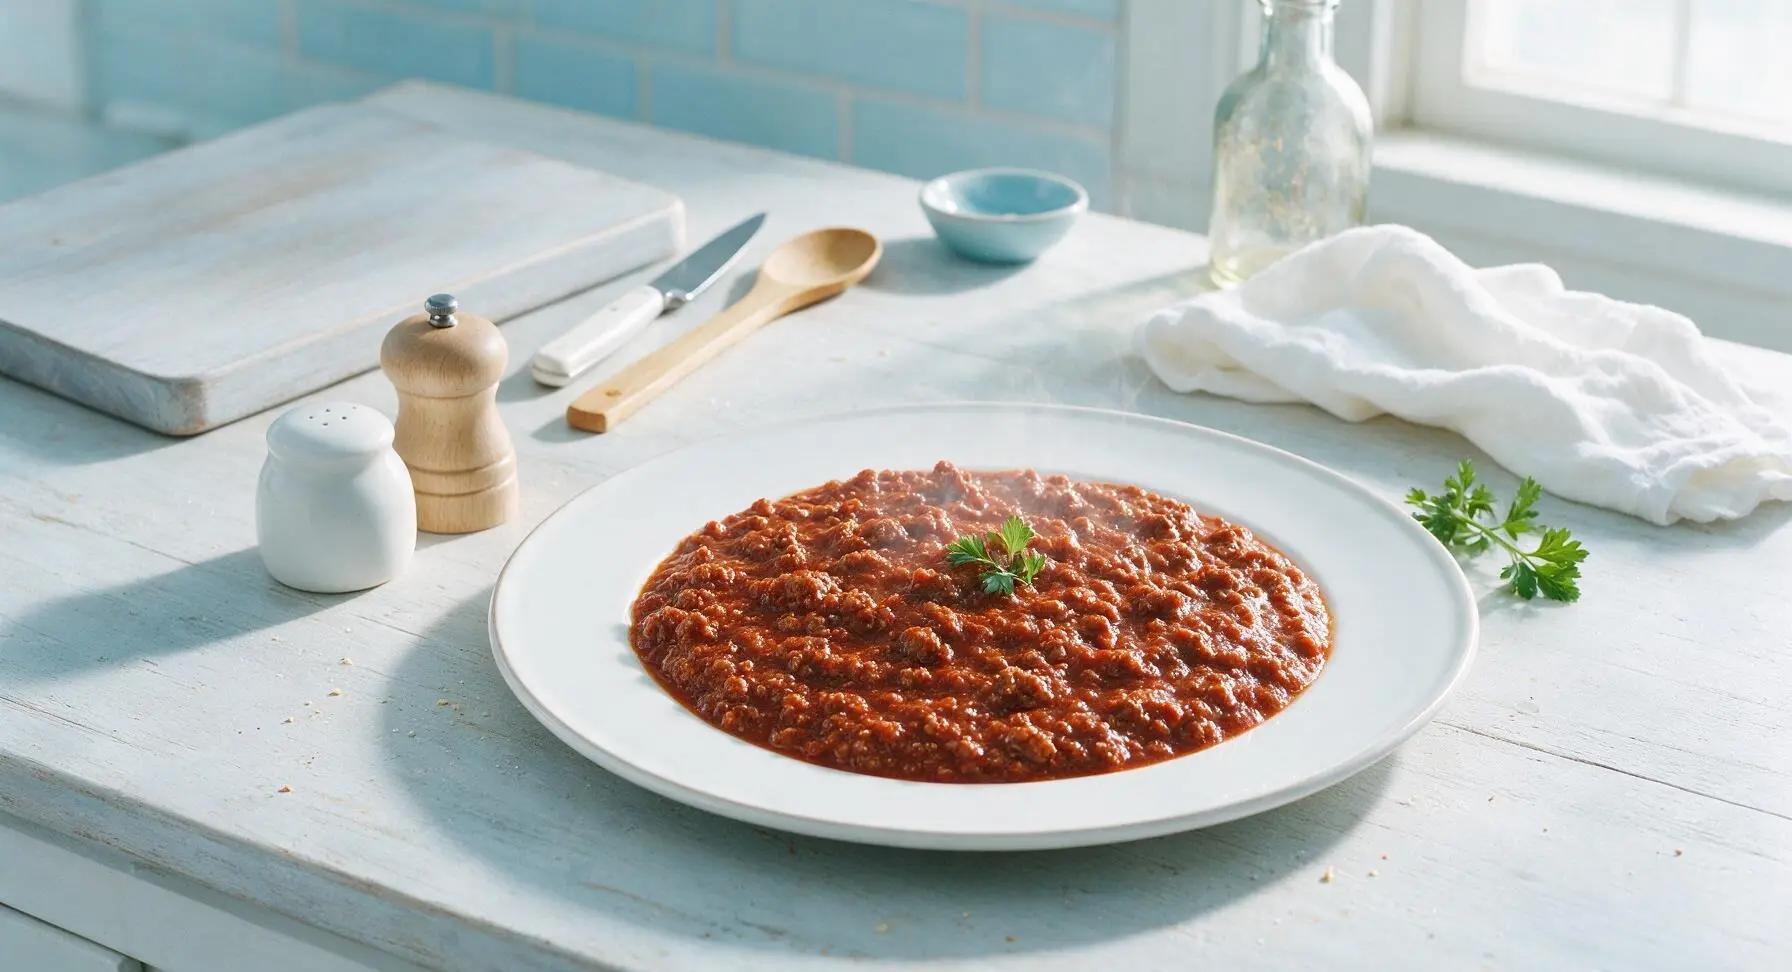
Rich, savory no-bean ground beef chili made for piling high on grilled hot dogs, with a deep seasoned tomato base and fine, non-chunky texture that never slides off your bun.

Ingredients
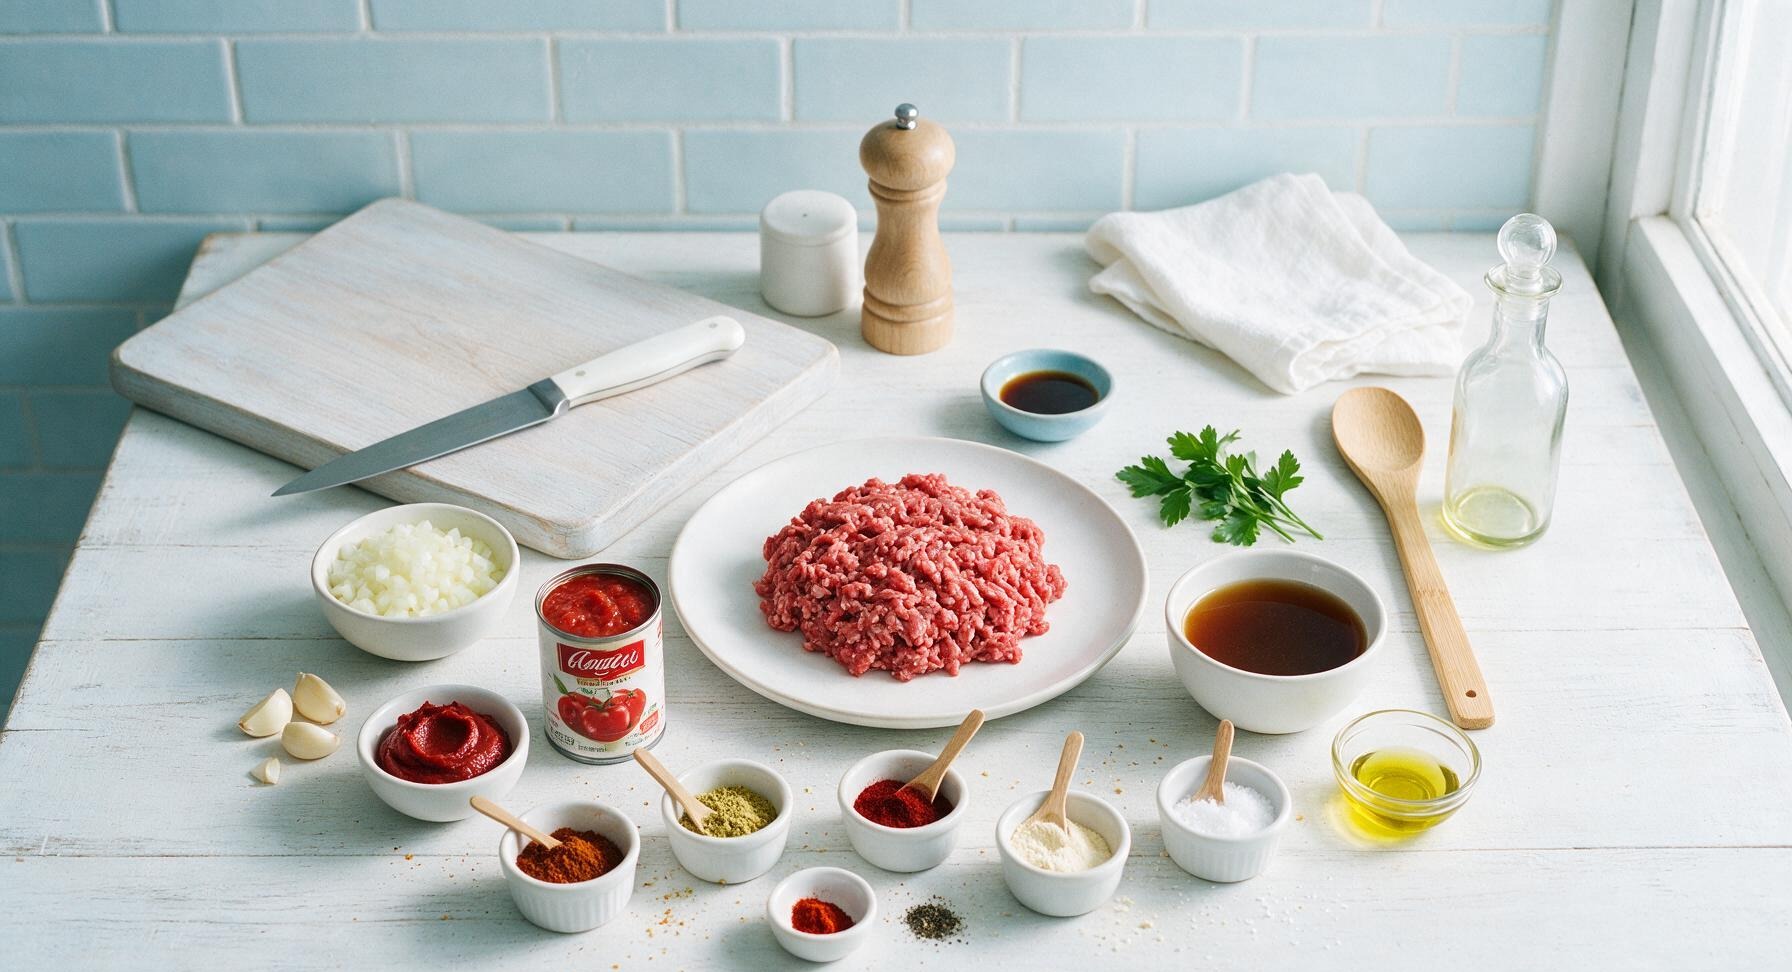
80/20 ground beef 450g (1 lb)
Small yellow onion 1 piece (110g, finely diced)
Garlic cloves 3 pieces (9g, minced)
Tomato paste 2 tbsp (32g)
Smooth crushed tomatoes (unsalted) 225g (1 small can)
Low-sodium beef broth 240ml (1 cup)
Worcestershire sauce 1 tsp (5ml)
Olive oil 1 tsp (5ml)
Chili powder 1 tbsp (8g)
Ground cumin 1 tsp (2g)
Smoked paprika 1 tsp (2g)
Garlic powder 1/2 tsp (1.5g)
Onion powder 1/2 tsp (1.5g)
Kosher salt 1 tsp (5g)
Ground black pepper 1/4 tsp (0.5g)
Cayenne pepper (optional) 1/8 tsp (0.25g)

Steps

1

Prep Onion and Garlic

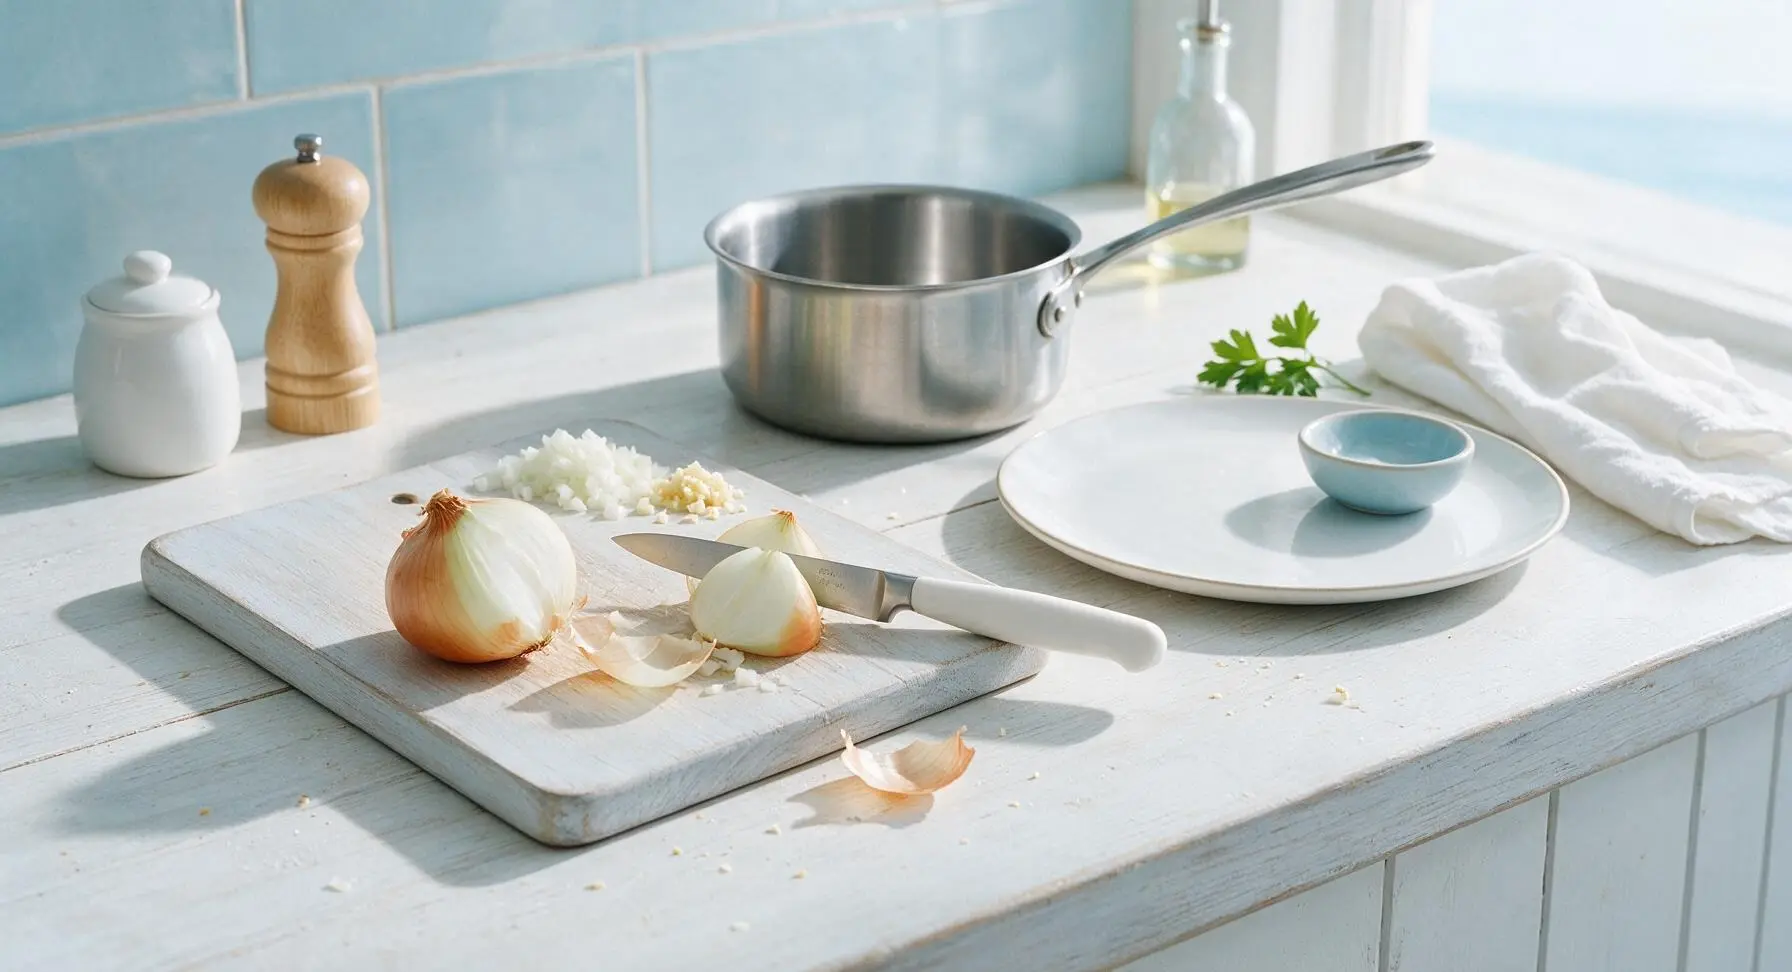
Place the small yellow onion on the acacia wood cutting board. Use the 4-inch paring knife to peel the onion, then dice it into uniform 3mm (1/8 inch) fine pieces. Peel the 3 garlic cloves, mince them finely until they form a coarse paste, and set both diced onion and garlic aside on the edge of the cutting board. This extra-fine cut ensures no large chunks slide off hot dog buns when serving.
Step 1
step1:Prep Onion and Garlic
2

Sauté Aromatics and Spices

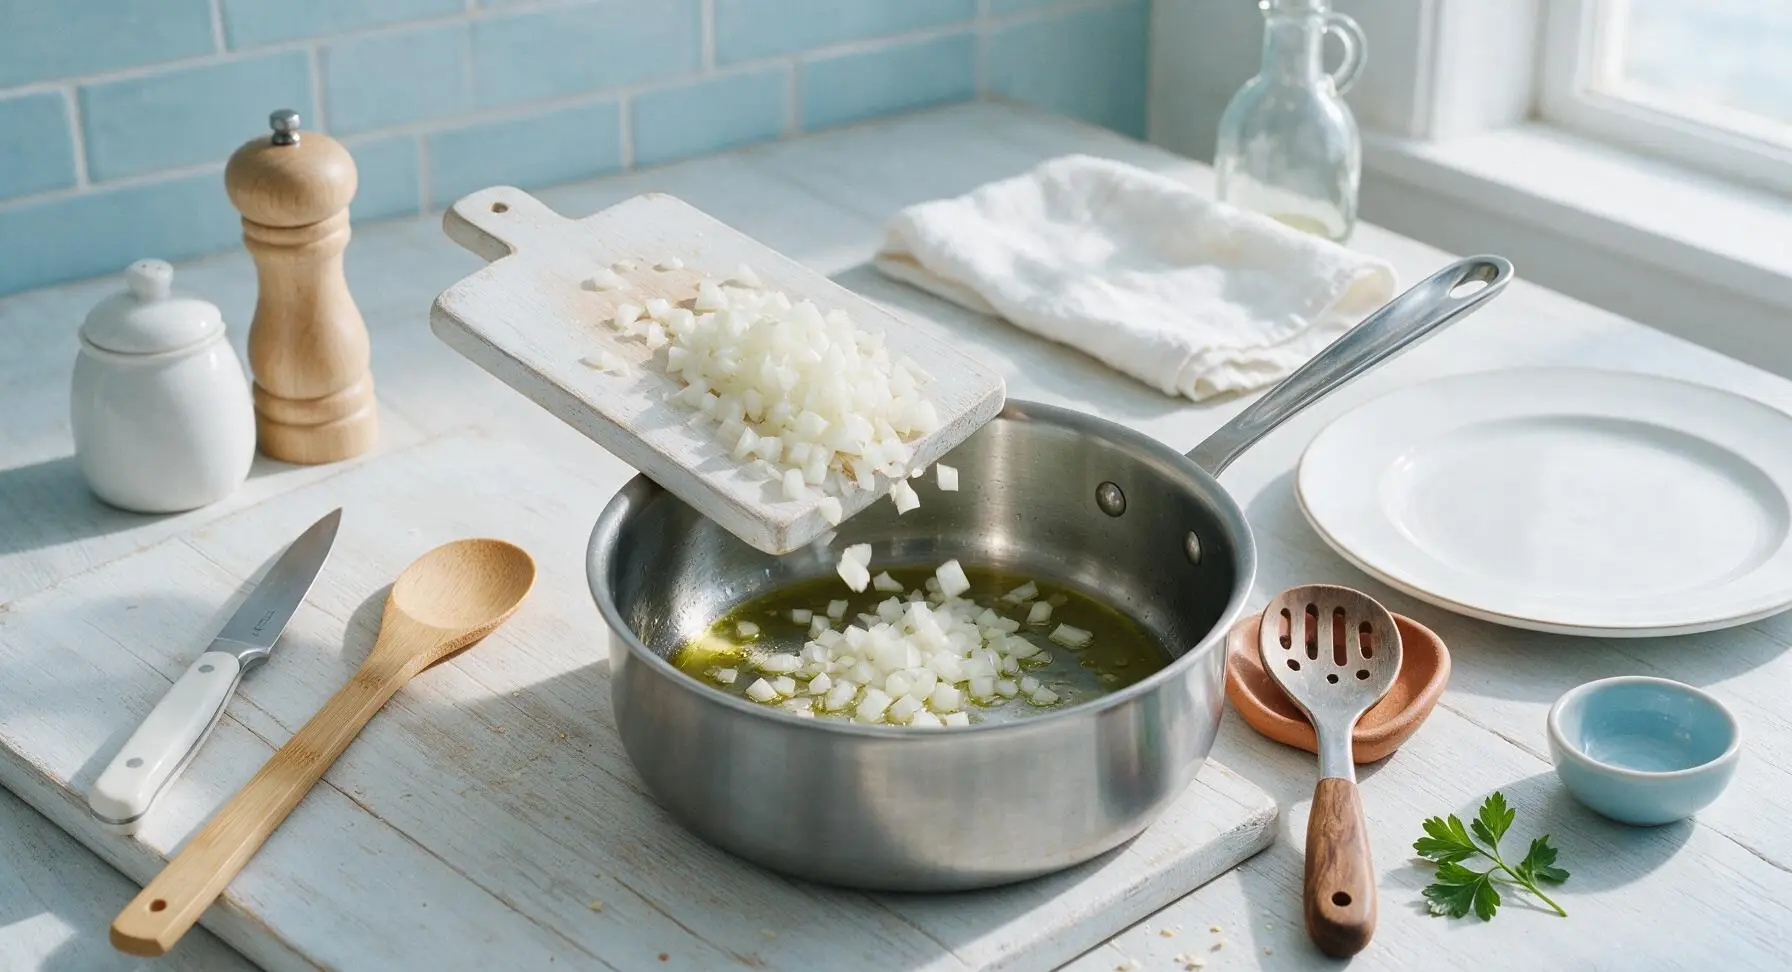
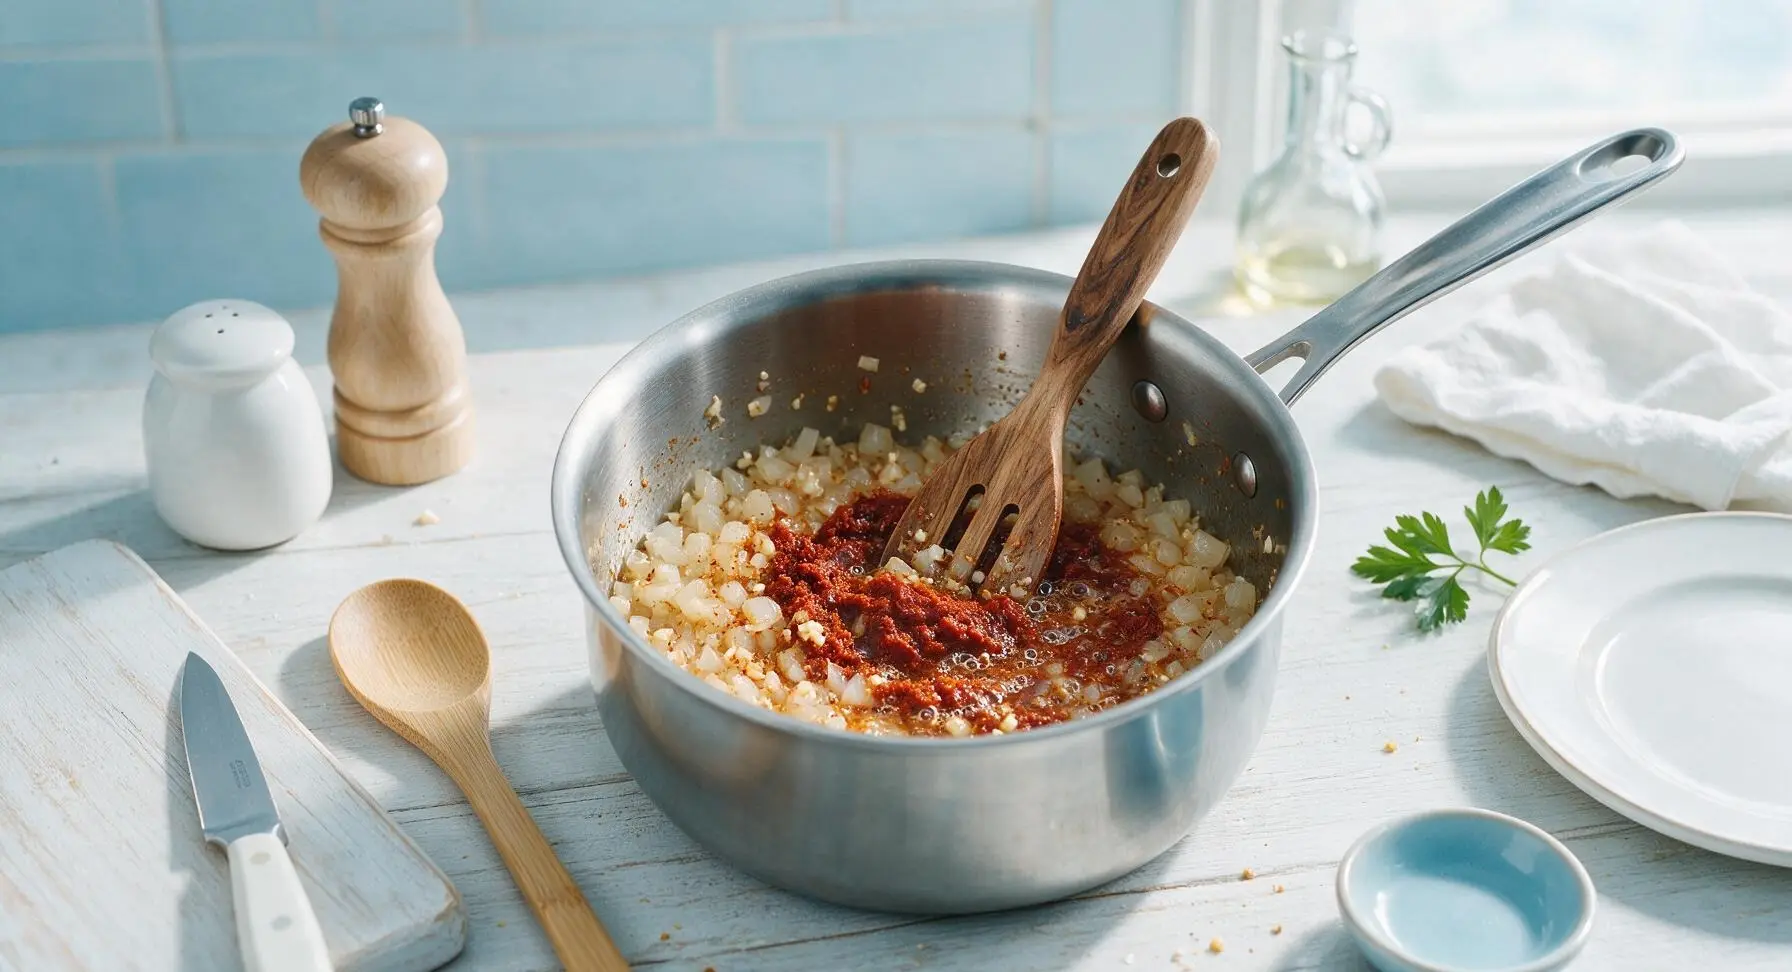
Place the 3-quart stainless steel saucepan over medium heat (175°C / 350°F). Add 1 teaspoon of olive oil from the amber glass bottle. Once the oil shimmers (about 45 seconds), add the diced onion and sauté for 3 minutes until soft and translucent, with no golden browning. Add the minced garlic, tomato paste, chili powder, cumin, smoked paprika, garlic powder, and onion powder. Stir constantly with the walnut-handled slotted spoon for exactly 1 minute until the spices release a rich, fragrant aroma and the tomato paste darkens to a deep rust color. Blooming the spices in hot oil unlocks far deeper flavor than adding them directly to liquid.
Step 2
step2:Sauté Aromatics and Spices
Step 2
step2:Sauté Aromatics and Spices
3

Add Beef and Broth

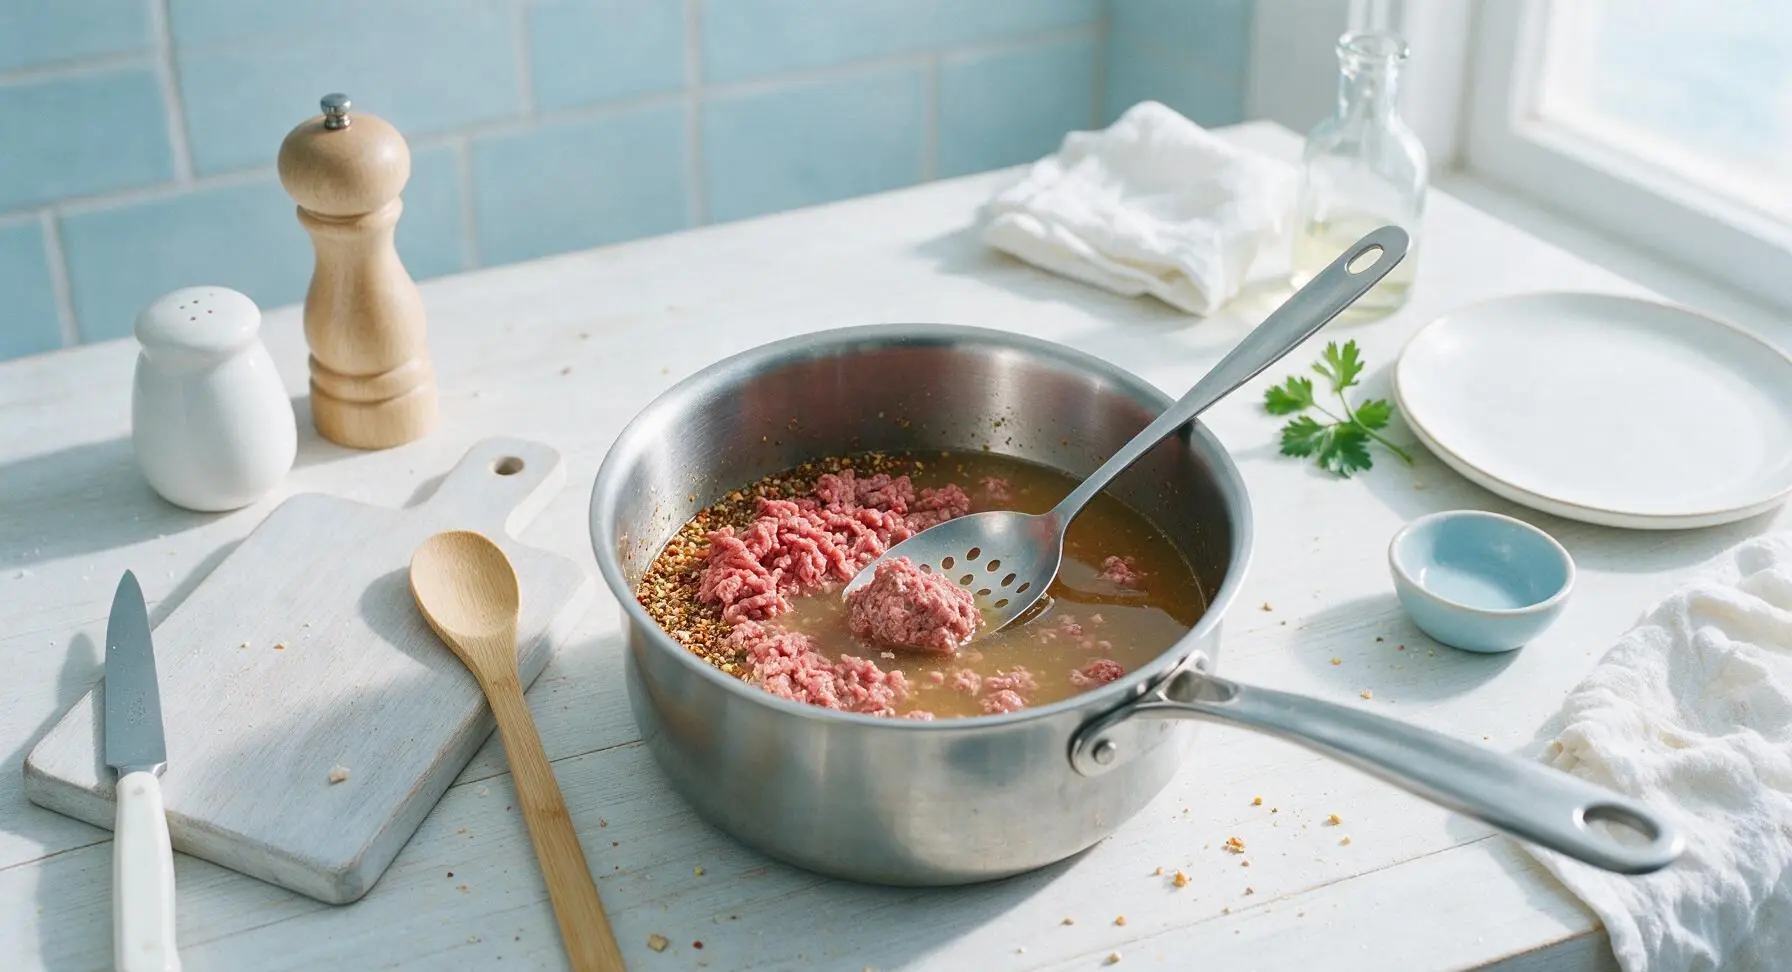
Crumble the 450g of 80/20 ground beef directly into the saucepan on top of the aromatic spice base. Pour in the 1 cup of low-sodium beef broth and 1 teaspoon Worcestershire sauce. Use the slotted spoon to initially break the beef apart into small pieces as the liquid begins to warm. Do not fully brown the beef in large chunks first—cooking it directly in liquid creates the ultra-fine crumble texture that defines classic hot dog chili.
Step 3
step3:Add Beef and Broth
4

Simmer and Break Up Beef

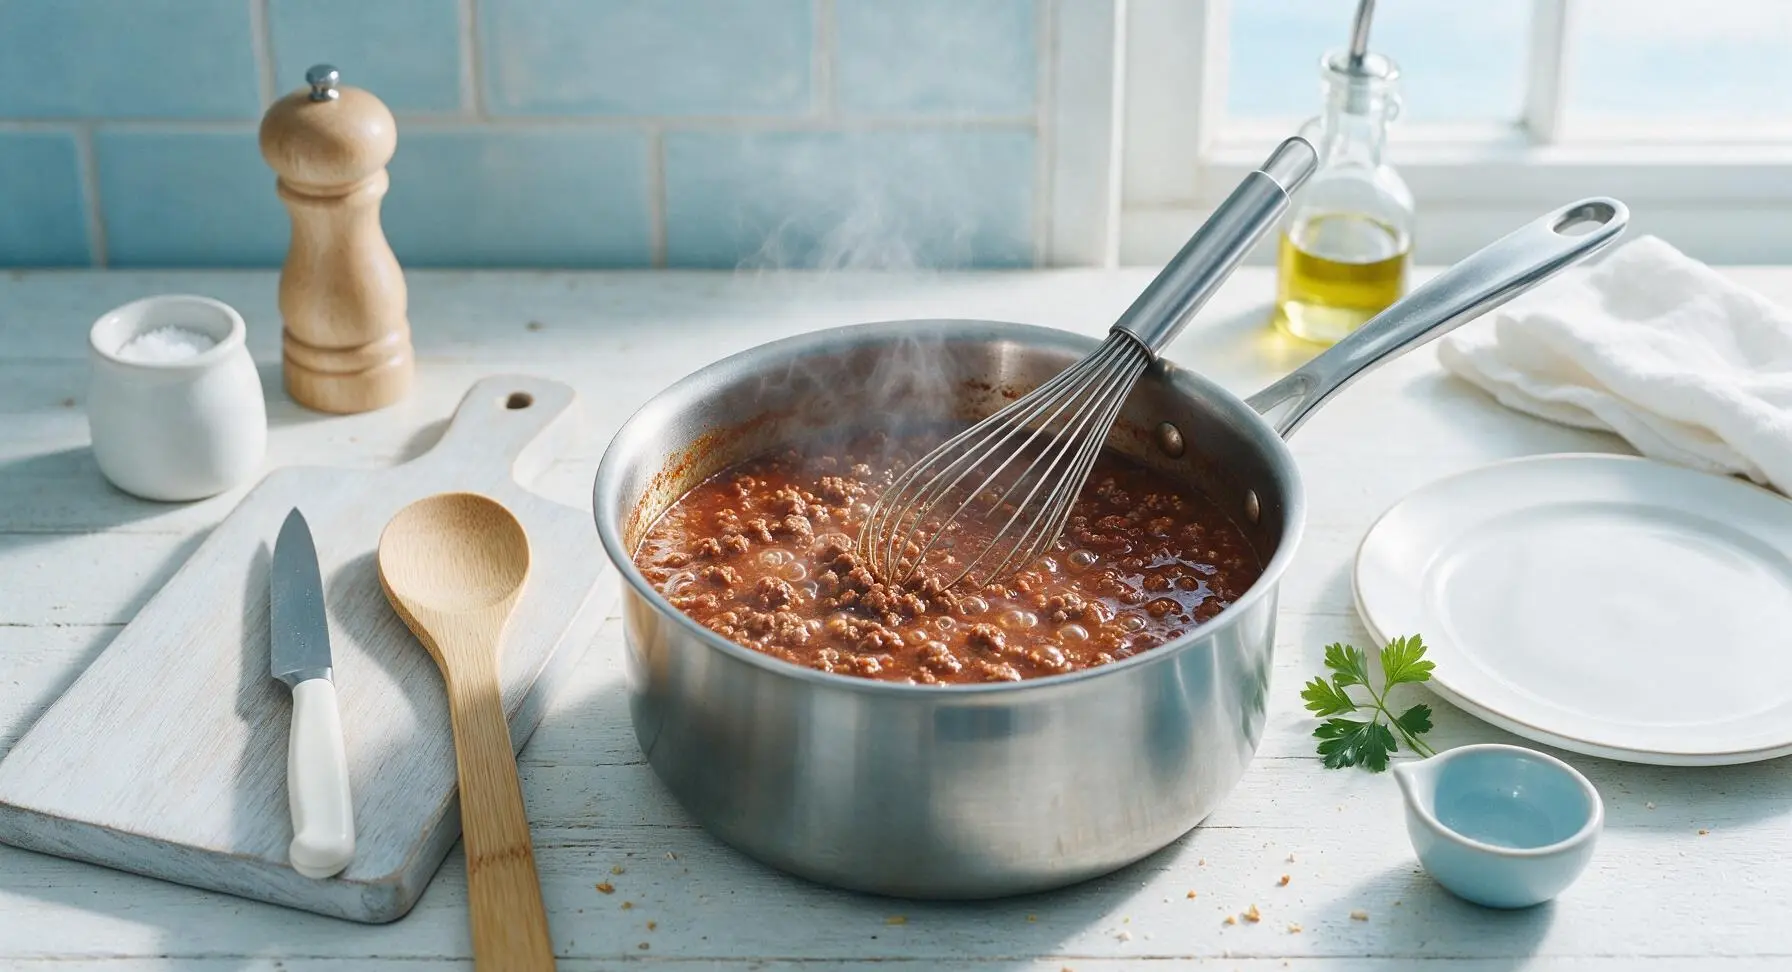
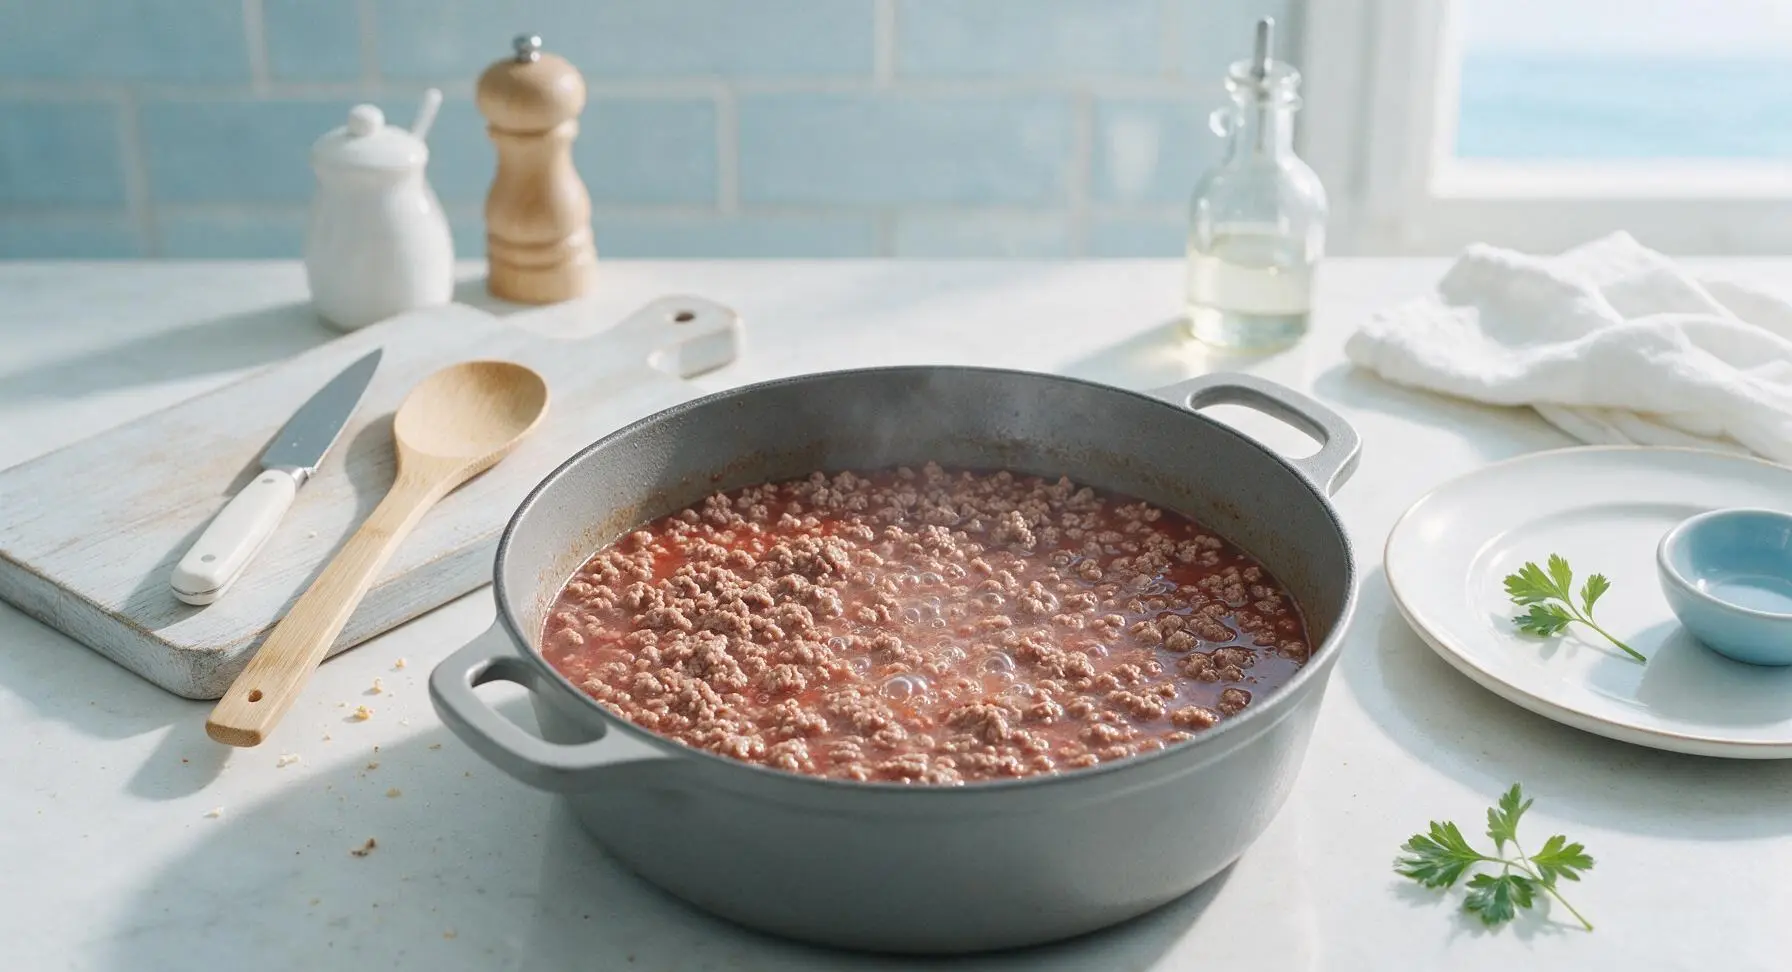
Bring the mixture to a gentle low simmer (small bubbles breaking every 2-3 seconds, no violent rolling boil), then reduce heat to medium-low (135°C / 275°F). Use the slotted spoon and small stainless steel whisk to stir and break up any remaining beef clumps every 2 minutes for 8 minutes, until all beef is fully cooked into uniform fine crumbles no larger than a pea. The cooking liquid will turn a cloudy light red as the beef leaches flavor into the broth.
Step 4
step4:Simmer and Break Up Beef
Step 4
step4:Simmer and Break Up Beef
5

Add Tomatoes and Season

Stir in the 225g of smooth crushed tomatoes, 1 teaspoon kosher salt, 1/4 teaspoon ground black pepper, and optional pinch of cayenne for mild heat. Stir fully to combine, scraping the bottom of the pan with the slotted spoon to lift any browned spice bits that may have stuck. Bring the mixture back to a low simmer.
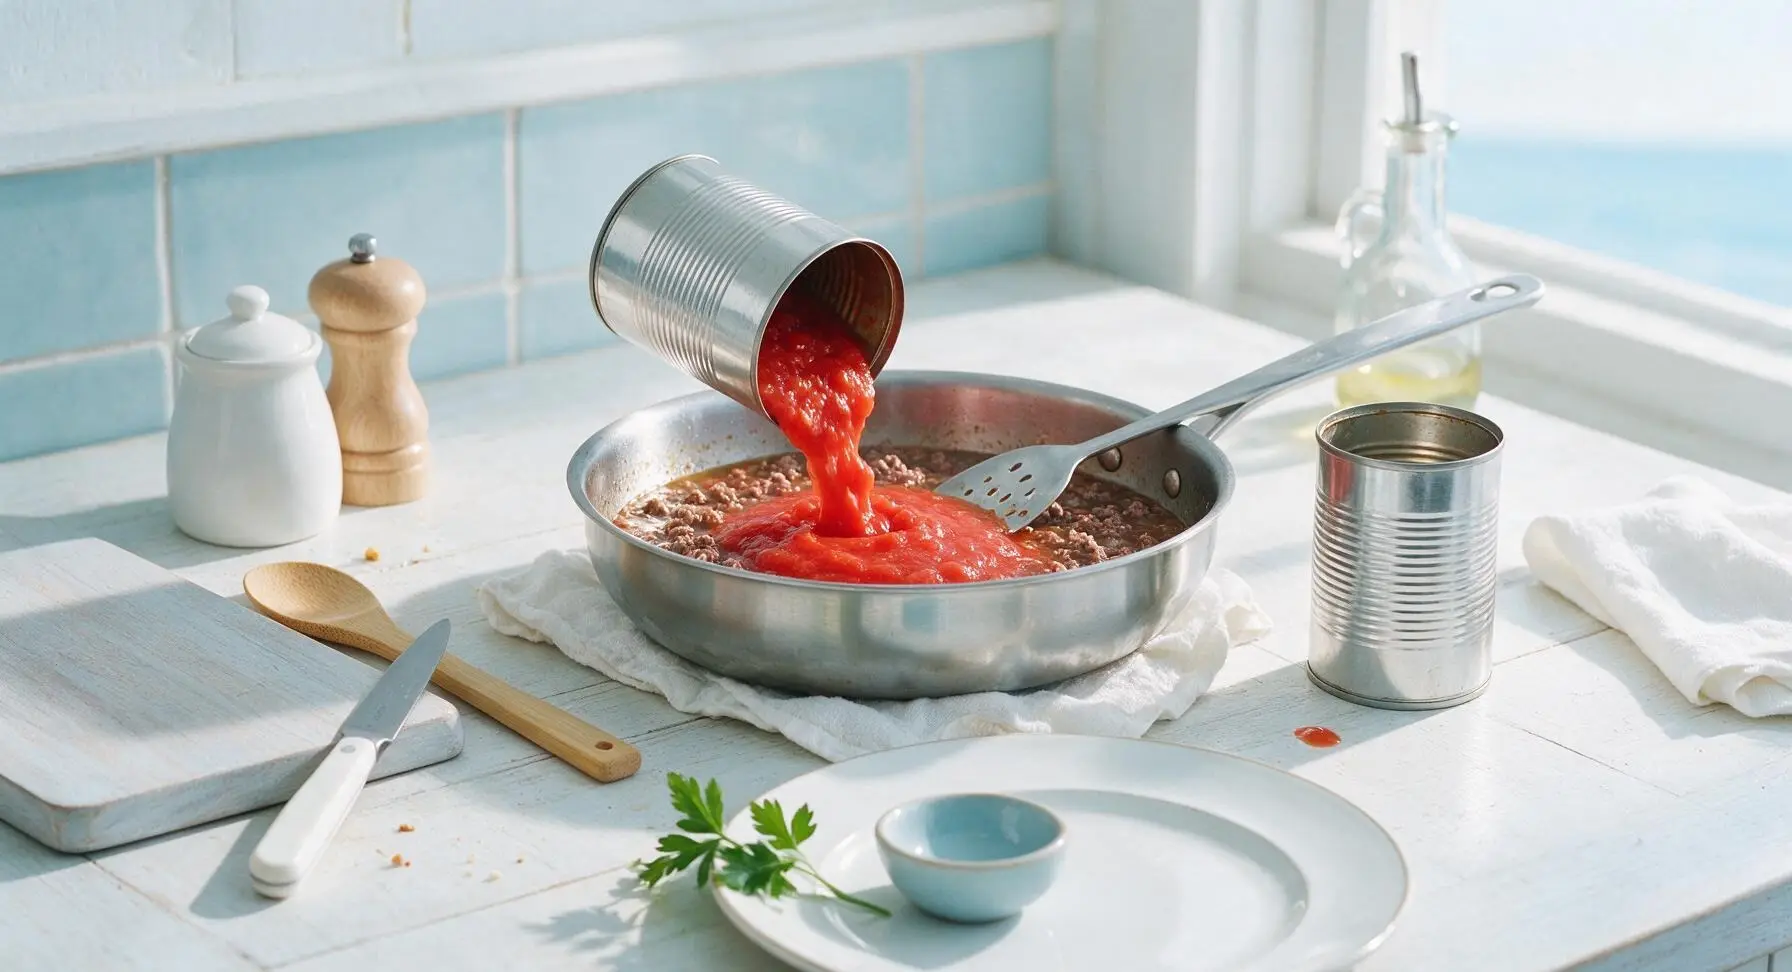
Step 5
step5:Add Tomatoes and Season
6

Simmer to Thicken

Reduce heat to low (120°C / 250°F), prop the saucepan lid partially off the pan edge to allow steam to escape, and simmer for 12 minutes, stirring every 3 minutes to prevent sticking to the pan bottom. The chili is done when it thickens to a rich, spoon-coating consistency: when you drag the spoon through the center of the pan, the channel left behind should slowly fill back in over 2-3 seconds, with no watery liquid pooling. Remember the chili will thicken slightly as it cools, so avoid over-reducing it to a paste.
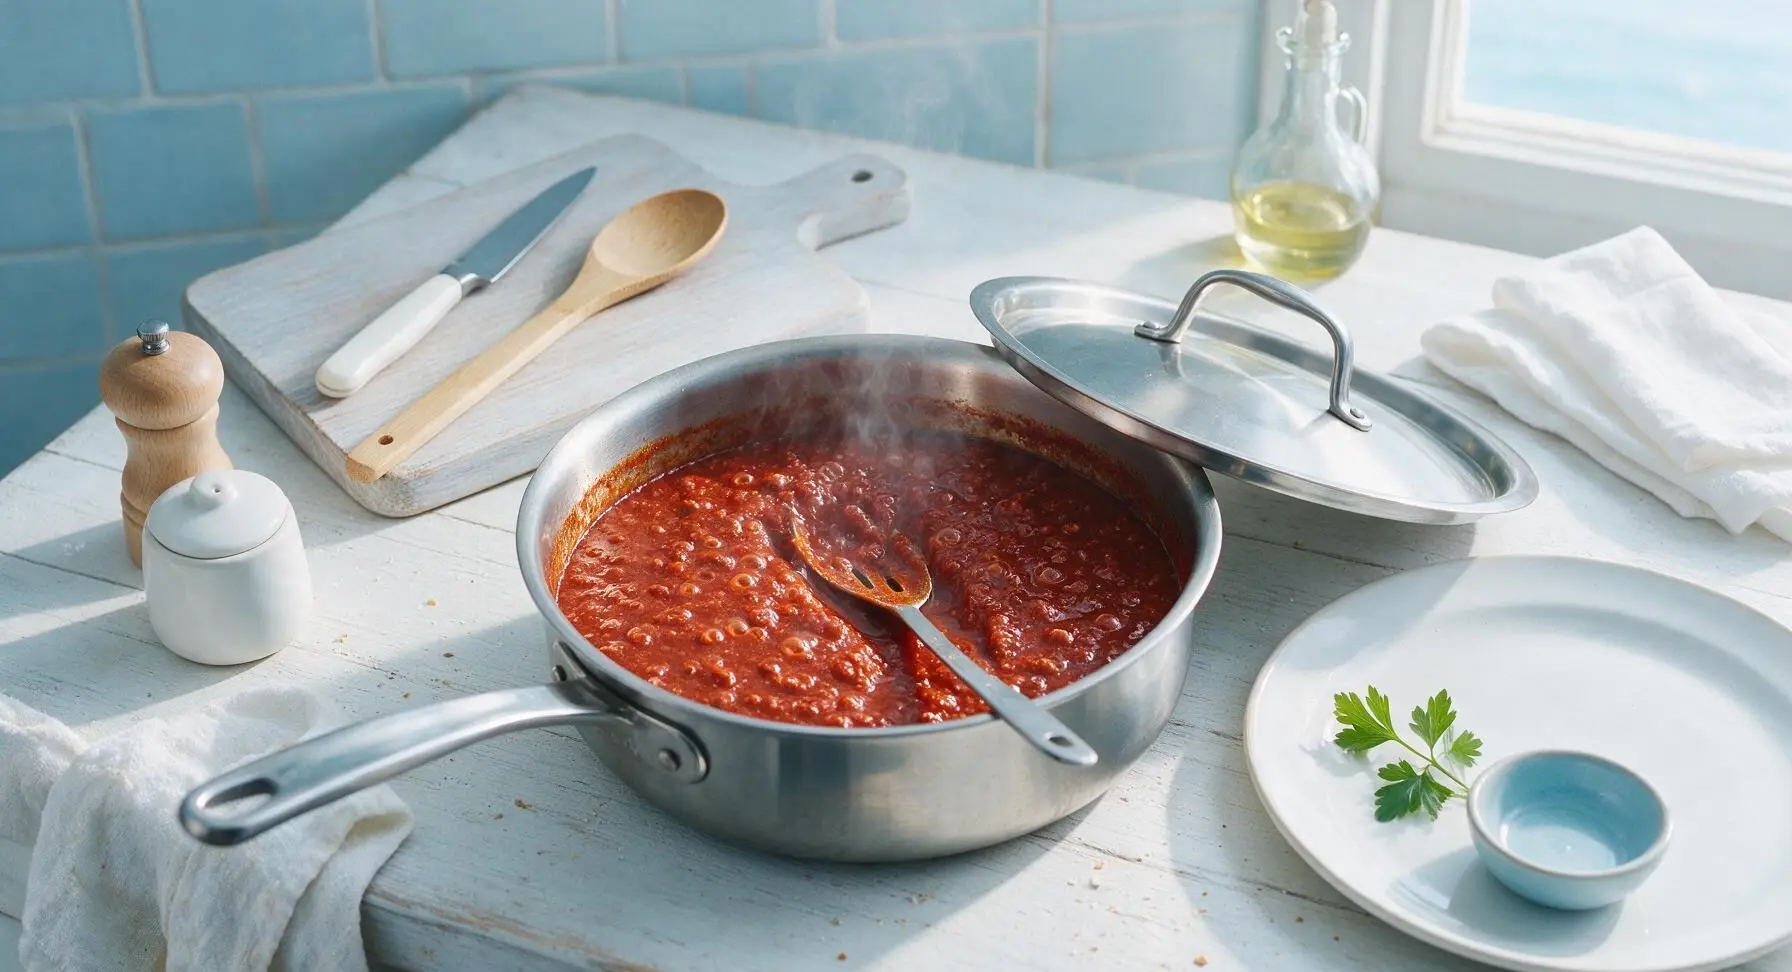
Step 6
step6:Simmer to Thicken
7

Adjust Seasoning and Rest

Taste a small spoonful of the chili, and add extra salt, pepper, or cayenne if desired to match your preference. Turn off the heat, and let the chili rest for 5 minutes to allow flavors to meld and the texture to set. Spoon generously over grilled hot dogs, and top with diced white onion, yellow mustard, or shredded cheddar as desired.
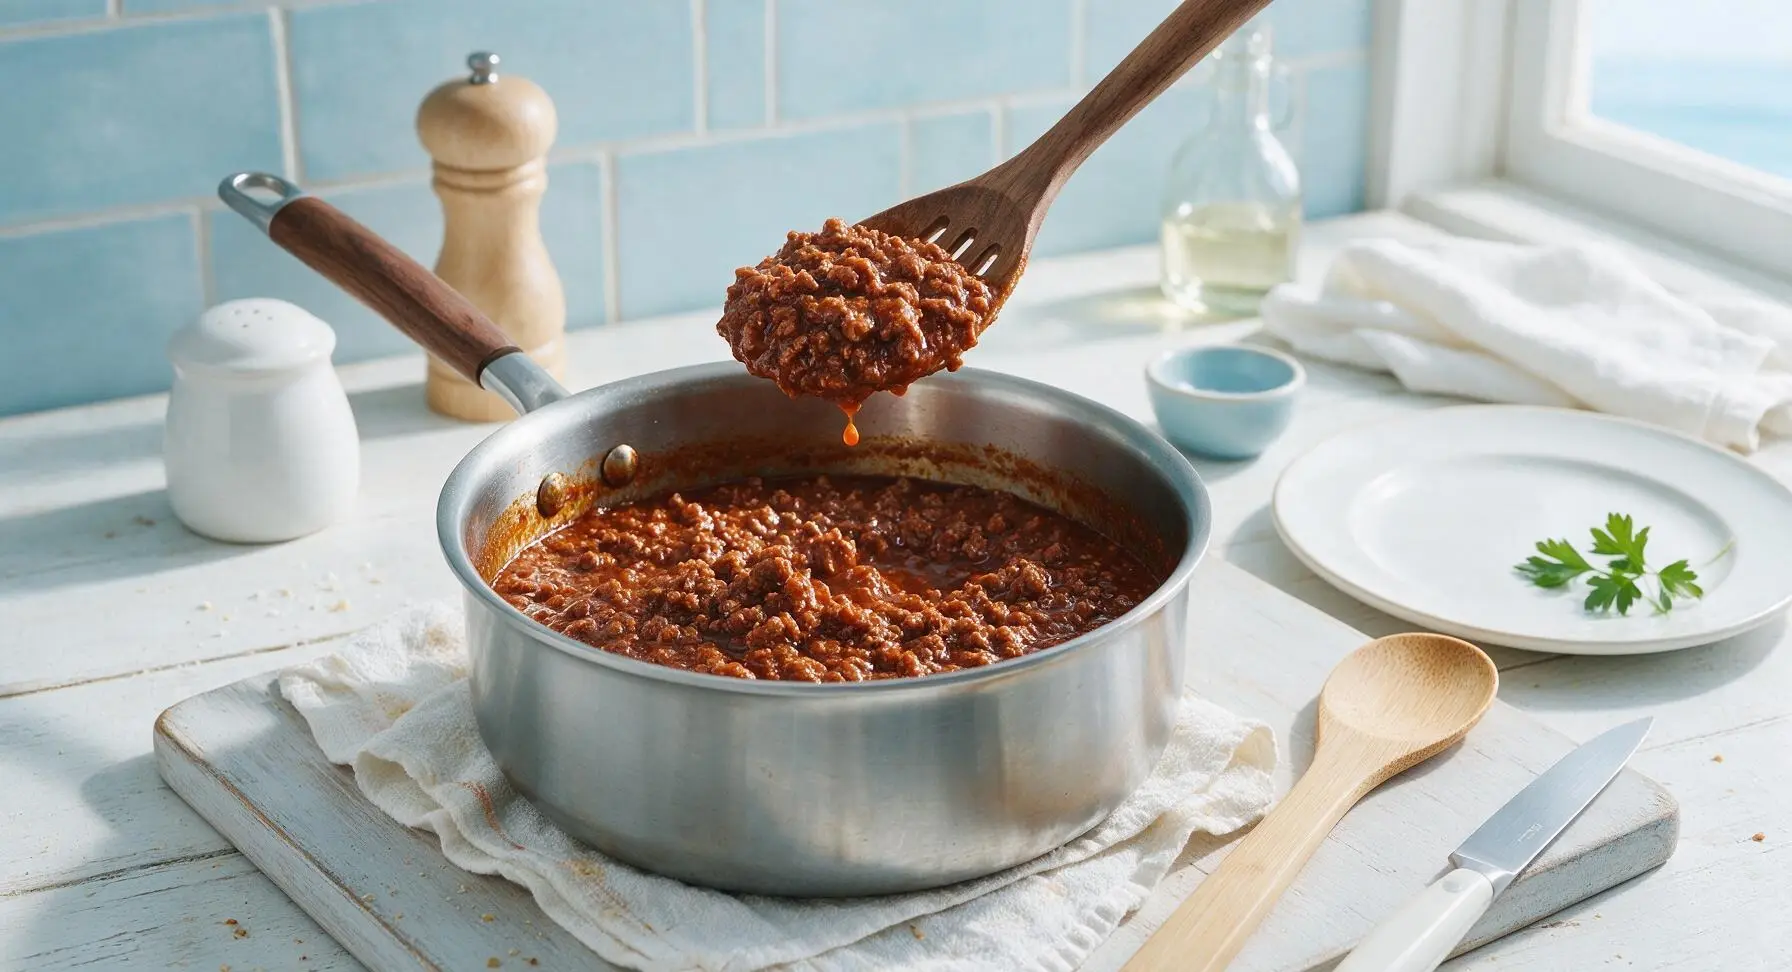
Step 7
step7:Adjust Seasoning and Rest

Tips

1.Choose 80/20 ground beef over leaner blends: the 20% fat ratio adds rich, savory flavor and keeps the chili moist, without making it greasy. Lean beef will result in dry, crumbly chili that falls off hot dog buns easily.
2.Skip beans and large vegetable chunks for authentic hot dog chili: this recipe is designed to stay anchored to your hot dog bun, so large beans, big onion dice, or chunky tomato pieces will slide off with the first bite, creating unnecessary mess. Finely dicing all aromatics creates the ideal texture.
3.Resist the urge to brown the beef first: cooking ground beef directly in simmering broth lets you break it into ultra-fine, tender crumbles, instead of the larger, chewy seared chunks you get from browning beef in oil first. This is the key textural difference between hot dog chili and traditional bowl-style chili.


✨ You May Also Like

BBQ & Grilling
🍜 United States

Tender, melt-in-your-mouth beef brisket with a crisp, spiced bark, slow-smoked to deep smoky perfection, the iconic centerpiece of Texas backyard barbecue.

⏱️ 12 hours BBQ & Grilling ★ 4.4
BBQ & Grilling
🍜 Korea

Tender, sweet-savory marinated beef short ribs, a beloved Korean BBQ staple with caramelized, slightly charred edges and deep umami flavor, perfect for outdoor summer gatherings.

⏱️ 4 hours 2BBQ & Grilling ★ 4.8
BBQ & Grilling
🍜 United States

Juicy grilled beef patties topped with smoky homemade chili, melted cheddar, and tangy pickles on toasted brioche buns for a hearty, flavor-packed handheld meal.

⏱️ 40 minuteBBQ & Grilling ★ 4.7
BBQ & Grilling
🍜 United States

A sweet, smoky, tangy BBQ sauce brightened with peak-season dark cherries, ideal for glazing grilled ribs, chicken, pork, or summer roasted veggies.

⏱️ 35 minuteBBQ & Grilling ★ 4.7
BBQ & Grilling
🍜 United States

Rich, smoky, slightly sweet homemade bourbon BBQ sauce with deep caramel notes, ideal for glazing grilled ribs, chicken, and burgers at cookouts.

⏱️ 25 minuteBBQ & Grilling ★ 4.7
BBQ & Grilling
🍜 United States

Iconic Alabama-style BBQ featuring tender hickory-smoked chicken slathered in tangy creamy white sauce, a beloved regional Southern cookout staple.

⏱️ 3 hoursBBQ & Grilling ★ 5

homemade hot dog chili with ground beef:Frequently Asked Questions

1.Why does this recipe call for 80/20 ground beef instead of a leaner blend? ▾
The 20% fat ratio adds rich, meaty savoriness without making the final chili greasy, and keeps the fine crumbles from turning dry as it simmers. Leaner ground beef will come out bland and crumbly, and you’ll have to add extra oil to make up for lost moisture, which can make the chili slide right off your hot dog bun.
2.How do I get that signature fine, non-chunky texture that doesn’t slide off buns? ▾
Break raw ground beef into tiny pieces as you add it to the pan, then use a potato masher to press and stir the meat constantly as it browns to eliminate large chunks. Simmer the finished chili uncovered for 10–12 minutes to thicken it to a spreadable, clingy consistency that won’t drip down your wrist mid-bite.
3.Why use smooth unsalted crushed tomatoes instead of diced or pre-seasoned tomatoes? ▾
Smooth unsalted crushed tomatoes create a uniform, silky base that coats every tiny beef crumble evenly, with no random hard chunks that make the chili slip off buns. Diced tomatoes leave watery, uneven bits, and pre-seasoned sauce throws off the custom spice balance, so you can’t tweak salt and savoriness to match your taste.
4.What’s the best way to store leftover hot dog chili, and how long does it keep? ▾
This chili actually tastes better made 1–2 days ahead, as the spices meld and deepen as it chills. Store it in an airtight container in the fridge for up to 4 days, or freeze it for up to 3 months. Reheat gently on the stovetop over low heat, stirring occasionally, and add a tiny splash of water if it thickens too much.
5.Why do I need tomato paste when I’m already using crushed tomatoes? ▾
Tomato paste adds concentrated, umami-rich tomato depth that thin, watery crushed tomatoes can’t deliver on their own, and it helps thicken the chili to that perfect clingy consistency for hot dogs. Cook the paste for 1–2 minutes with sautéed onion and garlic before adding other ingredients to mellow its raw, metallic edge and bring out its natural sweetness.
6.Can I add beans to this hot dog chili like I do for regular bowl chili? ▾
This recipe is intentionally bean-free to keep that fine, spreadable texture that stays put on your hot dog bun without sliding off. Bulky bean pieces break up the smooth consistency and make toppings drip as you eat. If you absolutely love beans, stir in a small amount of finely mashed, drained pinto beans at the end, though it will change the classic smooth texture.

Comments (10)

2 days ago

OMG this hot dog chili is SO good! I made it for our weekend backyard cookout and every single person asked for the recipe. No weird canned aftertaste, just perfect savory, meaty goodness that sticks to the hot dog instead of dripping all down your shirt. Total game changer for our summer grilling!

30 minutes ago

How long does this keep in the fridge? I want to make a big batch on Sunday to top dogs, tater tots, and even nachos throughout the week! It looks way better than the store-bought chili sauce I usually grab.

10 minutes ago

Great question! This chili will stay fresh in an airtight container in the fridge for up to 4 days, and it freezes really well for up to 3 months if you want to stash extra for quick meals! It works amazing on tater tots and nachos too, great call.

yesterday

My kids are super picky eaters and they went back for SECONDS when I made this for our weeknight dinner last night. I cut the spice a tiny bit by skipping the extra paprika, and it was perfect for their little taste buds. 10/10 will be making this again for our next little league potluck!

8 hours ago

Oh smart call cutting the paprika for kids! My toddler is the same way, I was worried this would be too zesty for him, I’ll definitely adjust that when I make it this weekend.

5 hours ago

Love that customization tip! This recipe is super flexible, so cutting back on spice (or adding a little extra if you like heat!) works perfectly. So happy your picky eaters enjoyed it enough for seconds!

just now

As someone who can barely boil water without messing it up, this was so easy to throw together! 25 minutes total, no fancy ingredients, and my roommates are convinced I’m a secret chef now. We put it on grilled brats too and it slapped.

3 days ago

Wait, do you drain the ground beef before adding the sauce ingredients? I’ve had hot dog chili turn out super greasy before when I skipped that step, want to make sure I get the texture right!

2 days ago

I made this last week and I drained the beef really well after browning it, and it came out perfect! No grease pooling at the bottom of the pot, just that nice thick chili that stays right on the hot dog instead of sliding off the bun.

1 week ago

This is a great base recipe! I added a diced jalapeño and a splash of hot sauce when simmering, and it gave it the perfect little kick for my taste. Tasted just like the chili they serve at the old school hot dog stand I grew up going to in upstate NY!

5 days ago

Adding a jalapeño is genius! I’ve been looking for that old boardwalk stand flavor for years, I’m definitely stealing that hack when I make this for our beach trip next week.

4 days ago

That sounds delicious! We love when folks add their own twist—extra heat is always a welcome addition in our book. So glad it hit that perfect nostalgic note for you!

2 weeks ago

Meal prepped a double batch of this when I first found the recipe two weeks back and have been raving about it ever since. I put it on literally everything—hot dogs, chili cheese fries, even quick lunch bowls with crumbled cornbread. It reheats like a dream, no weird mushy texture changes after microwaving. 10/10, already shared the link to all my neighbors.

2 hours ago

Can I use a gluten free tomato sauce for this? My husband has celiac and we’re always hunting for hot dog chili that doesn’t have hidden gluten fillers!

1 hour ago

Absolutely! As long as you use certified gluten free tomato sauce and double check that your spices don’t have any hidden gluten additives, this recipe works perfectly for a gluten free diet. There are no wheat fillers in the base recipe at all, so it’s super easy to adapt!

5 days ago

Made this for our college football tailgate last weekend and it was gone in 20 minutes flat. I kept it warm in a small slow cooker on the low setting and people were ladling it on every hot dog, cheeseburger, and open bag of Fritos they could grab. Will be a permanent tailgate staple from now on!

4 days ago

Did you keep it in the slow cooker the whole time? I’m in charge of food for our next homecoming tailgate and need something that holds up for 3+ hours without getting weirdly thick or burning.

3 days ago

Yep! Stirred it every 45 minutes or so and it stayed perfect the entire 4 hour tailgate, even when it was 50 degrees and windy out. No burning, no weird thin watery texture, it was ideal! Can’t recommend it enough for game day.

5 minutes ago

This is so much cheaper than buying the pre-made hot dog chili tubs from the grocery store! I already had all the spices in my cabinet, just grabbed a pound of ground beef and a can of tomato sauce on my last grocery run, total cost per serving is like 50 cents. Obsessed, this is going into my regular weeknight rotation!

1 minute ago

Right?! I did the math last month and making it from scratch saves me almost $15 a month when we do weekly hot dog nights for the kids. No weird preservatives either, total win!



