
homemade ice cream cone
intro
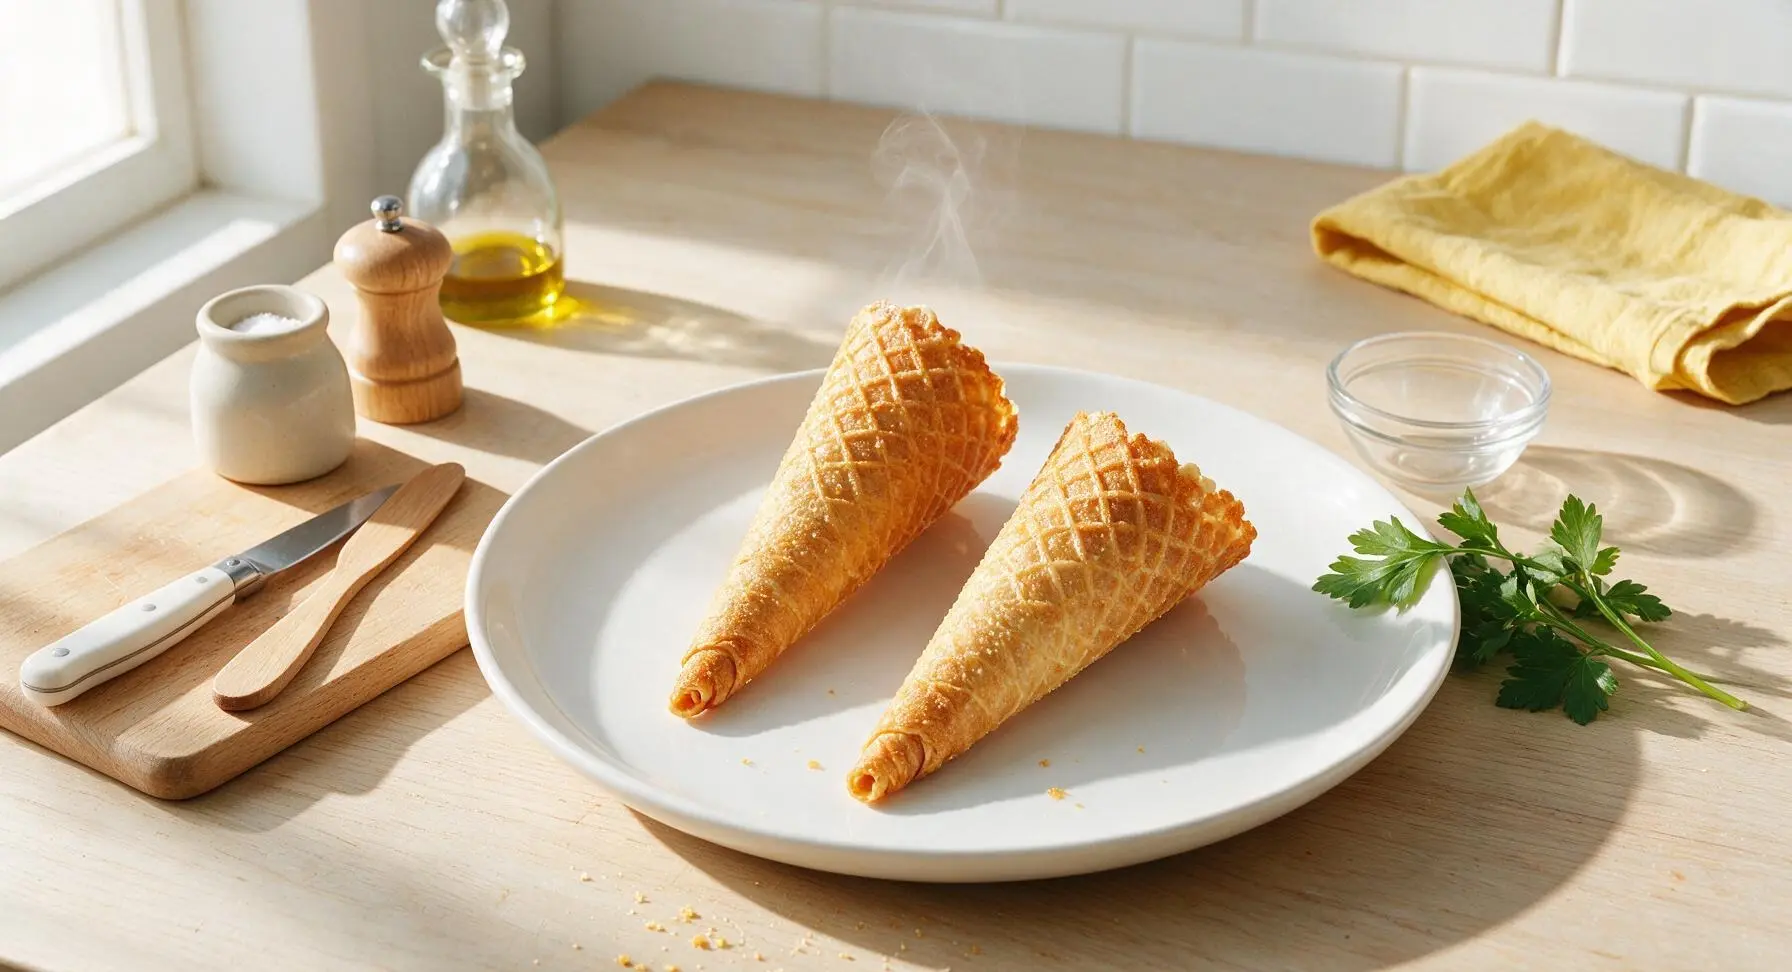
Crisp, buttery golden homemade waffle cones with warm vanilla notes, sturdier and more flavorful than store-bought, built to hold your favorite ice cream without sogginess.
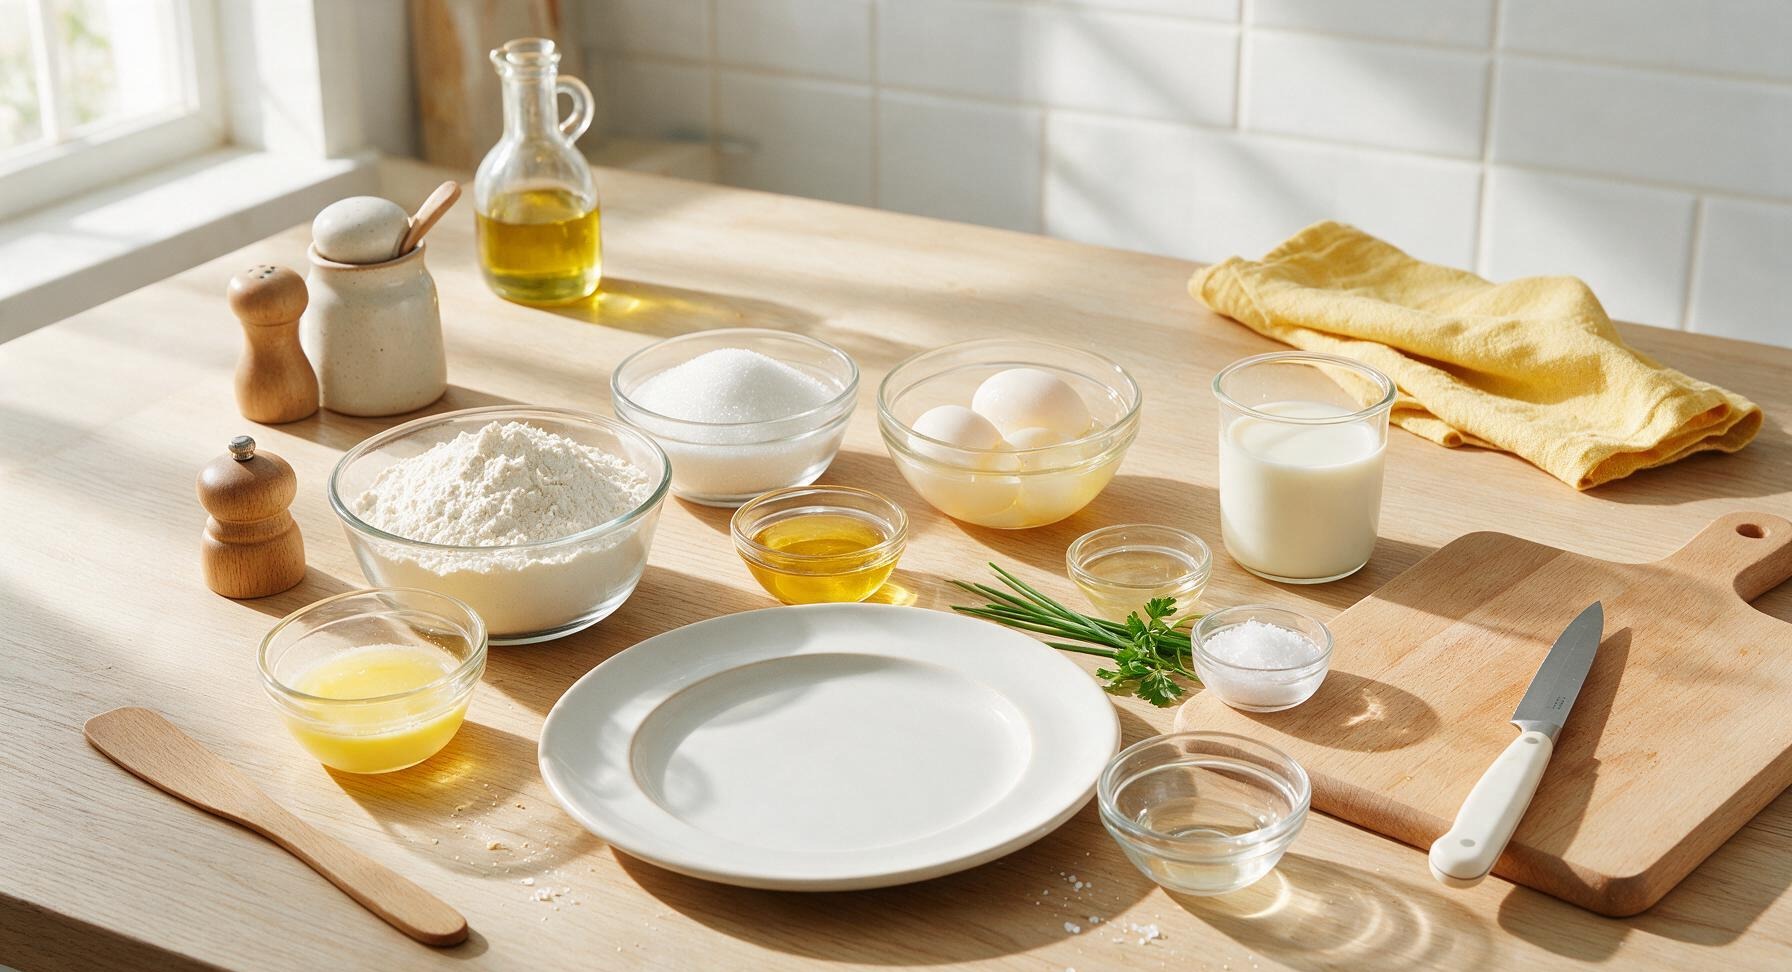
Ingredients
Steps
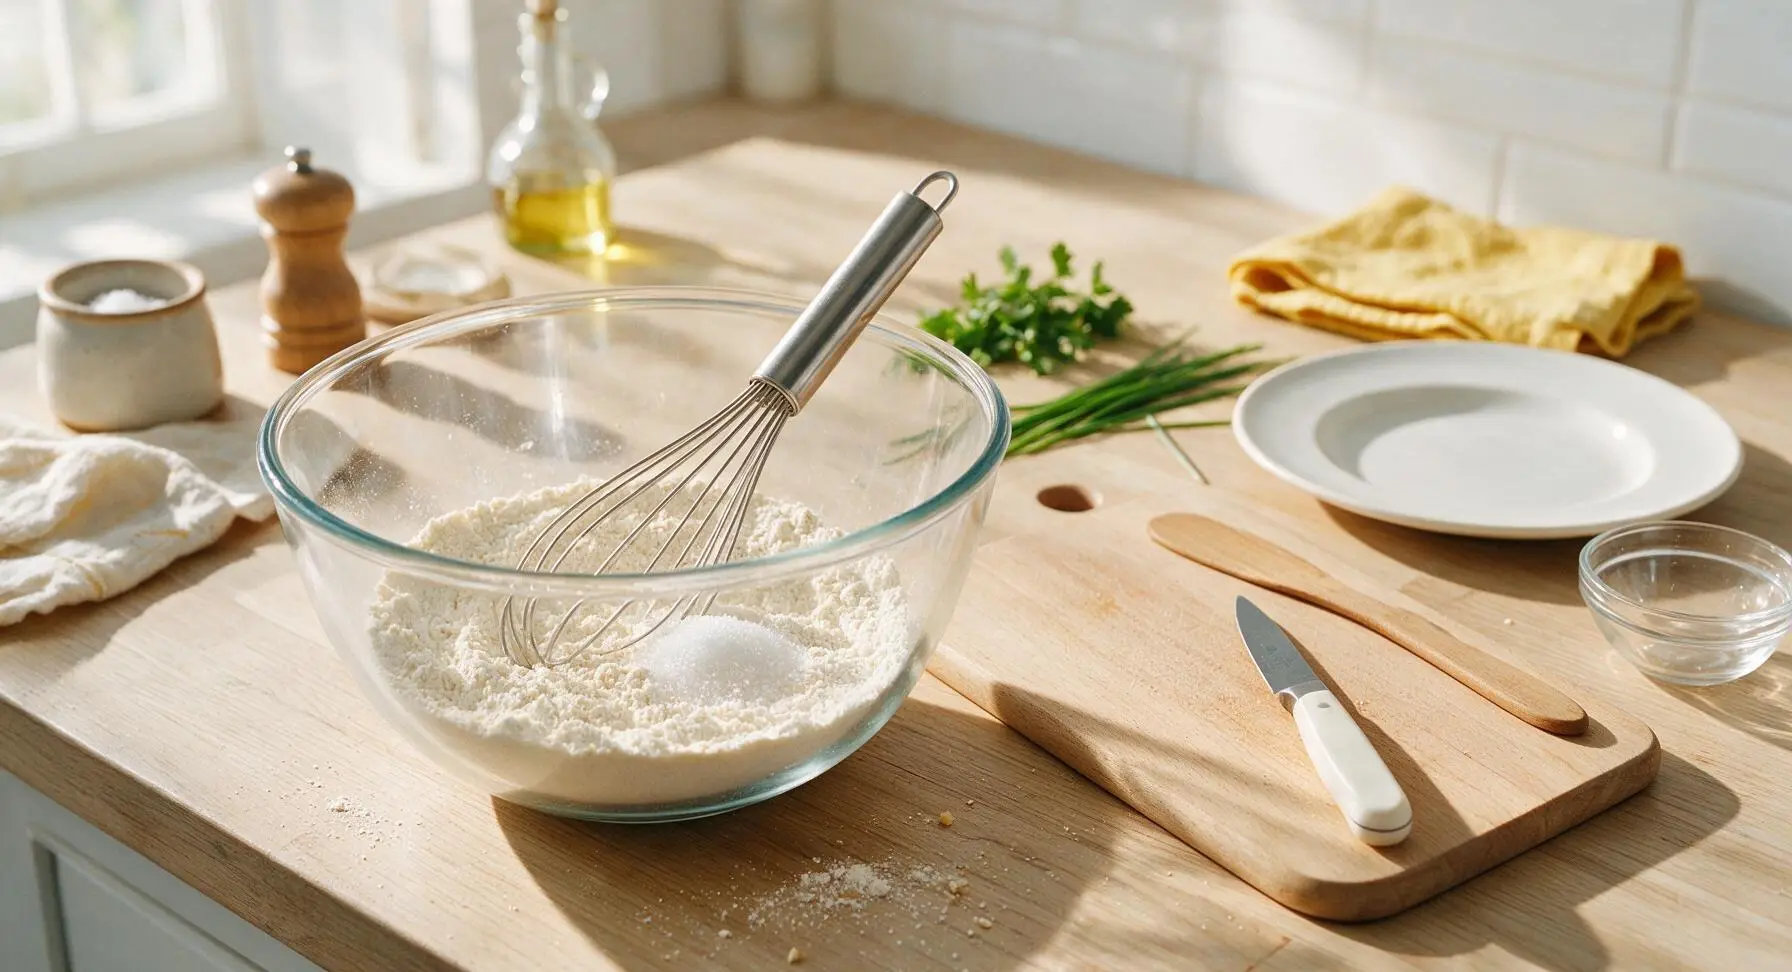
Whisk Dry Ingredients
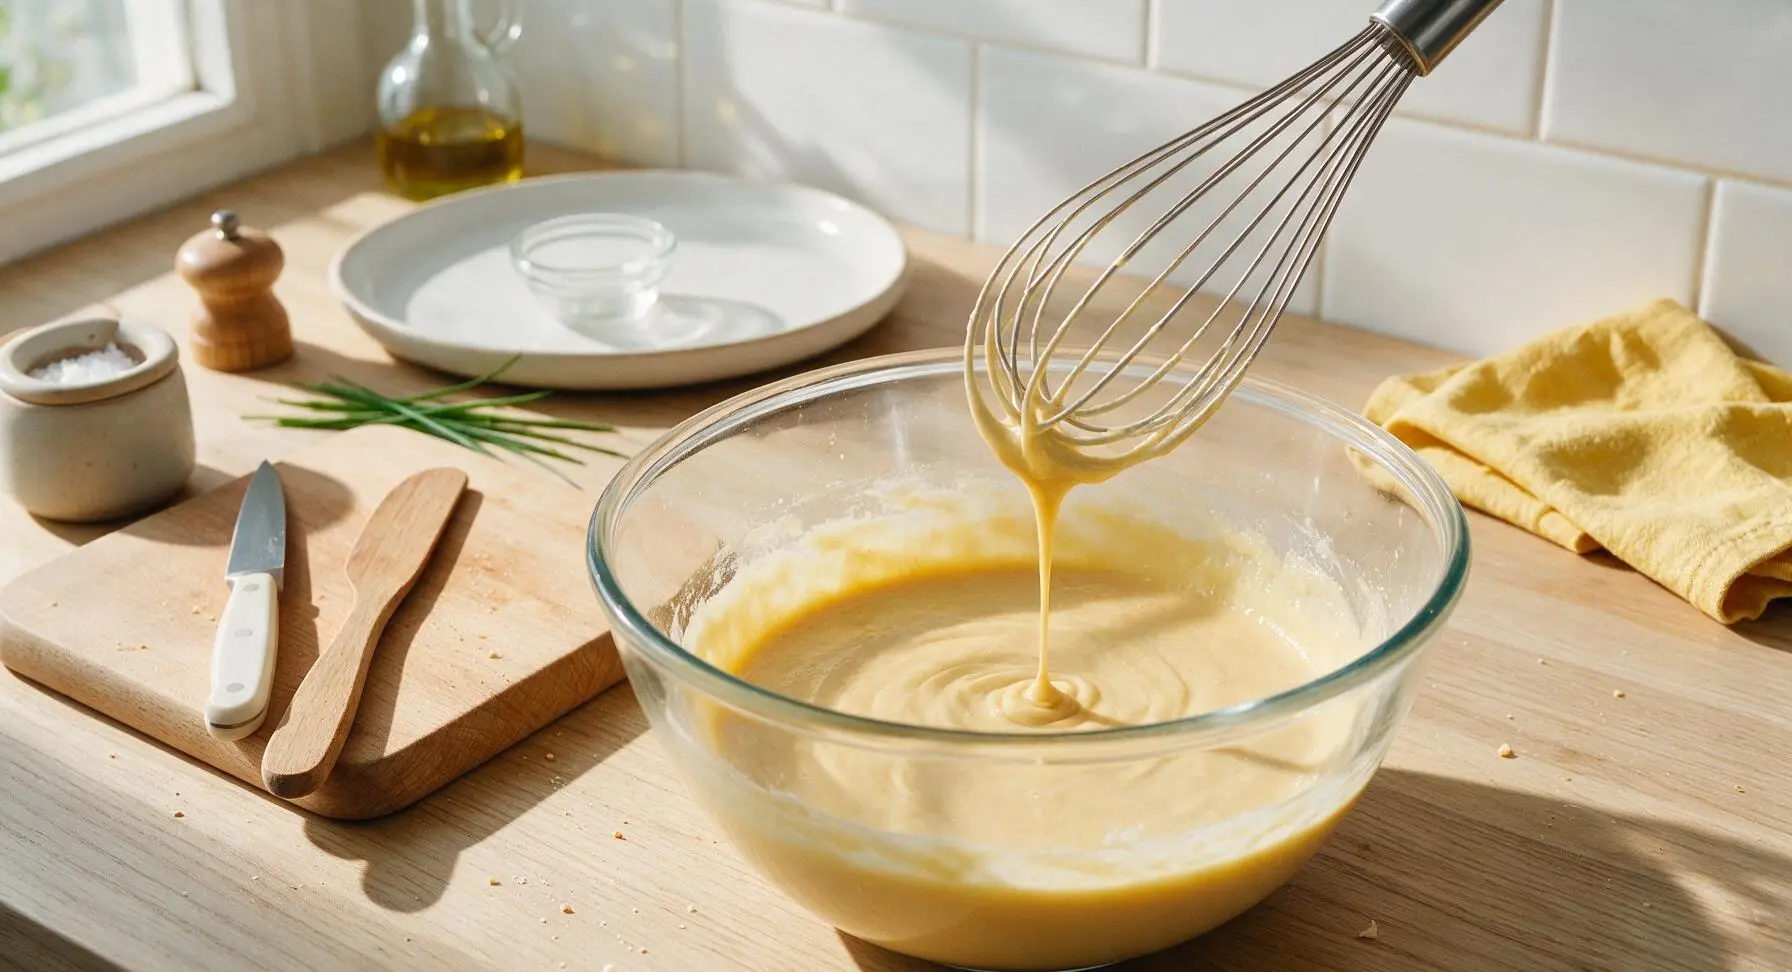
Place sifted all-purpose flour, granulated sugar, and fine sea salt in the 18cm clear glass mixing bowl. Use the 20cm stainless steel wire whisk to stir for 30 seconds until fully combined, breaking up any small lumps. The mixture should be a uniform pale off-white with no visible clumps.
Mix Smooth Batter
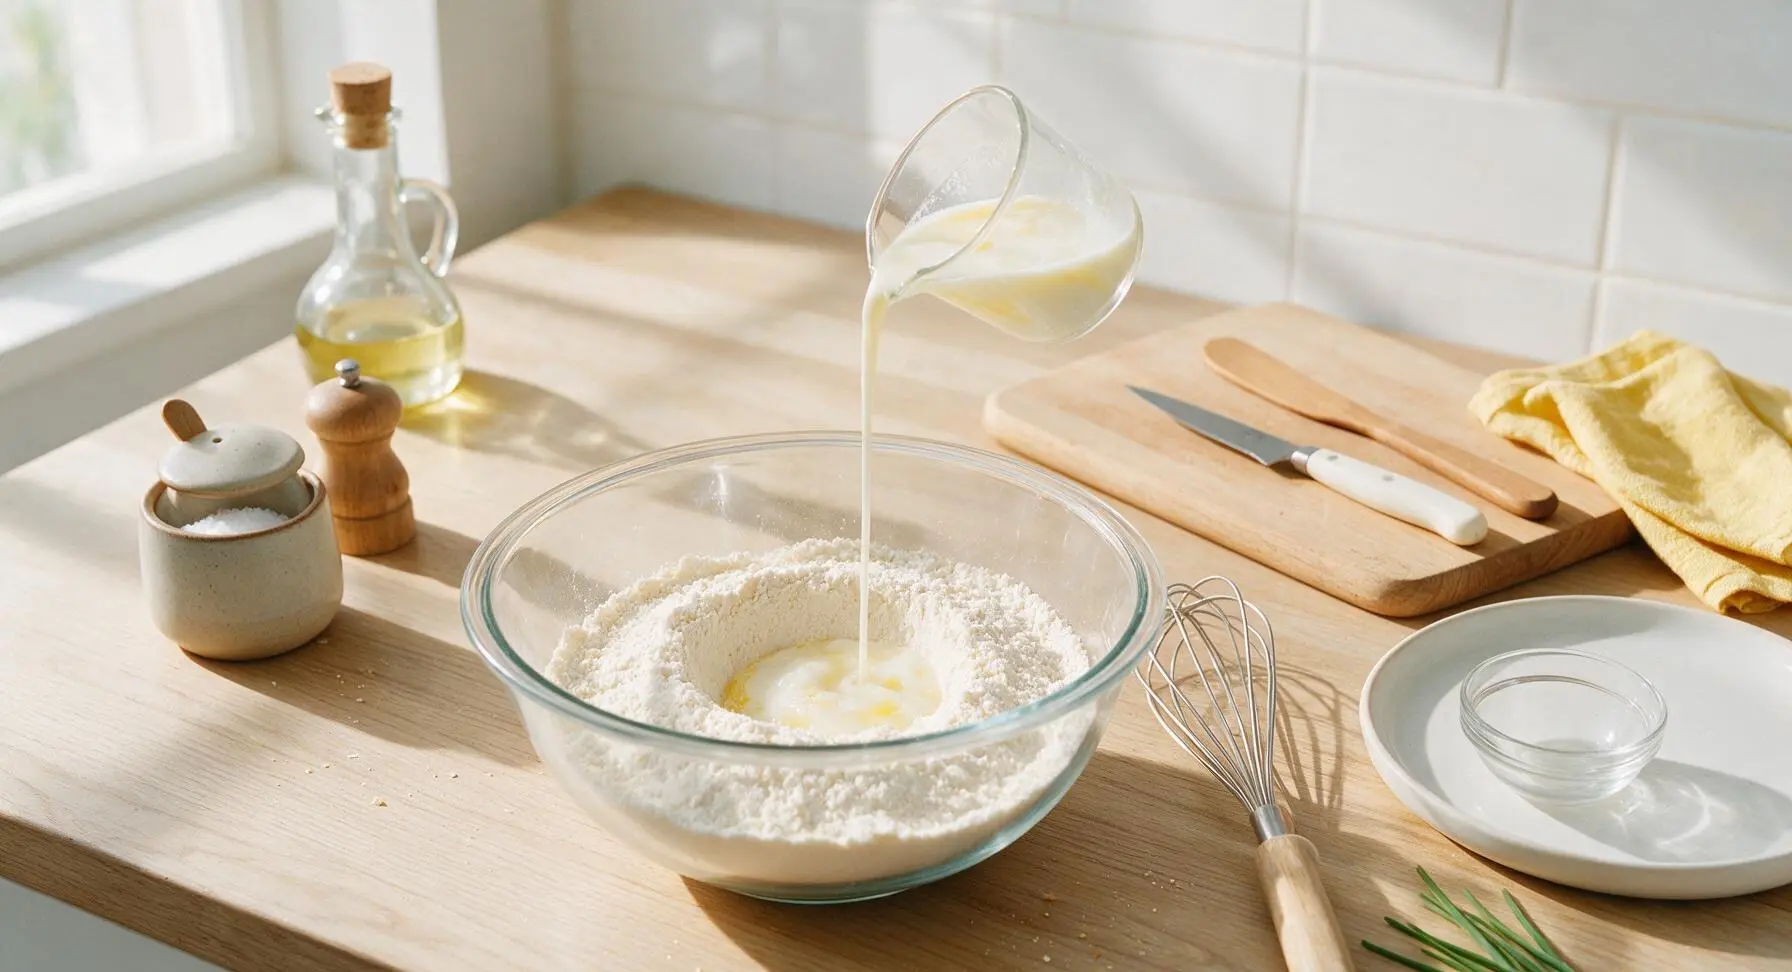
Make a shallow well in the center of the dry ingredient mixture. Pour in room temperature egg whites, whole milk, melted cooled butter, and pure vanilla extract. Whisk slowly at first to incorporate dry ingredients from the edges of the well, then mix for 45 seconds until completely smooth, with the thin consistency of heavy cream. Avoid overmixing to prevent tough, chewy cones.
Preheat Waffle Maker
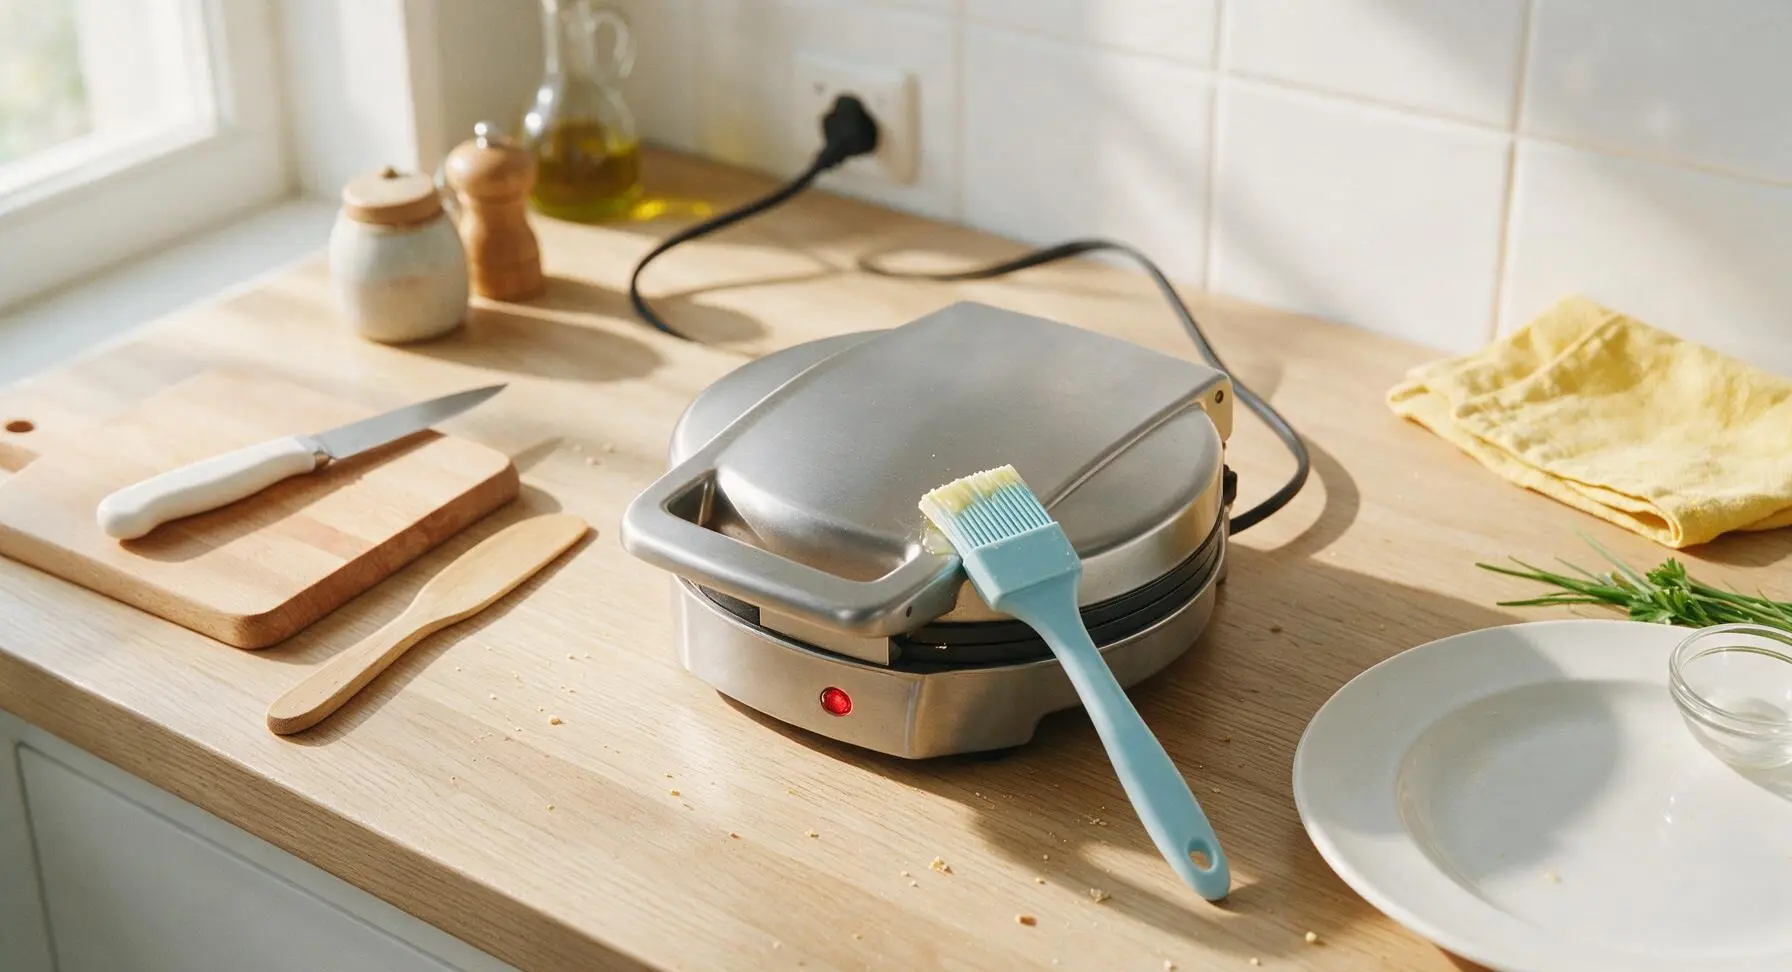
Set the matte stainless steel waffle cone maker in the center of the counter, plug it in, and preheat to 190C/375F (medium-high heat). Use the light blue silicone pastry brush to coat both non-stick cooking plates with a thin layer of melted butter to prevent sticking. Wait 3 minutes until the preheat indicator light illuminates, signaling the plates are fully hot.
Cook Waffle Rounds
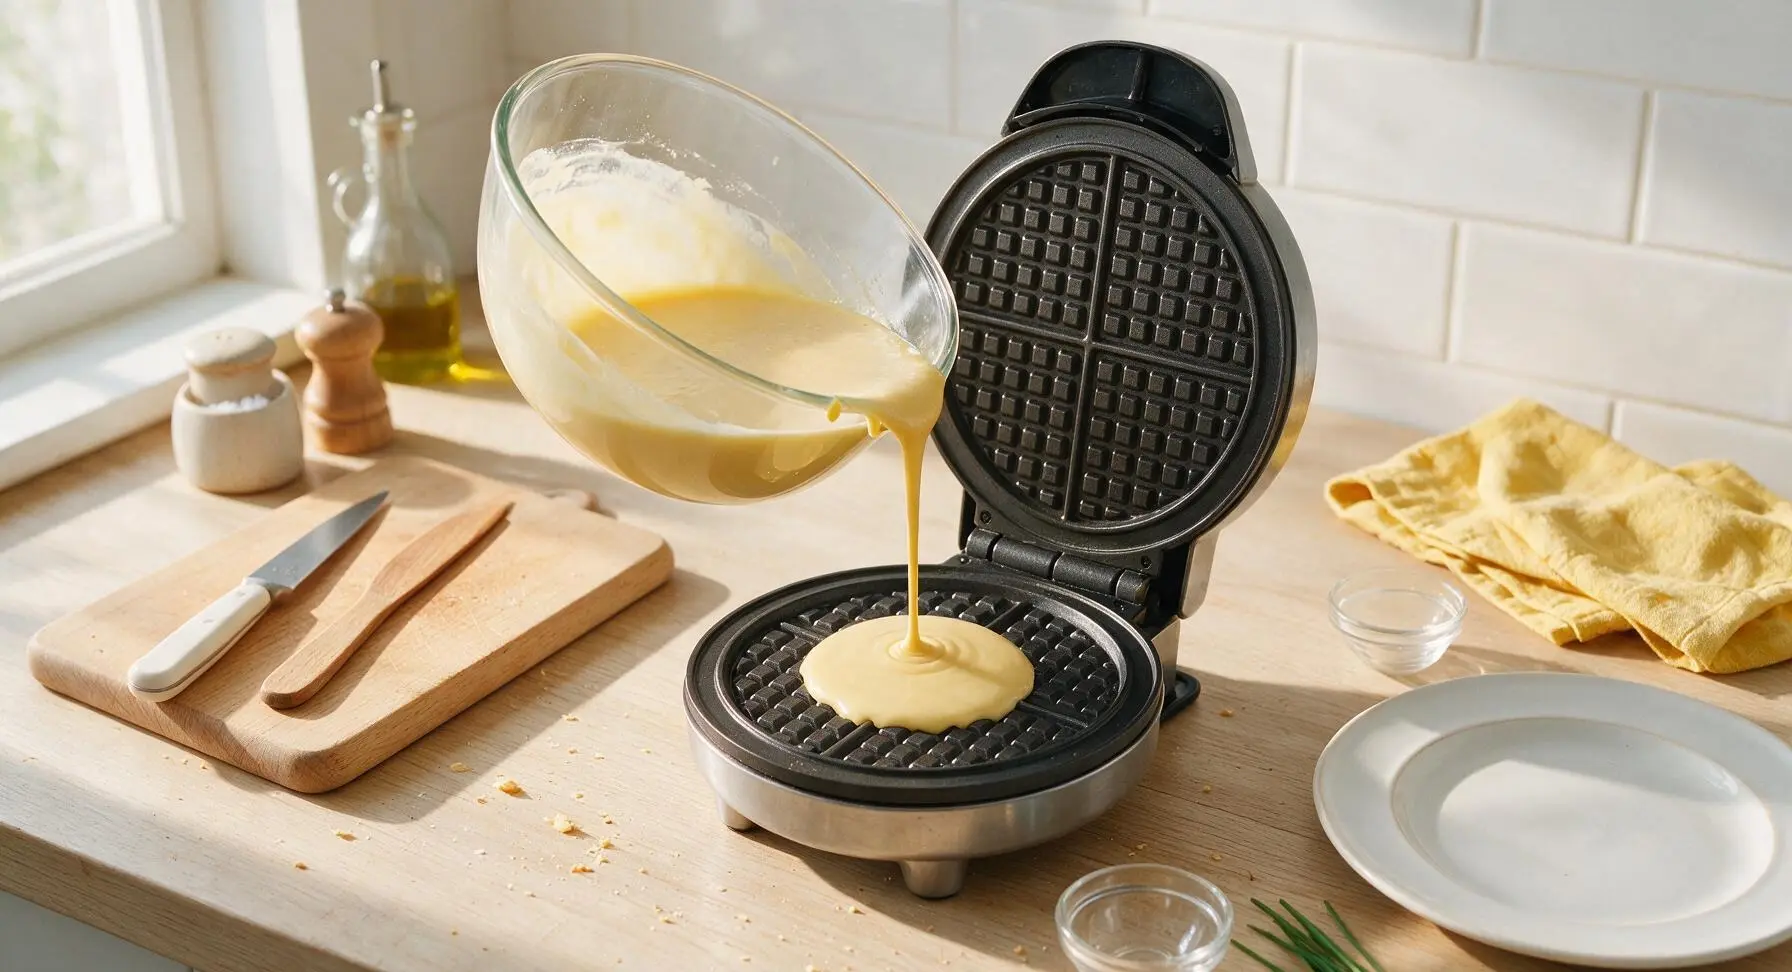
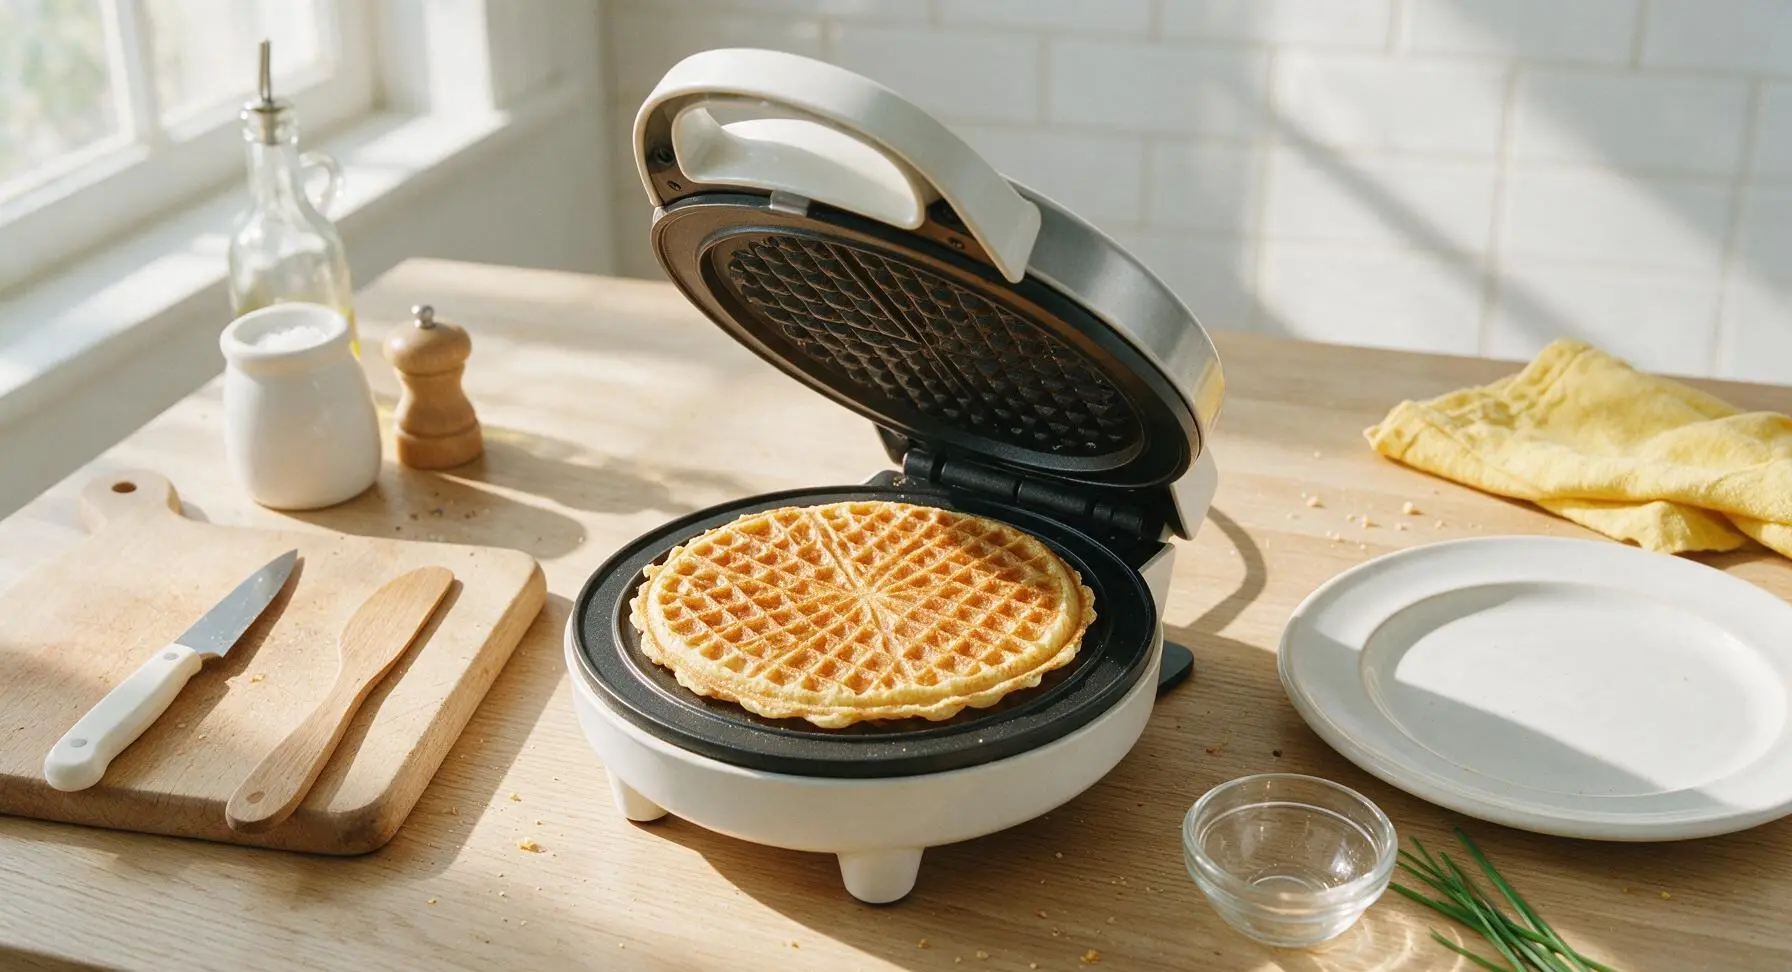
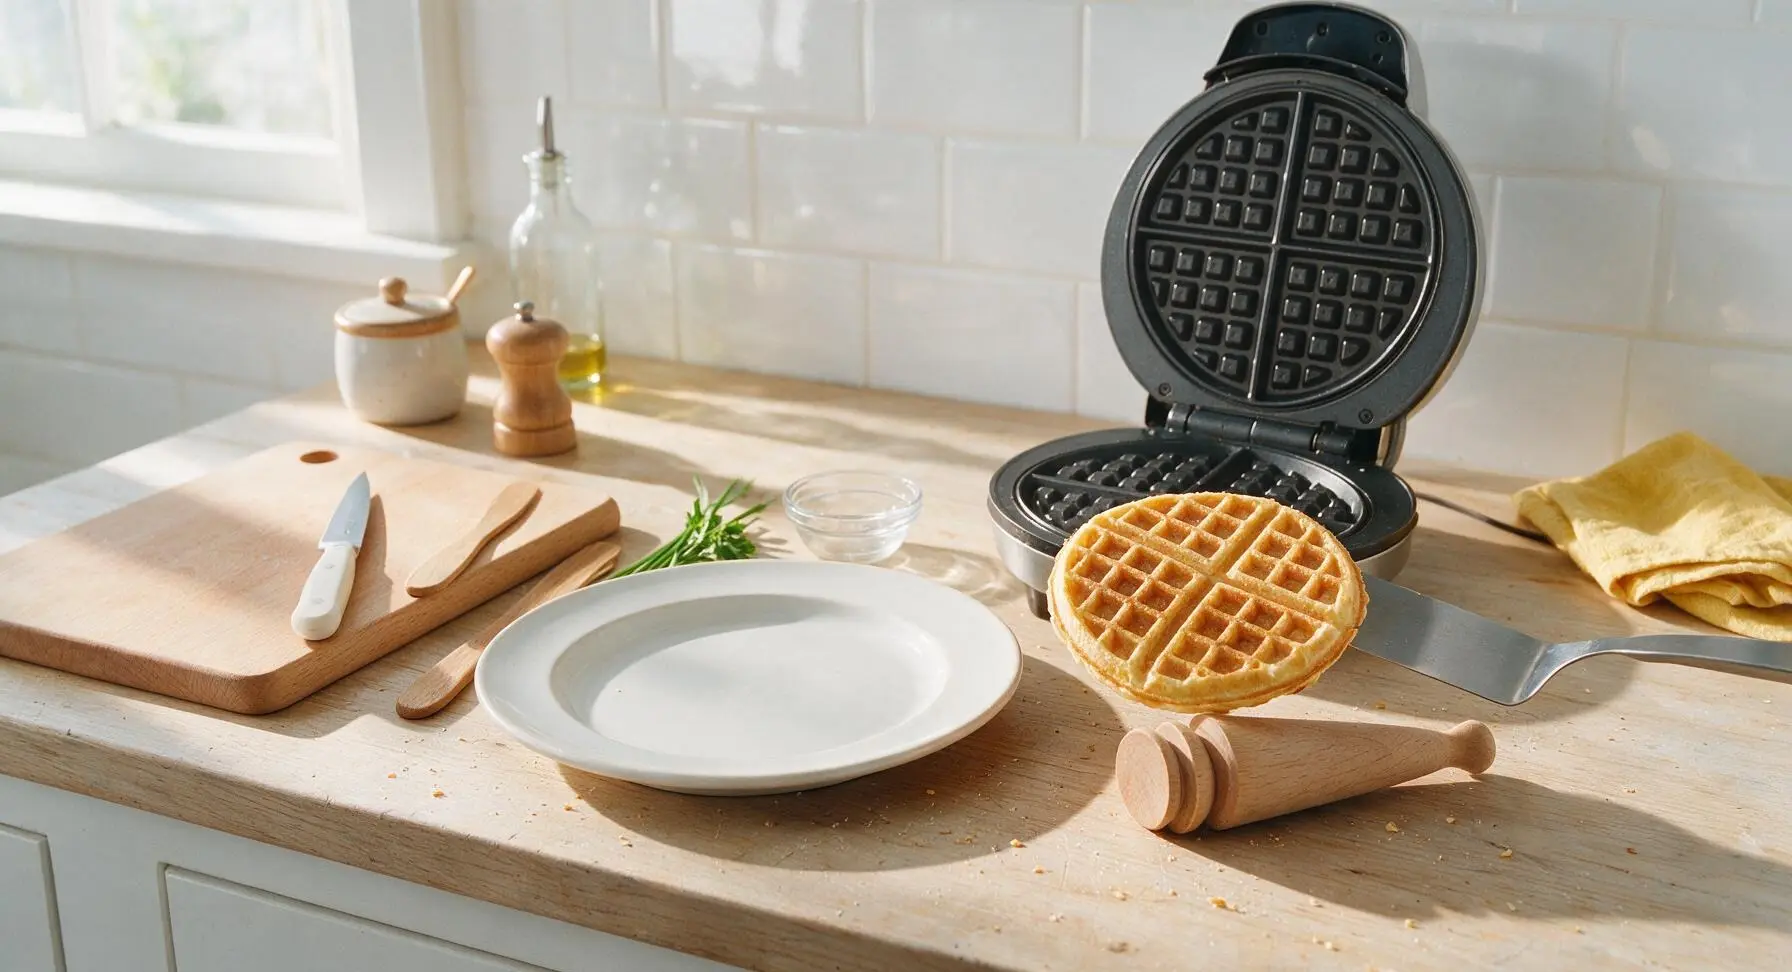
Scoop 2 tablespoons of batter directly onto the exact center of the preheated bottom waffle plate. Close the lid gently and cook for 55-65 seconds, until the waffle is an even golden brown across its entire surface. Do not open the lid before 50 seconds, as this will tear the delicate waffle. Fully cooked waffles will release easily from the non-stick plates without sticking.
Shape Hot Cones
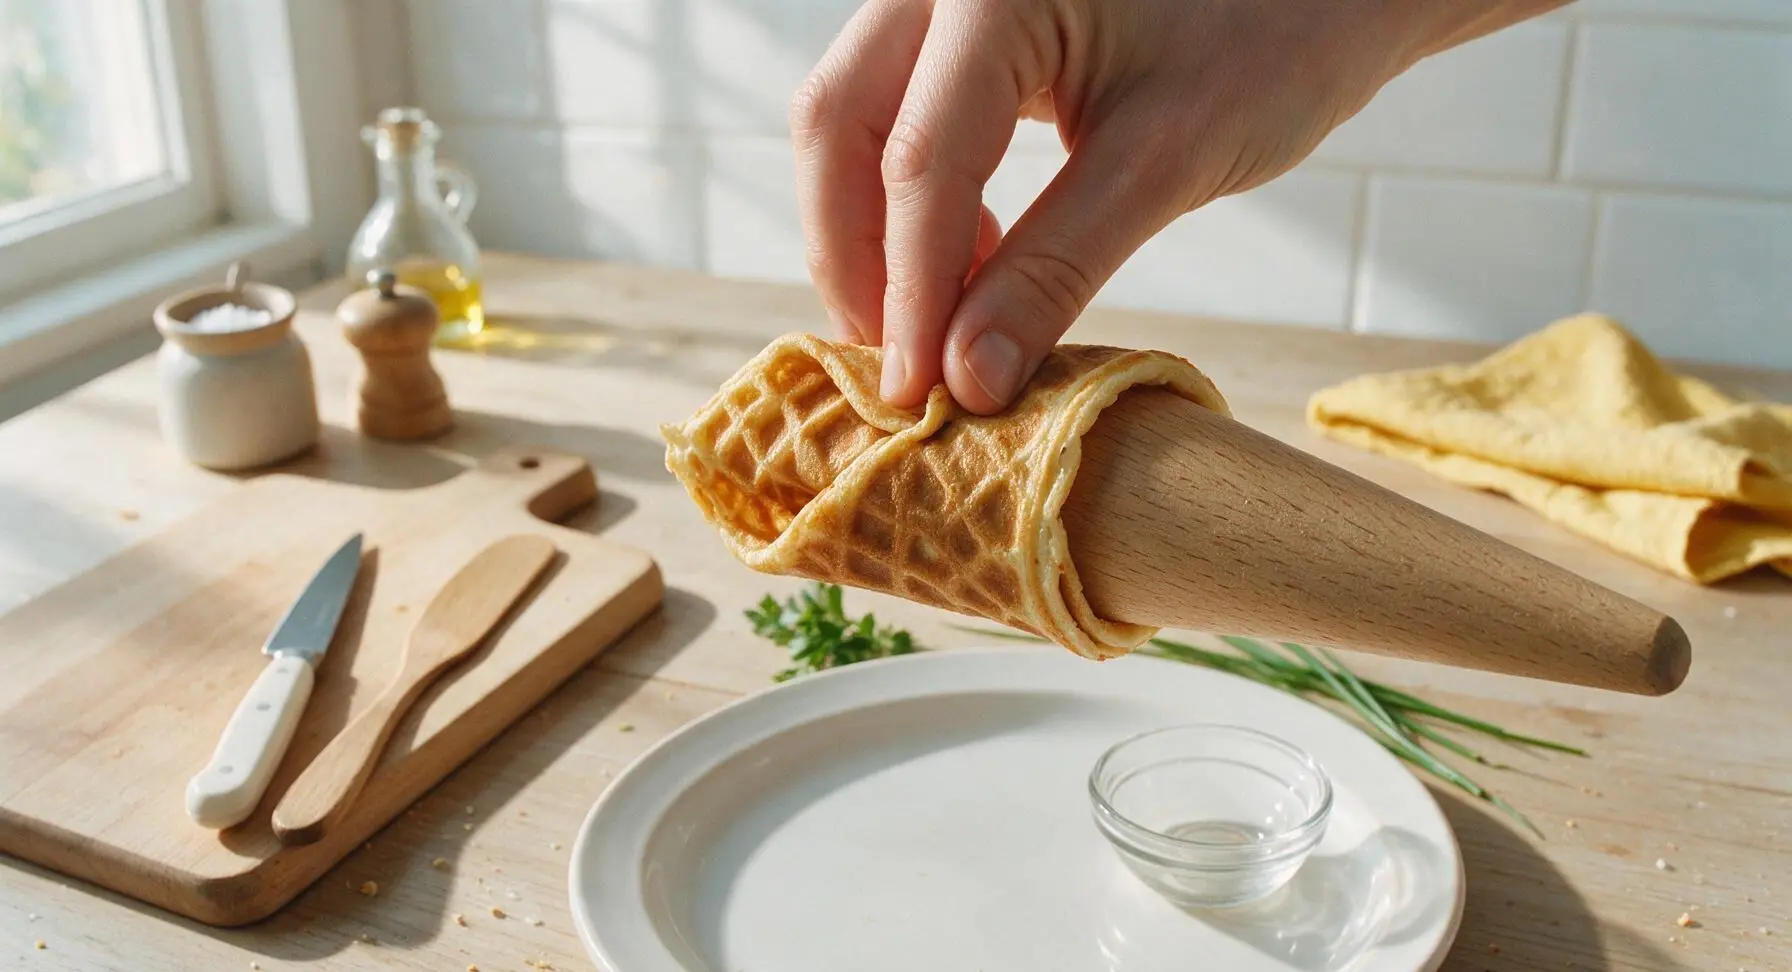
Working within 10 seconds of removing the waffle from the maker (before it hardens into a crisp flat disk), lift the hot waffle with the stainless steel offset spatula and drape it over the light oak wooden cone roller. Wrap the waffle tightly around the tapered form, pressing the overlapping seam firmly to seal, and pinching the pointed tip closed to prevent ice cream leaks. Hold for 10 seconds until the cone holds its shape independently. Use caution, as the waffle will be very hot to the touch.
Cool Cones Fully
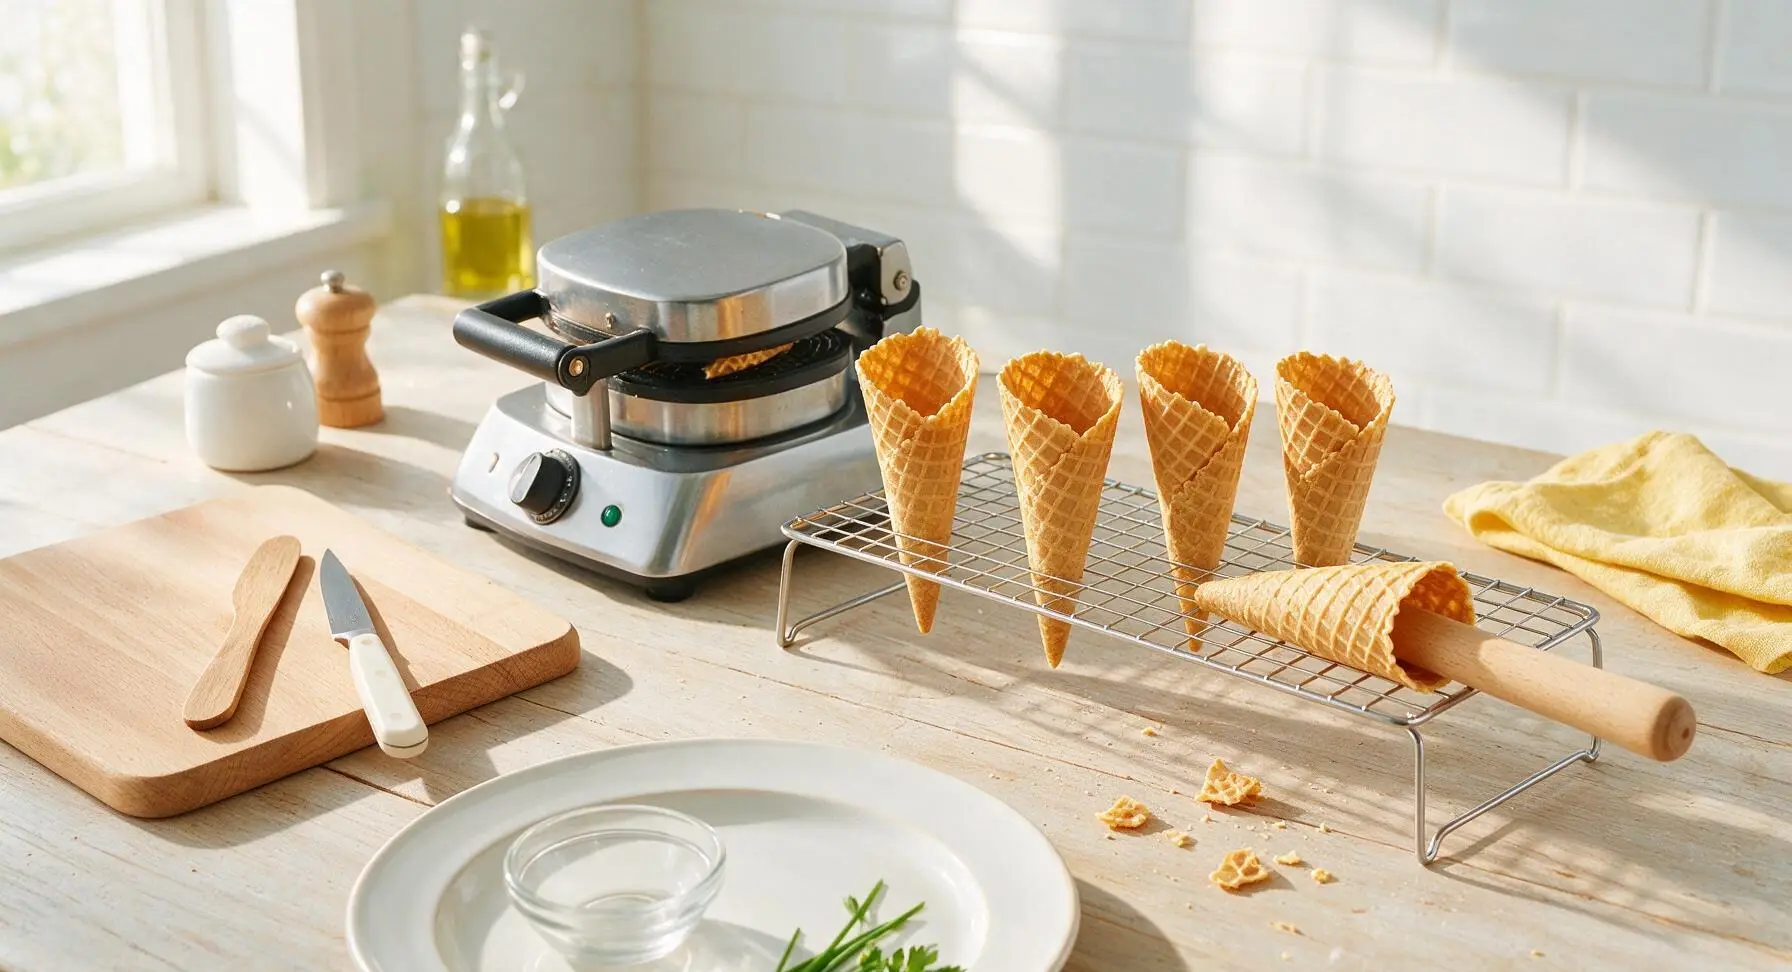
Slide the shaped cone off the wooden roller and stand it upright on the chrome wire cooling rack. Repeat the cooking and shaping process with the remaining batter, placing each finished cone on the rack with 2cm of space between them to allow air flow. Cool for 10 minutes until completely room temperature and crisp; do not stack warm cones, as trapped moisture will cause sogginess.
Serve With Ice Cream
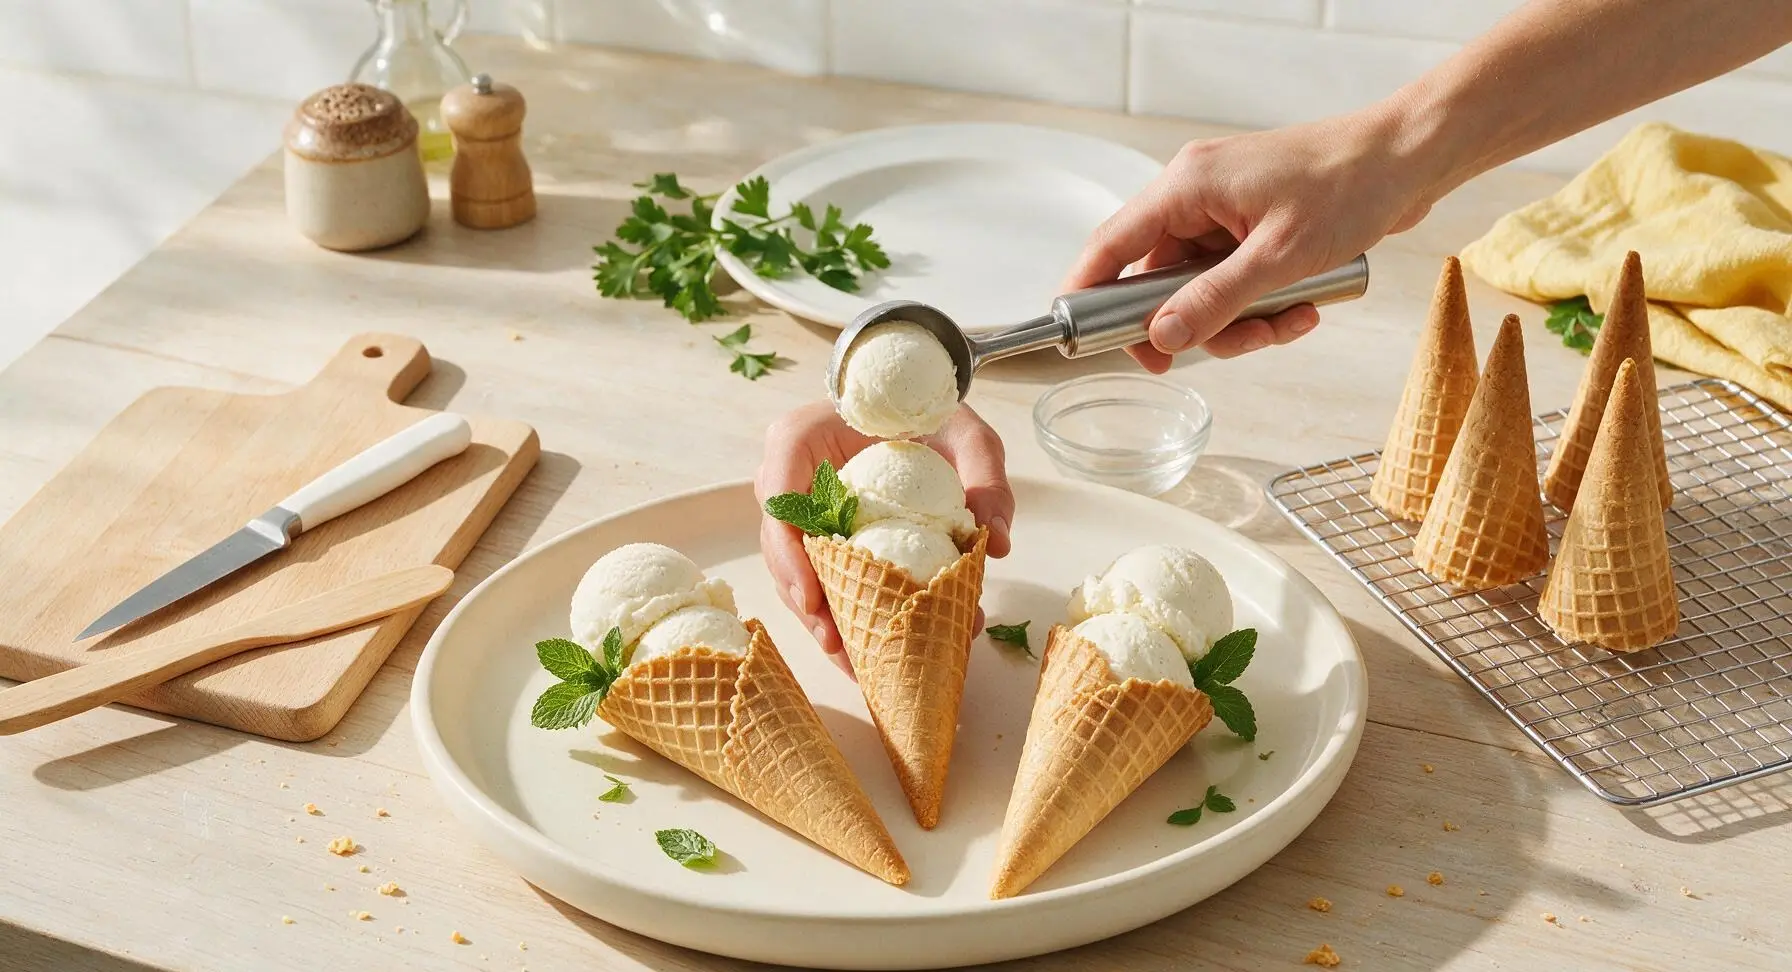
Arrange fully cooled cones on the matte cream ceramic serving platter. Fill each cone with two rounded 1/2-cup scoops of your favorite ice cream, pressing gently to secure the scoops in the cone opening. Tuck a single fresh mint leaf next to the scoops for a bright garnish, and serve immediately. Unfilled cones can be stored in an airtight container at room temperature for up to 3 days.
Tips
2.Stop mixing the batter as soon as no dry flour lumps remain. Overmixing develops gluten in the flour, which results in tough, chewy cones instead of the light, snappy crisp texture you want.
3.Store unfilled cones in an airtight container with a tablespoon of uncooked rice wrapped in cheesecloth to absorb excess moisture, keeping cones crisp for up to 3 days. Never store cones in the refrigerator, as high humidity will make them soggy within hours.






OMG these are a total game changer! I made them for my kids’ end-of-school pool party and every single kid (and parent!) begged for the recipe. They stay crisp even when loaded up with scoops of rocky road and sprinkles, no soggy mess at all. Cook time was totally accurate too, didn’t take forever even with a crowd. 10/10 will make every summer from now on!
Okay I was so nervous to try these because waffle cones feel super fancy, but the instructions were so straightforward! I only messed up the first cone by rolling it too slow (it cracked oops) but every single one after that turned out perfect. They taste exactly like the ones from the old-school ice cream shop down the street, SO good. My roommate is already begging me to make them again this weekend.
Took these to a neighborhood potluck last weekend and they were gone in 10 minutes flat. I added a tiny pinch of cinnamon to the batter and it gave such a warm, cozy kick that paired amazing with vanilla bean ice cream. Only note: make sure your waffle cone maker is fully preheated before pouring the batter, otherwise they come out a little chewy instead of crisp.
Game. Changer. I’ve been paying $2 a cone at my local ice cream stand for years and I cannot believe how easy these are to make at home for a fraction of the cost. I dipped the tops in melted dark chocolate and crushed peanuts and they looked and tasted like premium fancy cones. My book club went absolutely wild for them at our last meetup.
Has anyone tried making these with a 1:1 gluten free flour blend? I have celiac and have been missing good crispy waffle cones so bad — most store bought GF ones are straight up cardboard. Would love to know if the texture holds up before I pull the trigger on a waffle cone maker!
Made these for our Father’s Day cookout and they were the star of the sundae bar. I was worried they’d be too sweet, but the sugar level is perfect — not cloying at all, lets the ice cream flavors shine. The only reason I’m not giving 5 stars is I wish the recipe included tips for people without a dedicated waffle cone maker, I had to rig my regular waffle iron and it was a little tricky.
These are SO much better than the store bought cones that come in a box, wow. I made a batch last night and ate two warm cones plain before I even got the ice cream out of the freezer, oops. They have that perfect buttery, vanilla flavor and that shatteringly crisp crunch you can only get from homemade. 10/10 no notes.
Wait, how do you get the cone shape perfect? I tried rolling them around a glass but mine all came out lumpy and a little too open at the bottom so ice cream dripped out all over my hand when I ate one. Flavor was 10/10 but my shaping skills are seriously lacking lol.
Bro I cannot believe I used to buy pre-made cones my whole life. These are insane. I made a batch for movie night with my girlfriend and we filled them with mint chocolate chip and it was better than any ice cream shop we’ve been to in the city. Crispy, buttery, perfect amount of vanilla. Zero complaints.
I made these for my toddler’s birthday party ice cream station and they were such a hit! I even made mini versions by pouring smaller batter circles and rolling them into tiny cones for the little kids, which was perfect for tiny hands. Only heads up: they get soft if you leave them out in super humid air, so keep them stored in an airtight container until you’re ready to serve if you live somewhere muggy like me!
I was skeptical these would actually stay crisp after storing them, but I made a batch on Sunday for meal prep treats and they held up perfectly all week in an airtight container. I’ve been grabbing one on my way out the door to fill with a scoop of protein ice cream after my evening gym sessions, and it feels like such a fancy treat for barely any effort. Medium difficulty is spot on, too — not totally foolproof but easy enough once you get the hang of the first couple.