
homemade mascarpone
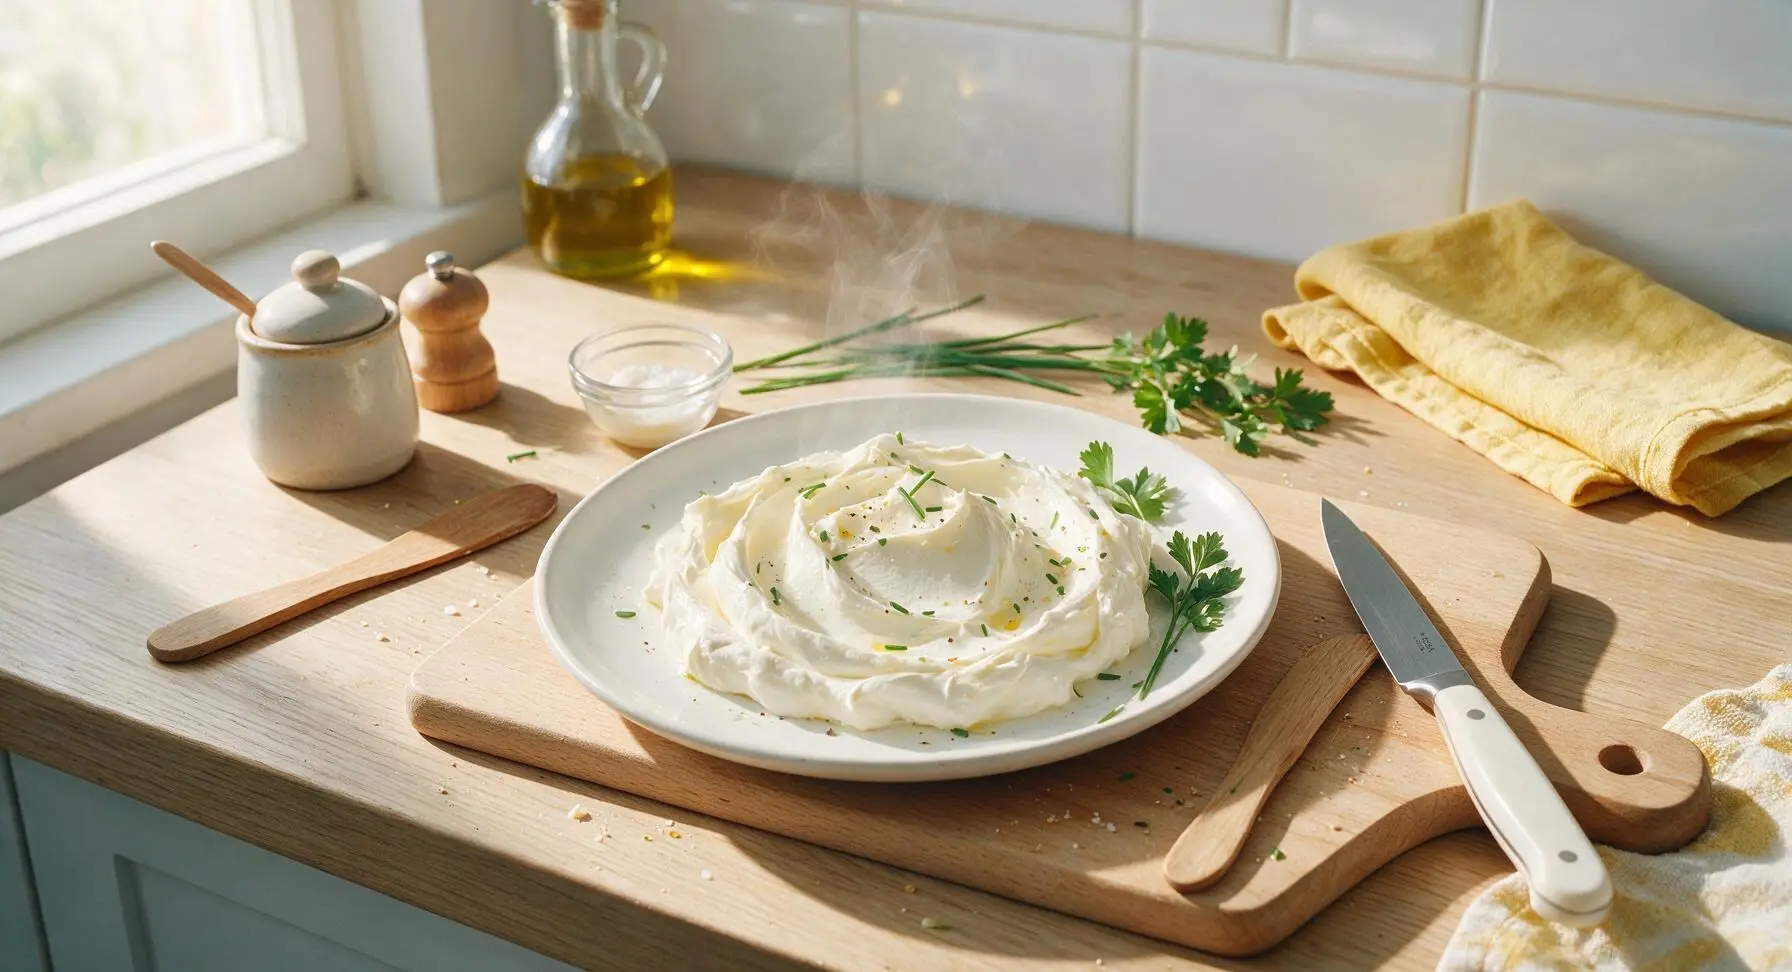
intro
Silky, luxuriously rich homemade mascarpone is far creamier than store-bought, with delicate milky sweetness perfect for tiramisu, cheesecakes, or fresh fruit. It requires just two simple ingredients.
Ingredients
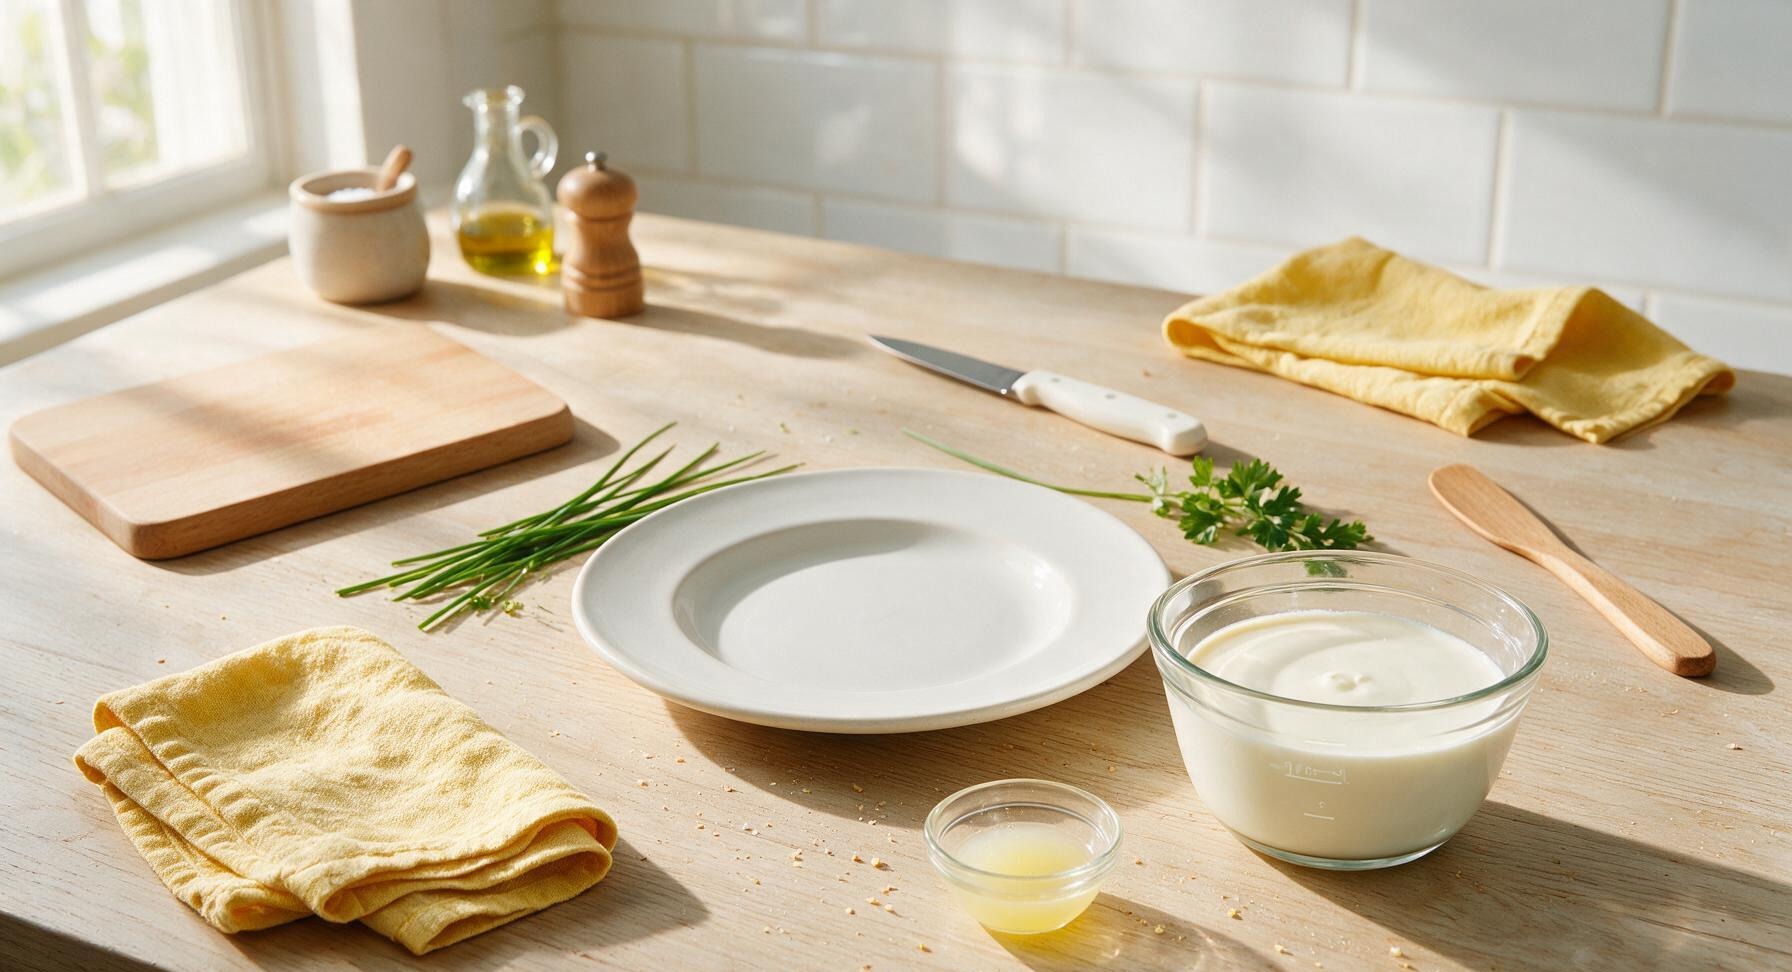
Steps
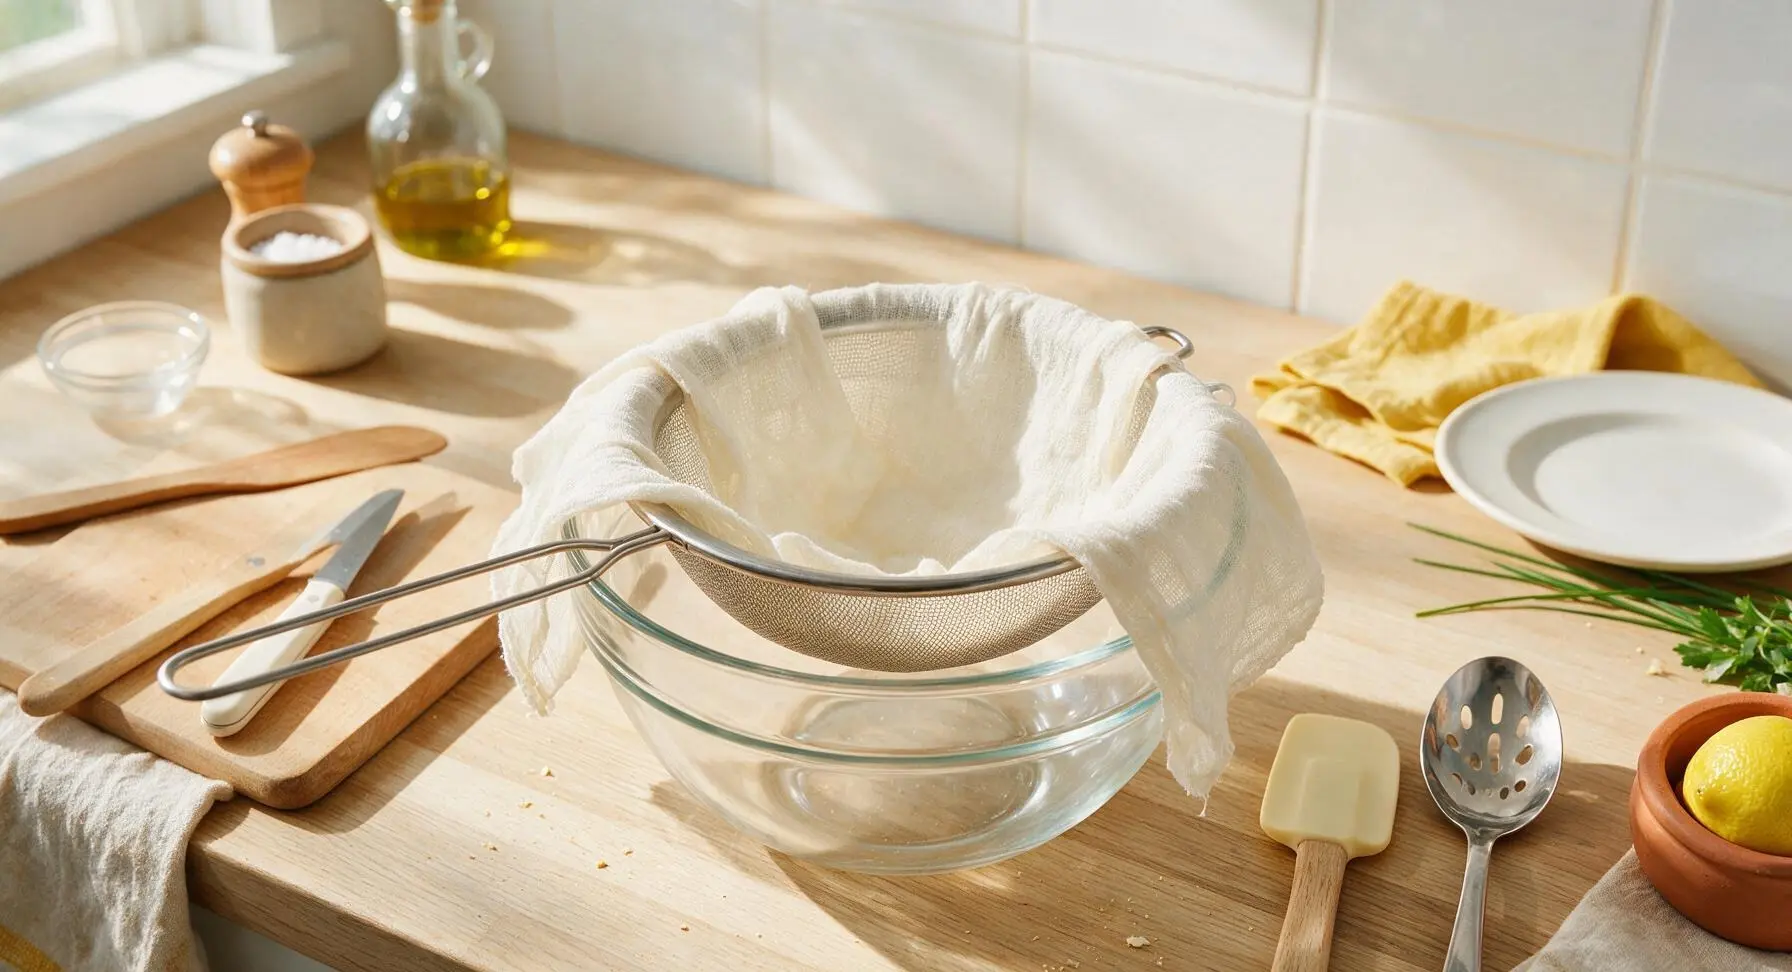
Set up straining station
Place the 1L clear glass mixing bowl on the central counter position. Set the 18cm fine-mesh polished stainless steel sieve across the top of the bowl, making sure the sieve sits 5cm above the bowl bottom to leave room for draining whey. Line the sieve with 4 layers of the unbleached off-white cheesecloth, letting 5cm of cloth overhang the sieve edges on all sides. Set this aside within arm’s reach of the stovetop zone.
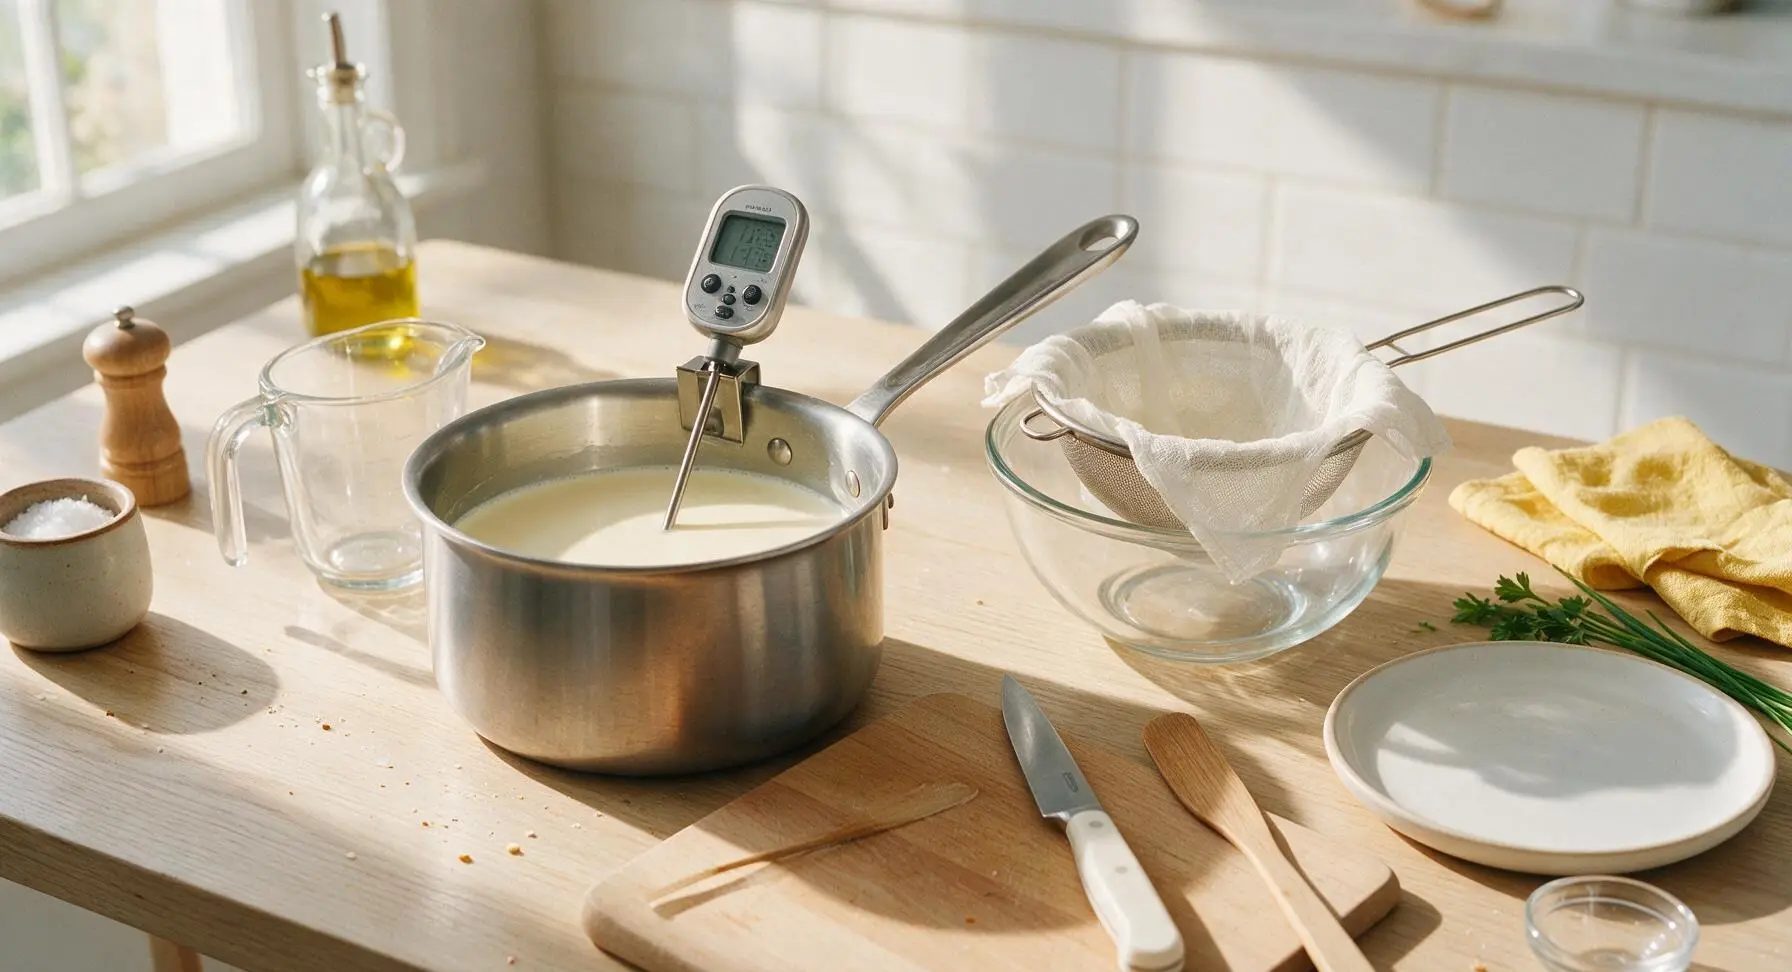
Add cream to saucepan
Pour the full 480ml of heavy cream from the measuring cup into the 3L heavy-bottomed brushed stainless steel saucepan. Clip the digital candy thermometer to the side of the pan, making sure the silver probe is fully submerged in the cream but not touching the pan bottom, to get an accurate temperature reading. Place the pan over the lowest possible stovetop heat.
Heat cream slowly
Warm the cream gradually over low heat, stirring occasionally with the pale cream silicone spatula to prevent scorching on the pan bottom. Heat until the cream reaches exactly 85°C (185°F); do not let it come to a rolling boil, as this will cause a grainy final texture. This will take 8-10 minutes over low heat, and you will see thin, wispy steam rising from the cream surface when it approaches temperature.
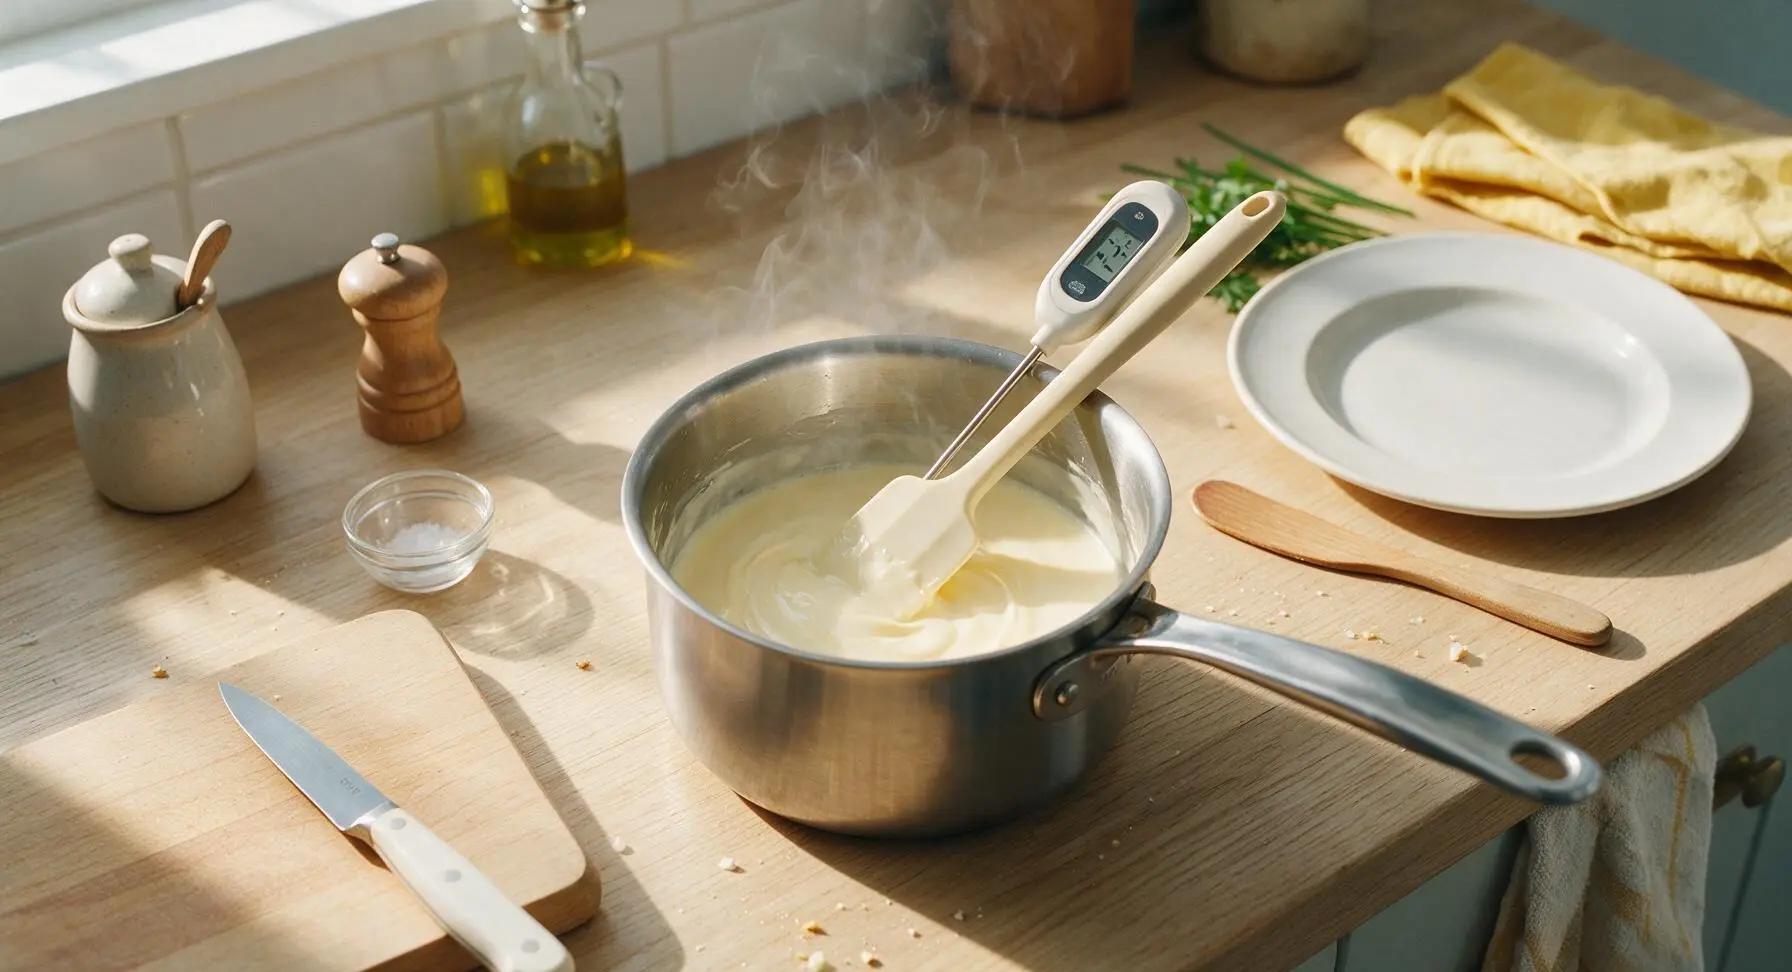
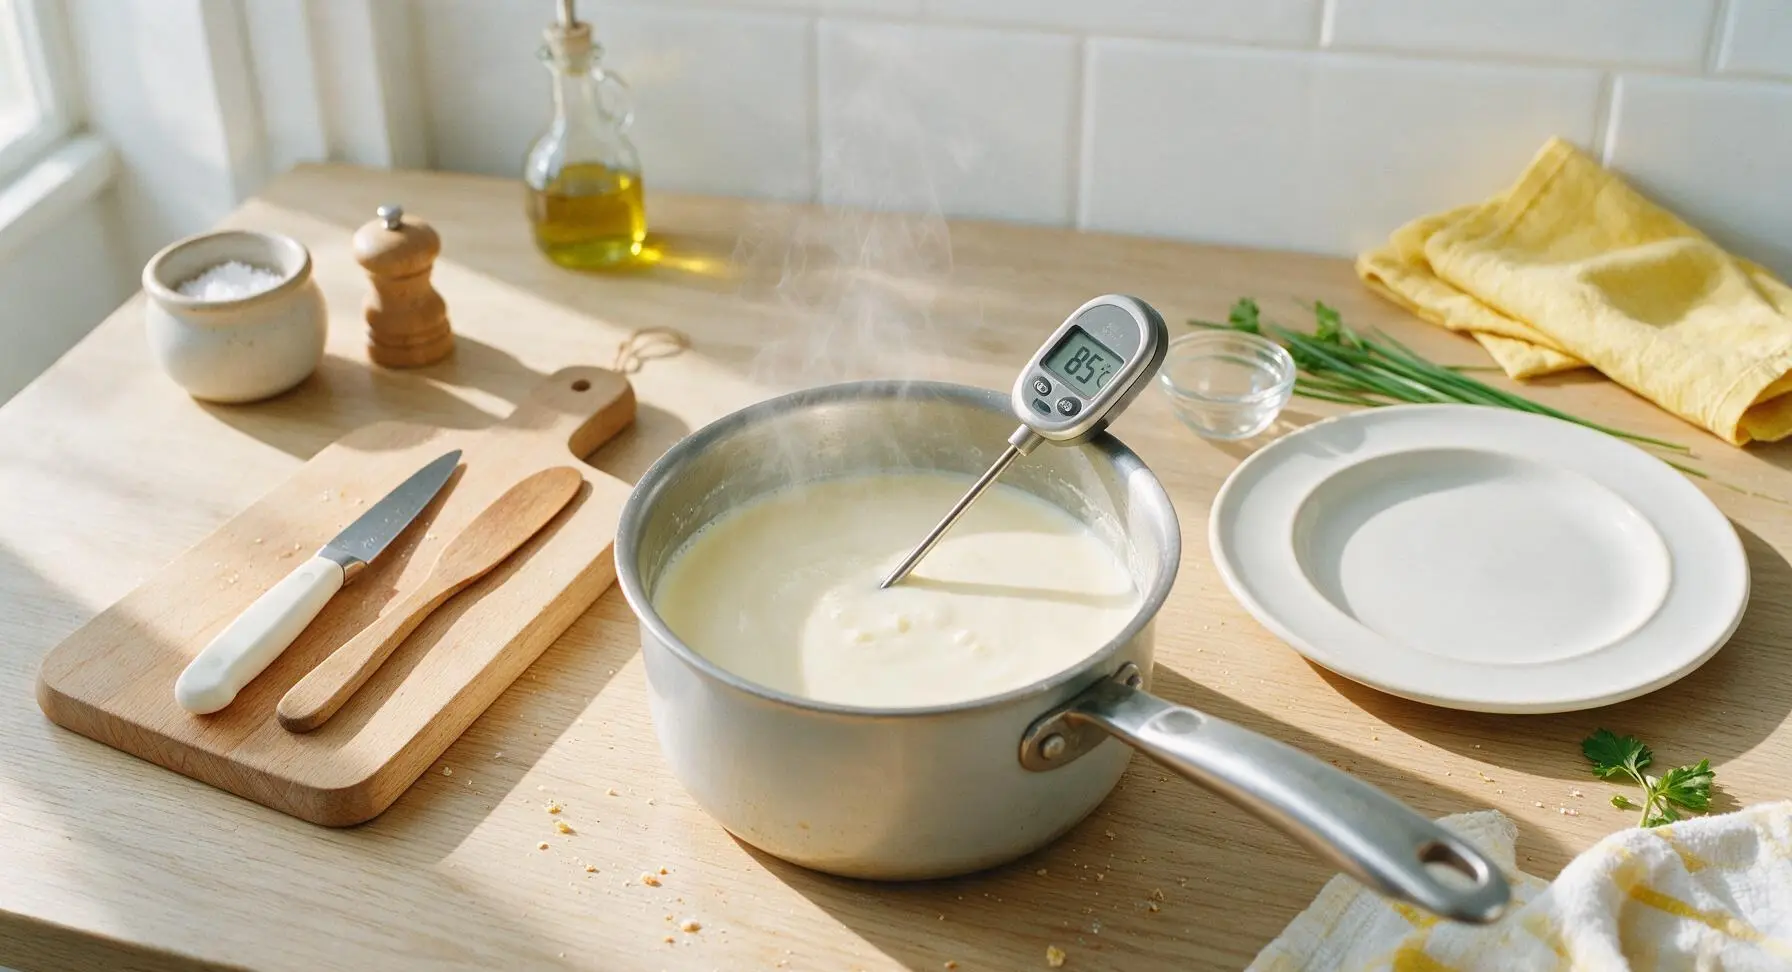
Stir in lemon juice
Once the cream holds steady at 85°C, pour the full 1 tablespoon of strained fresh lemon juice from the 60ml clear glass ramekin into the pan. Stir slowly and constantly with the silicone spatula for exactly 3 minutes, maintaining the 85°C temperature. You will notice the cream thicken slightly, with tiny soft curds forming that coat the back of the spatula; do not over-stir, as this will create tough curds.
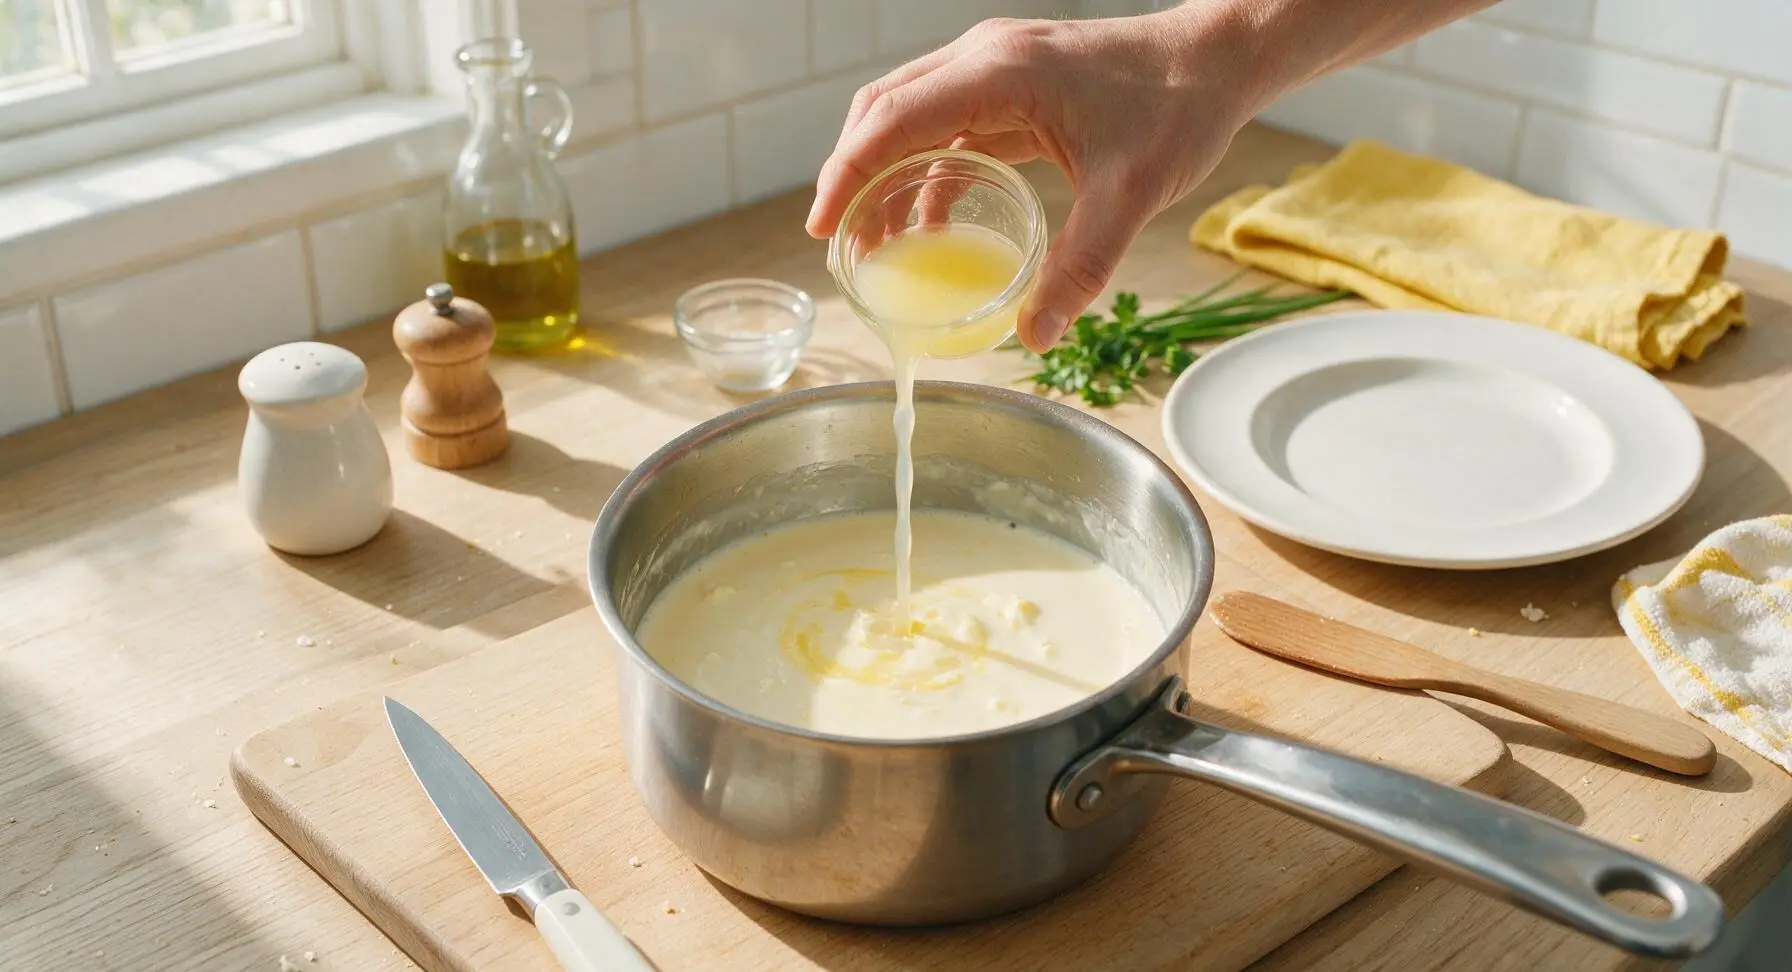
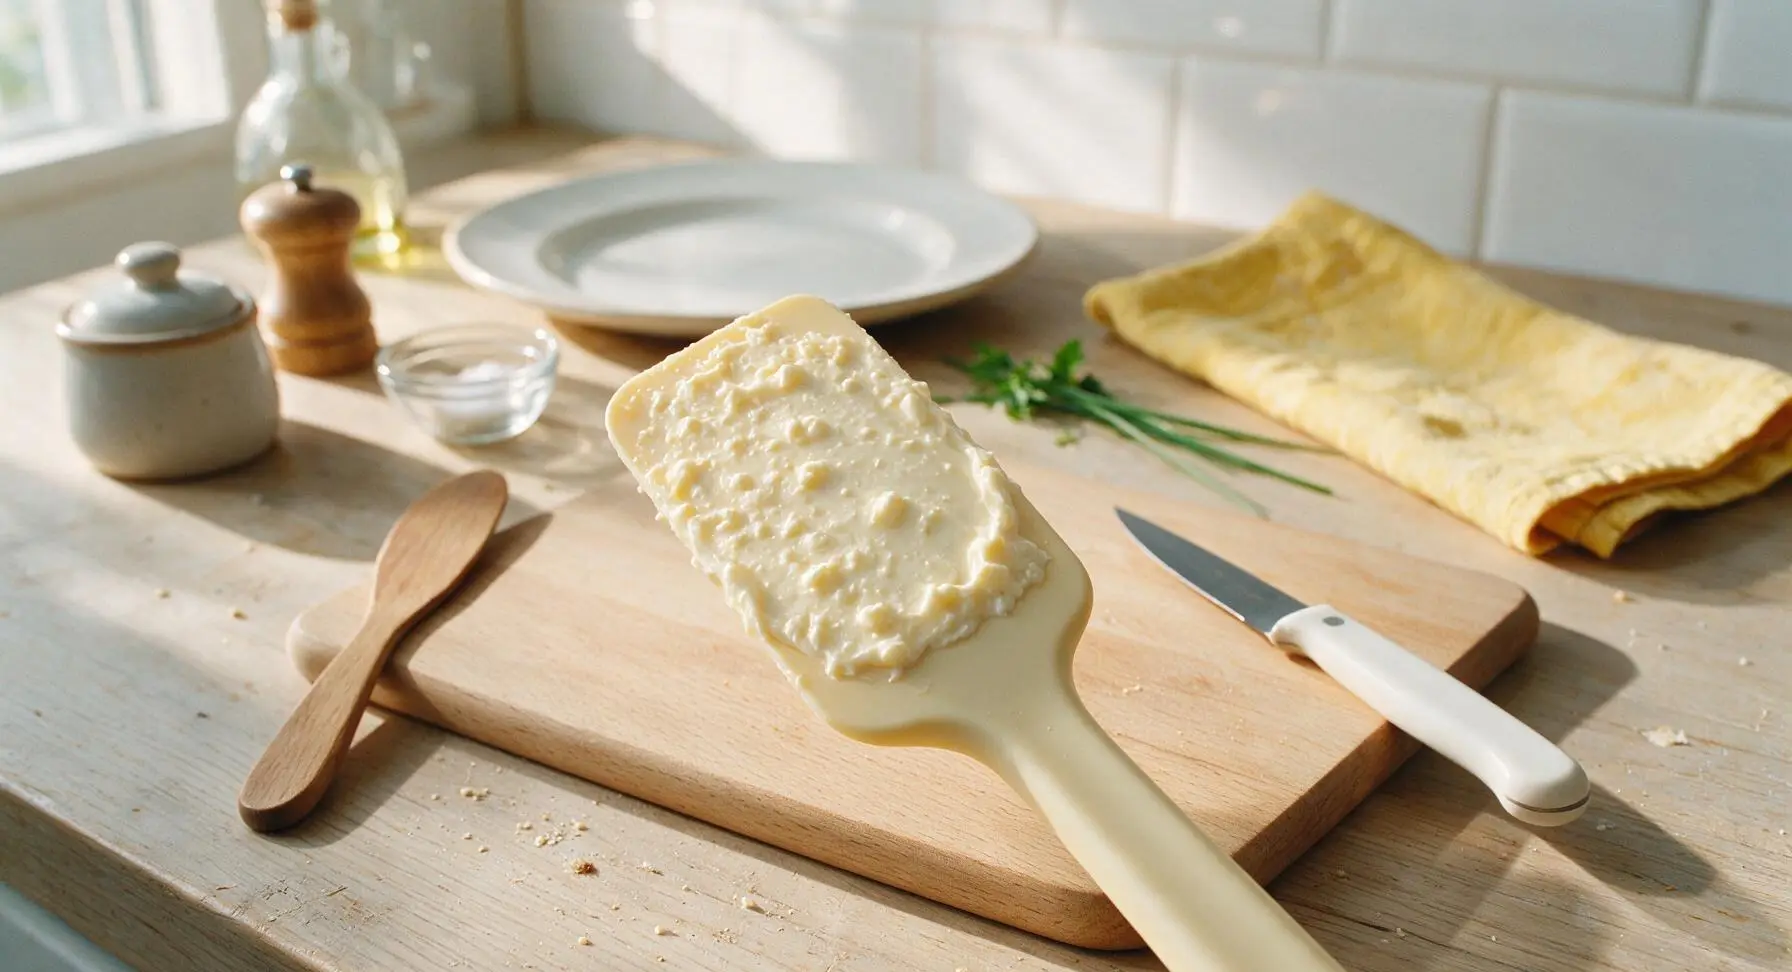
Let mixture cool slightly
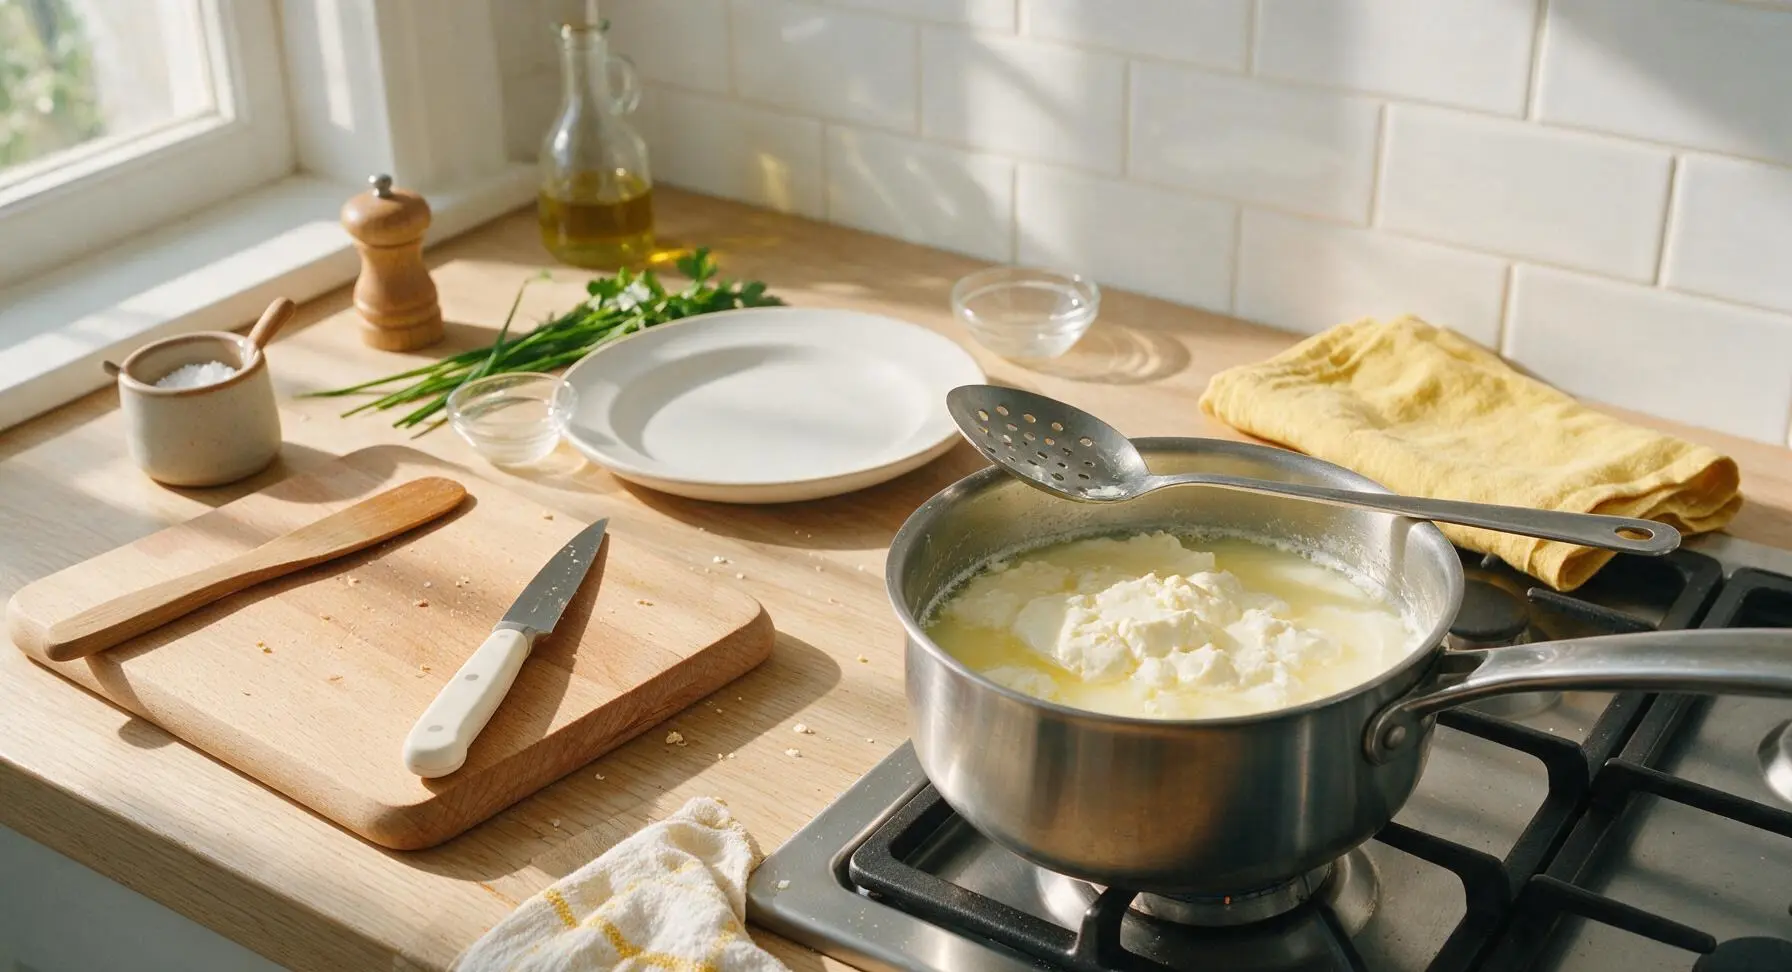
Turn off the heat, remove the thermometer from the pan, and let the curd and whey mixture cool in the saucepan for 20 minutes at room temperature. The mixture will continue to thicken as it cools, separating into soft ivory curds and thin, pale translucent whey. Do not stir the mixture as it cools, to avoid breaking the delicate curds.
Transfer curds to strain
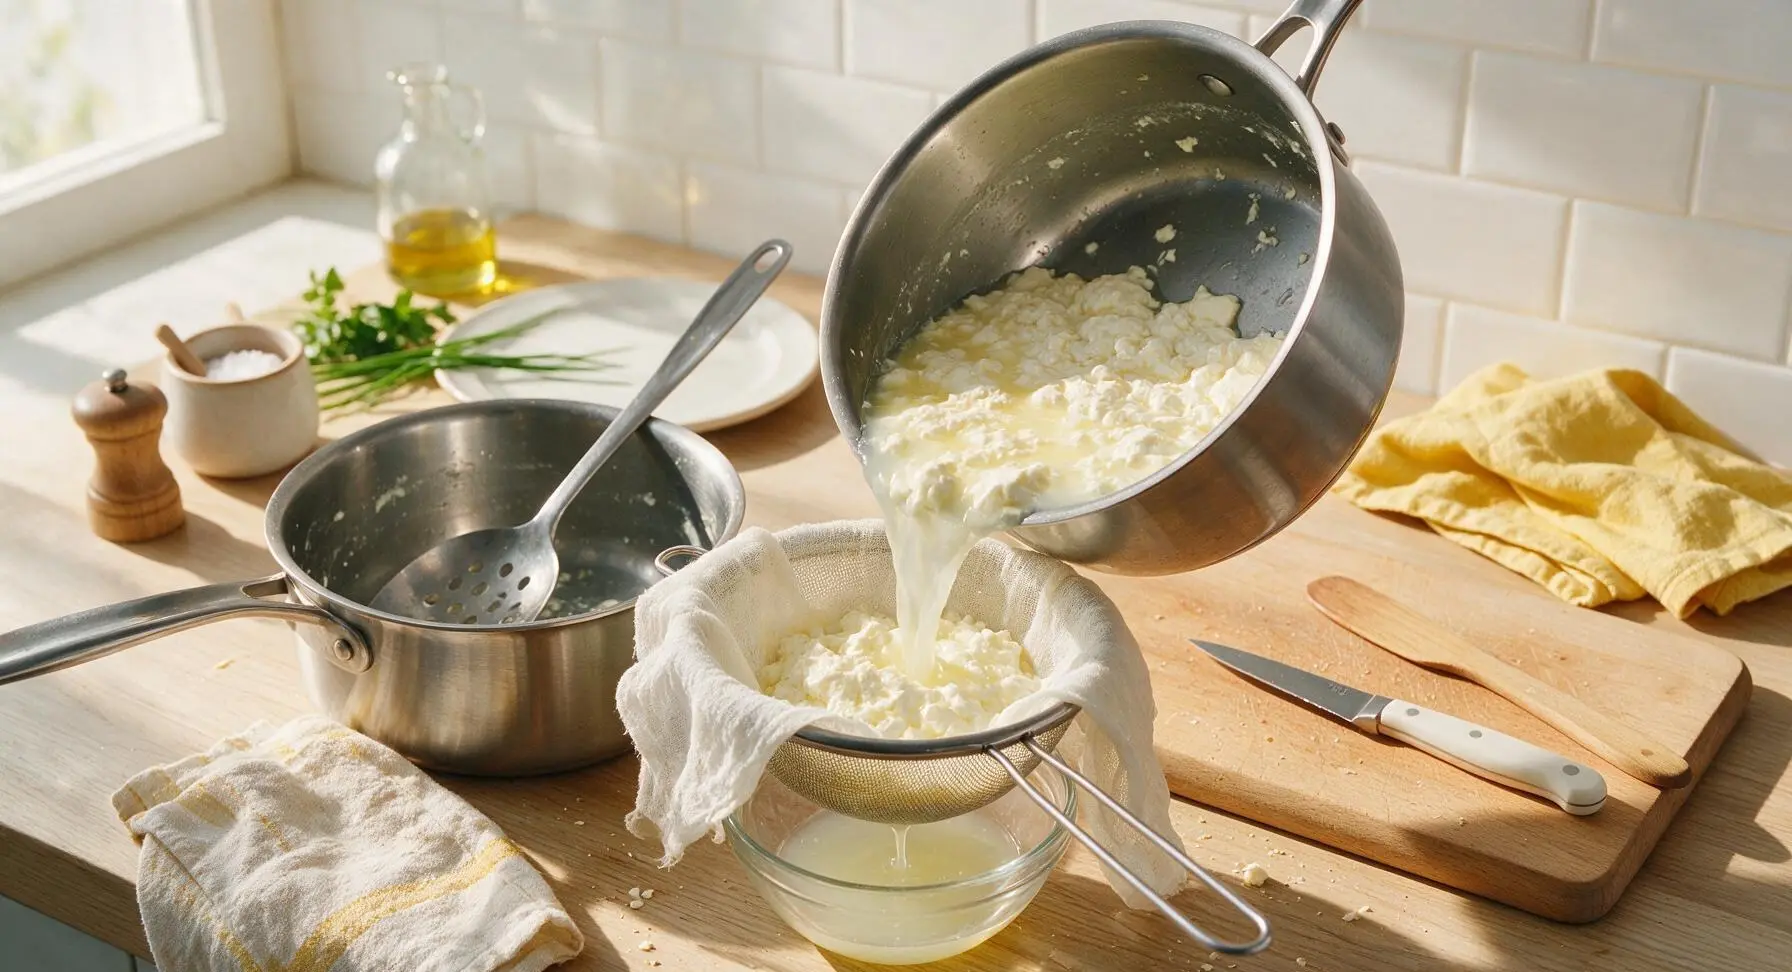
Gently pour the cooled curd and whey mixture into the cheesecloth-lined sieve set over the glass mixing bowl. Use the slotted spoon to scoop any remaining thick curds from the pan into the sieve, taking care not to scrape any browned bits from the pan bottom into the strainer, as these will create gritty texture.
Chill to drain fully
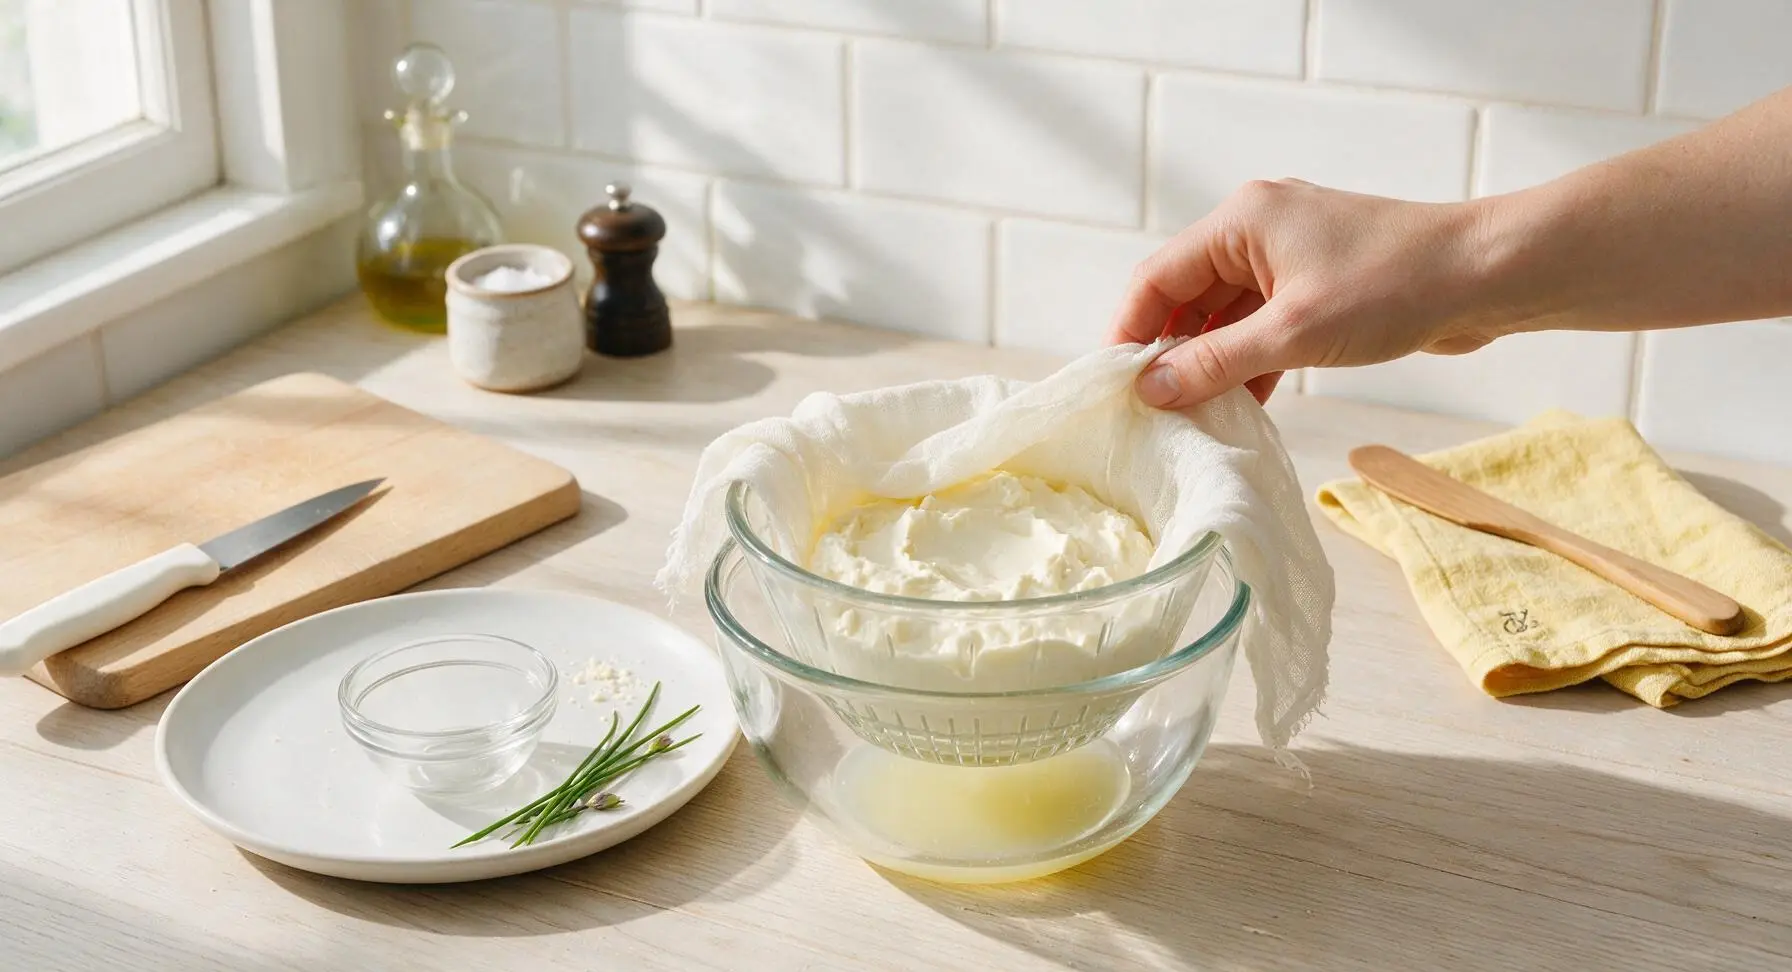
Fold the overhanging cheesecloth edges loosely over the top of the curds to cover them, then transfer the entire sieve and bowl setup to the refrigerator. Let the mascarpone strain for 8-12 hours (or overnight) until no more whey drips from the sieve, and the curds form a thick, smooth, spreadable mass. Do not press the curds during straining, as this will force too much whey out and create a dry, crumbly cheese.
Pack mascarpone for storage
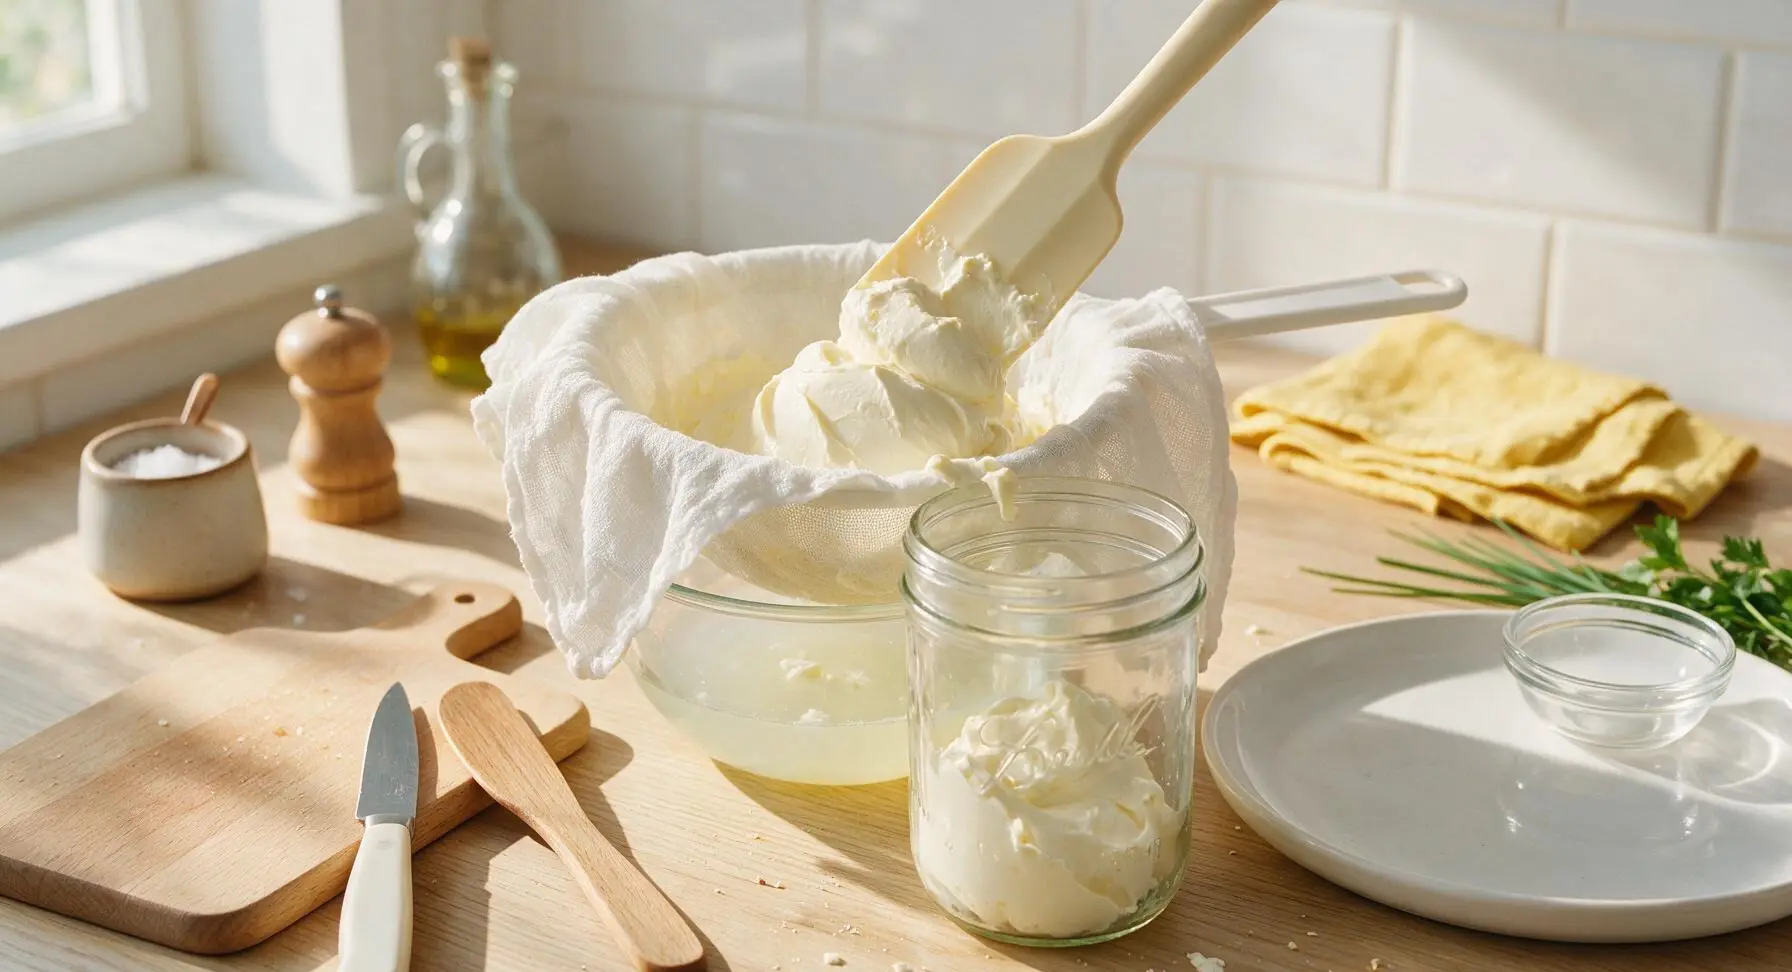
After straining is complete, remove the setup from the refrigerator. Unfold the cheesecloth, then use the clean silicone spatula to scoop the thick, smooth mascarpone from the cheesecloth into the 500ml clear glass mason jar. Discard the collected whey (or reserve it for use in bread baking, pancake batter, or smoothies). Seal the jar tightly, and refrigerate for up to 1 week.
Tips
2.Do not heat the cream above 88°C (190°F): higher temperatures cause curds to become tough and grainy, creating a crumbly, ricotta-like cheese instead of the smooth, velvety texture mascarpone is known for. A clip-on candy thermometer eliminates all guesswork for this step, so there is no need to guess based on steam or bubbles.
3.Skip bottled lemon juice for the best flavor: commercially bottled lemon juice has a flat, slightly metallic aftertaste that will come through in the mild, delicate mascarpone, and unstrained pulp can leave small bitter flecks in the finished cheese. For a milder, less tangy mascarpone (closer to commercial versions), replace the lemon juice with 1/4 teaspoon of food-grade tartaric acid.






OMG this homemade mascarpone is a total game changer! I used it for my tiramisu for our family dinner last night and everyone asked where I bought the fancy artisanal cheese. Could NOT believe how easy it was, only 35 minutes total? Wild. No more paying $8 a tub at the grocery store for me!
SO good. I mixed this into a creamy pasta sauce for our weekend potluck and people were scraping the bowl clean. Who knew making fancy cheese at home was this low effort? 10/10 will be making this every other week for meal prep
Made this a couple hours ago to put on top of my berry toast and it’s chef’s kiss. Way creamier than the stuff I get from the corner bodega. My roommate already asked me to make a double batch next weekend
Obsessed! I’ve been looking for a mascarpone without all the weird additives and preservatives for my keto fat bombs, and this fits the bill perfectly. Super rich, no weird ingredients, my kids even loved eating it plain with a little strawberry on top
Tried this yesterday and mine came out a little runnier than I expected? It still tasted great, but it didn’t hold up as well when I tried to spread it on scones. Did I do something wrong?
Made this for our neighborhood block party last weekend and served it with honey and fig crackers as an appetizer. I got so many recipe requests I lost count. So easy even I (the person who burns toast half the time) didn’t mess it up
Game. Changer. I used to think making cheese at home was some fancy chef-only skill, but this took me 35 minutes exactly like the recipe said, no fancy equipment needed. Used it in my mushroom risotto last night and my wife said it’s the best thing I’ve ever cooked
Wait, can I use half and half instead of heavy cream for this? I already have a ton of half and half in the fridge from weekend brunch and don’t want to make a special trip to the store
My kids went crazy for this! I stirred a little vanilla and powdered sugar into a batch and let them dip fruit in it for an after school snack, and they asked for seconds before they even finished their first serving. Way better than the processed cheese dips they usually beg for
I was skeptical because homemade cheese never lives up to the hype for me, but this is spot on. Rich, silky, no weird tang. I used it to make a mascarpone frosting for my carrot cake and it was so much better than cream cheese frosting. Will be a staple in my fridge from now on
Wait, y’all are using this for sweet stuff? I mixed this with a little lime and cilantro and put it on top of my street tacos last night and it was INSANE. So creamy, cut through the spice of the salsa perfectly. 10/10, never going back to sour cream on tacos
How long does this last in the fridge? I want to make a big batch on Sunday to use for meals and snacks all week, but I don’t want it to go bad before I can use it all
I stirred a dollop of this into my morning iced latte yesterday and it’s my new favorite thing. Tastes like a fancy coffee drink from the $7 cafe down the street, for a fraction of the cost. So easy to whip up before work too
I used this to make gluten-free tiramisu for my sister’s birthday and everyone was raving. Even my non-gluten-free family members said it was the best tiramisu they’d ever had. The mascarpone was so silky, no grainy texture at all. Total win
As a broke college student with minimal kitchen equipment, I was shocked how easy this was. All I needed was a pot, a thermometer, and some cheesecloth, no fancy cheese making supplies. Saved me so much money making my own for pasta nights with my roommates
Wait a second – can I use this to make homemade cannoli filling? I’ve been dying to make authentic cannoli for my annual Italian family dinner but the storebought mascarpone never tastes as good as the stuff my grandma used to make