
homemade pulled pork
intro
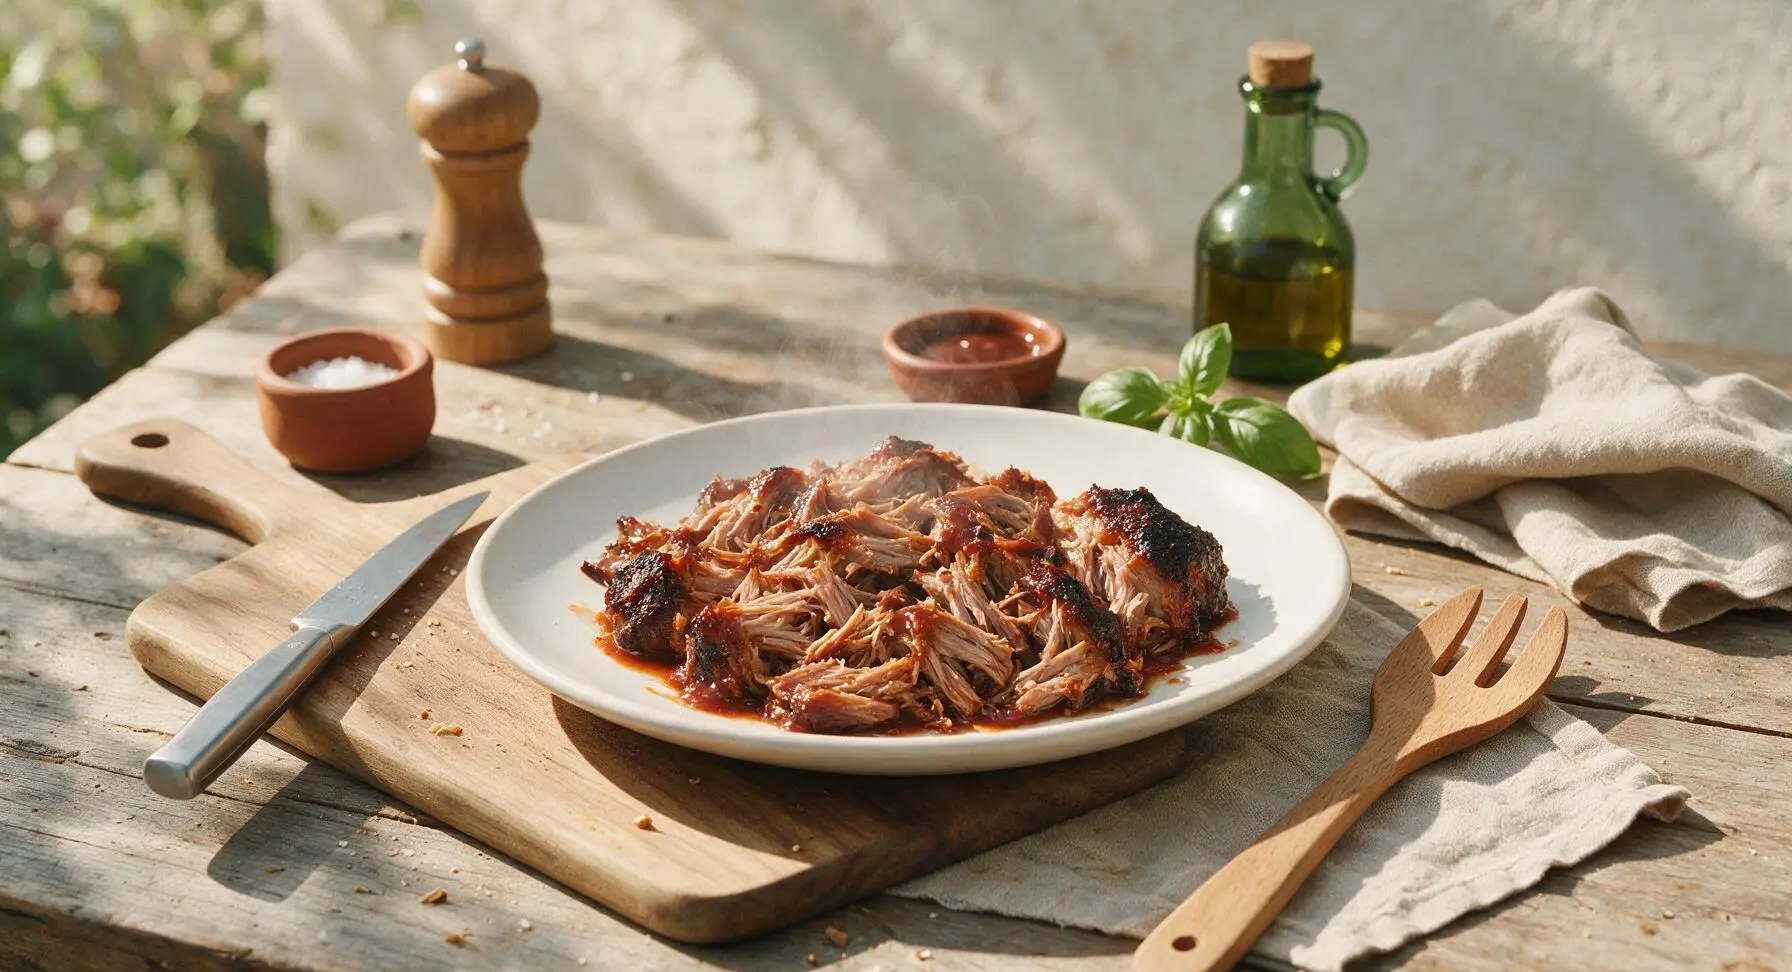
Fall-apart tender pork shoulder coated in smoky spiced rub, slow-cooked to juicy perfection with a crispy dark bark, tossed in tangy BBQ sauce for classic cookout flavor.
Ingredients
Steps
Trim Pork Fat Cap
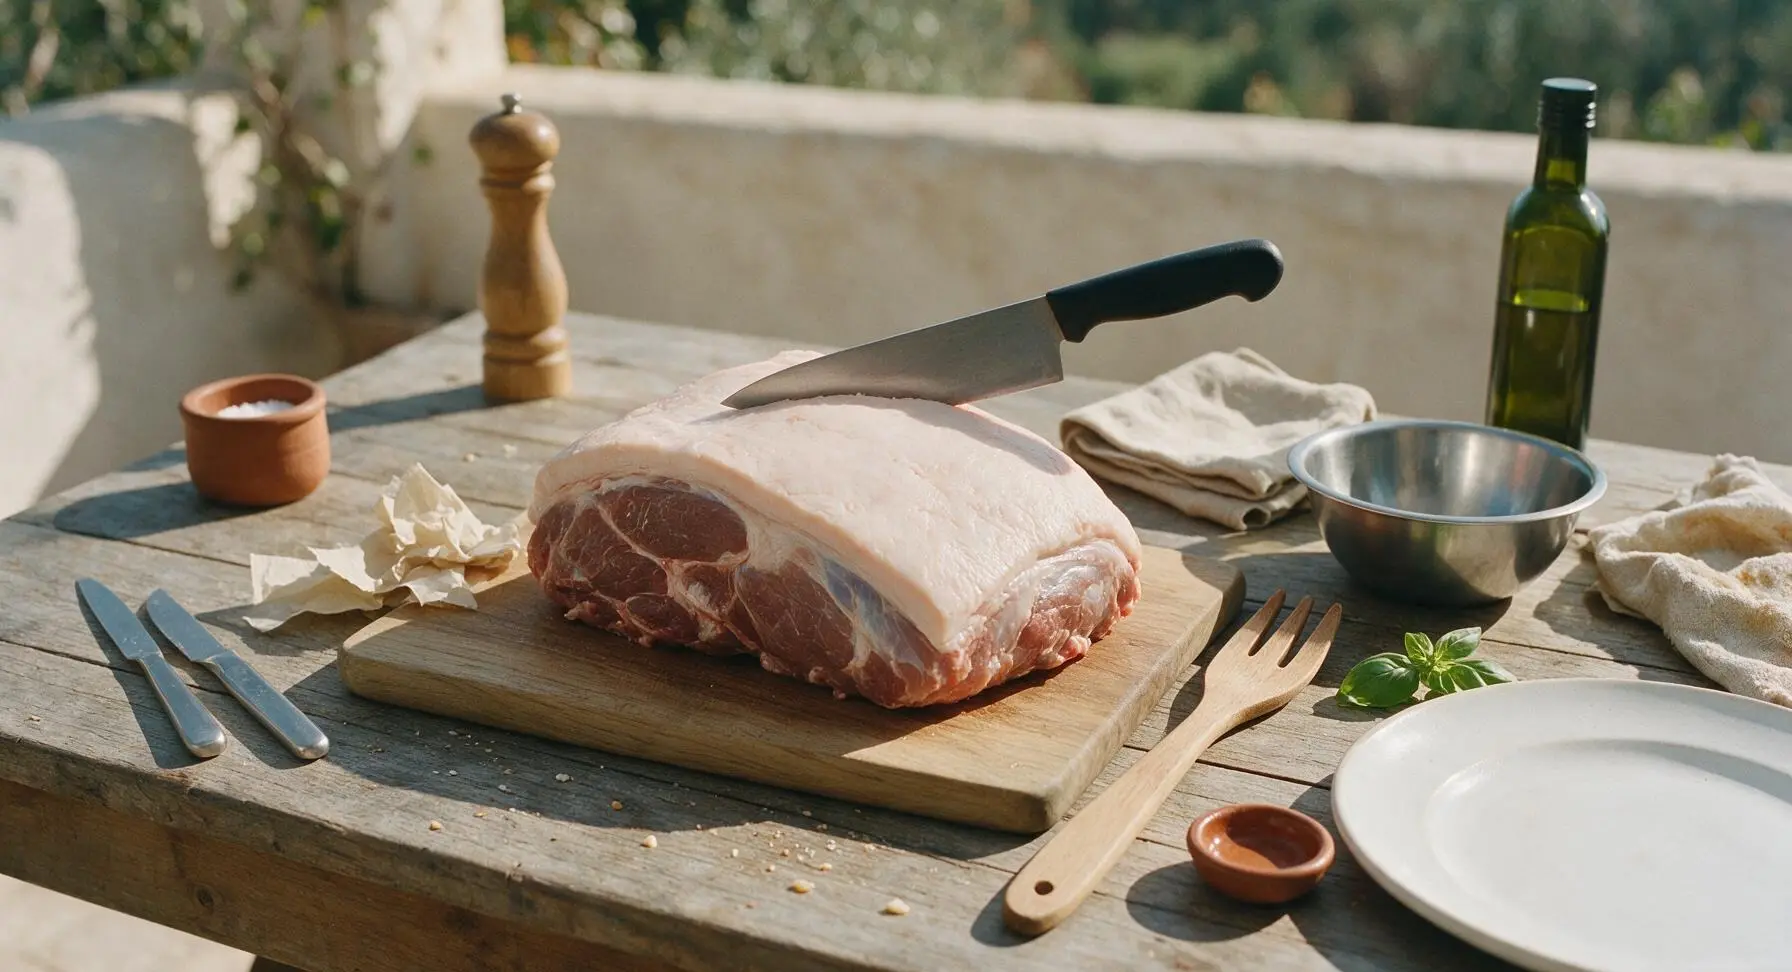
Place the 4lb boneless pork shoulder on the acacia wood cutting board. Use the 8-inch matte black-handled chef knife to trim the thick top fat cap down to a uniform 1/4-inch thickness, removing any hard fat chunks or silvery connective tissue from the meat surface. Pat the entire pork surface completely dry with sheets from the beige paper towel roll; a fully dry surface is critical to building a crisp, flavorful bark during cooking. The meat should feel matte and non-slick to the touch when finished.
Mix Spice Dry Rub
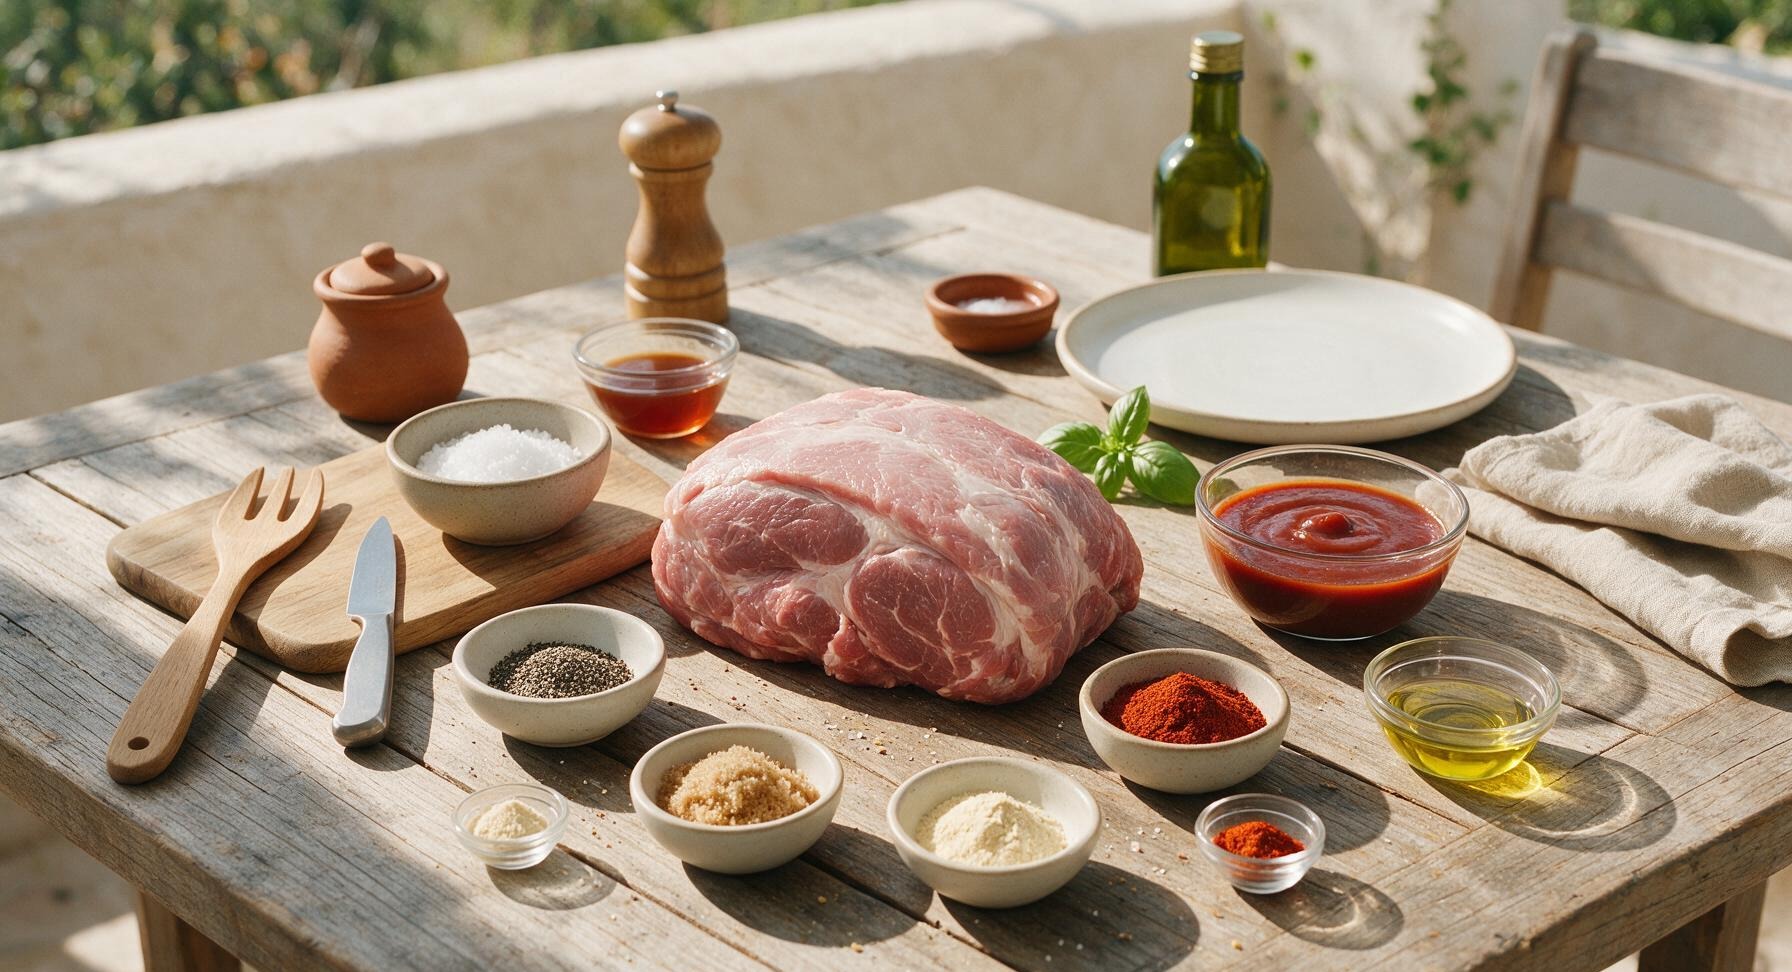
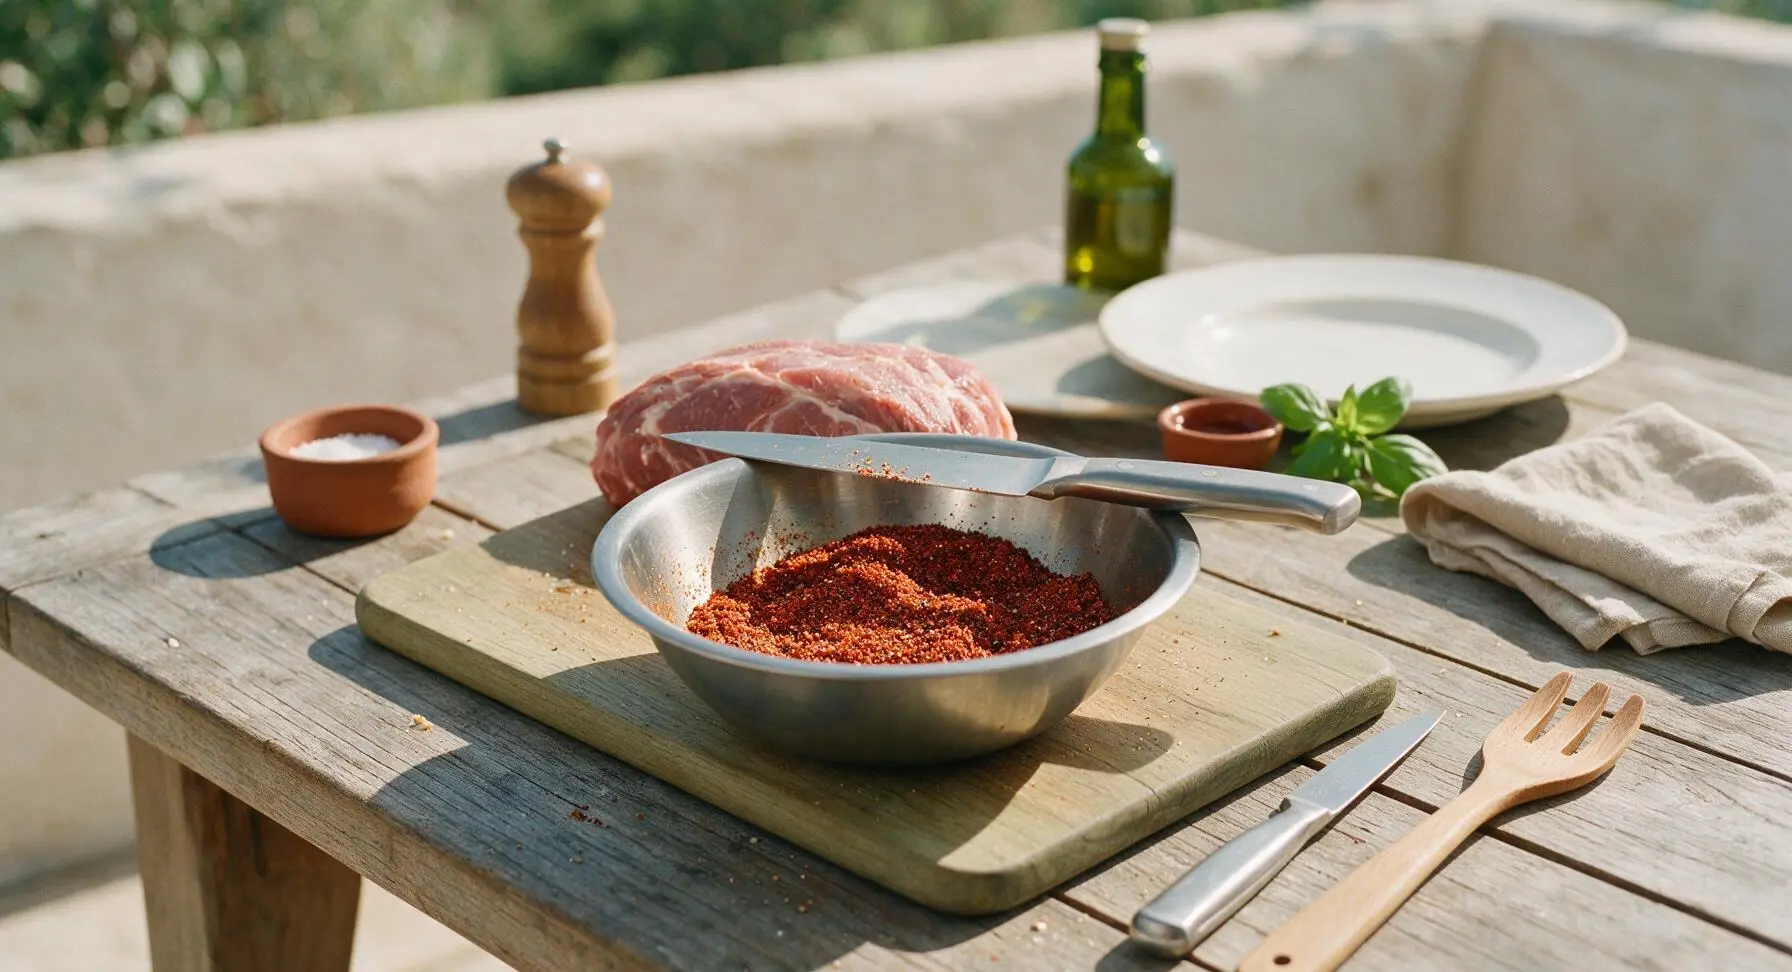
In the brushed stainless steel mixing bowl, combine 2 tbsp kosher salt, 1 tbsp freshly ground black pepper, 2 tbsp smoked paprika, 1 tbsp light brown sugar, 1 tbsp garlic powder, 1 tsp onion powder, and 1/2 tsp cayenne pepper. Stir with the tip of the chef knife until all spices and brown sugar are fully incorporated, with no clumps of brown sugar remaining. The finished rub will be a deep rust-red color with visible flecks of black pepper.
Coat Pork with Rub
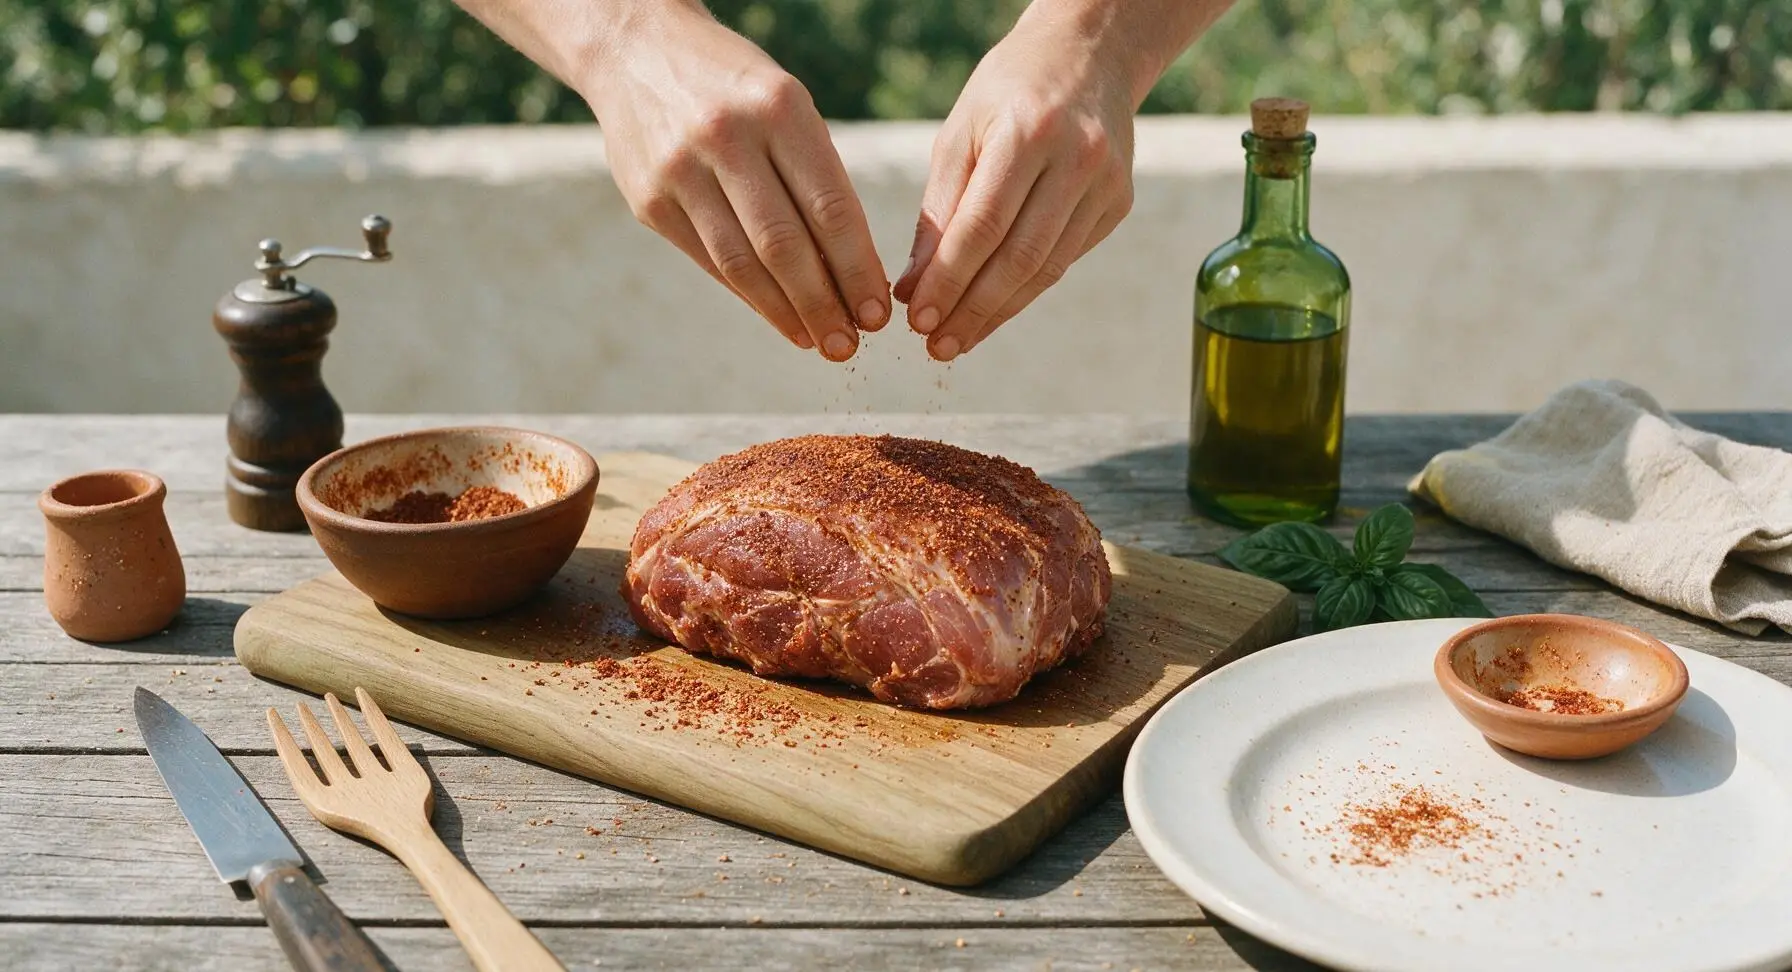
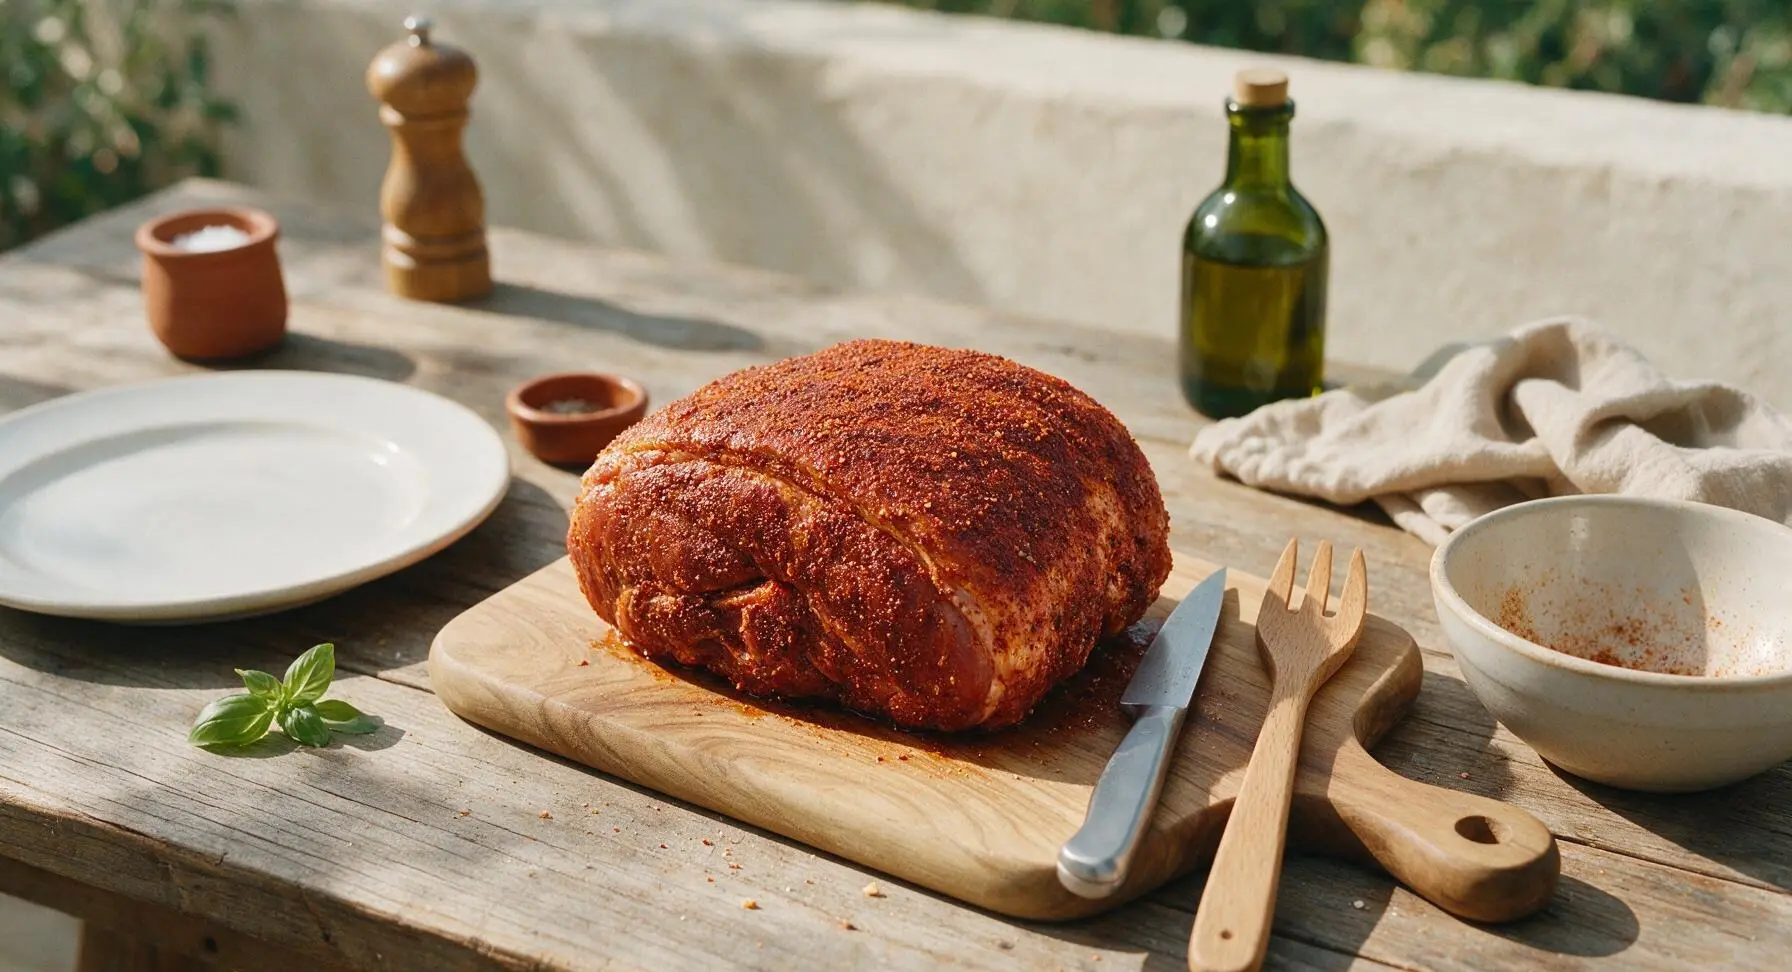
Drizzle 1 tbsp neutral vegetable oil over the entire pork surface, rubbing lightly with clean hands to create a sticky base for the rub. Sprinkle the dry rub evenly over every side of the pork, pressing gently so the spice mixture adheres to the meat, including all crevices and cut edges. No bare pink meat should remain visible once coated. Let the seasoned pork rest at room temperature for 30 minutes to allow the spices to penetrate the meat before cooking.
Sear All Pork Sides
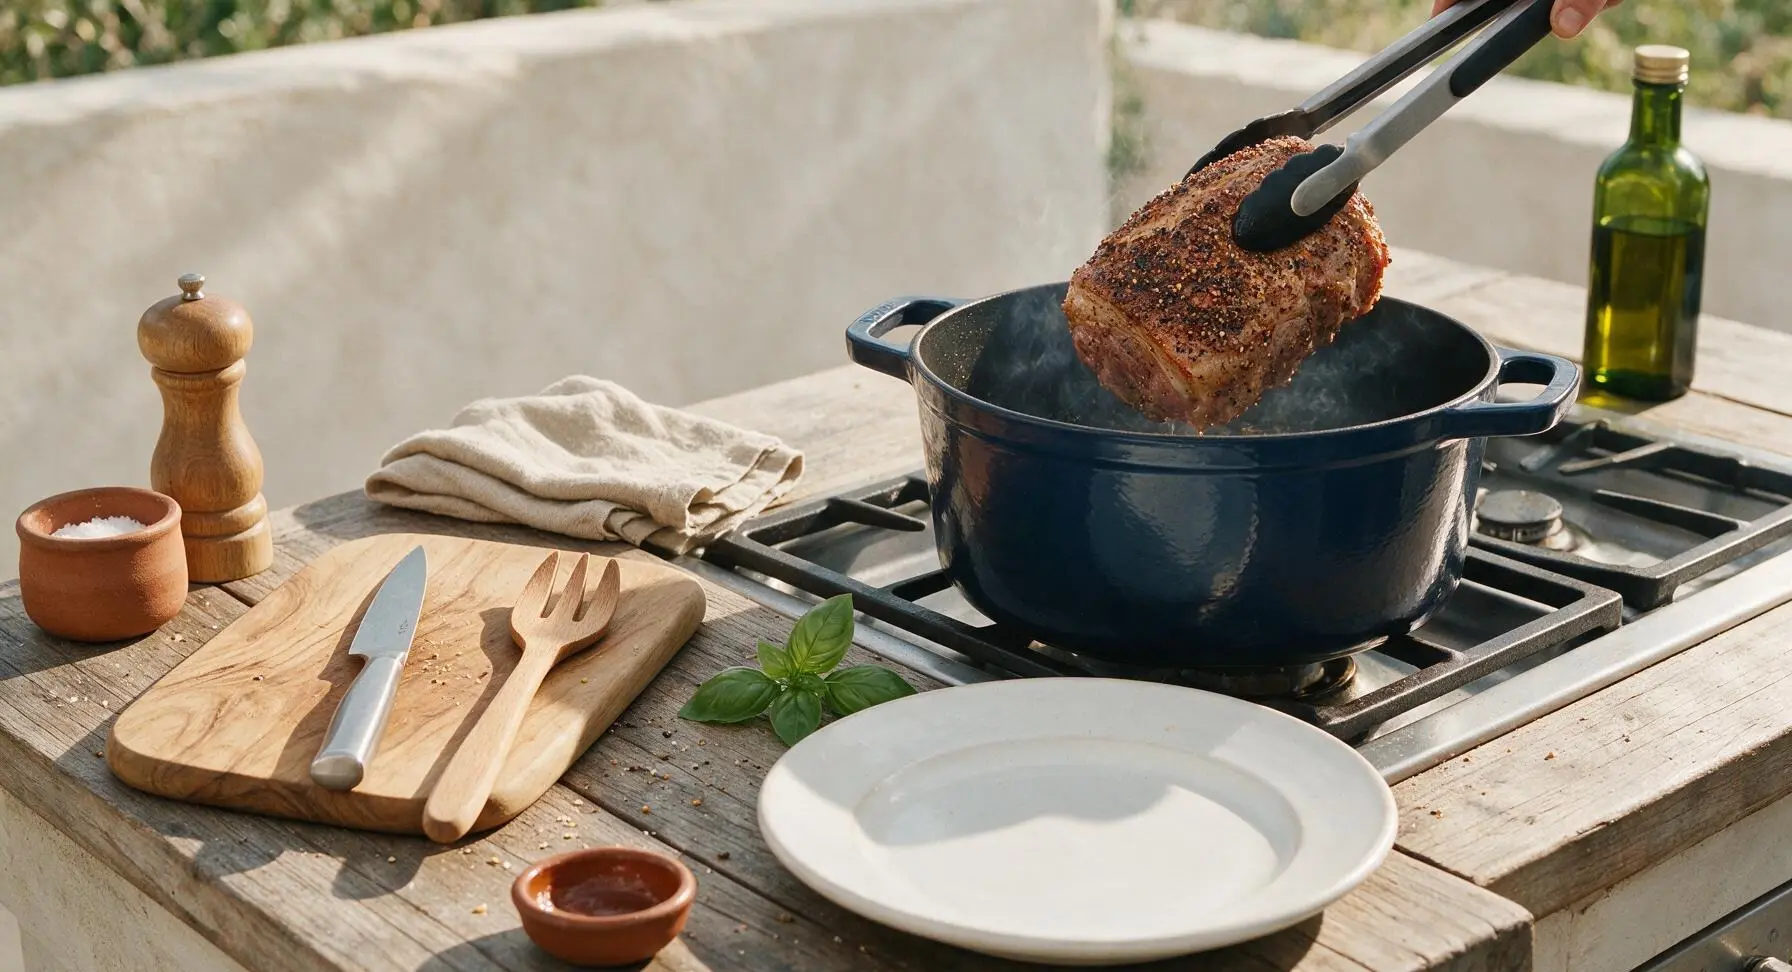
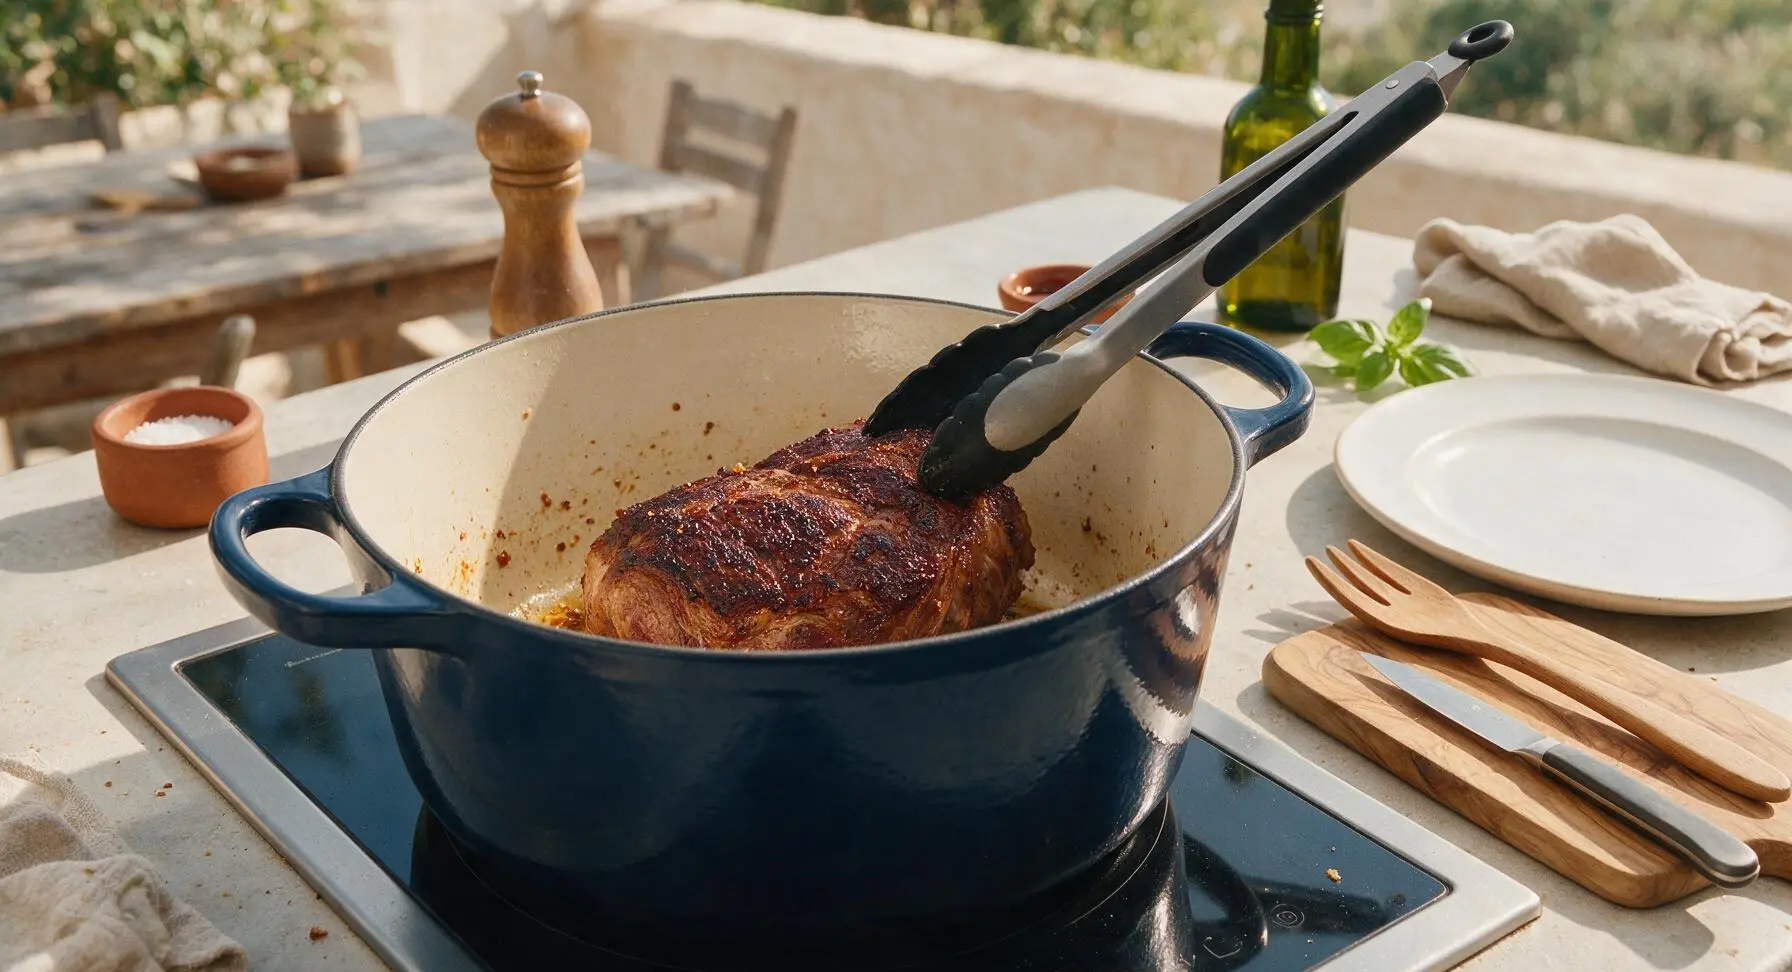
Place the 5.5L midnight blue Dutch oven on the induction stovetop over medium-high heat. Once the pot is hot, add the seasoned pork shoulder, searing for 3-4 minutes per side until a deep dark mahogany crust forms on every surface, including the narrow edges. Use the black-handled silicone-tipped tongs to flip the pork carefully to avoid tearing the spice crust. Do not move the pork while searing each side to build a thick, bark-like crust.
Slow Cook to Tenderness
Once all sides are seared, pour 2 tbsp apple cider vinegar and 1/4 cup of BBQ sauce into the bottom of the Dutch oven around the pork (do not pour directly over the crust, to preserve its crisp texture). Place the matching midnight blue lid on the Dutch oven, transfer to a preheated 275°F (135°C) oven, and cook for 6 to 7 hours. The pork is done when the digital instant-read thermometer inserted into the thickest part reads 200°F (93°C), and a fork twists easily into the meat with zero resistance.
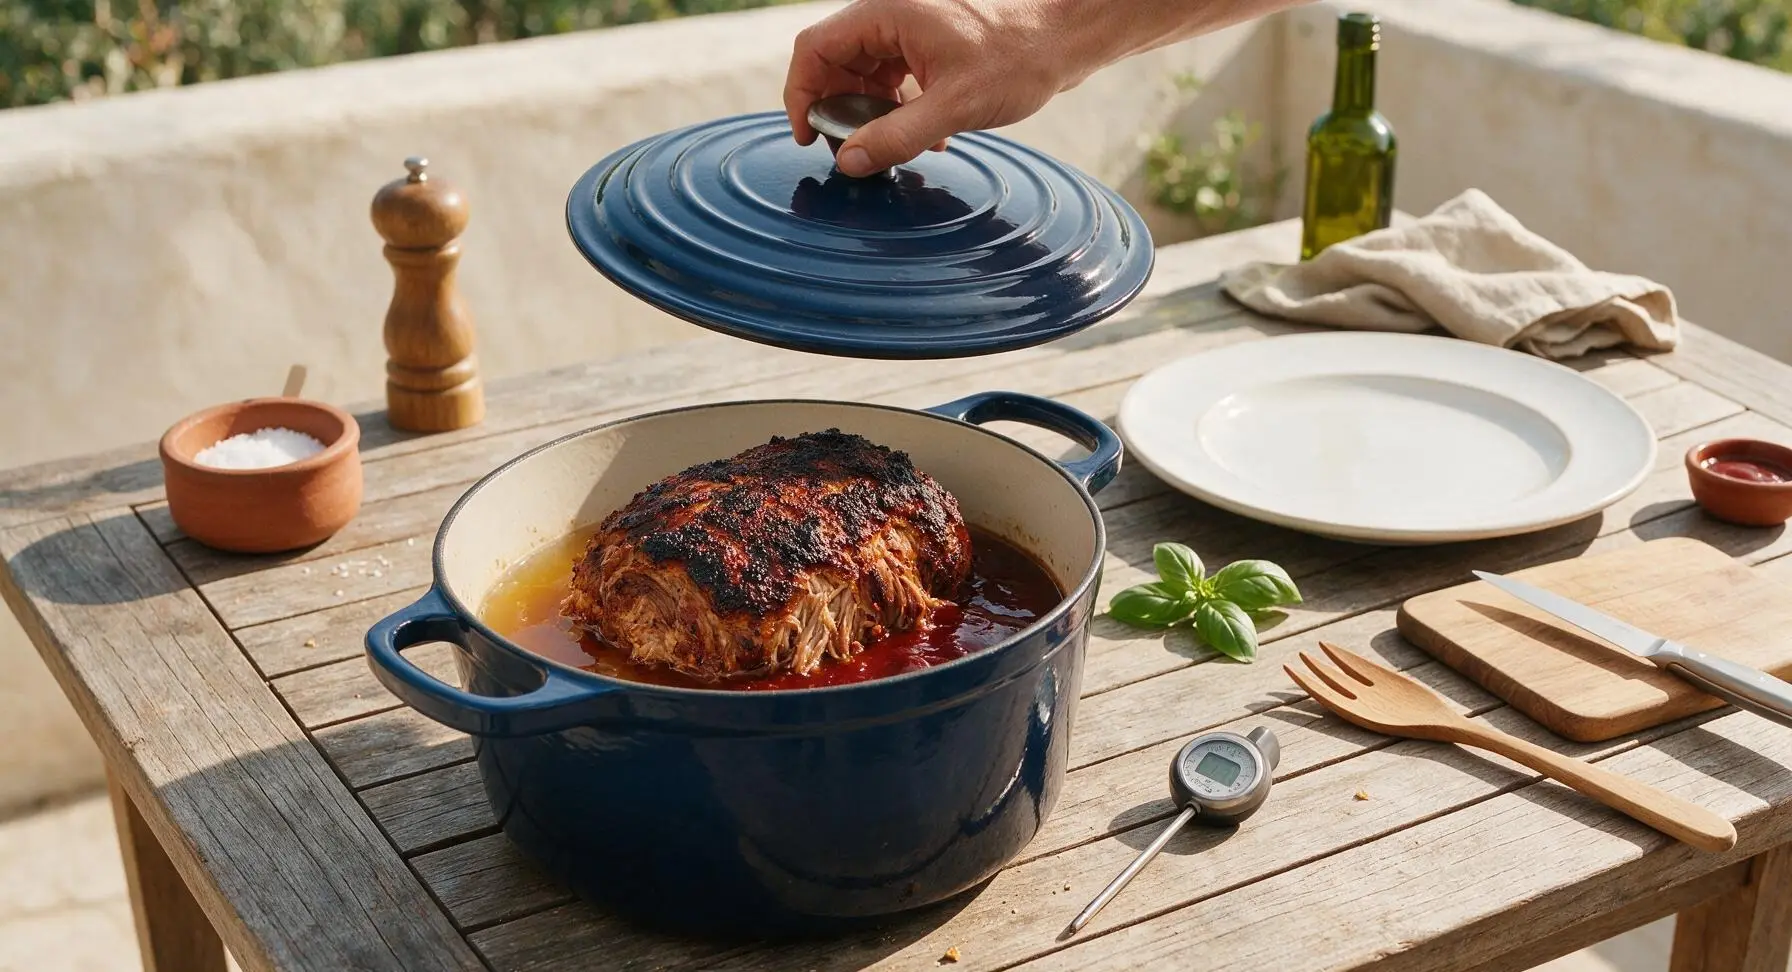
Rest Cooked Pork
Carefully remove the Dutch oven from the oven using heat-resistant mitts, transfer the whole cooked pork to a clean section of the acacia wood cutting board, and tent loosely with a sheet of aluminum foil. Let rest for 30 minutes to allow meat juices to redistribute, which keeps the pulled pork moist instead of leaking juice when shredded. Reserve all dark, rich cooking juices left in the bottom of the Dutch oven for mixing into the finished pork.
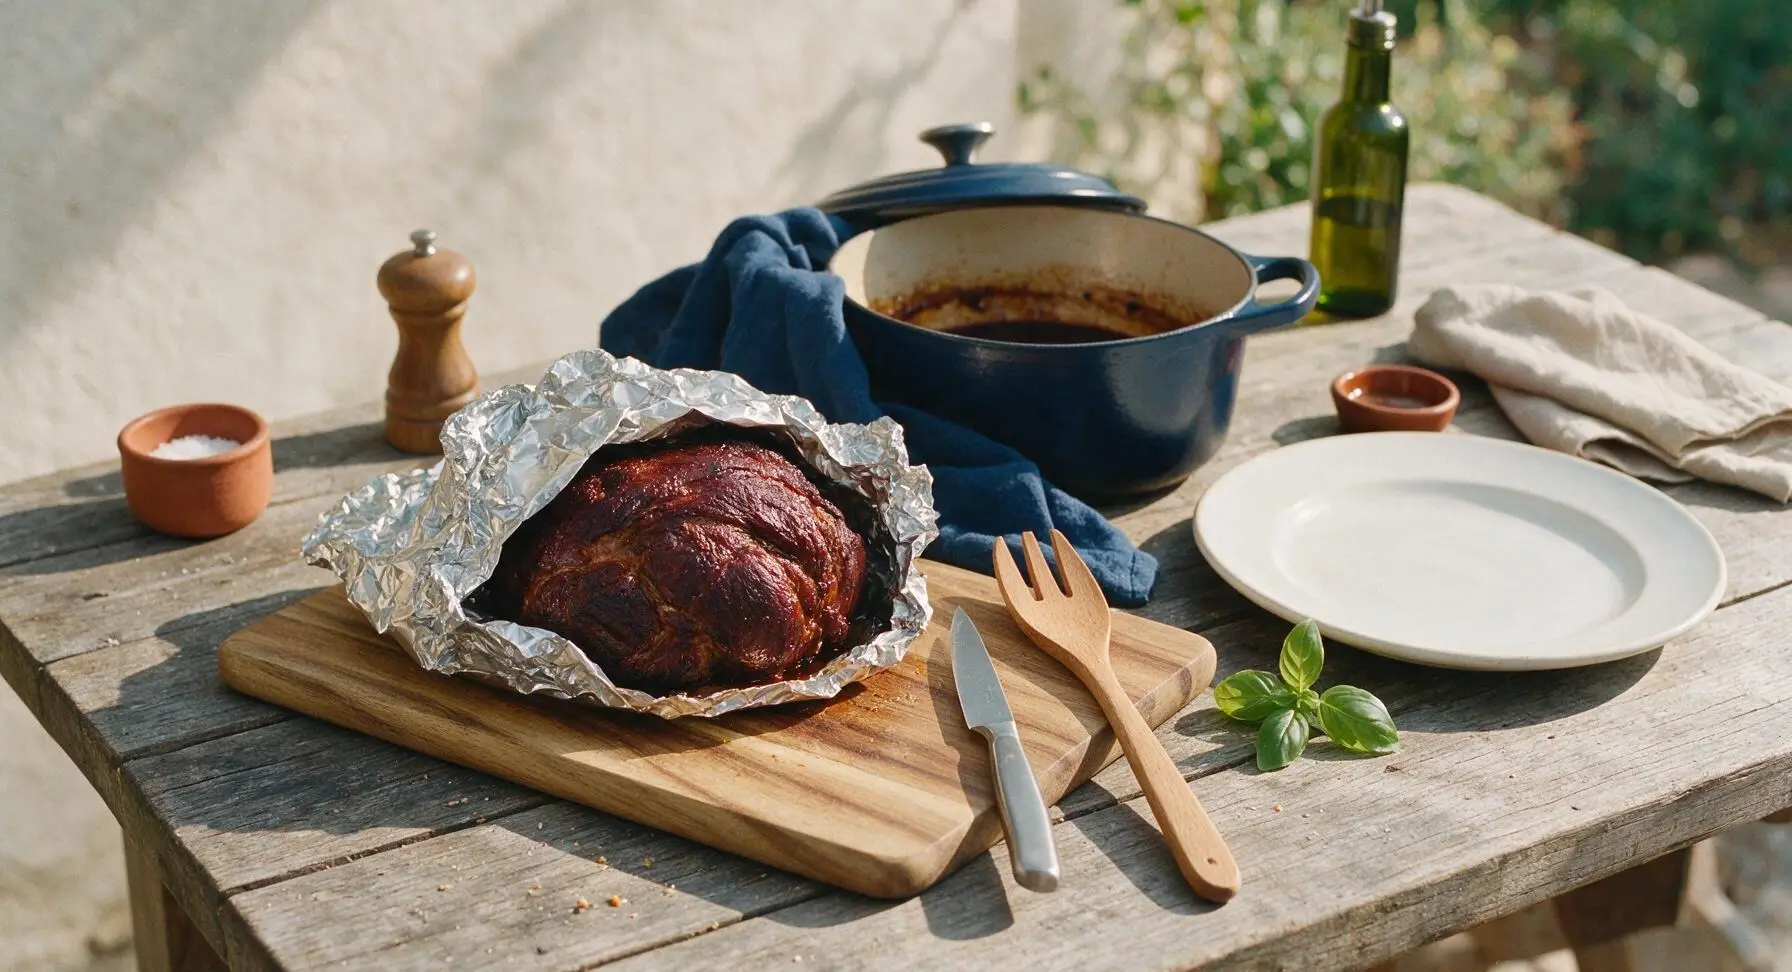
Shred into Tender Strands
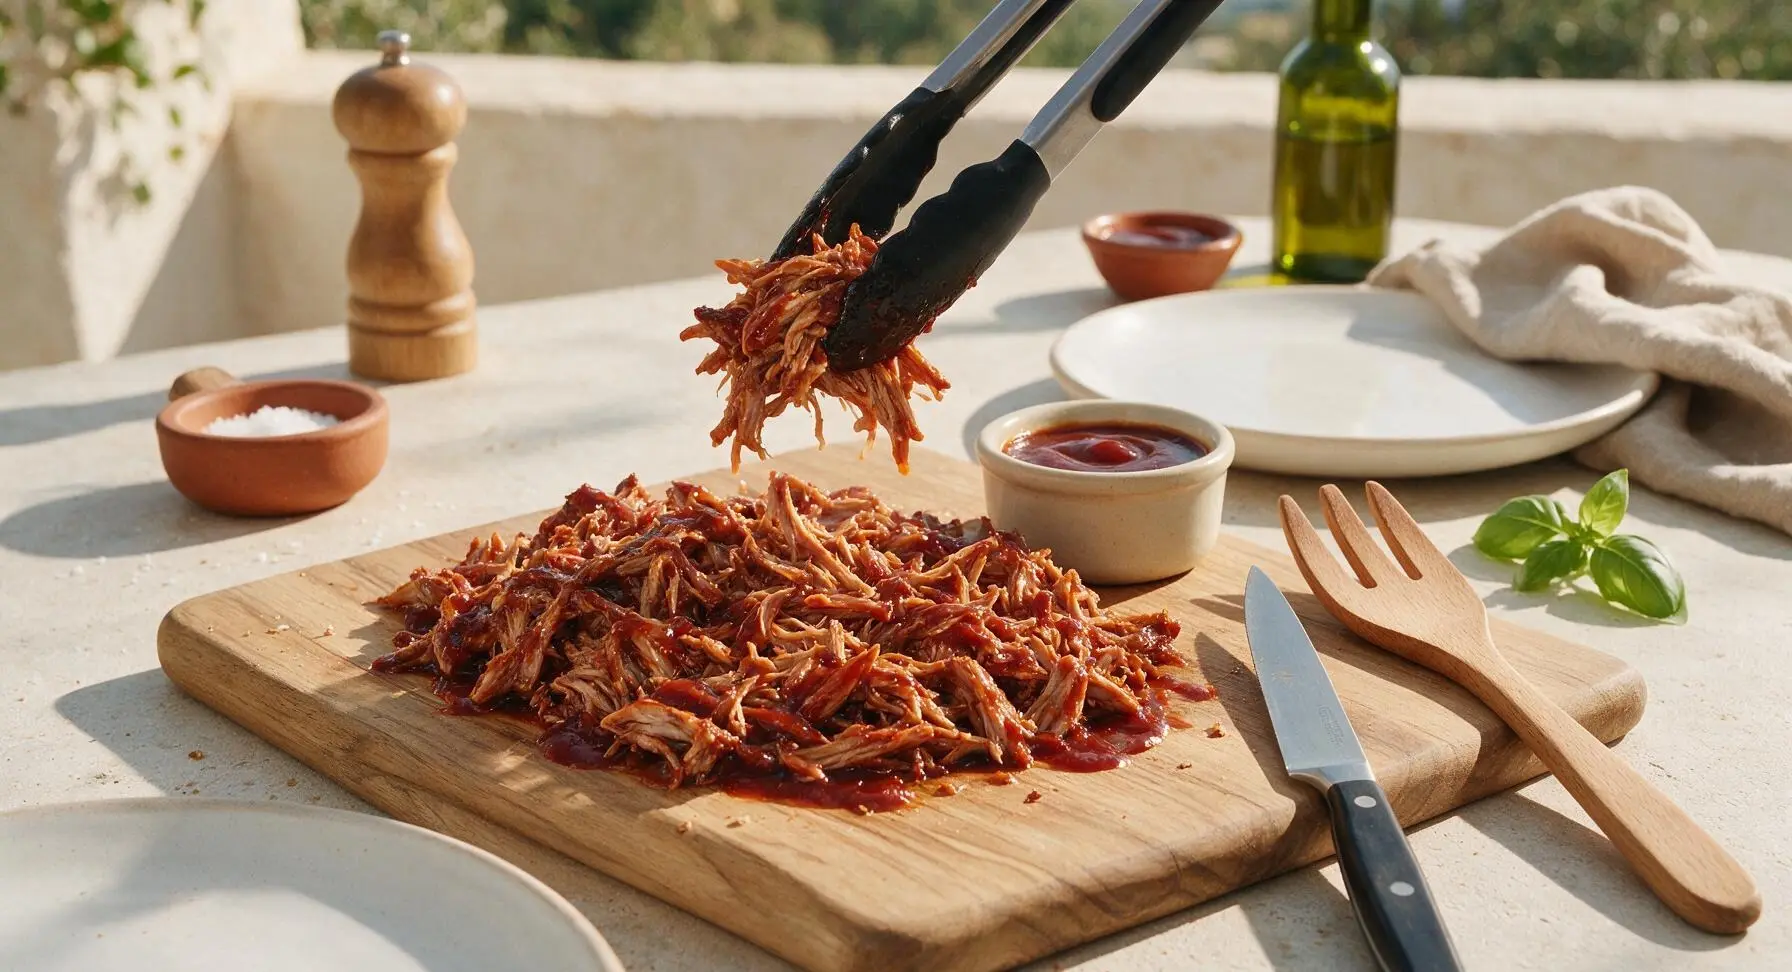
After resting, discard the aluminum foil tent. Hold the pork steady with the metal tongs, and use a fork to pull the meat apart into thick, bite-sized tender shreds. Discard any remaining large chunks of unrendered fat or tough gristle as you shred. Leave small pieces of the dark crispy bark mixed in with the tender meat for texture contrast; avoid shredding the meat too finely into mushy strands.
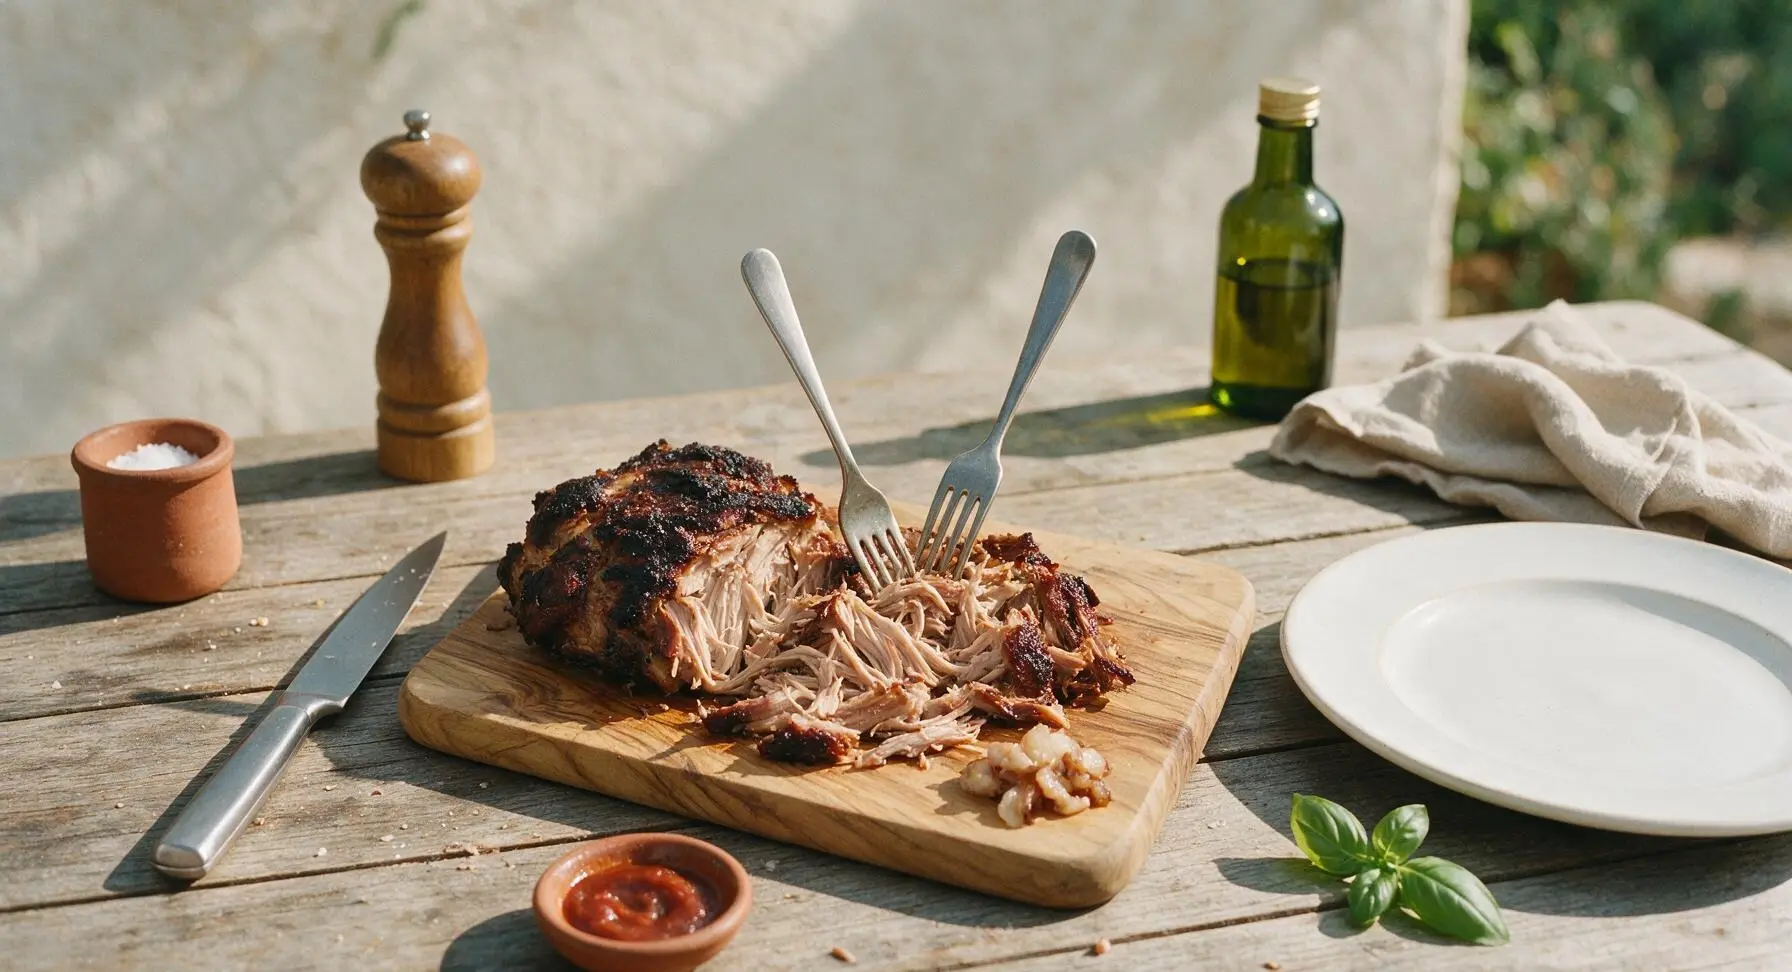
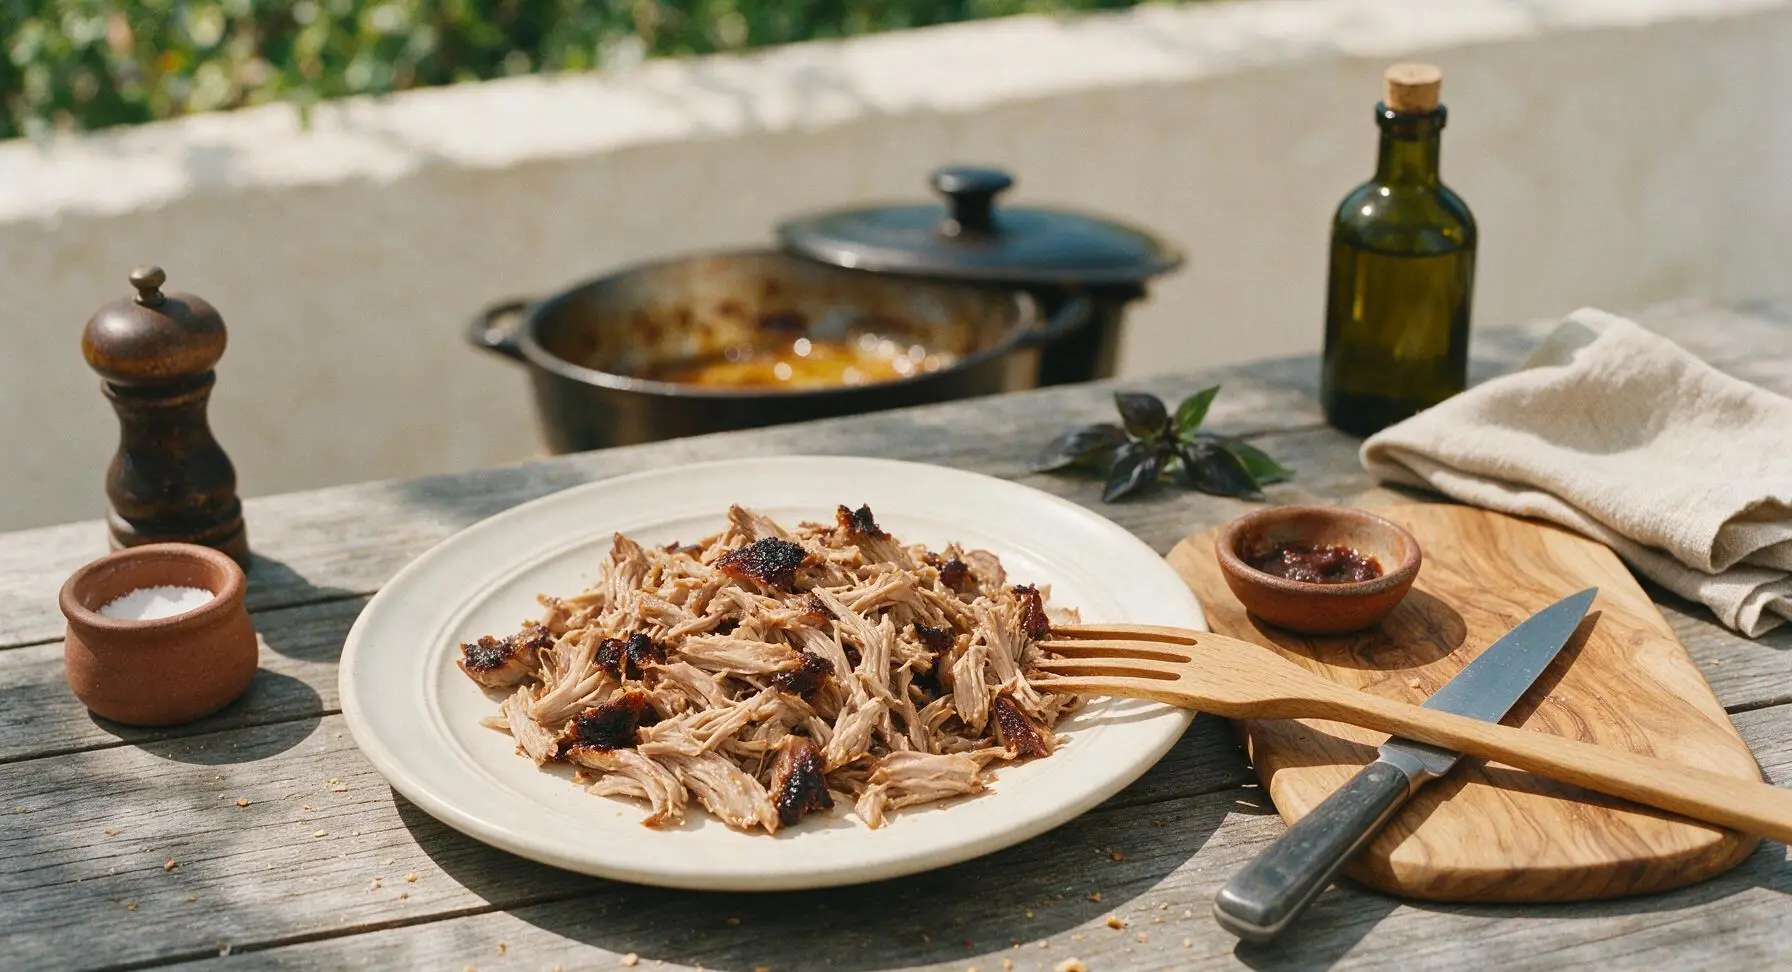
Toss with BBQ Sauce
Drizzle 2-3 tablespoons of the skimmed reserved cooking juices from the Dutch oven and the remaining 1/2 cup of BBQ sauce over the shredded pork. Toss gently with the metal tongs to coat the shreds evenly, adding more sauce only if desired – the pork should be moist and lightly coated, not drowning in sauce. Taste and adjust seasoning with extra salt or pepper if needed before serving.
Tips
2.Trim the fat cap to exactly 1/4 inch thickness: A thin, even layer of fat renders slowly during cooking to baste the meat and build a crispy, flavorful bark, but trimming too close will leave the meat dry, while leaving too much thick fat will result in greasy, unappetizing chunks in the final pulled pork.
3.Skim excess fat from the reserved Dutch oven juices before adding to shredded pork: The defatted juices are packed with deep, savory pork flavor that adds moisture without greasiness, so you can use less BBQ sauce and let the natural pork flavor shine through.






OMG this pulled pork was a total game changer for our Sunday family dinner! I was nervous about the 7+ hour cook time but it was so worth it — the smoky flavor was perfect, not too overpowering, and it shredded like butter. My kids went back for seconds, even my super picky 8 year old! Served it on brioche buns with coleslaw and everyone raved.
Made a big batch of this for weekly meal prep and it held up so good all week! Tossed it in salads, loaded baked potatoes, even made quick breakfast burritos with it and eggs. Only note: I added a tiny extra pinch of paprika because I love extra smoke, but the base recipe is chef’s kiss.
Brought this to our neighborhood block party potluck last weekend and people were asking me for the recipe before I even set the platter down! I was worried it might be too tricky since the difficulty is medium, but the steps were super straightforward even for a guy who usually burns hot dogs. 10/10 will make again for our next cookout.
Full transparency, this was my first time ever making pulled pork and I was so stressed I’d mess it up! The cook time felt so long but I followed the directions exactly, and when I pulled it out it was fall apart tender, that smoky crust was insane. My roommate said it’s better than the BBQ joint down the street! Only mishap: I ran out of apple cider vinegar for the spritz, used apple juice instead and it still worked great.
SO excited to make this for my son’s high school graduation party next month! Only hangup: I don’t have a smoker at my apartment, so I was planning to use my slow cooker. Would adding a tiny bit of liquid smoke to mimic that wood-fired flavor mess up the rub ratios? I don’t wanna serve dry, off-flavor pork to a house full of guests!
SO good. I did this on my offset smoker with hickory wood, let it rest for a full 45 minutes like the recipe said, and it was juicy, smoky, not dry at all — a mistake I’ve made so many times with past pulled pork recipes. Served it at my buddy’s birthday cookout and every last bite was gone. Will be my go-to pulled pork recipe from now on, no question.