
homemade ricotta
intro
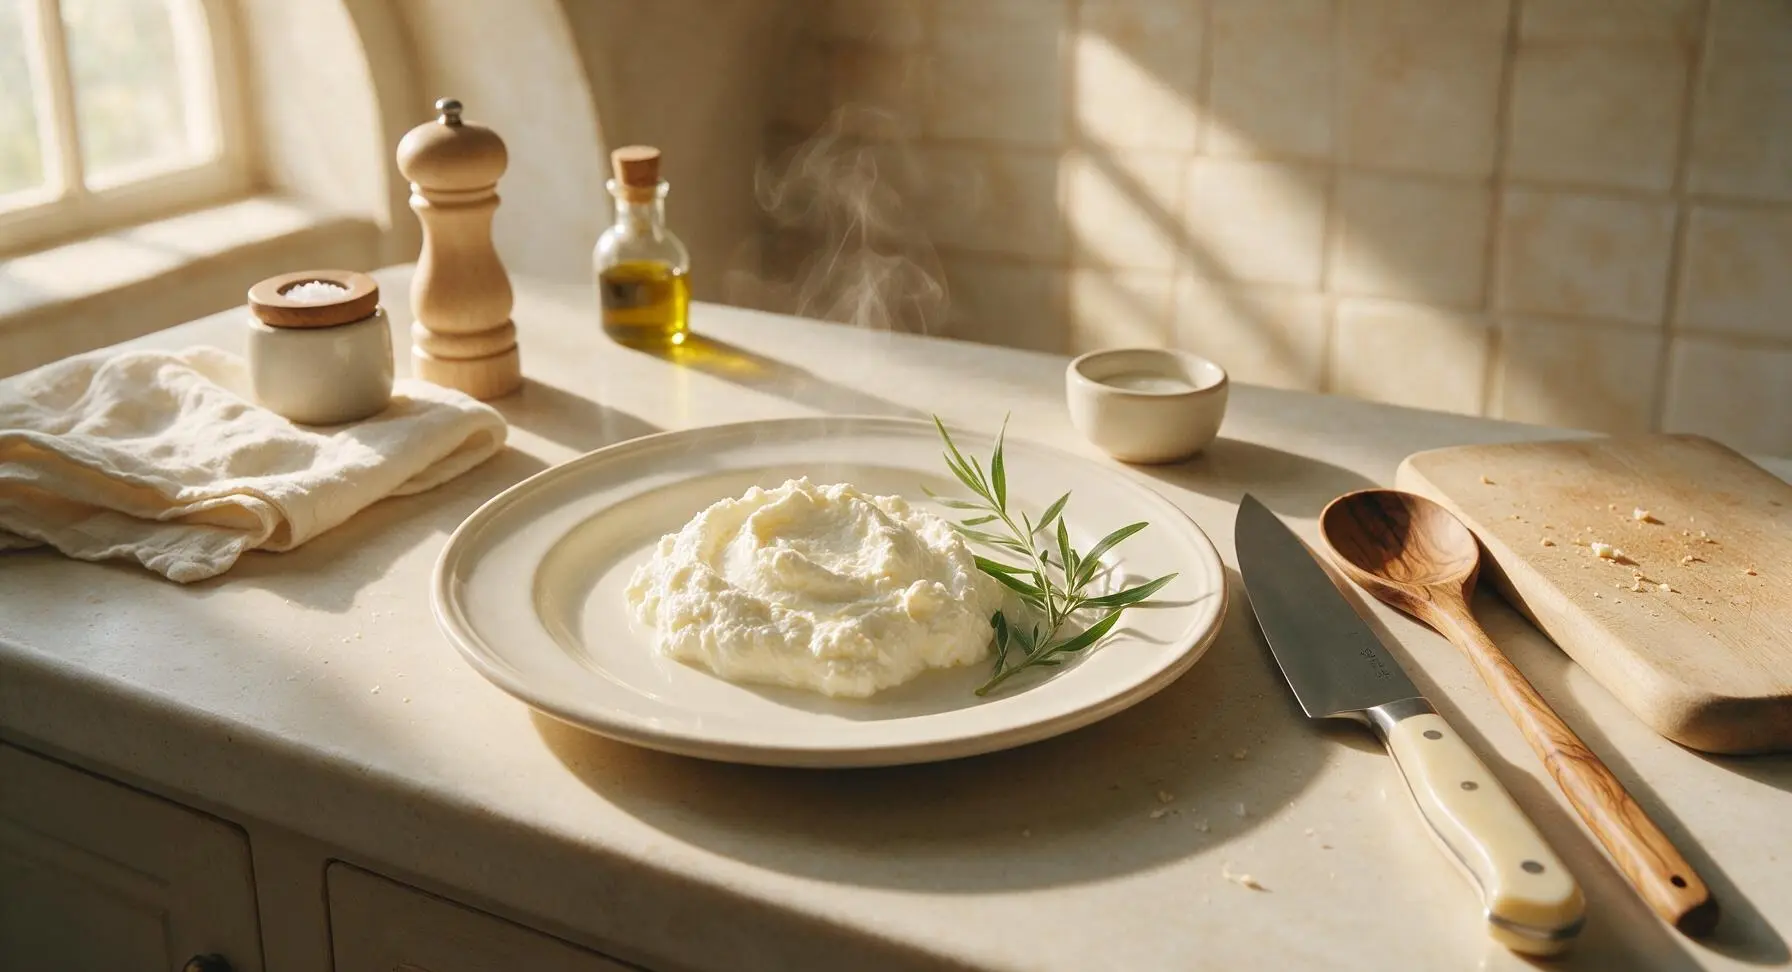
Creamy, pillowy homemade ricotta is far fresher and richer than store-bought, with a delicate sweet curd texture perfect for baking, spreading on toast, or tossing into pasta, ready in under an hour.
Ingredients
Steps
Line sieve for straining
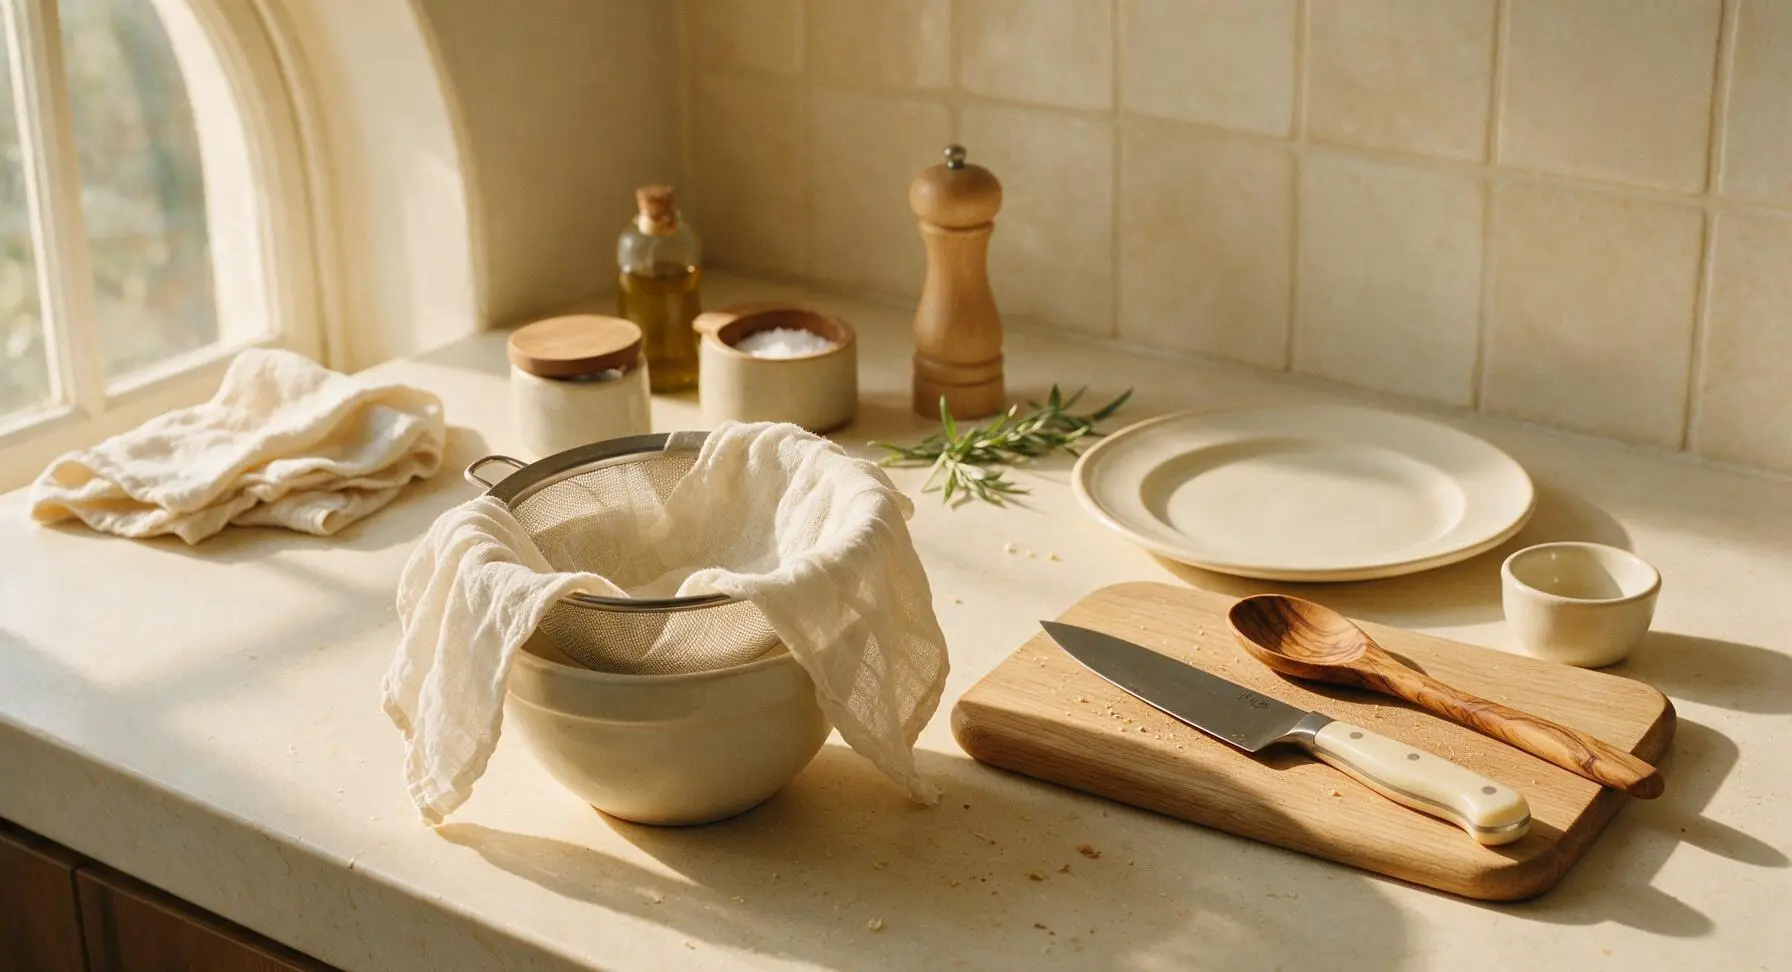
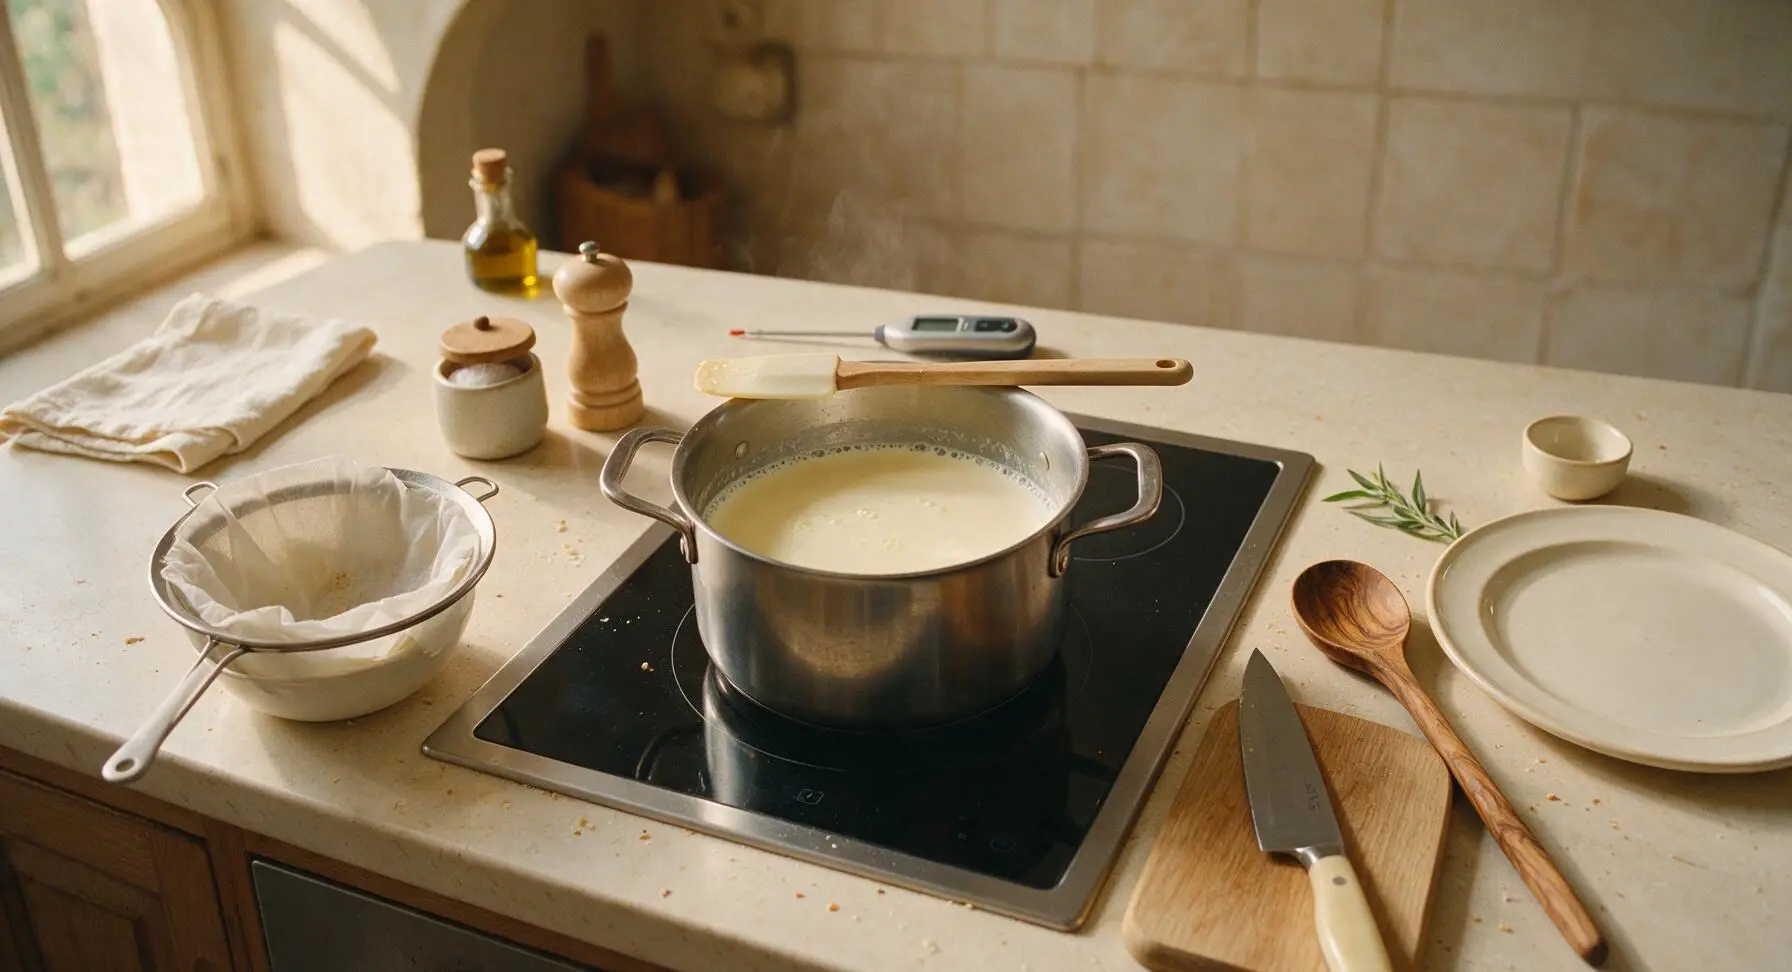
First, set the 20cm fine-mesh stainless steel conical sieve over the off-white matte ceramic serving bowl. Line the sieve with 2 layers of unbleached natural cotton cheesecloth, leaving 5cm of overhang around all edges of the sieve to make lifting curds easy later. Set this assembled setup aside at center-left of the counter until needed.
Combine dairy in pot
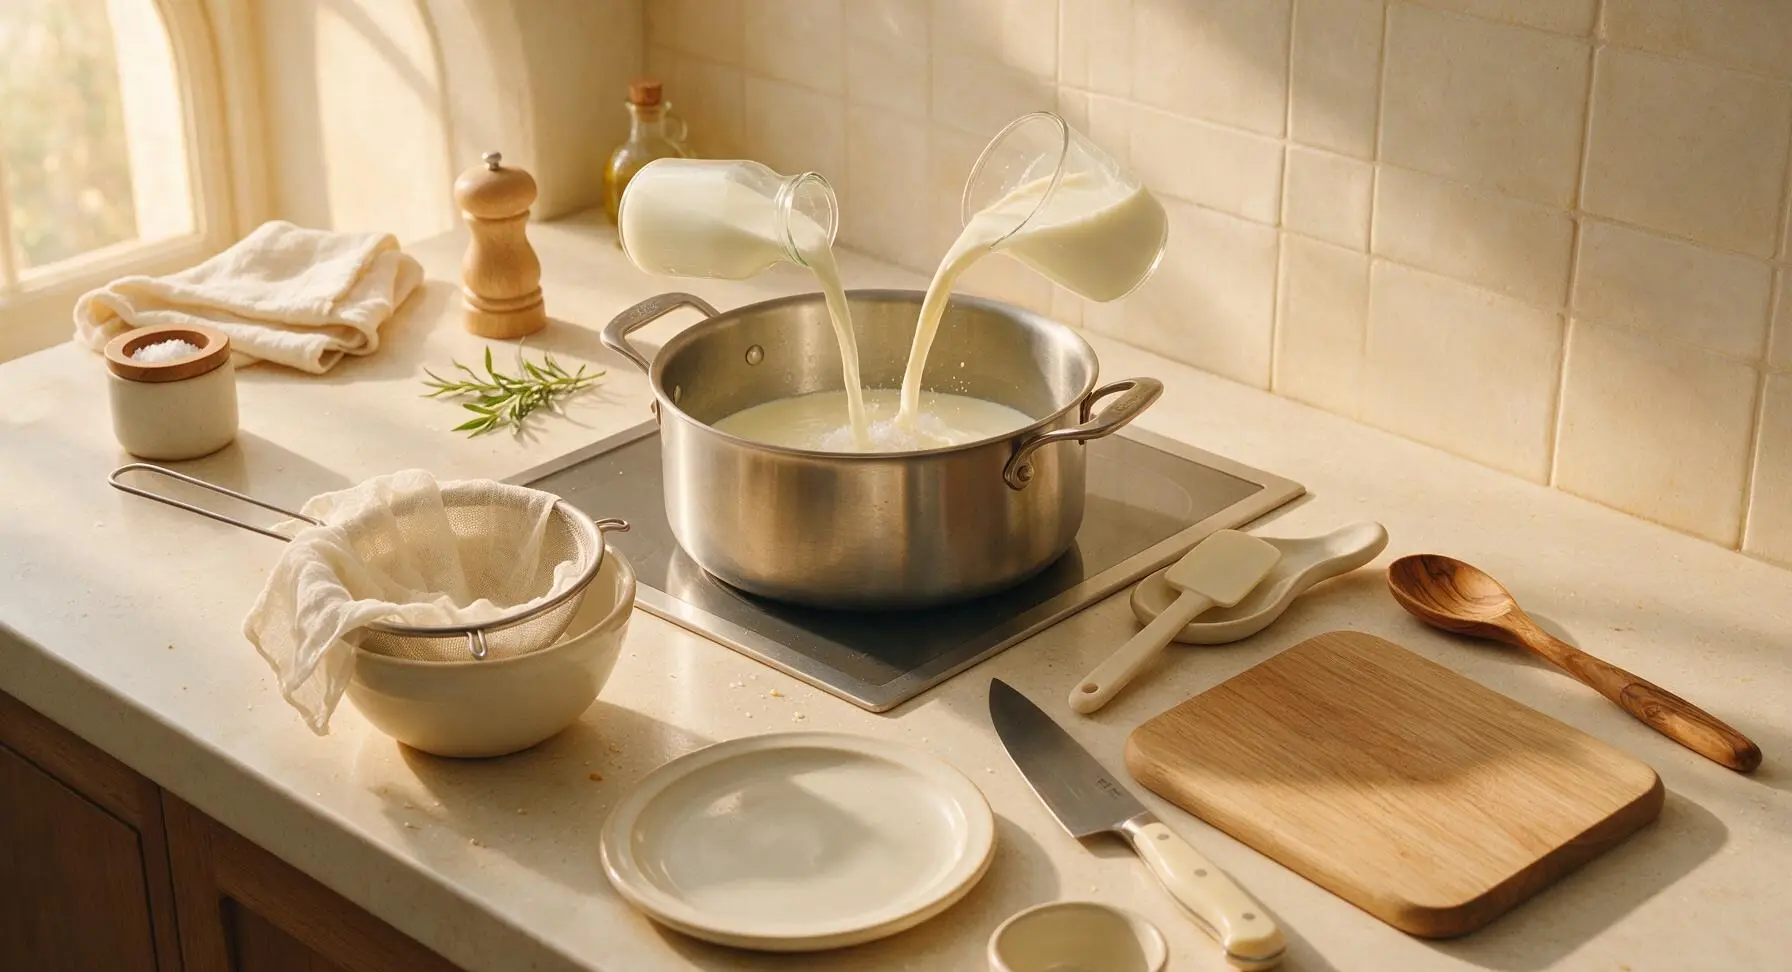
Place the 5-quart brushed stainless steel stock pot on the flush-mounted induction stovetop at the center of the work surface. Pour in the full 2 liters of whole milk and 240ml of heavy cream, then stir in 1 teaspoon of fine sea salt with the off-white silicone spatula until the salt fully dissolves, with no grit visible at the bottom of the pot.
Heat milk gently
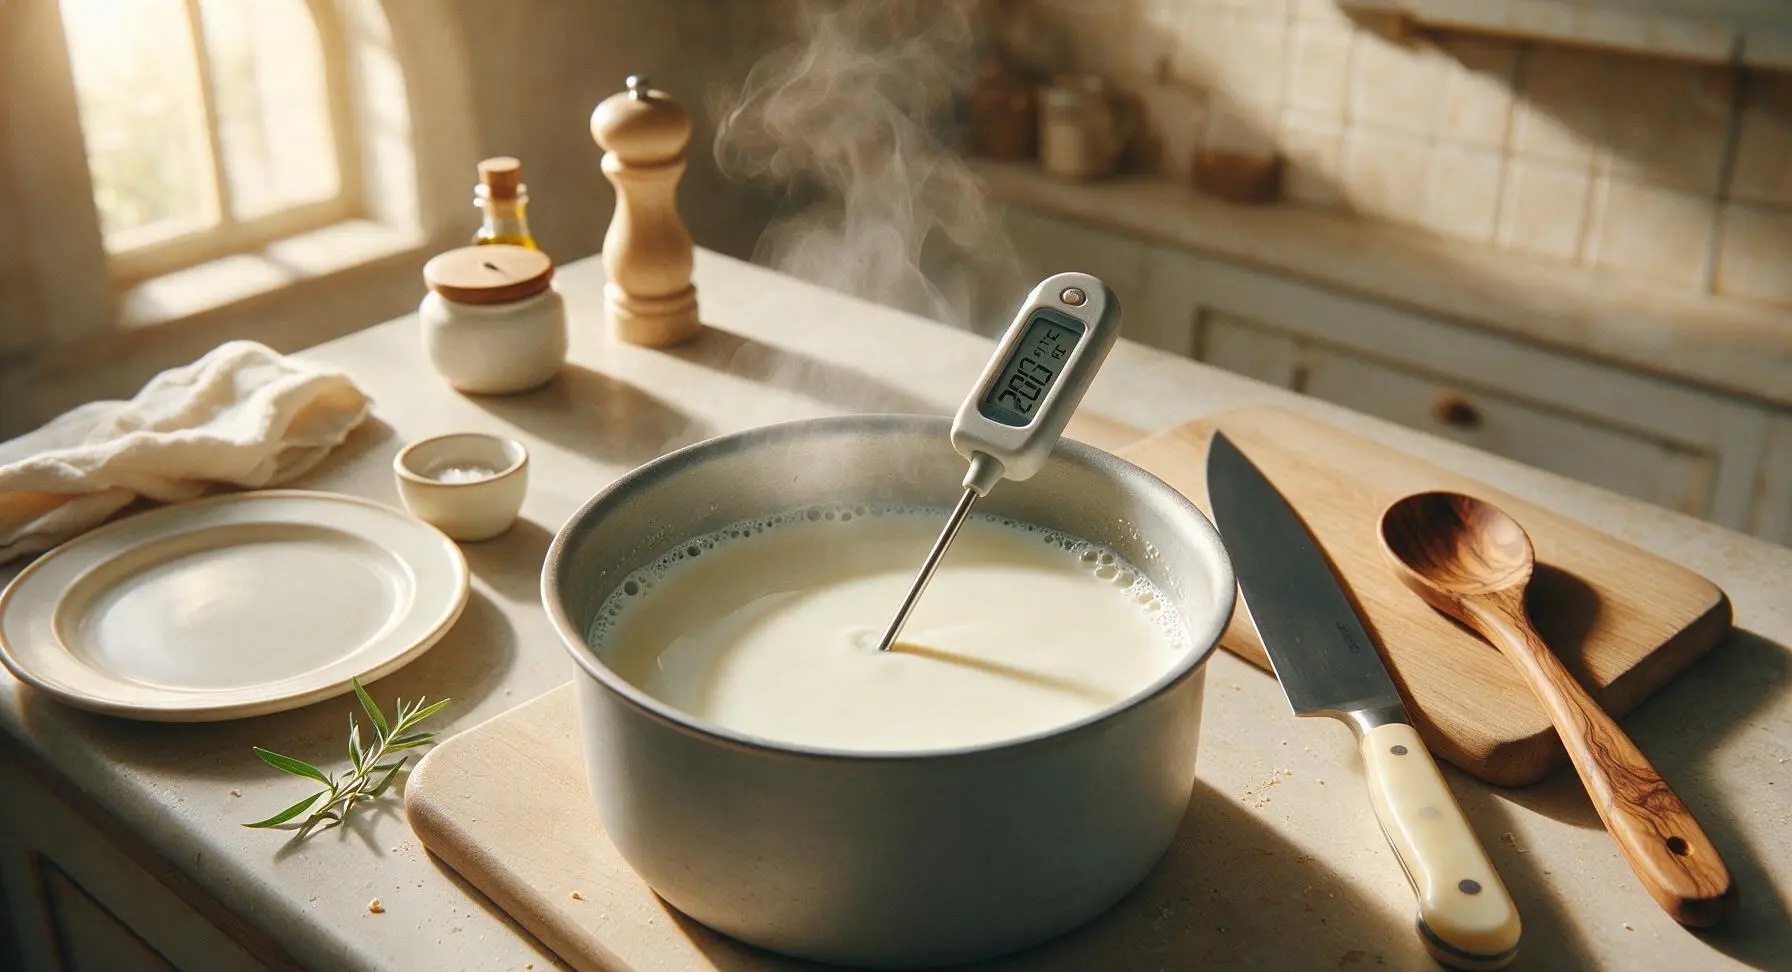
Turn the induction stovetop to medium-low heat, stirring the dairy mixture occasionally with the silicone spatula to prevent milk from scorching on the pot bottom. Heat the mixture until it reaches exactly 93°C (200°F), checking temperature periodically with the digital instant-read thermometer. Do NOT let the mixture come to a rolling boil, as this will produce tough, rubbery curds. Visual cue: small, steady bubbles will form around the inner edge of the pot, and thin wispy steam will rise from the surface when the milk is near correct temperature.
Add lemon juice
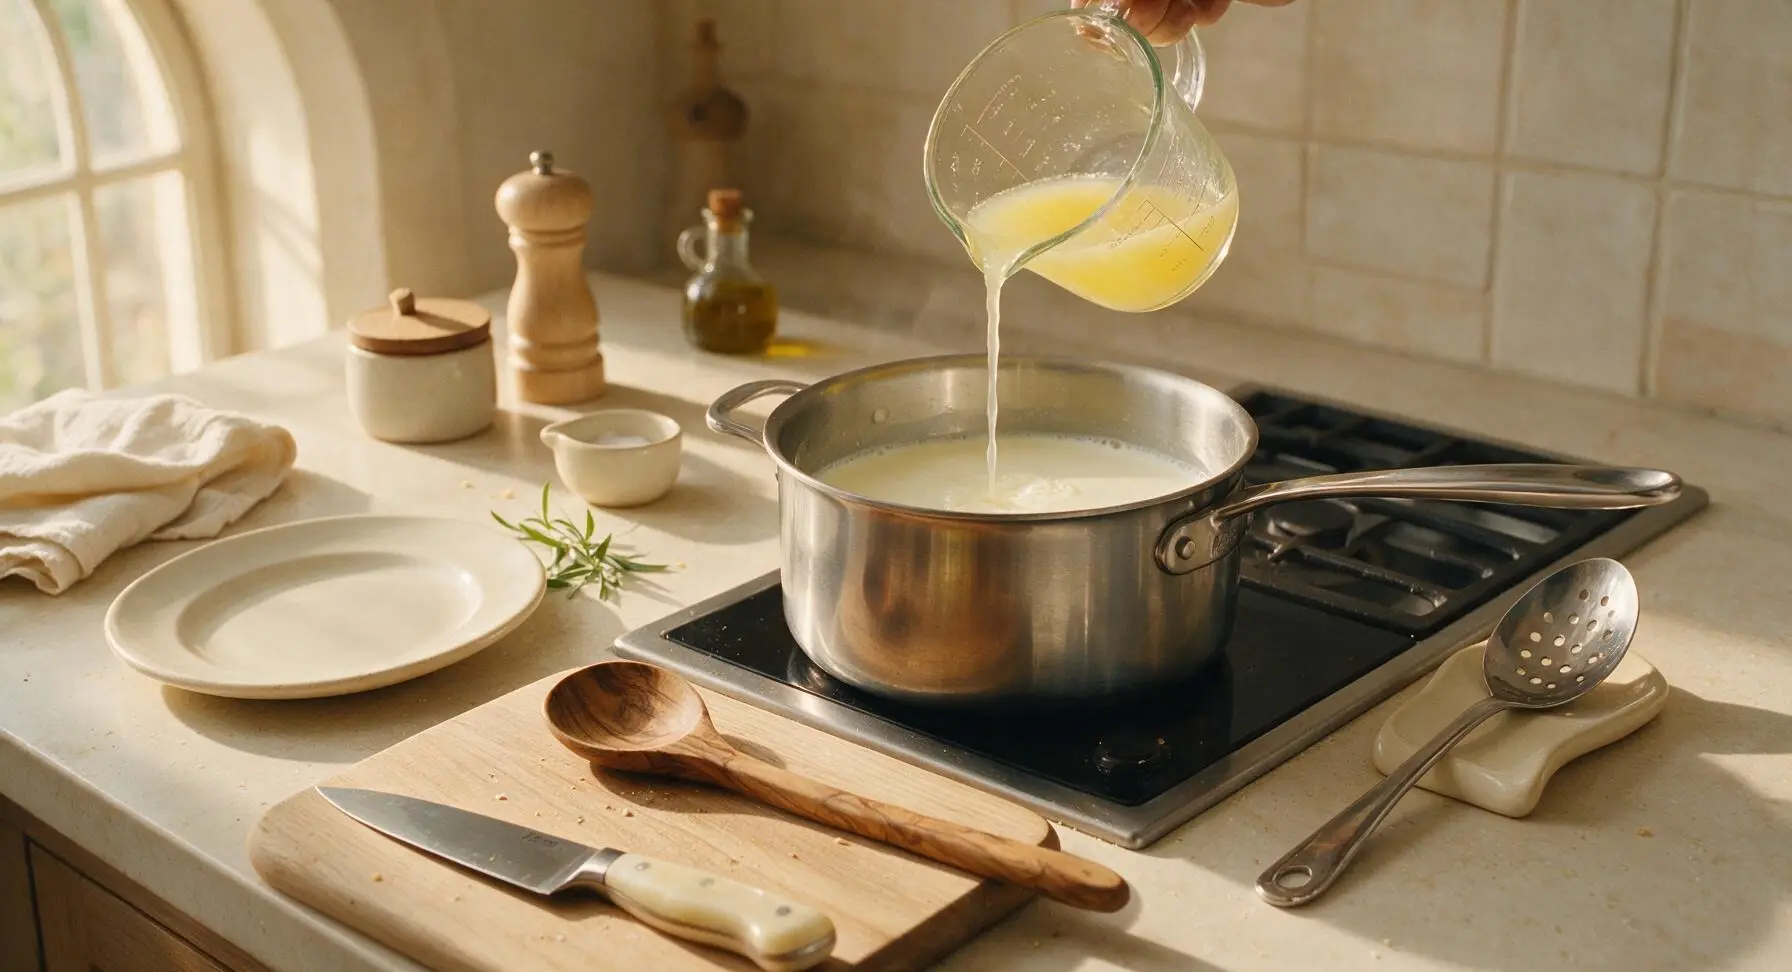
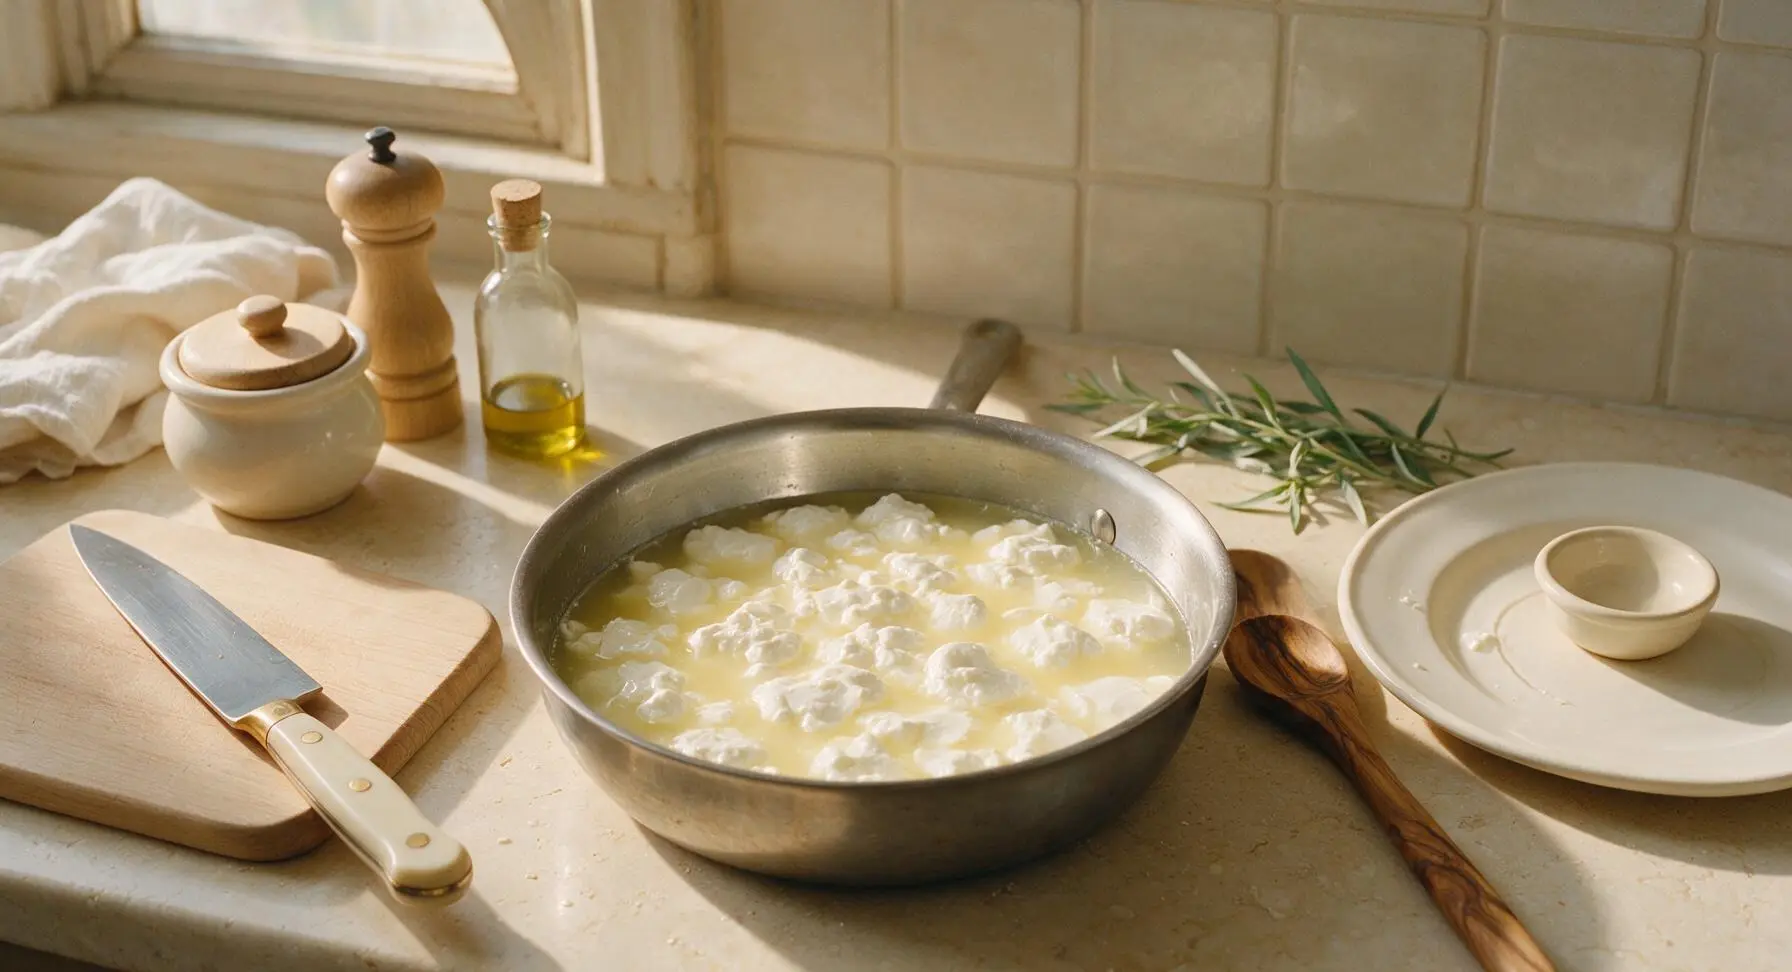
Once the milk reaches 200°F, turn off the stovetop heat. Pour in 3 tablespoons of fresh lemon juice from the glass measuring cup, stirring very gently with the stainless steel slotted spoon only 2 to 3 slow turns to distribute the acid. Do not stir vigorously, as this will break curds into tiny, grainy pieces that will slip through the cheesecloth. Let the mixture sit completely undisturbed for 10 minutes; you will immediately see soft white curds separate from the translucent pale yellow whey as the acid coagulates the milk proteins.
Scoop curds into sieve
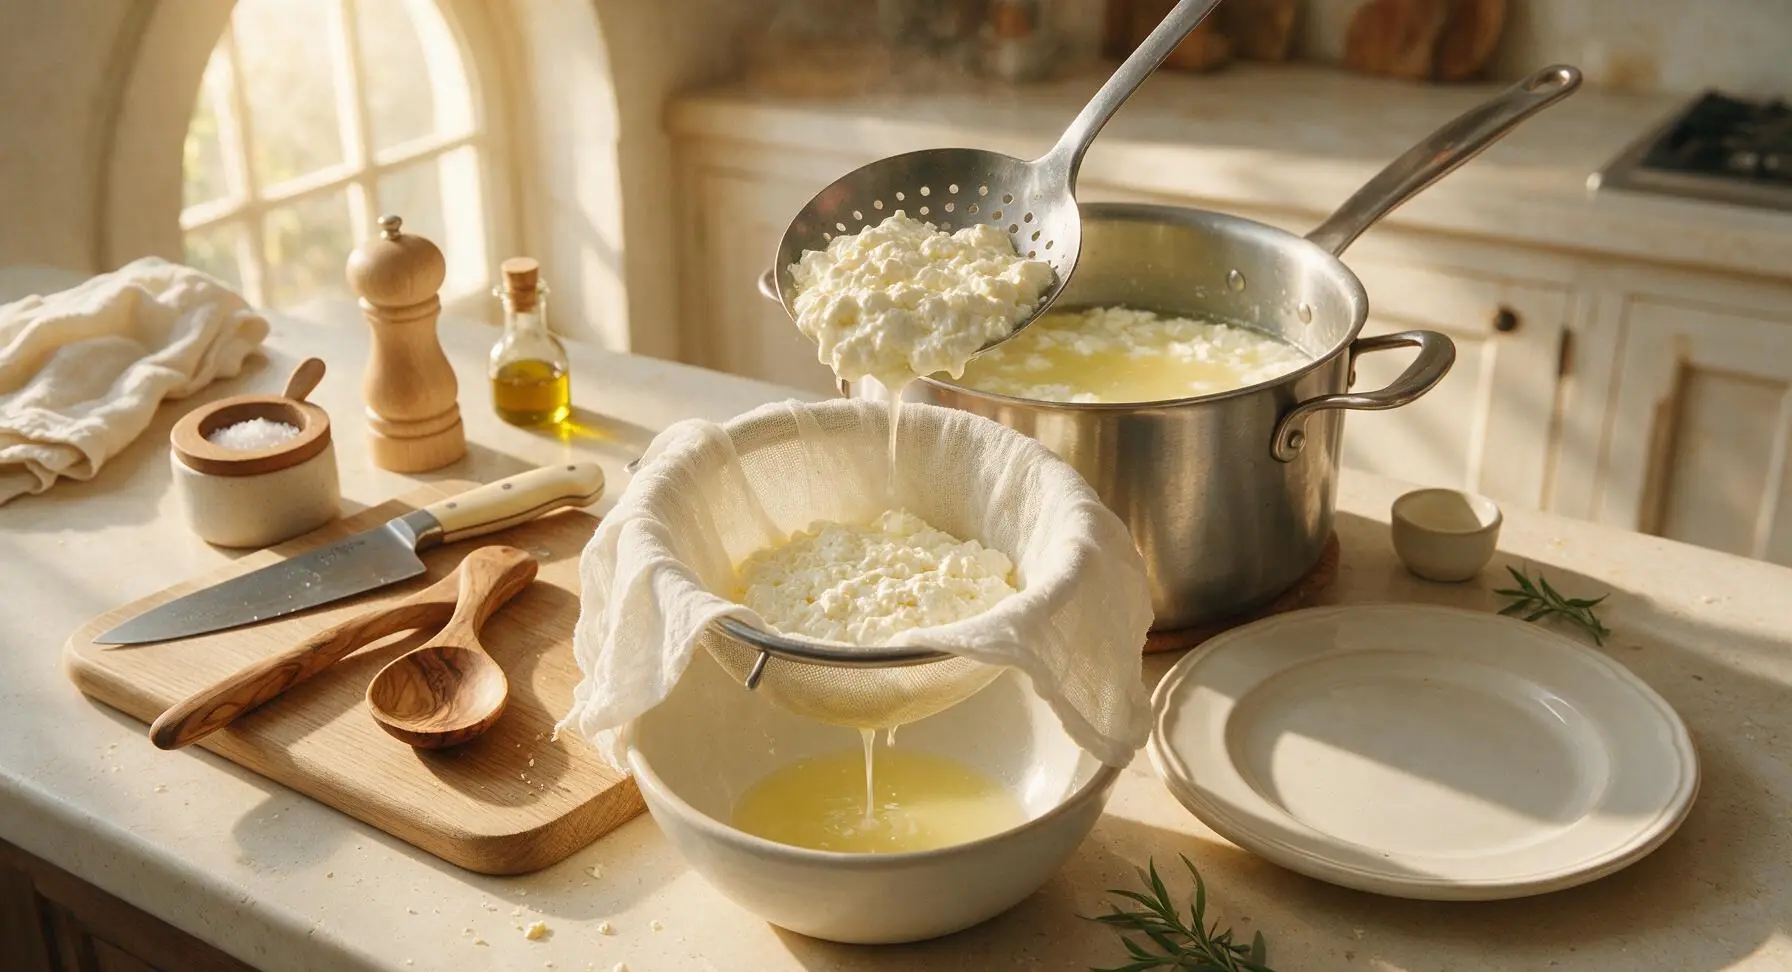
Use the slotted spoon to gently lift large, soft curds out of the whey, placing them directly into the cheesecloth-lined sieve over the serving bowl. Avoid pouring the entire pot of curds and whey directly into the sieve at once, as the force of the liquid will push fine curds through the cheesecloth mesh, reducing your yield. Let excess whey drain off naturally as you work, until all large curds are transferred to the sieve.
Drain to desired texture
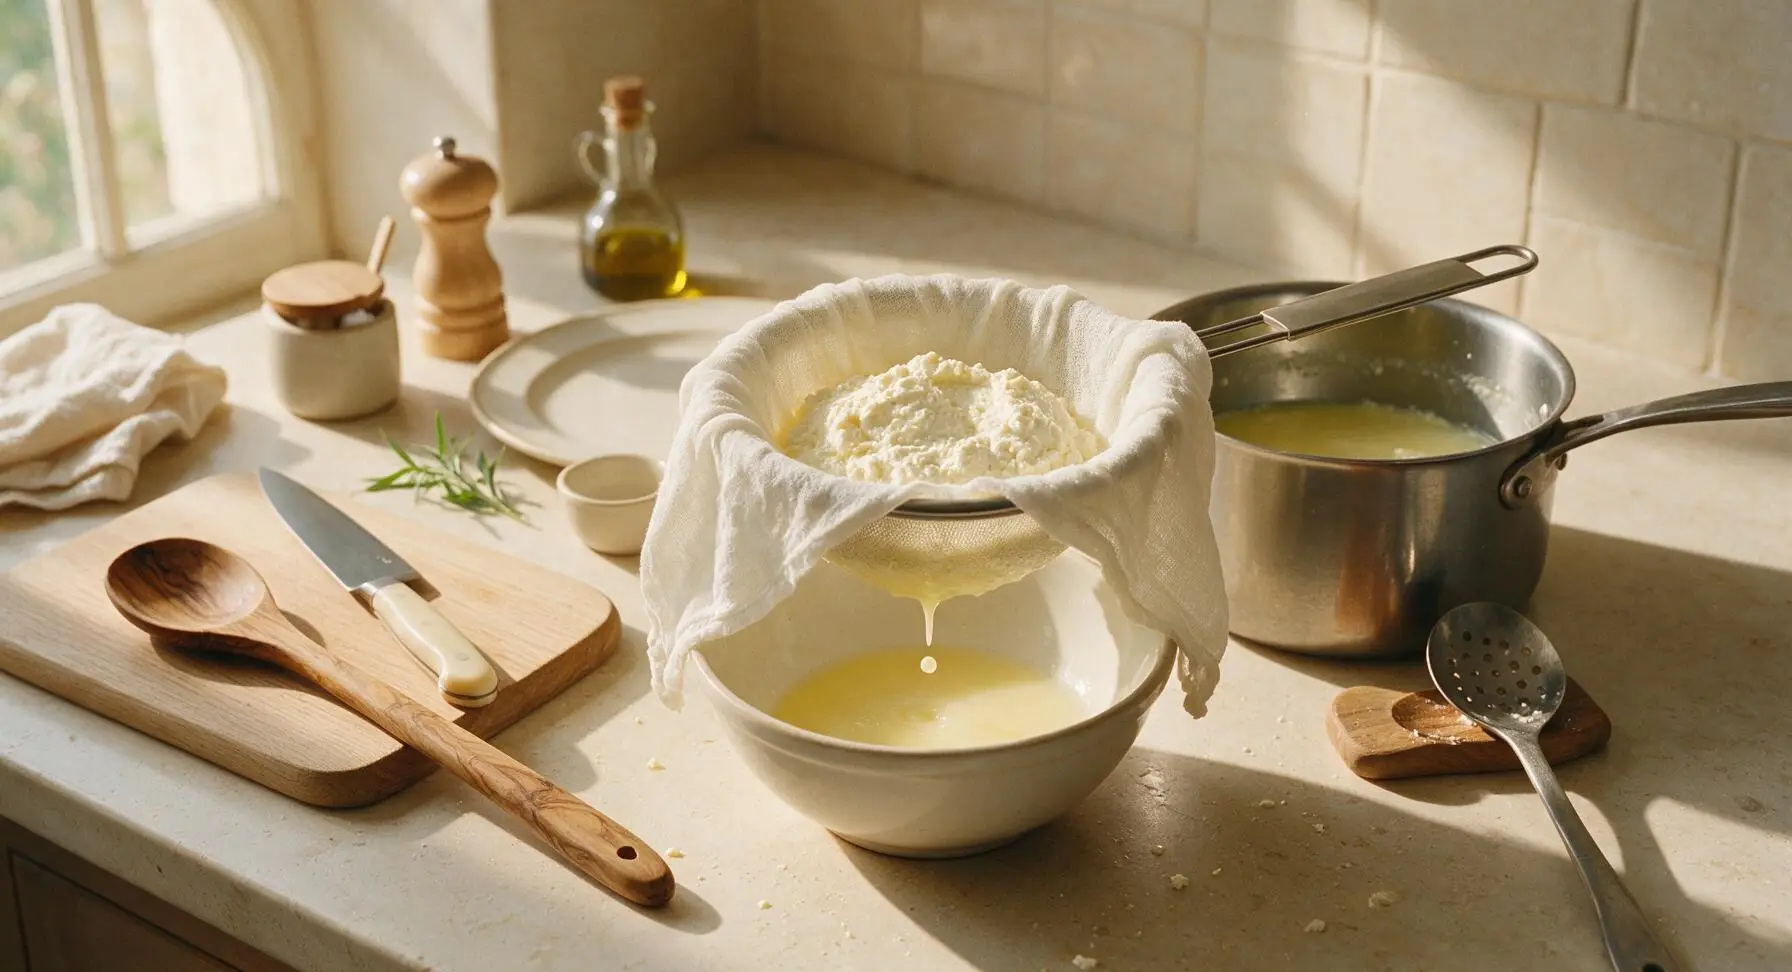
Let the curds drain at room temperature, undisturbed: drain for 10 minutes for a soft, spreadable, creamy ricotta perfect for toast, dips, or pairing with fruit; drain for 25 to 30 minutes for a firmer, drier ricotta ideal for lasagna, ravioli filling, or baked desserts. Do not press the curds with a weight unless you want a very firm, crumbly texture similar to ricotta salata – gentle gravity draining produces the lightest, fluffiest curds. Reserve the collected whey in the bowl for use in baking, smoothies, or soup stock if desired, or discard it.
Season and serve ricotta
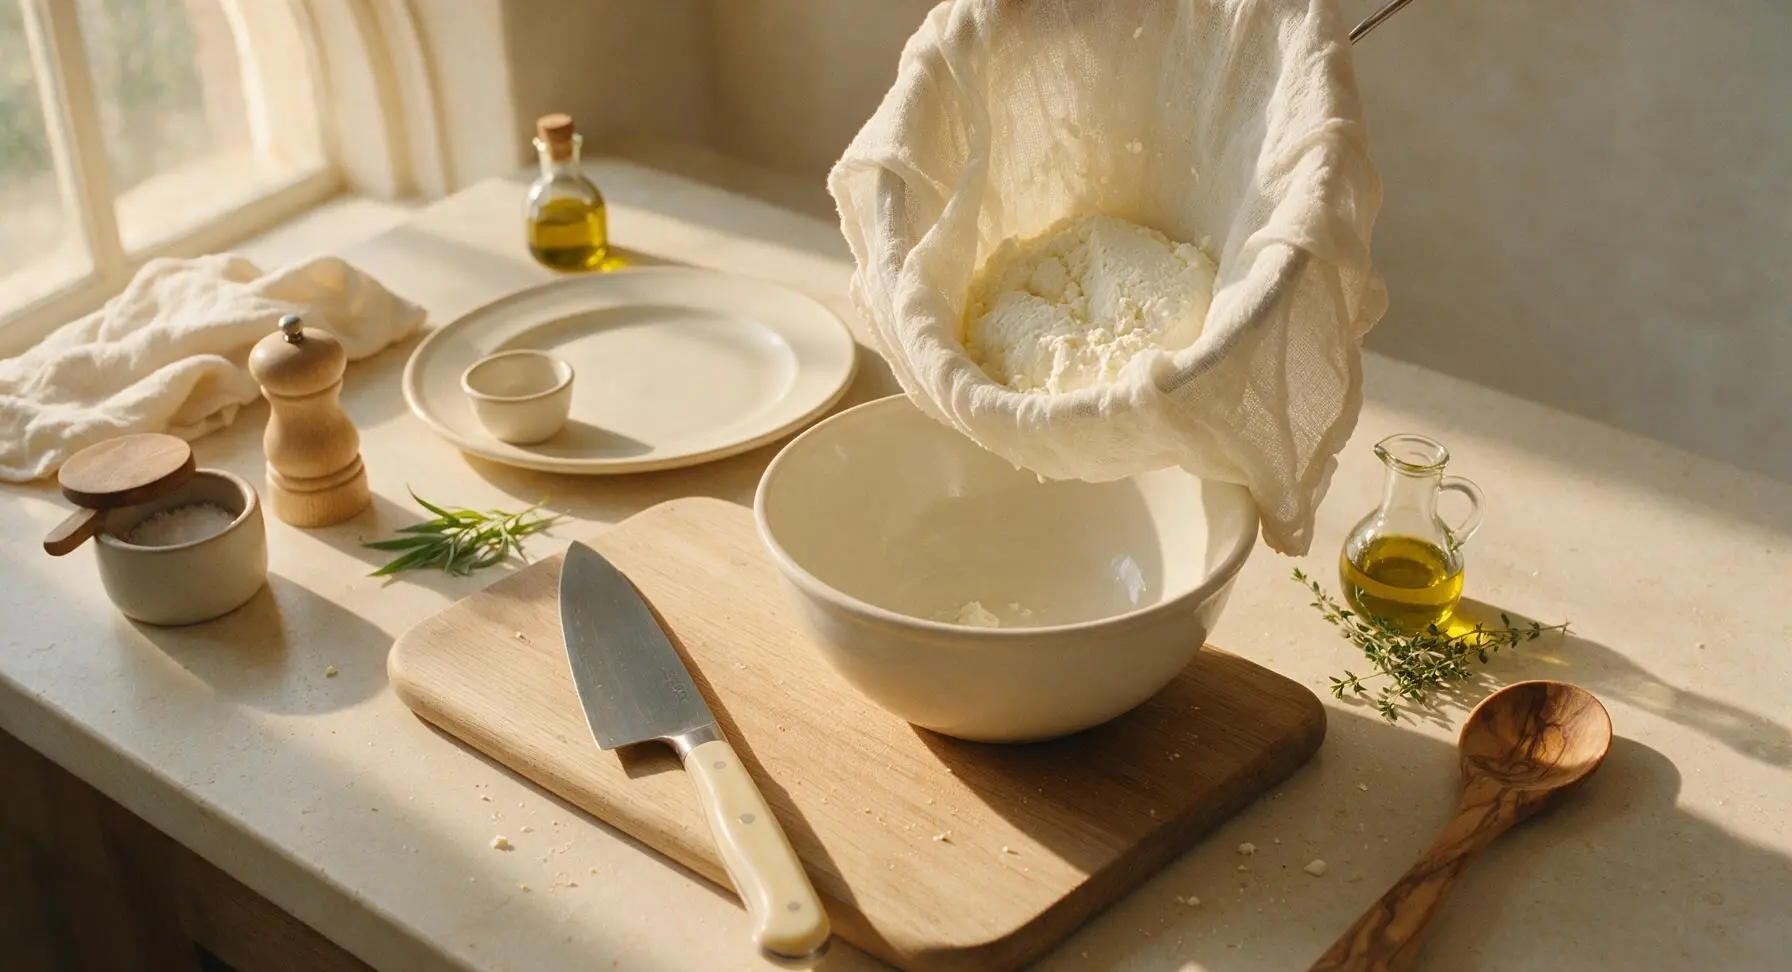
Once drained to your preference, lift the sieve off the serving bowl, pour out the collected whey, then gently transfer the soft ricotta curds from the cheesecloth into the clean serving bowl. Drizzle with 1 teaspoon of extra-virgin olive oil, top with 3 to 4 fresh thyme sprigs, and add a light pinch of flaky sea salt if desired. Serve immediately, or transfer to an airtight glass container and refrigerate for up to 5 days.
Tips
2.Do not over-stir after adding lemon juice: aggressive stirring breaks tender curds into small fragments that slip through the cheesecloth mesh, resulting in dry, crumbly ricotta instead of the desired soft, pillowy texture. Only 2 to 3 slow, gentle stirs are enough to evenly distribute the acid.
3.Adjust draining time to match your planned use: drain for only 10 minutes for soft, spreadable ricotta perfect for crostini or fruit pairings, and 25 to 30 minutes for firmer ricotta that holds its shape in baked pasta, cannoli, or cheesecake, to avoid runny fillings or overly thick spreads.






OMG this homemade ricotta is a GAME CHANGER!!! I’ve bought store-bought my whole life and never realized how easy it is? 10 minutes of active time is no joke. I stirred in a little lemon zest at the end and served it over toasted sourdough with honey for brunch last Sunday, and my entire family begged for seconds. Even my picky 7 year old who hates “soft cheese” ate two pieces! Will 100% be making this on repeat for meal prep this month.
Brought this ricotta to our neighborhood potluck last weekend mixed with roasted garlic and fresh basil, served with crostini, and people were literally asking me for the recipe before they even finished their first bite! It’s so creamy, way better than the watery stuff in the tub at the grocery store. I will say I let mine strain a full 30 minutes because I like a thicker consistency for spreads, and it was perfect.
SO good and so low effort! I threw this together after work on a Tuesday while I was boiling pasta for dinner, tossed half the ricotta with marinara and pasta, and saved the other half to mix with fresh berries for breakfast bowls the rest of the week. You don’t need any fancy equipment either—I just used a regular colander and the cheesecloth I already had in the back of my pantry. Can’t beat that.
Uh, total newbie cook here, I think I messed this up? I heated the milk like the recipe said but it never really formed big curds? It just looked like warm milk with a few tiny floating bits after I added the lemon juice. I think I got scared of burning it so I turned the heat down way too early. Flop city over here 😅
Made this for my girls’ brunch yesterday to mix into lemon ricotta pancakes, and OH MY GOD. Fluffiest pancakes I’ve ever made in my life. The ricotta was so light and fresh, no weird preservative aftertaste like the grocery store brand. I saved a little scoop to spread on toast with strawberry jam this morning and it’s just as good two days later. 10/10, no notes.
Why did I waste so much money on fancy artisanal ricotta from the cheese shop for years when this costs like $3 to make at home??? Tastes exactly the same if not better, and I can make exactly as much as I need so I don’t end up with half a tub going moldy in the back of my fridge. It was easy enough to make with my toddler “helping” too—he loved stirring the milk and watching the curds form when I added the lemon juice. Total weeknight win.
So happy this recipe is naturally gluten free! I’ve been hunting for a reliable ricotta recipe to use for my stuffed shells for my son’s birthday dinner next week, since so many store-bought ricottas have weird hidden additives with gluten cross-contamination. I tested a batch last night and it came out perfectly creamy, no grainy texture at all. Can’t wait to serve it to the whole family!
Quick question before I test this out—does it work with lactose-free whole milk? I’m super sensitive to lactose but I’ve been craving ricotta toast so bad lately, and all the lactose-free ricotta at my local grocery store is like $7 a tub, which is wild. Would the lemon juice still curdle lactose-free milk the same way regular milk does?
If you make a double batch of this, does it freeze well? I love stocking up on homemade staples when I have free time on Sundays, and I’d love to make a big batch to freeze half for quick weeknight lasagnas later this month. The texture looks so much creamier than the frozen ricotta they sell at the grocery store, so I’m curious if it holds up!