
Homemade root beer
intro
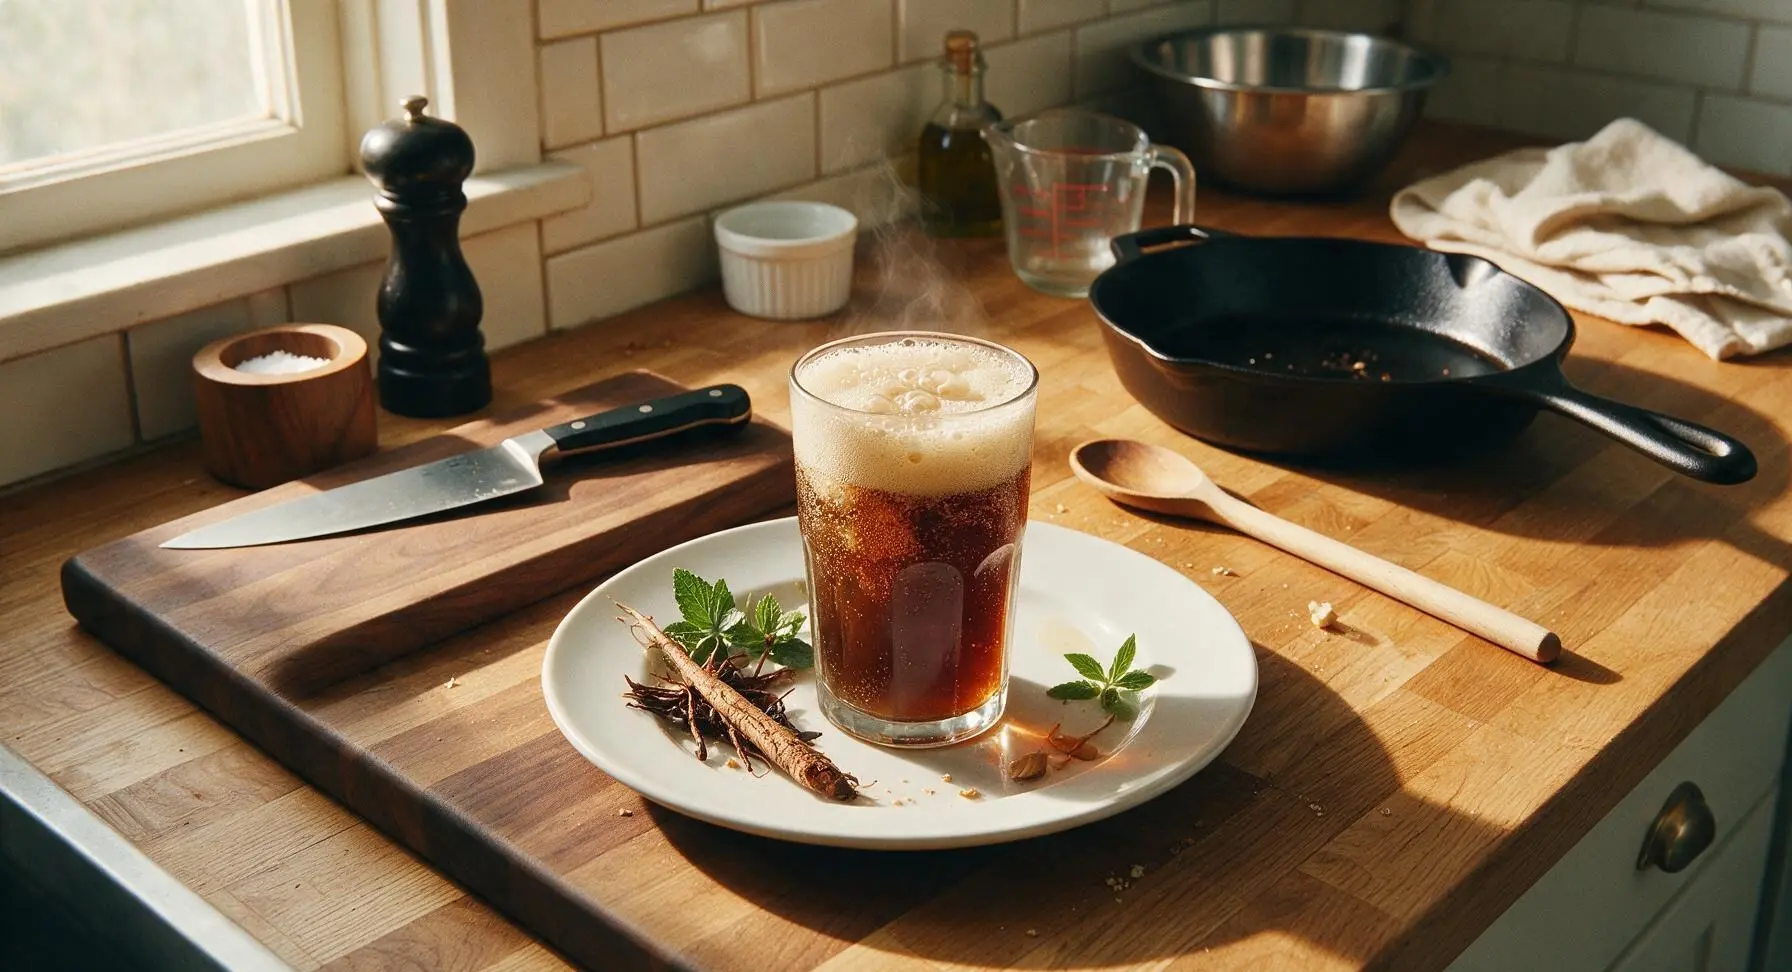
Fizzy, earthy, and perfectly sweet old-fashioned homemade root beer, brewed with aromatic botanicals for a nostalgic, creamy-carbonated refreshing summer sip.
Ingredients
Steps
Measure and Prep Ingredients
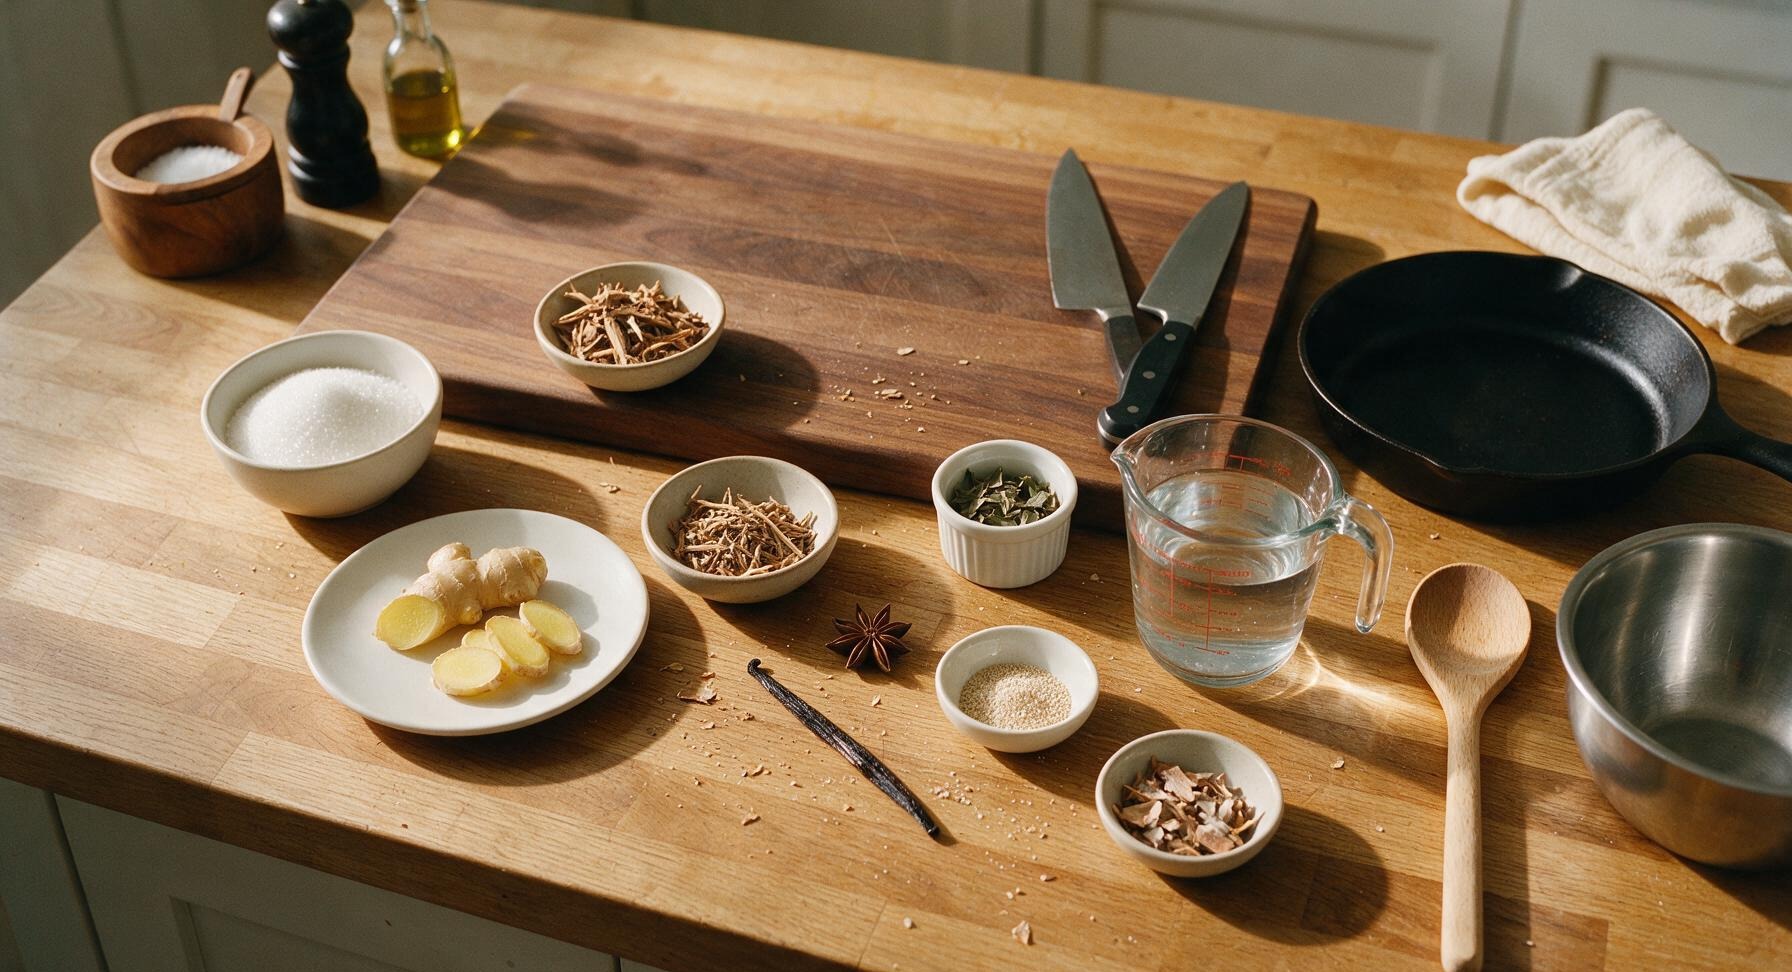
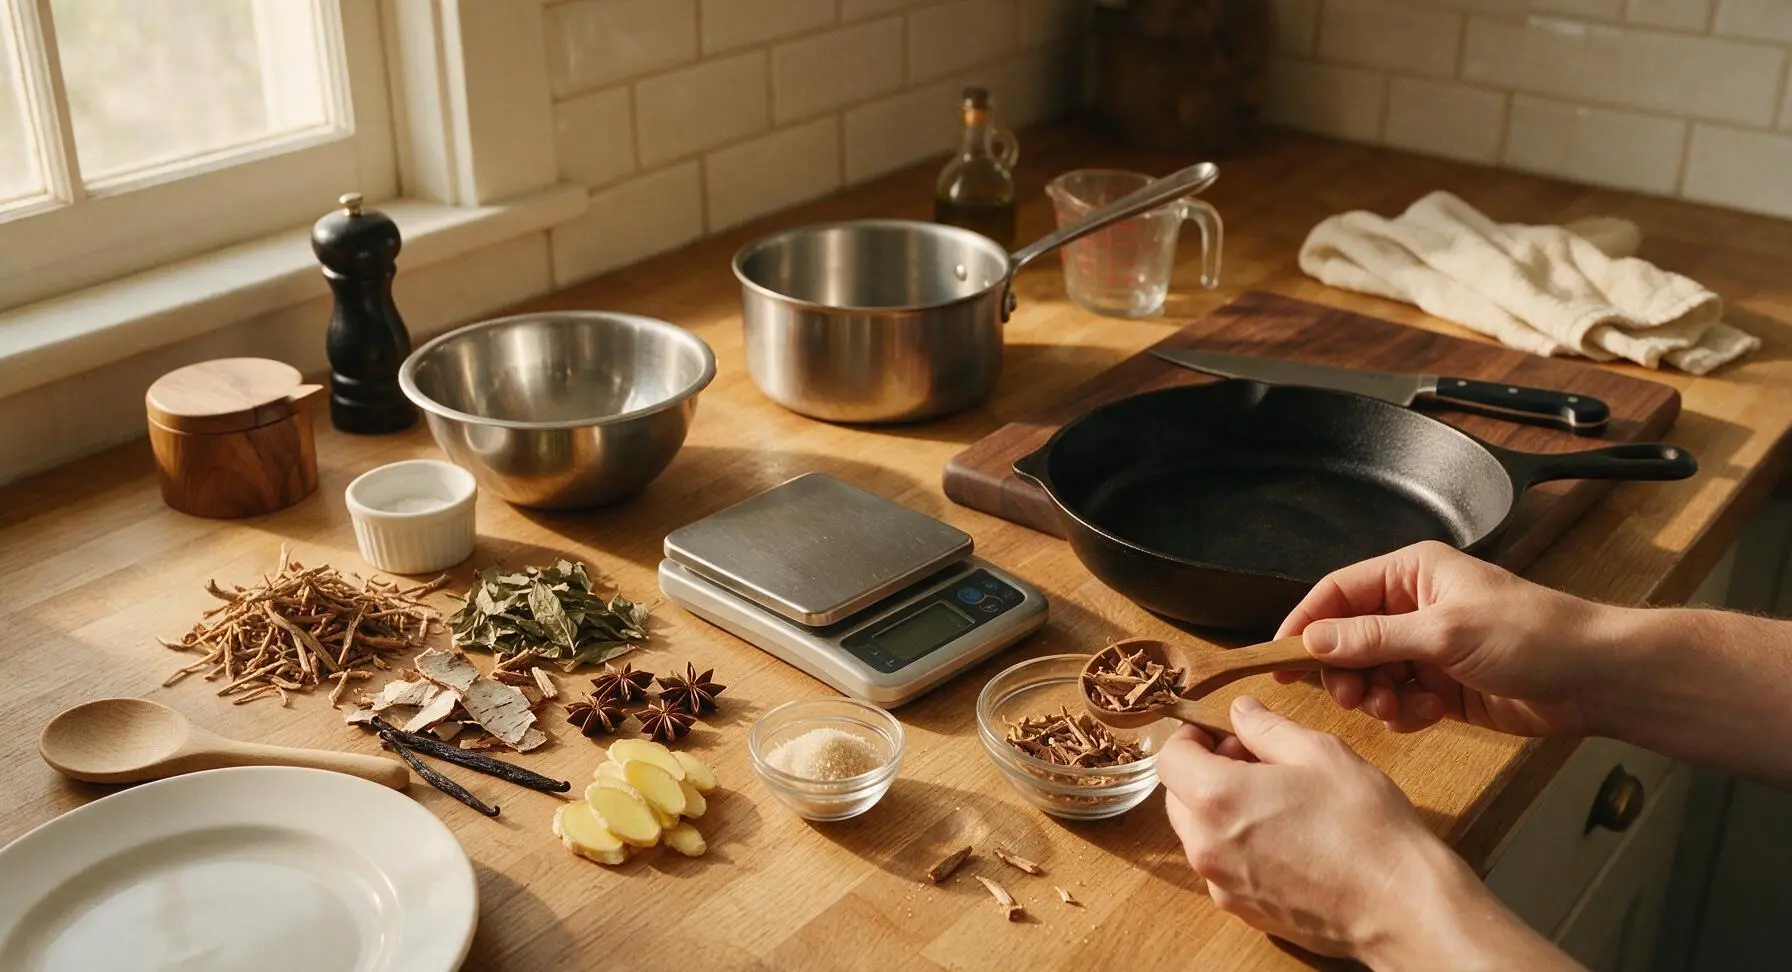
Use the digital kitchen scale and wooden measuring spoons from the terracotta crock to portion all ingredients: measure 2 cups granulated sugar, 3 tablespoons dried sassafras root bark, 2 tablespoons dried sarsaparilla root, 1 tablespoon dried birch bark, 1 teaspoon dried wintergreen leaves, 1 whole star anise, 1 split vanilla bean (scrape seeds free from the pod), and 1 inch thinly sliced fresh ginger. Pour 8 cups filtered water into the clear glass measuring cup, and measure 1/8 teaspoon champagne yeast into a small prep bowl, set aside for later use. All ingredients should be pre-portioned before heating to avoid burning the syrup during cooking.
Simmer Root Syrup Base
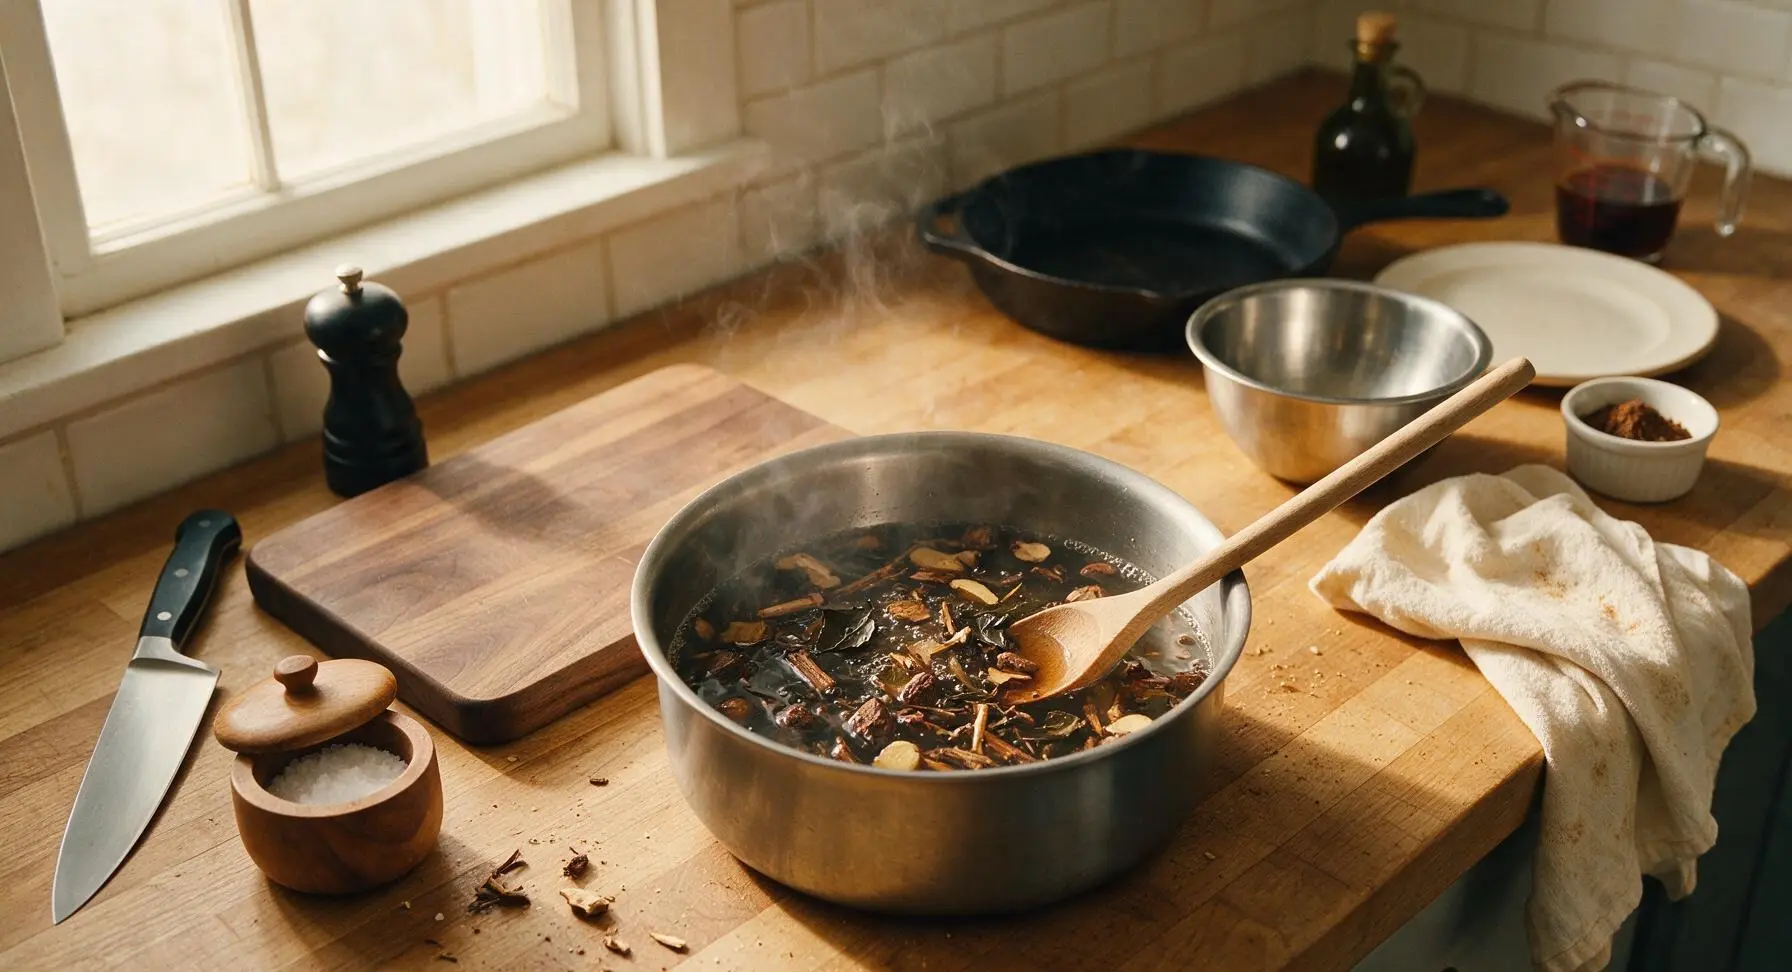
Pour 4 cups of the filtered water into the 3-quart stainless steel saucepan, add all measured dried roots, barks, wintergreen, star anise, sliced ginger, scraped vanilla bean seeds and empty pod. Place over medium heat and bring to a gentle rolling simmer (190°F, not a hard boil), then reduce heat to low to maintain the simmer for 10 minutes. The liquid will turn a deep rich amber-brown, and a warm, earthy, sweet aroma will fill the kitchen.
Dissolve Sugar in Syrup
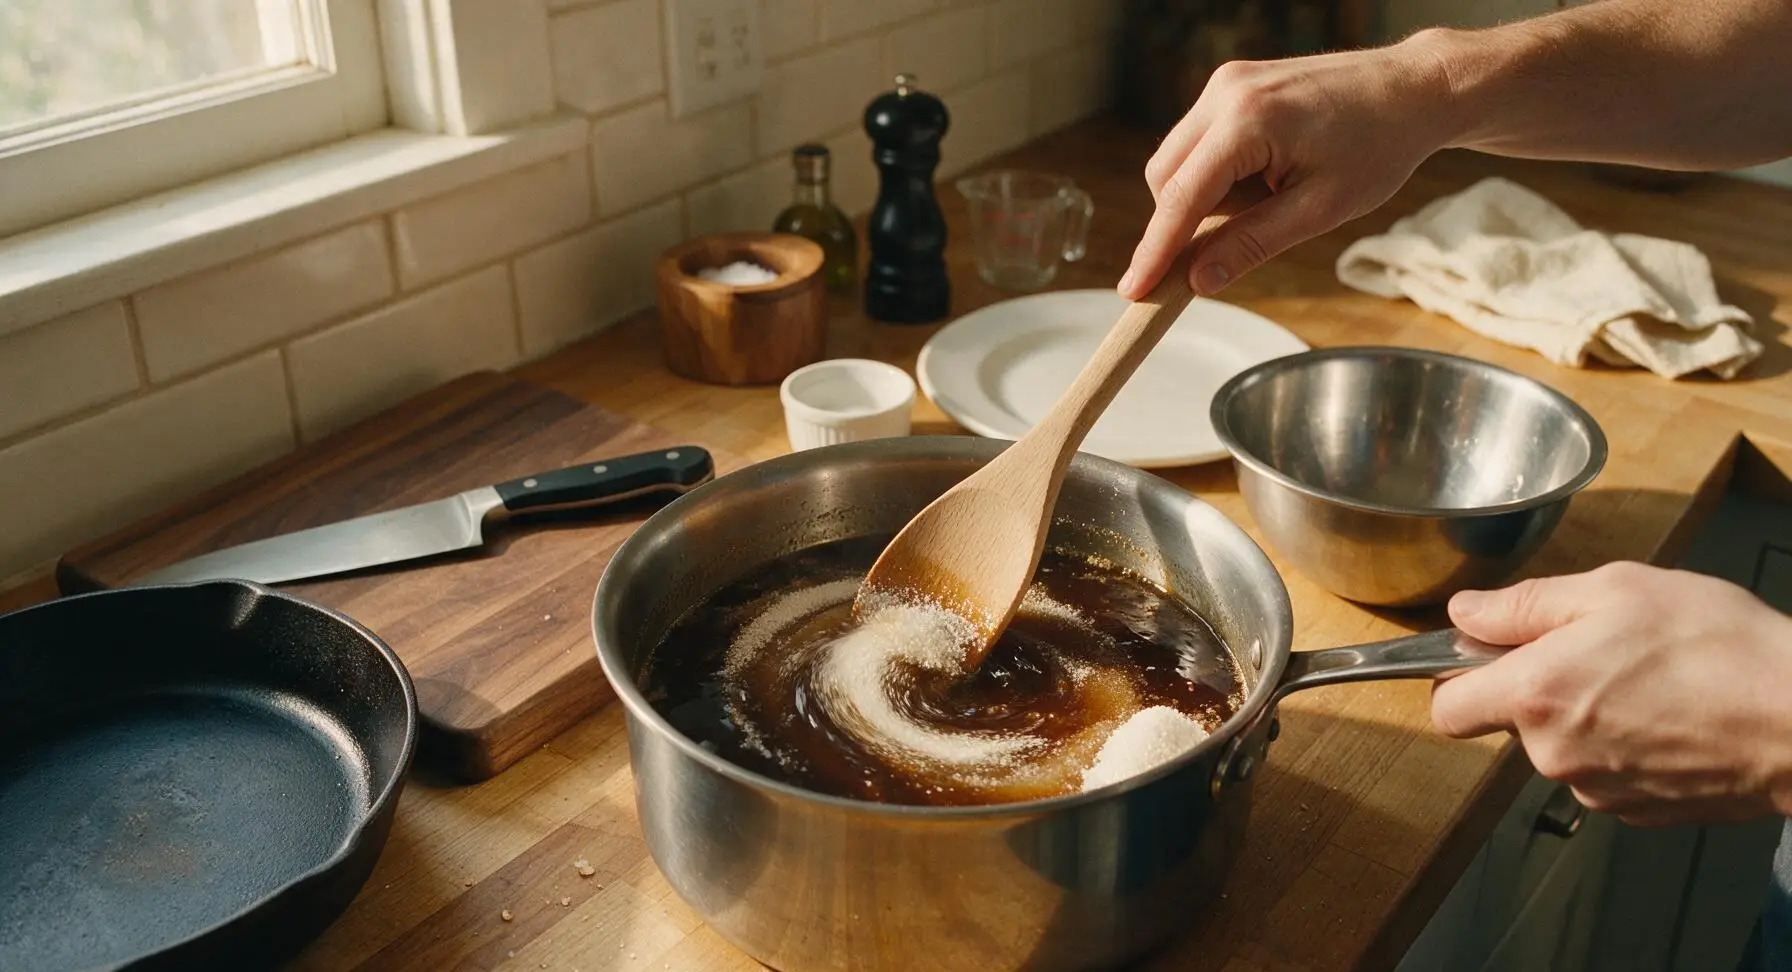
After the root mixture has simmered 10 minutes, add the full 2 cups of granulated sugar to the saucepan, stirring constantly with the beech wood spoon until sugar is fully dissolved, about 1 minute. Avoid bringing the syrup to a hard boil after adding sugar, as this can cause caramelization that mutes the bright, fresh root flavors. Once sugar is fully dissolved, remove the saucepan from heat immediately.
Steep Botanicals Fully
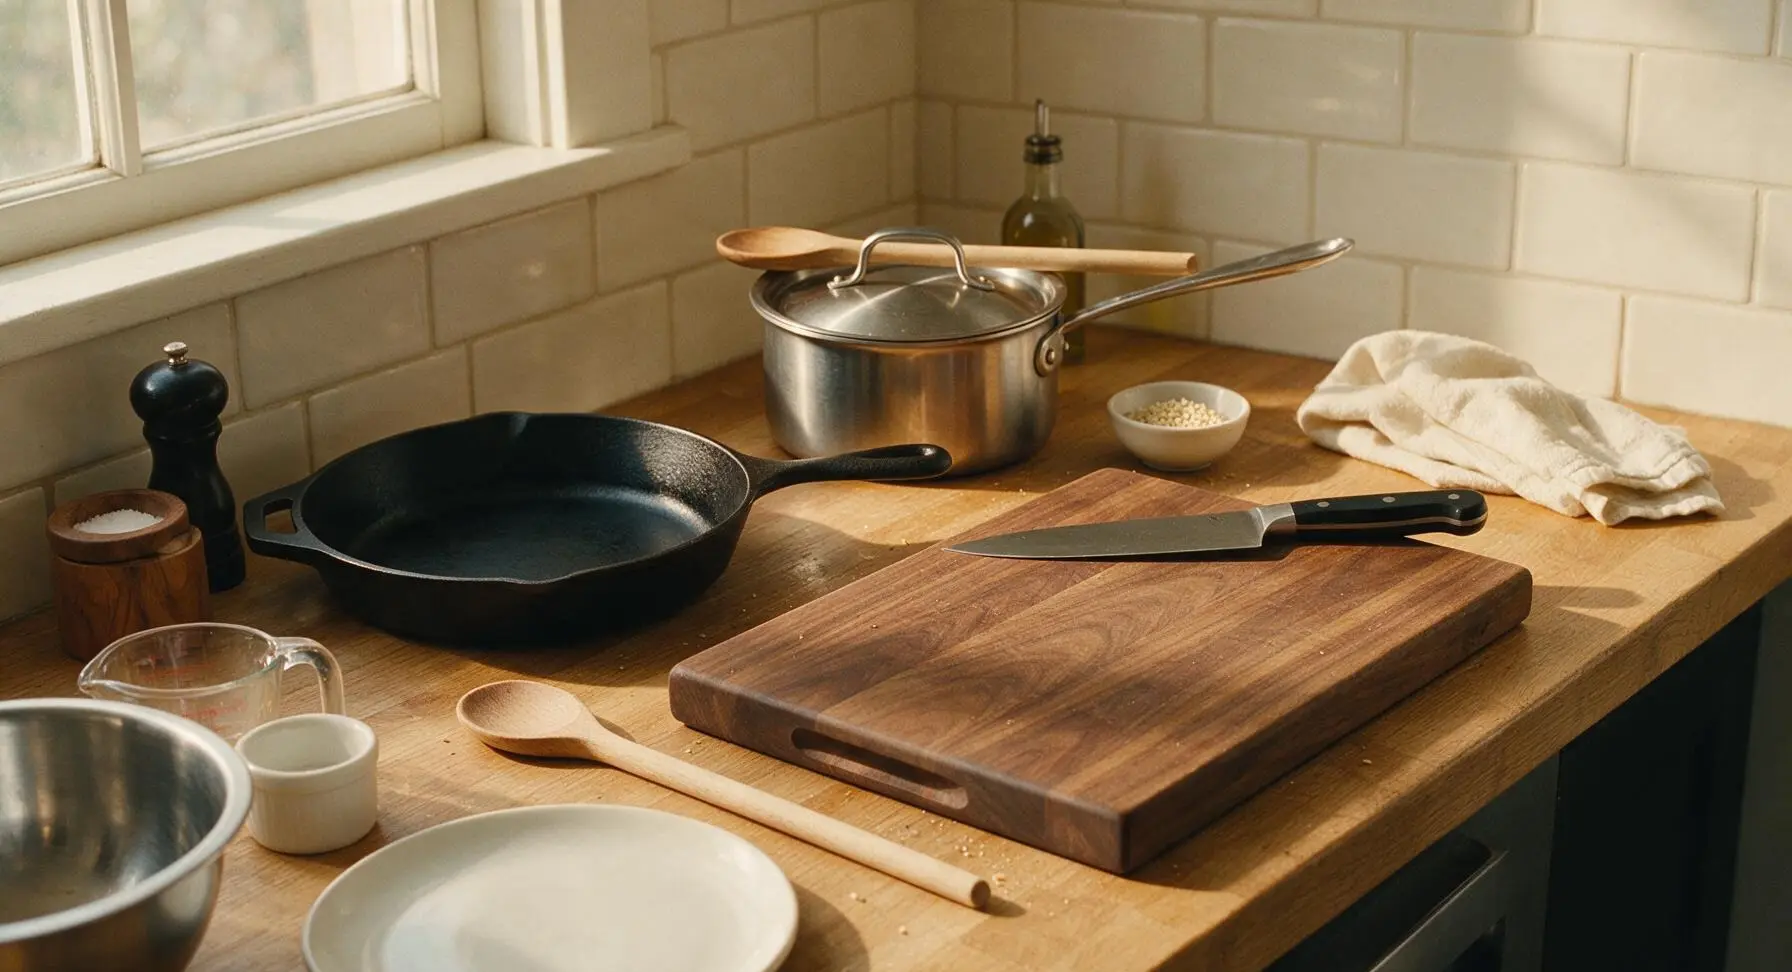
Cover the saucepan with its lid, and let the root and sugar mixture steep for 2 hours at room temperature. This long, slow steep extracts complex, earthy flavors from the roots and barks without pulling out harsh, bitter tannins (steeping longer than 3 hours will result in an unpleasant, medicinal taste). The syrup will cool completely during this time, darkening slightly as it sits.
Strain Syrup Mixture
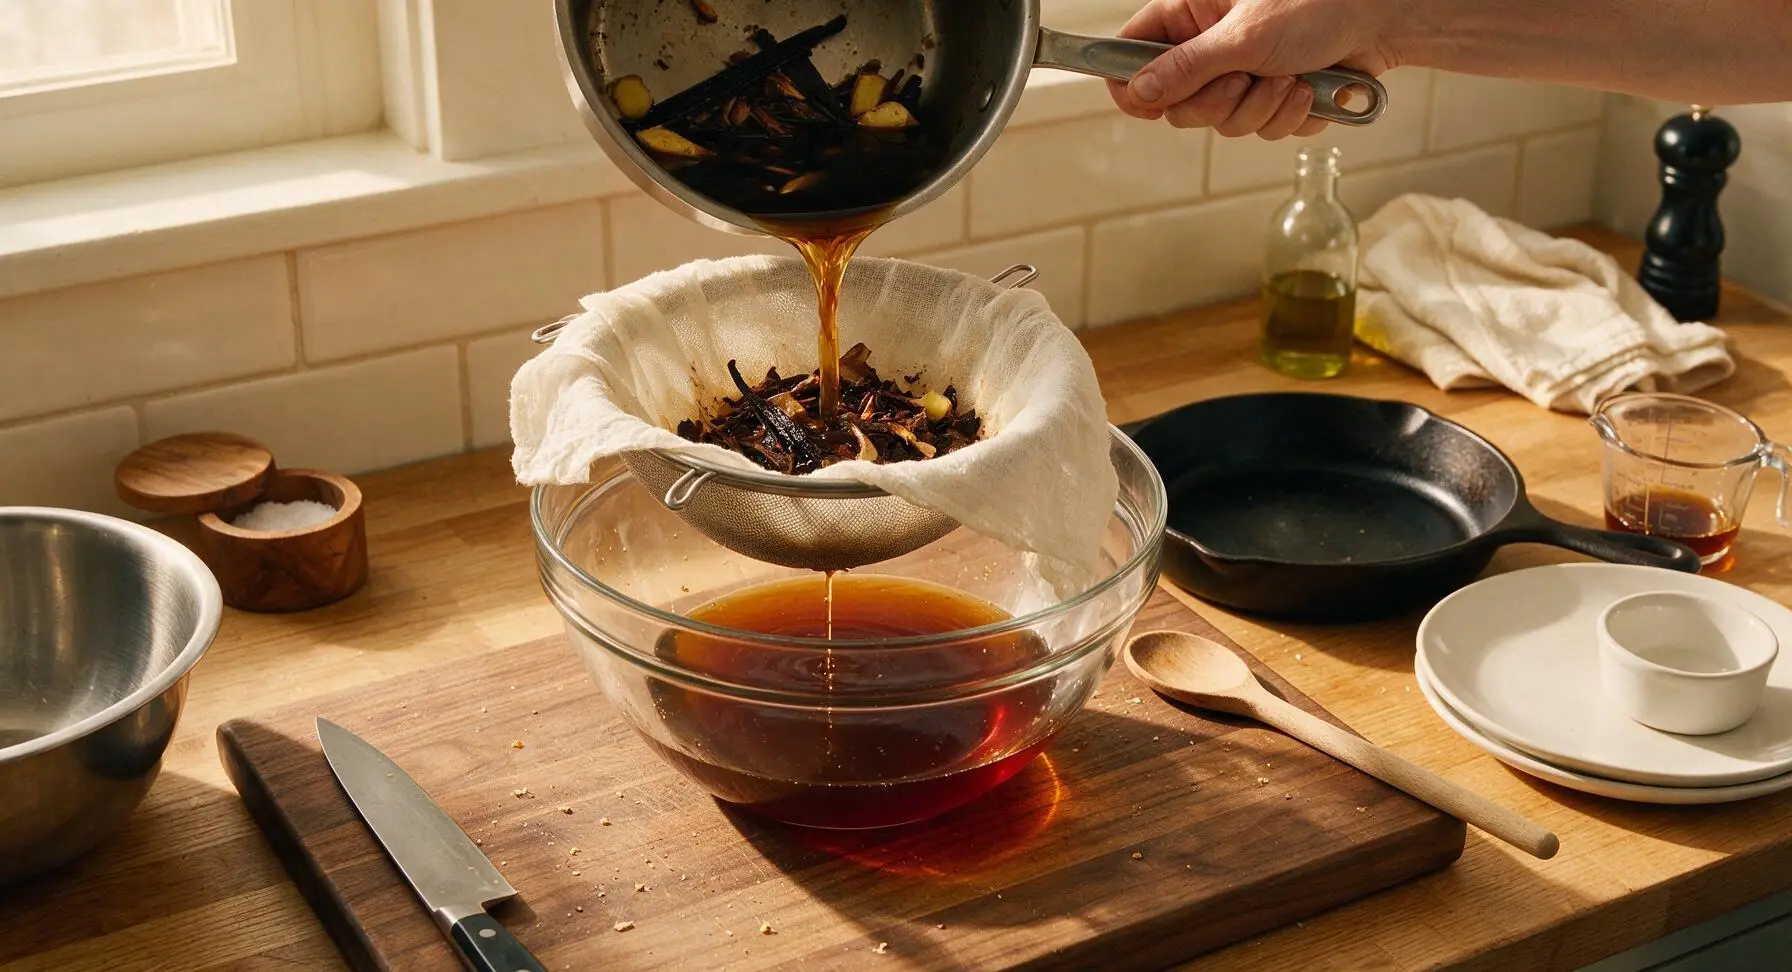
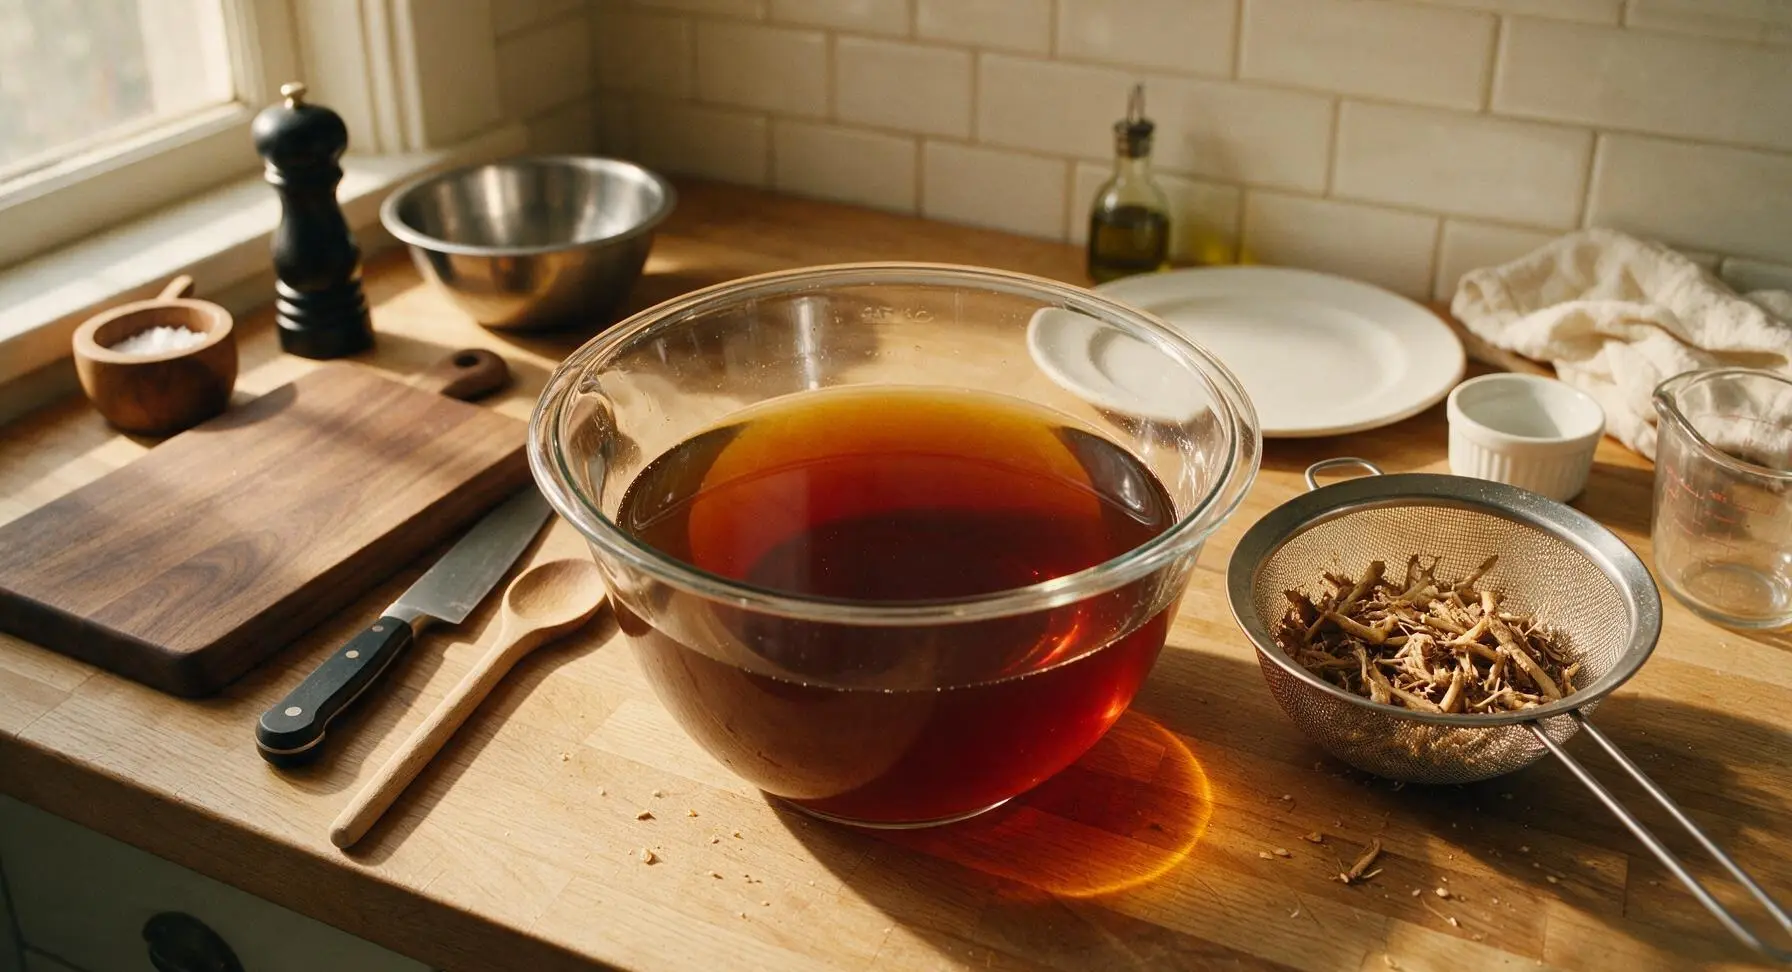
Line the fine-mesh stainless steel strainer with a double layer of unbleached cheesecloth, and set the strainer over the large 4-quart clear glass mixing bowl. Slowly pour the cooled root syrup through the strainer, catching all solid root pieces, bark, vanilla pod, and ginger in the cheesecloth. Gently press the solids with the back of the wooden spoon to extract all trapped syrup, then discard the spent botanicals. The finished strained syrup should be perfectly clear, deep amber, with no floating particles.
Dilute and Add Yeast
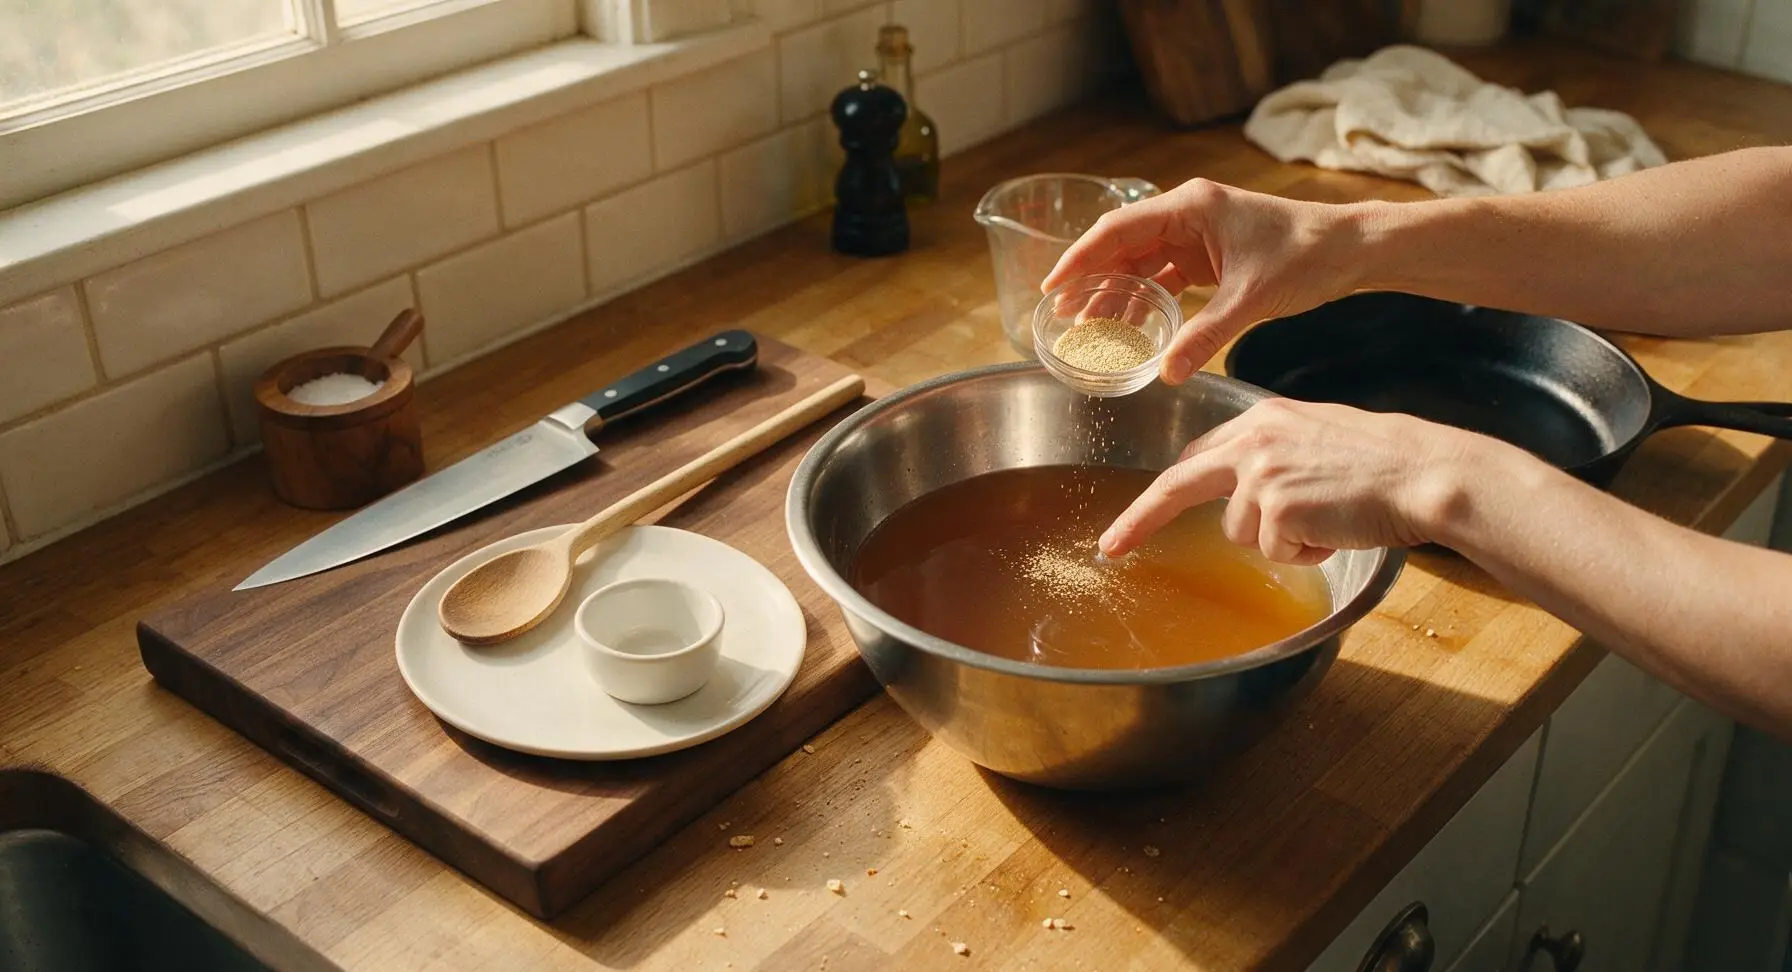
Stir the remaining 4 cups of cool filtered water into the strained root syrup in the mixing bowl, stirring gently with the wooden spoon to combine fully. Wait until the mixture reaches room temperature (70–75°F, test with a clean finger—no residual warmth) before sprinkling the measured 1/8 teaspoon champagne yeast over the surface. Wait 5 minutes for the yeast to activate, then stir once more to distribute evenly. Never add yeast to warm liquid, as high heat will kill the yeast and prevent carbonation.
Bottle for Carbonation
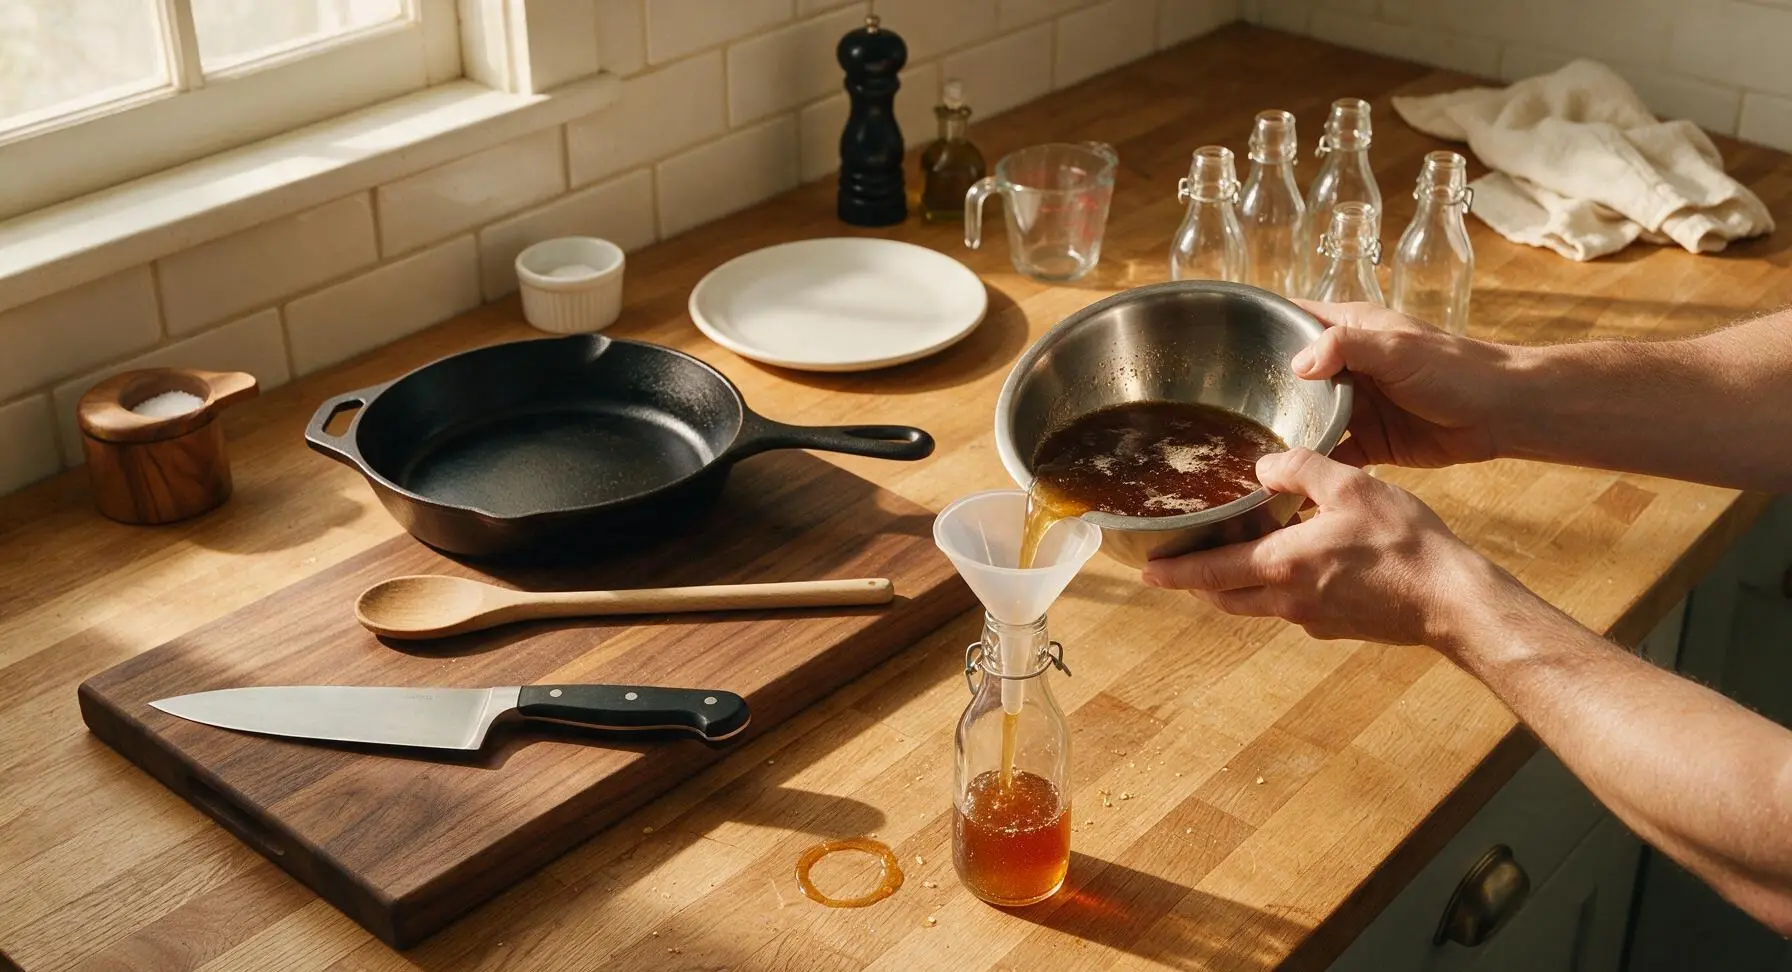
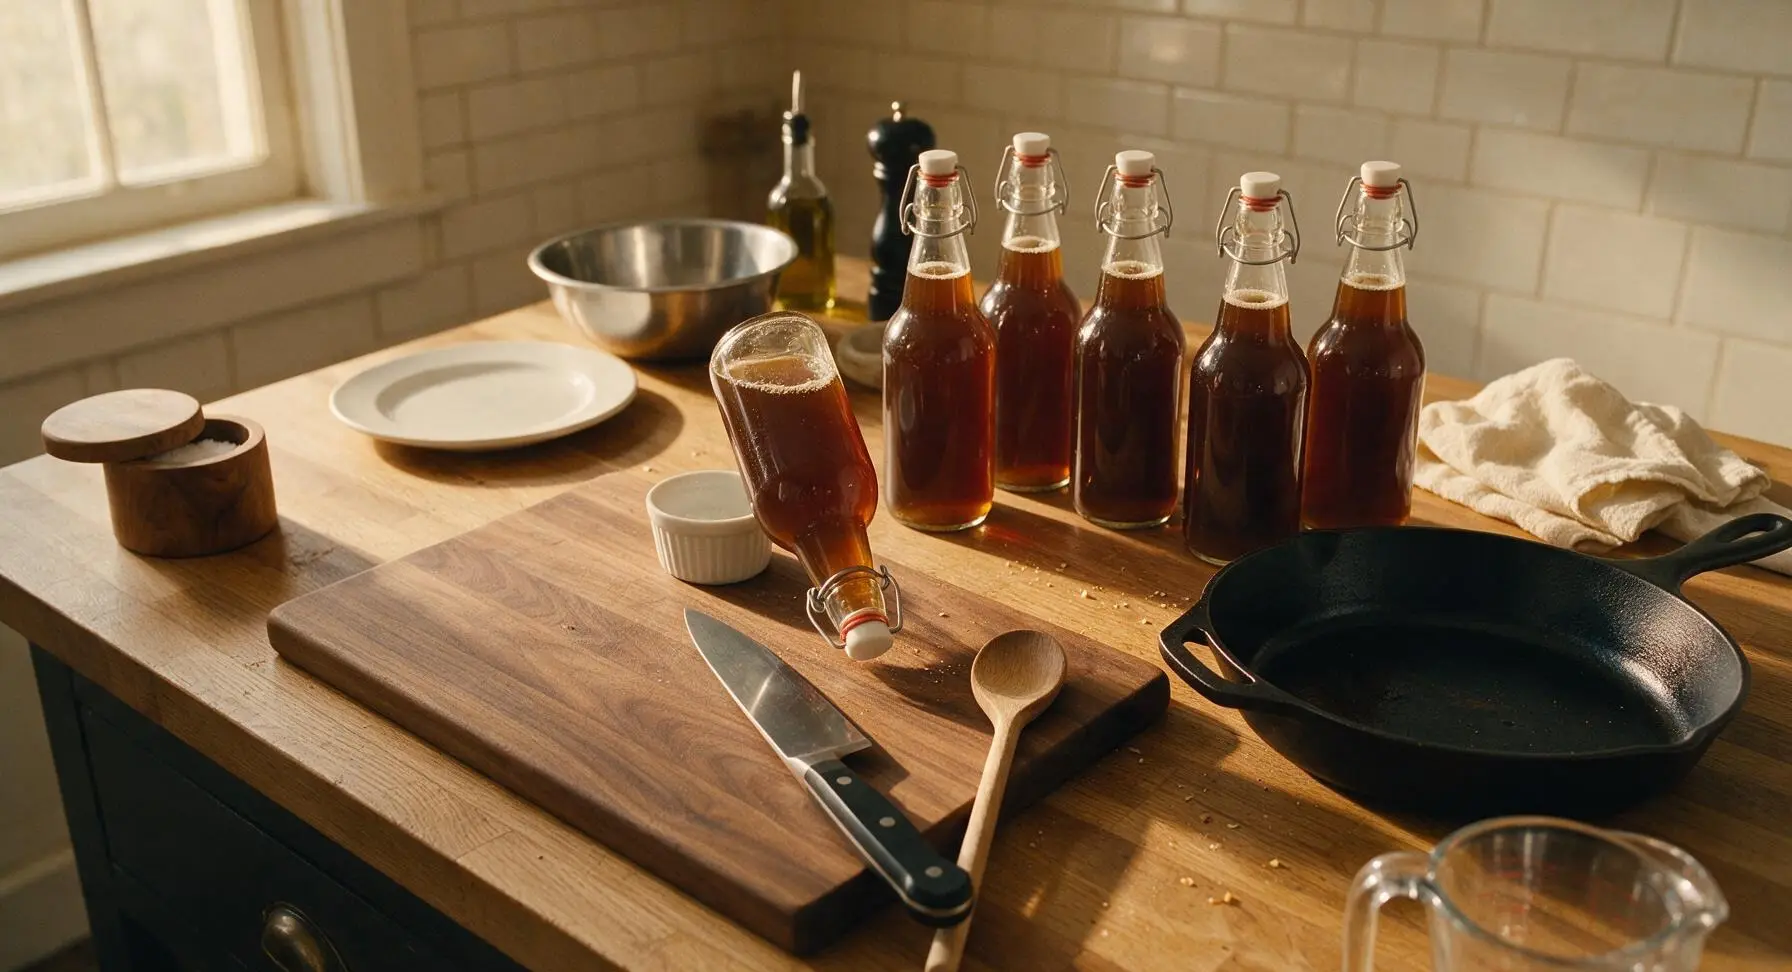
Place the clear plastic funnel in the mouth of each clean flip-top glass bottle, and pour the yeast and root beer mixture evenly between the six 16-oz bottles, leaving exactly 1 inch of empty headspace at the top of each bottle to allow for carbonation pressure. Seal each bottle tightly with the swing-top clasp and rubber gasket, checking for a tight seal by turning each bottle upside down for 2 seconds—no liquid should leak out.
Carbonate and Chill
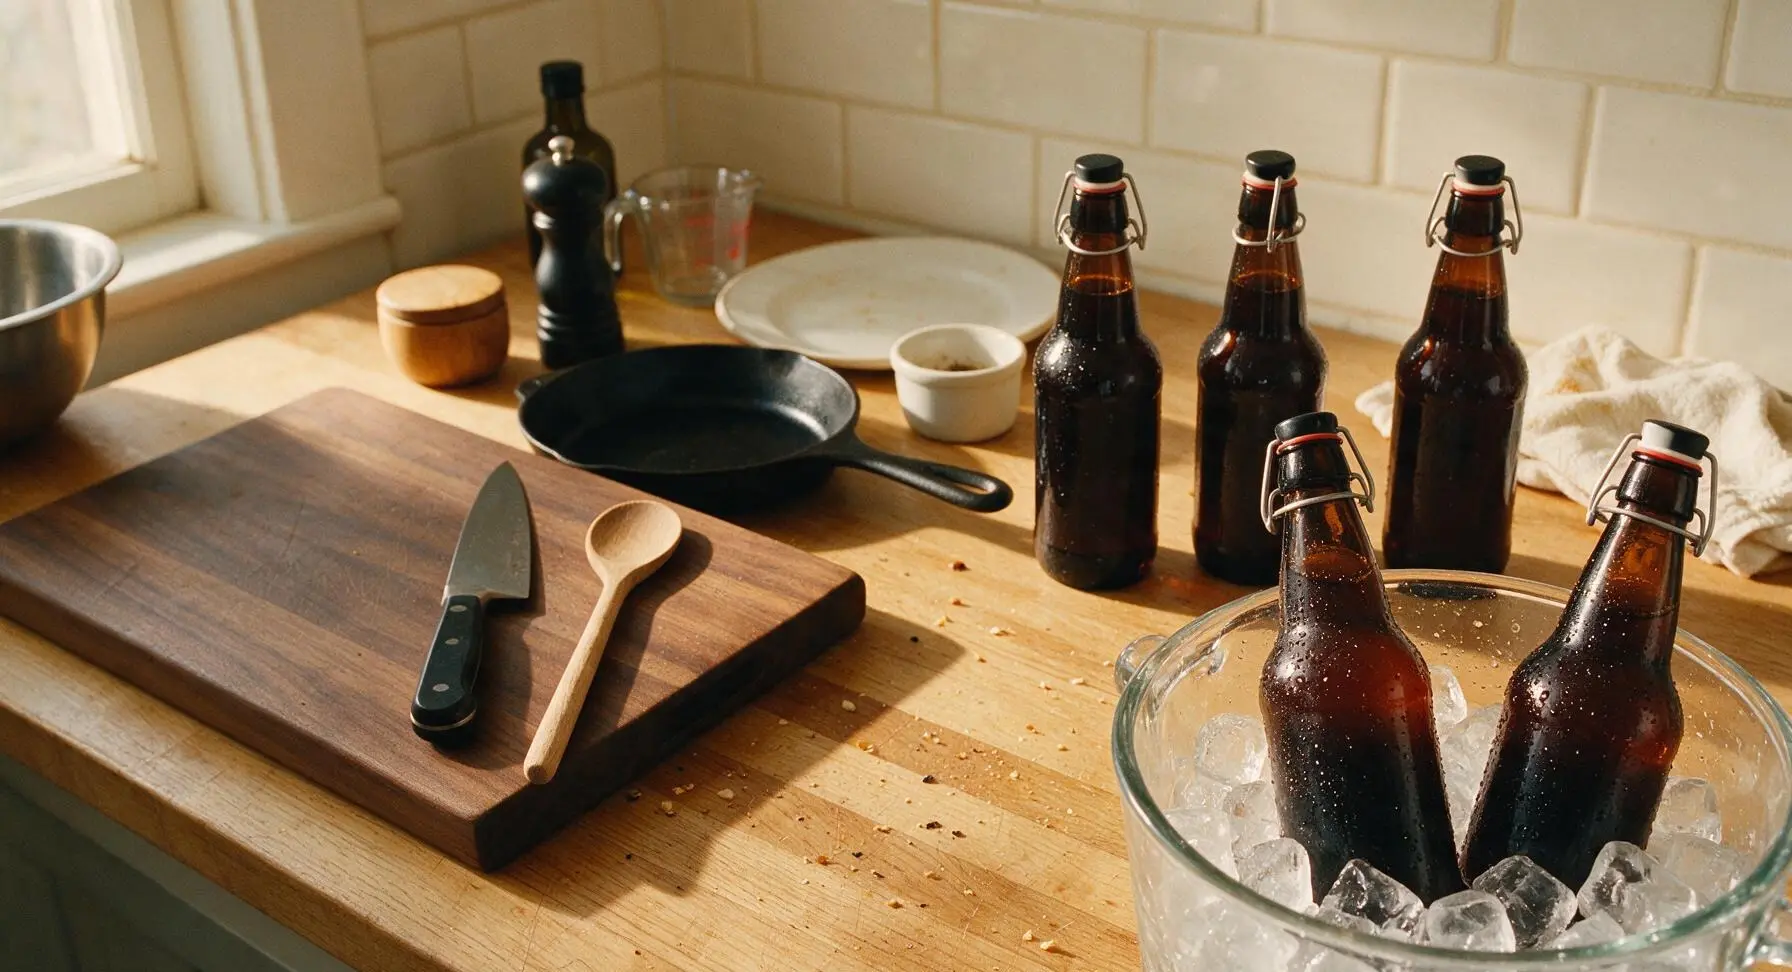
Place the sealed bottles in a dark, room-temperature (70°F) spot for 12–24 hours to carbonate. Check carbonation by gently squeezing one bottle—when it feels rock hard with no give, it is fully carbonated. Immediately move all bottles to the refrigerator to chill for at least 4 hours to stop yeast activity, prevent over-carbonation, and develop the classic smooth root beer flavor. Once chilled, the root beer is ready to serve over ice.
Tips
2.If culinary-grade sassafras root bark is unavailable, substitute 1 tablespoon of high-quality pure root beer extract, but skip the 2-hour steep: add the extract after straining the simple syrup to avoid an artificial, overpowering medicinal flavor.
3.For a classic soda-fountain experience, pour 2 tablespoons of heavy cream into your glass before adding root beer for a creamy, frothy "dirty root beer", or add a scoop of vanilla ice cream for a traditional root beer float with an extra thick, foamy head.






OMG, this tastes exactly like the old fashioned root beer my grandpa used to make for our 4th of July cookouts! I was worried it’d be too fussy since it’s marked medium difficulty, but the 15 minute cook time was totally doable between flipping burgers on the grill. My whole crew went back for seconds, even my picky teen who swears nothing beats the name brand store stuff. SO good, will be making this for every backyard hang from now on.
Tried this for our neighborhood block party potluck last weekend and it was a total hit! The only issue I ran into was that my first batch got way too carbonated when I left it on the counter a little too long — ended up with a tiny root beer geyser when I twisted the cap open, oops. Any tips for getting the fizz level just right without the mess?
Game changer! I’ve been messing around with homemade soda recipes for years and this old fashioned root beer has the perfect balance of sassafras, wintergreen, and vanilla — no weird artificial aftertaste at all. I did add a tiny extra splash of molasses because I like that deeper, richer flavor, and it worked perfectly. 10/10.
Made this for my kid’s end-of-soccer-season team dinner and the kids went absolutely wild for it! I set up a little float station with vanilla ice cream and it was gone in 10 minutes flat. Way better than the cheap soda I almost grabbed from the grocery store, and the 15 minute prep meant I didn’t have to stress about making it the night before. My kids loved it so much they’ve already asked me to make a batch for their upcoming joint birthday party. Will absolutely be making this again.
Wait, how long does this keep in the fridge once it’s done carbonating? I want to make a big batch for a camping trip next weekend but don’t want it to go flat or taste off before we leave.
I was so excited to try this because I’ve been chasing that old diner root beer taste for years, but my first batch tasted a little too strongly of wintergreen for my liking. Did I measure wrong, or is there an easy way to dial that back a bit without ruining the whole flavor profile?
This was way easier than I thought it would be for a medium difficulty recipe! I roped my 8 year old into helping measure the ingredients and he thought making our own soda was the coolest thing ever. My only question is: can I use this same base to make other soda flavors, like sarsaparilla or birch beer?
I’ve been trying to cut down on single use plastic soda bottles, so this recipe was a total game changer for our house! I bottled mine in reusable glass swing top bottles, and the flavor is so much better than any canned or bottled root beer I’ve bought in years. It’s perfect for weekly meal prep too, since I can make a big batch on Sunday and have it ready to grab with lunches all week. My husband is already asking when we’re making the next batch so he can bring some to his office happy hour.
Y’all, I served this at our Sunday family dinner last night and even my super traditional grandma (who swears no one makes root beer like her own mom did) said it was the real deal! I did let it carbonate an extra day because we like super fizzy drinks, and it was chef’s kiss. Only note is that if you’re serving it at a party, make a double batch — it goes fast.
Made this last night for movie night with my roommates and we all agreed it’s way better than the fancy craft root beer we usually splurge on at the grocery store. The 15 minute cook time was so quick, I didn’t even have to pause our movie marathon for long to get it going. 10/10, will be replacing our store bought runs with this from now on.