
homemade steak sauce
intro
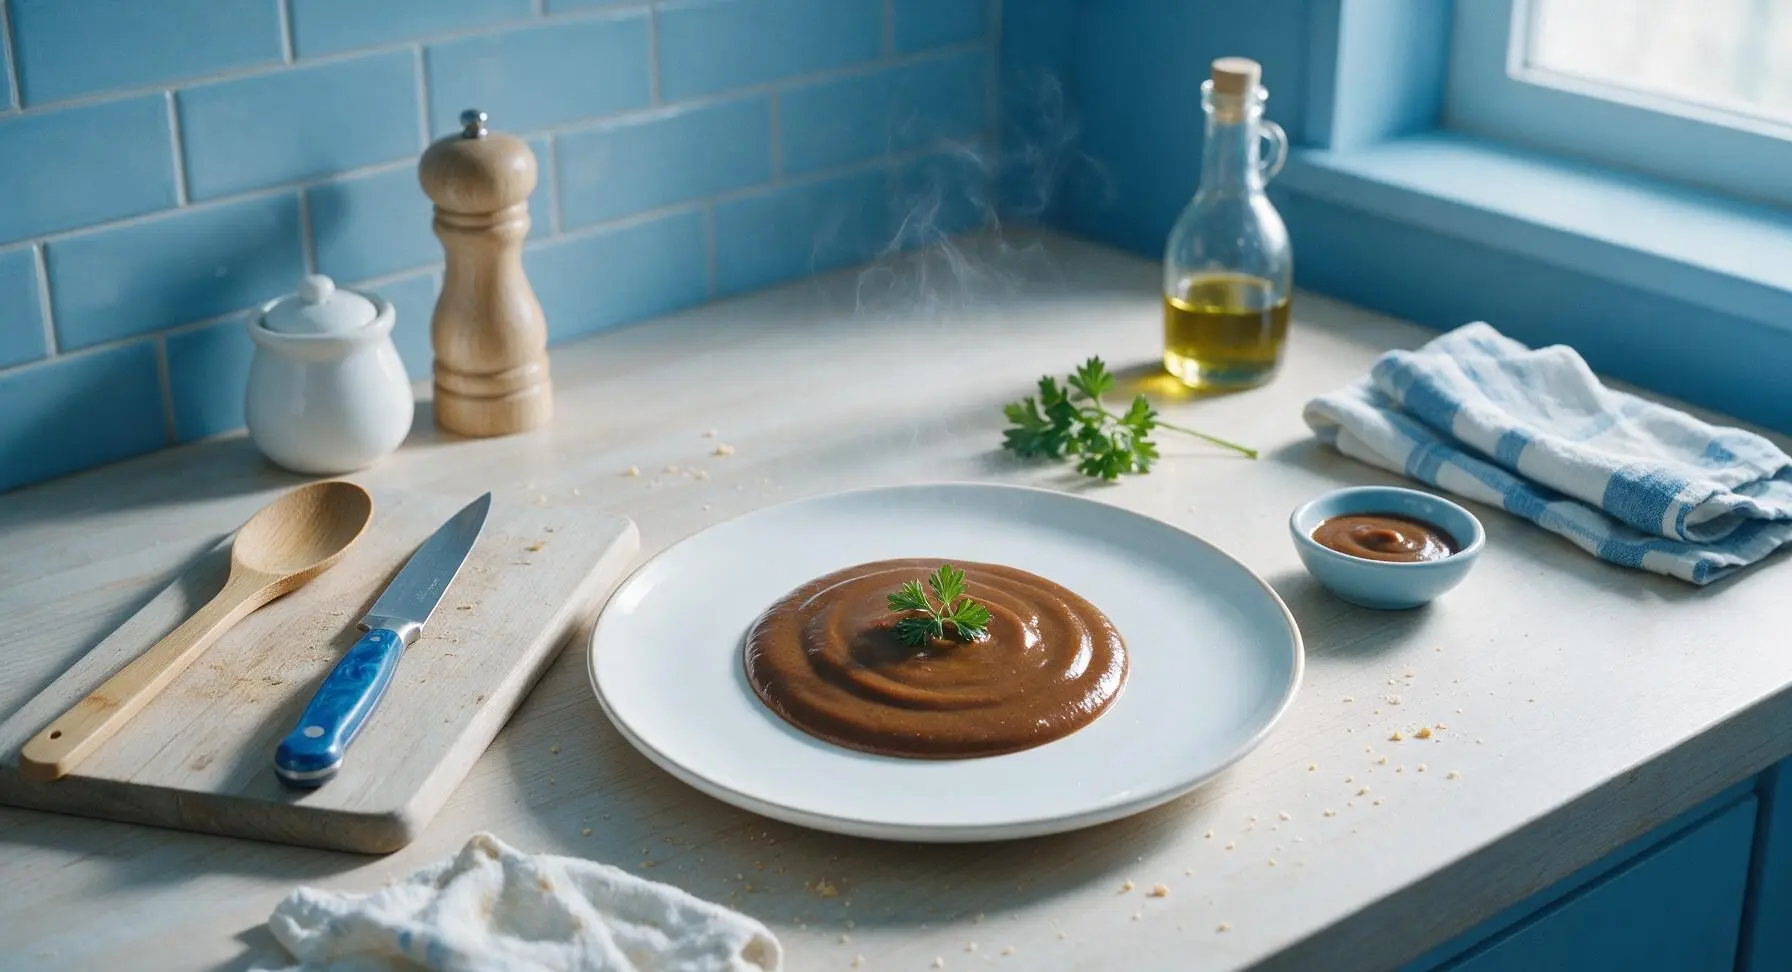
Rich, tangy, umami-packed homemade steak sauce with balanced sweet, smoky, and sharp notes, the perfect upgrade for every bite of summer grilled steak.
Ingredients
Steps
Mince Aromatic Base
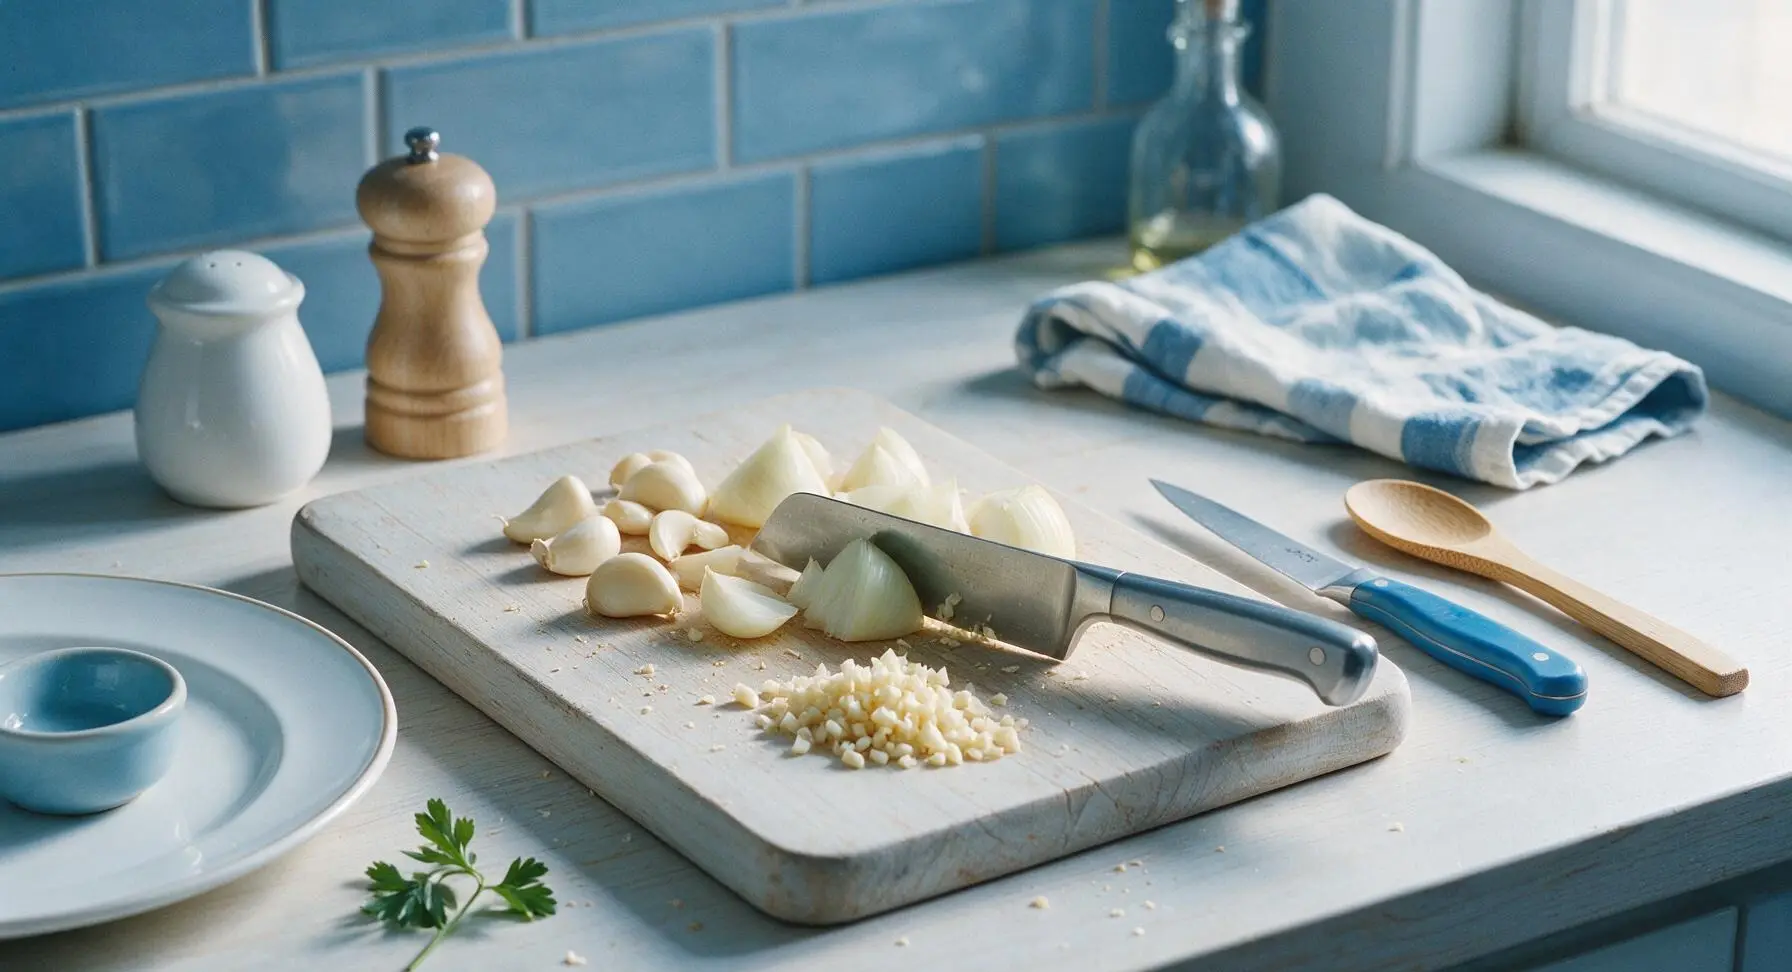
Place the 1/4 cup diced yellow onion and 2 peeled garlic cloves on the light acacia wood cutting board. Using the 7-inch santoku chef knife, finely mince the garlic and chop the onion into uniform 3mm pieces, ensuring no large chunks remain that would create a gritty final sauce texture. Push the prepped aromatics into a small neat pile at the front edge of the cutting board.
Sauté Aromatics Gently
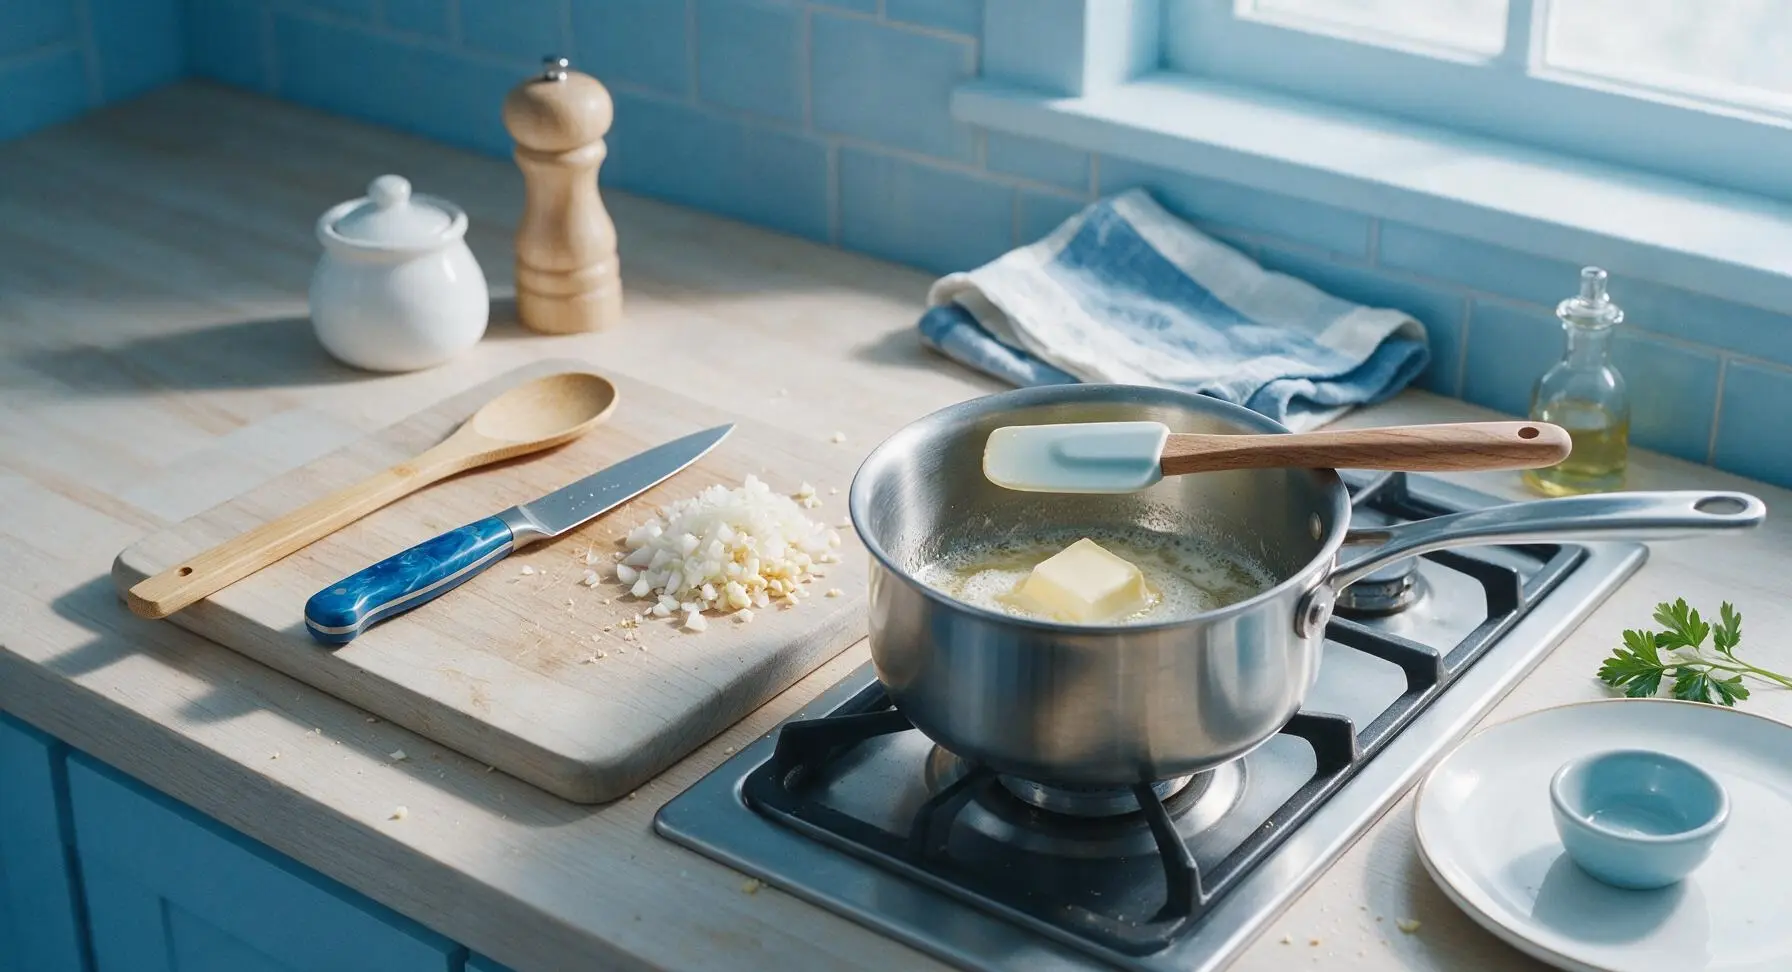
Place the 1.5L heavy-bottomed stainless steel saucepan in its fixed center-right position on the counter stovetop burner over medium-low heat. Add 1 tbsp unsalted butter to the pan; once melted and foaming subsides (about 1 minute), add the prepped minced onion and garlic. Sauté for 3 minutes, stirring occasionally with the maple-handle silicone spatula, until the onion is soft and translucent with no golden browning—browned garlic will give the sauce an unpleasant bitter flavor.
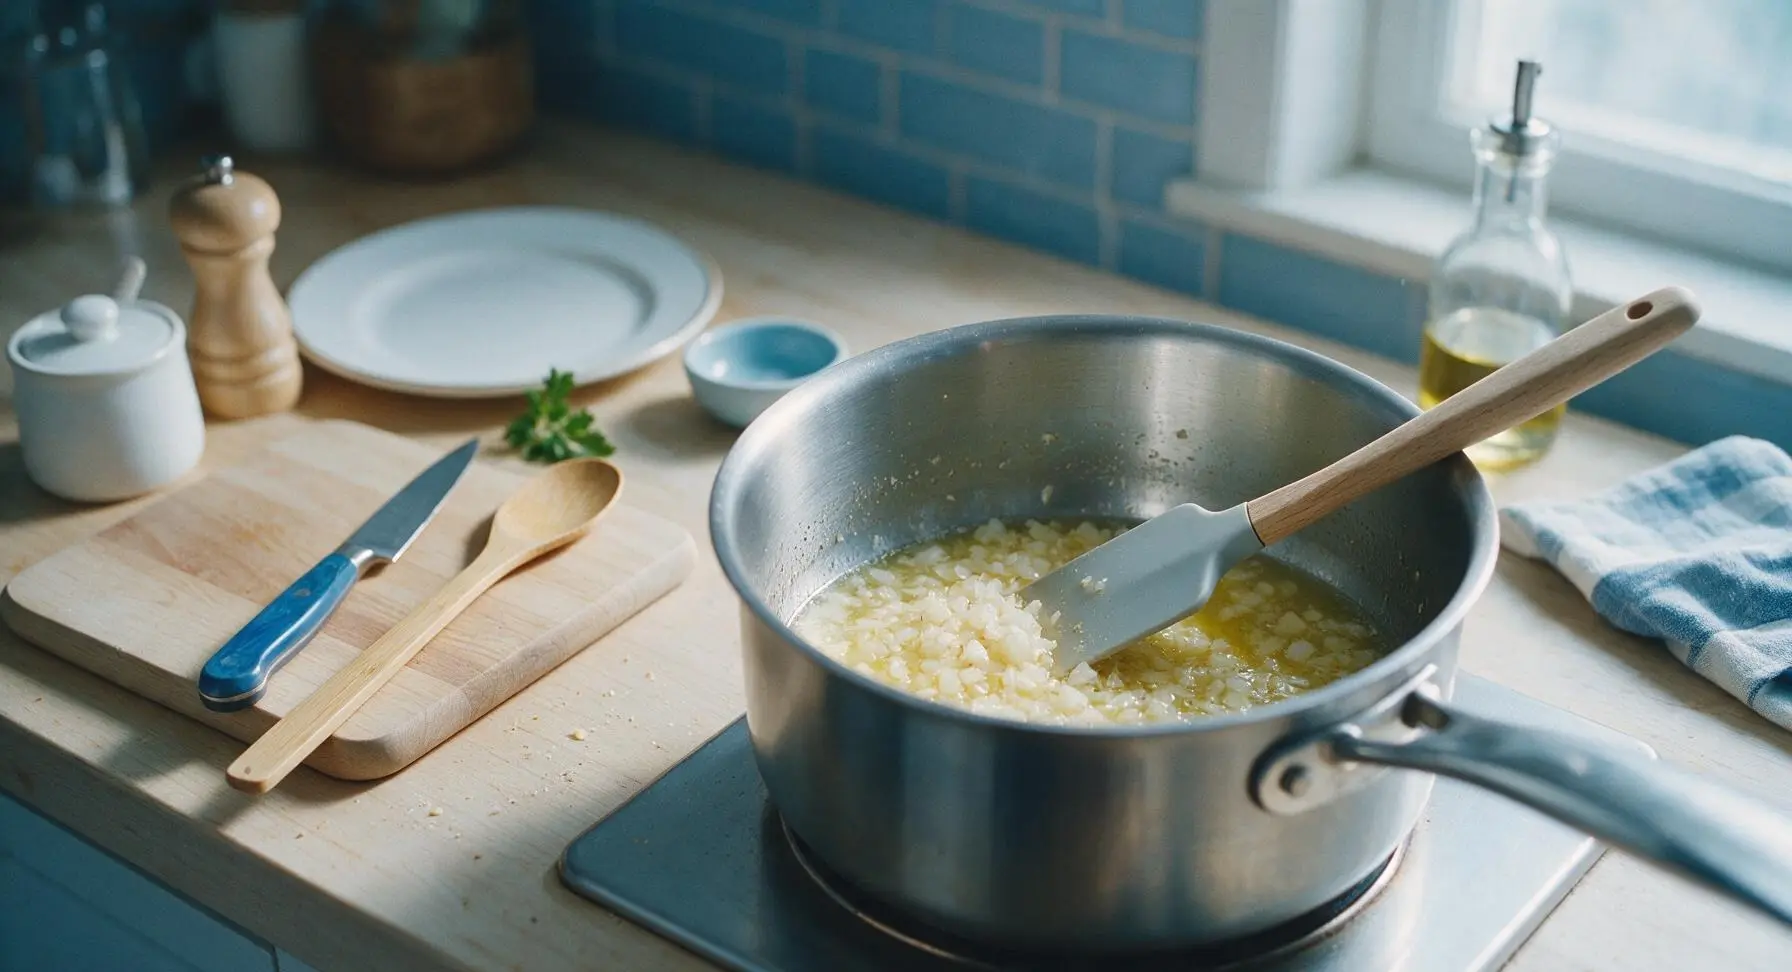
Combine Sauce Base
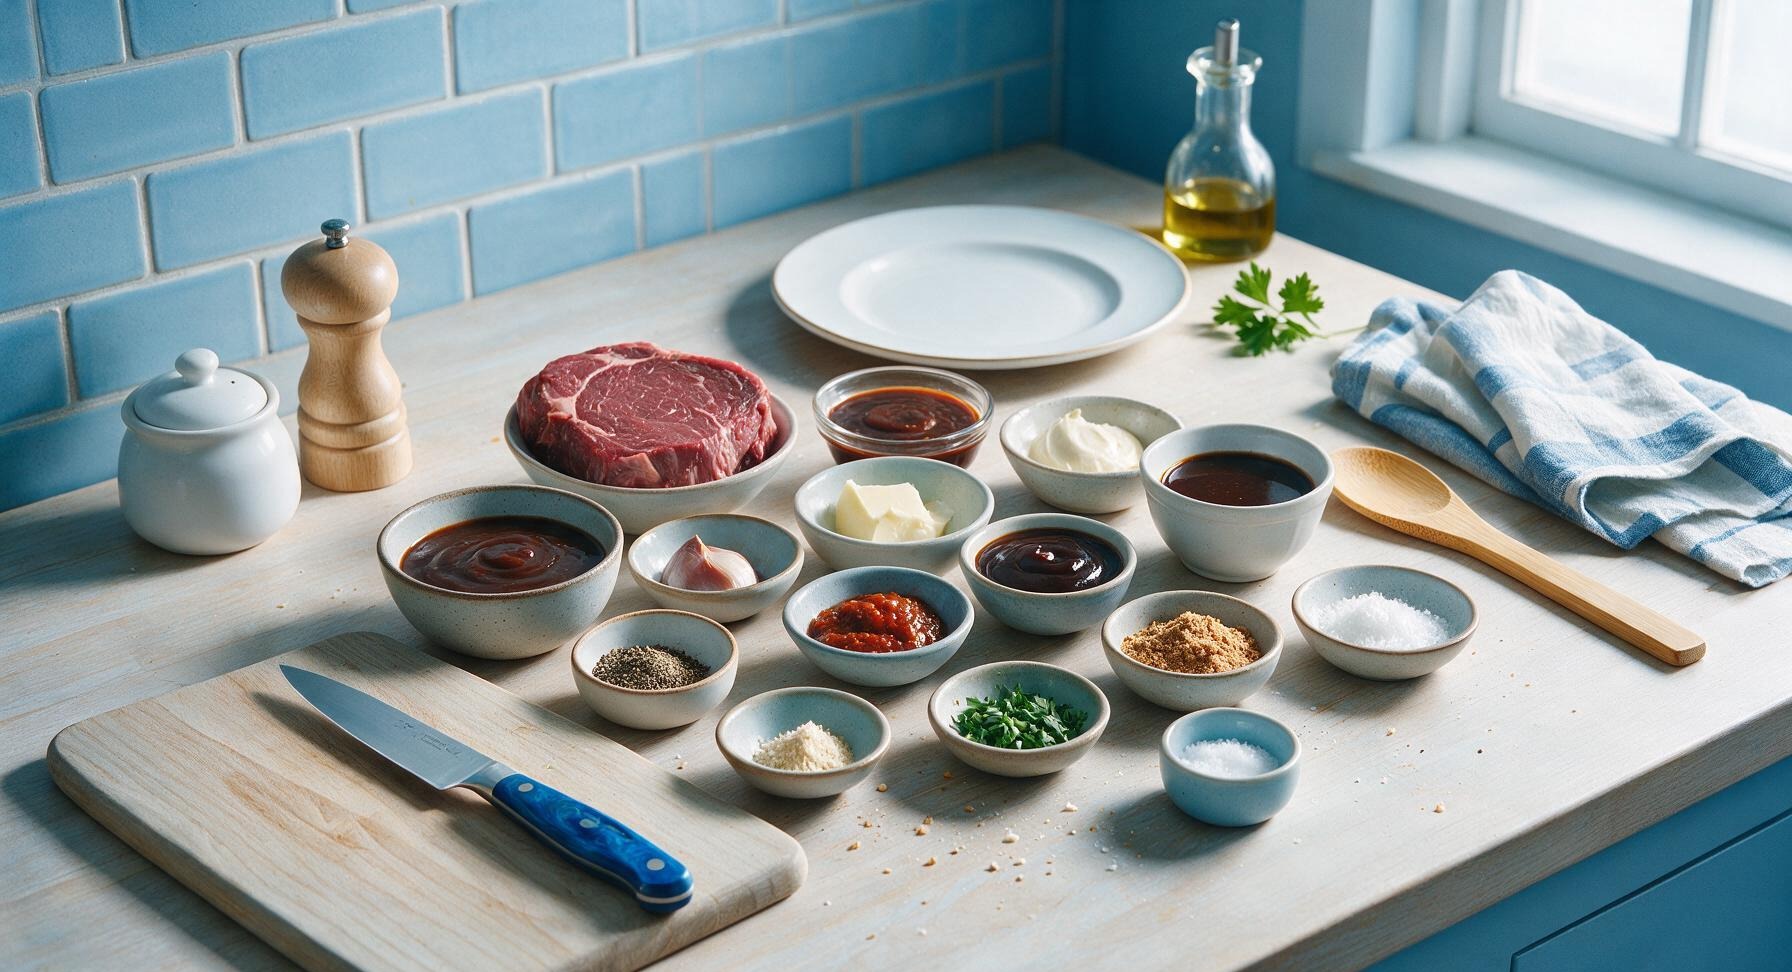
To the saucepan with softened aromatics, add 1 cup tomato ketchup, 3 tbsp Worcestershire sauce, 2 tbsp apple cider vinegar, 2 tbsp packed dark brown sugar, 1 tbsp Dijon mustard, 1 tbsp low-sodium soy sauce, 1 tsp smoked paprika, 1 tsp prepared horseradish, 1/2 tsp freshly ground black pepper, and 1/4 tsp kosher salt. Stir thoroughly with the silicone spatula until all ingredients are fully combined into a uniform deep reddish-brown mixture, with no visible lumps of brown sugar or undissolved mustard.
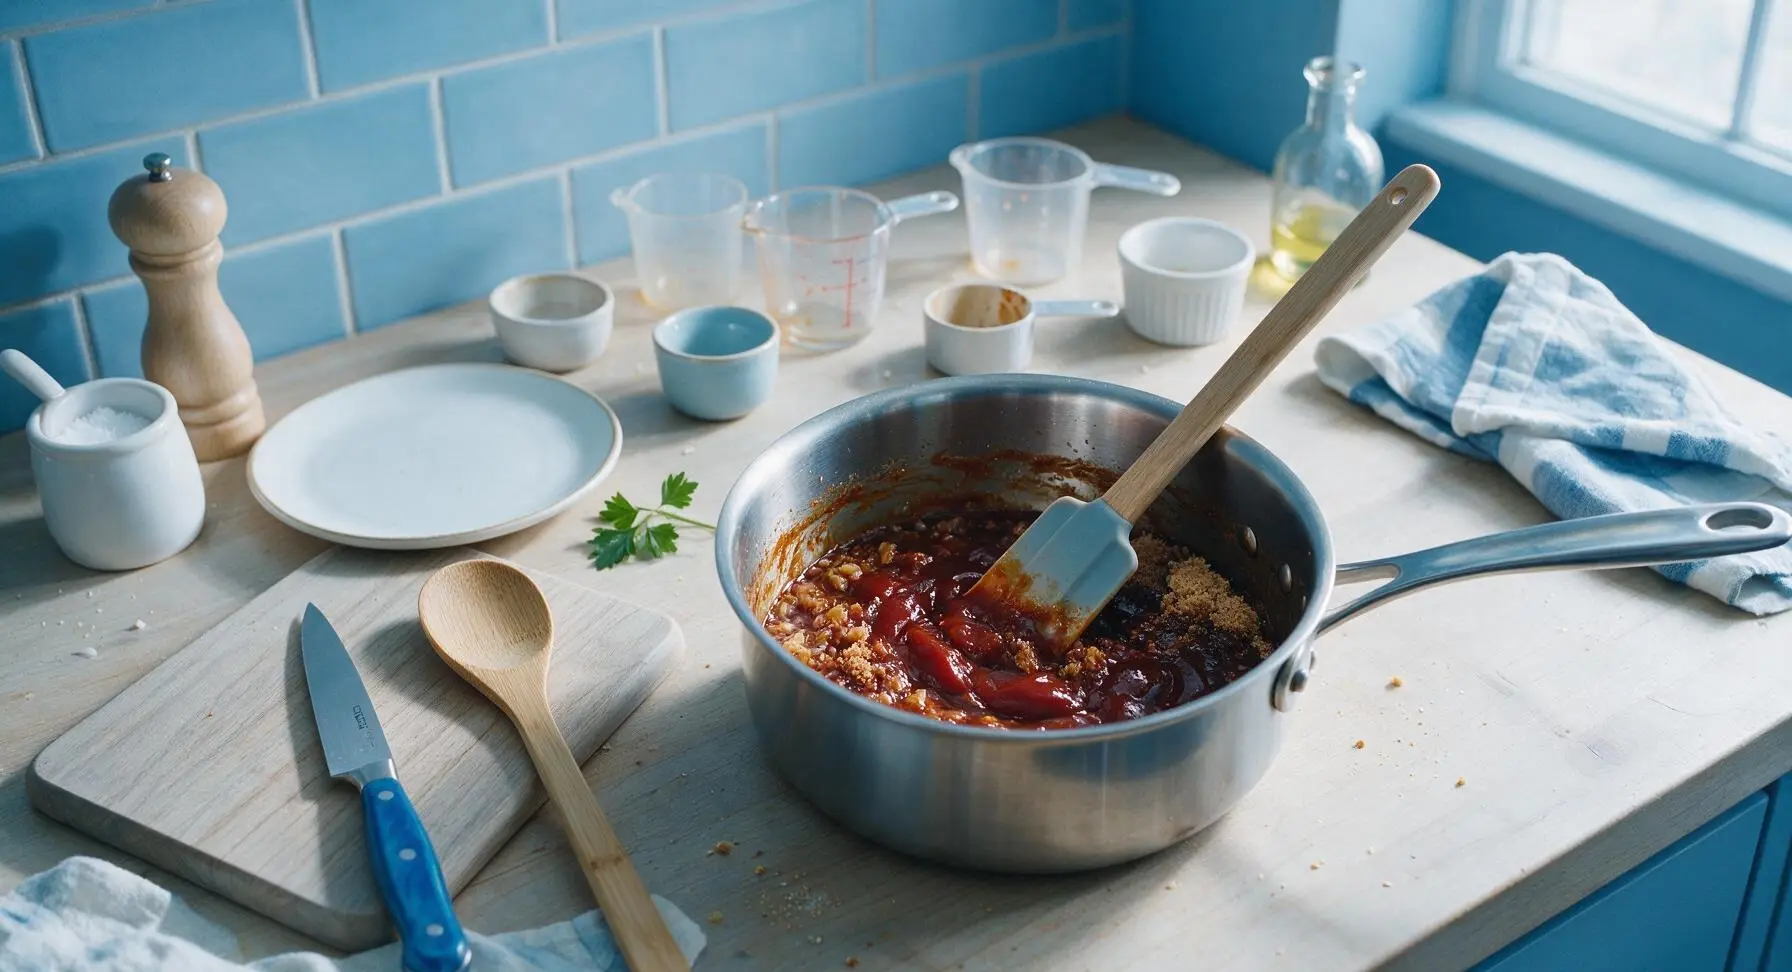
Simmer to Develop Flavor
Bring the sauce mixture to a gentle simmer (small, slow bubbles breaking at the surface, not a violent rolling boil) over medium-low heat, then reduce heat to low to maintain the steady gentle simmer. Cook uncovered for 15 minutes, stirring every 3 minutes with the silicone spatula to prevent sticking on the pan bottom, until the sauce is thick enough to evenly coat the back of the spatula, and the sharp raw vinegar smell has mellowed to a bright, balanced tang. Do not boil rapidly, as this will over-caramelize the sugar and make the sauce overly thick and bitter.
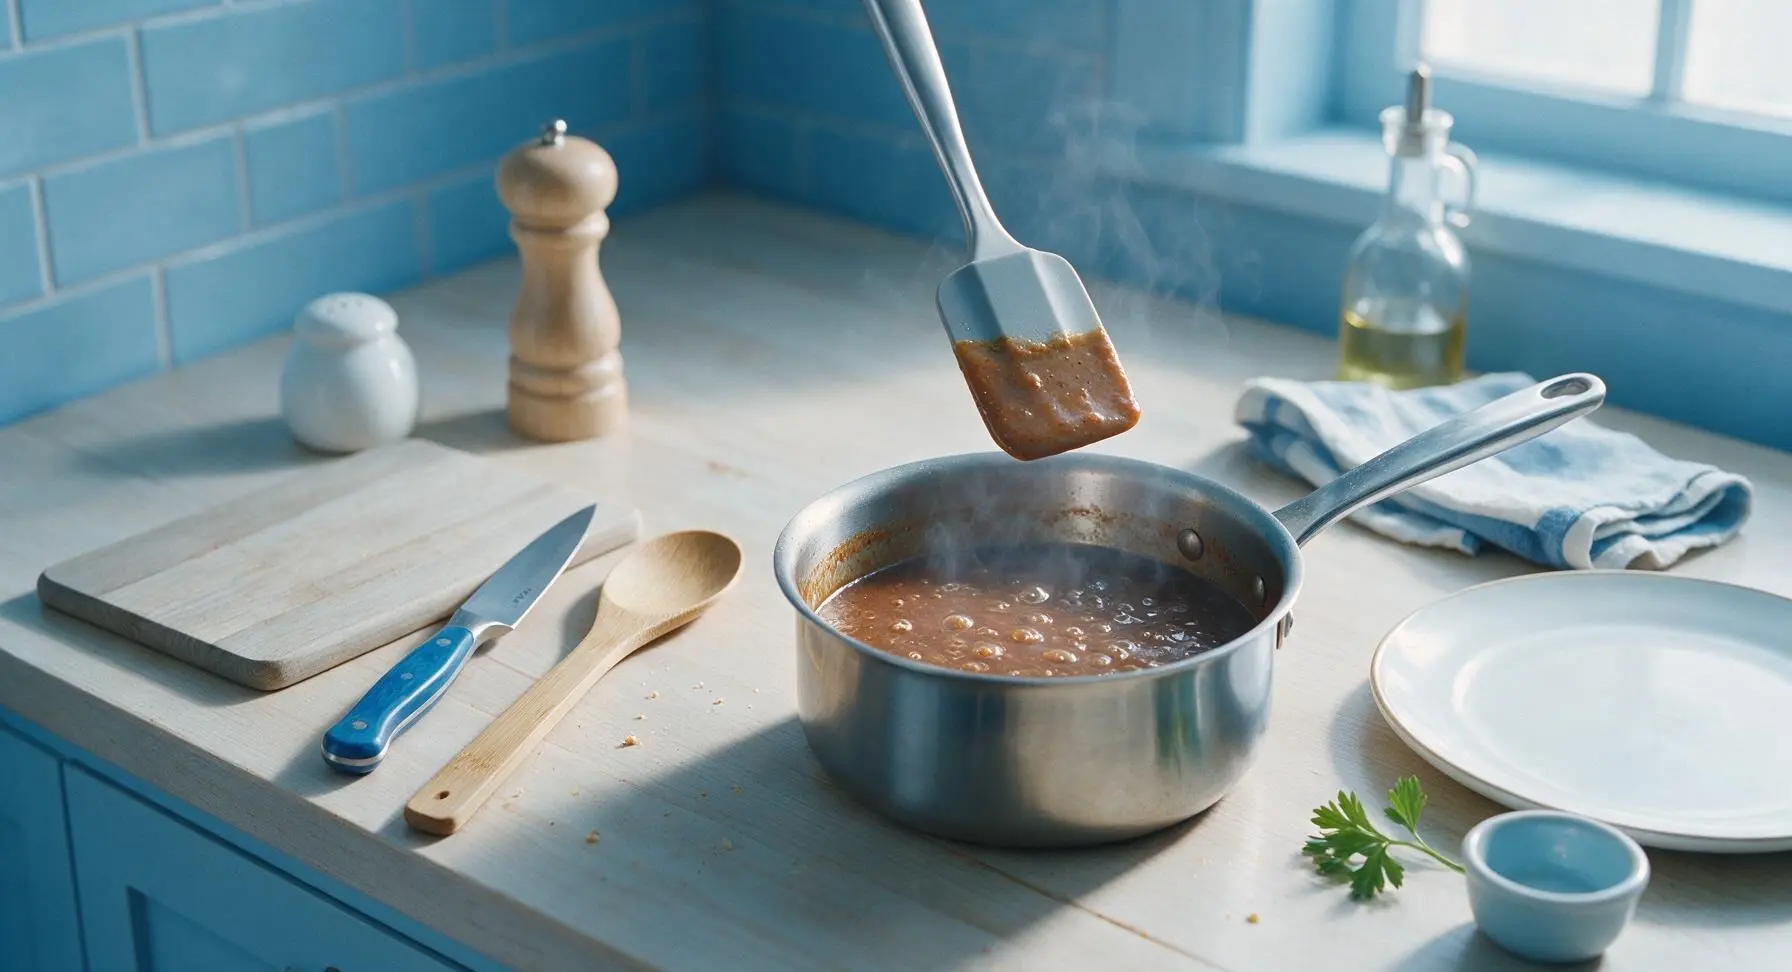
Strain for Silky Texture
Remove the saucepan from heat and let the sauce cool for 5 minutes. Position the 12cm fine-mesh stainless steel strainer in its fixed spot to the right of the saucepan, set over a small heatproof glass container. Pour the warm sauce through the strainer, pressing gently on the trapped soft onion and garlic solids with the silicone spatula to extract all smooth liquid, leaving the fibrous solids behind in the strainer to discard. This step creates a restaurant-smooth, lump-free sauce texture.
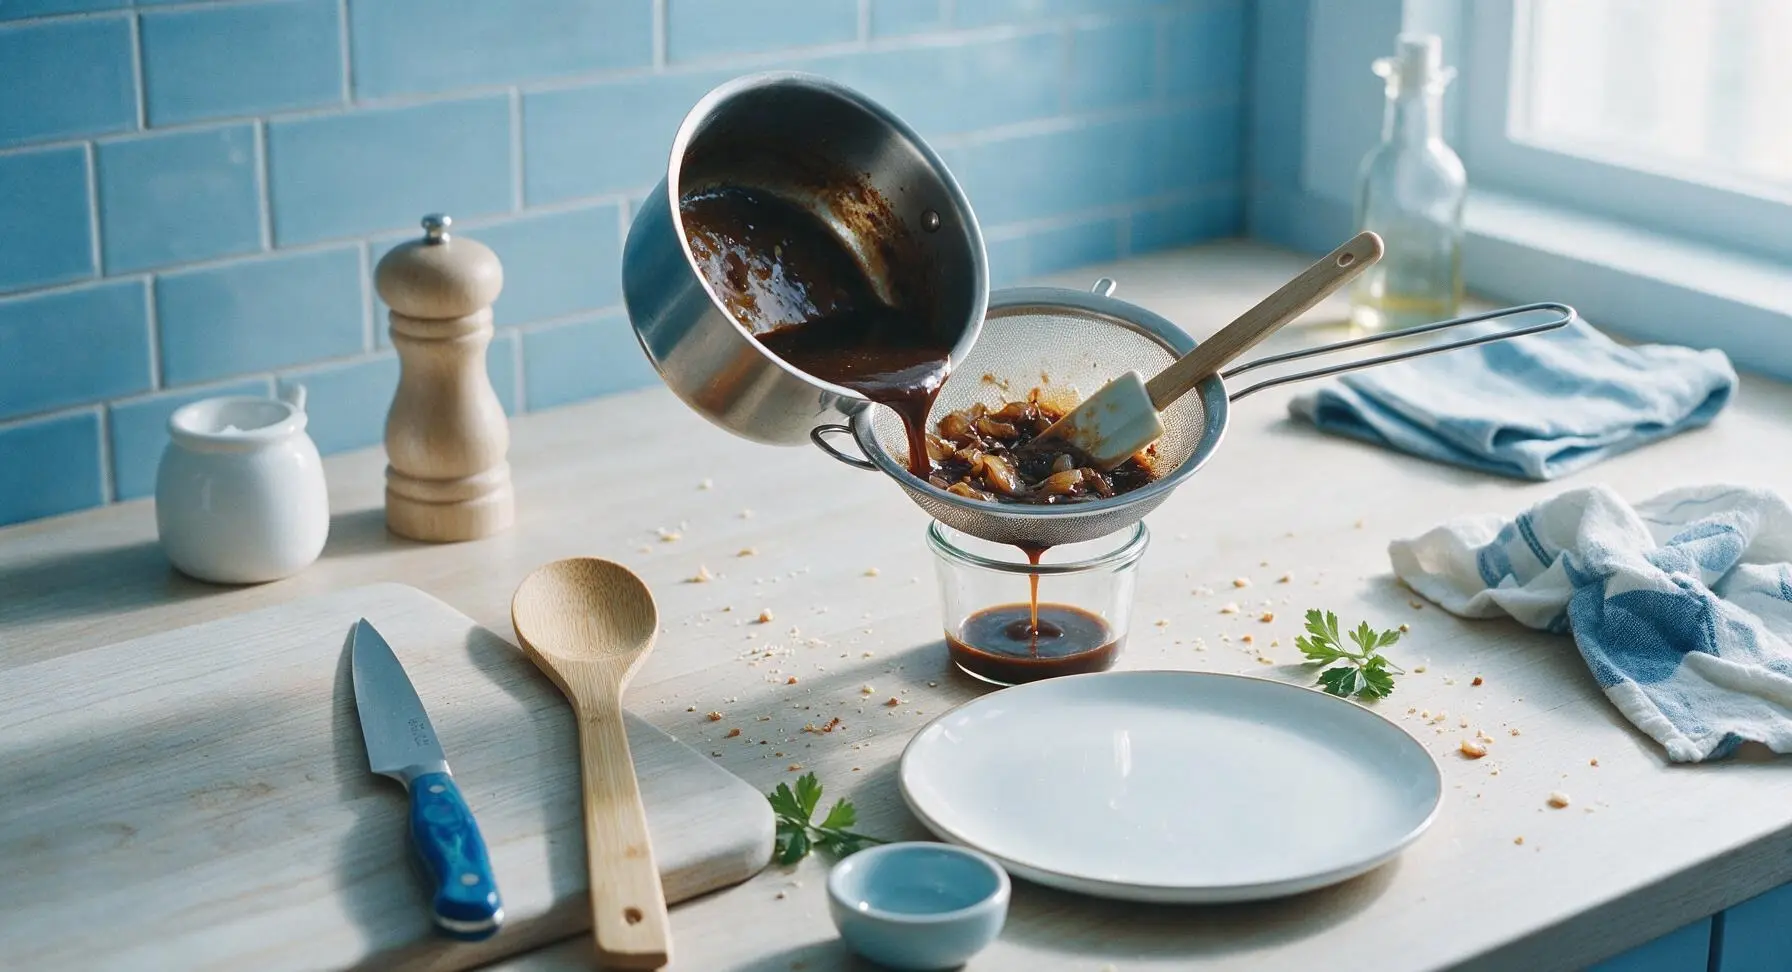
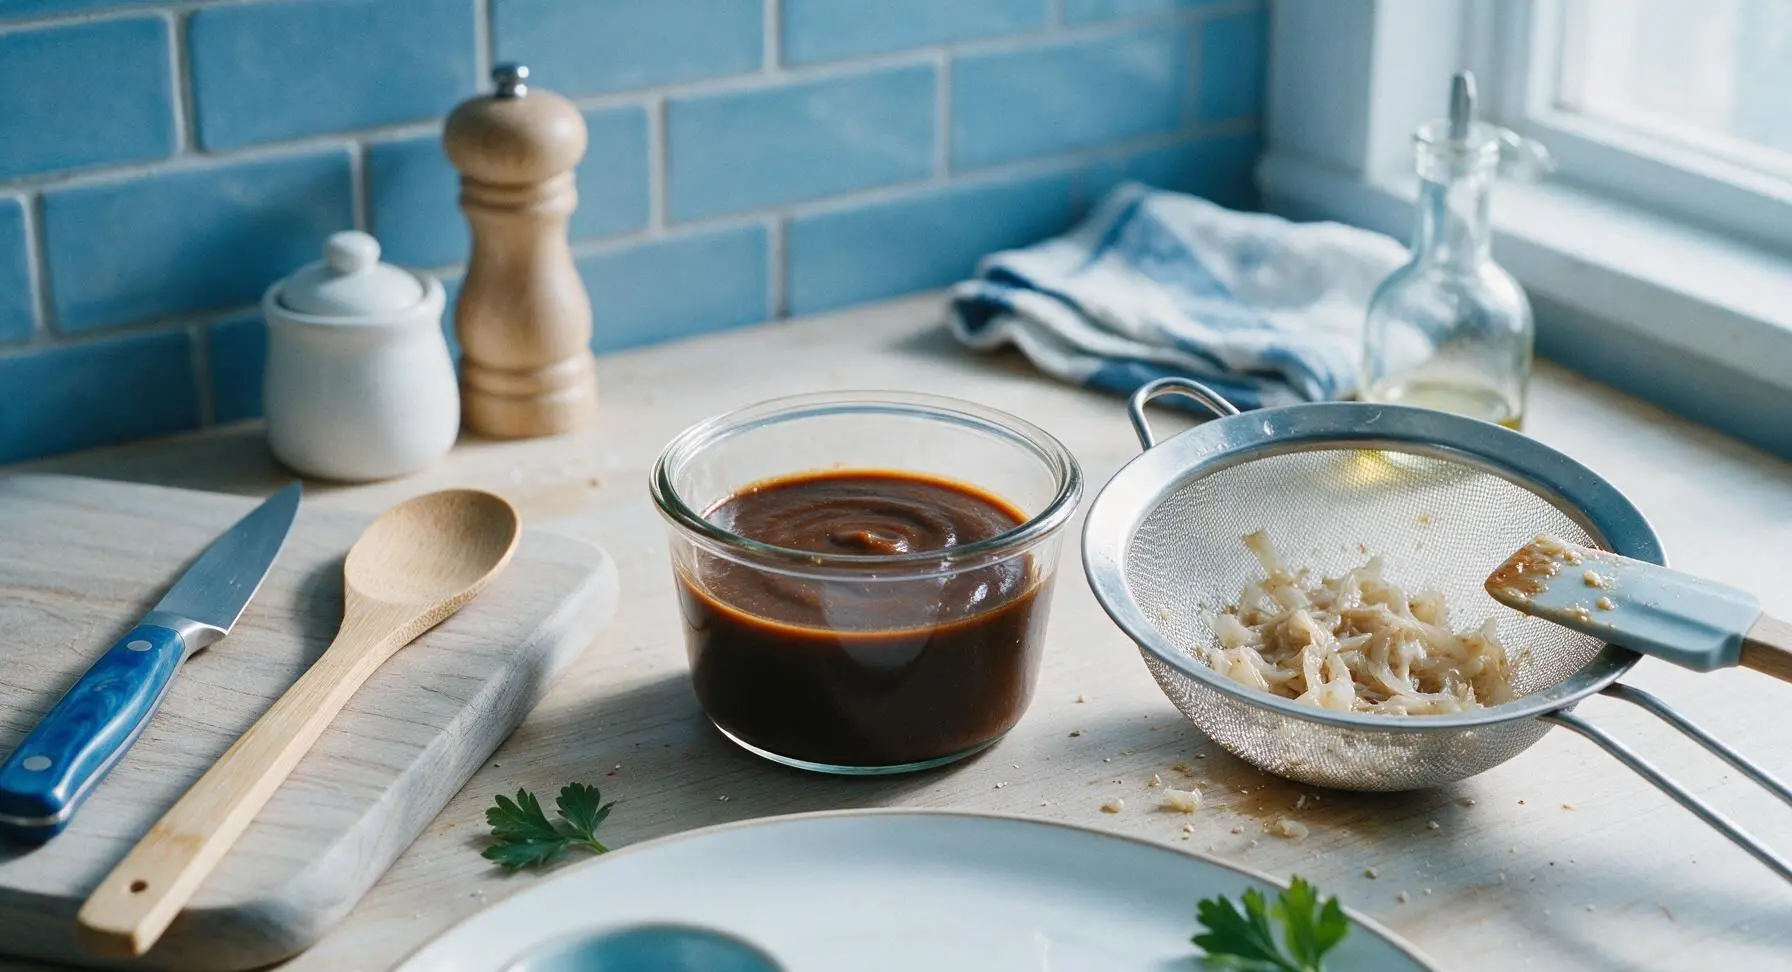
Taste and Adjust Seasoning
Let the strained sauce cool for 10 minutes to room temperature, then taste to adjust seasoning. Add an extra 1/4 tsp black pepper for more sharp heat, a pinch more brown sugar if the tang is too sharp, or 1/4 tsp extra apple cider vinegar if the sauce is too sweet, stirring to fully combine any additions. Note that the sauce will thicken slightly more as it cools completely.
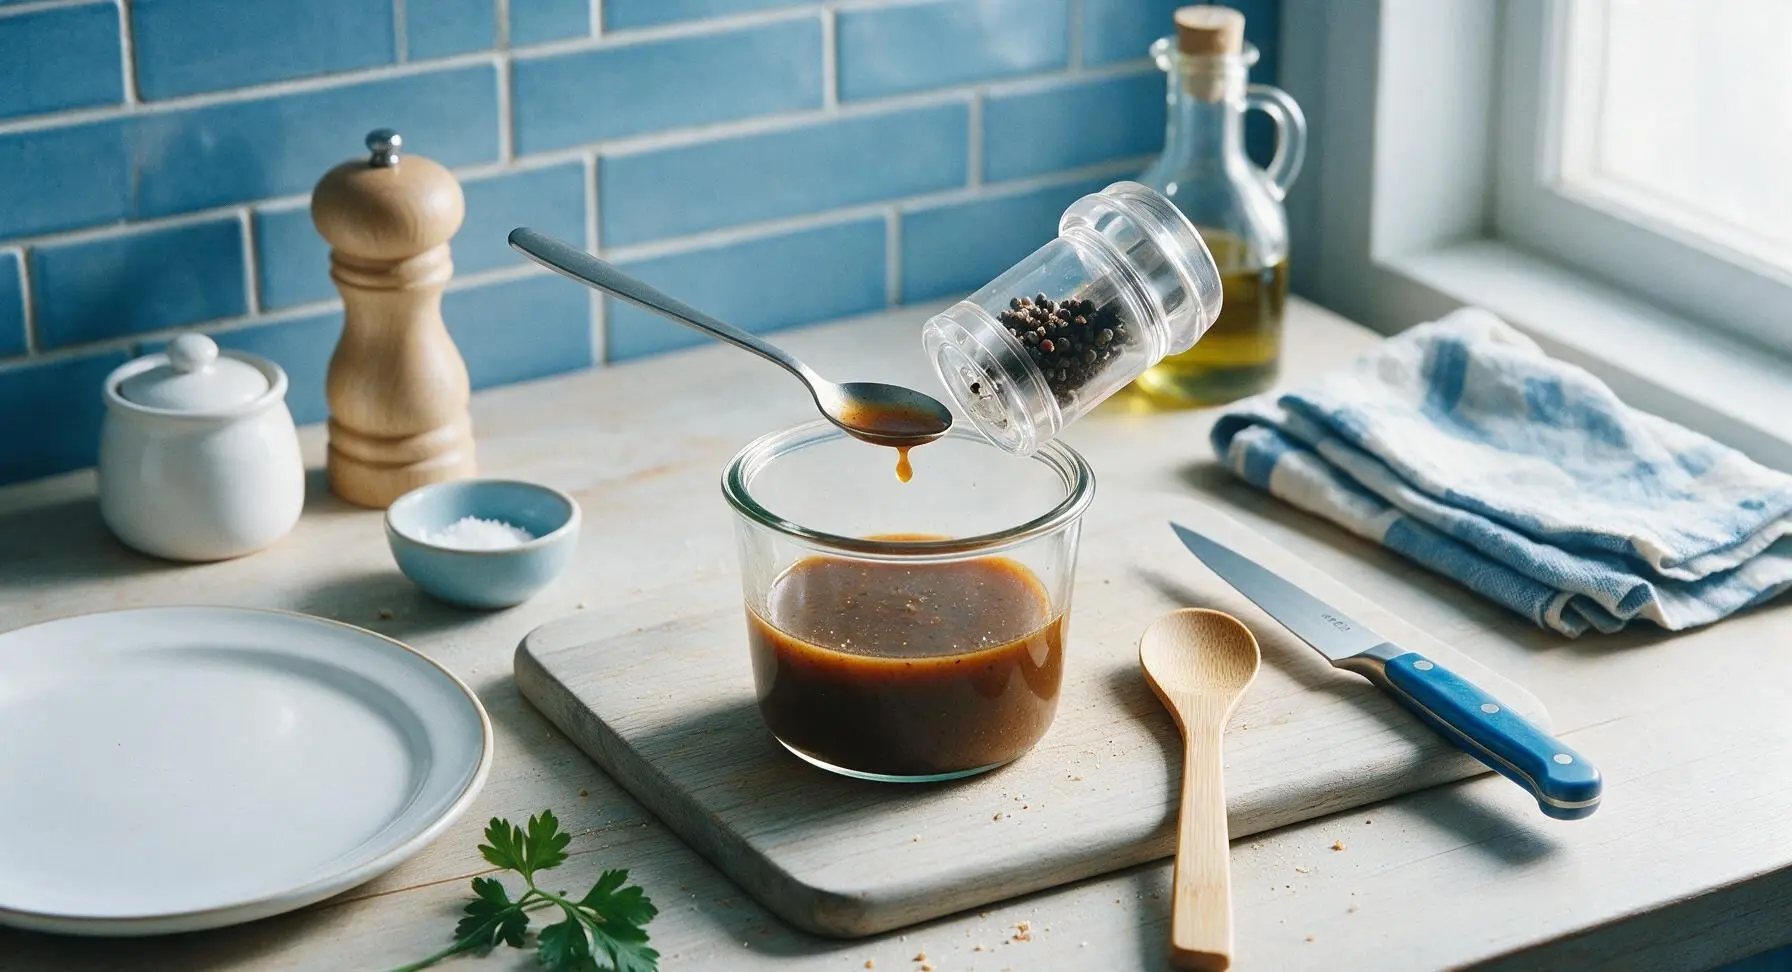
Plate and Serve
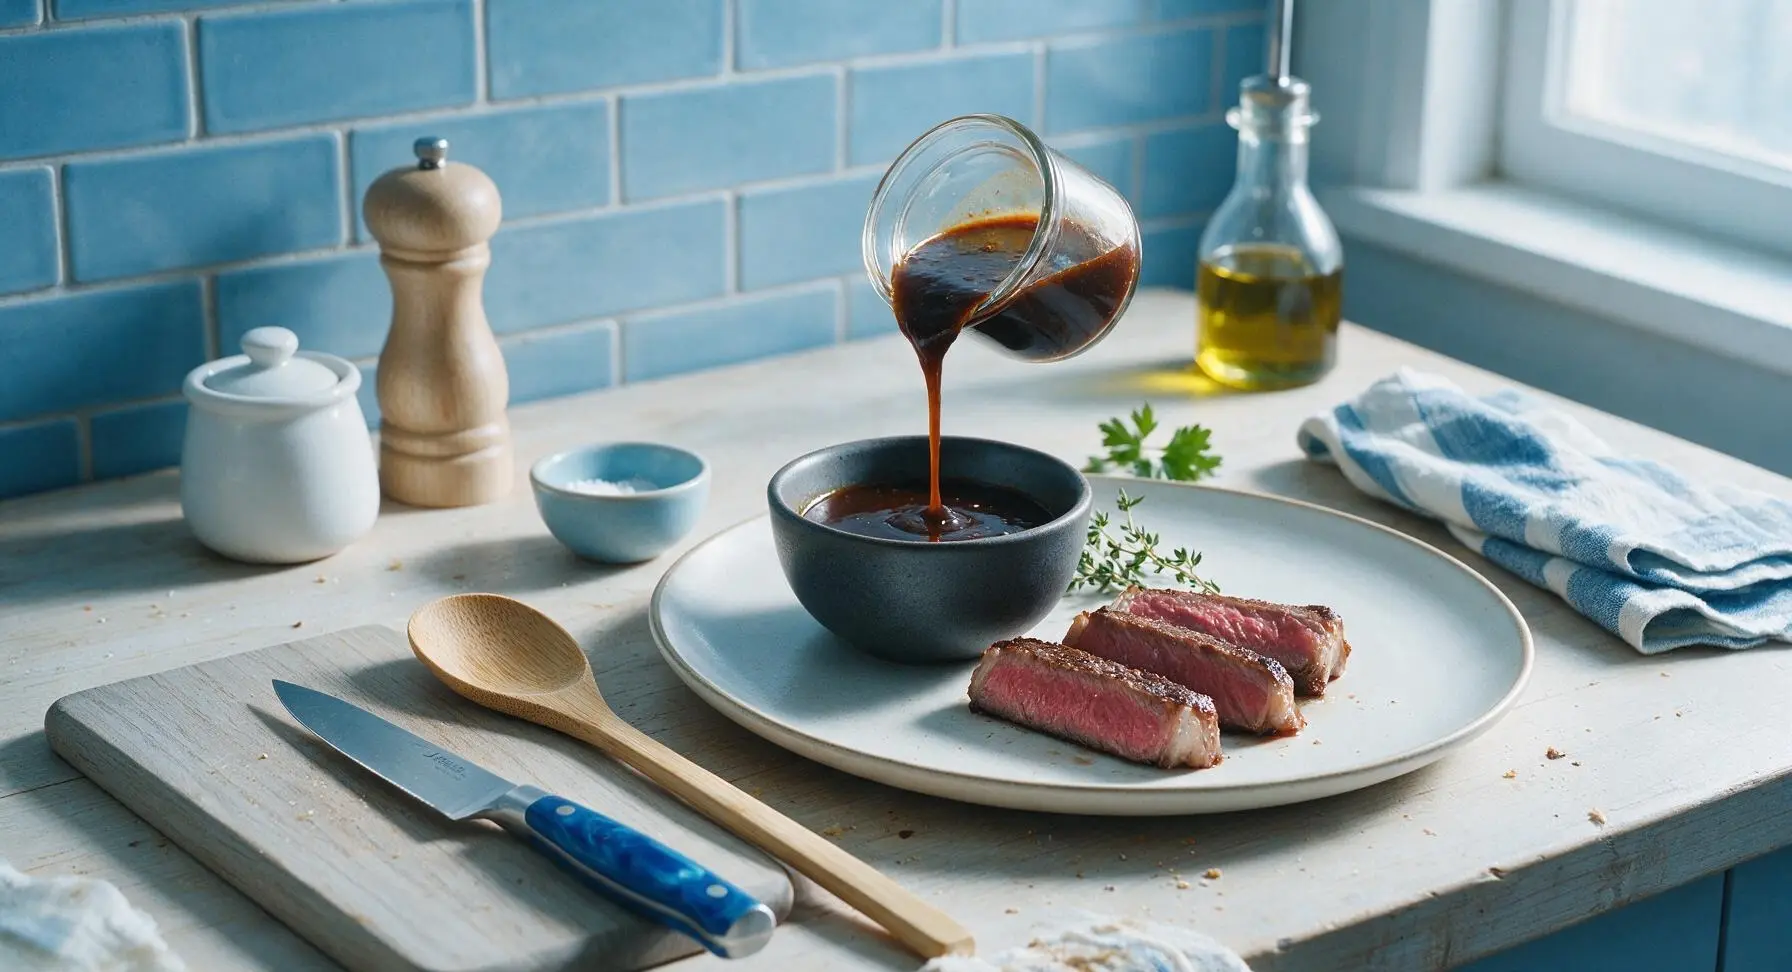
Pour the finished, seasoned steak sauce into the small matte charcoal gray ceramic sauce bowl. Set the bowl on the matte off-white ceramic dinner plate alongside 3 slices of freshly grilled medium-rare strip steak, drizzle a thin line of sauce across the seared steak surfaces, and tuck a fresh thyme sprig next to the bowl as a garnish. Serve immediately alongside grilled steak, roasted vegetables, or crispy fries. Leftover cooled sauce can be stored in an airtight glass jar in the refrigerator for up to 2 weeks.
Tips
2.Don’t skip straining for texture: Even finely minced onion and garlic will leave tiny gritty bits in the finished sauce if left unstrained. Pressing gently on the solids extracts all the deep aromatic flavor without pushing fibrous bits through, creating the silky smooth texture of premium steakhouse sauce.
3.Taste for seasoning only after the sauce cools: Warm sauce tastes sharper and more tangy, and less sweet, than cooled sauce. Adjusting seasoning while the sauce is hot will often lead to an overly sweet, unbalanced final product once it reaches room temperature or is chilled for storage.






OMG this homemade steak sauce is a total game changer! I made it for our Sunday family dinner to pair with grilled ribeyes, and even my super picky 10-year-old asked for extra to dip his crispy fries in. It’s way brighter and more flavorful than the grocery store brand we’ve bought for years, and it was so easy to throw together in 20 minutes flat. 10/10, I’ll be whipping up a batch for every neighborhood cookout this summer!
Really solid steak sauce recipe! I loved the tangy, slightly sweet flavor, but I found it a touch too vinegary for my taste when I made it last weekend for our potluck. Has anyone tried cutting the vinegar with a little extra brown sugar to mellow it out? Still way better than spending $8 a bottle on the fancy stuff at the store, for sure.
SO good! I whipped up a double batch of this on Sunday for my weekly meal prep, and it’s been perfect on steak, grilled chicken, even roasted veggies all week. I added a pinch of smoked paprika on a whim and wow, that little extra smoky kick is chef’s kiss. No more sad, overpriced store-bought sauce for me!
Made this last night for t-bone steaks on the patio with my wife and two teen boys, and everyone raved. I’ve tried a bunch of homemade steak sauce recipes over the years and this one is by far the easiest, no weird hard-to-find ingredients needed. My youngest said it tastes better than the steakhouse sauce we get when we go out for birthdays — that’s the highest praise I can get!
Just finished making this and wow, my whole apartment smells amazing! I was worried it would be complicated since I’m still pretty new to cooking, but the steps were so straightforward even I didn’t mess it up. Can’t wait to pour it over the sirloin I’ve got resting right now!
This sauce was such a hit at my camping trip cookout this past weekend! I made a batch ahead of time and packed it in a mason jar, and everyone at the campsite was asking me for the recipe. It held up great even without being refrigerated for a few hours, which was a total win. 10/10 for camping meals too!