
homemade stew
intro
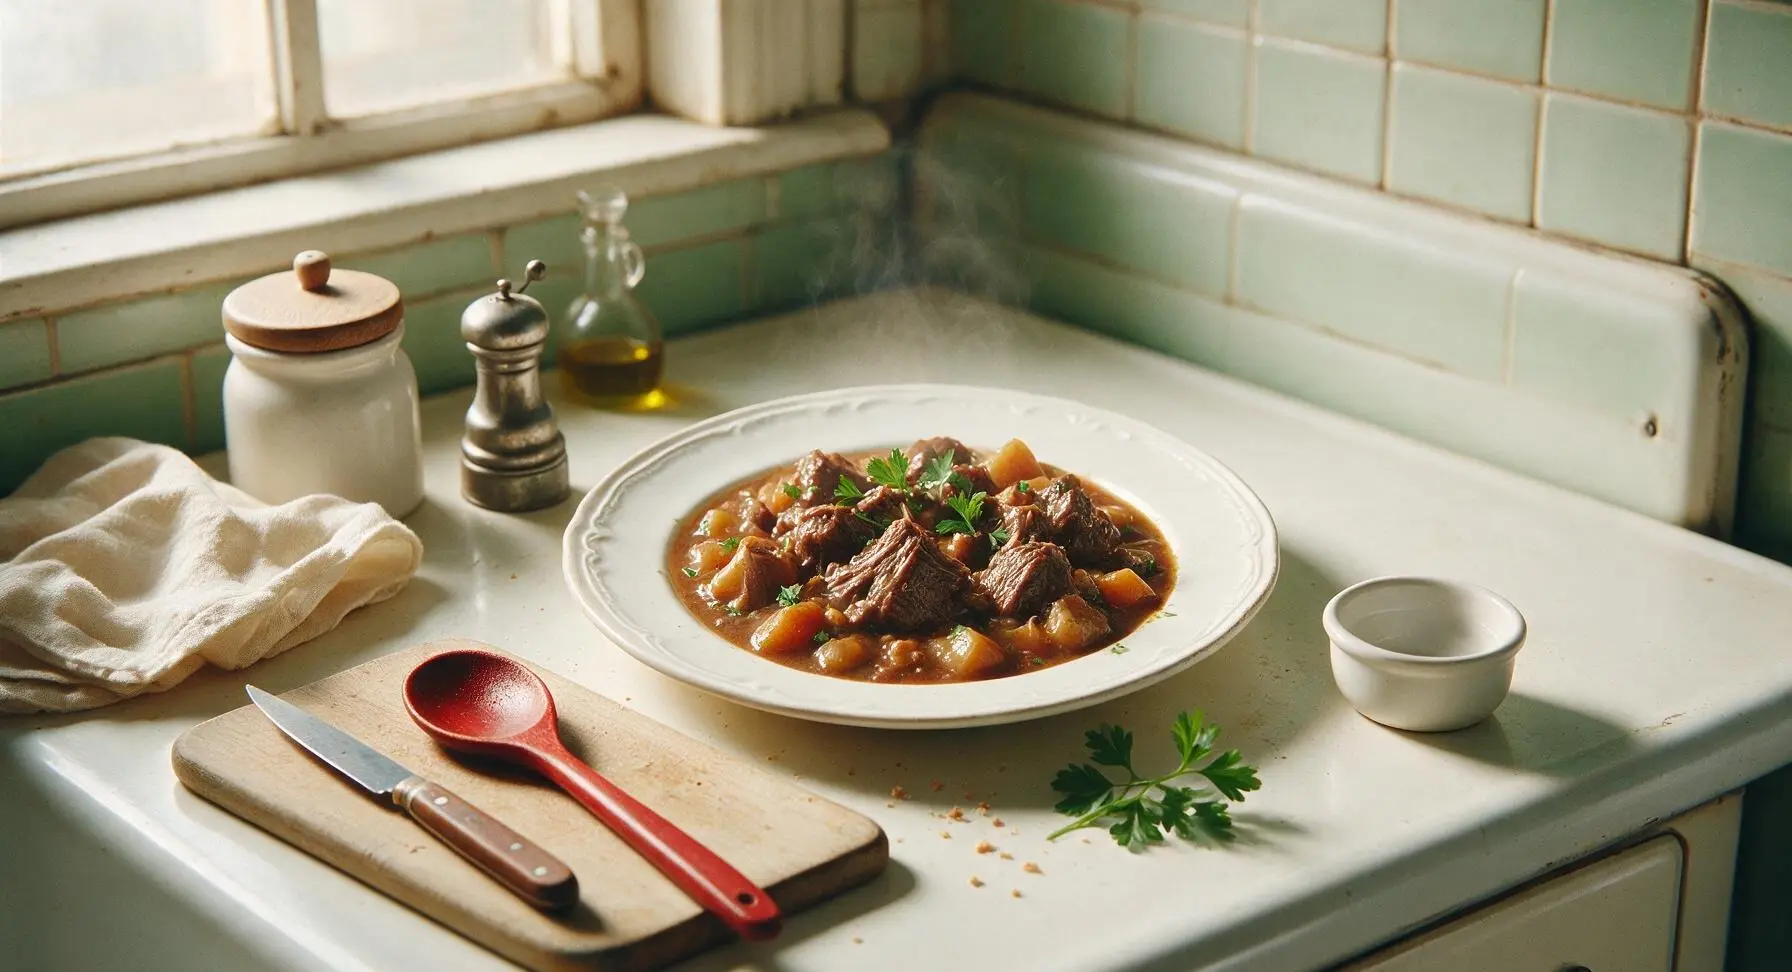
Tender fall-apart beef, soft root vegetables, and rich glossy gravy slow-simmered for deep, cozy flavor—pure comfort for cold winter days with family.
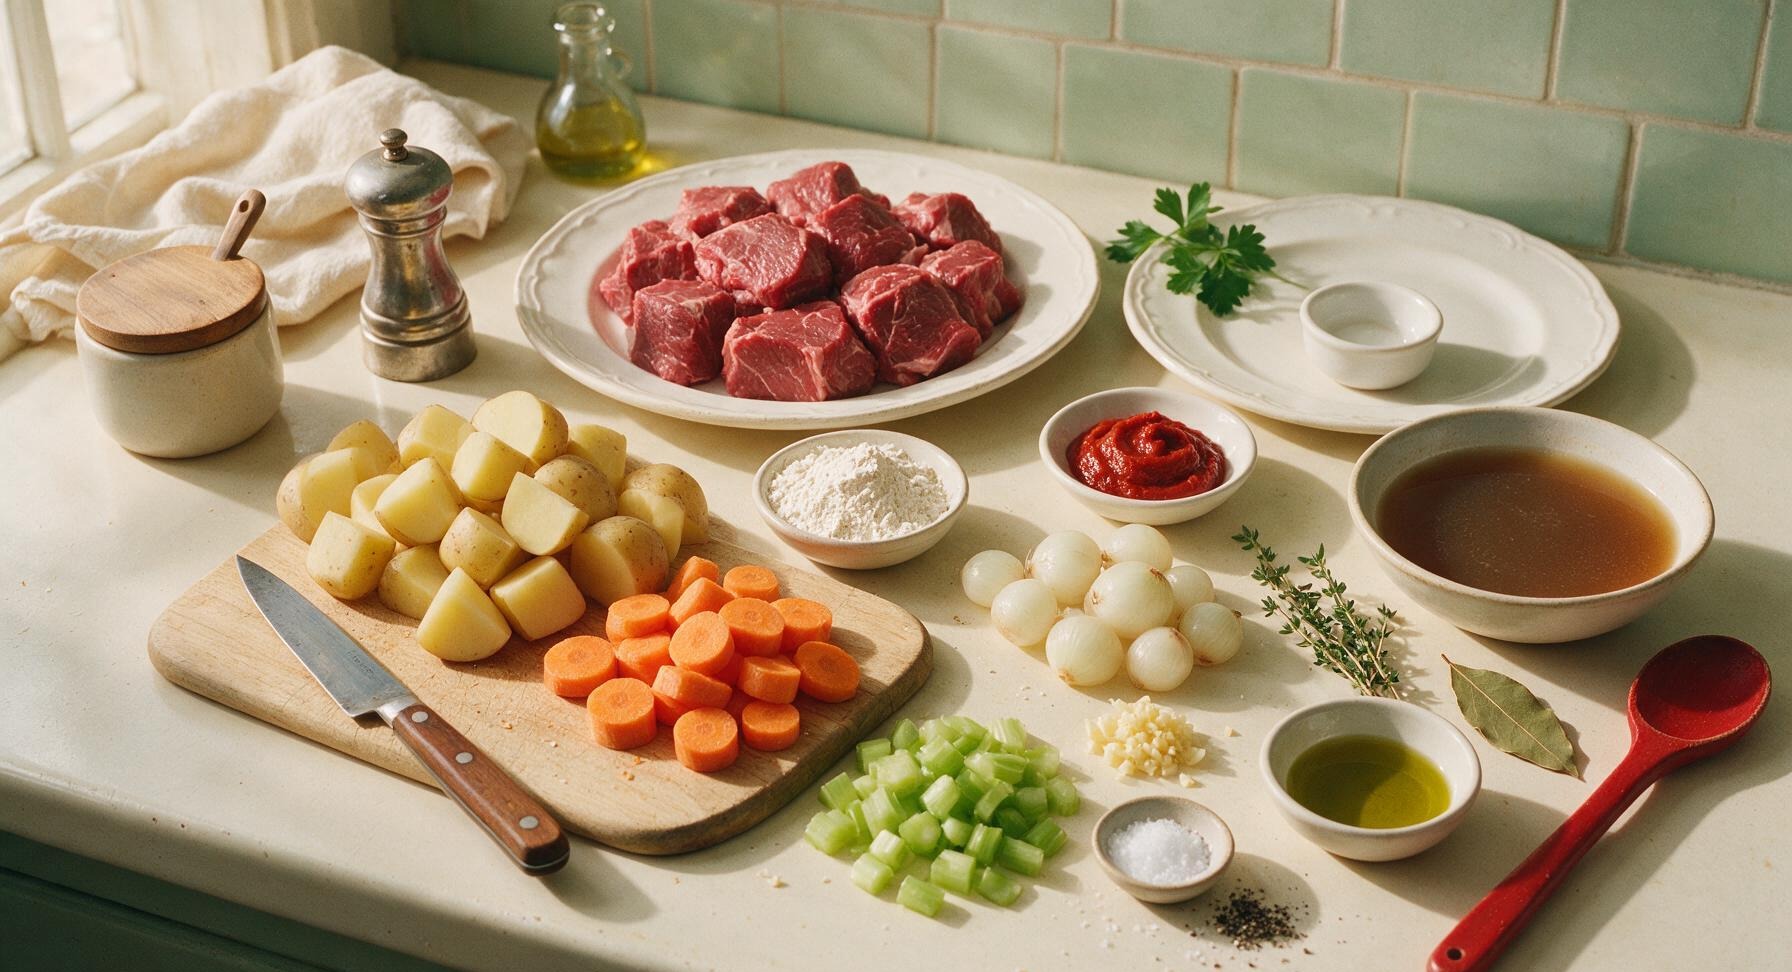
Ingredients
Steps
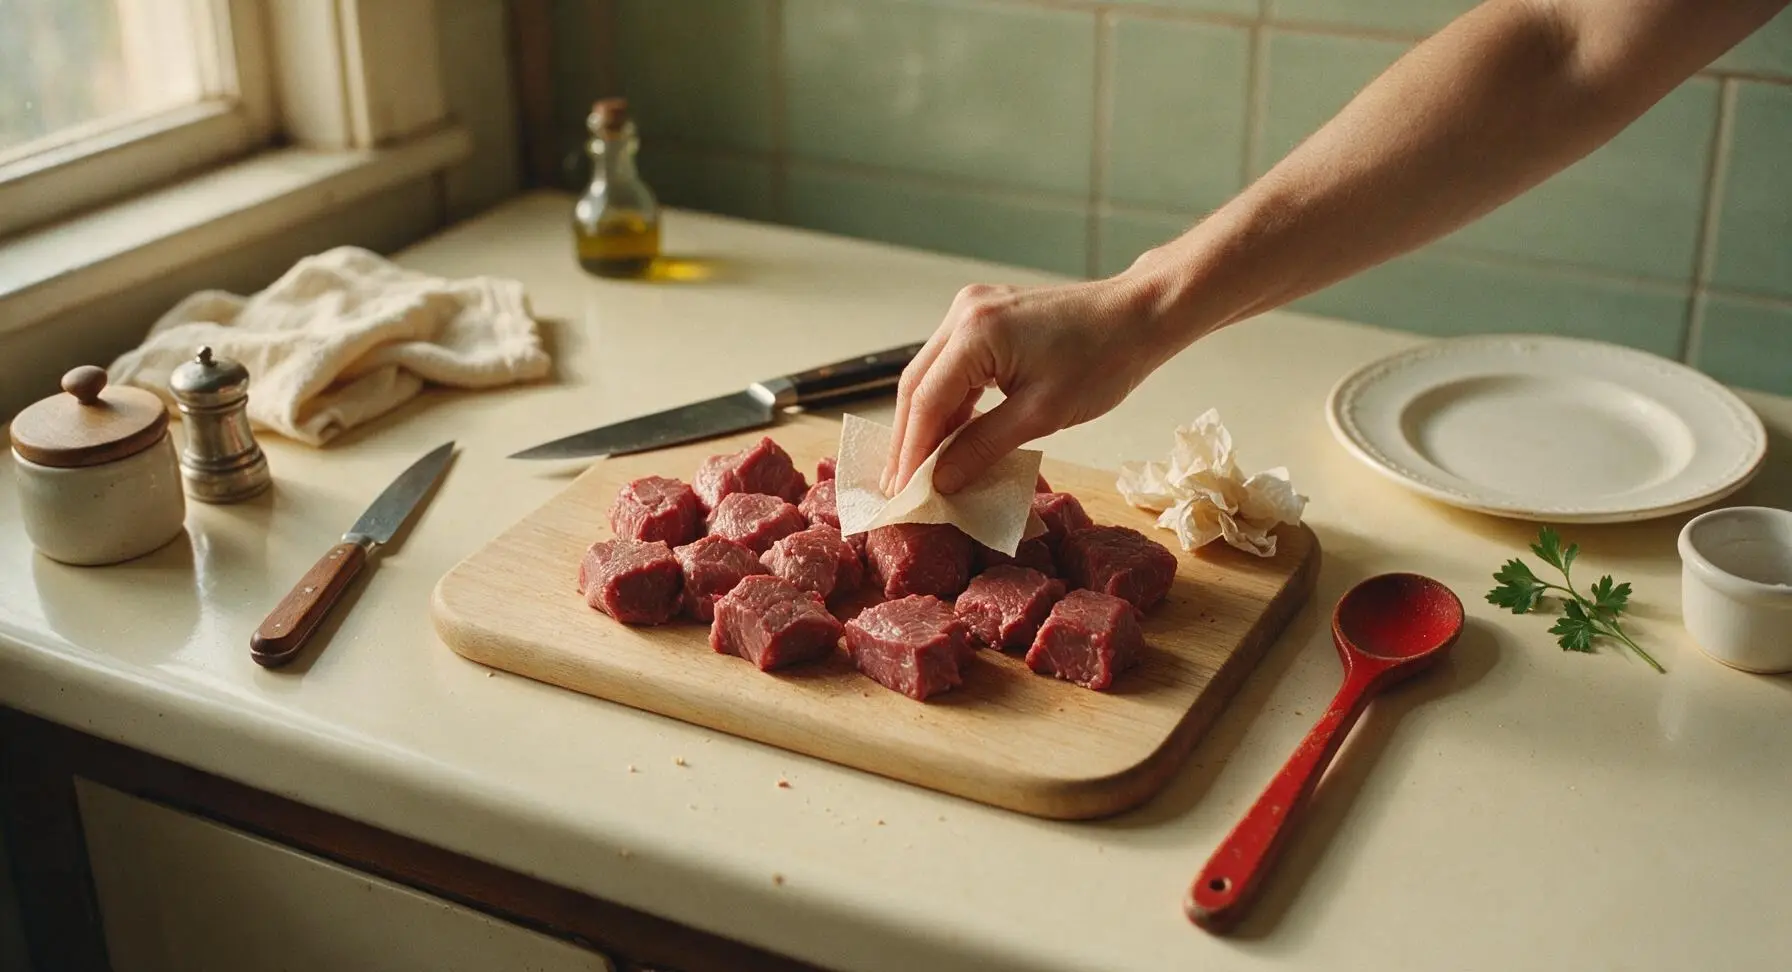
Pat Beef Dry
Place the cubed beef chuck on the maple cutting board. Tear sheets from the unbleached paper towel roll to firmly pat every surface of the beef cubes completely dry, removing all excess surface moisture. Season all sides evenly with 1 teaspoon of kosher salt and ½ teaspoon of freshly ground black pepper. Discard crumpled used paper towels. Visual cue: beef will have a matte, dry surface with no wet sheen, allowing for a crisp, even sear.
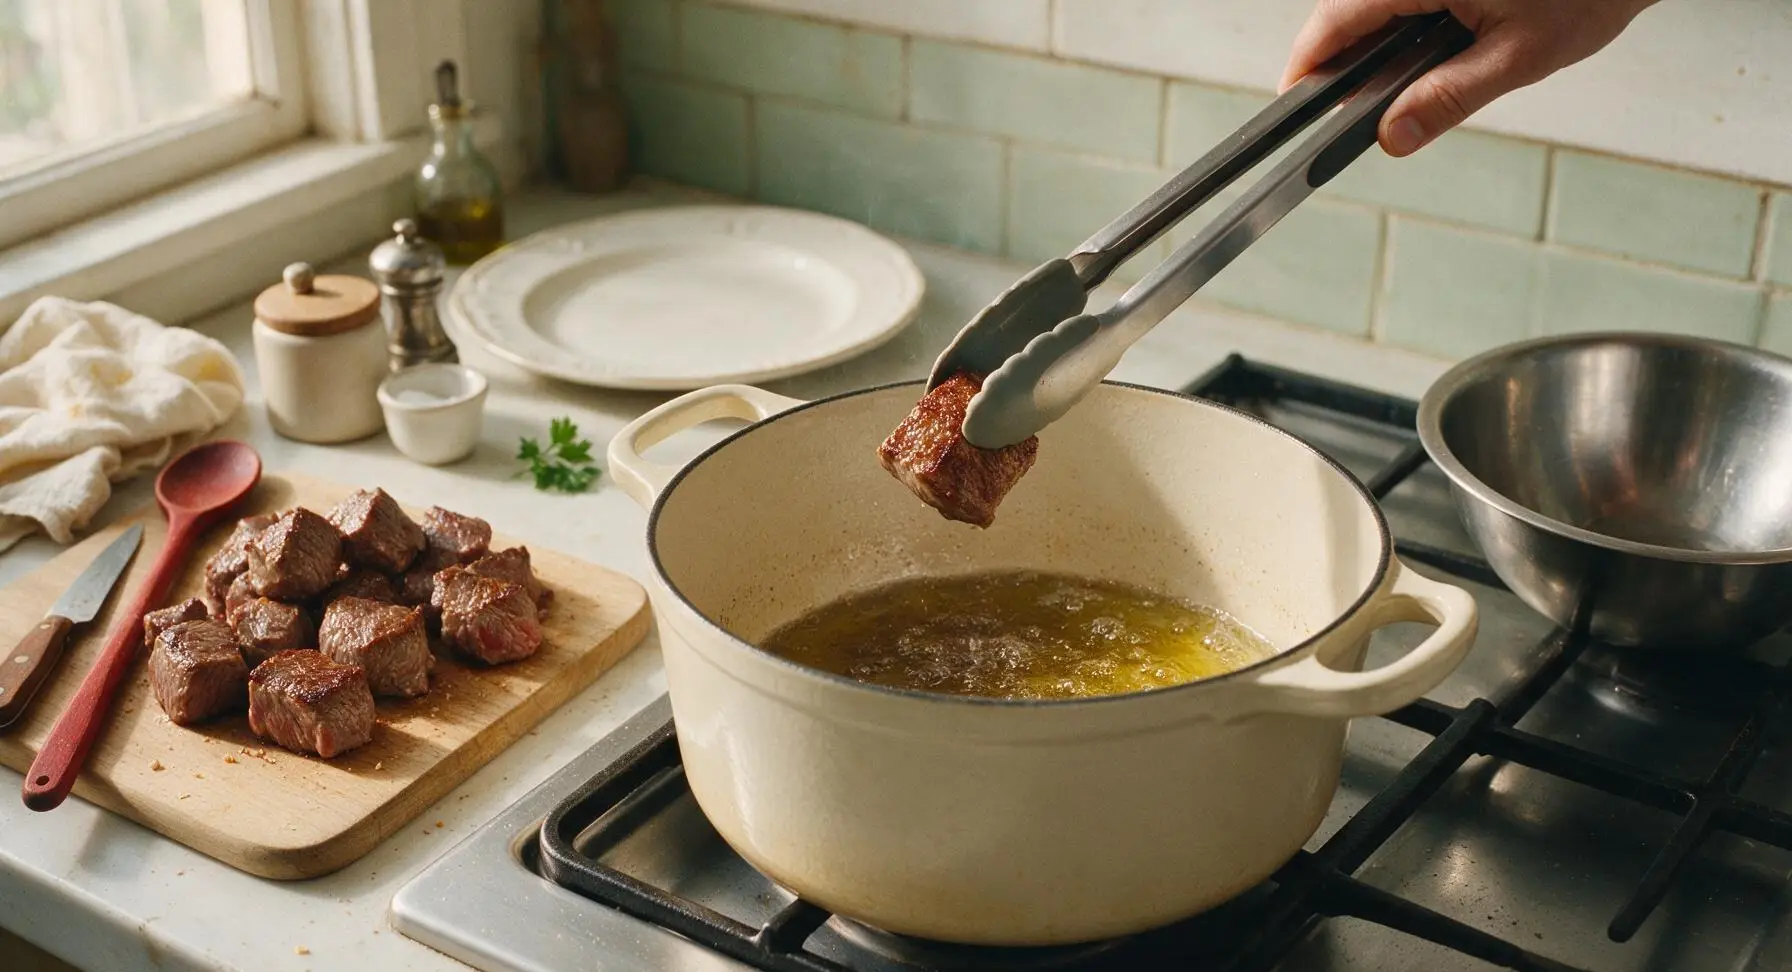
Sear Beef in Batches
Heat 2 tablespoons of olive oil in the enameled cast iron Dutch oven over medium-high heat (190°C / 375°F). Working in 3 small batches to avoid crowding the pan (crowding causes steaming instead of searing), add beef cubes in a single layer. Sear for 3-4 minutes per side, using the silicone-tipped tongs to turn cubes, until all sides develop a deep, rich golden-brown crust. Transfer seared beef to the stainless steel mixing bowl to rest between batches. Visual cue: a dark, caramelized crust forms on beef edges, with no pale grey steamed spots remaining.
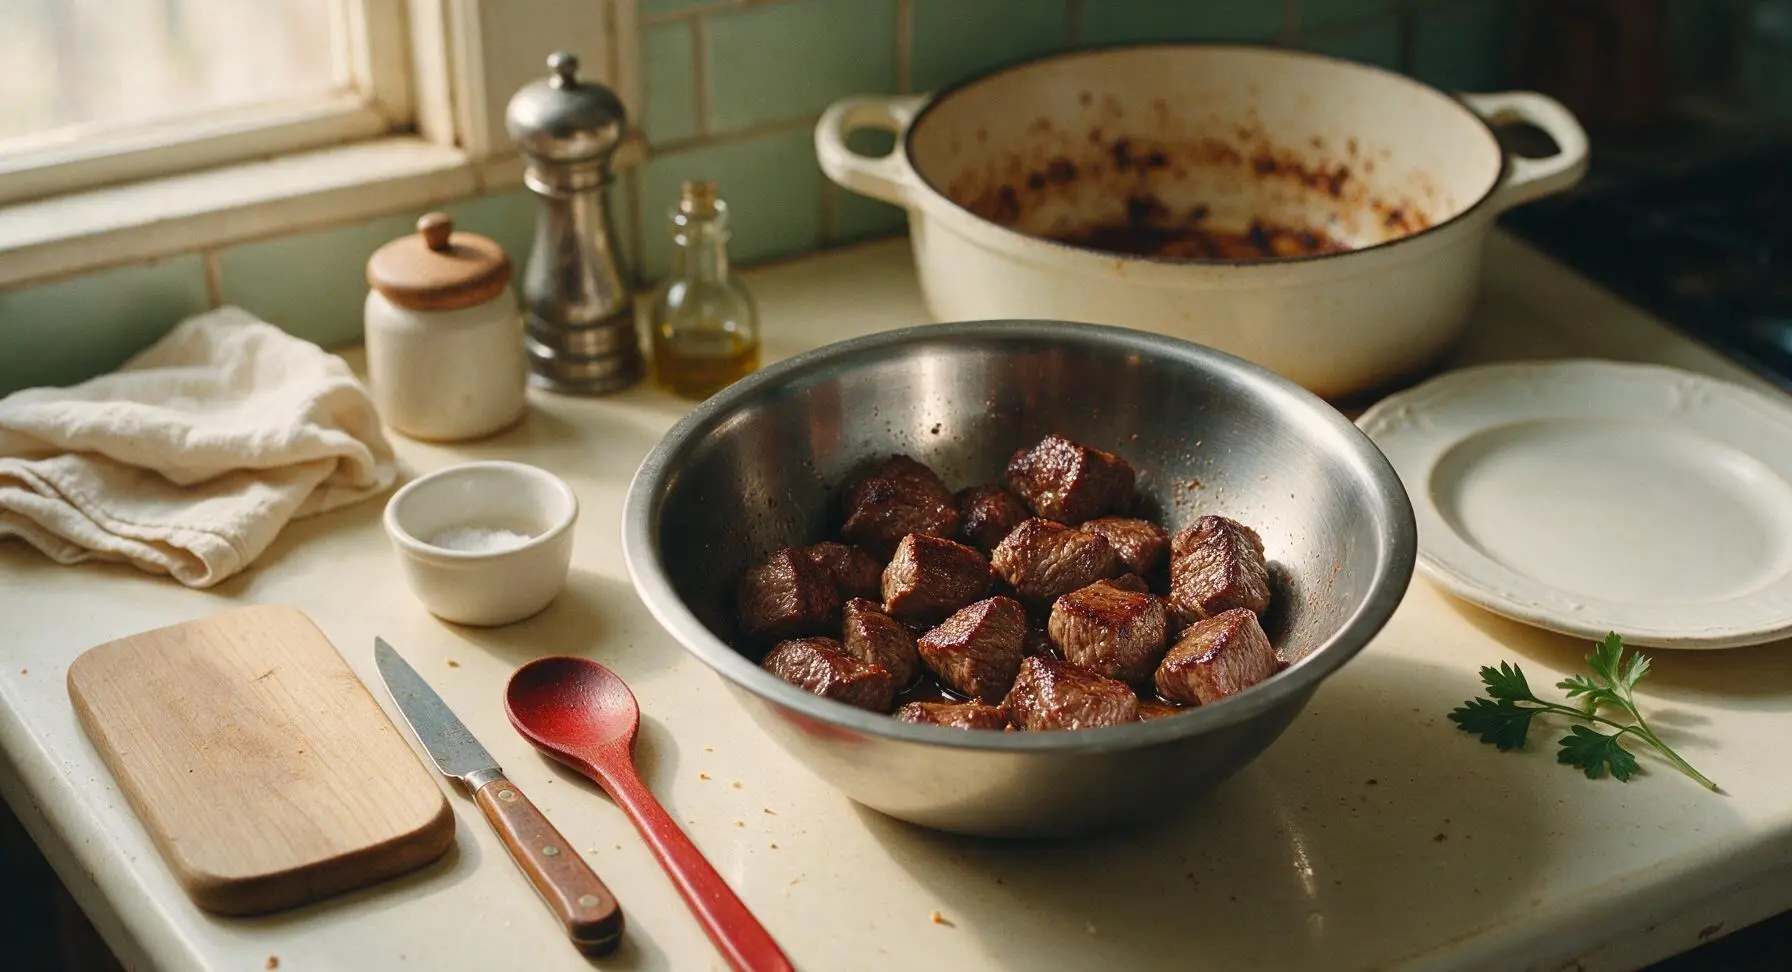
Sauté Aromatic Base
Reduce heat to medium (175°C / 350°F). In the same Dutch oven, using the residual fat and fond left from searing beef, add the diced celery, carrot rounds, and peeled pearl onions. Sauté for 5 minutes, stirring occasionally with the beech wood cooking spoon, until vegetables start to soften and develop light brown edges at the corners. Add the minced garlic and cook for 30 seconds more, until fragrant. Visual cue: garlic smells nutty and aromatic, with no dark burnt bits.
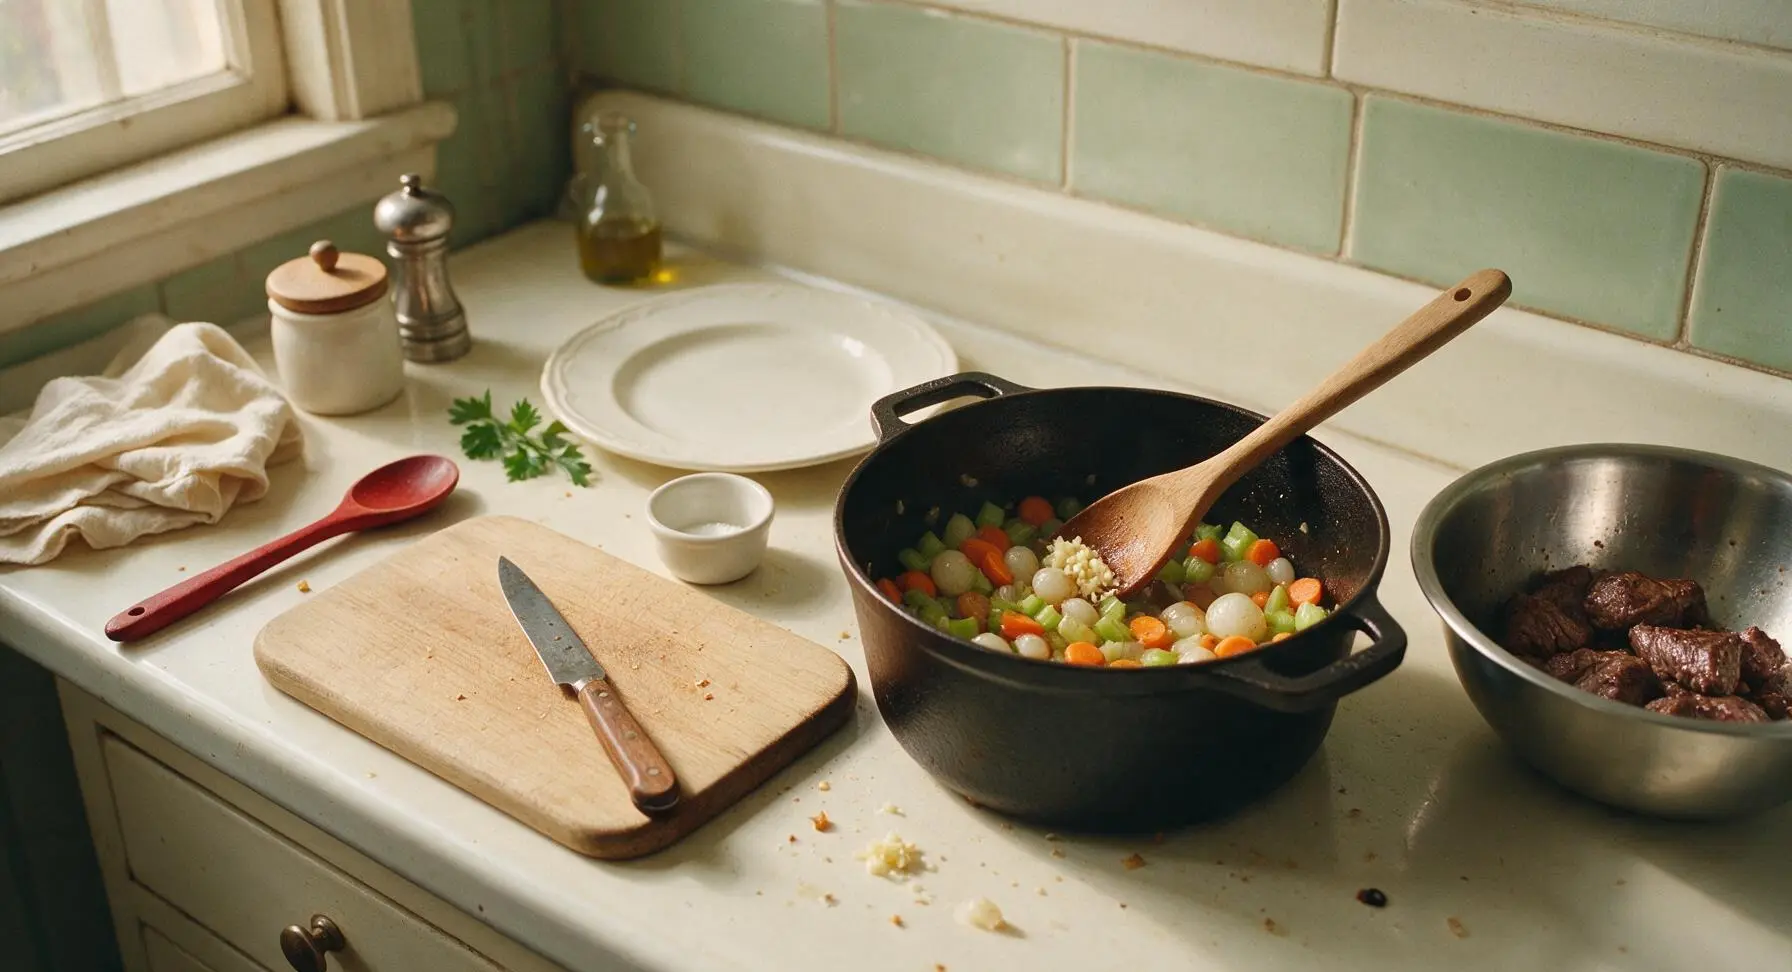
Build Gravy Base
Push the sautéed vegetables to the edges of the Dutch oven, creating a clear space in the center. Add the 2 tablespoons of tomato paste to the center, stirring constantly with the wood spoon for 1 minute, until the paste darkens to a deep rust color and smells sweet and caramelized (this removes the raw, metallic taste of uncooked tomato paste). Sprinkle the 2 tablespoons of all-purpose flour over the vegetables and paste, stirring continuously for 2 minutes to cook out the raw, starchy flour taste. Visual cue: flour is fully incorporated with no dry white clumps, forming a thick paste that coats all the vegetables.
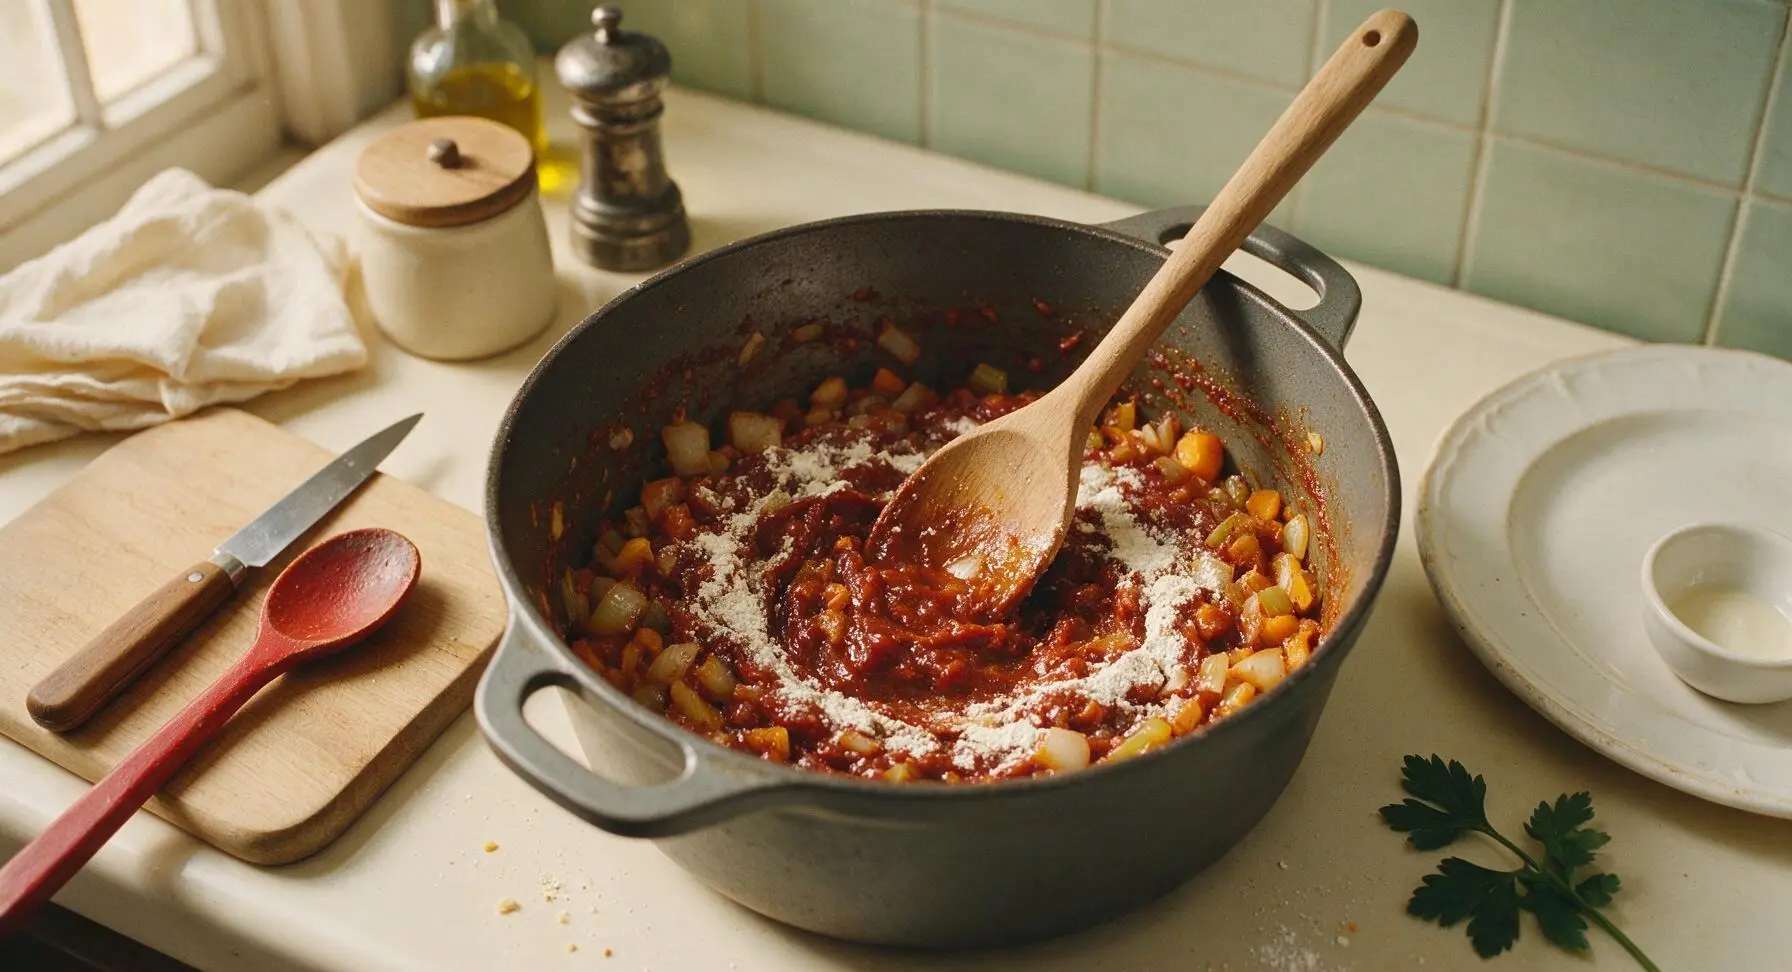
Deglaze and Simmer
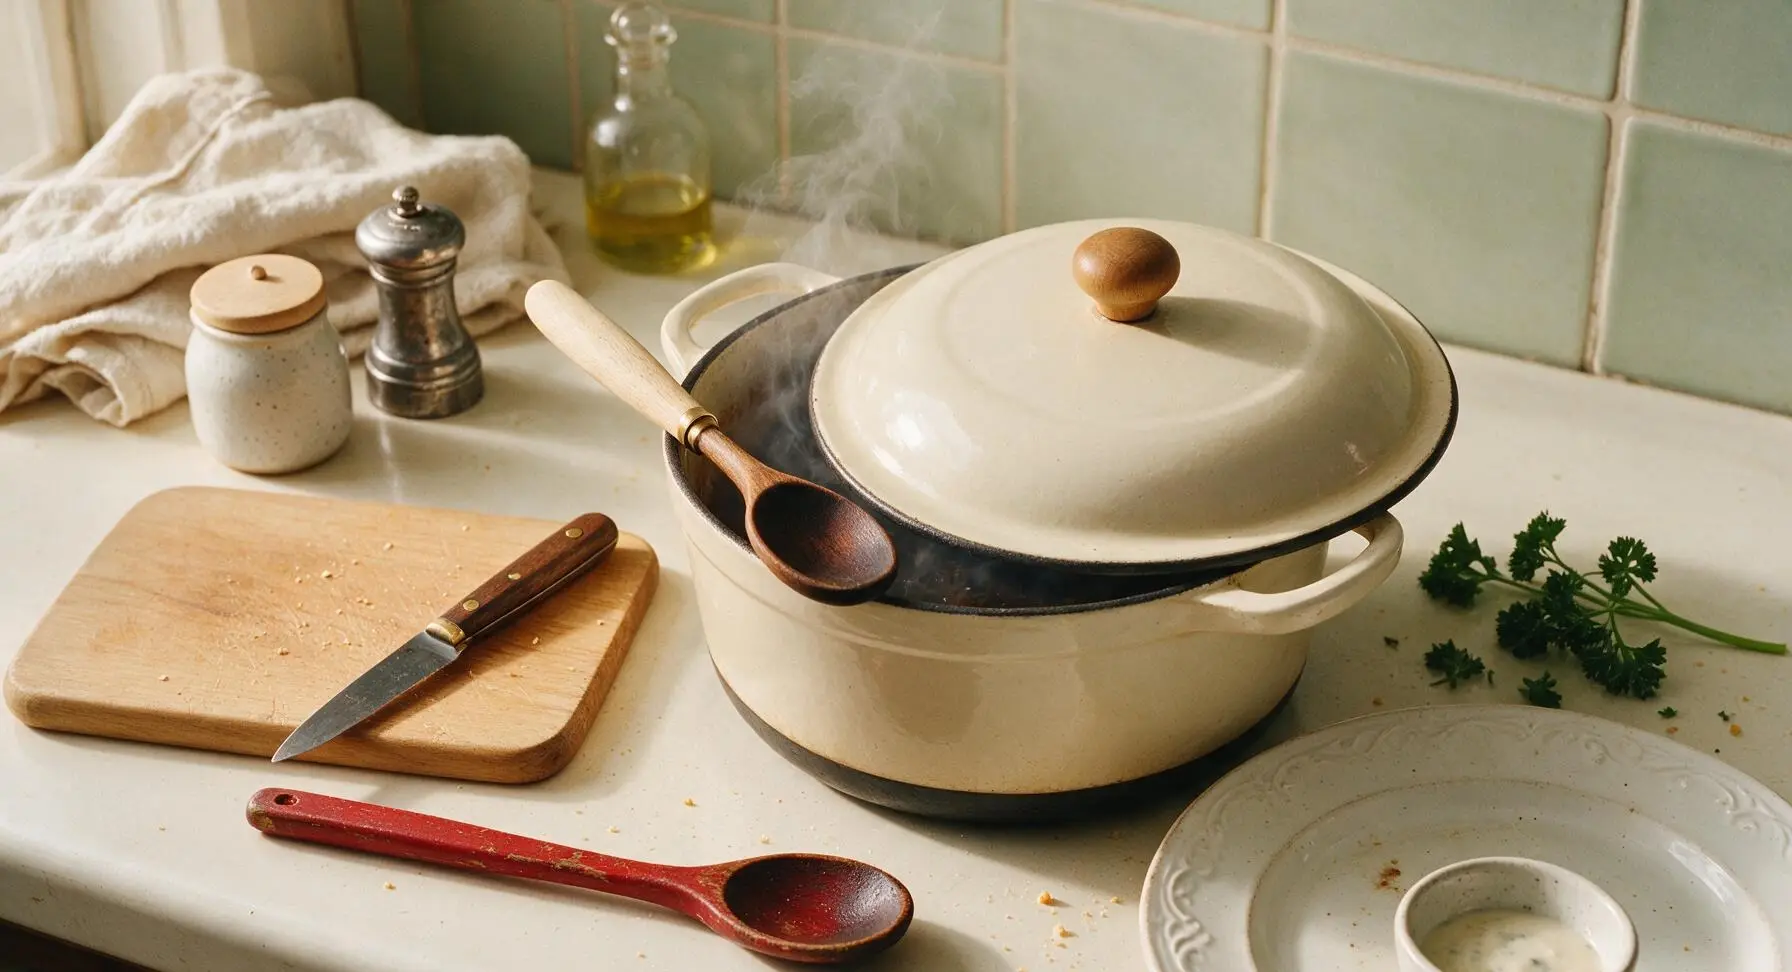
Slowly pour 120ml (½ cup) of the beef broth into the Dutch oven, using the wood spoon to scrape all the browned fond bits from the bottom of the pan until no stuck bits remain. Add the remaining beef broth, seared beef cubes (and any accumulated juices from the mixing bowl), tied thyme sprigs, and bay leaf. Stir to combine, then bring the liquid to a gentle rolling boil. Once boiling, reduce heat to low (95°C / 200°F), cover the Dutch oven with its matching lid, and let simmer for 1 hour, stirring occasionally. Visual cue: liquid bubbles very gently around the pan edges, with no violent rolling boil that would make the beef tough.
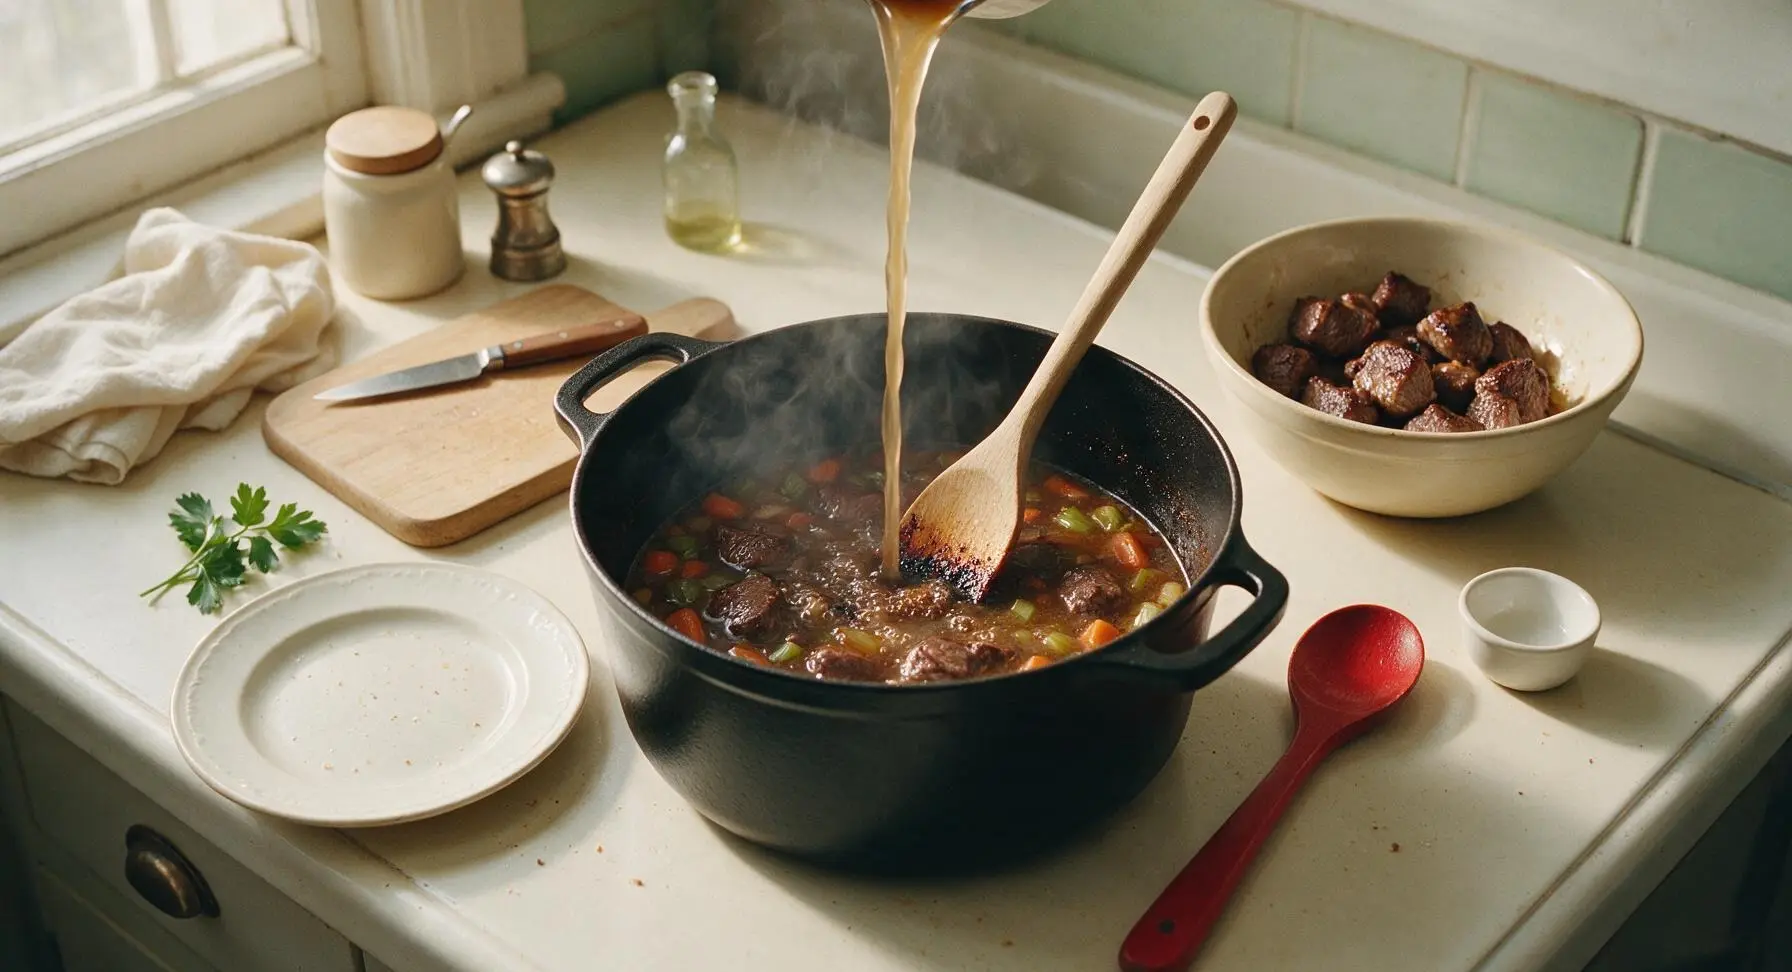
Add Potatoes and Cook
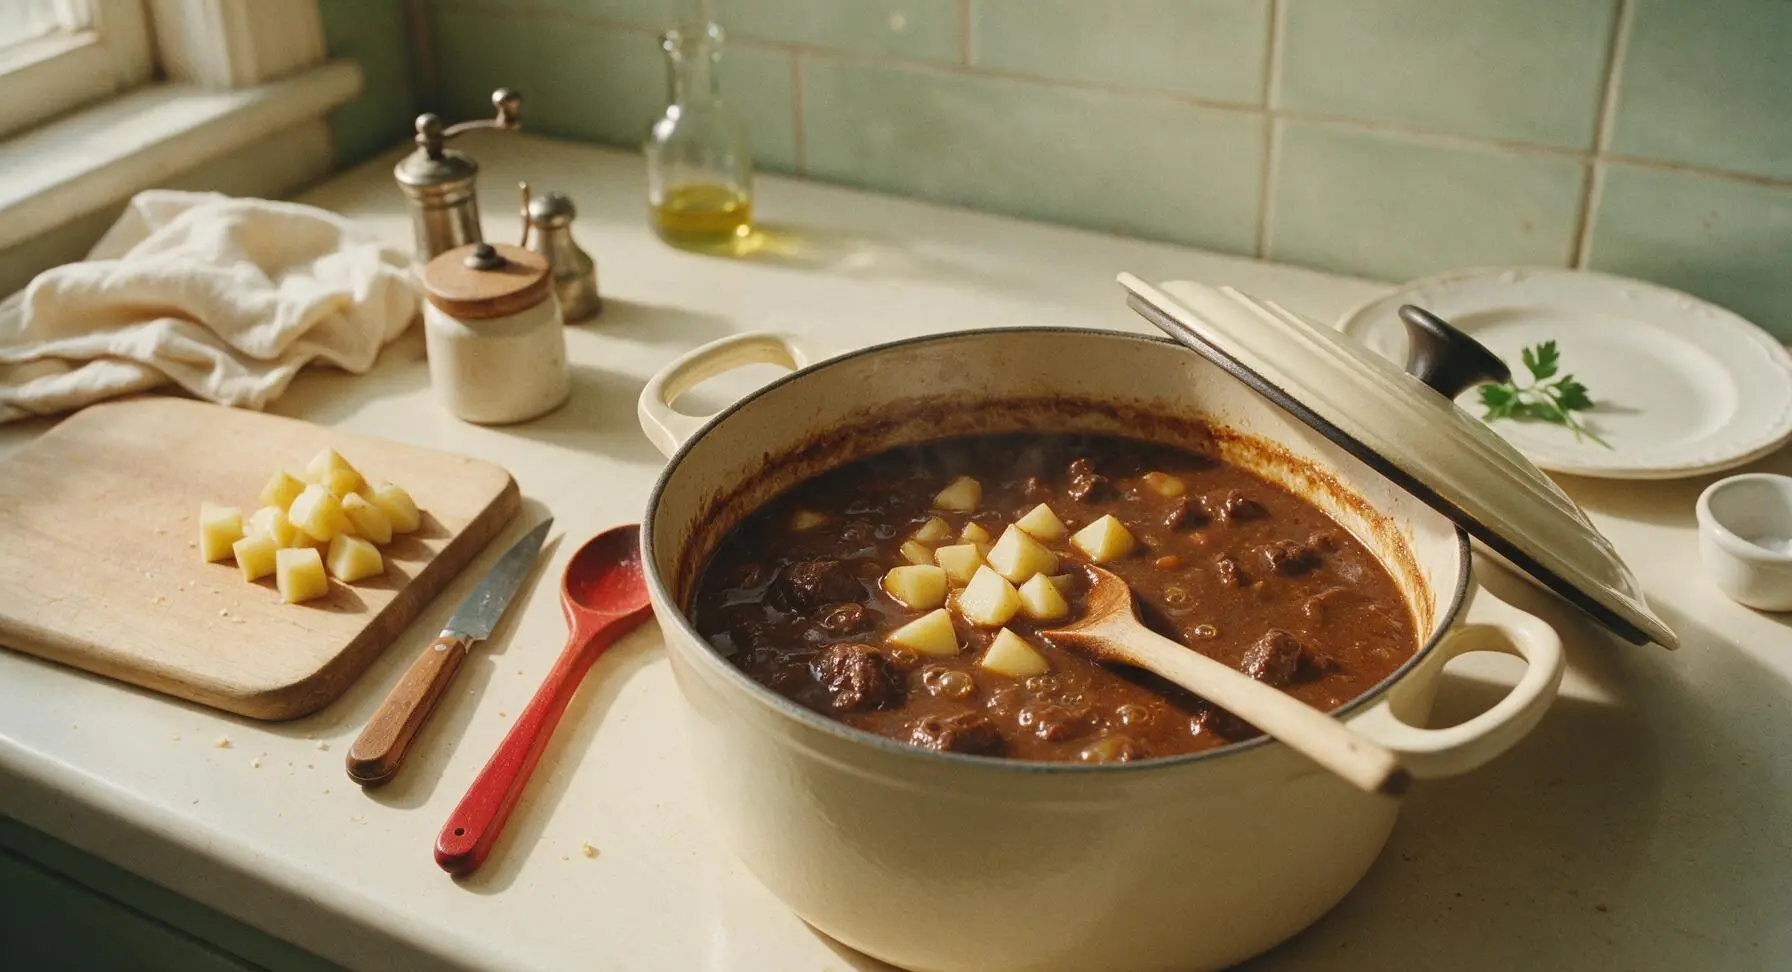
After 1 hour of simmering, remove the Dutch oven lid, add the cubed Yukon Gold potatoes, stirring with the wood spoon to submerge them fully in the gravy. Replace the lid and continue simmering for an additional 30 minutes, until potatoes are fork-tender and beef pulls apart easily when pressed with a spoon. Remove and discard the woody thyme stems and bay leaf. Taste and adjust seasoning with the remaining ½ teaspoon salt and ½ teaspoon black pepper as needed. Visual cue: gravy has thickened enough to coat the back of the wood spoon, with potato cubes offering no resistance when pierced with a fork.
Rest Stew Before Serving
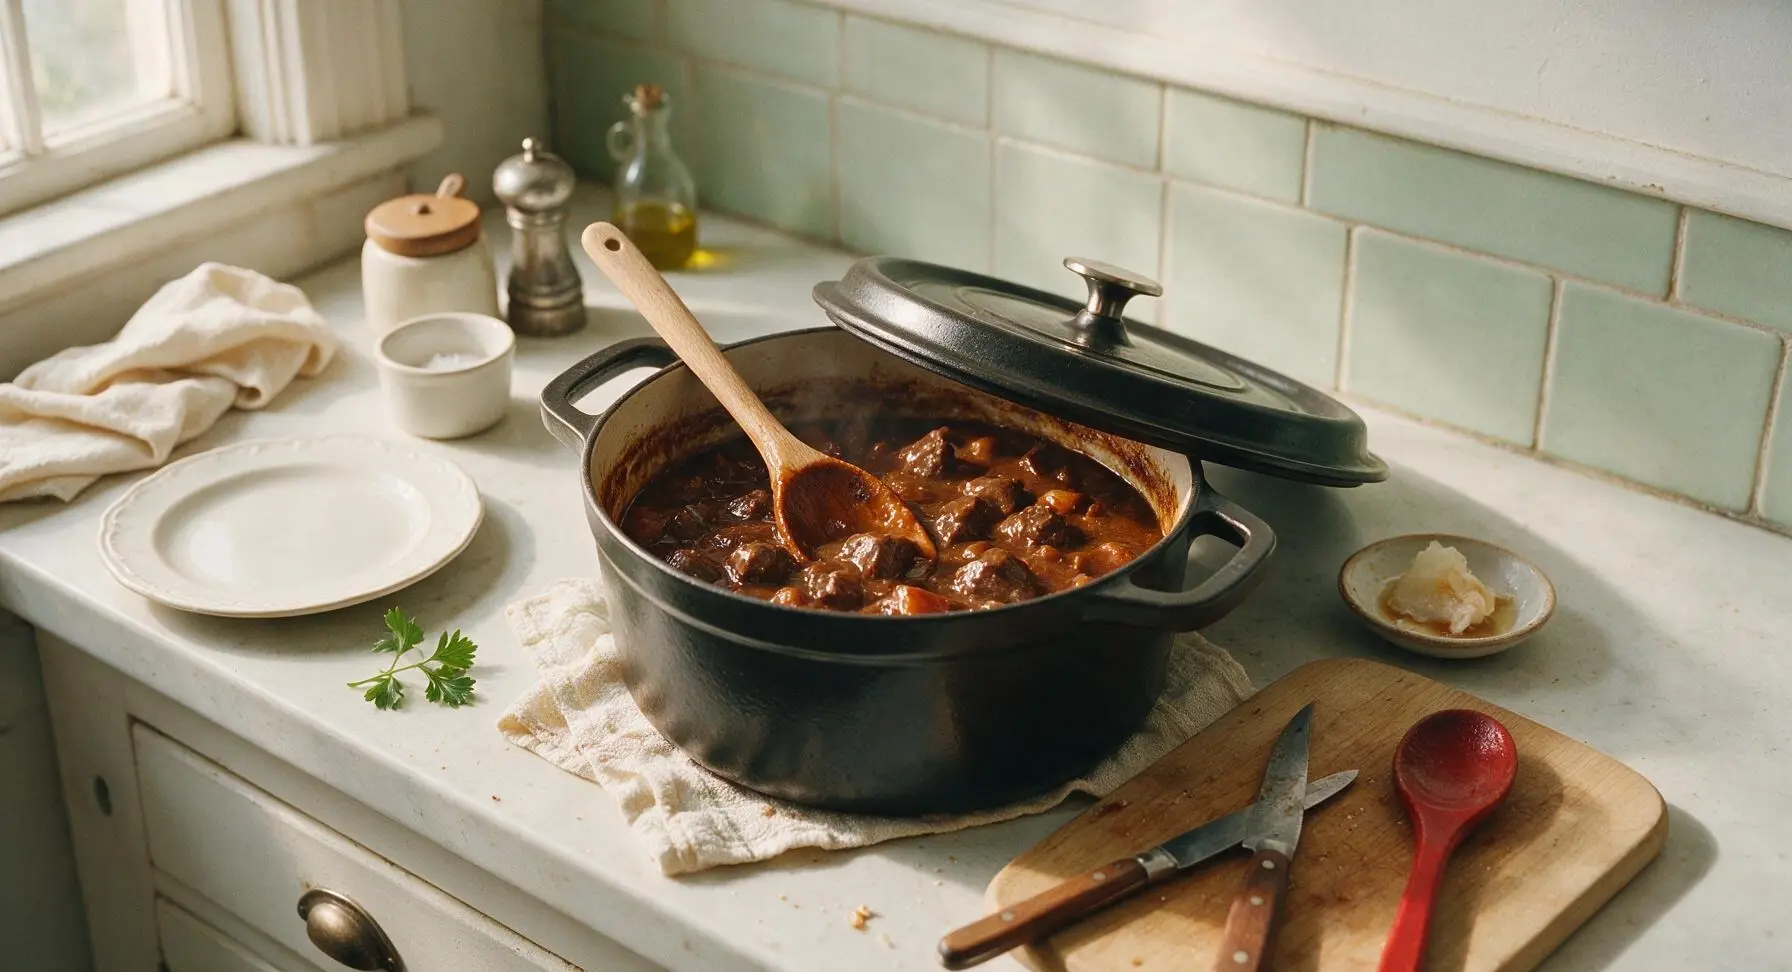
Turn off the heat, leave the Dutch oven lid slightly ajar, and let the stew rest for 10 minutes off the heat. This allows the gravy to settle and thicken further, and the flavors to meld together. Skim any excess rendered fat from the surface if desired, before ladling into bowls for serving. Visual cue: bubbles subside completely, with gravy evenly coating every chunk of meat and vegetable.
Tips
2.Wait to add potatoes until the final 30 minutes of cooking: adding them too early will cause them to break down completely, turning the gravy starchy and mushy instead of leaving tender, distinct potato chunks that hold their shape.
3.Let the stew rest 10 minutes off heat before serving: this allows the starch from the flour to fully set, thickening the gravy to a perfect coating consistency instead of being thin and watery when first ladled into bowls. This resting time also lets the flavors meld for a deeper, more balanced taste.



OMG this beef stew was a total game changer for our Sunday family dinner! I was worried it would take too long on a weeknight but I prepped all the veggies Sunday morning and it came together so easily. The meat was fall-apart tender, my kids asked for seconds before they even finished their first bowls! I added a little extra thyme because we grow it in our windowsill, otherwise followed the recipe exactly. 10/10 will be making this all fall and winter long.
Solid beef stew recipe, though I wish I’d read the cook time all the way through before starting! I thought it’d be done in an hour and almost missed my kid’s soccer practice potluck. Flavor was on point though, super hearty, the potatoes and carrots soaked up all that beefy broth so well. Next time I’ll make it on a weekend when I don’t have to rush.
SO good. I made this for my partner’s birthday camping trip last weekend, cooked it in a Dutch oven over the campfire and it was chef’s kiss. The whole group was raving, even my picky brother-in-law who says stew is “old people food” went back for thirds. Did swap regular potatoes for sweet potatoes because that’s what we had packed, still worked perfectly. Will absolutely be adding this to my regular camping rotation.
Perfect for my weekly meal prep! I made a big batch on Sunday and portioned it out for lunches all week, it held up so much better than I thought it would — the veggies didn’t get mushy even after reheating in the office microwave. Only thing I changed was adding a handful of frozen peas at the end, just like my grandma used to do. This is replacing my old go-to stew recipe for sure.
Okay so full transparency, this was the first time I ever made beef stew from scratch (I usually just buy the canned stuff, no shame) and I was so intimidated by the medium difficulty rating! But the steps were actually super easy to follow, even for me. I did burn the onions a little when I was searing the beef because I got distracted by my dog barking at the mailman, but it still turned out edible? Actually, my roommate said it was the best thing I’ve ever cooked. Win in my book!