
homemade sub rolls
intro
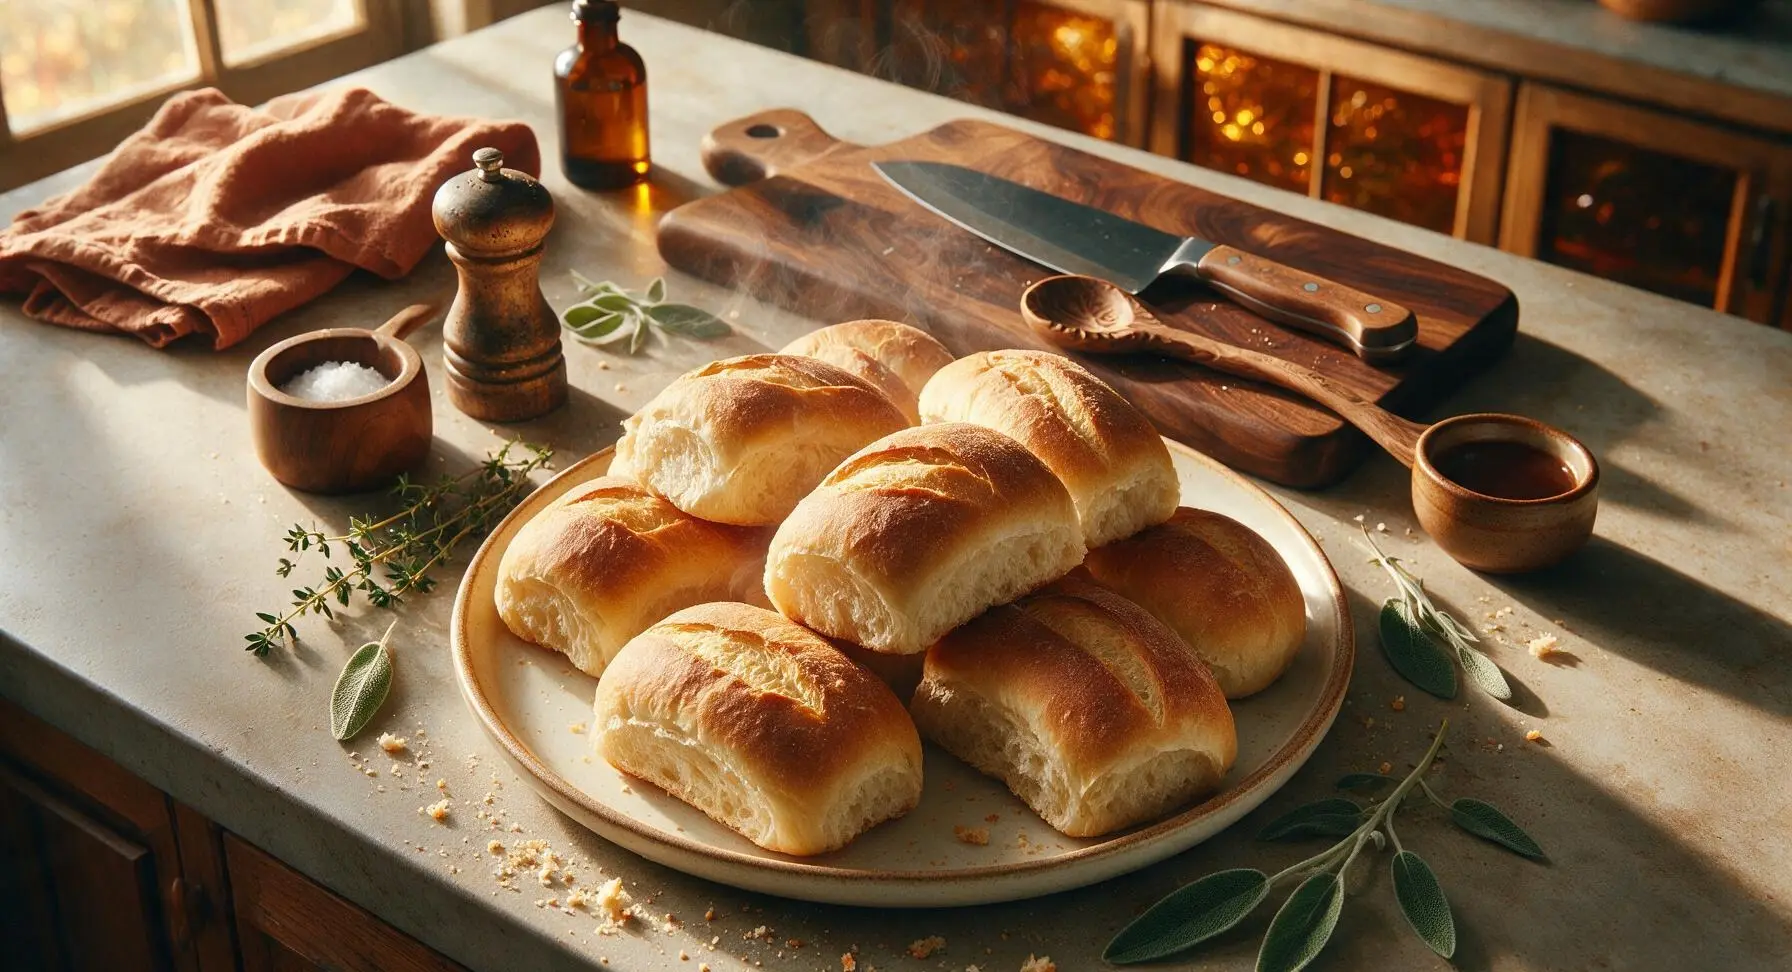
Soft, chewy homemade sub rolls with a crisp golden crust and light, airy crumb—sturdy enough to hold all your favorite hearty sandwich fillings for summer gatherings.
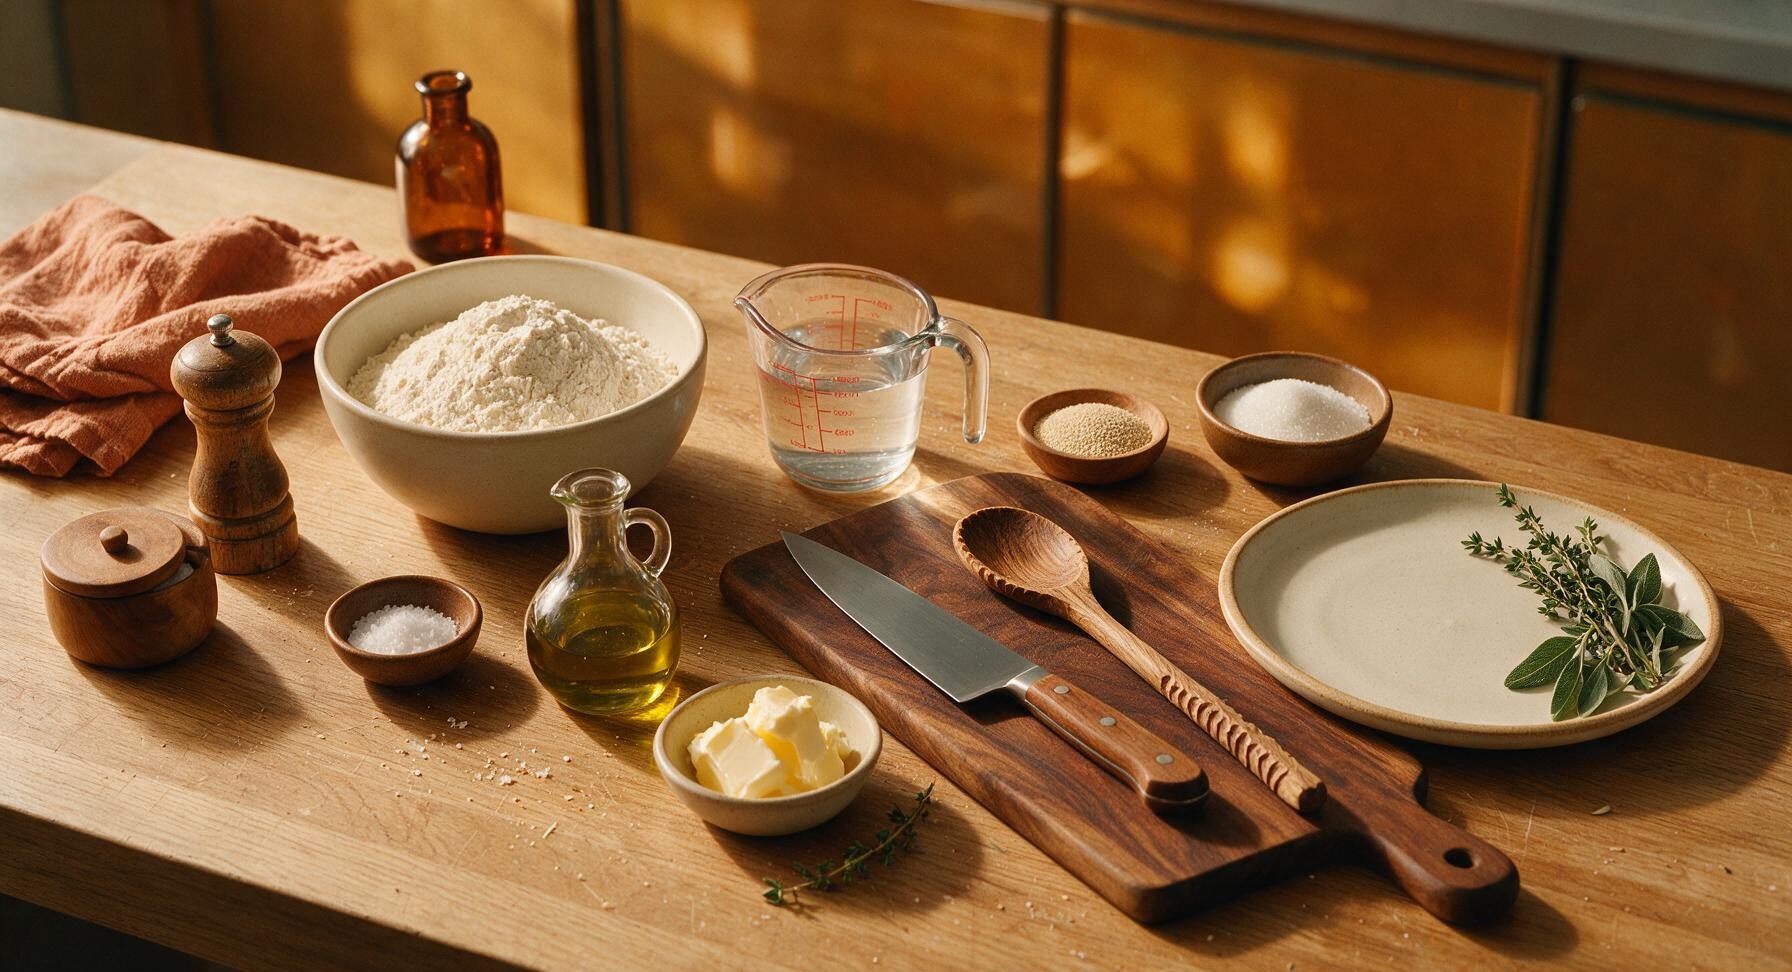
Ingredients
Steps
Activate the Yeast
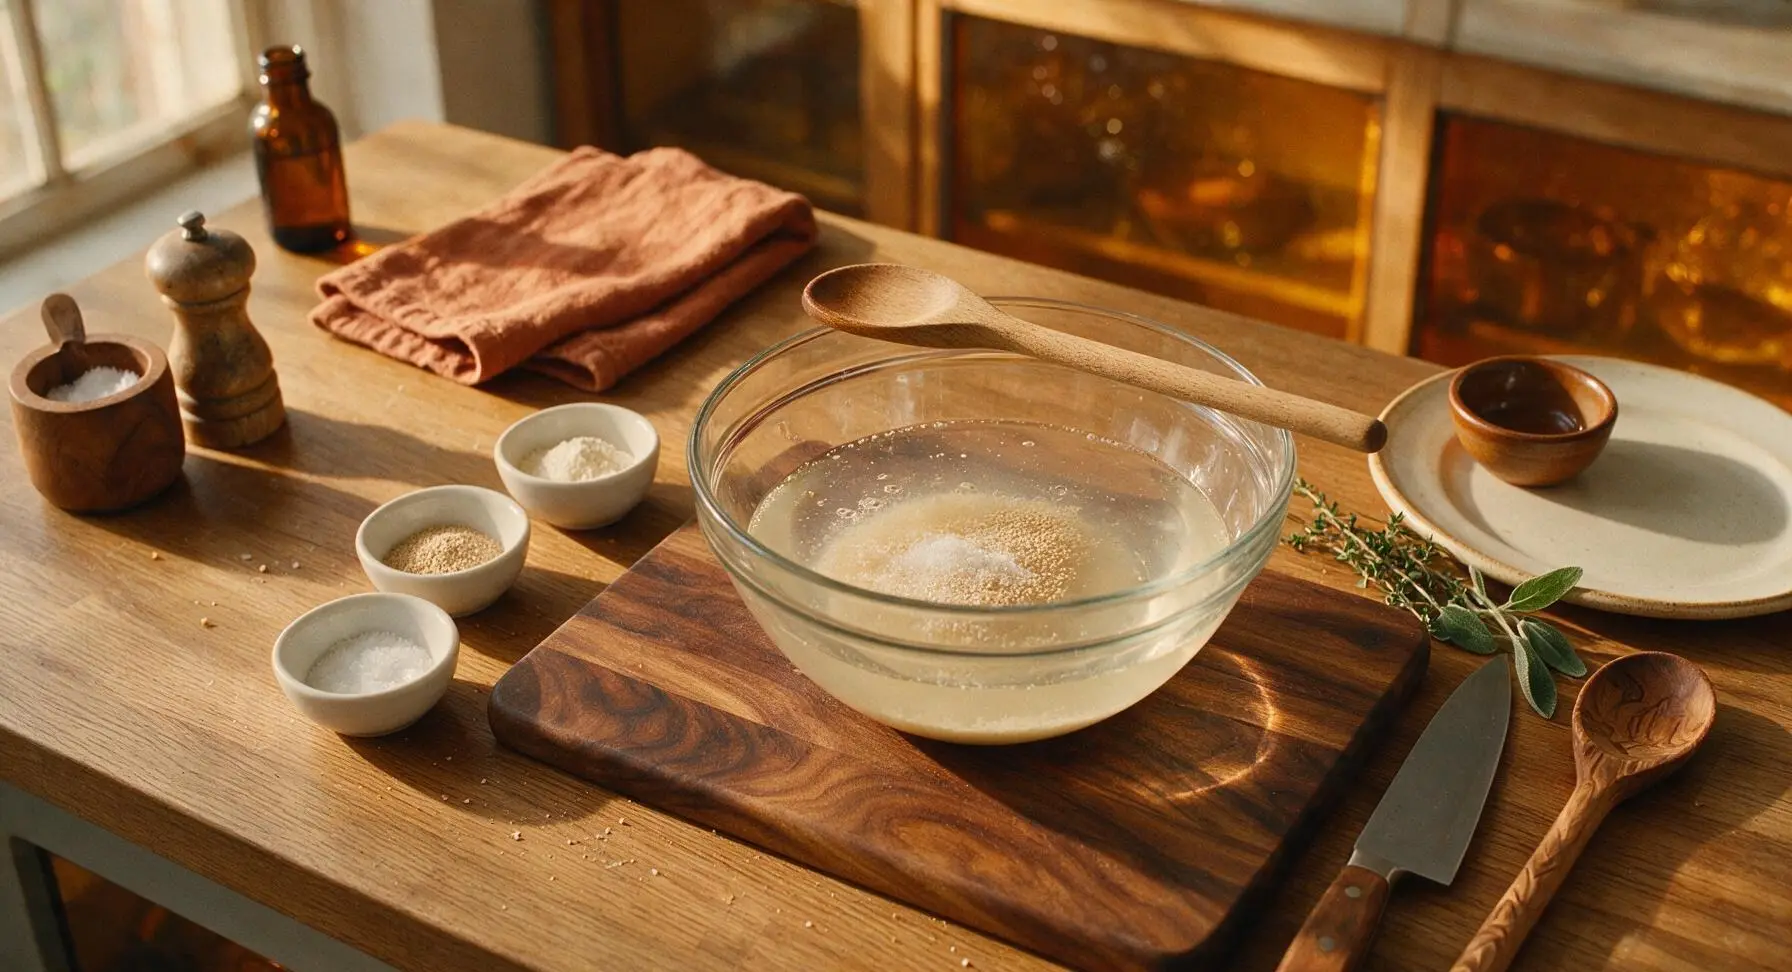
In the large clear glass mixing bowl, combine lukewarm water (105–110°F, warm to the touch but not hot enough to burn skin), granulated sugar, and active dry yeast. Stir gently once with the beech wood mixing spoon to combine, then let rest for 5–7 minutes until the mixture forms a thick foamy, frothy layer on top, indicating the yeast is active and ready to use. If no foam forms after 7 minutes, the yeast is expired and should be replaced to avoid dense, unrisen rolls.
Mix and Knead Dough
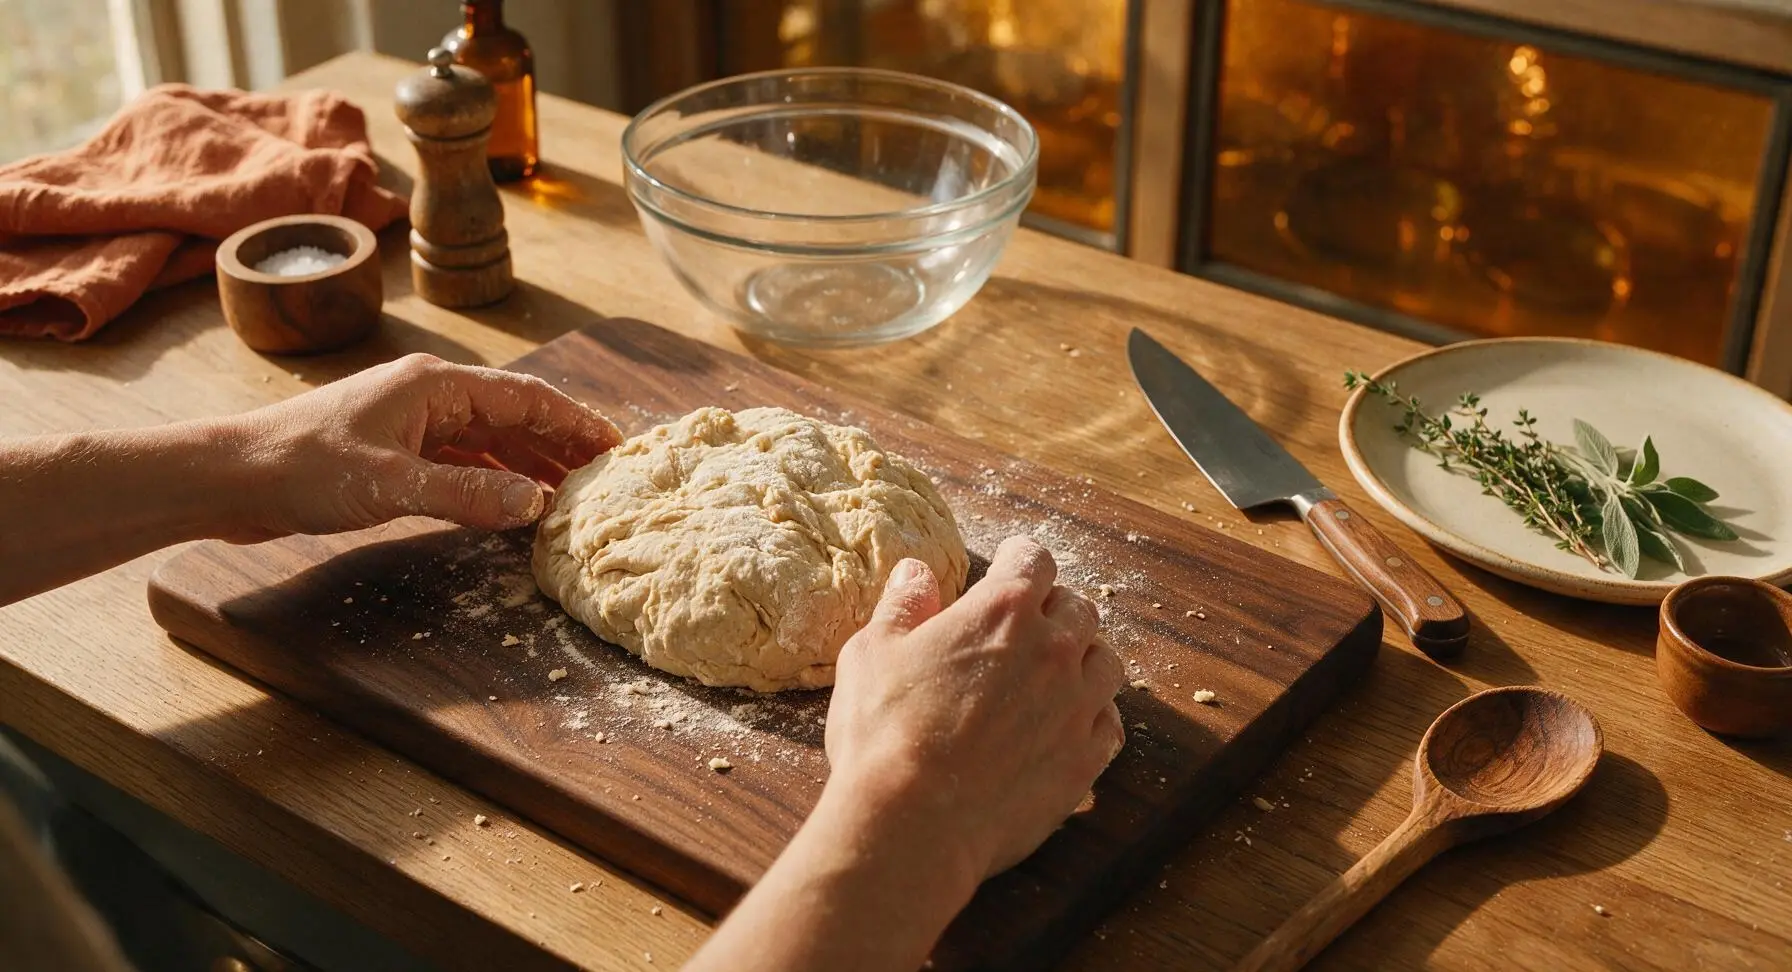
Add olive oil and fine sea salt to the activated foamy yeast mixture, then gradually add all-purpose flour one cup at a time, stirring with the beech wood mixing spoon until a shaggy, sticky dough mass forms. Turn the dough out onto the lightly floured beech wood cutting board, and knead for 8–10 minutes by folding the dough over itself and pushing forward with the heels of your hands, until the dough is smooth, elastic, and springs back slowly when poked with a floured finger. Properly kneaded dough will no longer stick aggressively to your hands or the work surface.
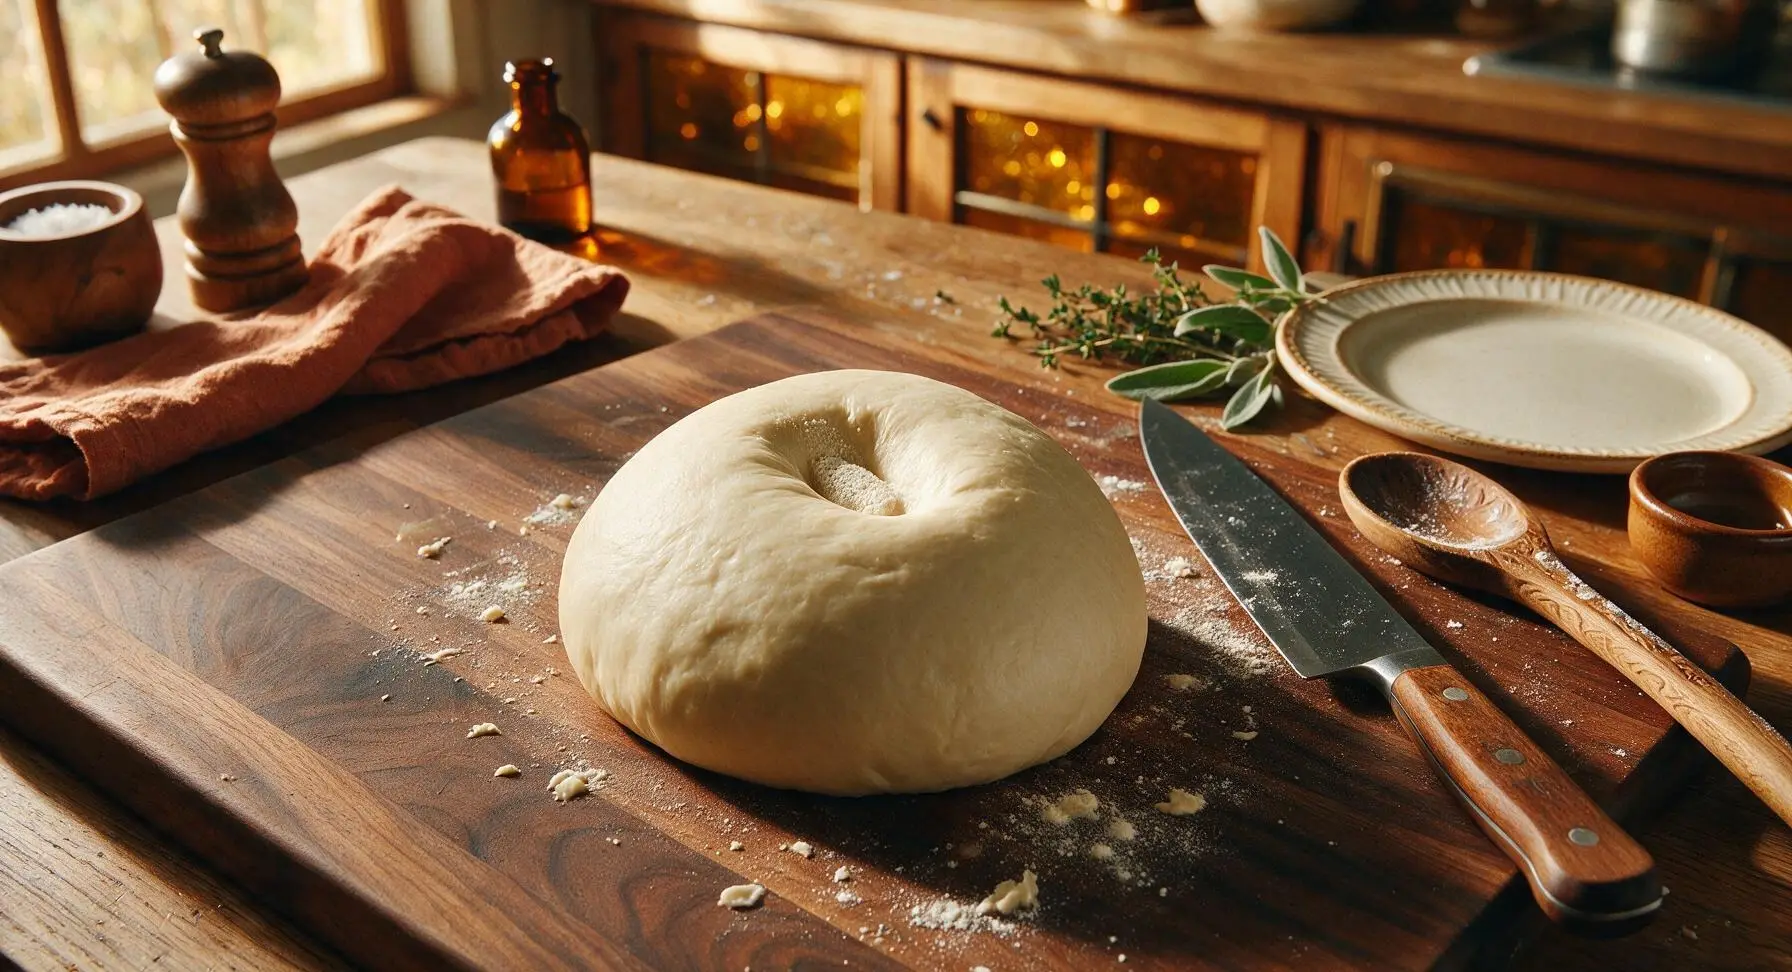
Proof the Dough
Lightly coat the inside of the large clear glass mixing bowl with a thin layer of olive oil, form the kneaded dough into a tight smooth ball, and place it seam-side down in the bowl. Drape a corner of the linen tea towel over the bowl top to cover it, and let rest in a warm, draft-free spot for 1 hour, until the dough doubles in size. Test for doneness by poking a floured finger 1 inch into the dough center: if the indent remains and does not spring back fully, the dough is ready to shape.
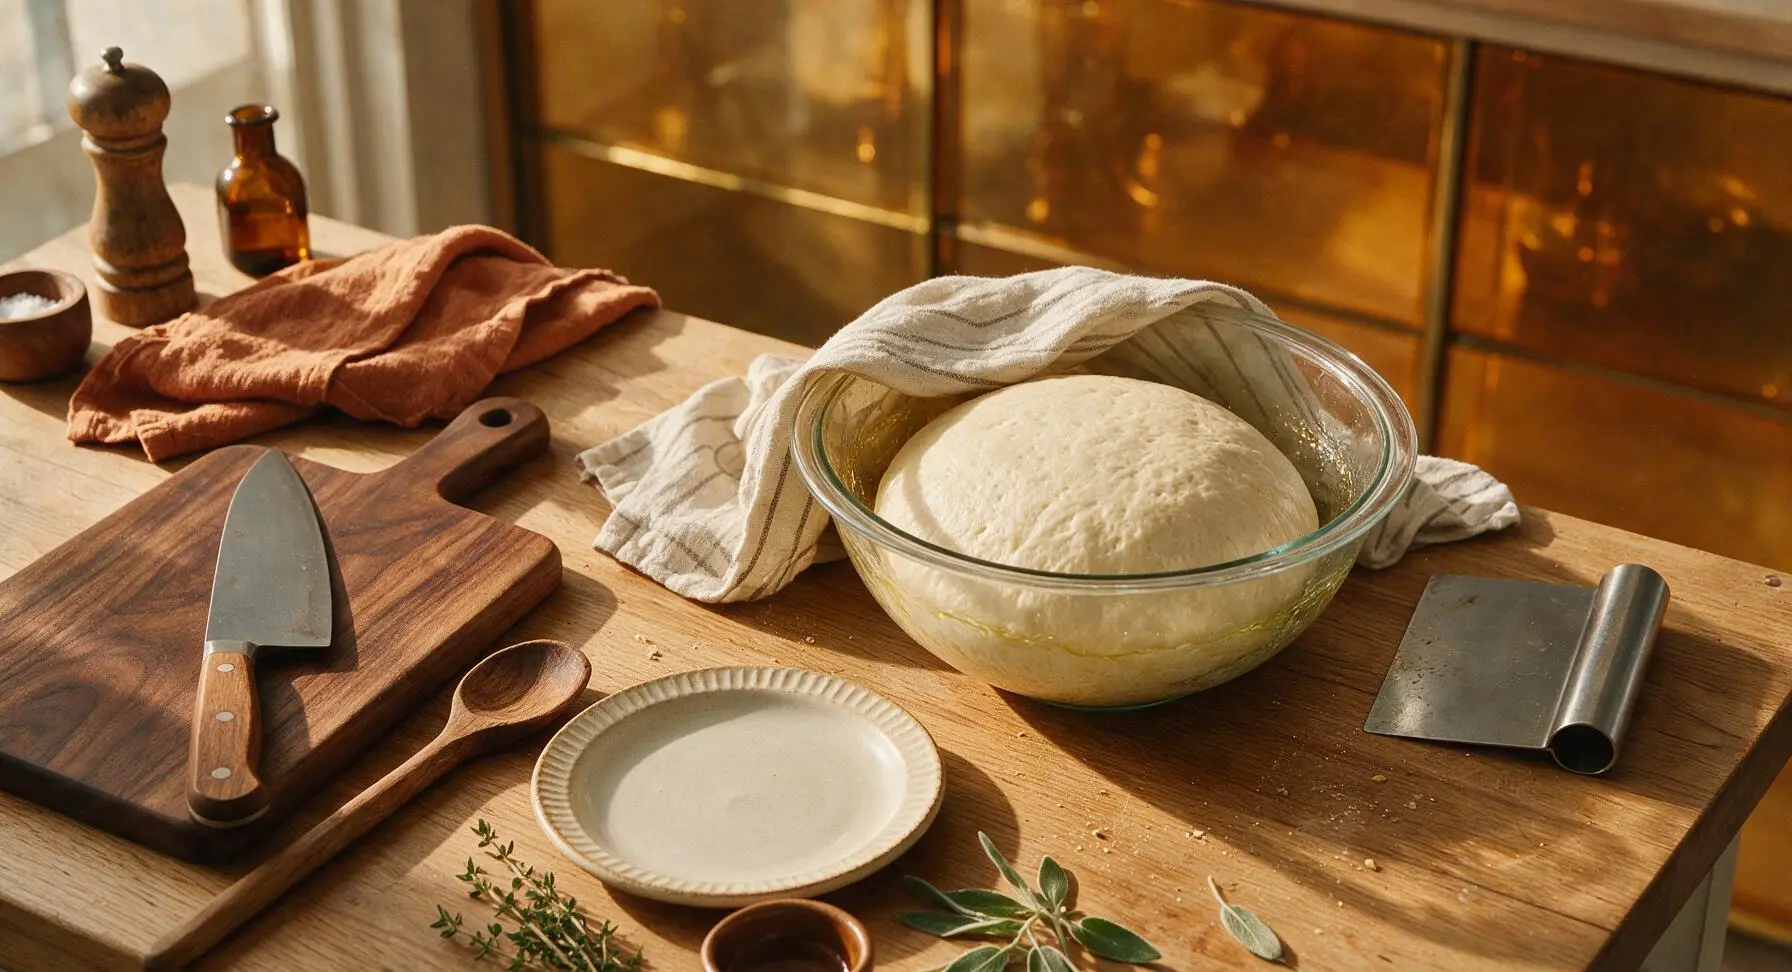
Divide and Shape Rolls
Once fully risen, turn the dough out onto the lightly floured beech wood cutting board, pressing gently to deflate large air pockets. Use the stainless steel dough scraper to divide the dough evenly into 6 equal portions (each ~140g). Working one portion at a time, flatten each piece into a 4x6 inch rectangle, fold the long edges in toward the center, then roll tightly from the short end to form an 8-inch long log, pinching the seam and tapered ends tightly to seal so rolls do not unroll during baking.
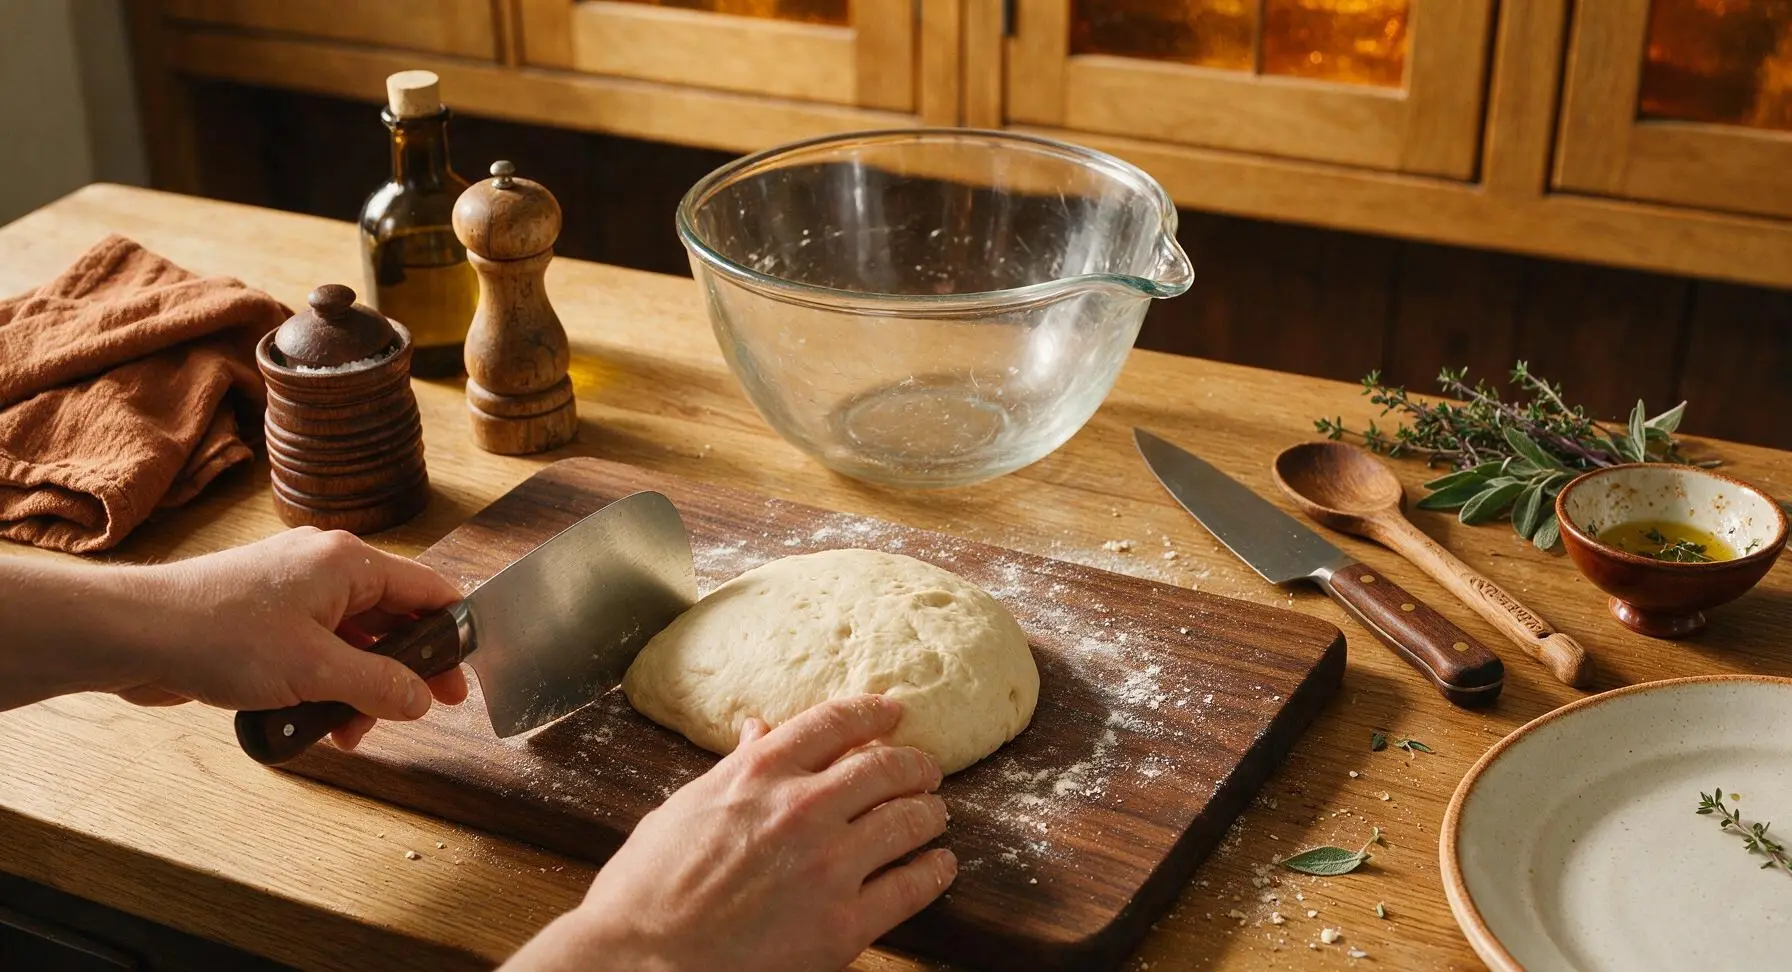
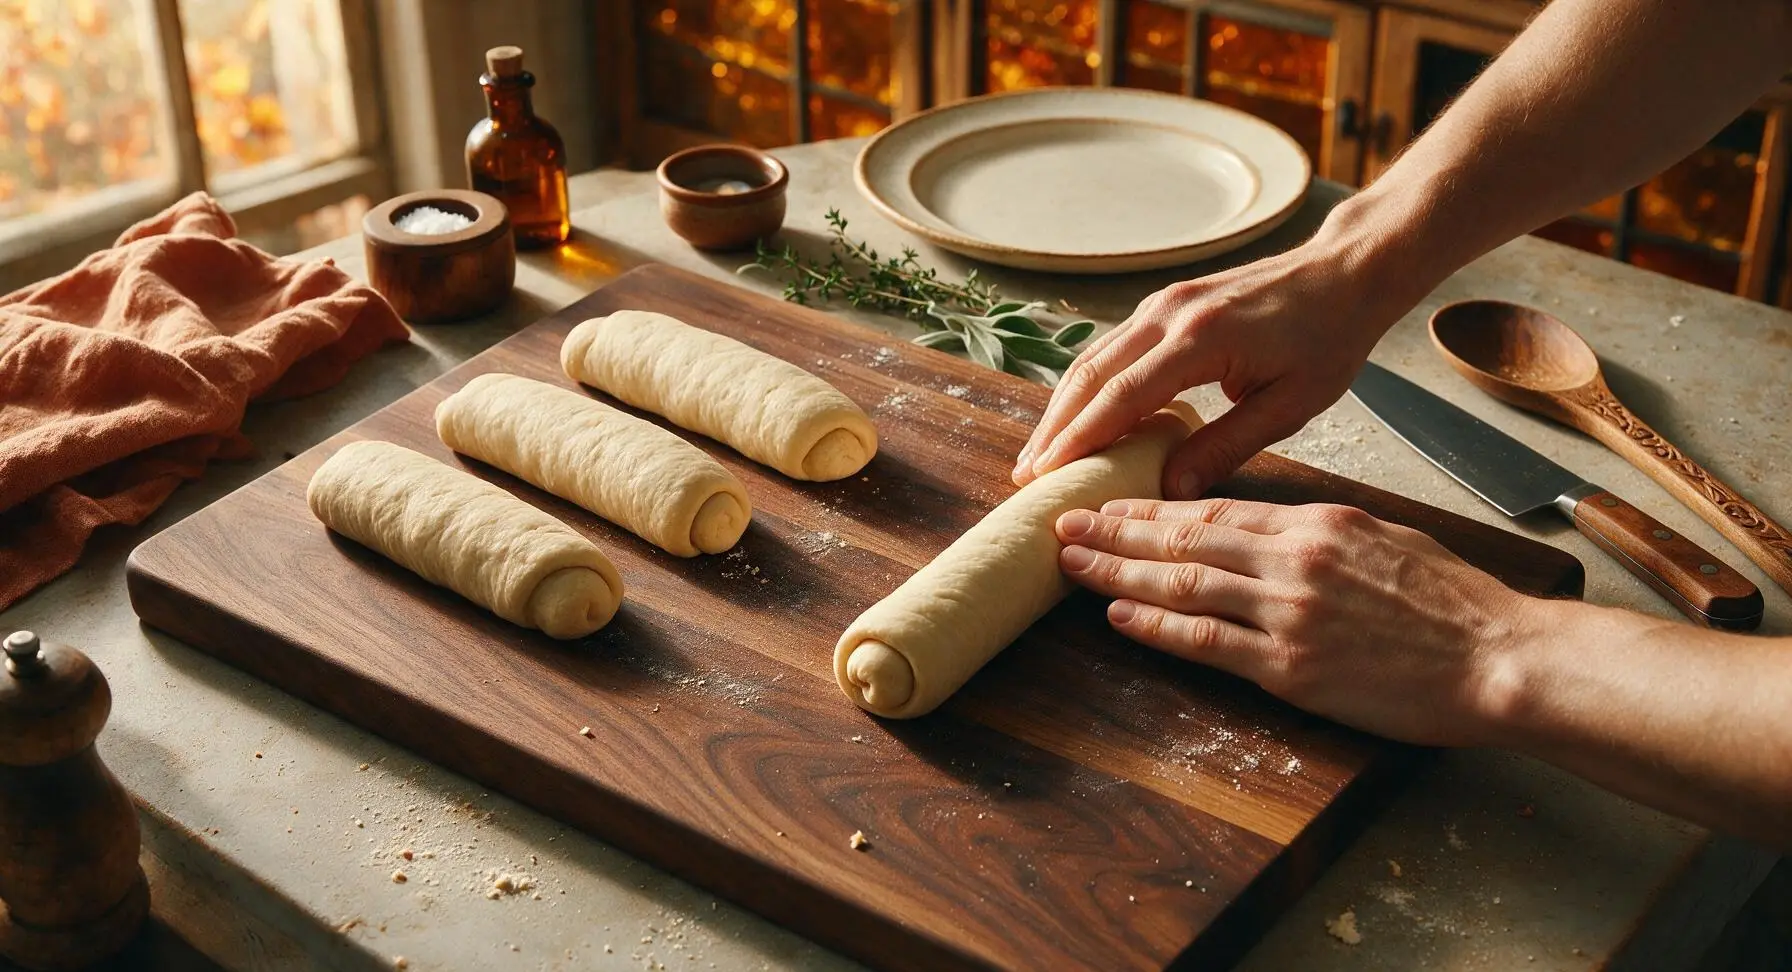
Proof Shaped Rolls
Arrange the shaped dough logs seam-side down on the parchment-lined aluminum baking sheet, leaving 2 inches of open space between each roll to allow for expansion during rising and baking. Drape the linen tea towel loosely over the rolls, and let rise for 30 minutes in a warm draft-free spot, until the rolls are puffy and have increased in size by 50%. A gentle poke to the side of a roll will leave a slow-recovering indent when ready to bake.
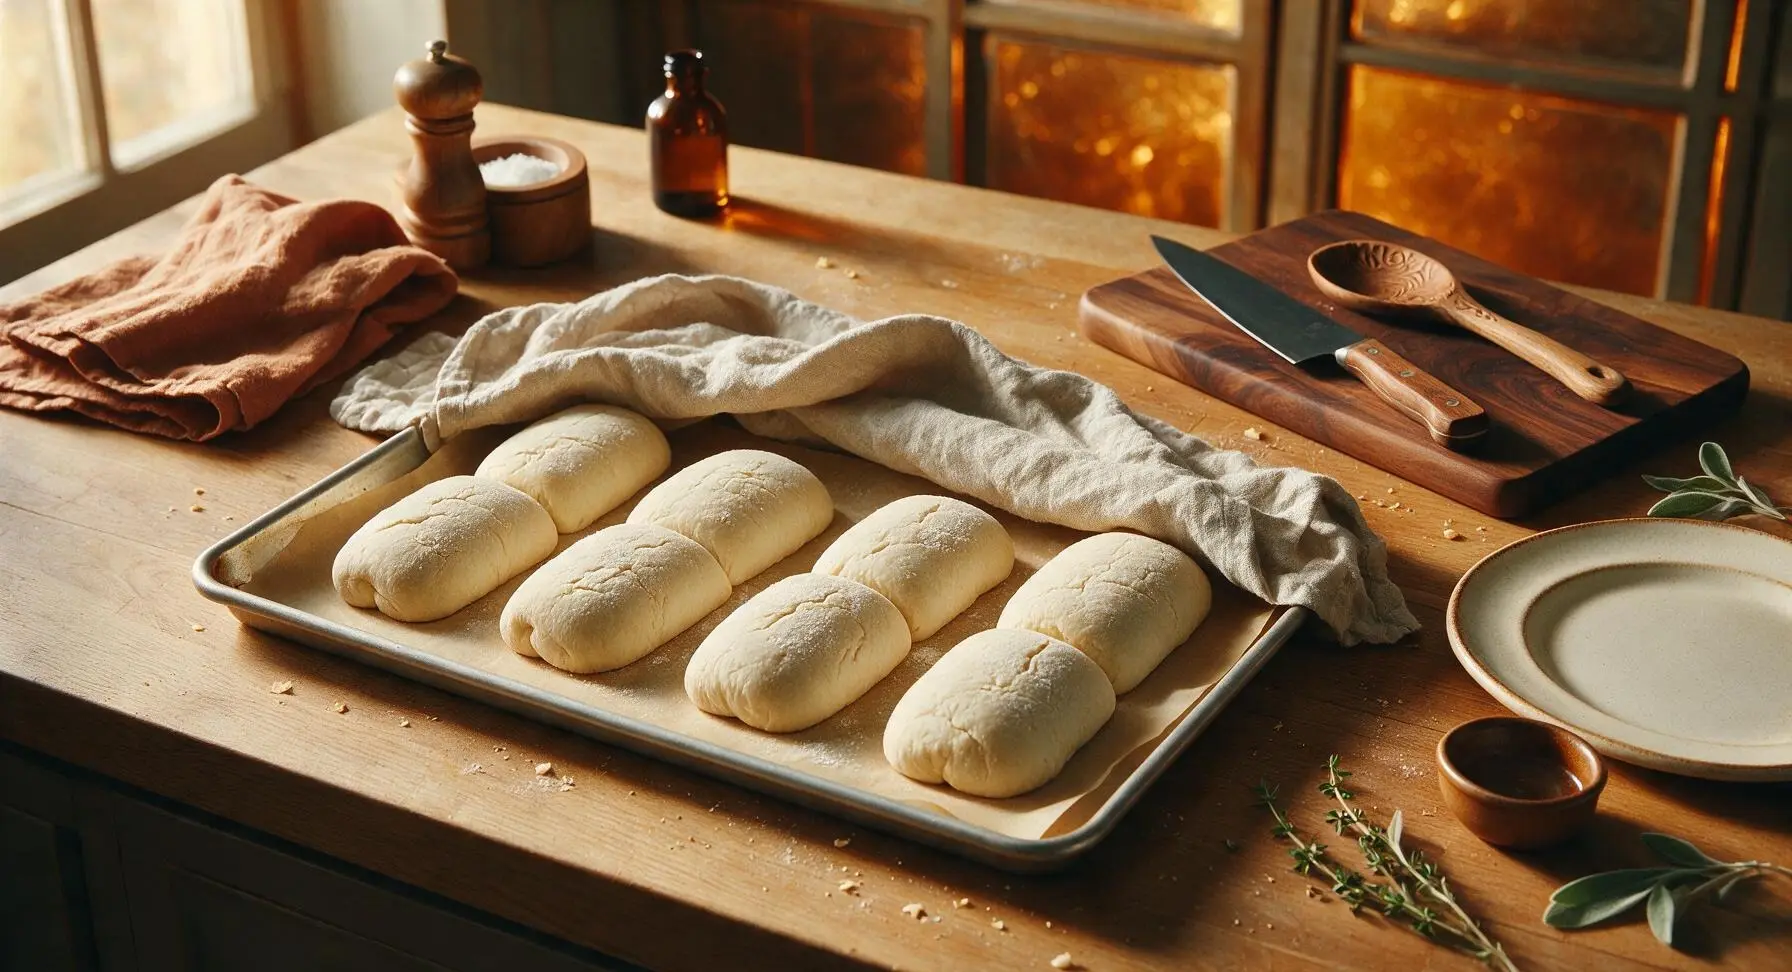
Score and Bake Rolls
Preheat oven to 400°F (200°C). Once the rolls finish their second rise, use the sharp paring knife to make 3 shallow diagonal scores (1/4 inch deep) across the top of each roll to allow for controlled expansion in the oven. Bake for 18–22 minutes on the middle oven rack, until the rolls are deep golden brown on top, sound hollow when tapped on the bottom, and reach an internal temperature of 190°F (88°C).
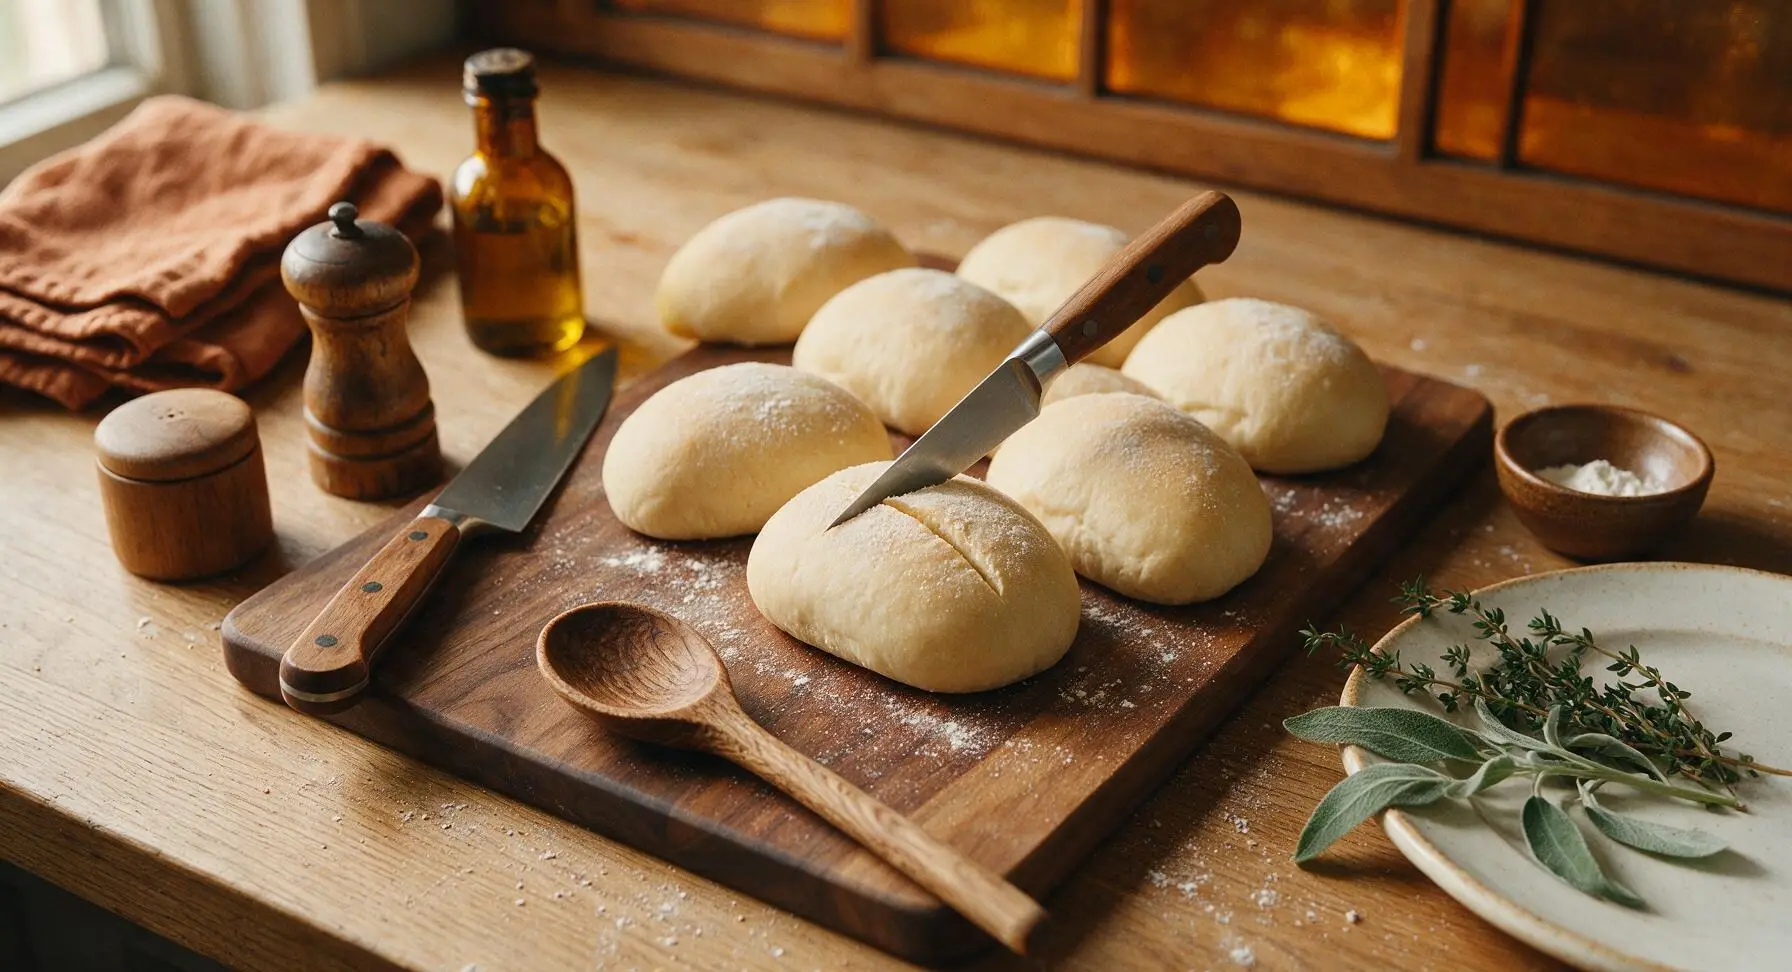
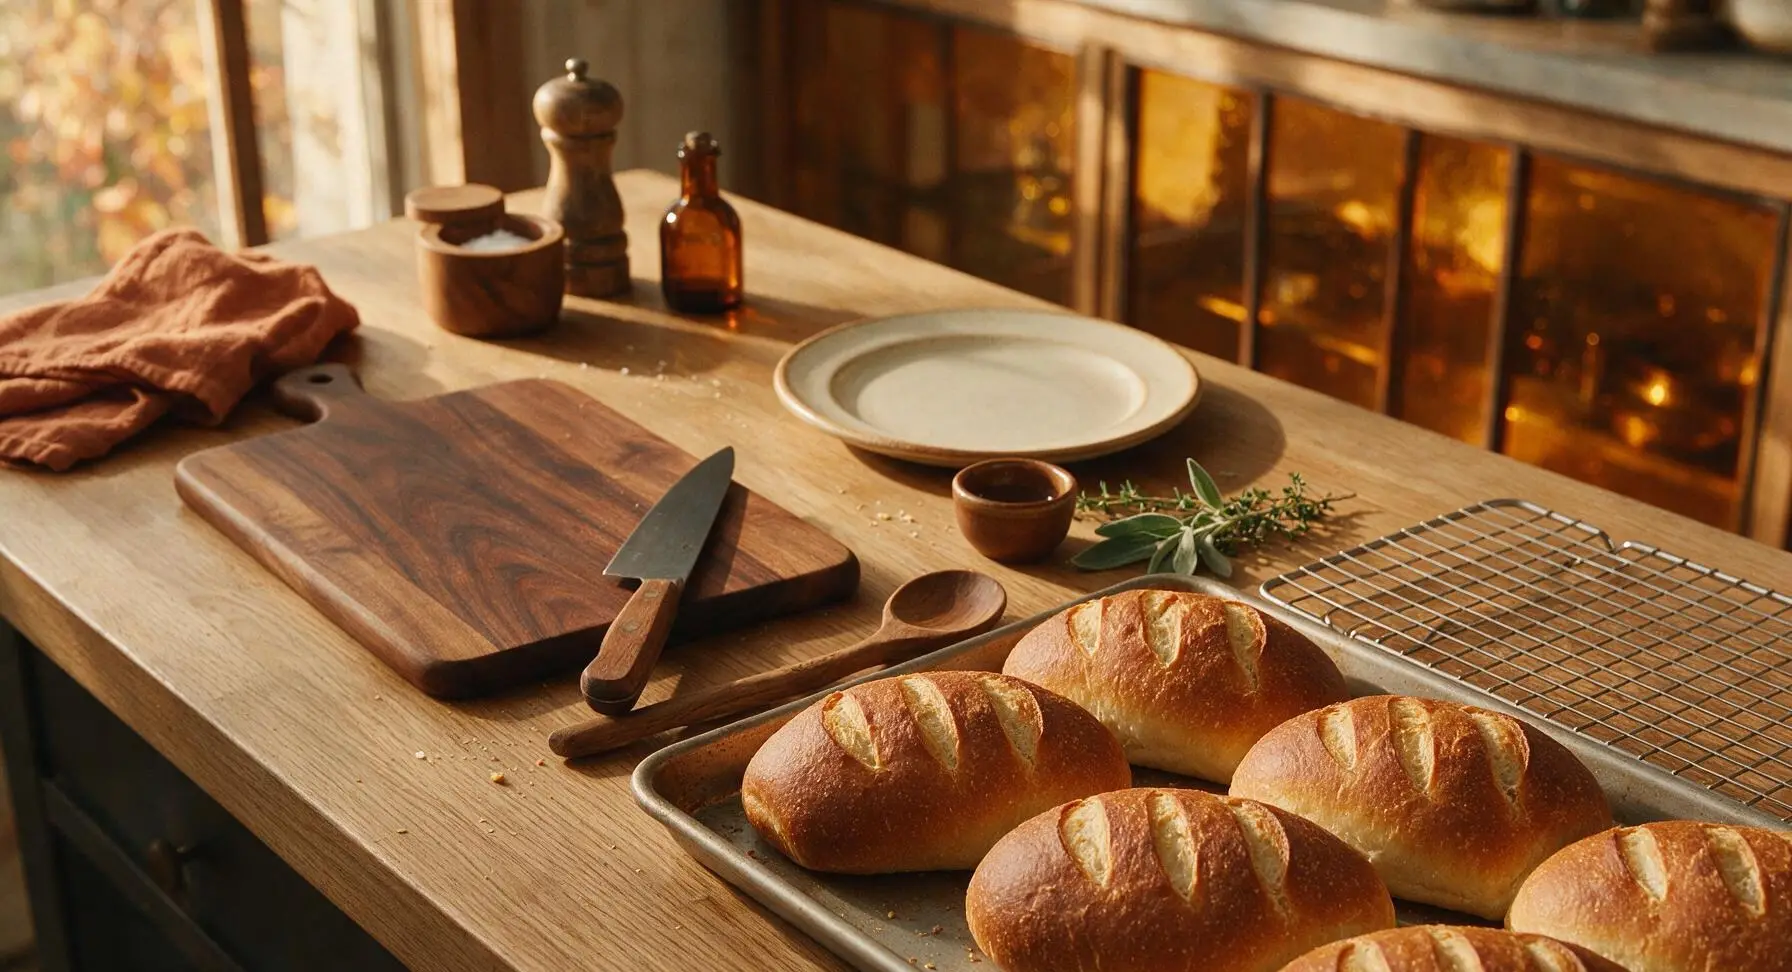
Cool and Finish Rolls
Immediately after removing the rolls from the oven, use the pastry brush to lightly brush the tops with softened unsalted butter for a soft, rich, flavorful crust. Transfer the rolls to the wire cooling rack to cool for at least 15 minutes before slicing or serving—cutting rolls while too hot will cause the soft crumb to compress and become gummy.
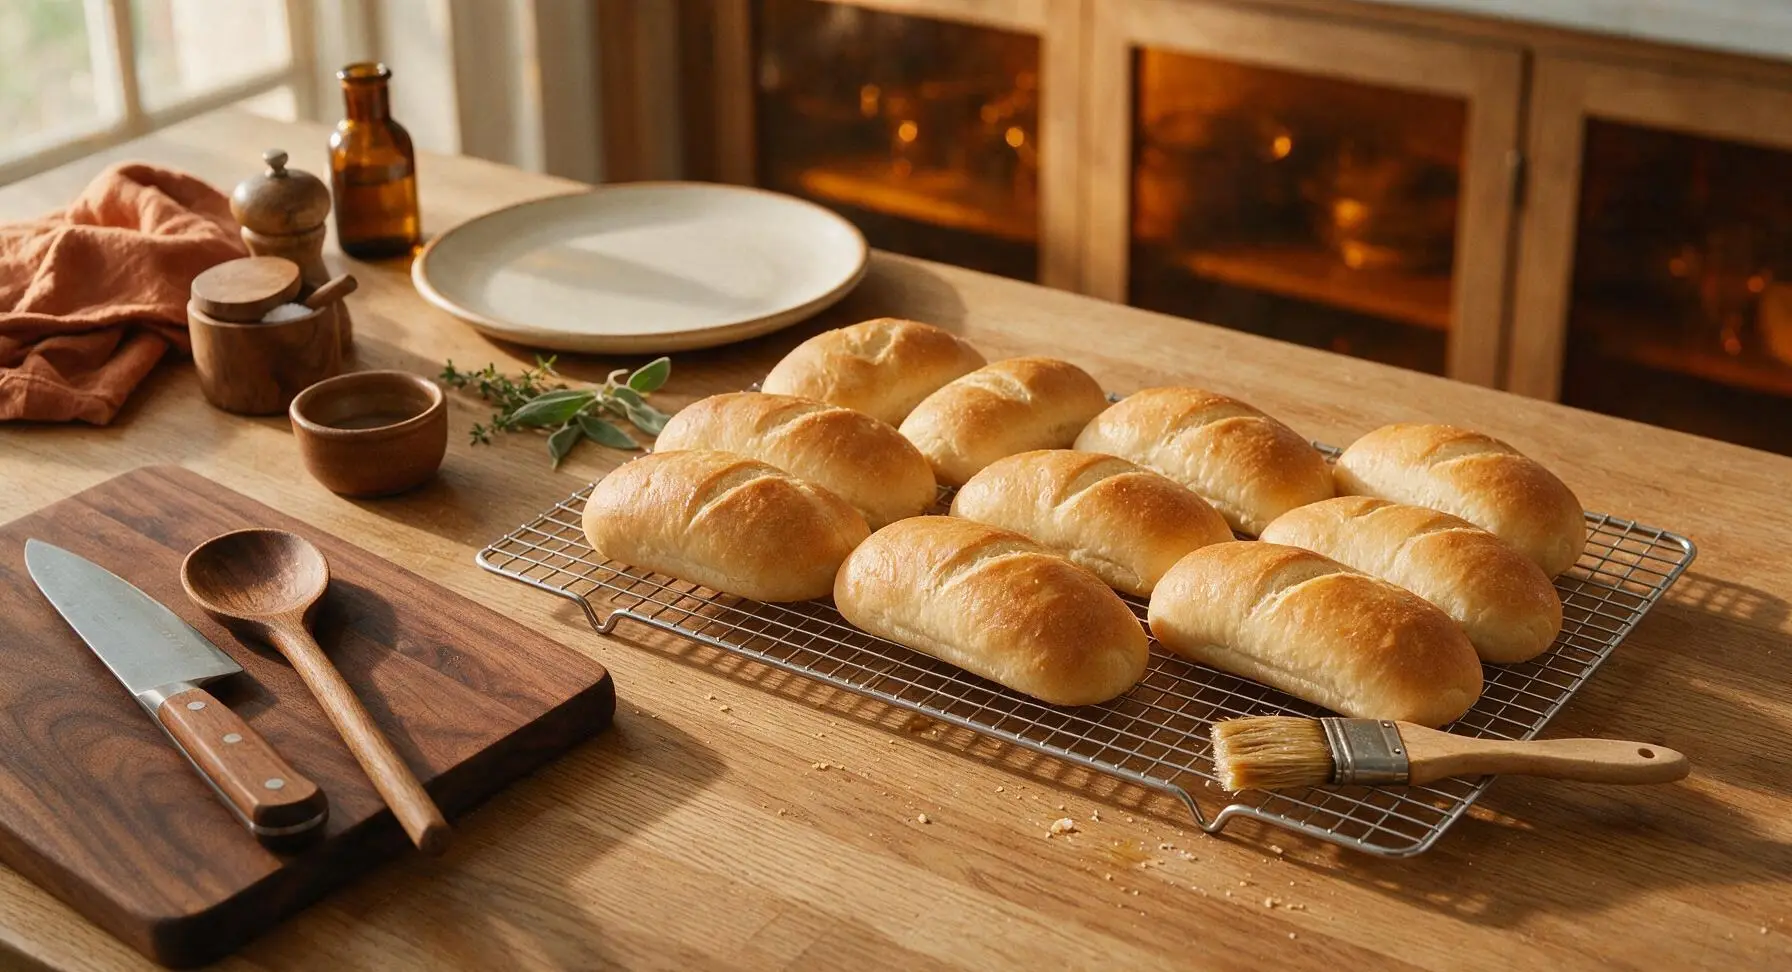
Tips
2.Pinch seams and ends tightly when shaping rolls: if seals are loose, the rolls will unroll or burst open unevenly during baking instead of holding their classic tapered sub shape.
3.Wait until rolls are fully cooled before slicing for sandwiches: the crumb structure continues to set as it cools, and slicing hot rolls will cause the soft interior to compress into a gummy texture that squishes out fillings.






OMG these homemade sub rolls are a total game changer for our weekly family sandwich night! I loaded mine up with meatballs and marinara, and the crust was perfectly crispy while the inside stayed soft and fluffy. My kids devoured theirs before I even finished serving my own plate. SO good, will be making these every Sunday from now on!
Took me a minute to get the kneading right since I’m used to store-bought dough, but these turned out way better than the sad grocery store sub rolls I usually grab for game day. The only thing I messed up was making them a little too long for my toaster oven, oops. Still tasted amazing though.
Wait, has anyone tried freezing these after baking? I do meal prep for the whole week and would love to bake a big batch on Sunday to pull out for quick lunches all month long. Worried they’ll get soggy when I thaw them though!
Made these for our neighborhood potluck last weekend and people were asking me for the recipe left and right! I brushed the tops with a little garlic butter right after they came out of the oven and *chef’s kiss*, absolute perfection. Paired perfect with the smoked brisket I made.
As someone who’s still pretty new to baking bread, I was nervous about the medium difficulty rating, but the steps were actually super straightforward! My roommates thought I picked these up from the fancy sandwich shop down the street, lol. Way cheaper than buying bakery rolls too.
How critical is the second rise time? I got pulled into a last minute work call right after shaping the rolls and ended up letting them rise almost 40 minutes longer than the recipe said. Did I totally ruin them? They look a little puffier than the photos, haha.
These are my go-to for every summer cookout now! I’ve made them three times in the last month, and they hold up so well even when loaded down with cold cuts, cheese, pickles, and all the fixins. No soggy bottom mess like the thin store-bought rolls get.
I swapped a quarter of the all-purpose flour for whole wheat to add a little nuttiness, and it worked perfectly! The crust had that amazing chewy bite, and it paired so well with turkey and avocado for my lunch all week. Will be experimenting with adding sesame seeds on top next time.
Ugh, my first batch came out way denser than I wanted 😭 Did I not knead the dough long enough? I used instant yeast like the recipe said, so I don’t think that was the problem. Any tips for next time?
Made these for our Super Bowl watch party back in February and they were such a hit I’m bringing them back for our tailgate this weekend! Perfect for making pulled pork sliders when you make them a little smaller, 10/10.
These taste exactly like the sub rolls my grandpa used to buy from the old Italian bakery in our neighborhood when I was a kid. That soft, chewy center and slightly crisp crust? Total nostalgia hit, I almost teared up taking the first bite. Thank you for this recipe!
I make these every week for my kids’ school lunches! I slice them, add ham and cheese, wrap them up, and they hold up perfectly until lunchtime. My oldest even said his friends keep asking if they can trade their lunch for his sub, haha. Total mom win.
Has anyone tried making these with active dry yeast instead of instant? I have a whole jar of it in my pantry and don’t want to run to the store just for one ingredient. Will it change the texture too much?
I was today years old when I realized how much better homemade sub rolls are than anything you can buy at the store. I used these to make cheesesteaks last night and my partner said it was better than the ones we get at our favorite Philly cheesesteak spot downtown. Wild.