
Homemade vanilla liqueur

title 1
Homemade vanilla liqueur
⏱️ cook time 10 minutes
🍽️ servings 25
⚡ Difficulty easy

intro

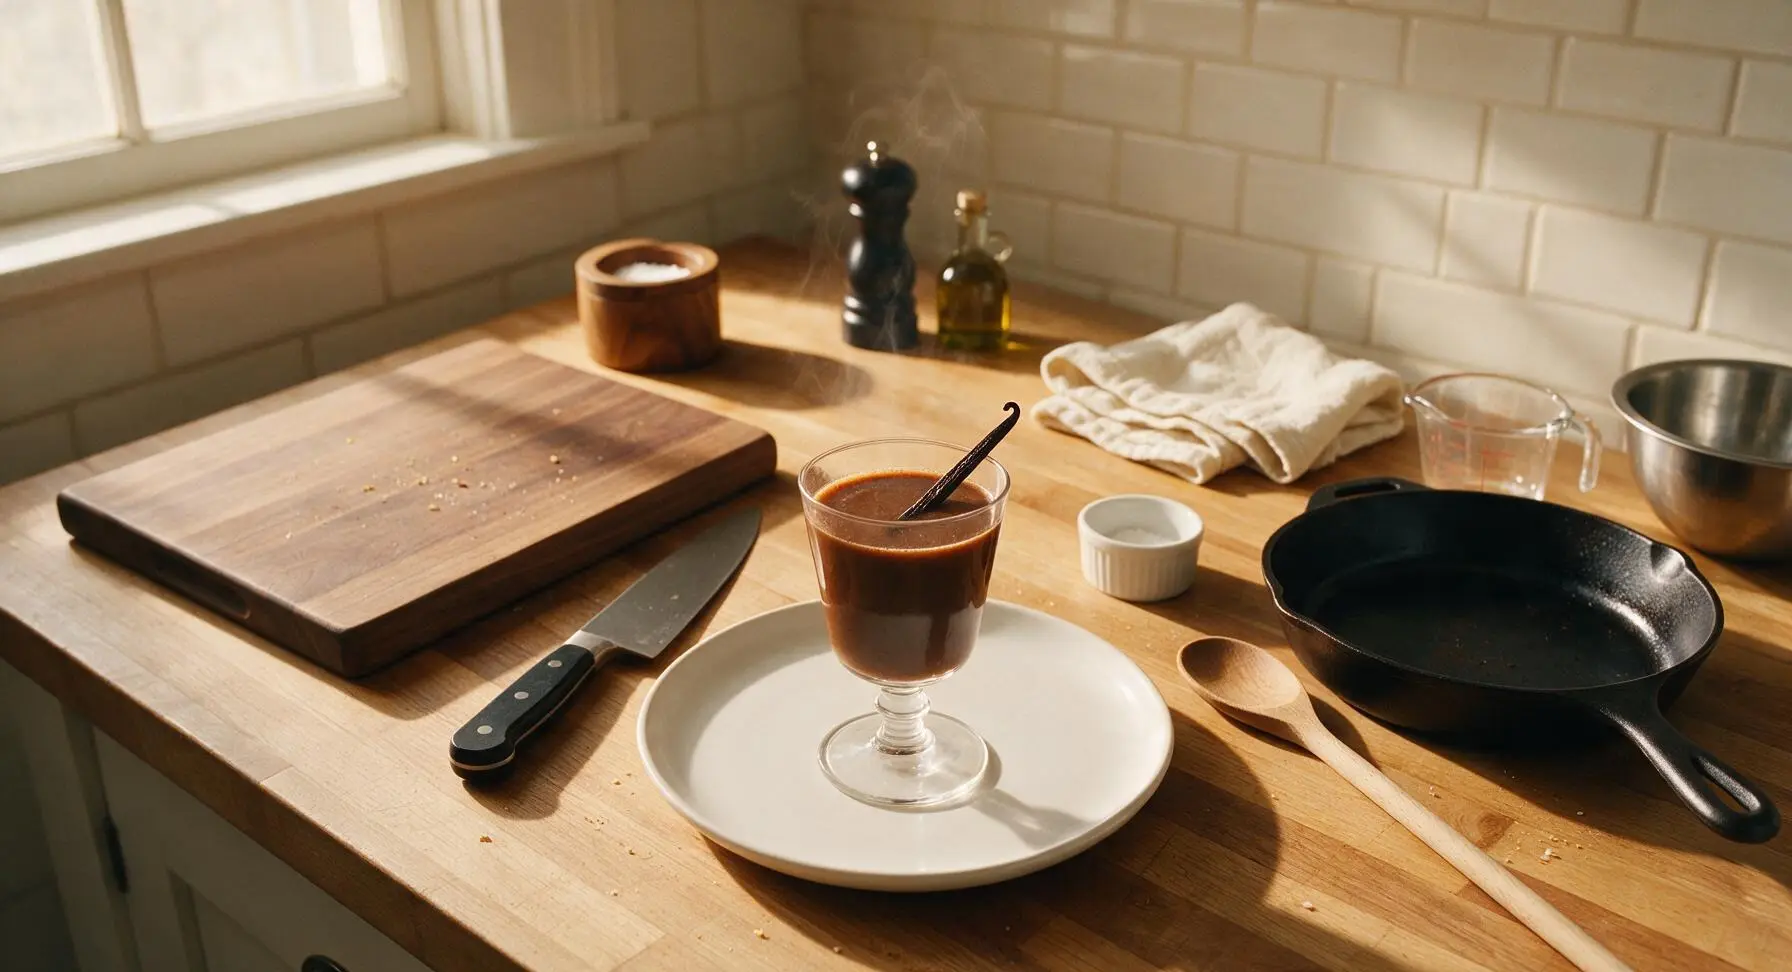
Smooth, rich, aromatic homemade vanilla liqueur, perfect for sipping, gifting, or mixing into coffee and cocktails, with deep warm vanilla notes and a luxuriously sweet finish.

Ingredients
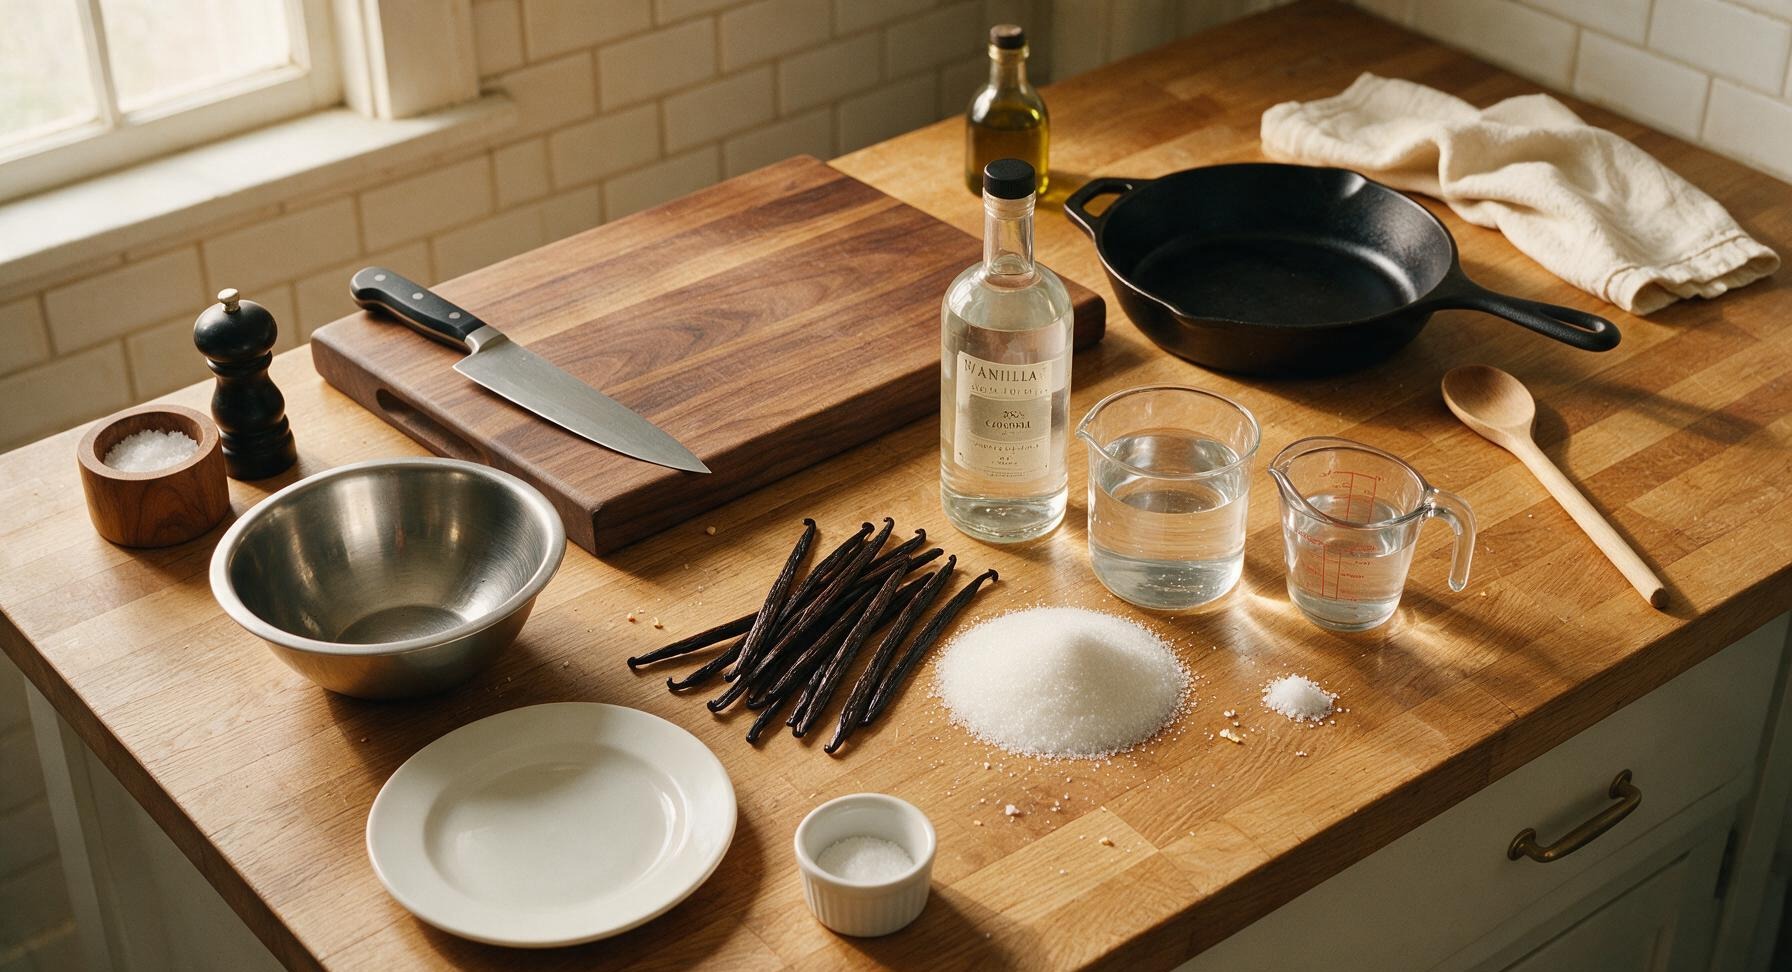
Mid-proof unflavored vodka (40% ABV) 750ml (3 cups)
Grade B vanilla beans 10 whole pods (30g)
Granulated white sugar 200g (1 cup)
Filtered water 240ml (1 cup)
Fine sea salt 1/8 teaspoon

Steps

1

Split Vanilla Beans

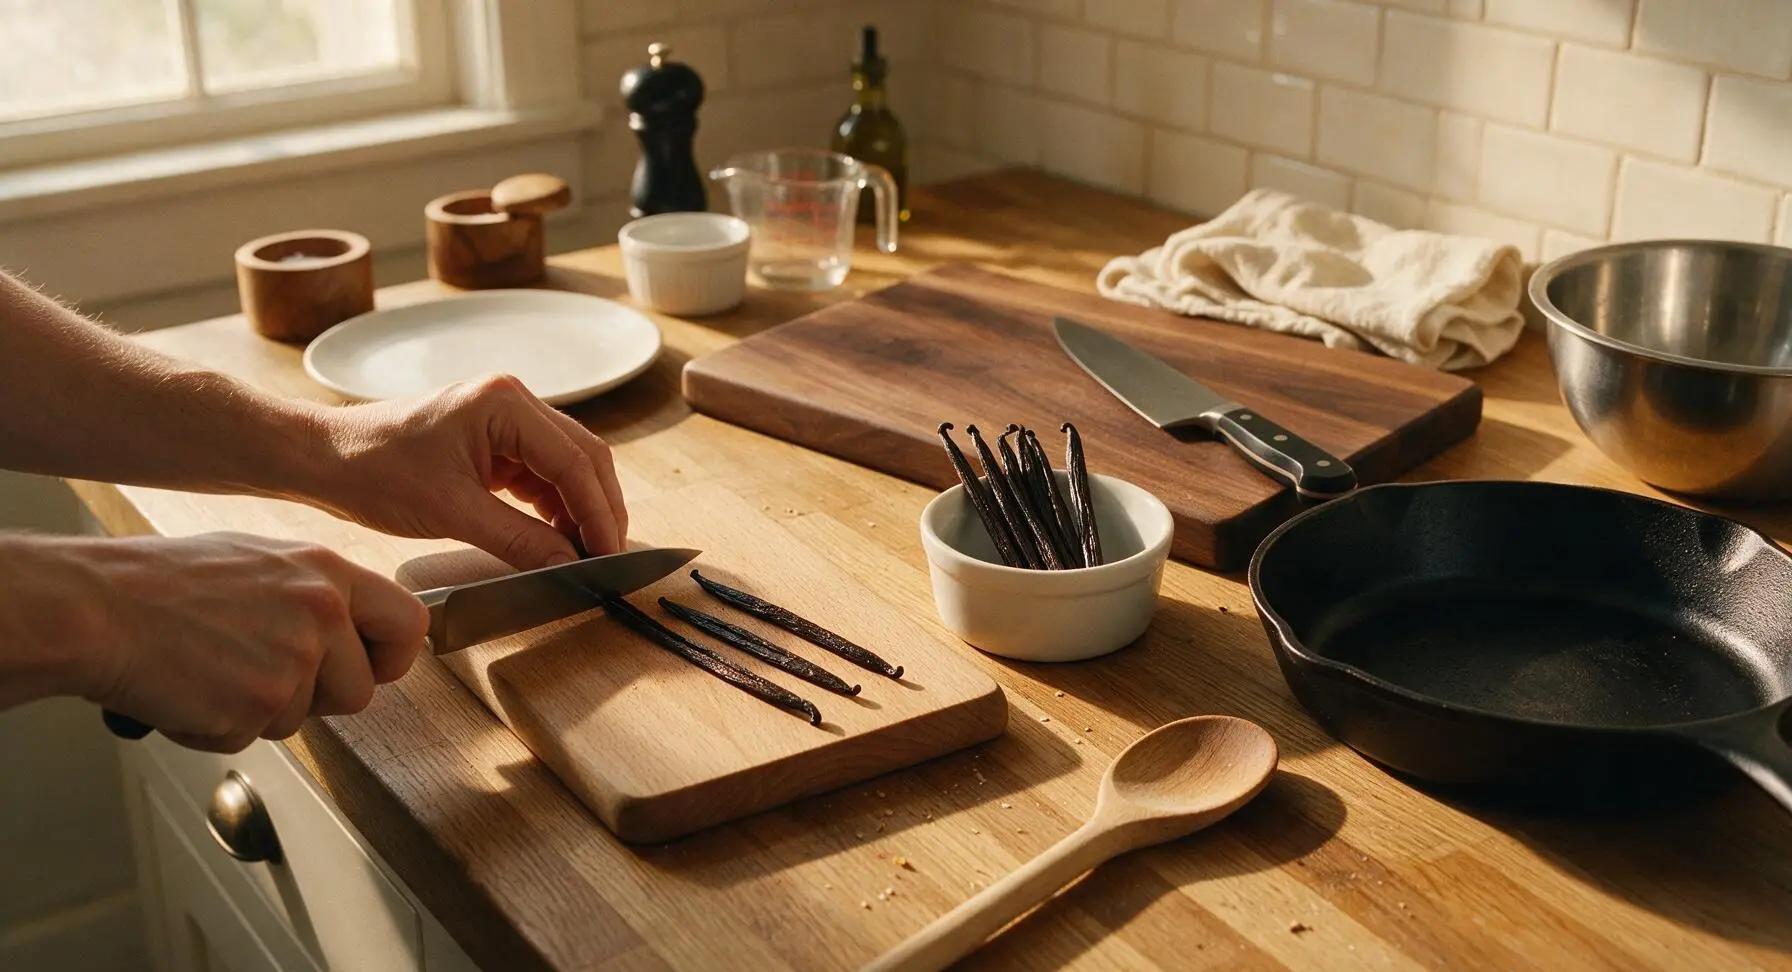
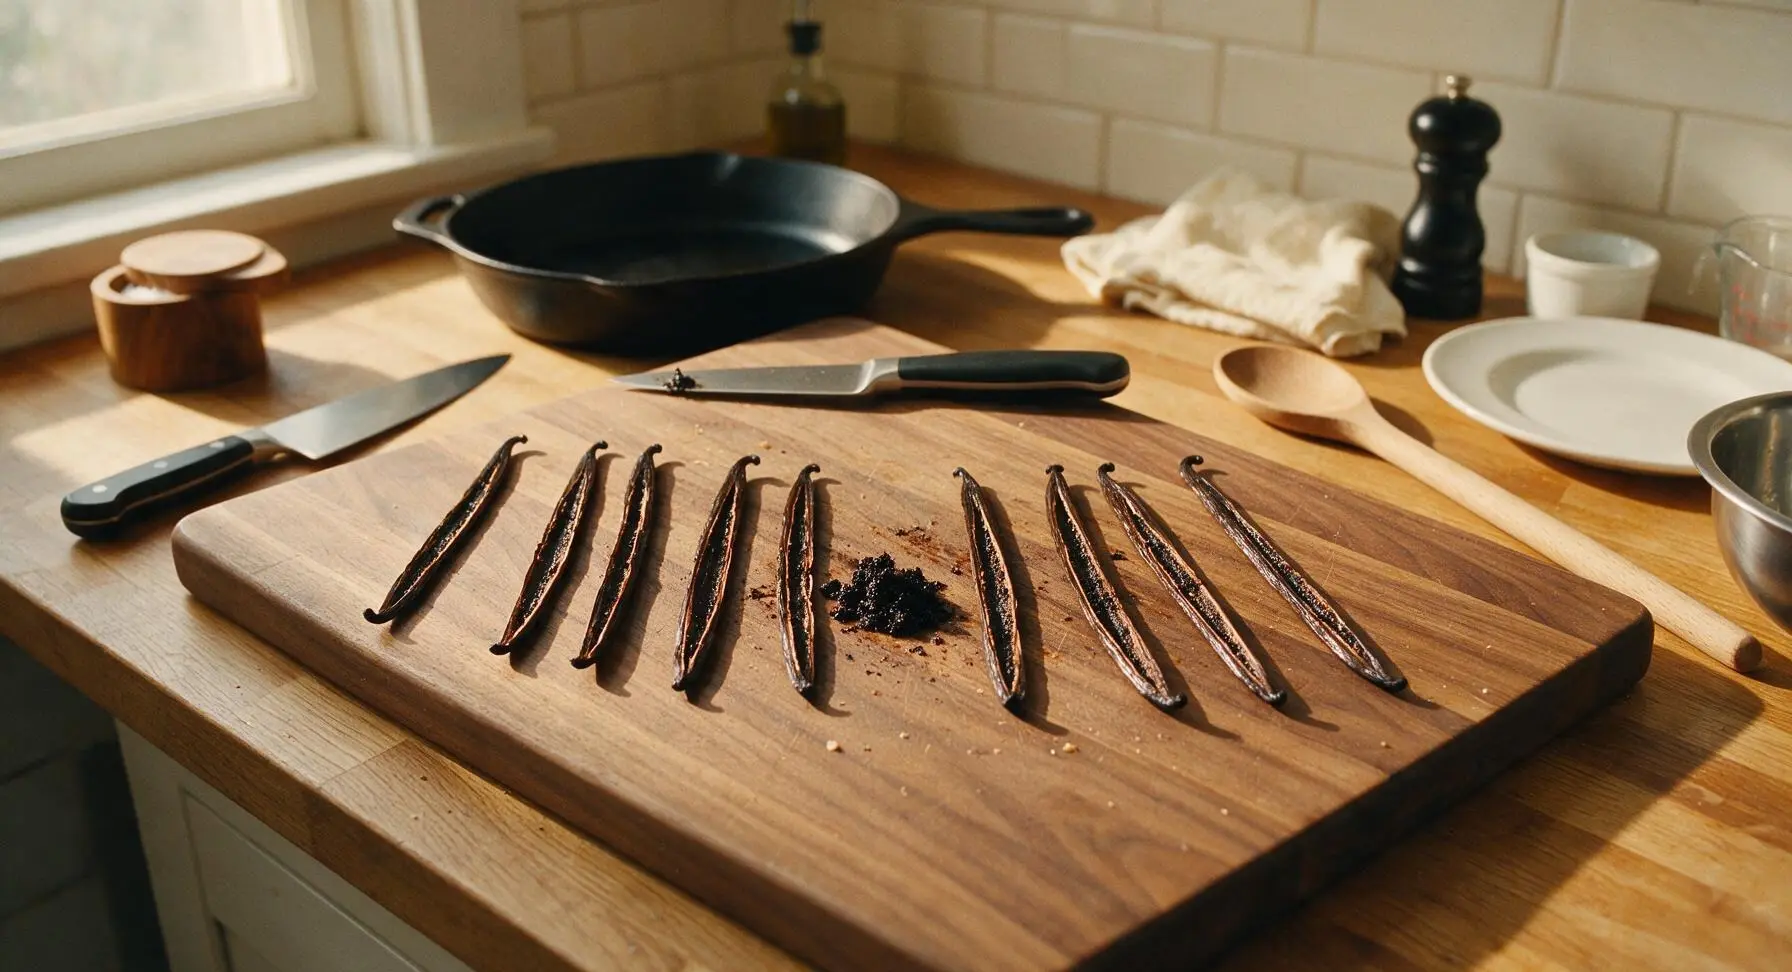
Place the small beech wood cutting board center-left on the counter. Lay all 10 vanilla beans flat on the board. Hold the paring knife at a 45-degree angle, and split each bean lengthwise down the center, leaving 1cm intact at both ends to keep the pod connected. Use the tip of the knife to scrape out the sticky, dark brown vanilla caviar (seeds) from each split pod, collecting both the scraped seeds and empty split pods for the infusion. Discard any dried, brittle pod ends.
Step 1
step1:Split Vanilla Beans
Step 1
step1:Split Vanilla Beans
2

Make Simple Syrup

Place the small stainless steel saucepan in the center of the counter. Add the measured filtered water, granulated white sugar, and pinch of fine sea salt to the pan. Heat over medium-low heat, stirring constantly with the long stainless steel stirring spoon until the sugar is fully dissolved, about 3-4 minutes. Do not let the syrup boil vigorously; heat just until the liquid is completely clear with no visible sugar grains at the pan bottom. Remove from heat and let cool fully to room temperature, approximately 20 minutes.
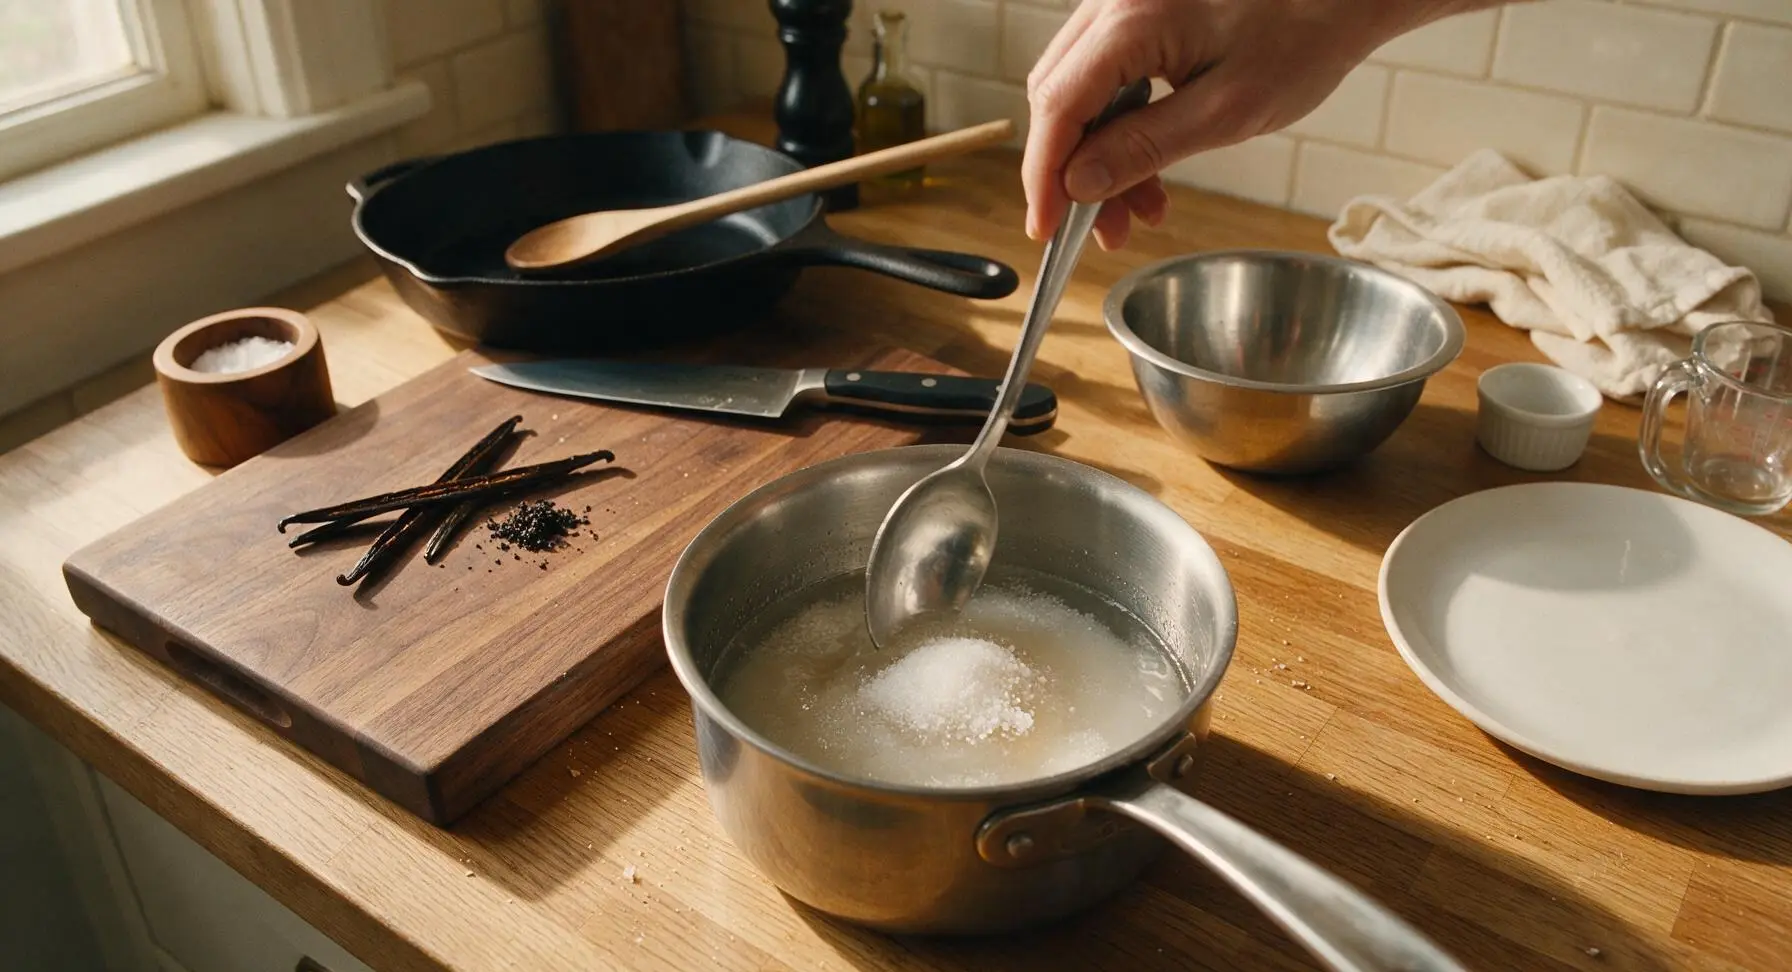
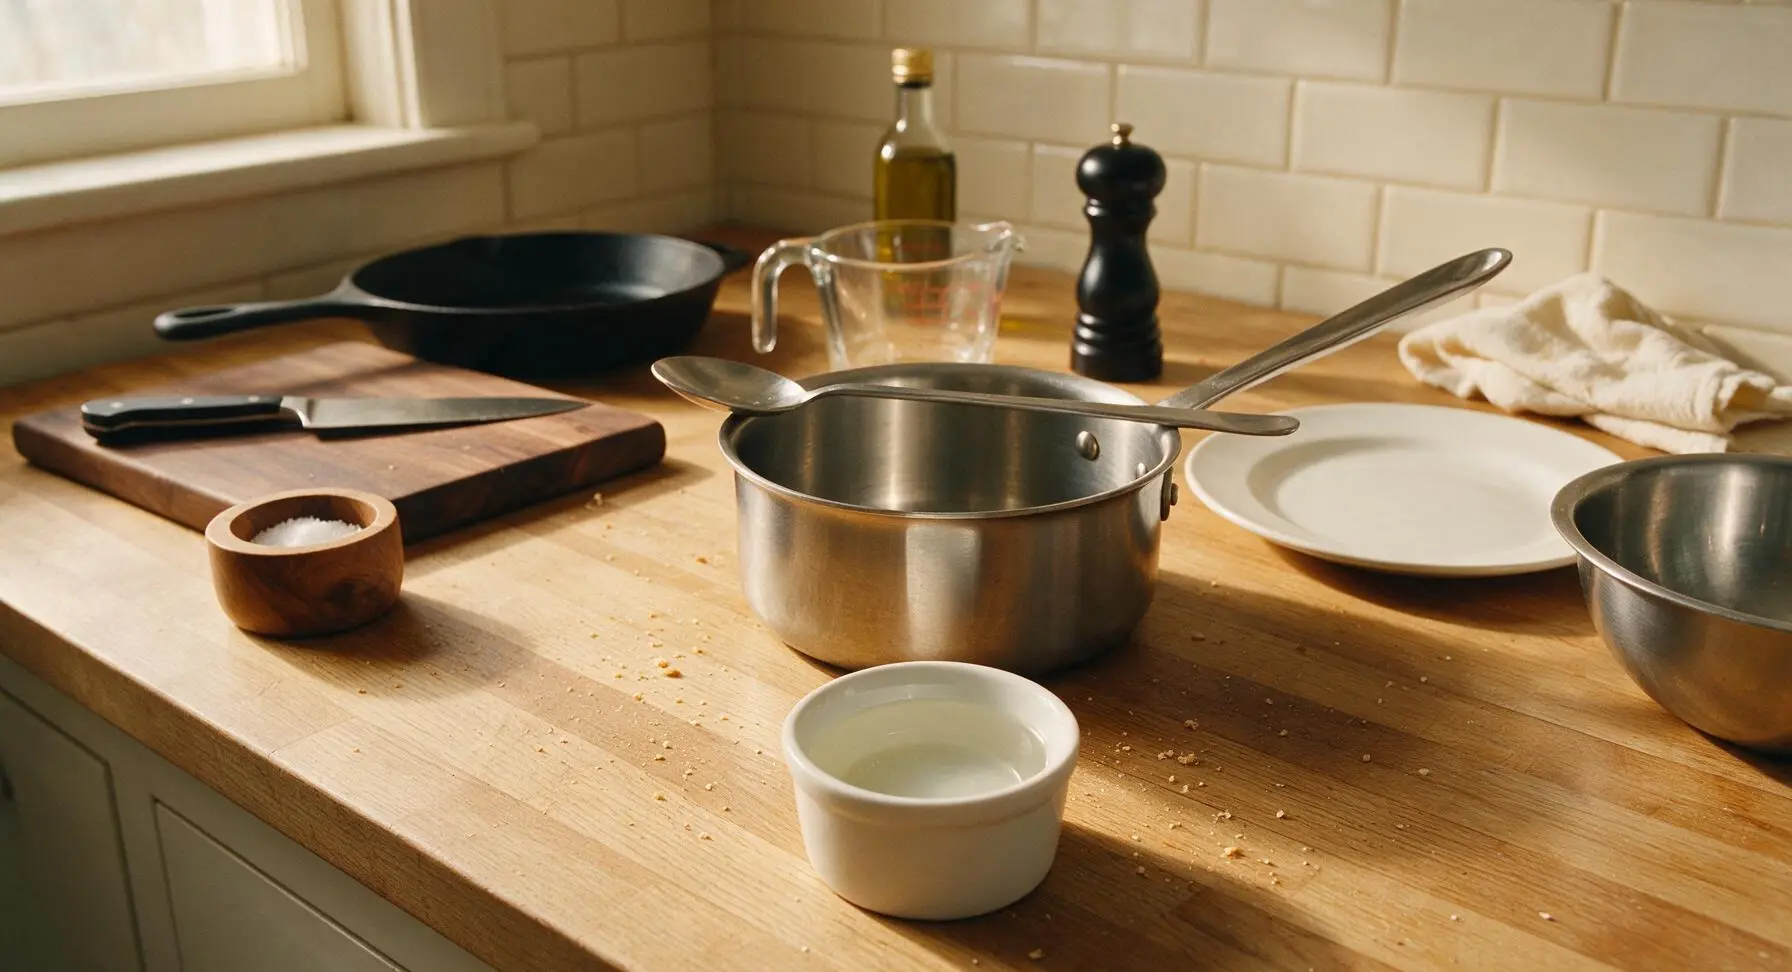
Step 2
step2:Make Simple Syrup
Step 2
step2:Make Simple Syrup
3

Combine Infusion Base

Place the 1L wide-mouth glass infusion jar center-right on the counter. Use the clear glass measuring cup to pour the full 750ml of vodka into the jar. Add all split vanilla pods and scraped vanilla caviar to the vodka, using the stirring spoon to push all pods fully under the liquid surface (exposed pods can develop mold if left above the liquid line). Pour the fully cooled simple syrup into the jar, then stir gently 3-4 times to combine the liquids evenly.
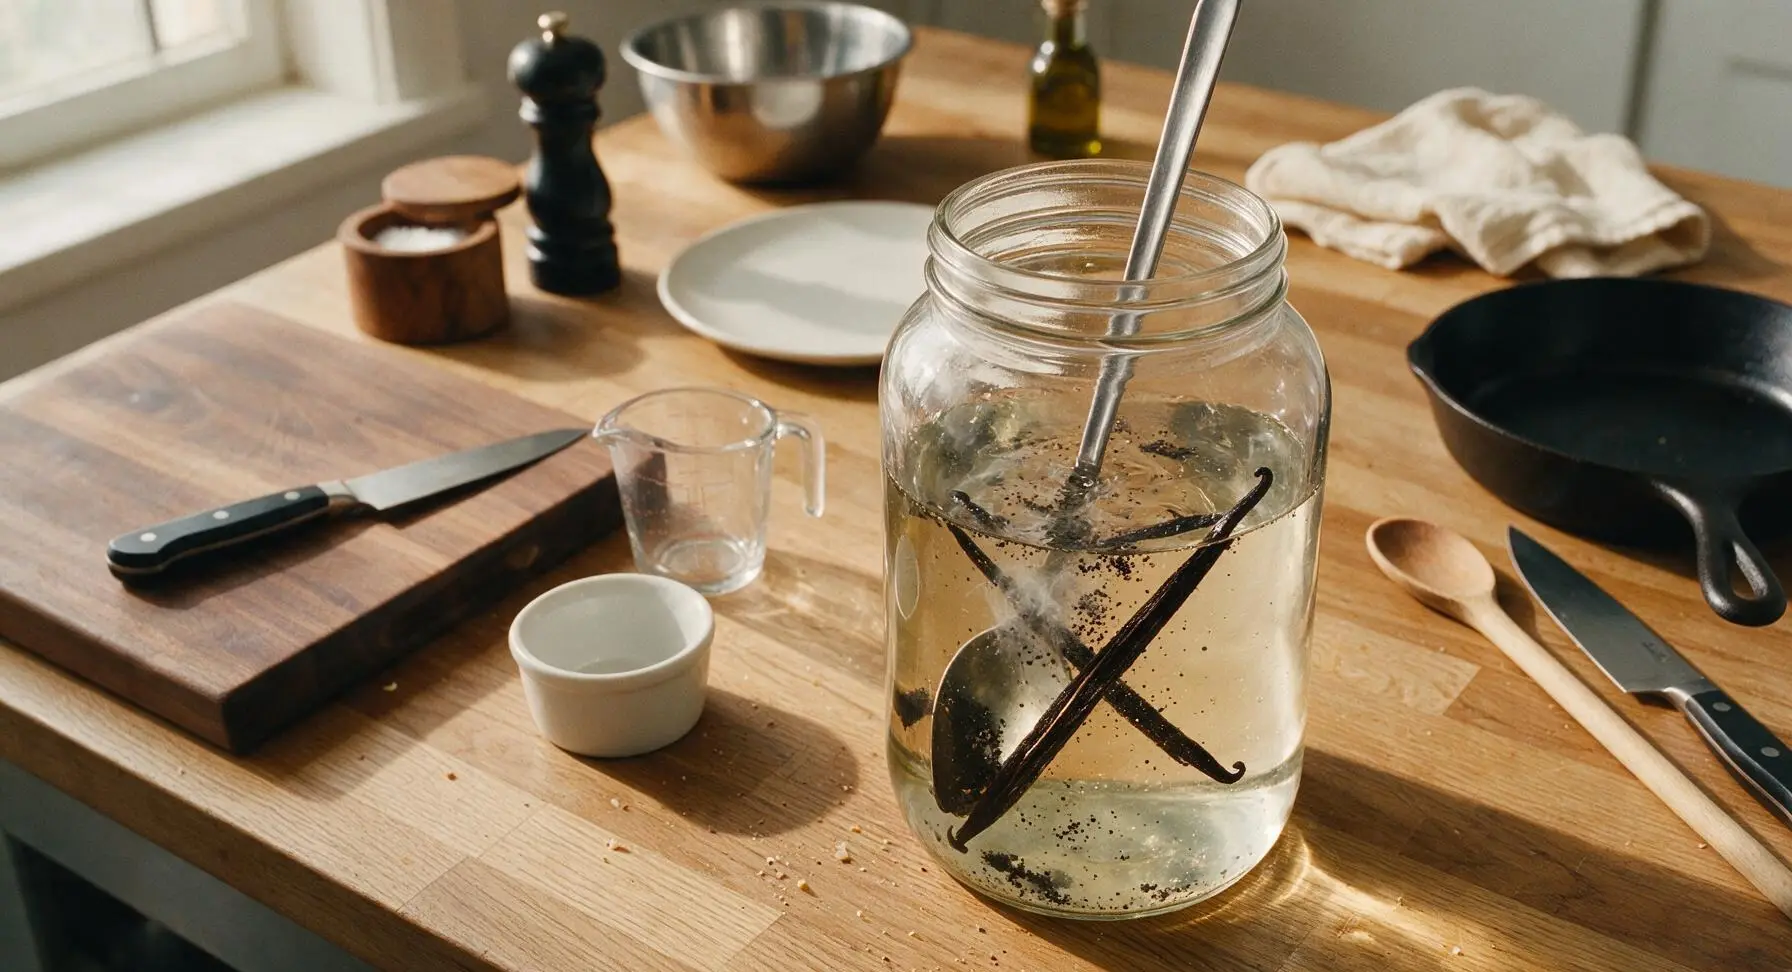
Step 3
step3:Combine Infusion Base
4

Seal and Steep Liqueur

Wipe the rim of the infusion jar with a corner of the cream linen towel to remove any liquid drips, then screw the brushed silver metal lid on tightly. Give the jar 5 gentle, slow turns to agitate the ingredients, then place it in a cool, dark cabinet away from direct sunlight to steep for 4 weeks. Every 3-4 days, gently shake the jar once to redistribute vanilla seeds and encourage even flavor extraction. The liqueur will slowly darken from pale gold to deep amber as it infuses.
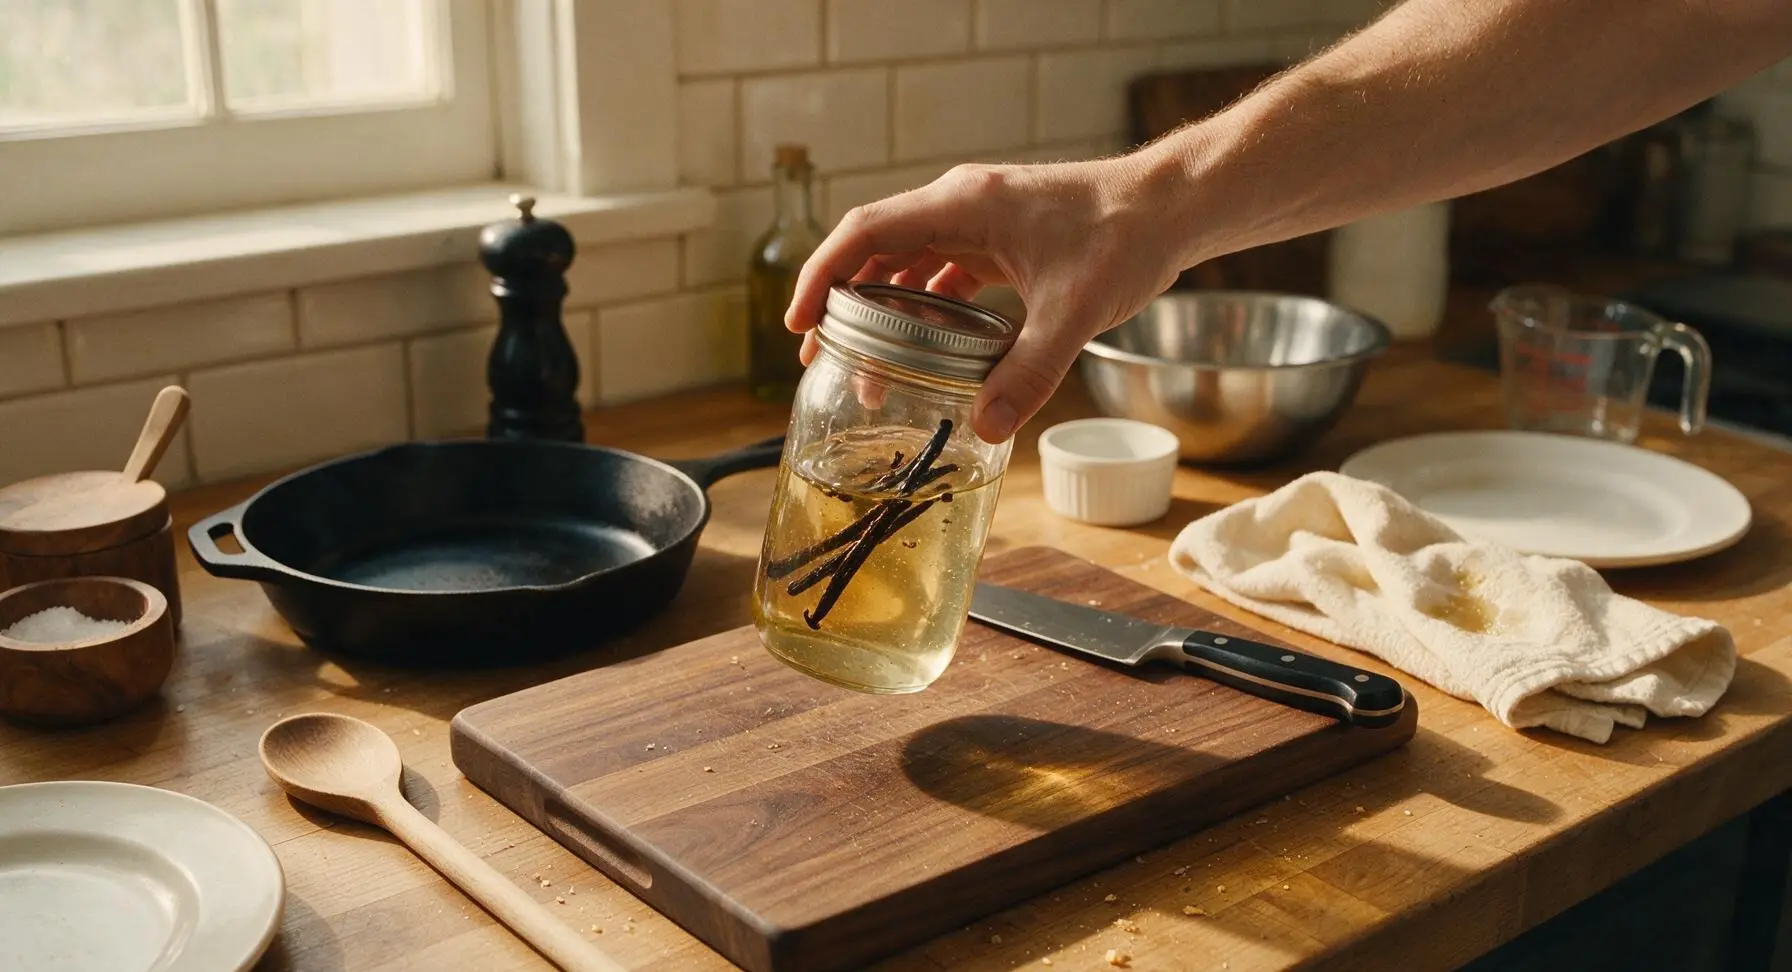
Step 4
step4:Seal and Steep Liqueur
5

Strain Finished Infusion

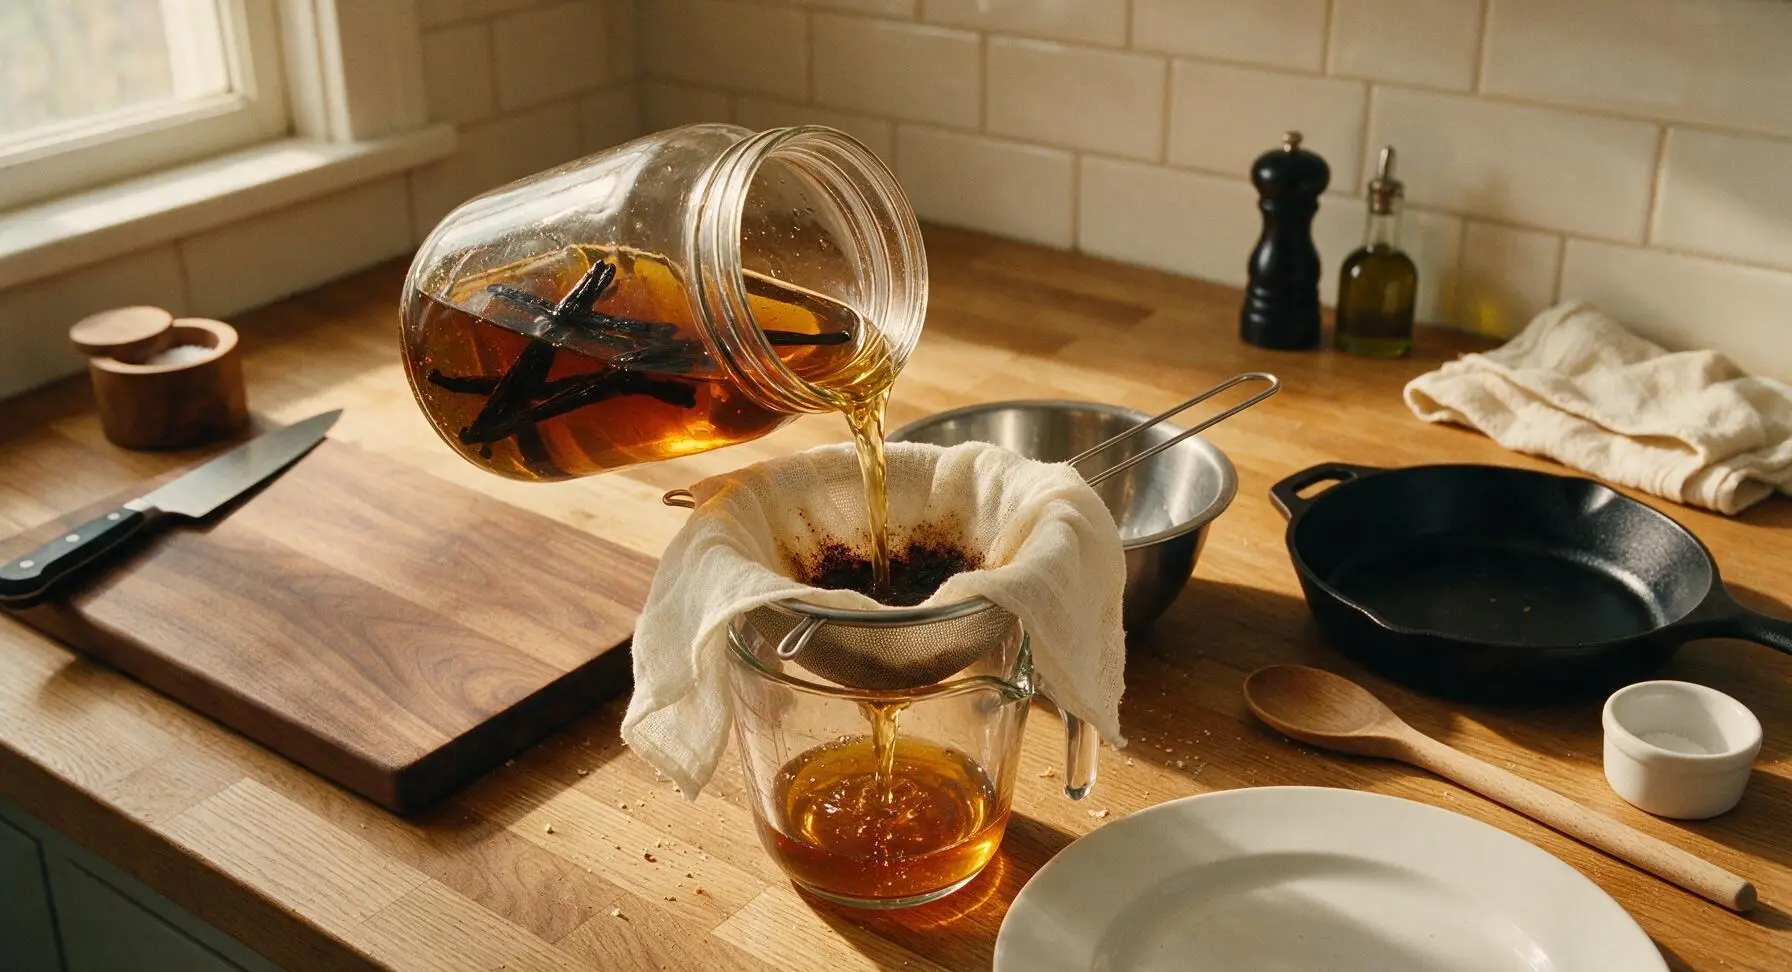
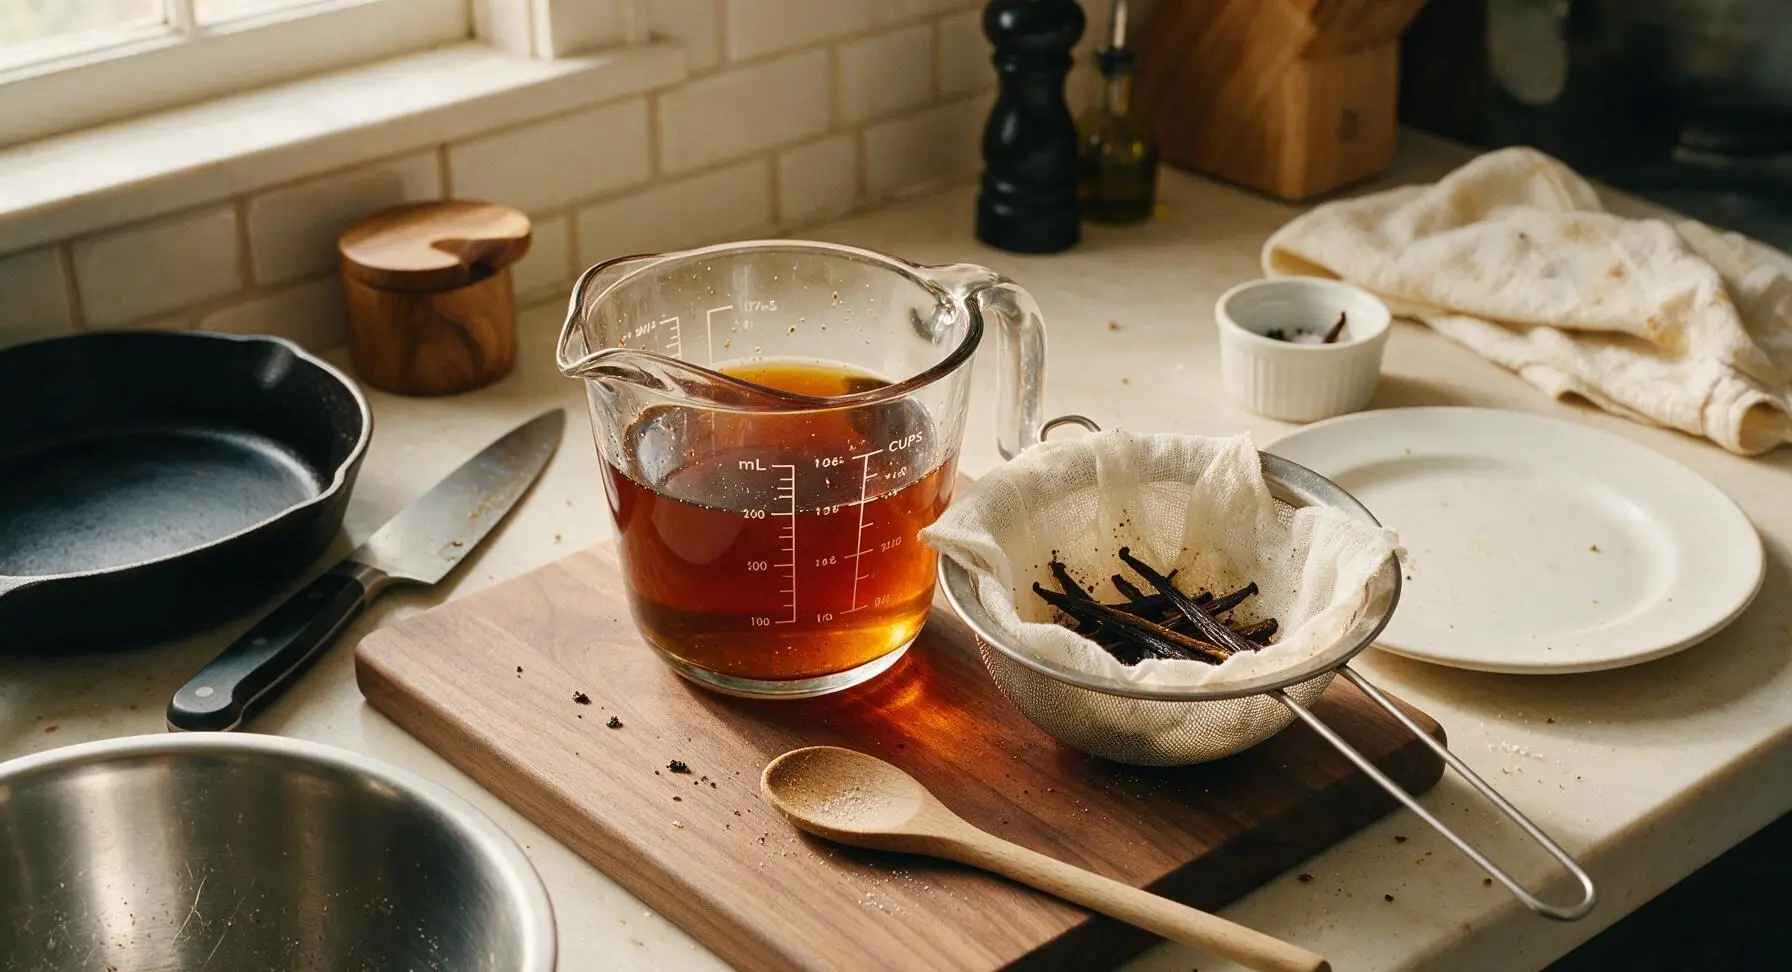
After 4 weeks of steeping, remove the jar from the cabinet. Line the fine-mesh stainless steel strainer with a double layer of unbleached cheesecloth, and set the strainer over the top of the clear glass measuring cup. Slowly pour the infused liqueur through the cheesecloth-lined strainer to catch all vanilla seeds, pod fragments, and fine sediment. Do not press on the solids in the strainer, as this will cloud the liqueur; let it gravity drain fully for 5 minutes until all liquid has passed through. The strained liqueur should be clear, deep amber gold, with no floating particles.
Step 5
step5:Strain Finished Infusion
Step 5
step5:Strain Finished Infusion
6

Bottle the Liqueur

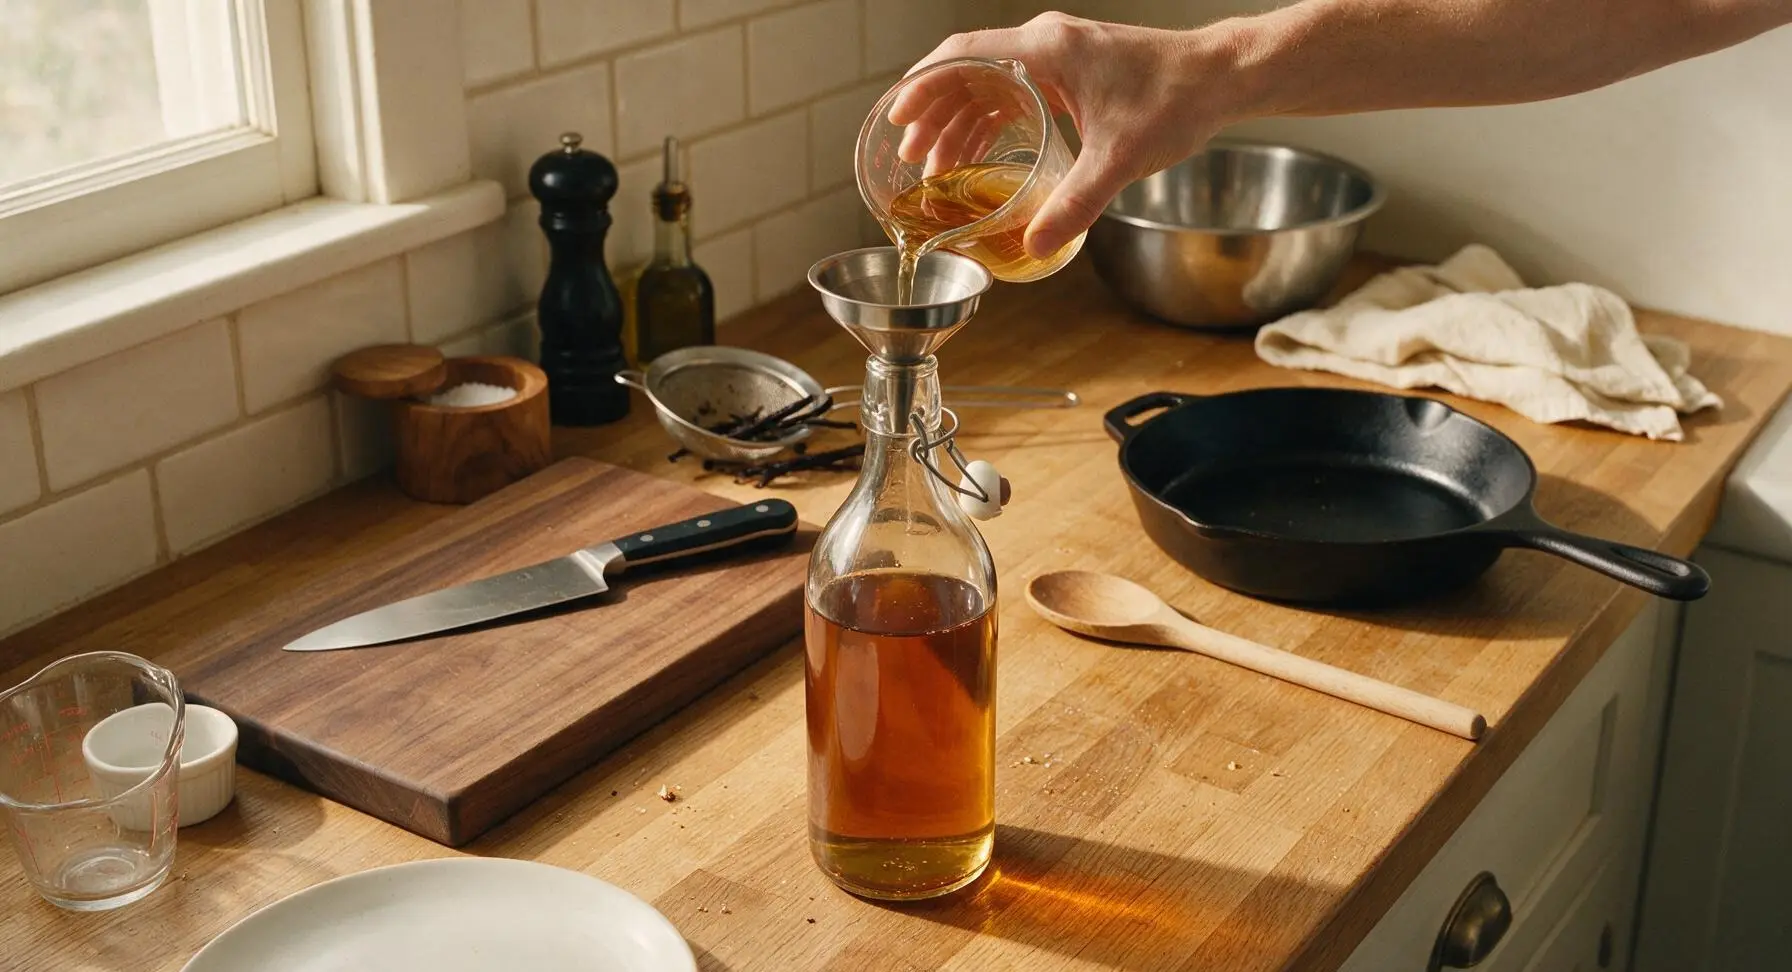
Place the small stainless steel funnel into the neck of the 750ml clear swing-top glass bottle. Slowly pour the strained vanilla liqueur through the funnel into the bottle, leaving 1cm of headspace at the top to allow for minor expansion. Remove the funnel, wipe the bottle neck clean with the linen towel, and seal the swing-top closure tightly. For gifting, add one whole vanilla bean to the bottle for visual appeal, if desired.
Step 6
step6:Bottle the Liqueur
7

Age Before Enjoying

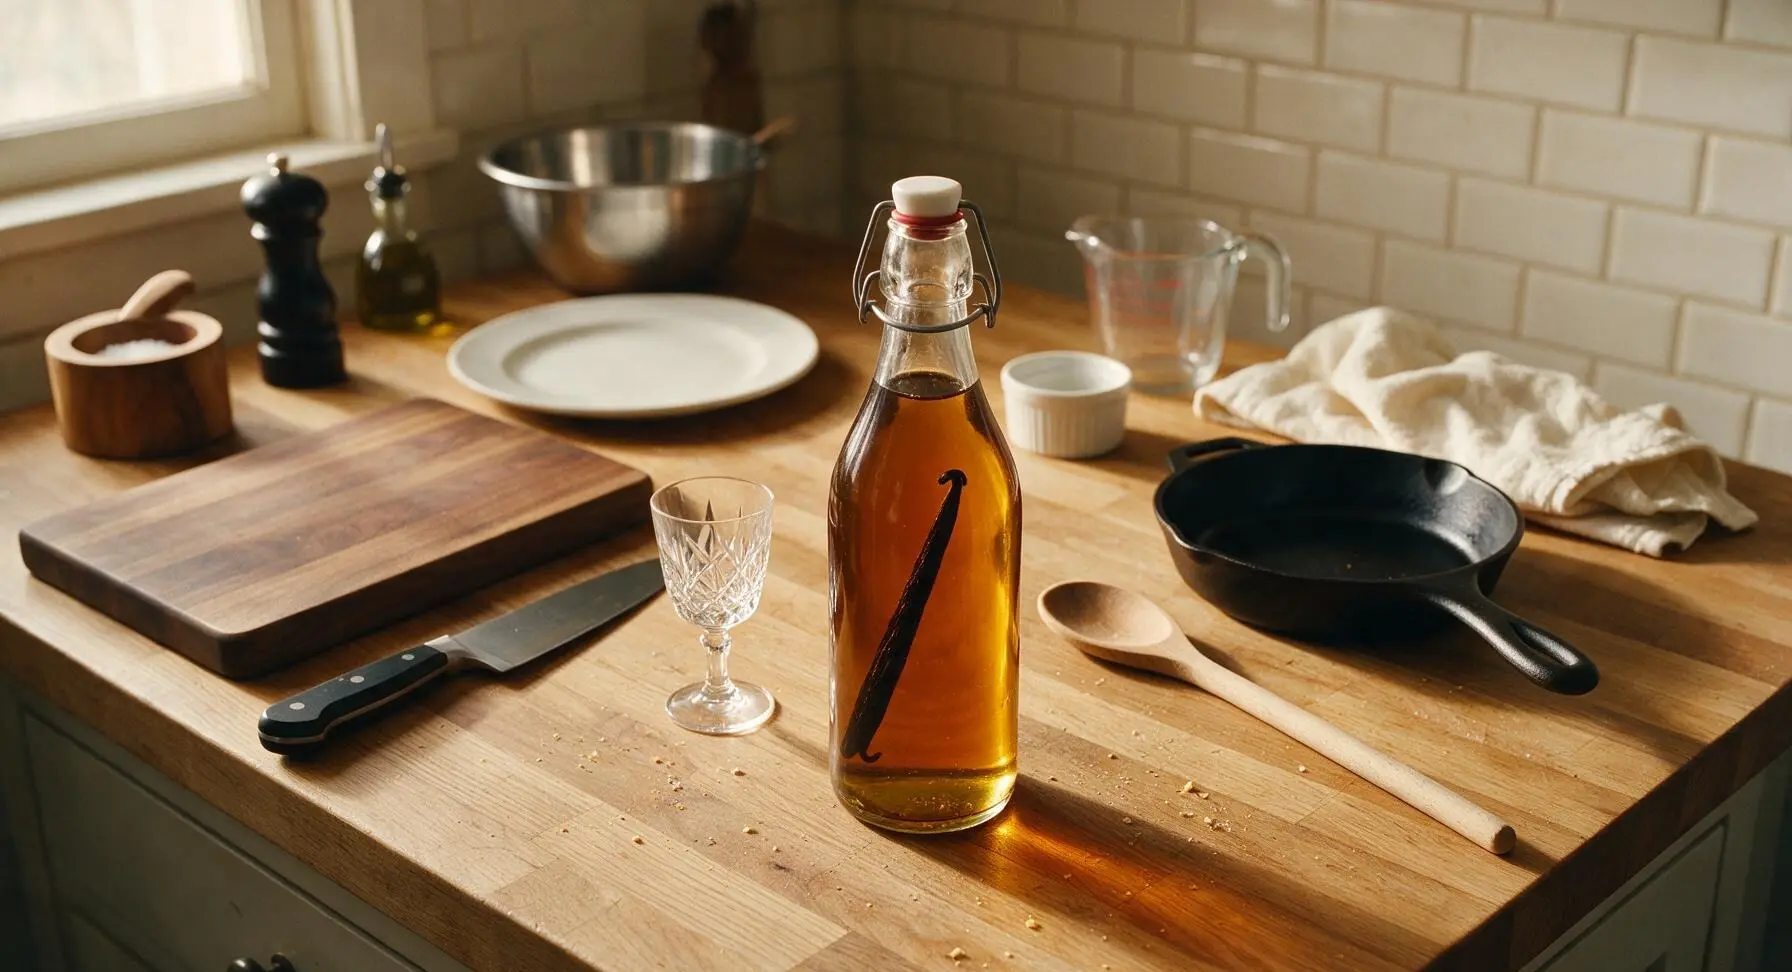
Seal the bottled liqueur and let it rest in a cool, dark place for an additional 1 week to mellow flavors, allowing any remaining micro-sediment to settle to the bottom. The finished liqueur will keep for up to 1 year stored in a cool, dark cabinet. Serve chilled, over ice, stirred into coffee or hot cocoa, or used as a cocktail ingredient.
Step 7
step7:Age Before Enjoying

Tips

1.Choose Grade B vanilla beans over Grade A for infusion: Grade B beans have lower moisture content and a more concentrated, deep vanilla flavor, and are typically less expensive than plump Grade A beans meant for baking, making them ideal for long alcohol steeps.
2.Always let simple syrup cool fully to room temperature before adding it to the vodka: warm syrup can cook off delicate vanilla aromatic compounds and evaporate small amounts of alcohol, resulting in a flat, less fragrant final liqueur.
3.Avoid straining through paper coffee filters unless you want a completely crystal-clear liqueur: coffee filters strip out the rich, oily vanilla compounds that give the liqueur its smooth, luxe mouthfeel. A double layer of cheesecloth removes all gritty sediment while retaining full flavor.


✨ You May Also Like

Drinks & Beverages
🍜 Mexico

A bright, balanced tequila-based cocktail with zesty fresh lime, smooth orange liqueur, and a signature salt rim, perfect for warm summer sipping.

⏱️ 5 minutesDrinks & Beverages ★ 4.9
Drinks & Beverages
🍜 United States

Thick, creamy, nostalgic classic vanilla milkshake with a rich, smooth texture, topped with whipped cream and a cherry for cool, sweet refreshment.

⏱️ 5 minutesDrinks & Beverages ★ 4.7
Drinks & Beverages
🍜 United States

A bright, golden strong ale with fruity banana-clove notes, subtle hop spice, and soft carbonation, brewed in classic Trappist Tripel tradition.

⏱️ 2 hours aDrinks & Beverages ★ 4.5
Drinks & Beverages
🍜 United States

A frothy, nostalgic American soda fountain treat pairing bubbly cold root beer with creamy vanilla ice cream, perfect for cooling down at warm weather gatherings.

⏱️ 20 minuteDrinks & Beverages ★ 4.8
Drinks & Beverages
🍜 United States

Tart, funky, effervescent American Wild Ale is a complex fruity craft beer brewed with wild yeast, delivering bright, zesty notes perfect for warm-weather sipping.

⏱️ 2 hours aDrinks & Beverages ★ 4.4
Drinks & Beverages
🍜 United States

Bright, bubbly copycat of the iconic American caramel cola, balanced with citrus and warm spice, perfect for sipping ice-cold on hot days.

⏱️ 15 minuteDrinks & Beverages ★ 4.8

Homemade vanilla liqueur:Frequently Asked Questions

1.Why do you recommend Grade B vanilla beans instead of Grade A for this liqueur? ▾
Grade B vanilla beans are ideal for infusion work like this! They’re drier than plump Grade A baking beans, with a higher concentration of deep, concentrated vanilla flavor compounds and less excess moisture. That means they release richer, warmer, more robust vanilla notes into the vodka over steeping, and they’re usually more budget-friendly for batch liqueur making too.
2.Can I use a different base spirit instead of 40% ABV unflavored vodka? ▾
You can make a gentle swap for unflavored white rum if you want a slightly softer, subtly sweet base, but stick to spirits right around 40% ABV. Skip anything over 50% ABV, as it will extract harsh, bitter off-notes from the vanilla beans, and avoid flavored spirits that will cover up the delicate, warm vanilla core of the liqueur.
3.Why is there a small amount of fine sea salt in this sweet liqueur recipe? ▾
That tiny pinch of fine sea salt is a total flavor game-changer! It doesn’t make the liqueur taste salty at all—instead, it suppresses bitter off-notes from the infusion, amplifies the rich, warm vanilla aroma, and balances the cloying edge of the sugar so the finish tastes smooth and luxe instead of overly sweet.
4.How long do I need to let the vanilla steep before the liqueur is ready to drink? ▾
Plan for a minimum of 4 weeks of steeping time for a solid, well-rounded vanilla flavor, though 6 to 8 weeks will give you a much deeper, more aromatic final liqueur. Give the jar a quick, gentle swirl once a week to distribute vanilla compounds evenly as it infuses in a cool, dark spot away from direct sunlight.
5.Do I need to prep the vanilla beans before adding them to the vodka? ▾
Absolutely—split the beans lengthwise and scrape out the tiny, sticky seed caviar directly into the vodka before dropping in the empty pods. This exposes far more surface area to the spirit, cuts down on required steeping time, and gives you that classic look of tiny vanilla flecks suspended in the finished liqueur.
6.Can I use vanilla extract instead of whole beans to make this liqueur faster? ▾
I don’t recommend it! Using pure vanilla extract will give you a flat, one-note vanilla flavor that lacks the deep, aromatic complexity you get from whole bean infusion, and imitation vanilla will leave a distinct artificial chemical aftertaste. The slow whole-bean steep is what gives this liqueur its luxe, smooth profile.
7.What sugar-to-water ratio should I use for the simple syrup in this recipe? ▾
Use a 1:1 ratio of granulated white sugar to filtered water for balanced, not overly cloying sweetness. Heat the mixture just until the sugar fully dissolves (don’t boil it for long, as that will over-thicken the syrup), let it cool completely to room temperature, then stir it into the fully steeped vanilla vodka.
8.How should I store finished homemade vanilla liqueur, and how long will it last? ▾
Store your finished liqueur in tightly sealed, clean glass bottles in a cool, dark cabinet away from direct heat or sunlight. At roughly 20-25% ABV after adding simple syrup, it will keep perfectly for up to 2 years with no refrigeration needed, though its flavor will be brightest in the first 6 months after bottling.
9.Do I need to filter the liqueur after steeping to remove vanilla bean bits? ▾
A quick pass through a fine-mesh strainer is all you need if you don’t mind tiny vanilla seed flecks, which add great flavor and a pretty, artisanal look. If you want perfectly crystal-clear liqueur for gifting, strain a second time through a coffee filter or double layer of cheesecloth to catch all fine sediment before bottling.
10.Can I adjust the sweetness level of the liqueur to match my taste? ▾
Definitely! Start by stirring in ¾ of the cooled simple syrup first, then give the liqueur a taste. If you want it sweeter, add more syrup a tablespoon at a time until it hits your preferred sweetness. Just remember vanilla flavor will mellow a bit in the first week after adding syrup, so err slightly on the less sweet side initially.
11.Is this homemade version the same as store-bought vanilla liqueur? ▾
It has a similar core profile, but homemade has a fresher, brighter, more pronounced real vanilla flavor without the artificial notes or extra herbal additives many commercial brands include. It works as a perfect 1:1 swap in any cocktail calling for vanilla liqueur, and it’s far smoother for sipping neat over ice.
12.Why do you specify filtered water instead of tap water for the simple syrup? ▾
Tap water often has trace amounts of chlorine, mineral deposits, or subtle off-flavors that can dull the bright vanilla aroma and leave a flat, odd aftertaste in your finished liqueur. Filtered water is completely neutral, so it lets the warm, rich vanilla and smooth vodka shine through without any unintended off-notes.
13.Can I add extra flavors to customize my vanilla liqueur? ▾
Absolutely! Once your base vanilla flavor is well-developed, add a single cinnamon stick, a couple strips of bitter-free orange zest, a few whole coffee beans, or a split roasted hazelnut during the last week of steeping for a fun twist. Just go light on add-ins so you don’t cover up the star vanilla flavor.
14.What are the best ways to serve this homemade vanilla liqueur? ▾
It’s incredibly versatile! Sip it neat over a single large ice cube for a smooth after-dinner drink, stir a half-ounce into hot or iced coffee for a luxe vanilla kick, use it in cocktails like White Russians or espresso martinis, or drizzle a tiny bit over vanilla ice cream for an easy boozy dessert treat.
15.My liqueur looks a little cloudy after adding simple syrup—did I mess up? ▾
That slight cloudiness is totally normal, especially if you left the tiny vanilla seed flecks in the liqueur! It doesn’t mean the liqueur is bad or that you made a mistake. If cloudiness bothers you, let the liqueur rest 3 days in the fridge, then pour off the clear top layer and discard the settled sediment at the bottom.
16.Does this liqueur make a good homemade gift, and how should I package it? ▾
It makes an incredibly thoughtful, luxe homemade gift! Pour the finished liqueur into clear glass swing-top bottles, add a handwritten tag with serving ideas, and tuck a whole vanilla bean into the bottle for a pretty, decorative touch. It’s perfect for holiday gifts, housewarmings, or host presents, since it keeps for so long.
17.Can I reuse the vanilla beans after straining them out of the finished liqueur? ▾
You can reuse them for one more smaller batch, though the flavor will be milder, so add 1 extra fresh bean to boost vanilla intensity. As a great zero-waste alternative, rinse the used beans lightly, let them dry completely, then bury them in granulated sugar to make homemade vanilla sugar for baking.

Comments (4)

2 days ago

OMG this homemade vanilla liqueur is SO good! I whipped it up last weekend to add to my morning iced coffee and it’s a total game changer. Took literally 10 minutes like the recipe said, zero fancy equipment needed. I brought a bottle to my neighbor’s potluck last night and everyone was begging for the recipe. Already grabbed extra vanilla beans to make a double batch for holiday gifts this year!

2 hours ago

Wait, quick question before I dive into making this! How long does this stay good for if I store it in a sealed glass bottle in the pantry? I want to make a big batch ahead of my sister’s fall family dinner party but don’t want it to go off before then! Also, do you think adding a cinnamon stick would mess up the vanilla flavor too much? The recipe looks so easy, 10 minute cook time is right up my alley as someone who hates super fussy projects.

30 minutes ago

Great questions! Stored in a tightly sealed glass bottle in a cool, dark spot (like a pantry or liquor cabinet), this liqueur will stay perfectly flavorful for up to 6 months. Adding a cinnamon stick is a fantastic custom twist—just let it infuse for the first week then fish it out so the warm spice doesn’t overpower the smooth vanilla flavor! Hope it’s a huge hit at your sister’s dinner party.

1 week ago

Made this with my teenage kid last night as part of our annual family camping trip prep, and we both couldn’t believe how easy it was! We taste-tested a tiny bit (don’t worry, just a tiny sip for the kid to try the flavor, the rest is strictly for the adults on the trip) and it tastes way better than the overpriced store-bought vanilla liqueur I usually grab for weekend cocktails. Even my 10-year-old, who’s obsessed with all things vanilla, snuck a smell while we were bottling it and said it smelled exactly like the fancy vanilla ice cream we get for birthday dinners. 10/10, will absolutely make again.

3 days ago

Oh such a smart idea bringing this camping! I’m making a batch for my next backpacking trip to mix into hot cocoa around the campfire—do you think it travels okay in a plastic flask if I don’t have a spare glass bottle? I don’t want it to pick up a weird plastic taste.

yesterday

Y’all. I made this last minute to use in White Russians for my girls’ movie night and it was CHEF’S KISS. I even whipped up a quick non-alcoholic version for my pregnant best friend using vanilla simple syrup mixed with a little creamy oat milk and she said it was the best mocktail she’s had her whole pregnancy. Will absolutely be keeping a permanent bottle of this on my bar cart from now on—seriously, why did I ever buy the store stuff?!

2 hours ago

Wait the non-alcoholic version sounds amazing! Did you just swap the vodka for extra vanilla syrup? I’ve been looking for fun, flavorful NA mixers for my sober January prep and this sounds perfect.

5 minutes ago

Love that you made a thoughtful non-alcoholic version for your friend! That’s such a creative, inclusive tweak—we might just have to add that NA variation to the recipe notes for other folks looking for a non-boozy option. So glad it was a hit at movie night!



