
homemade waffle cone

intro
Crisp, buttery, vanilla-kissed homemade waffle cones with a nostalgic crunch, sturdy enough to hold scoops of your favorite ice cream without getting soggy.
Ingredients
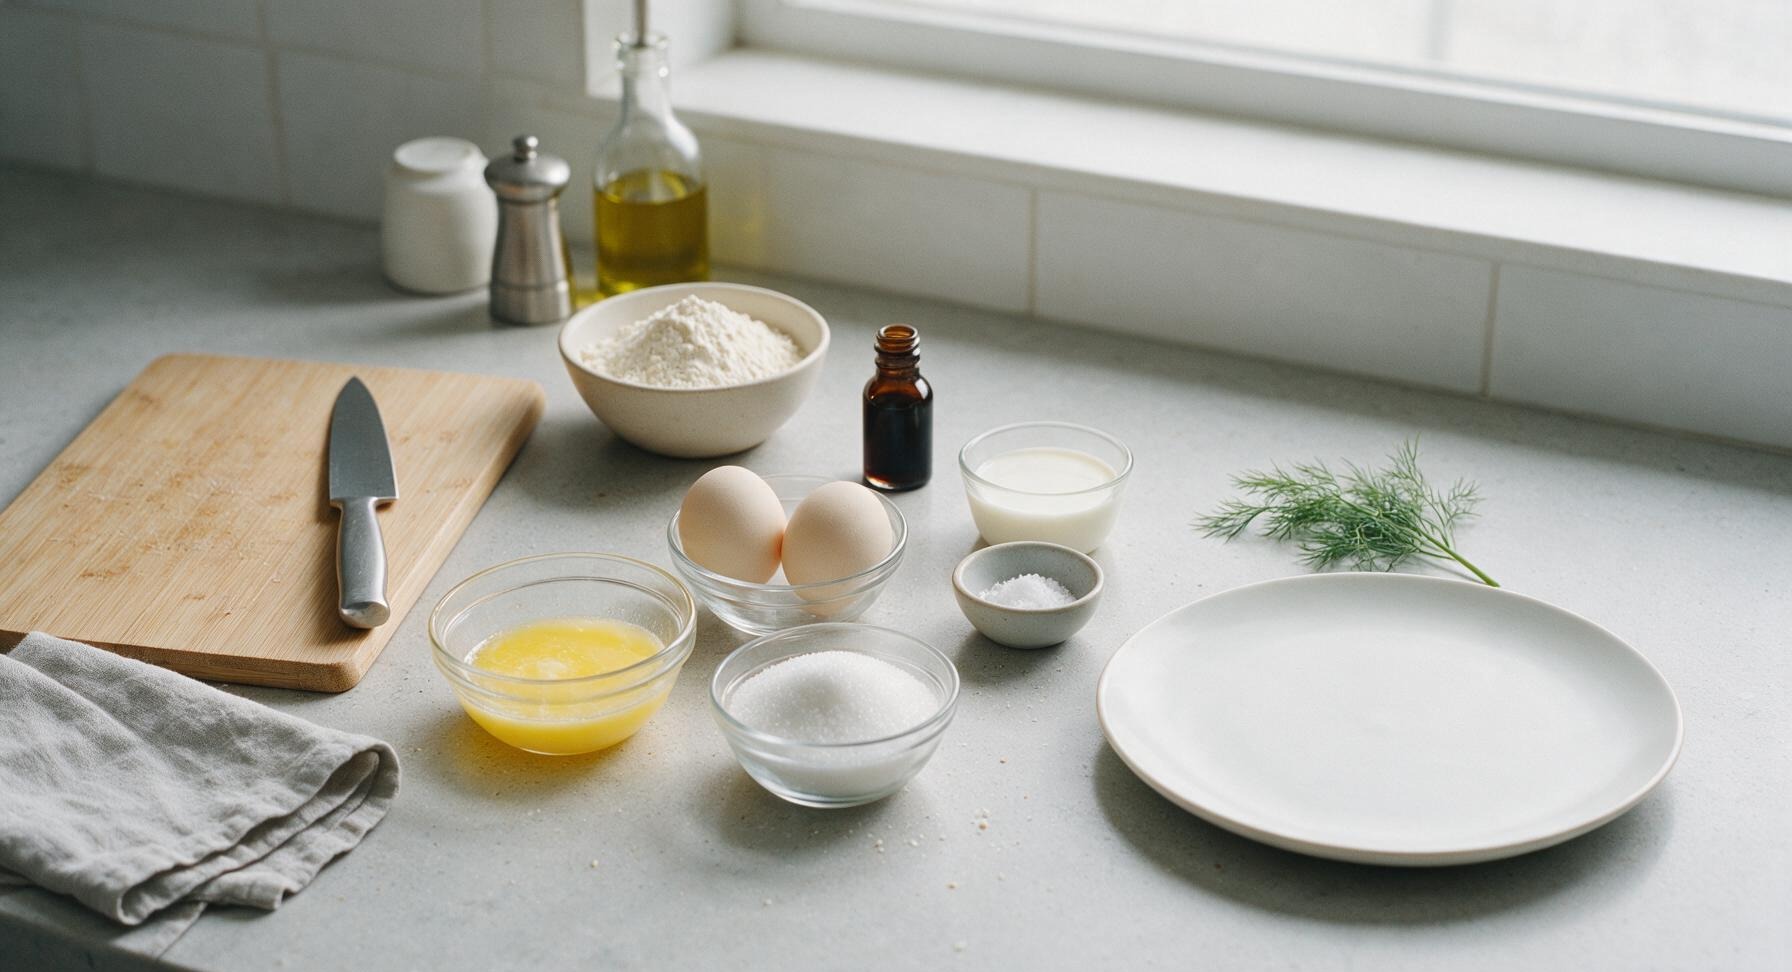
Steps
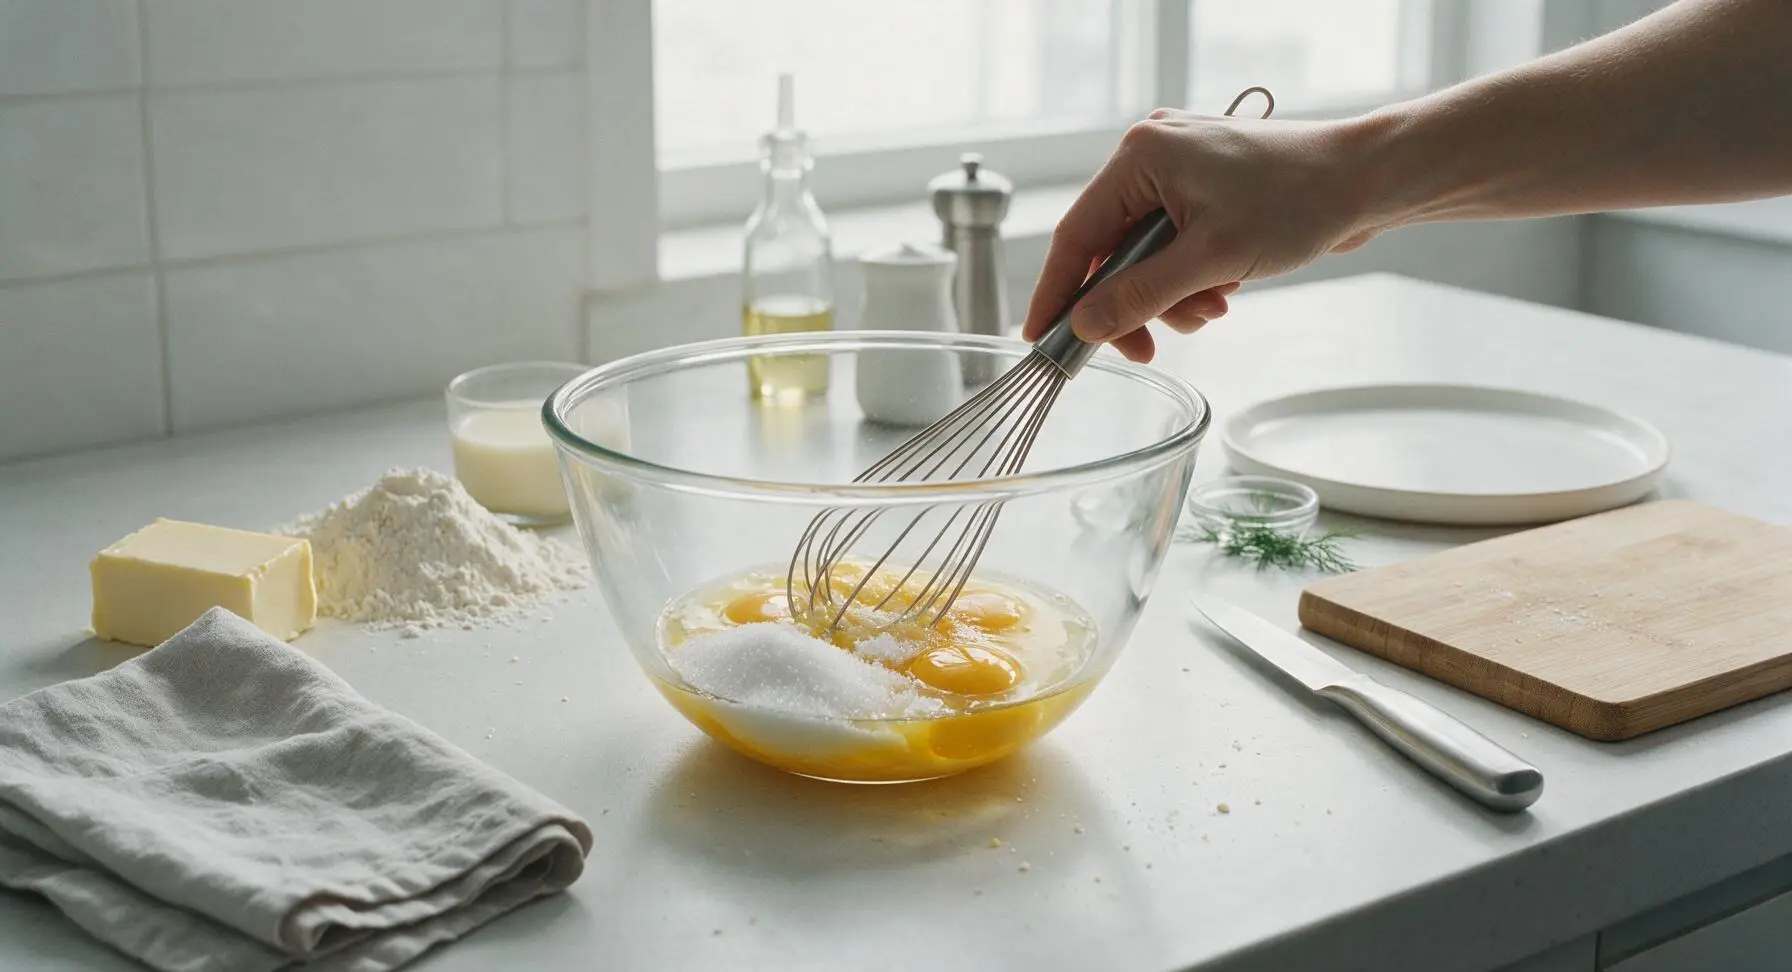
Whisk eggs and sugar
Crack the 2 room-temperature large eggs into the clear glass mixing bowl. Add 100g granulated sugar and 1/4 tsp fine sea salt. Whisk by hand with the stainless steel wire whisk for 1 minute until the mixture is pale golden, smooth, and slightly thickened, with no visible grains of undissolved sugar remaining.
Stir in butter and vanilla
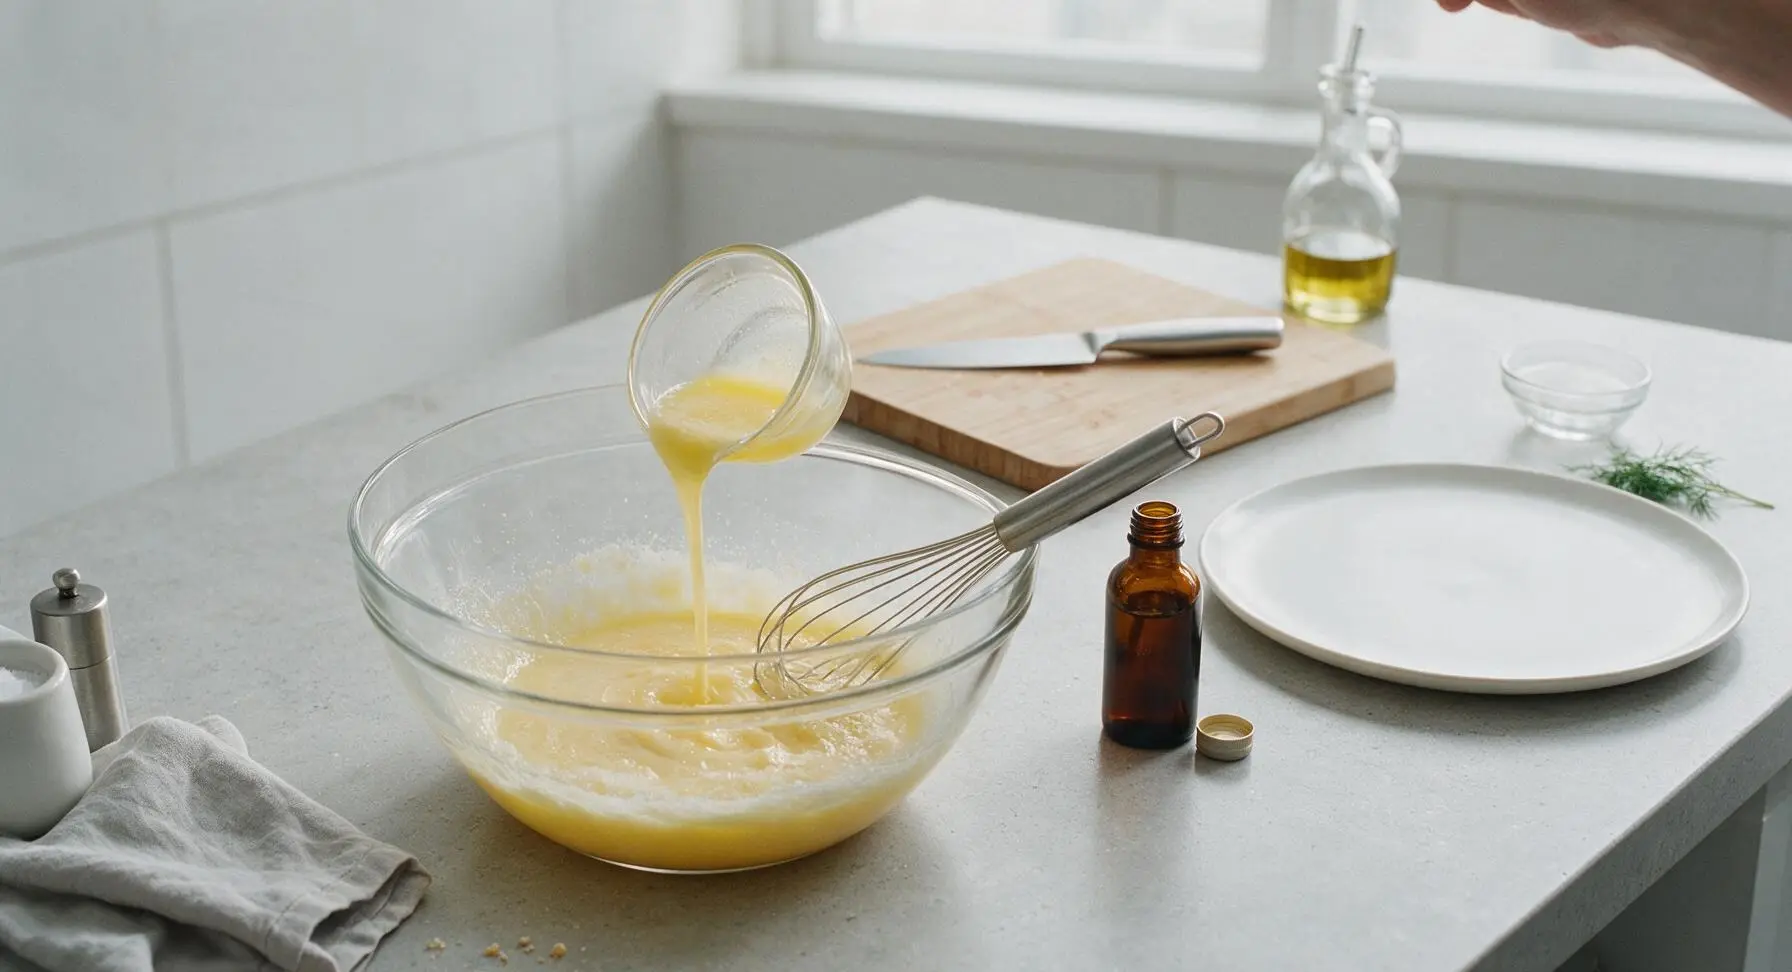
Slowly pour the 55g melted, cooled unsalted butter and 1 tsp pure vanilla extract into the egg mixture, whisking constantly as you pour to avoid cooking the eggs from residual butter heat. Stir until fully incorporated, with no streaks of separated butter visible on the batter surface.
Fold in flour and milk
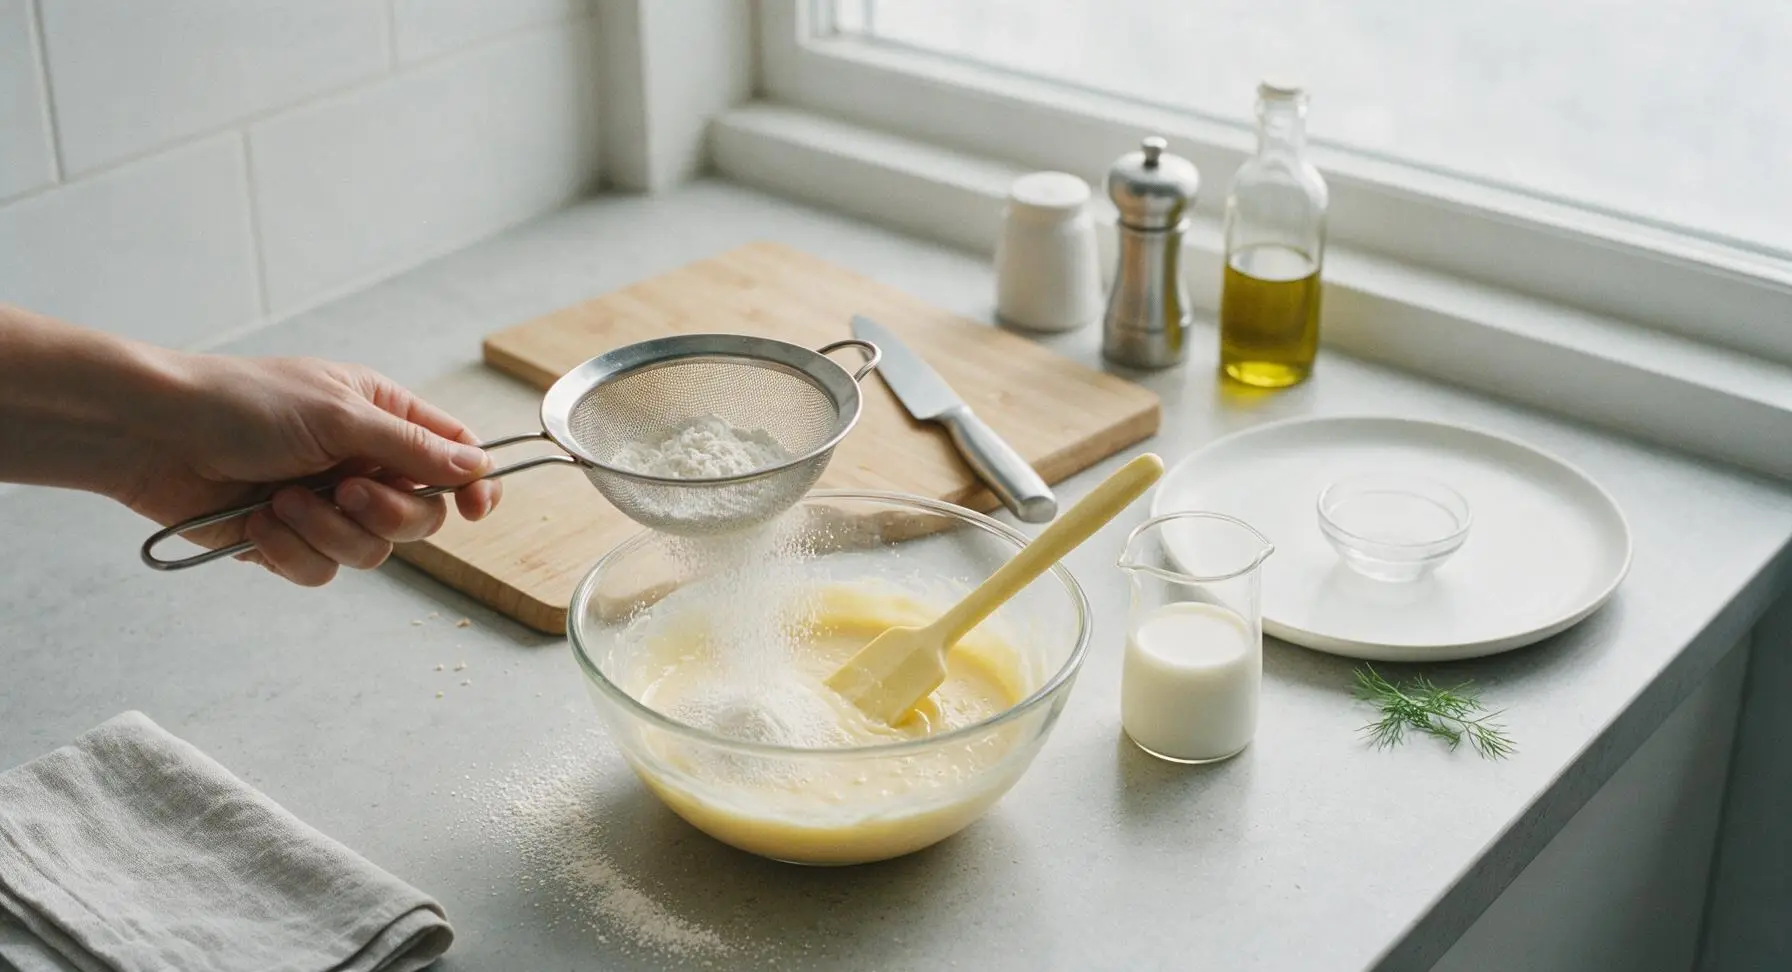
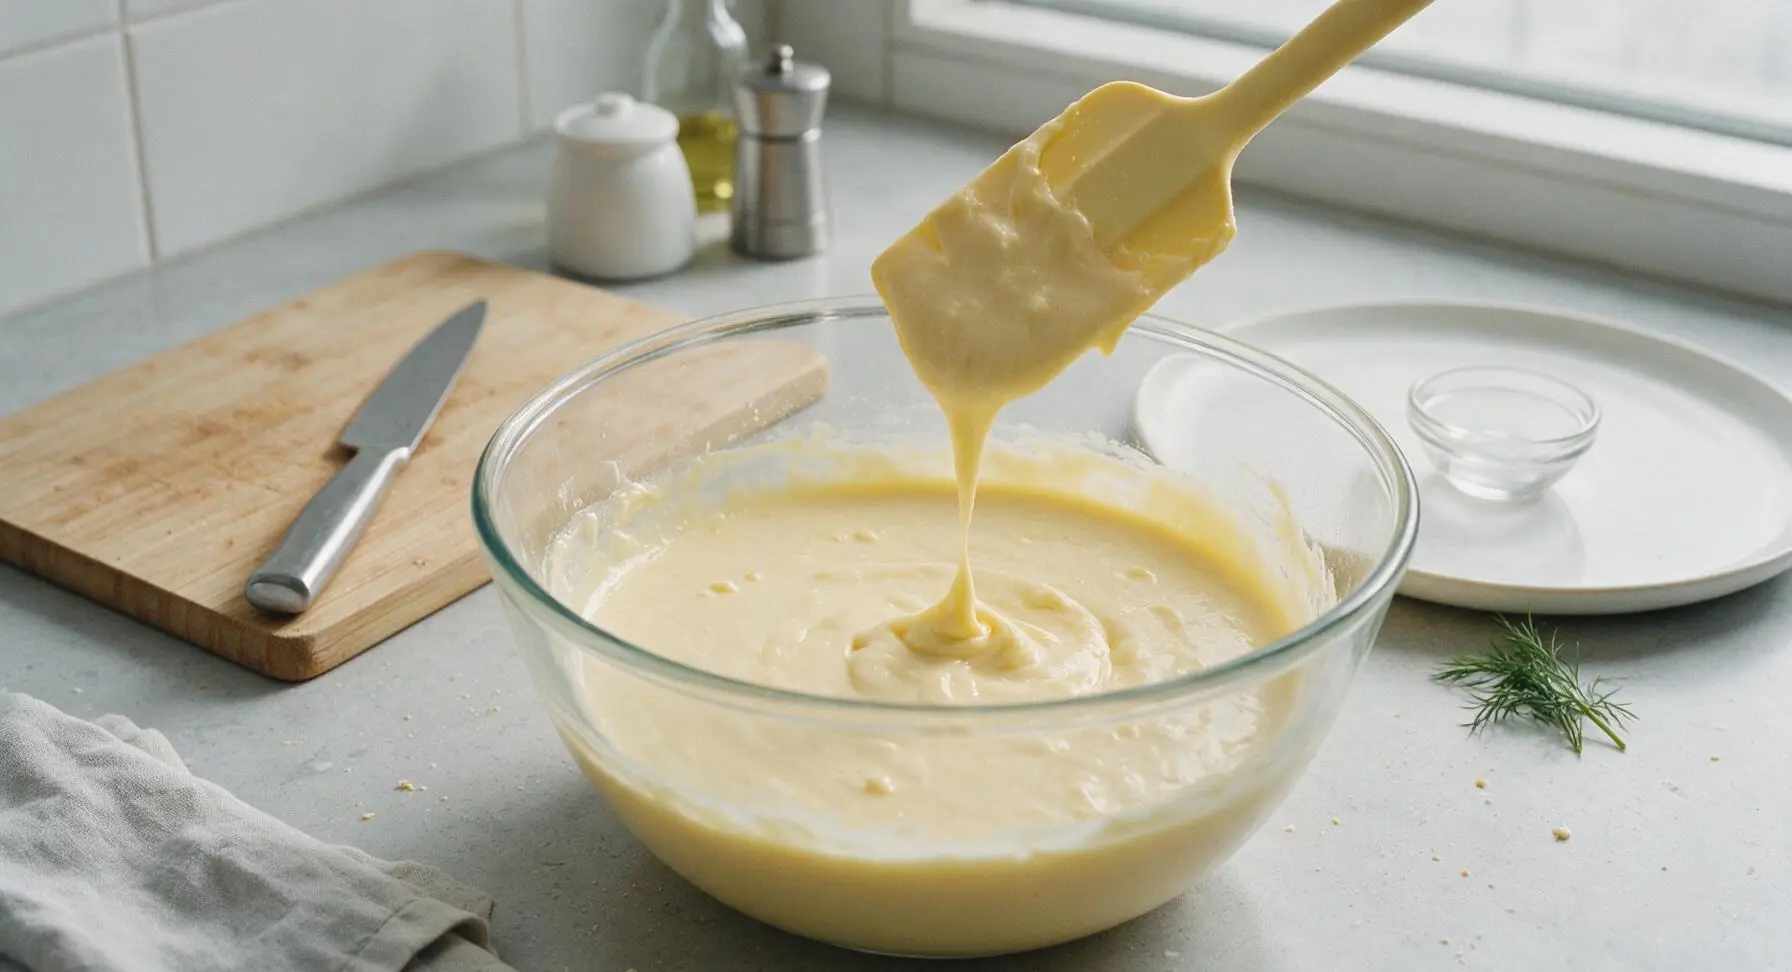
Alternate adding the 85g sifted all-purpose flour and 60ml whole milk to the bowl, starting and ending with flour, stirring gently with the pale butter yellow silicone spatula just until no dry flour lumps remain. Do not overmix — the batter should be the consistency of thin pancake batter, smooth and pourable, with a few tiny lumps acceptable to avoid tough cones.
Preheat cone maker
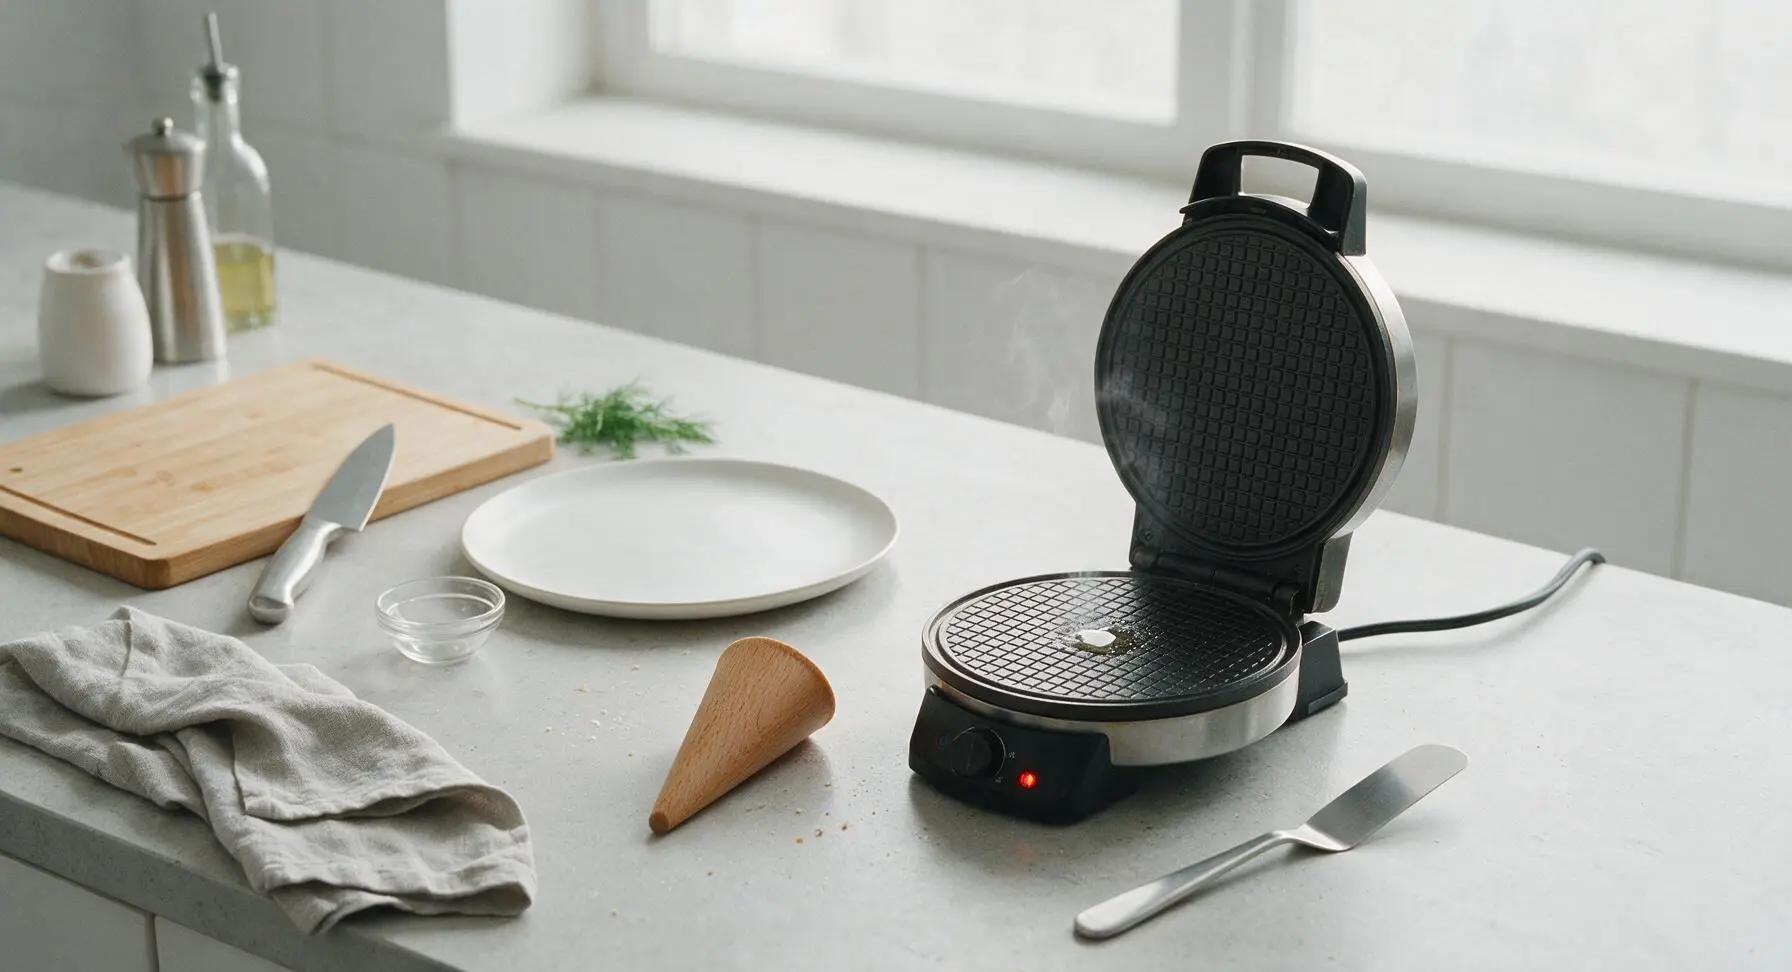
Place the electric waffle cone maker on the counter in its fixed center-right position, with the 15cm stainless steel offset spatula set next to it. Preheat to medium-high heat (375°F / 190°C) for 5 minutes, until a drop of water sizzles and evaporates immediately when dropped on the cooking plate. Lightly coat the plates with a thin layer of non-stick spray only once before the first batch — excess grease will make cones greasy instead of crisp.
Cook thin waffle rounds
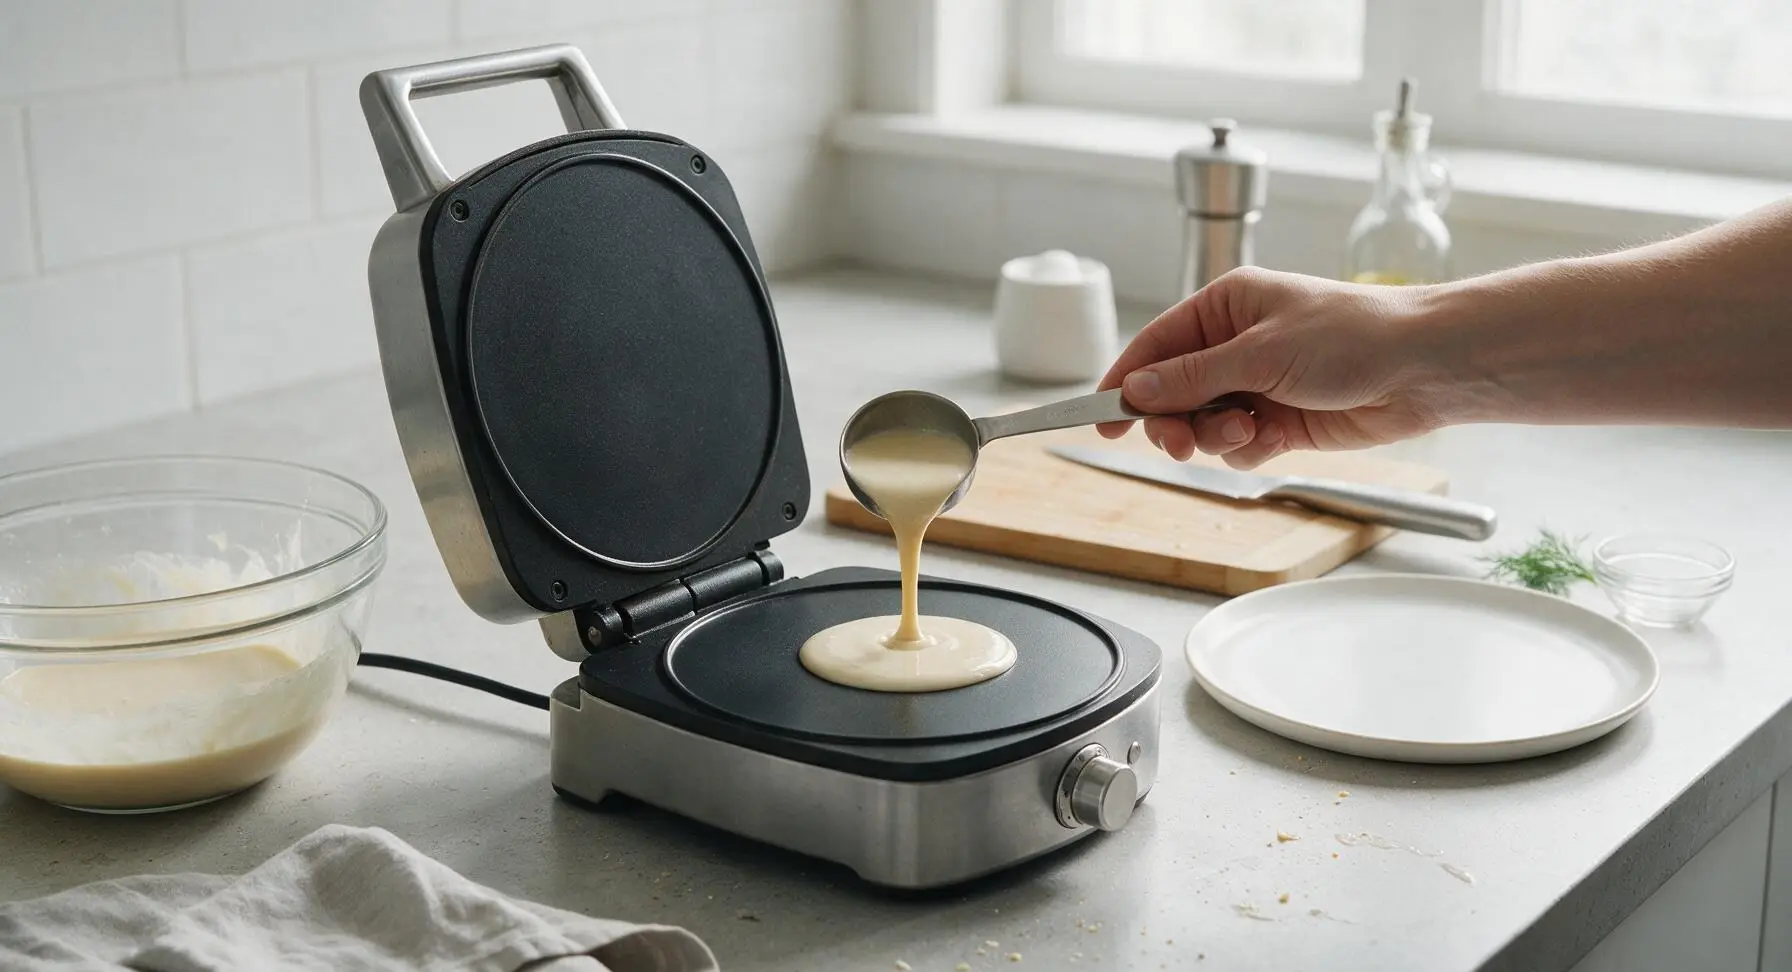
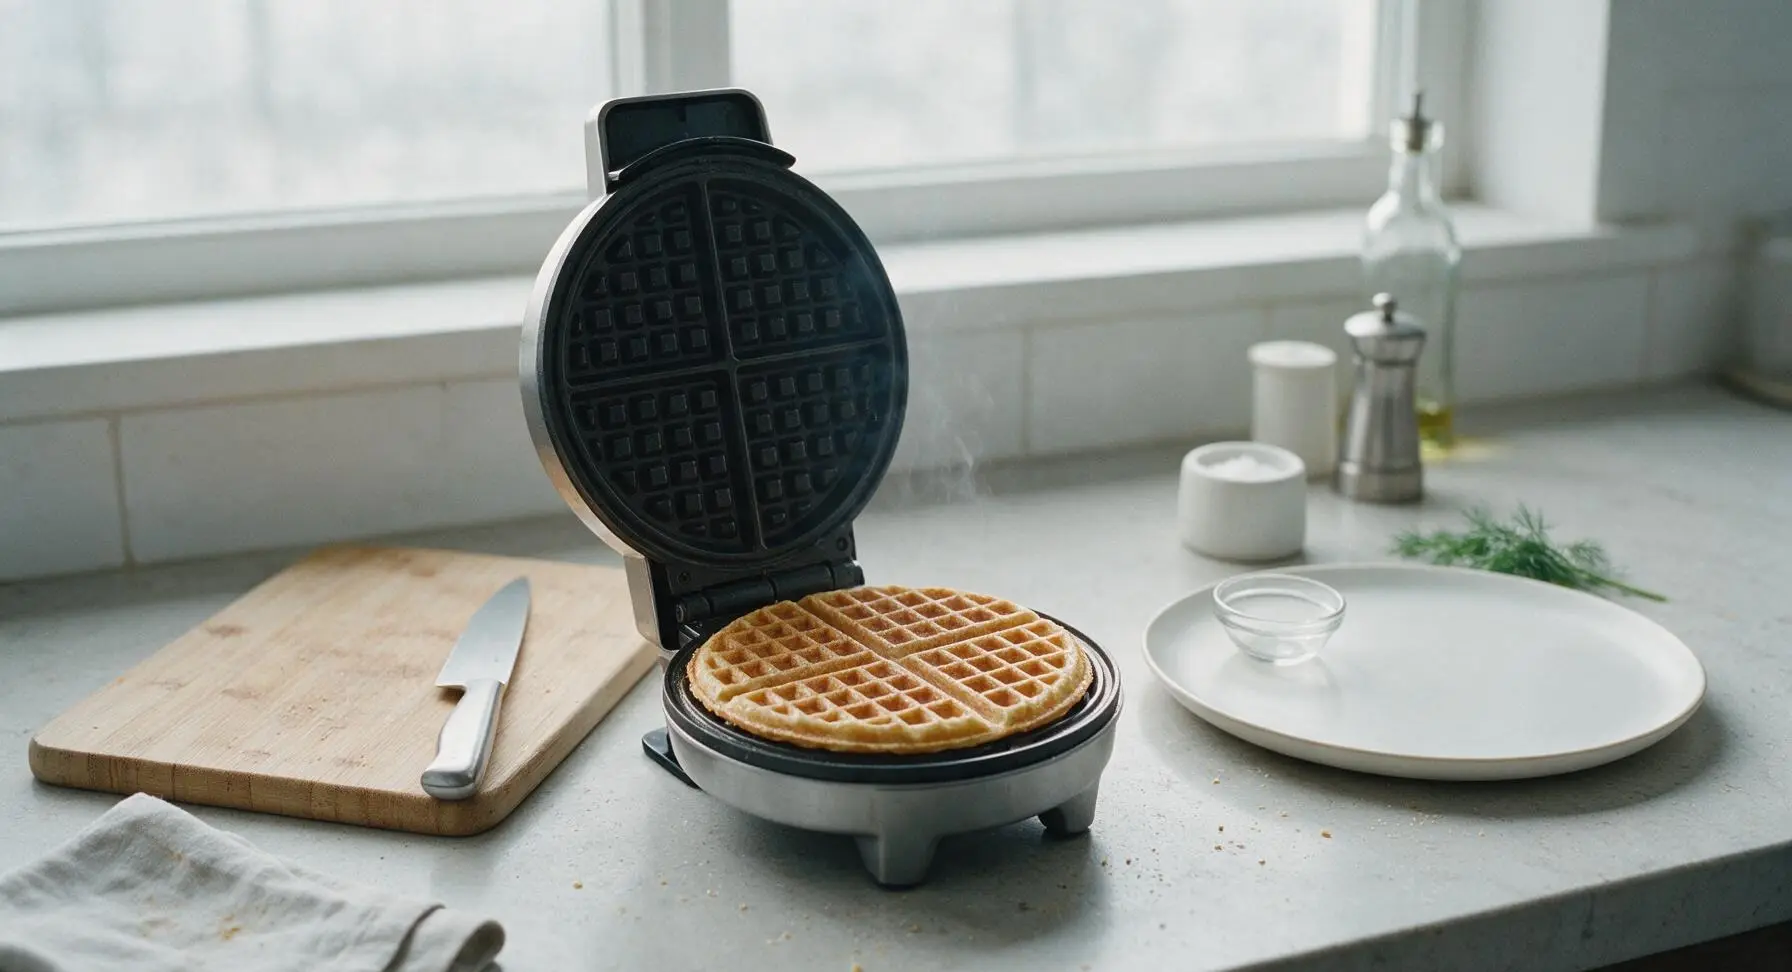
Pour 2 tablespoons of batter directly onto the center of the preheated waffle cone maker’s lower plate. Close the lid gently, and cook for 60 to 75 seconds, until the waffle is deep golden brown all over, not pale blond (pale waffles will be chewy instead of crisp, while dark brown waffles will taste burnt). Do not overfill the maker — excess batter that seeps out the edges can be trimmed off while warm.
Shape cones while hot
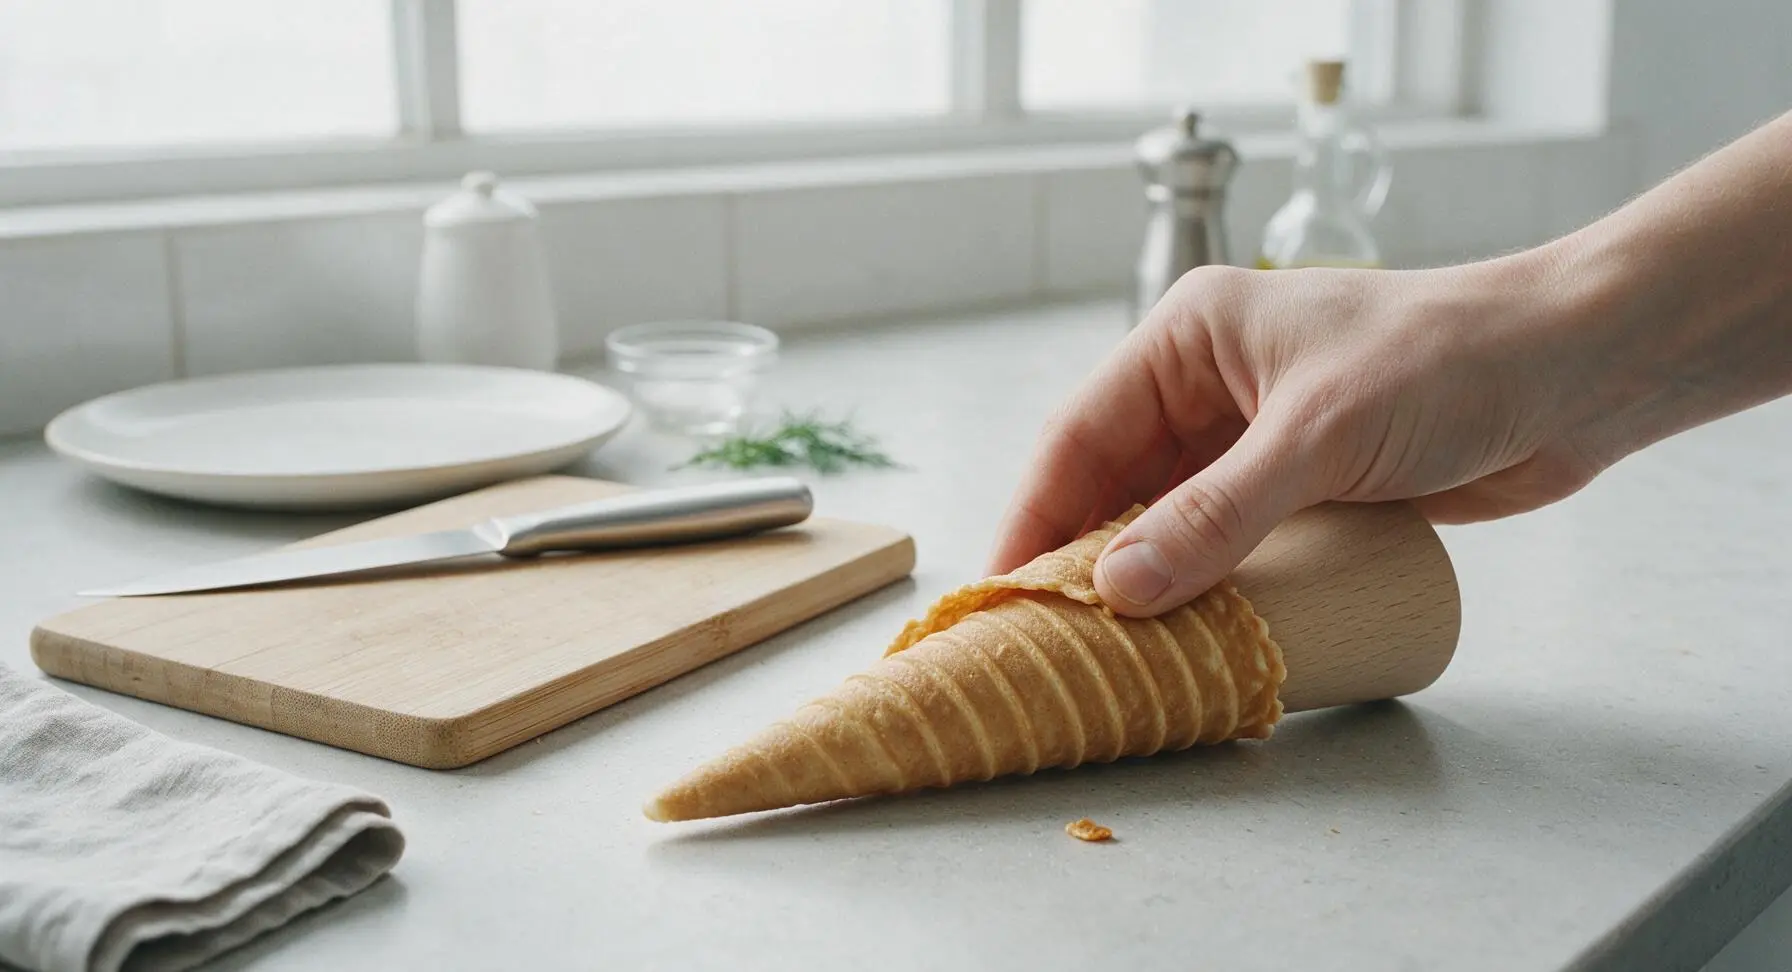
Immediately use the offset spatula to lift the hot waffle round off the plate and transfer it to the clean counter space next to the beechwood cone form. Place the pointed end of the beechwood form at one edge of the waffle, then roll the waffle tightly around the form, pressing the overlapping edge firmly to seal. Hold the shape for 10 seconds until the cone holds its form, then set it on the wire cooling rack. Note: You only have 10 to 15 seconds to shape the waffle before it hardens and cracks, so move steadily.

Cool cones completely
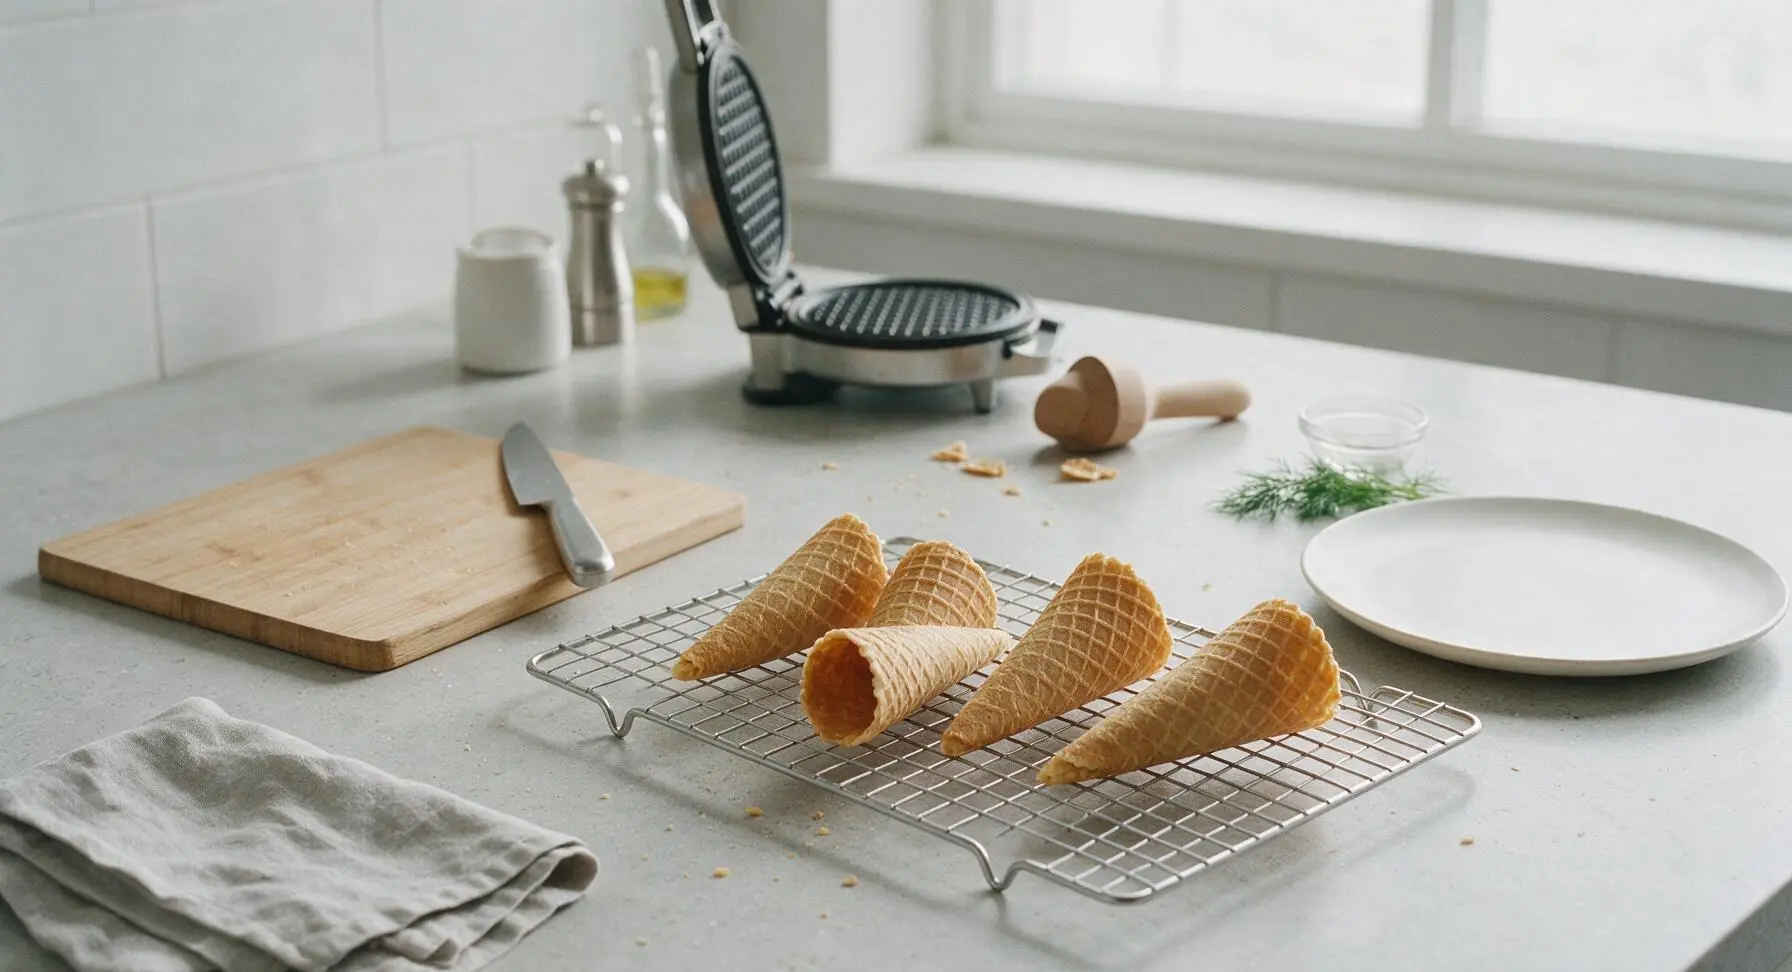
Slide the shaped cone off the beechwood form and place it seam-side down on the parchment-lined wire cooling rack. Repeat the cooking and shaping process with the remaining batter, making 8 total cones. Let cones cool completely for 10 minutes before filling — warm cones will melt ice cream immediately and lose their crispness within minutes.
Tips
2.Avoid over-greasing the waffle plates: Only apply one light coating of non-stick spray before the first batch; extra grease will soak into the batter, leaving cones soft, greasy, and unable to hold a crisp shape.
3.Seal the cone tip tightly: After rolling, press the pointed end of the cone firmly against the counter for 2 seconds to create a tight seal, which prevents melted ice cream from leaking down your hand as you eat.






OMG, these waffle cones are a total game changer! I made them for my kid’s end-of-summer pool party and every single guest was begging for the recipe. They stay crisp for HOURS even when loaded down with three scoops of mint chocolate chip and fudge drizzle — no soggy, floppy mess at all! I was so intimidated at first because I thought homemade waffle cones were super fussy, but the steps were way more straightforward than I expected.
Tried these last night for our weekly family movie night and wow, these are way better than the stale store-bought cones that taste like plain cardboard. My only hiccup was that my first two cones cracked down the side when I rolled them because I waited too long after pulling them off the iron. Once I got the timing down, the rest turned out perfect, crisp and buttery just like the ones from the old-school ice cream shop downtown.
SO good! I pre-made a whole batch of these ahead of our weekend camping trip, stashed them in an airtight container with layers of parchment paper between them, and they stayed perfectly crisp for 4 whole days. We ate them with campfire vanilla ice cream after our long hike to the alpine lake, and it was the best post-adventure treat ever. This is going straight into my regular weekend bake rotation!
Quick question for folks who’ve nailed this recipe! I made a batch last month at my cousin’s place (she has the fancy dedicated waffle cone iron) and they were 10/10 perfect — I’d give this 5 stars easy. But I only have a regular thin square waffle maker at home. Will that work okay, or do I have to run out and buy the cone-specific iron? I just grabbed that fancy salted caramel ice cream from the farmers market and I’m dying to whip these up tonight!
My kids loved it! I let them help roll the cones and dip the edges in melted chocolate and rainbow sprinkles, and they thought we’d opened our own little ice cream shop in the kitchen. Cook time was right around 20 minutes like the recipe said, even with the kids “helping” which added a little extra chaos and spilled sprinkles all over the counter. 10/10, will absolutely be making these for our next church potluck.
That medium difficulty rating is no joke, y’all. I burned my first three cones because I cranked the iron too high out of excitement, but once I turned it down to medium heat like the recipe recommended, the rest came out golden and perfect. That crunch? *Chef’s kiss* Way better than any cone I’ve gotten from the local fancy ice cream shop, and half the cost to make at home.
Made these yesterday to pair with my homemade lavender honey ice cream and the combo was unreal. The subtle vanilla sweetness in the cone pairs so well with literally any ice cream flavor, not gonna lie I ate two plain cones straight off the iron before I even got the ice cream out of the freezer. No notes, this recipe is perfect as written.