
Homemade Waffles
intro
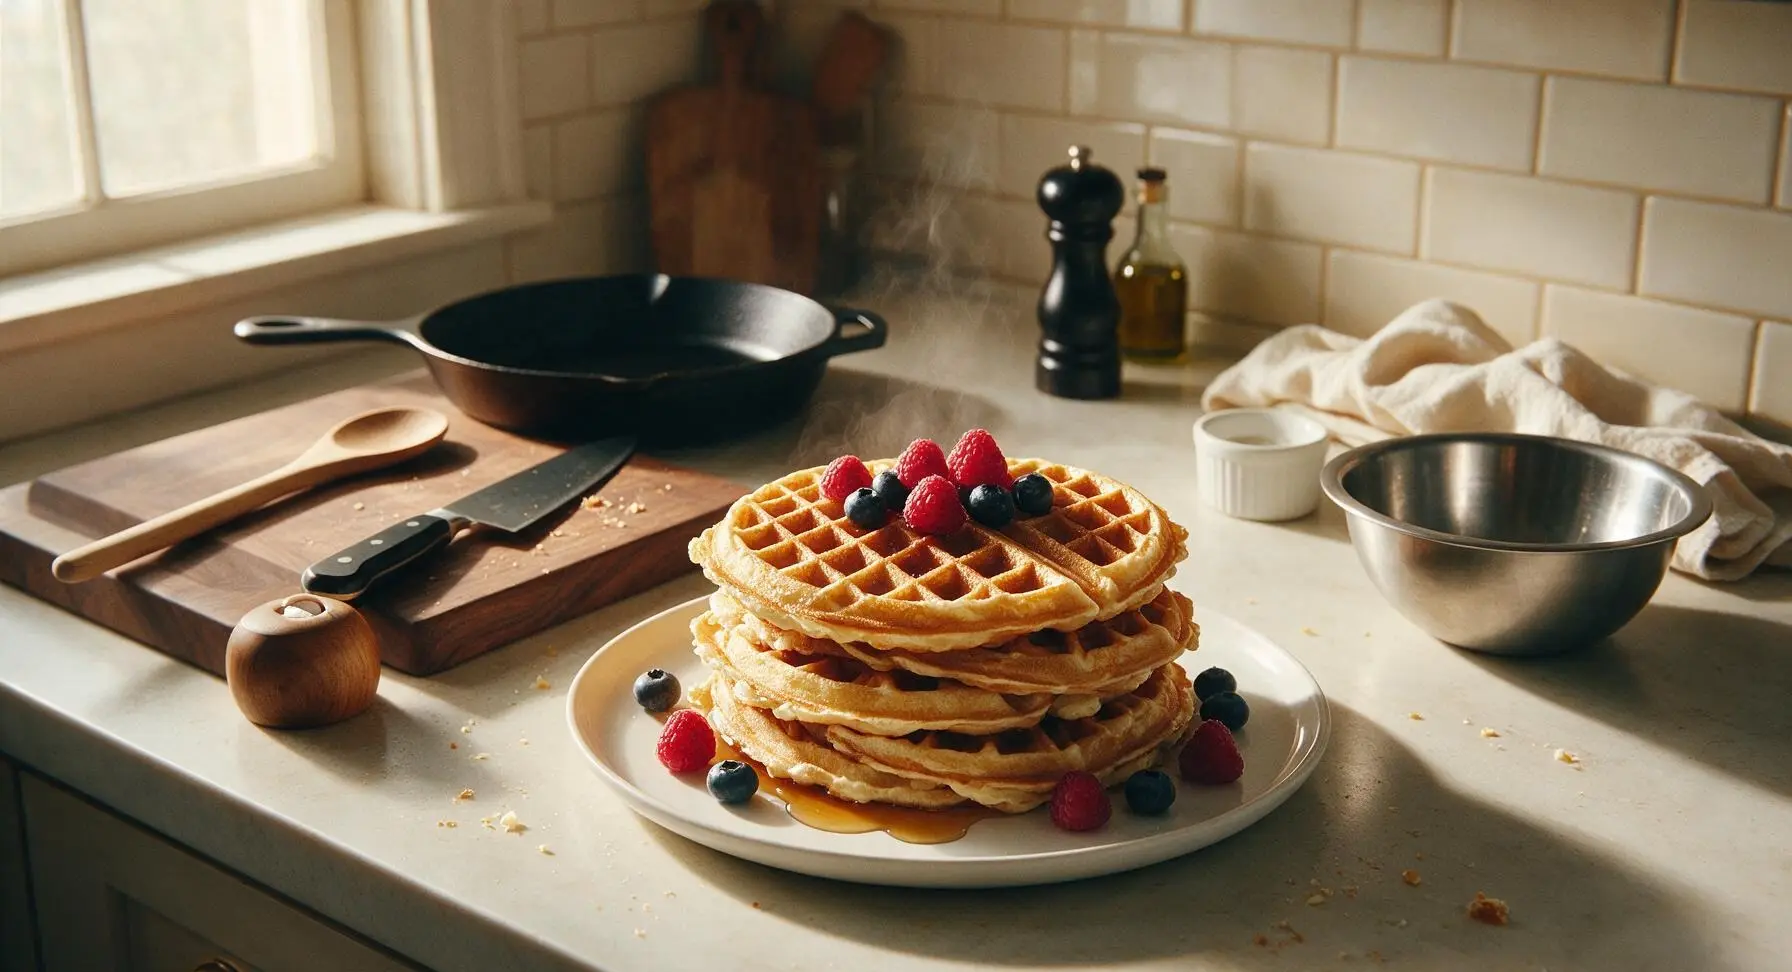
Crisp, shattery golden edges give way to light, fluffy interiors in these classic homemade waffles, the perfect cozy centerpiece for a lazy family weekend meal.
Ingredients
Steps
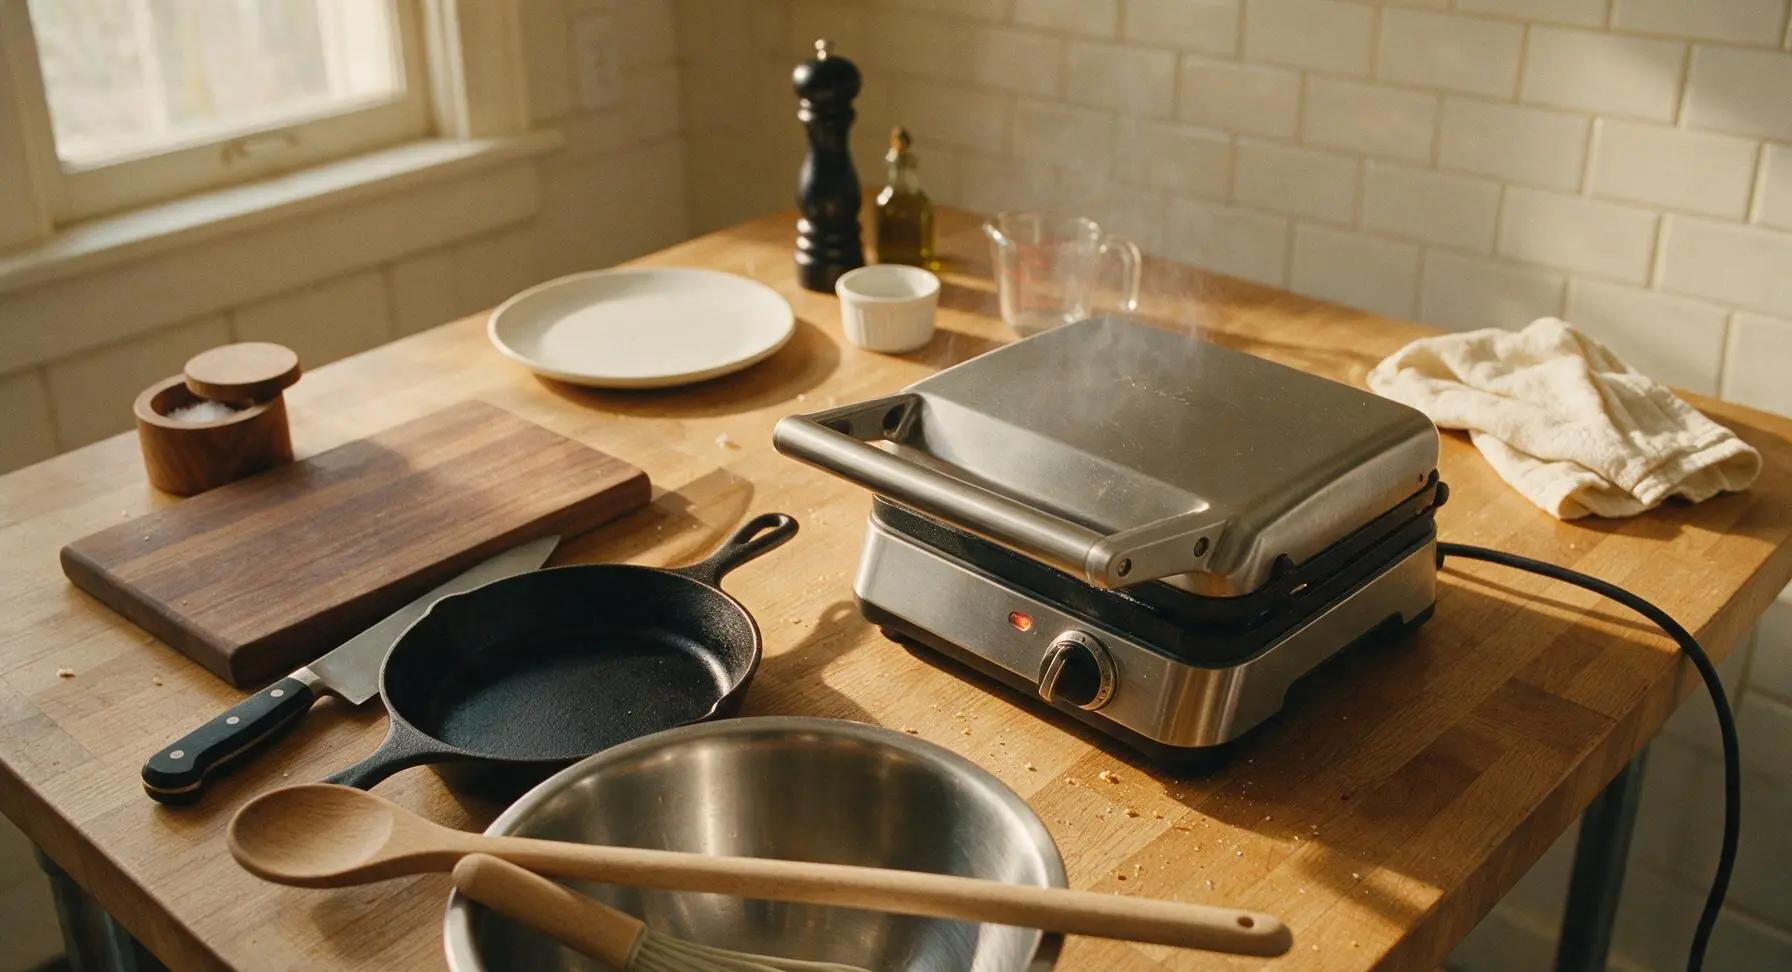
Preheat the Waffle Iron
Plug in the brushed stainless steel waffle iron, set it to medium-high heat (375°F/190°C), and close the lid. Allow it to preheat for 5 full minutes. Test for readiness by flicking a single drop of water onto the hot plates: the water should sizzle and dance across the surface, evaporating within 2 seconds, before adding batter.
Whisk Dry Ingredients
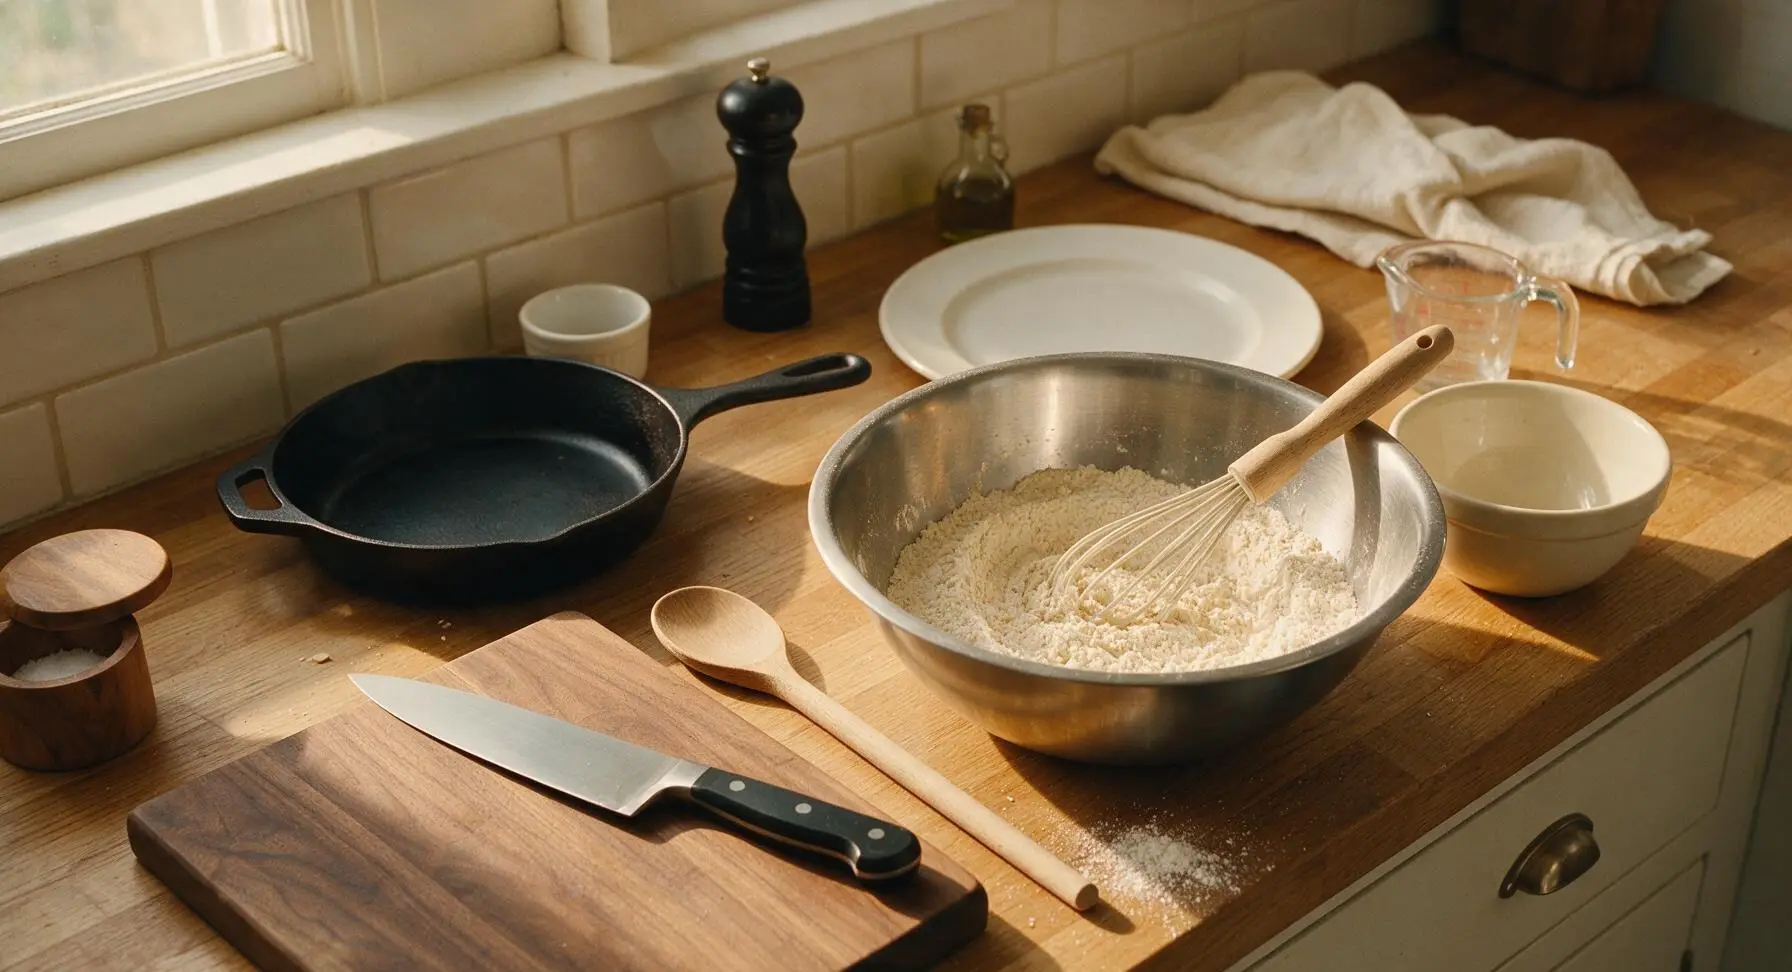
Add 2 cups (240g) all-purpose flour, 2 tablespoons granulated sugar, 1 tablespoon baking powder, and 1/2 teaspoon fine sea salt to the large brushed stainless steel mixing bowl. Use the silicone whisk to stir the dry ingredients together for 30 seconds, until fully combined with no visible clumps of baking powder or concentrated pockets of salt.
Mix Wet Ingredients
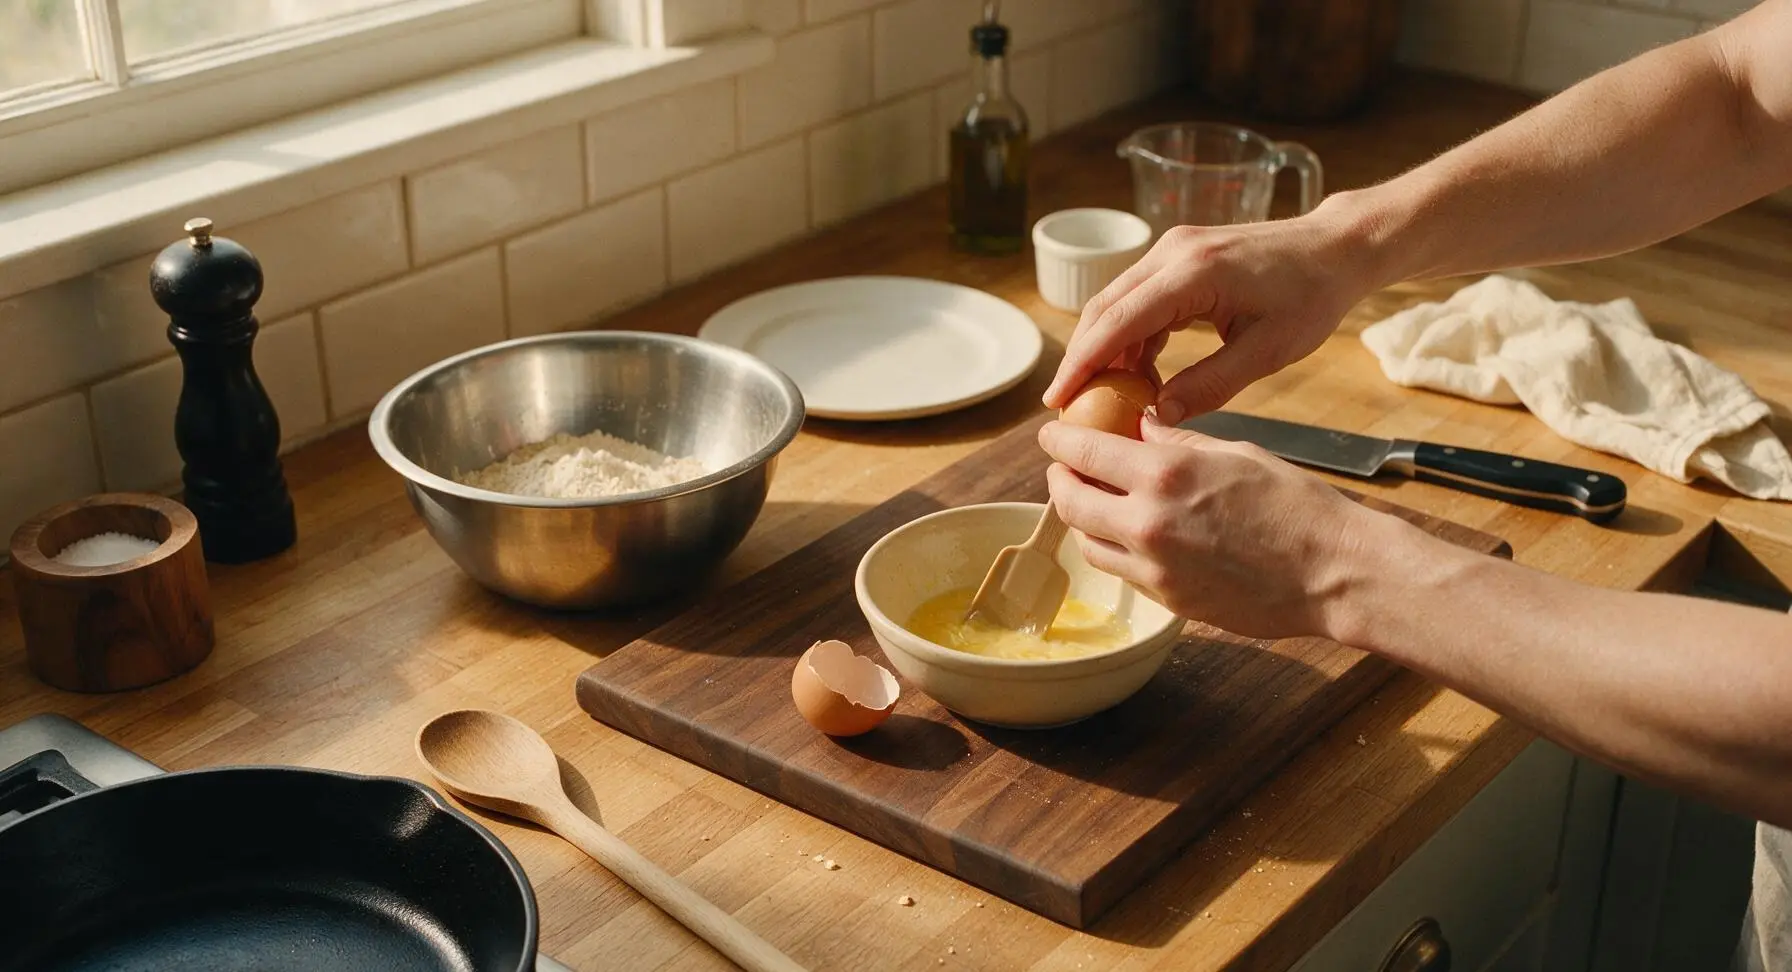
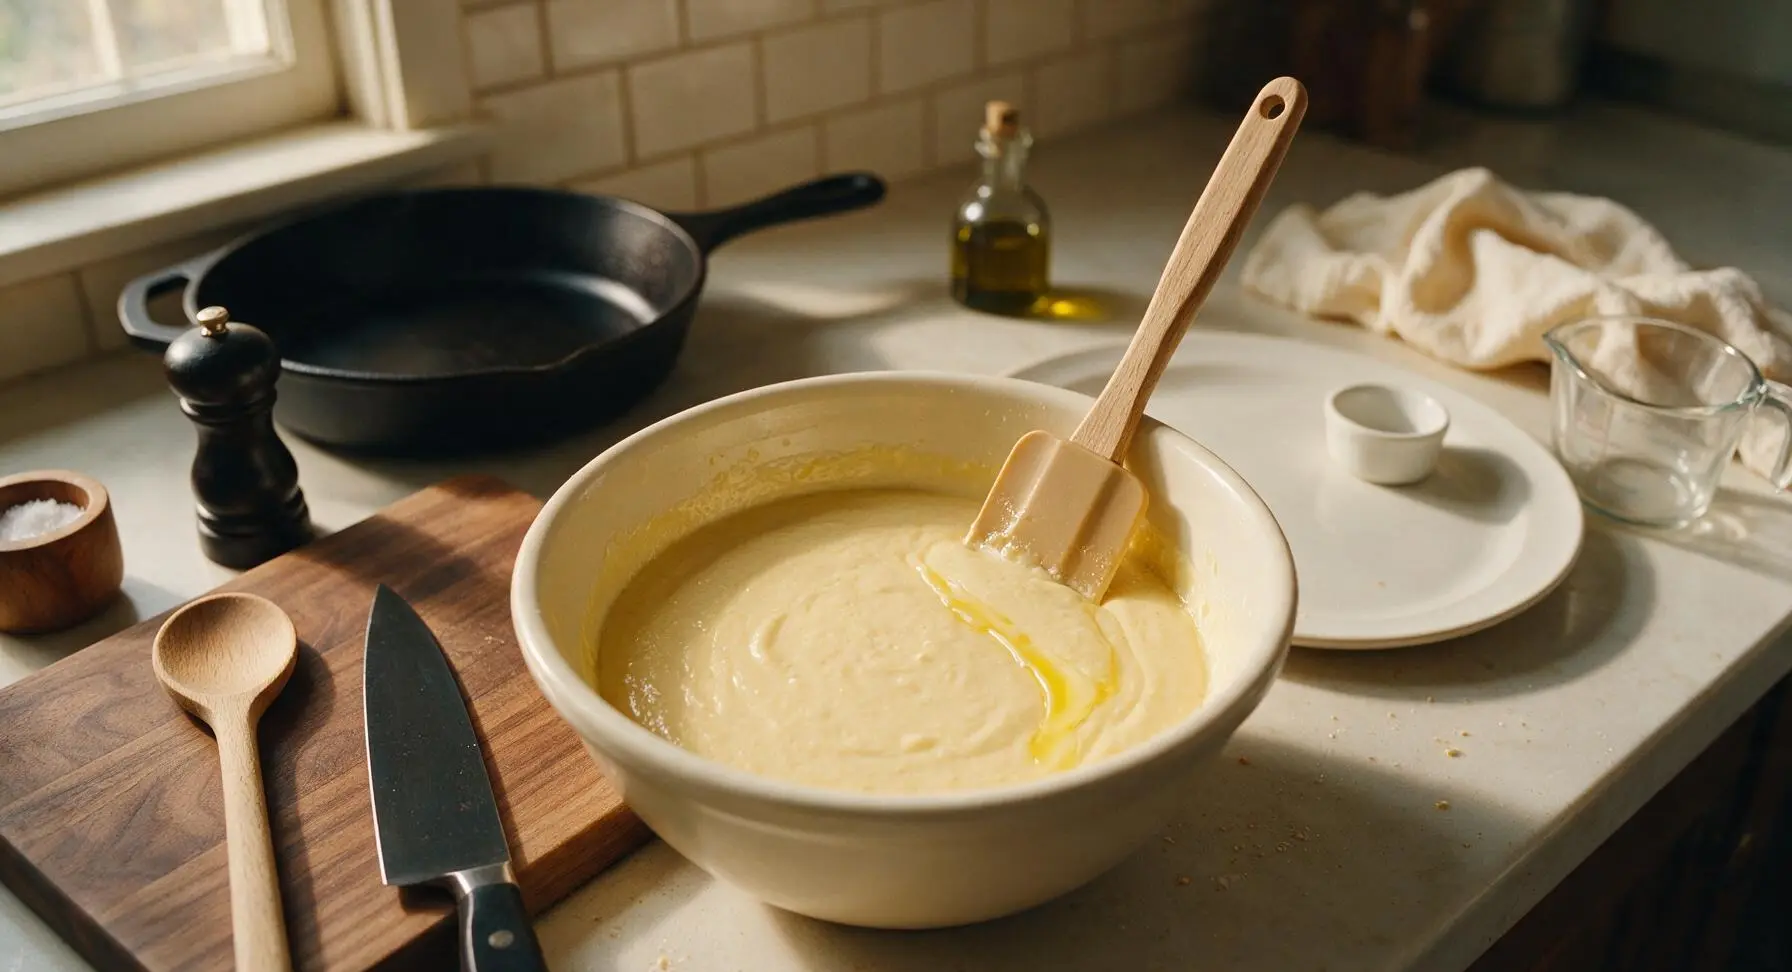
Crack the 2 large eggs into the small cream ceramic mixing bowl, whisking lightly with the light tan silicone spatula until yolks and whites are fully blended with no streaks of clear white. Add 1 3/4 cups (420ml) whole milk, 1/2 cup (113g) slightly cooled melted unsalted butter, and 1 teaspoon pure vanilla extract, stirring with the spatula until the mixture is smooth and uniform pale yellow.
Fold Batter Together
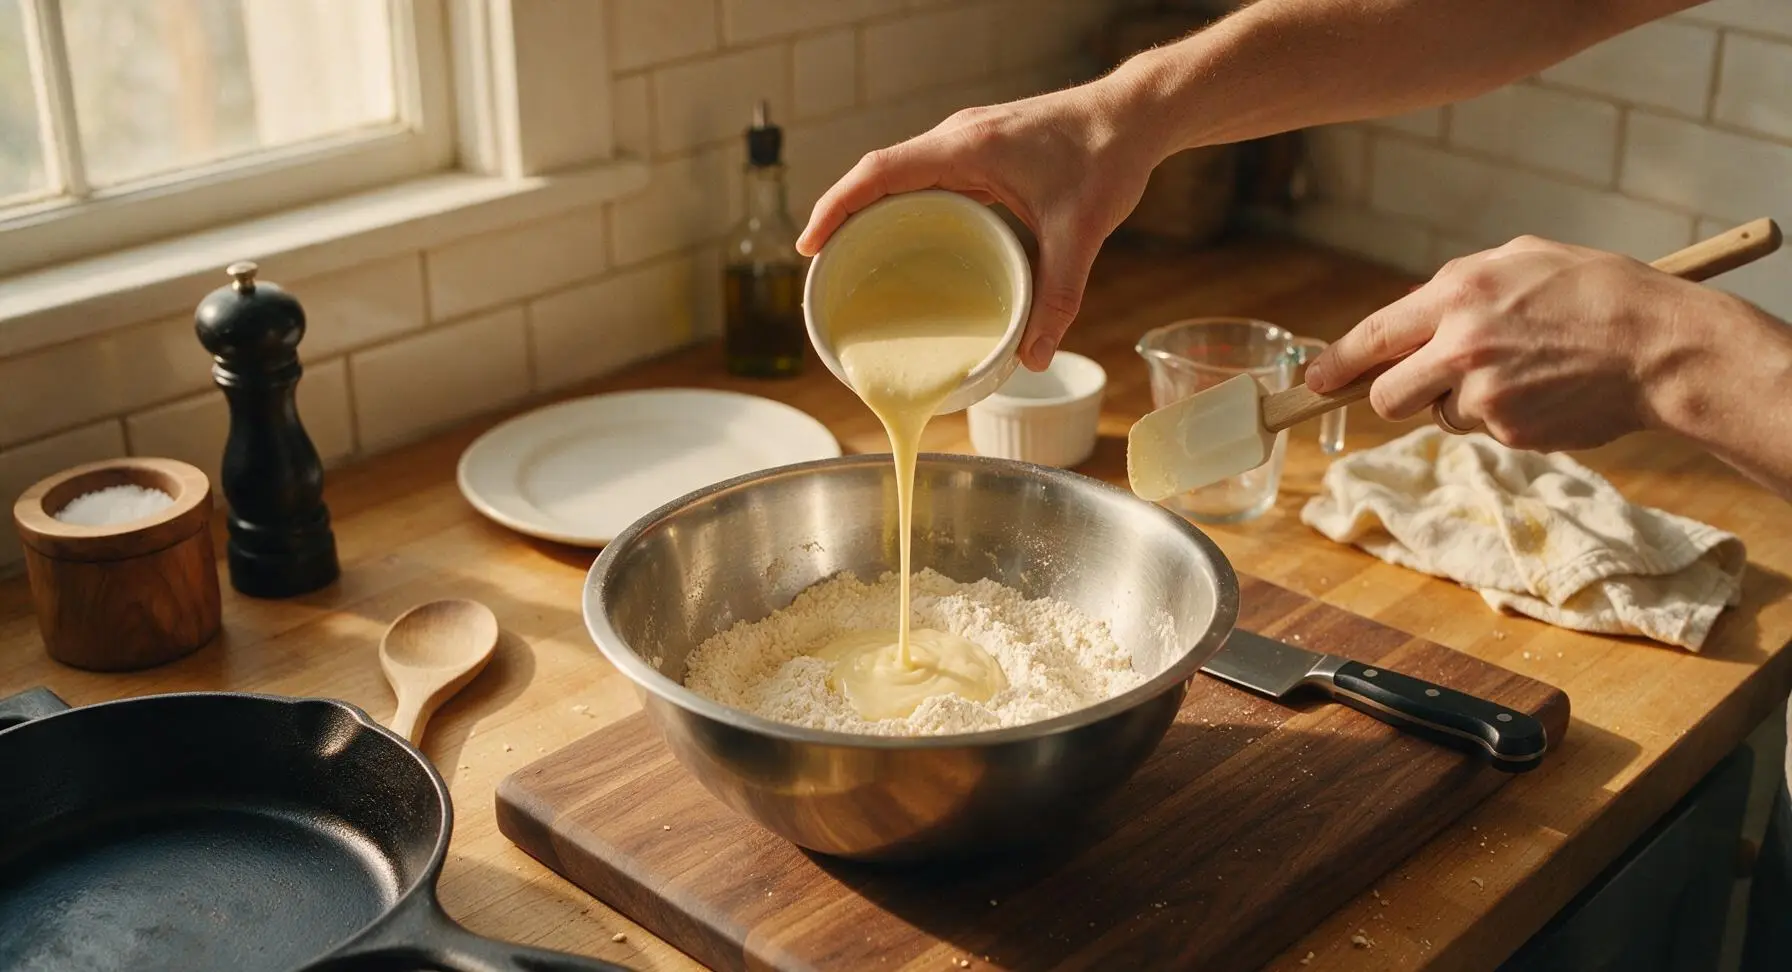
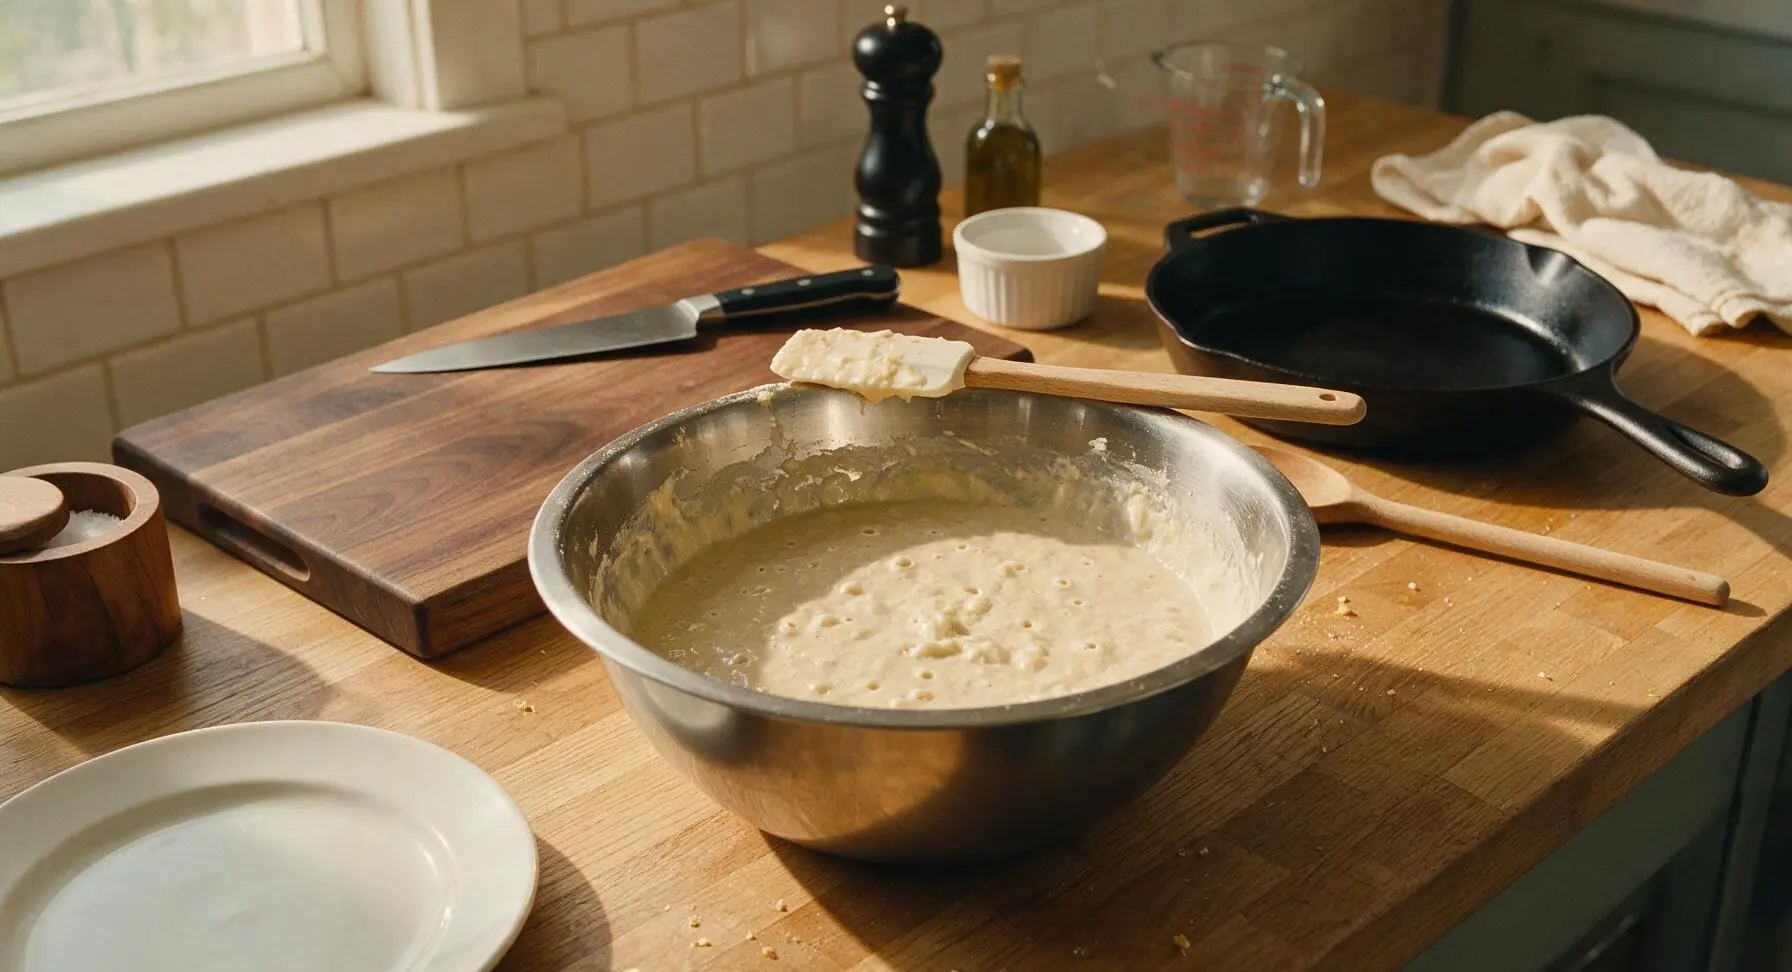
Pour the entire wet ingredient mixture into the large mixing bowl with the dry ingredients. Use the silicone spatula to gently fold the ingredients together, stirring only just until no large streaks of dry flour remain. The batter should be thick and slightly lumpy—do not overmix, as this will develop gluten and create tough waffles. Let the batter rest for 5 minutes at room temperature; tiny air bubbles will form across the surface as the baking powder activates.
Grease Waffle Plates
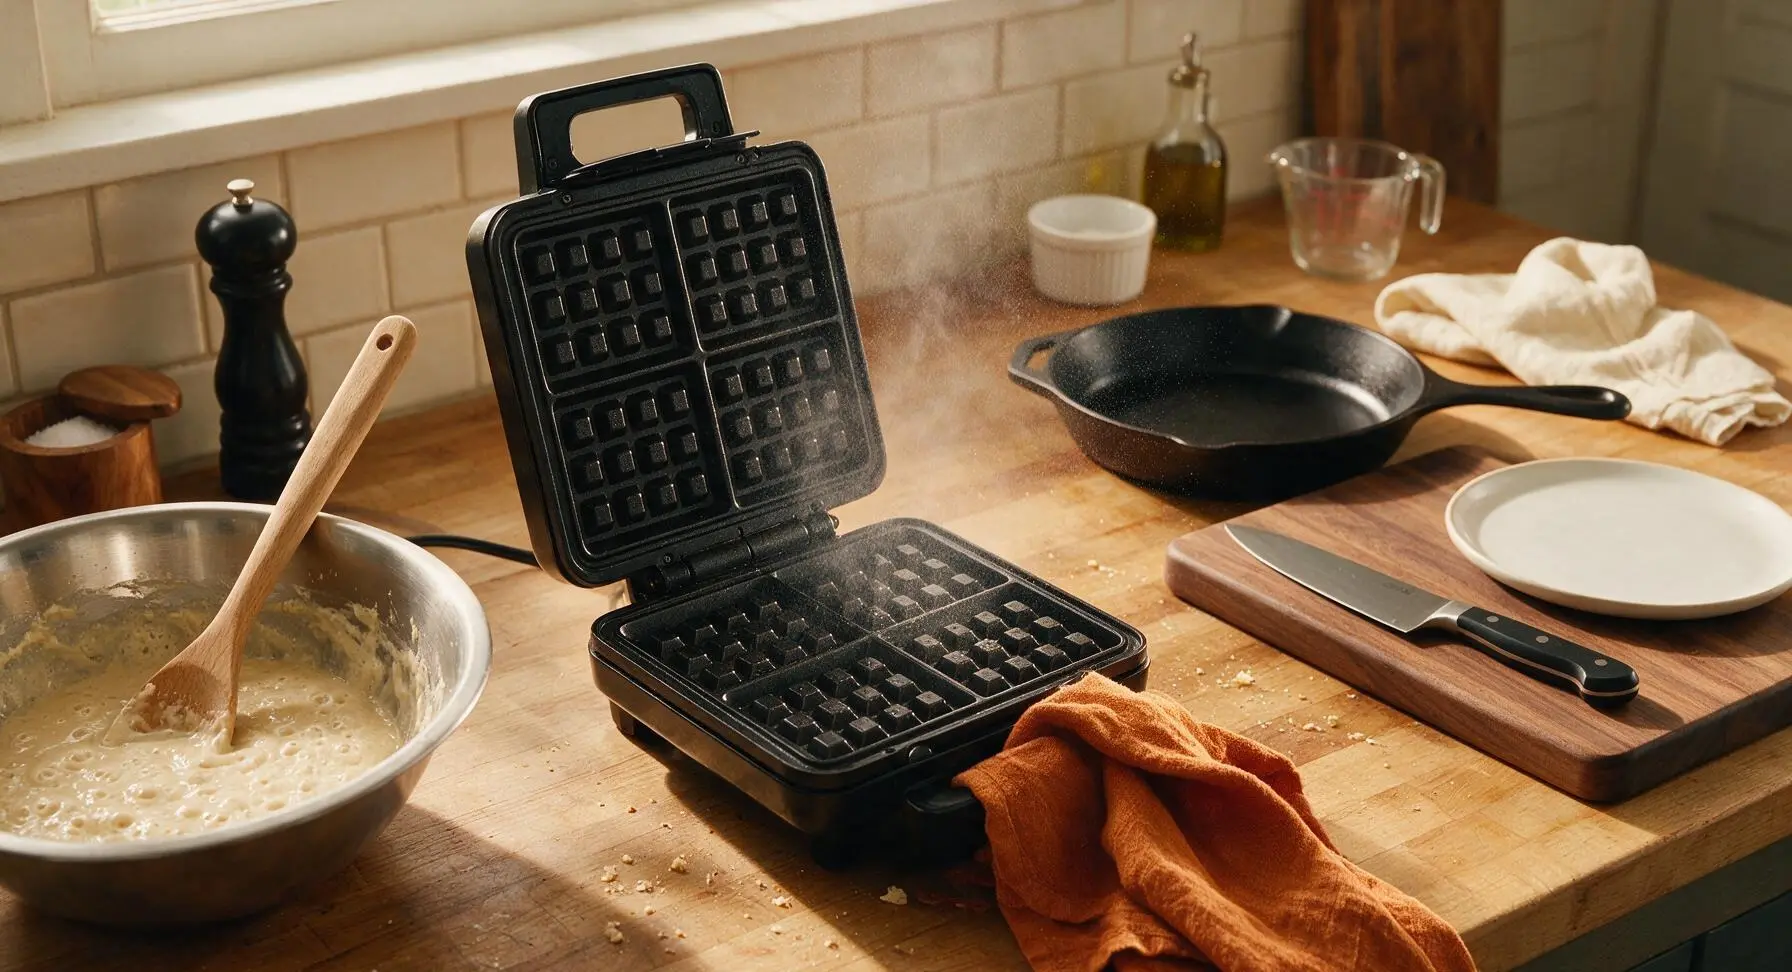
Once the waffle iron is fully preheated, open the lid and lightly coat both top and bottom non-stick plates with neutral cooking spray, holding the can 6 inches away from the plates to avoid excess oil buildup. Wipe any drips of oil from the outside of the iron with the corner of the burnt orange linen towel to prevent smoking during cooking.
Cook Waffles Until Golden
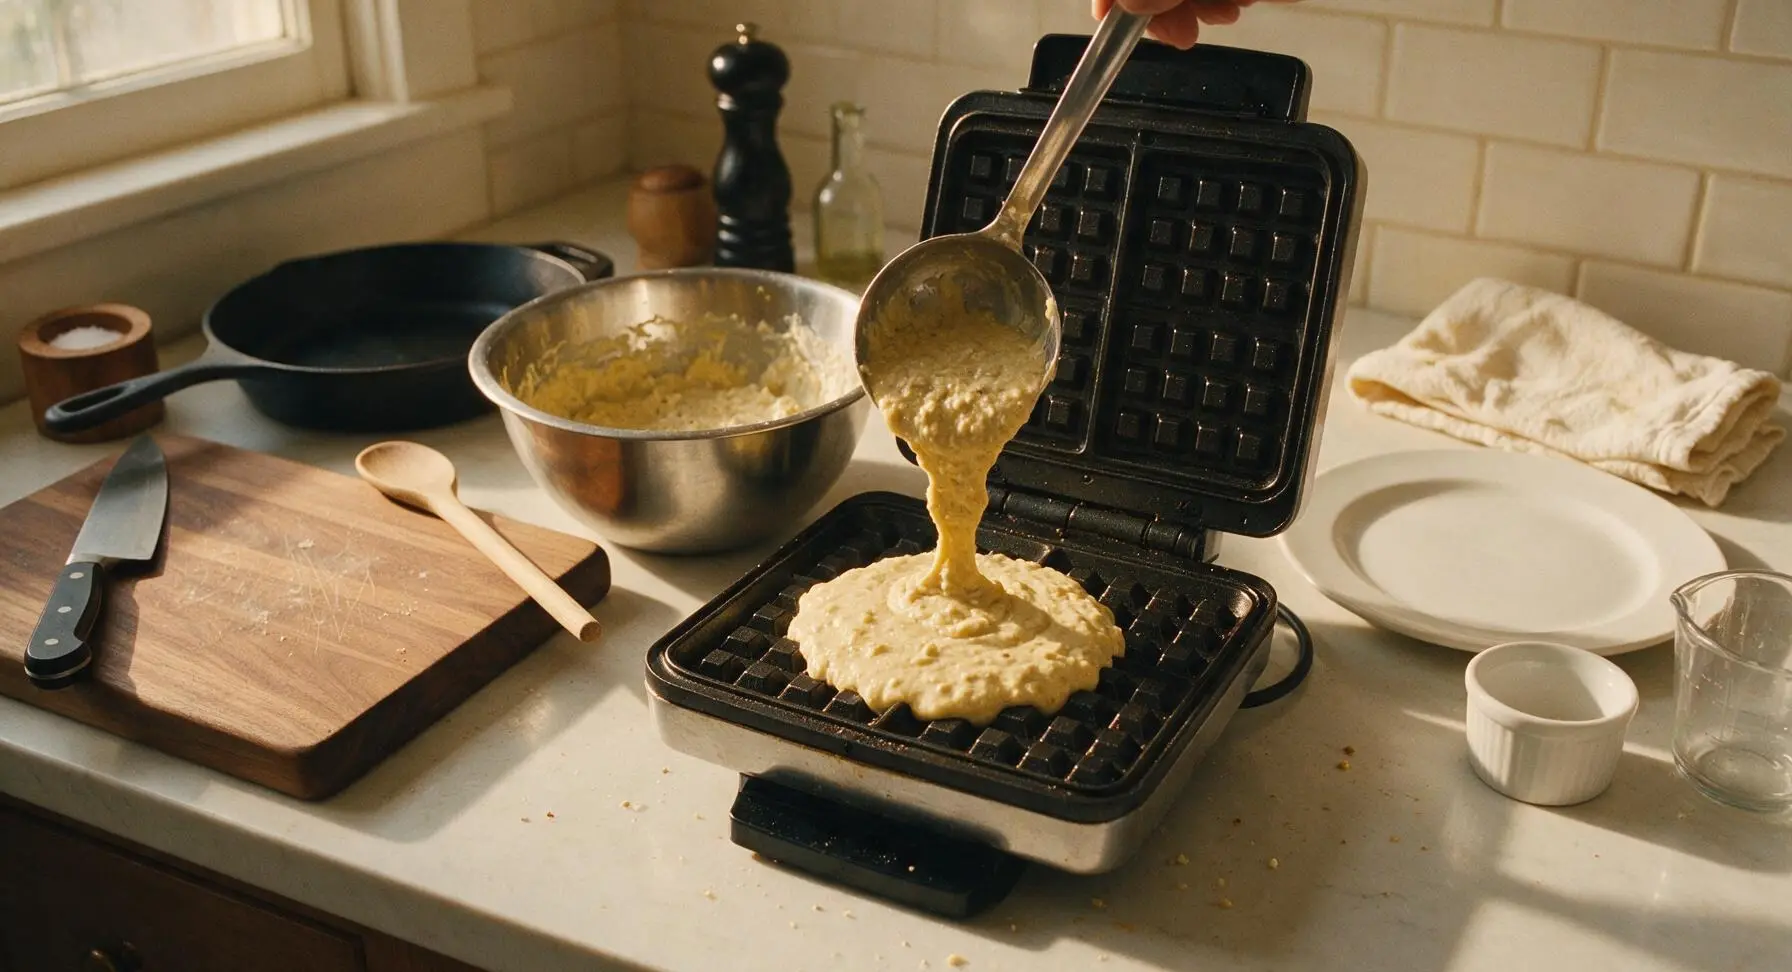
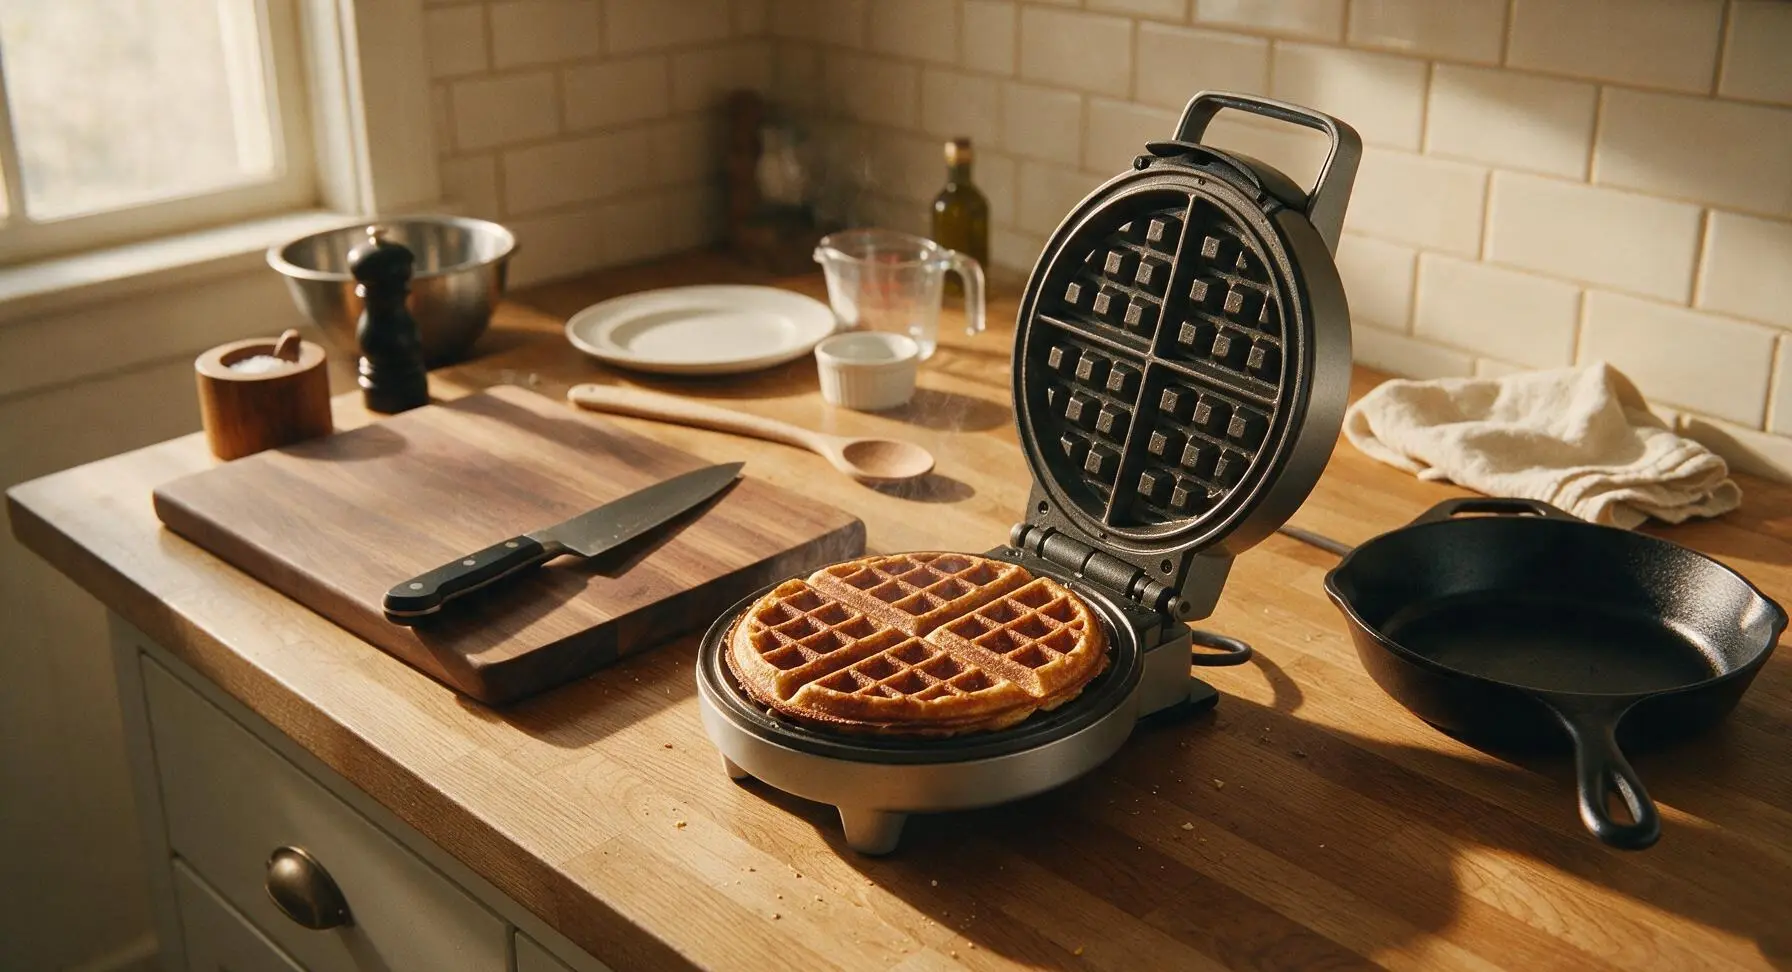
Use the polished stainless steel ladle to pour 1/2 cup of batter onto the exact center of the bottom waffle plate, spreading it slightly toward the edges with the back of the ladle (do not spread all the way to the edge, as the batter will expand as it cooks). Close the lid and cook for 3 to 4 minutes, until steam stops escaping from the edges of the iron and the waffle is deep golden brown and crisp to the touch. Do not open the lid before the 3-minute mark, as this will cause the waffle to split and stick.
Rest Waffles on Rack
Use the silicone spatula to carefully lift the cooked waffle from the iron, and transfer it directly to the chrome wire cooling rack set over the stainless steel rimmed baking sheet. Keep waffles in a single layer on the rack while you cook the remaining batter (you will make 8 total waffles); do not stack hot waffles directly on top of each other, as trapped steam will make them soggy.
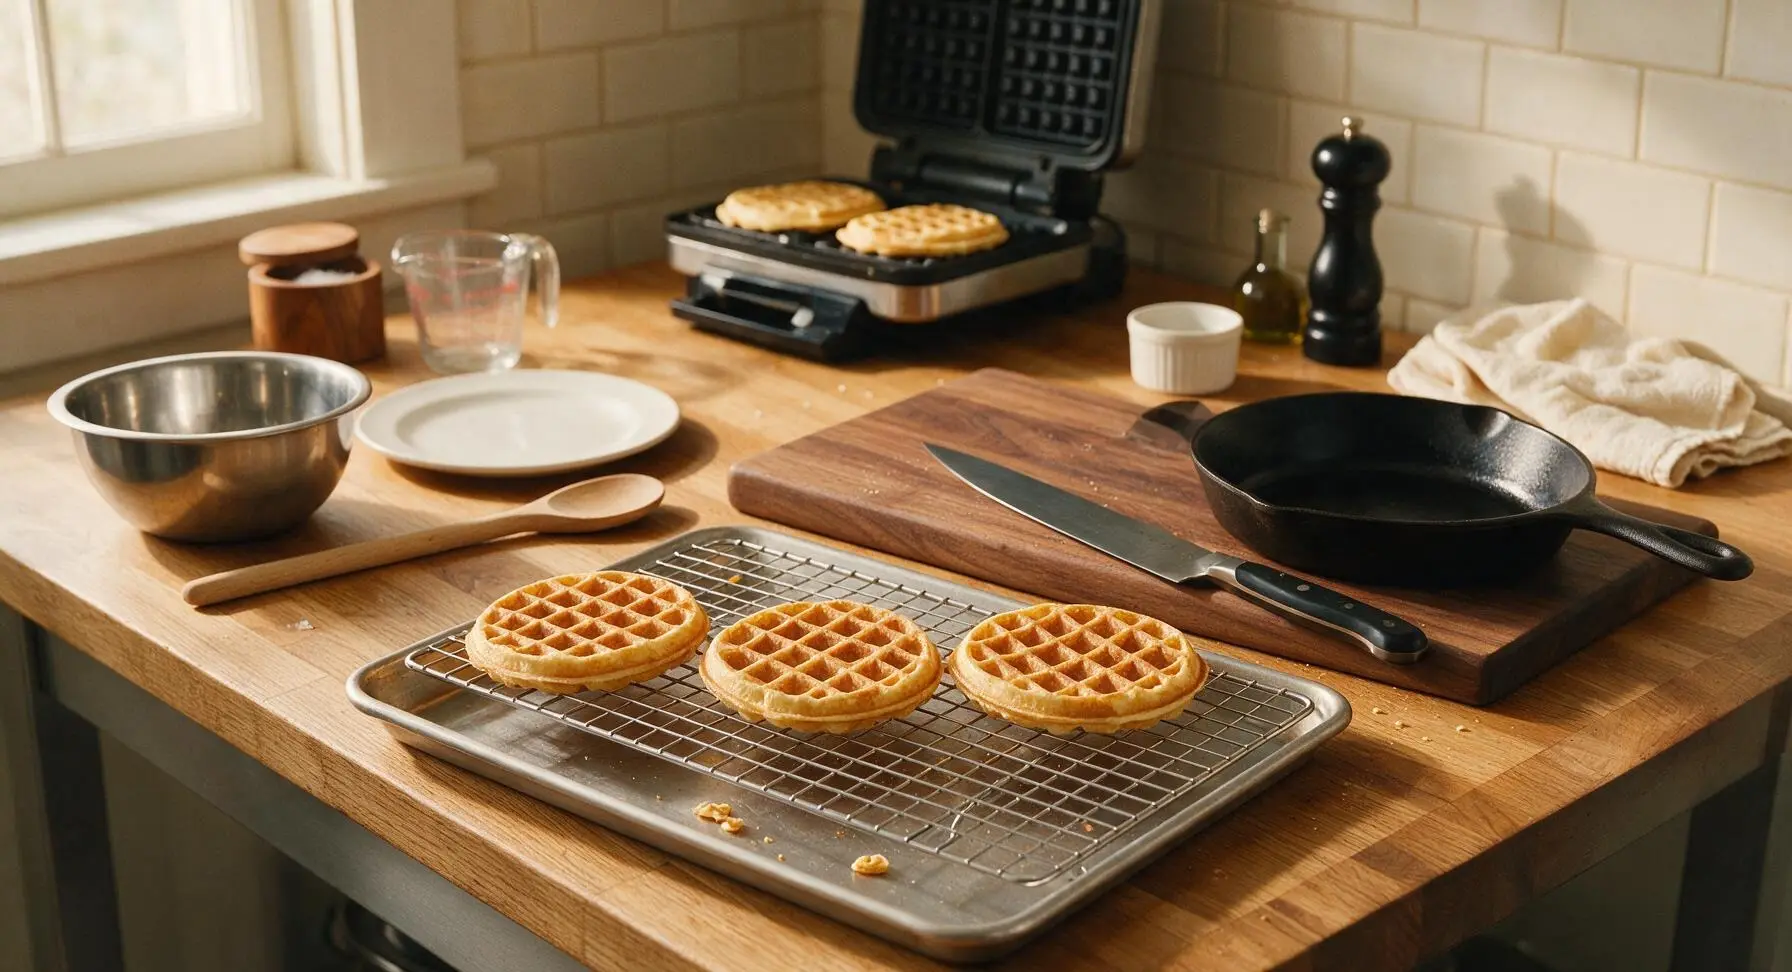
Plate and Serve Warm
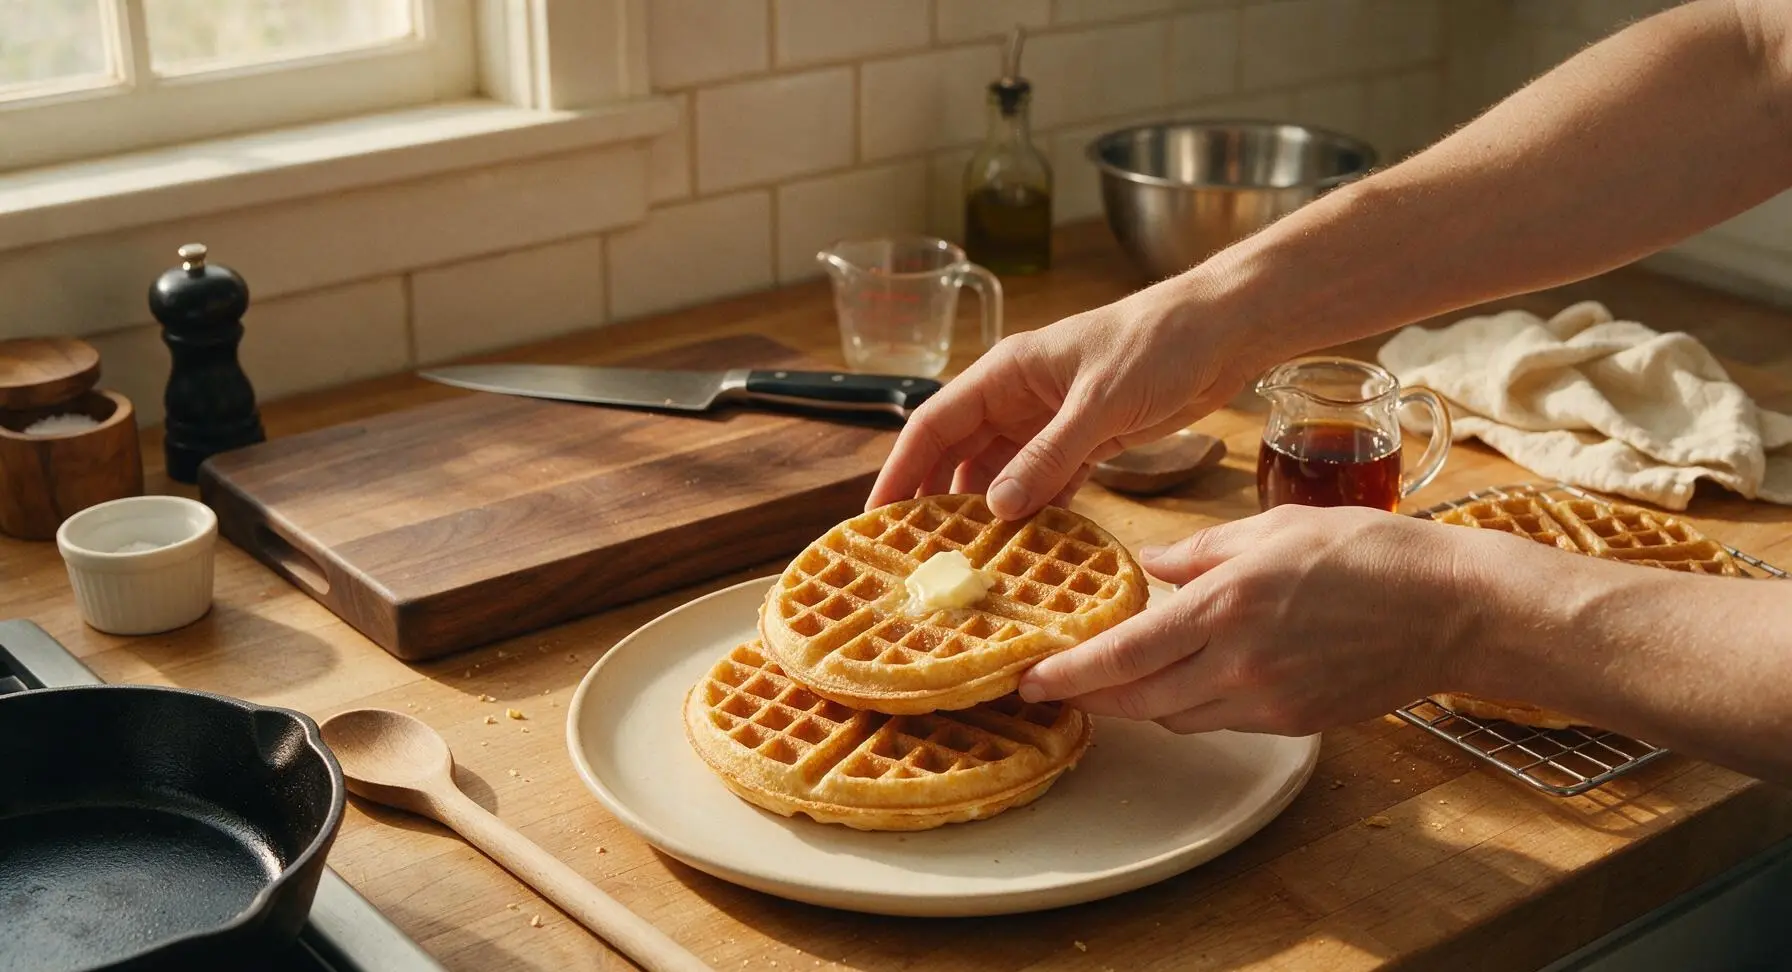
Stack 2 waffles per serving on the matte cream ceramic dinner plate, top with a 1-tablespoon pat of salted butter, a 2-tablespoon drizzle of warm maple syrup, and any desired optional toppings (fresh sliced fruit, whipped cream, or powdered sugar work well). Serve immediately while the waffles are hot and crisp.
Tips
2.Rest cooked waffles on a wire rack instead of a plate. Stacking hot waffles traps steam between layers, which softens the crisp outer crust within minutes. For batch cooking, hold finished waffles in a 200°F (95°C) oven on the rack to keep them crisp while you cook the rest.
3.Let the batter rest for 5 minutes before pouring. This short rest gives the baking powder time to activate and create tiny air bubbles, and allows the flour to fully absorb moisture, resulting in taller, lighter waffles with a more tender, even crumb.






OMG these waffles are a total game changer for our Saturday brunch routine! My three kids devoured a whole batch in 10 minutes flat, and they kept asking for seconds. They’re so crisp on the outside and fluffy inside, exactly what I’ve been trying to get right for years! I added a handful of blueberries to half the batter and it was chef’s kiss. 10/10 will be making these every weekend from now on.
Pretty solid waffle recipe! Super easy to throw together on a weekday morning before work, cook time is definitely accurate at 15 minutes total. My only tiny note is that I wish they stayed crisp a little longer after taking them off the iron—mine got a little soggy after 5 minutes on the plate. Still way better than the boxed mix I’ve been using for years though!
SO good! I made these in my tiny dorm waffle maker for my roommates last night during our study session and everyone lost their minds. Didn’t even have to run to the store for fancy ingredients, I had everything in my pantry already. Will 100% be making these for our pre-game tailgate next weekend, they’re perfect for feeding a crowd.
I’ve been making waffles for my grandkids for over 40 years, and I have to say this recipe is hands down the best one I’ve ever tried. The texture is absolutely perfect—no dense, gummy centers here! I brought a batch to our church potluck last Sunday and every single person asked me for the recipe. Can’t wait to make these again for our family Easter brunch.
Made these for my partner’s birthday brunch today and they were a hit! We topped them with fresh strawberries, whipped cream, and a drizzle of maple syrup, and it felt like we were eating at a fancy brunch spot without the $20 per plate price tag. The recipe was so easy to follow even for someone like me who burns toast half the time lmao. 10/10, no notes.
Meal prep win! I made a double batch of these on Sunday, popped them in the freezer, and now my kids can just pop one in the toaster for breakfast before school all week. They taste just as good reheated as they do fresh, which is a total miracle because every other frozen waffle I’ve tried is cardboard. Saved me so much chaotic morning time this week, thank you!!
Really great base waffle recipe! I added a teaspoon of cinnamon and a splash of vanilla extract to the batter to give it a little extra warmth, and it was chef’s kiss. The crisp/fluffy balance is spot on, I just wish the recipe noted how hot to set the waffle iron? I set mine to medium-high and that worked, but it took me a test waffle to figure it out. Still will be adding this to my regular rotation!
First waffle recipe I’ve tried since getting married that didn’t turn into a total disaster lmao. My husband said these are better than the ones his mom makes (don’t tell her I said that 😬). They were so light and fluffy, not heavy and greasy like the last recipe I tried. We did a savory version with fried chicken and hot honey for dinner last night and it was insane.
Made these before heading out on a 6 mile hike last weekend and they kept me full the entire time, no mid-hike energy crash! I packed a couple extra in my backpack with a little packet of peanut butter to spread on top and it was the perfect trail snack. Who knew waffles could be such great hiking fuel? Way better than boring granola bars.
I wanted to love these, and the flavor was great, but my first two batches stuck really bad to my waffle iron even though I sprayed it with nonstick spray. I ended up having to add a little extra oil to the batter and that fixed it, but it was a messy start. Once I got that sorted the texture was perfect, though!
I swapped the regular milk for oat milk and used melted coconut oil instead of butter to make these dairy free, and they turned out AMAZING. I was worried the texture would be off, but they were still just as crisp and fluffy as the photos look. My dairy allergic kiddo was so excited to have waffles that don’t taste like weird allergy food, win for mom!
I hosted my first ever brunch for my friends last weekend and made these waffles, and everyone thought I was a professional chef lmao. Literally zero cooking skills required, the instructions are so straightforward. I set up a little topping bar with chocolate chips, sprinkles, syrup, and fruit, and people went crazy for it. Will be making these for every get together from now on.
Okay but hear me out: add a handful of mini chocolate chips to the batter and top with a scoop of vanilla ice cream and hot fudge for a dessert waffle. It’s life changing. I made these for my roommate’s birthday dessert and she said it’s better than any birthday cake she’s ever had. The crispy waffle holds up perfectly to the ice cream without getting soggy, 10/10.
Got up at 5am to make these before my early shift at the fire station, and the whole crew went nuts for them. 15 minute cook time is no joke, I was able to make a whole batch before my shift even started and still had time to make coffee. Way better than the sad gas station donuts we usually eat on morning shifts. I’m nominated as official breakfast cook now, I guess?
I used a 1:1 gluten free all purpose flour blend for these and they turned out perfect!!! I’ve tried so many gluten free waffle recipes that come out dense or gritty, but these were just as light and crispy as the regular version. My non-gluten free husband didn’t even notice a difference, which is the highest possible praise tbh.
These taste exactly like the crisp waffles I used to get at my local diner when I was a kid, I almost cried when I took the first bite. I’ve been chasing that flavor for 30 years and I finally found it! The secret really is letting the batter rest for a few minutes before pouring, right? It makes all the difference in the fluff factor. Thank you for this recipe, it’s a new family heirloom.