
homestyle waffles
intro
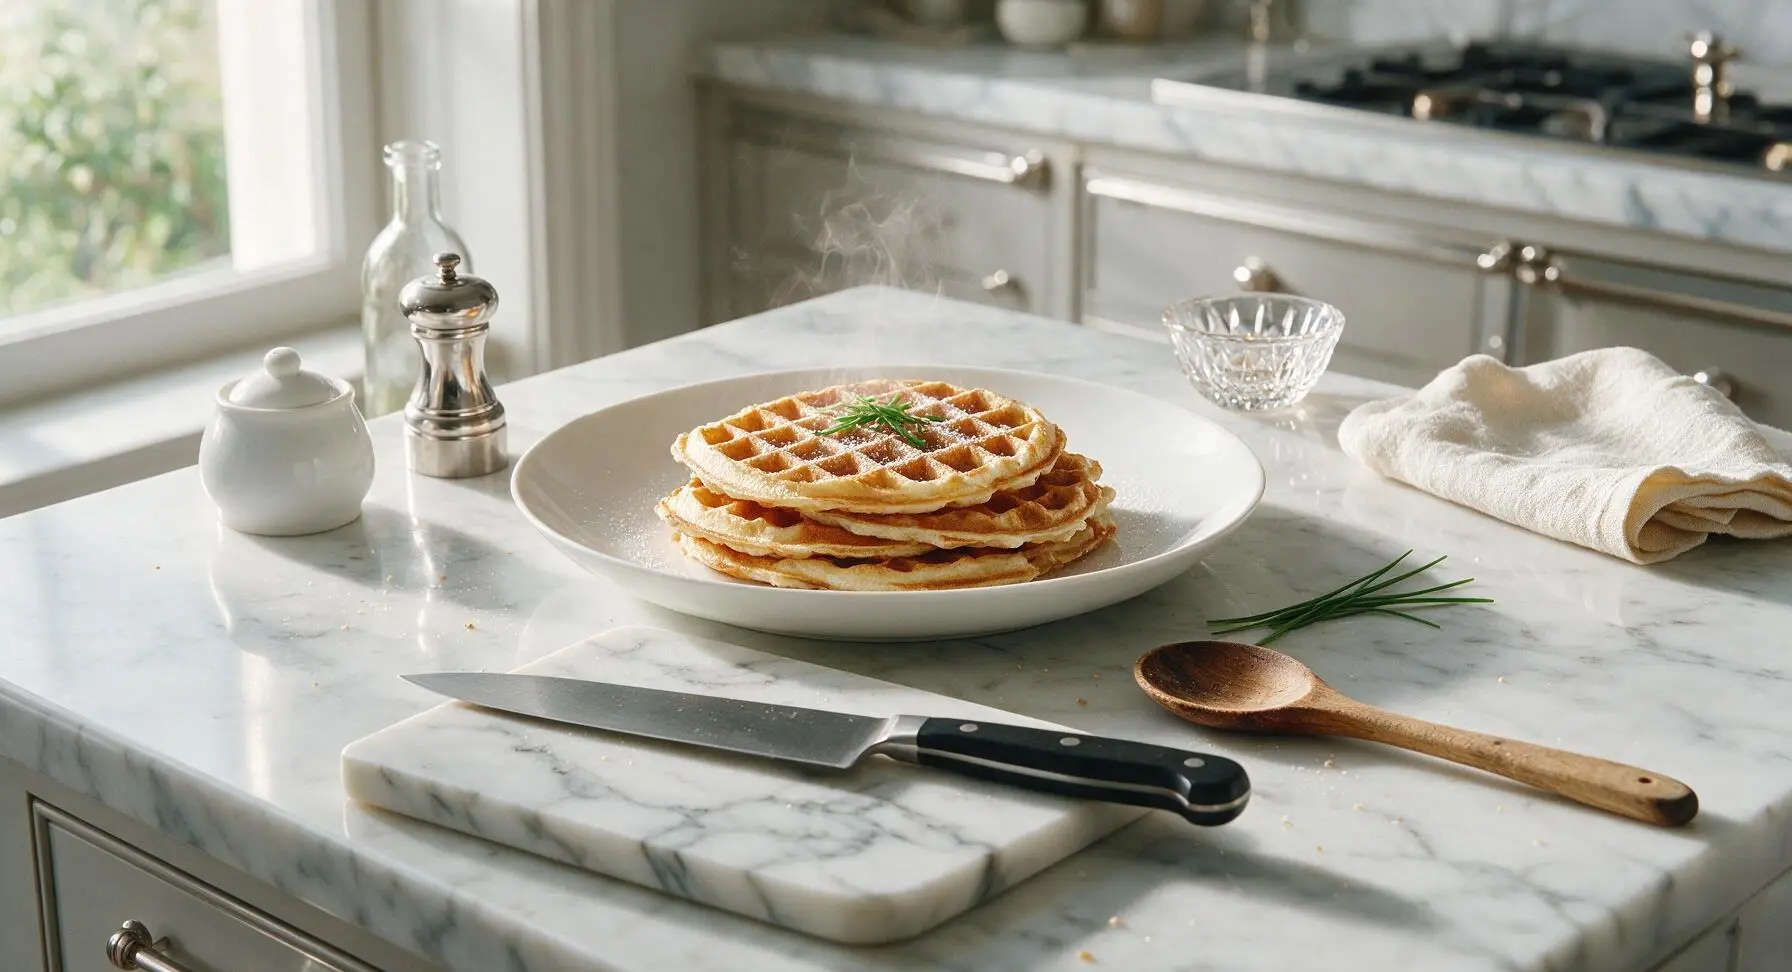
Crisp at the edges, light and fluffy inside, these classic homestyle waffles are a cozy, customizable family favorite perfect for lazy weekend meals.
Ingredients
Steps
Preheat Waffle Maker
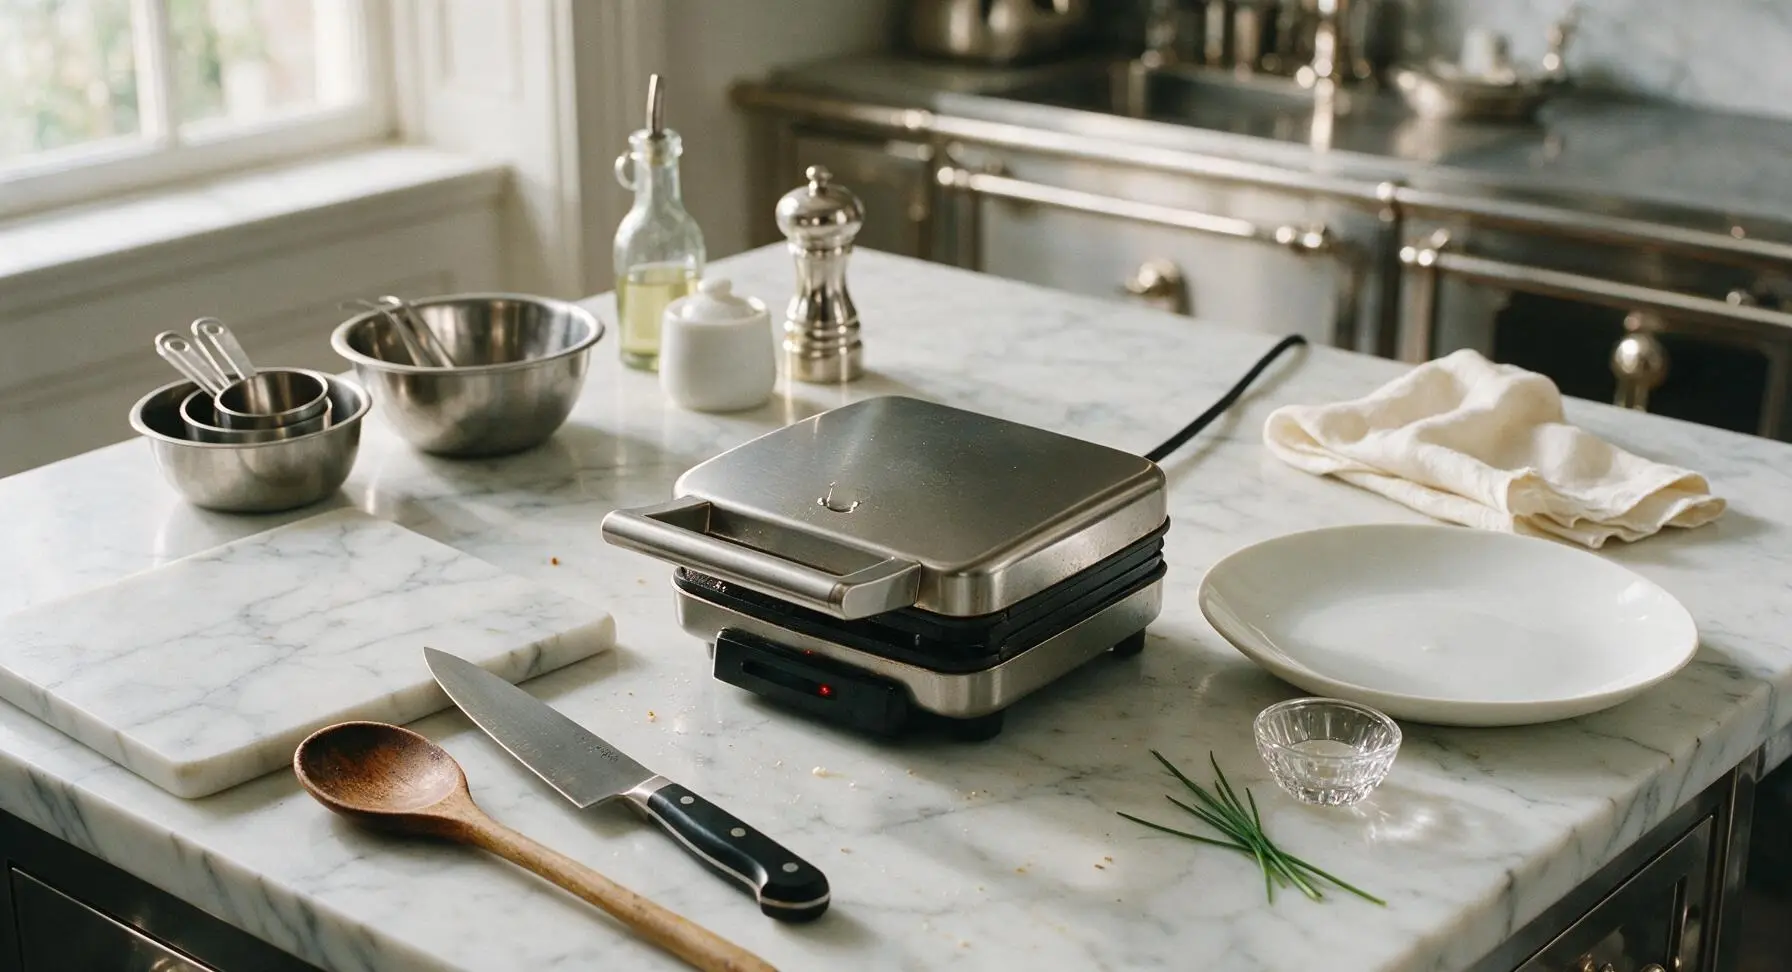
Plug in the stainless steel electric waffle maker and set it to medium-high heat (375°F/190°C). Close the lid and allow it to preheat fully for 5-7 minutes, until the indicator light shows it is ready; a drop of water flicked onto the plates should sizzle and dance immediately when it reaches correct temperature.
Whisk Dry Ingredients
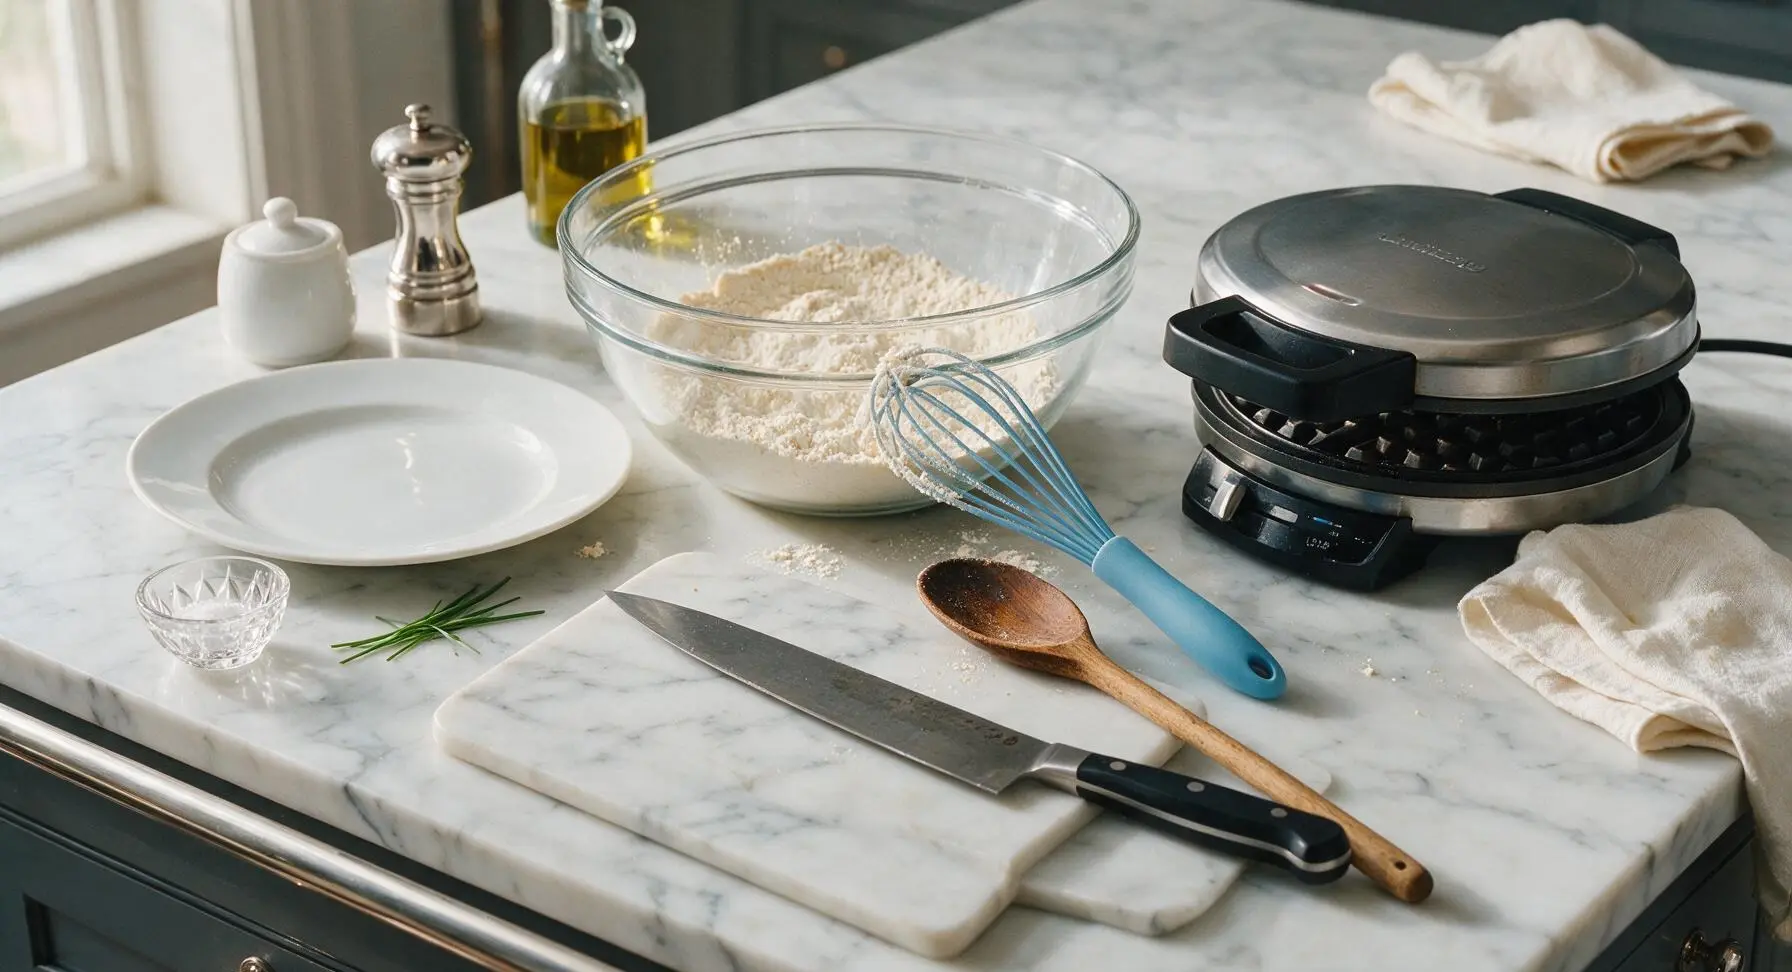
In the large clear tempered glass mixing bowl, add 2 cups all-purpose flour, 2 tablespoons granulated sugar, 1 tablespoon baking powder, and 1/4 teaspoon fine sea salt. Use the sky blue silicone whisk to stir the dry ingredients together for 30 seconds, until fully combined and no clumps of baking powder remain, creating a uniform pale powder.
Mix Wet Ingredients
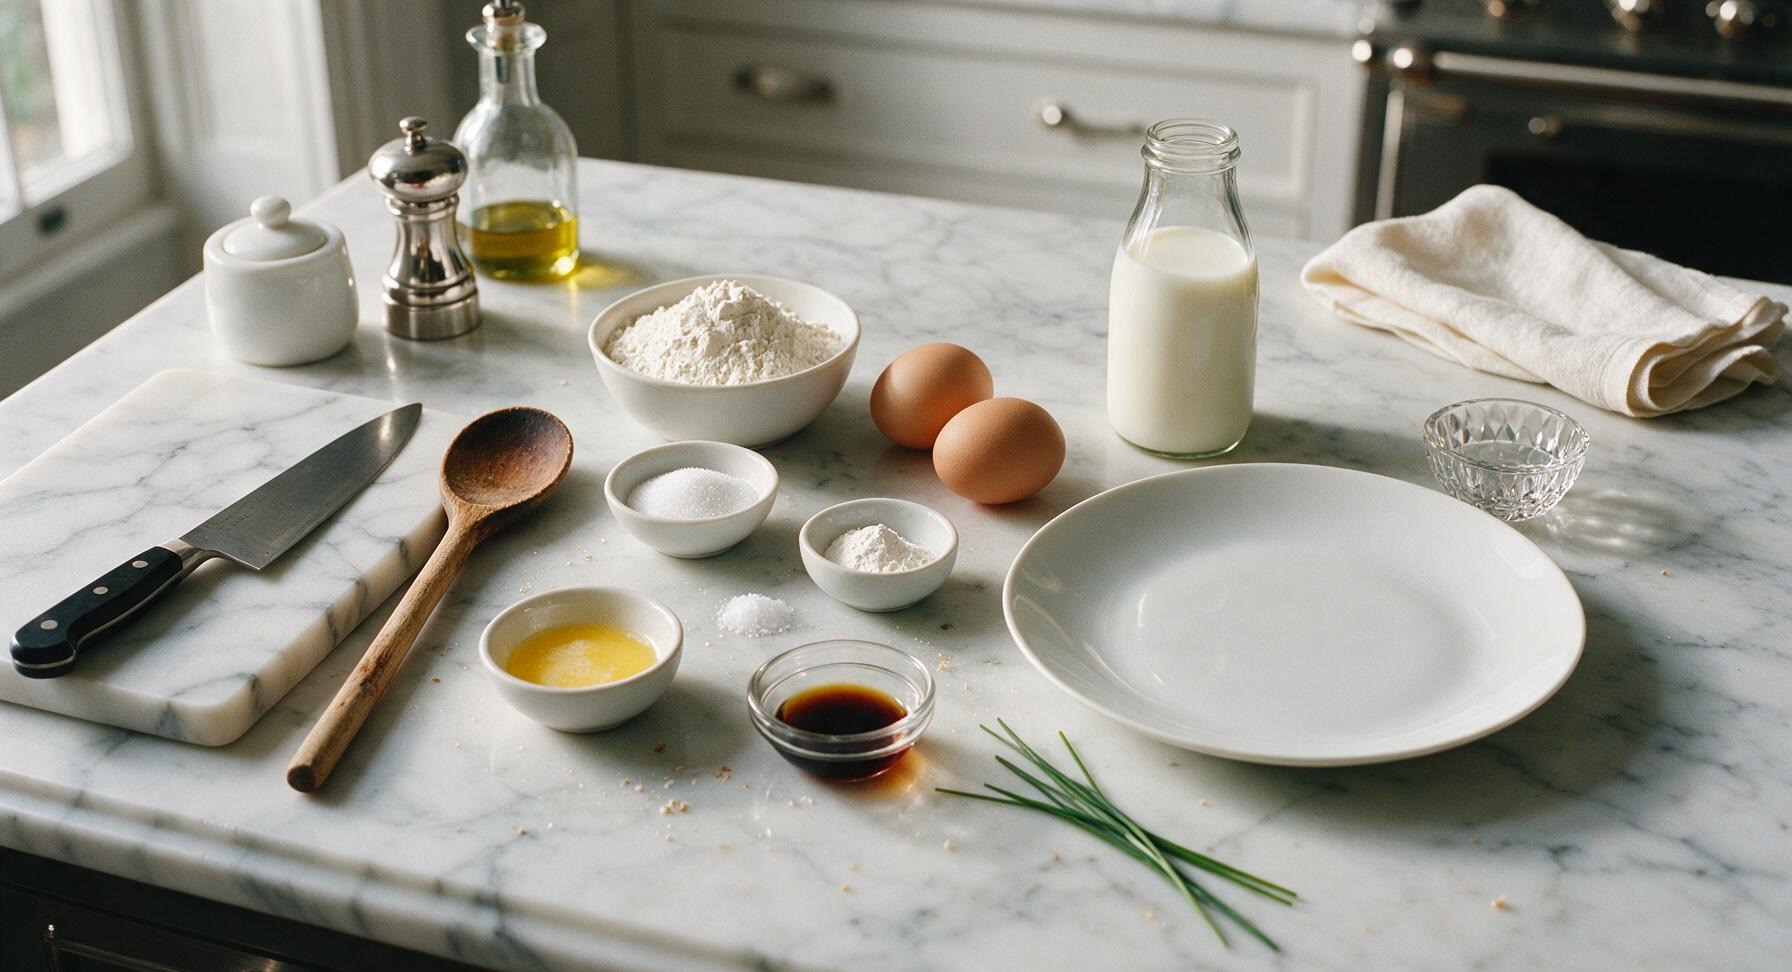
Crack the 2 large eggs into the medium brushed stainless steel mixing bowl, then add 1 3/4 cups whole milk, 1/3 cup melted and slightly cooled unsalted butter, and 1 teaspoon pure vanilla extract. Whisk with the same silicone whisk for 45 seconds, until the eggs are fully broken up and the mixture is a smooth, pale creamy yellow with no streaks of egg white visible.
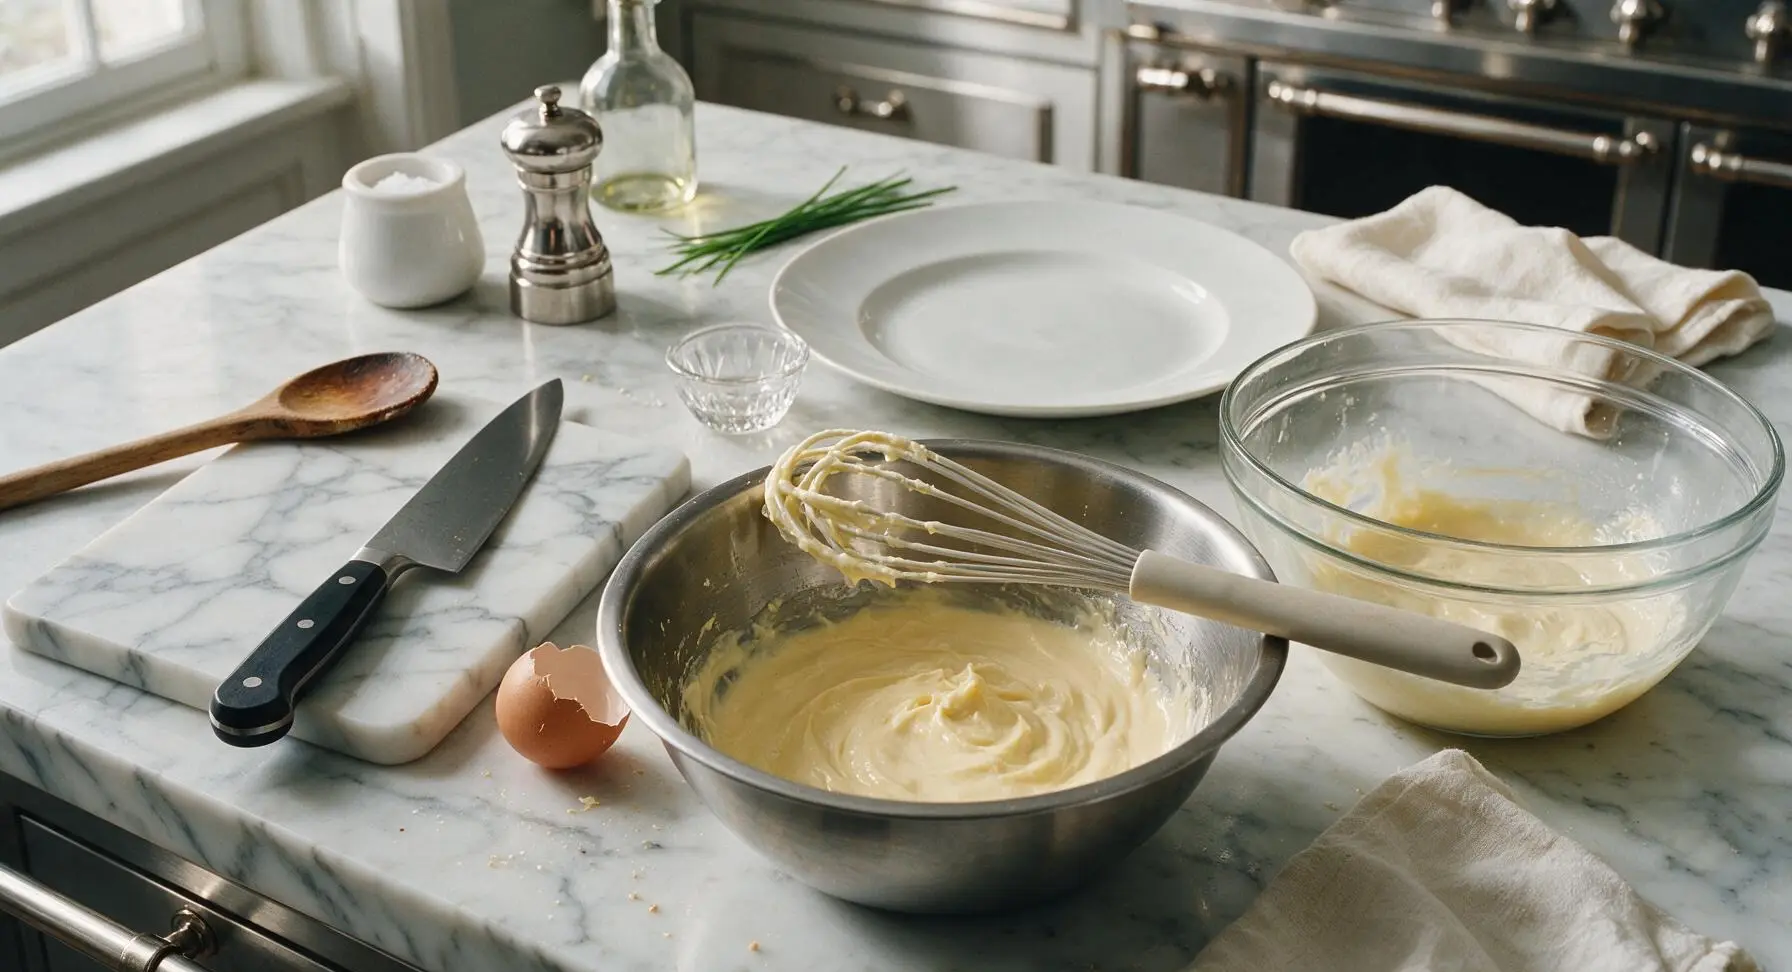
Combine Batter Gently
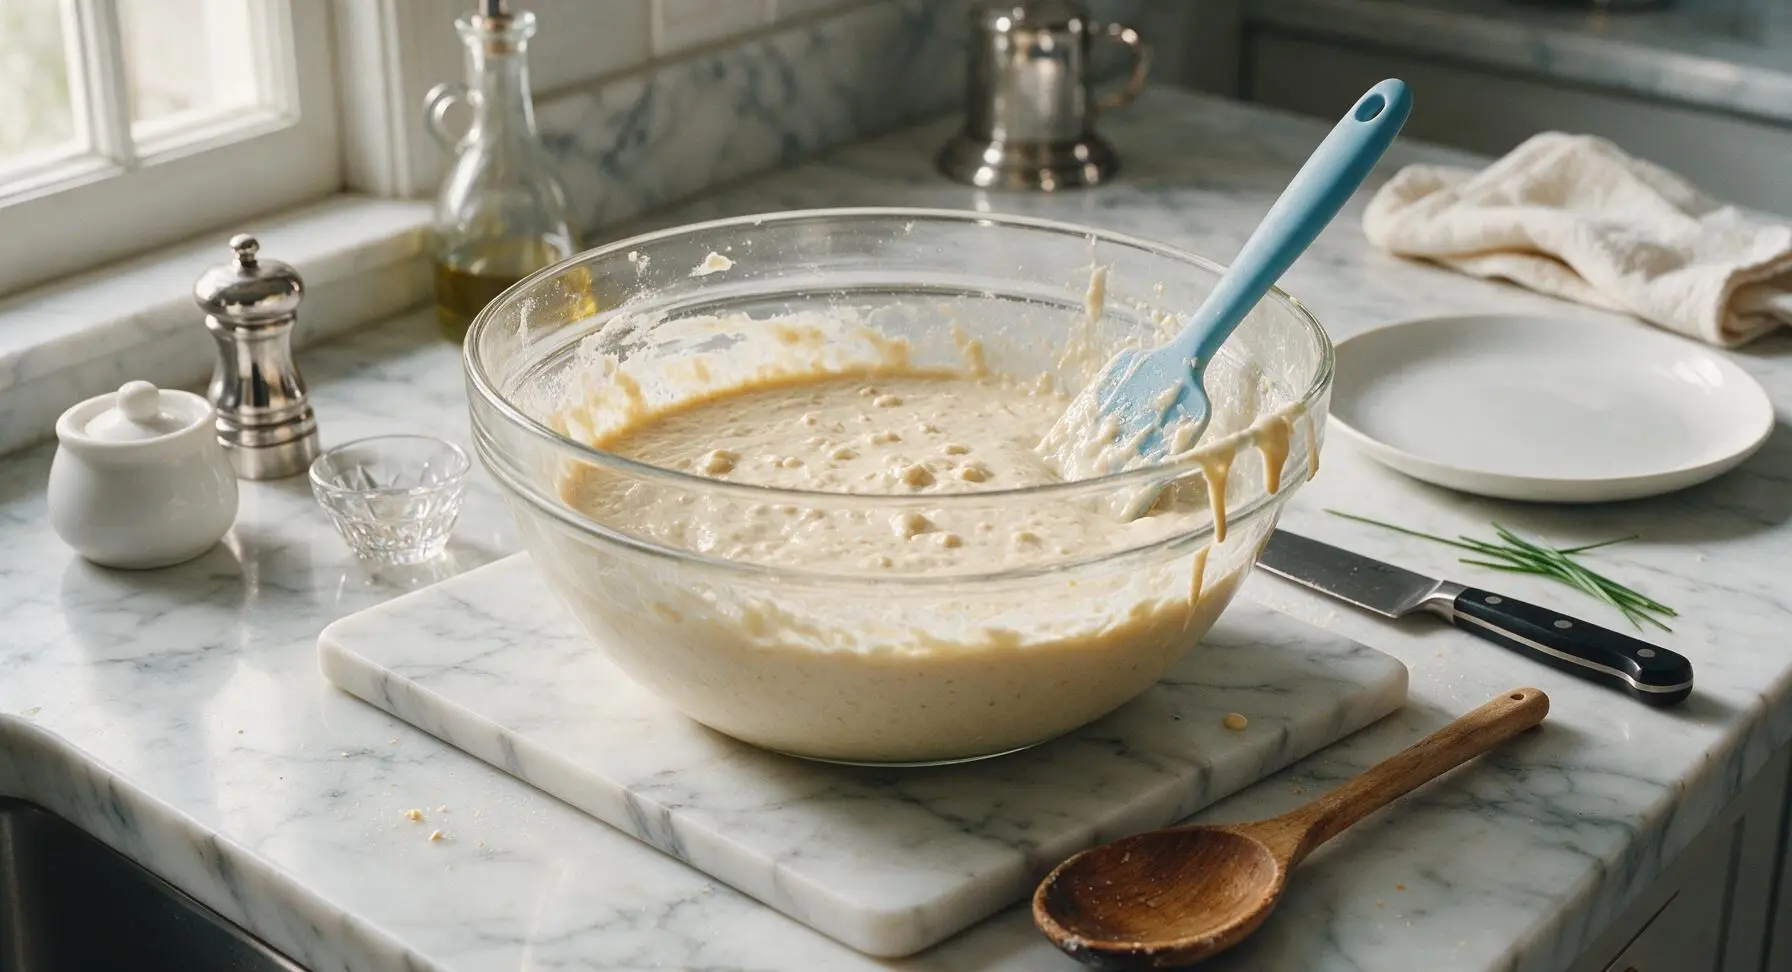
Pour the entire wet ingredient mixture into the large glass bowl with the dry ingredients. Use the sky blue silicone spatula to fold the mixtures together gently, stirring only just until no large streaks of dry flour remain. The batter will be thick and slightly lumpy—do not overmix, as this will develop gluten and make tough waffles; small pea-sized lumps are perfectly normal and desired. Let the batter rest for 3 minutes to allow the baking powder to activate.
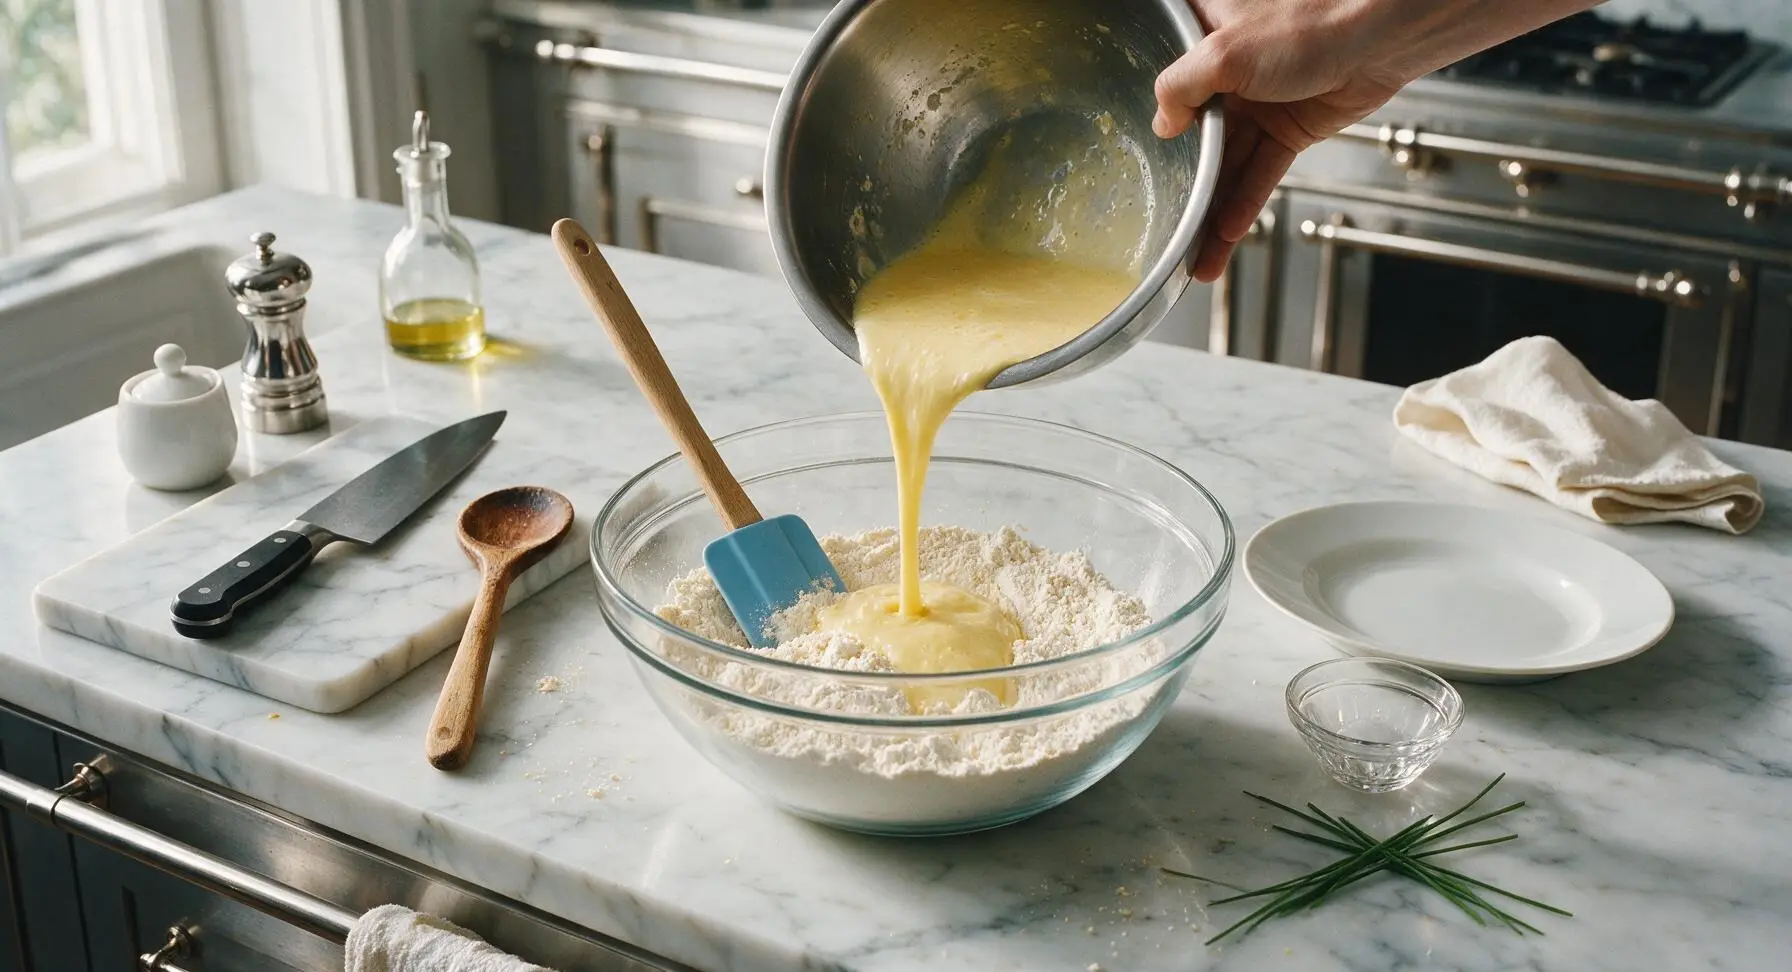
Grease Waffle Plates
Once the waffle maker is fully preheated, use a folded corner of the heather gray linen tea towel dipped in a tiny amount of melted butter to lightly grease the top and bottom nonstick grids. This prevents sticking and adds extra crispness to the waffle edges; avoid cooking spray, as it leaves a sticky resin residue on the plates over time.
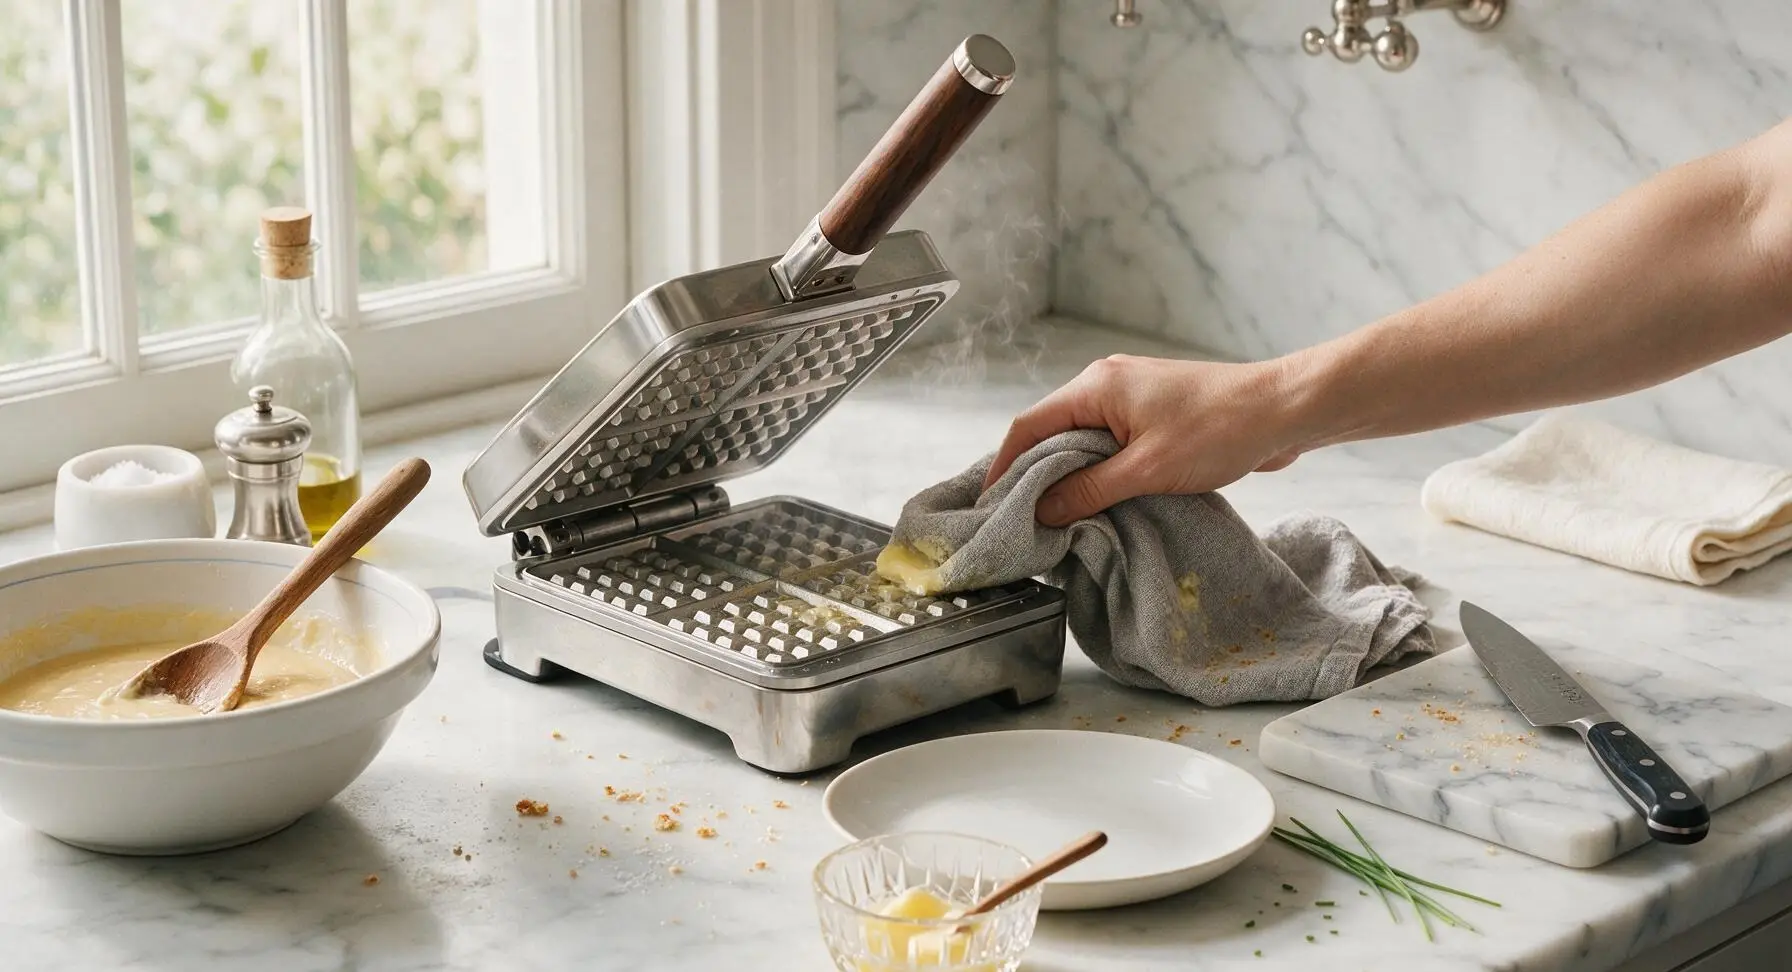
Cook Waffles Golden
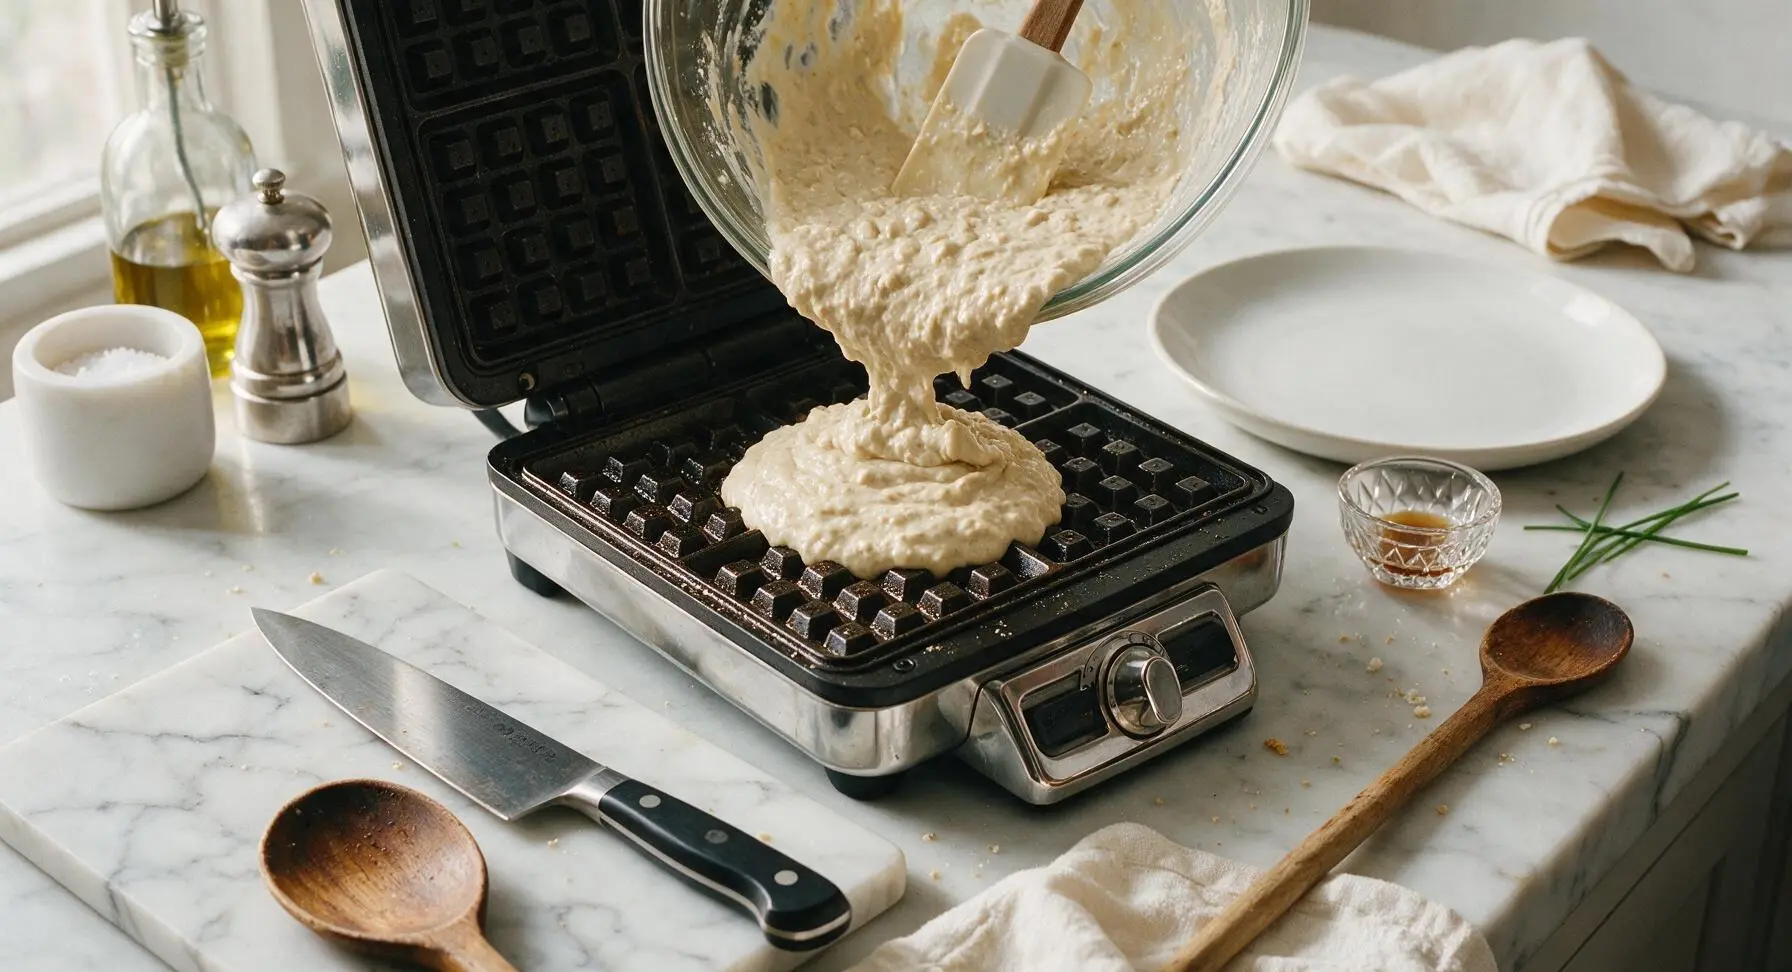
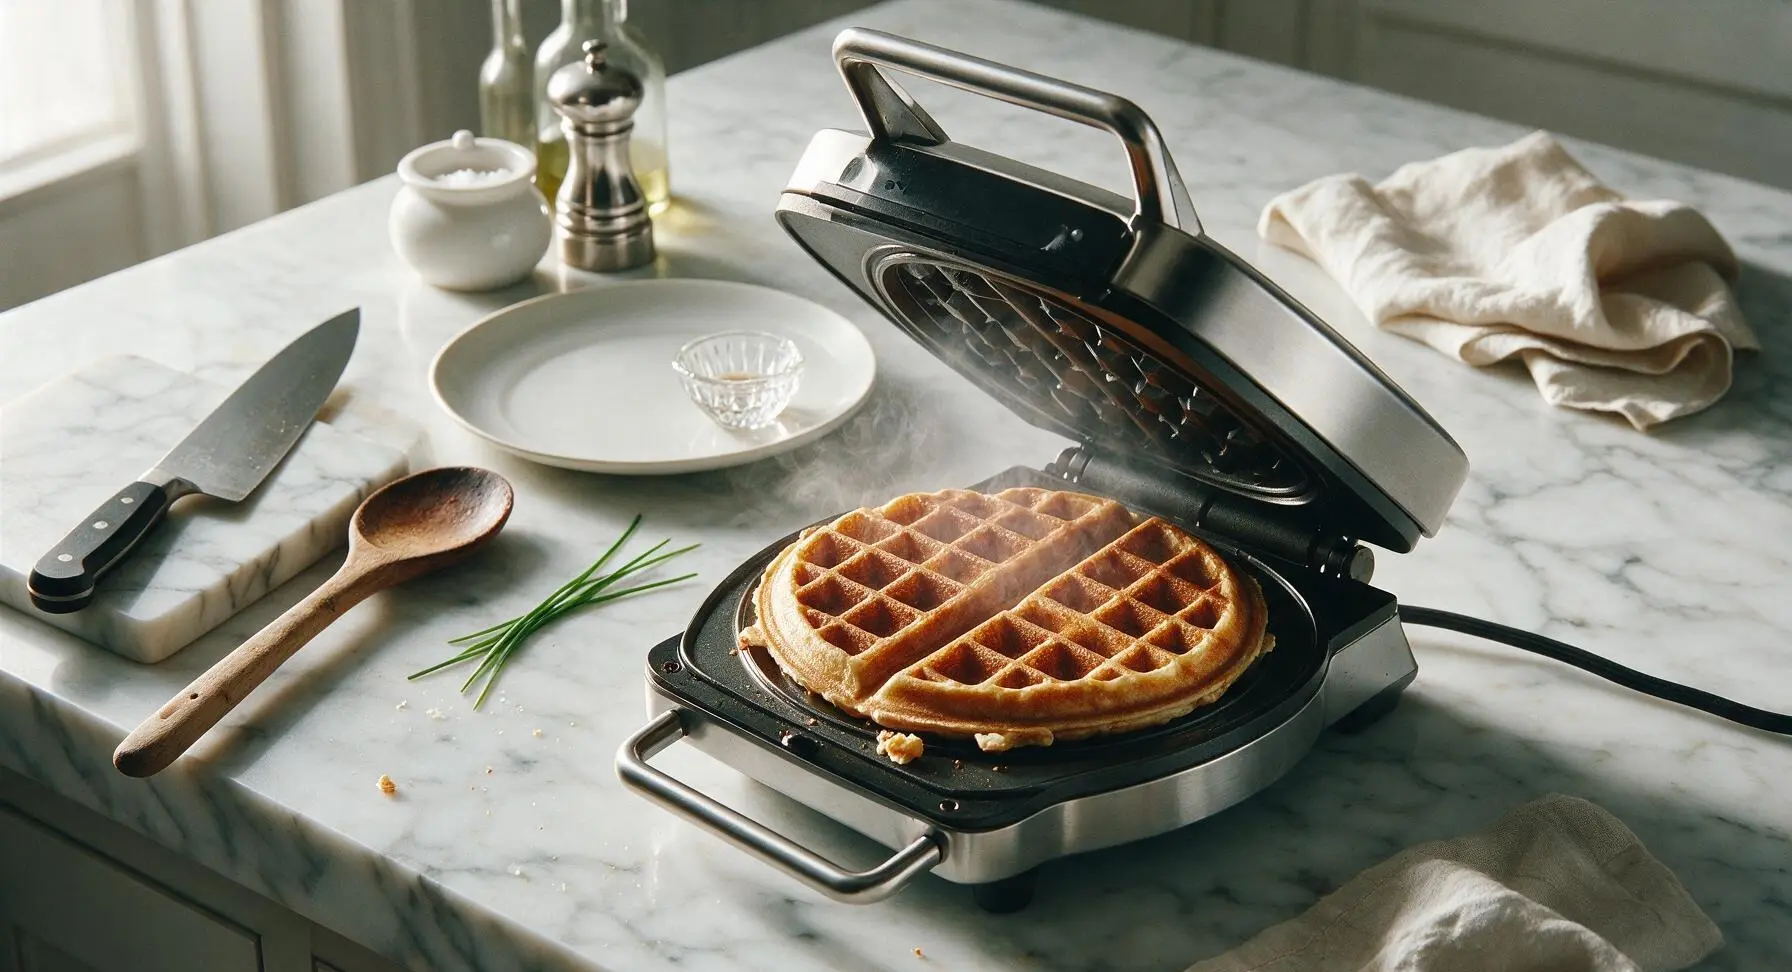
Pour 3/4 cup of batter onto the center of the bottom waffle grid, using the silicone spatula to spread it gently almost to the edges of the grid (it will spread on its own when you close the lid). Close the lid and cook for 4-5 minutes, until steam stops escaping from the sides of the waffle maker and the waffle is deep golden brown and crisp to the touch. Do not open the lid before the 4-minute mark, as this will cause the waffle to split and stick to the plates.
Rest Waffles On Rack
Use the silicone spatula to lift the cooked waffle from the plates and transfer it to the chrome wire cooling rack set to the right of the waffle maker. Do not stack waffles directly on a plate while cooking, as this traps steam and makes them soggy; resting them on the open rack keeps edges crisp while you cook the remaining 3 waffles, repeating the batter pour and cook process for all remaining batter.
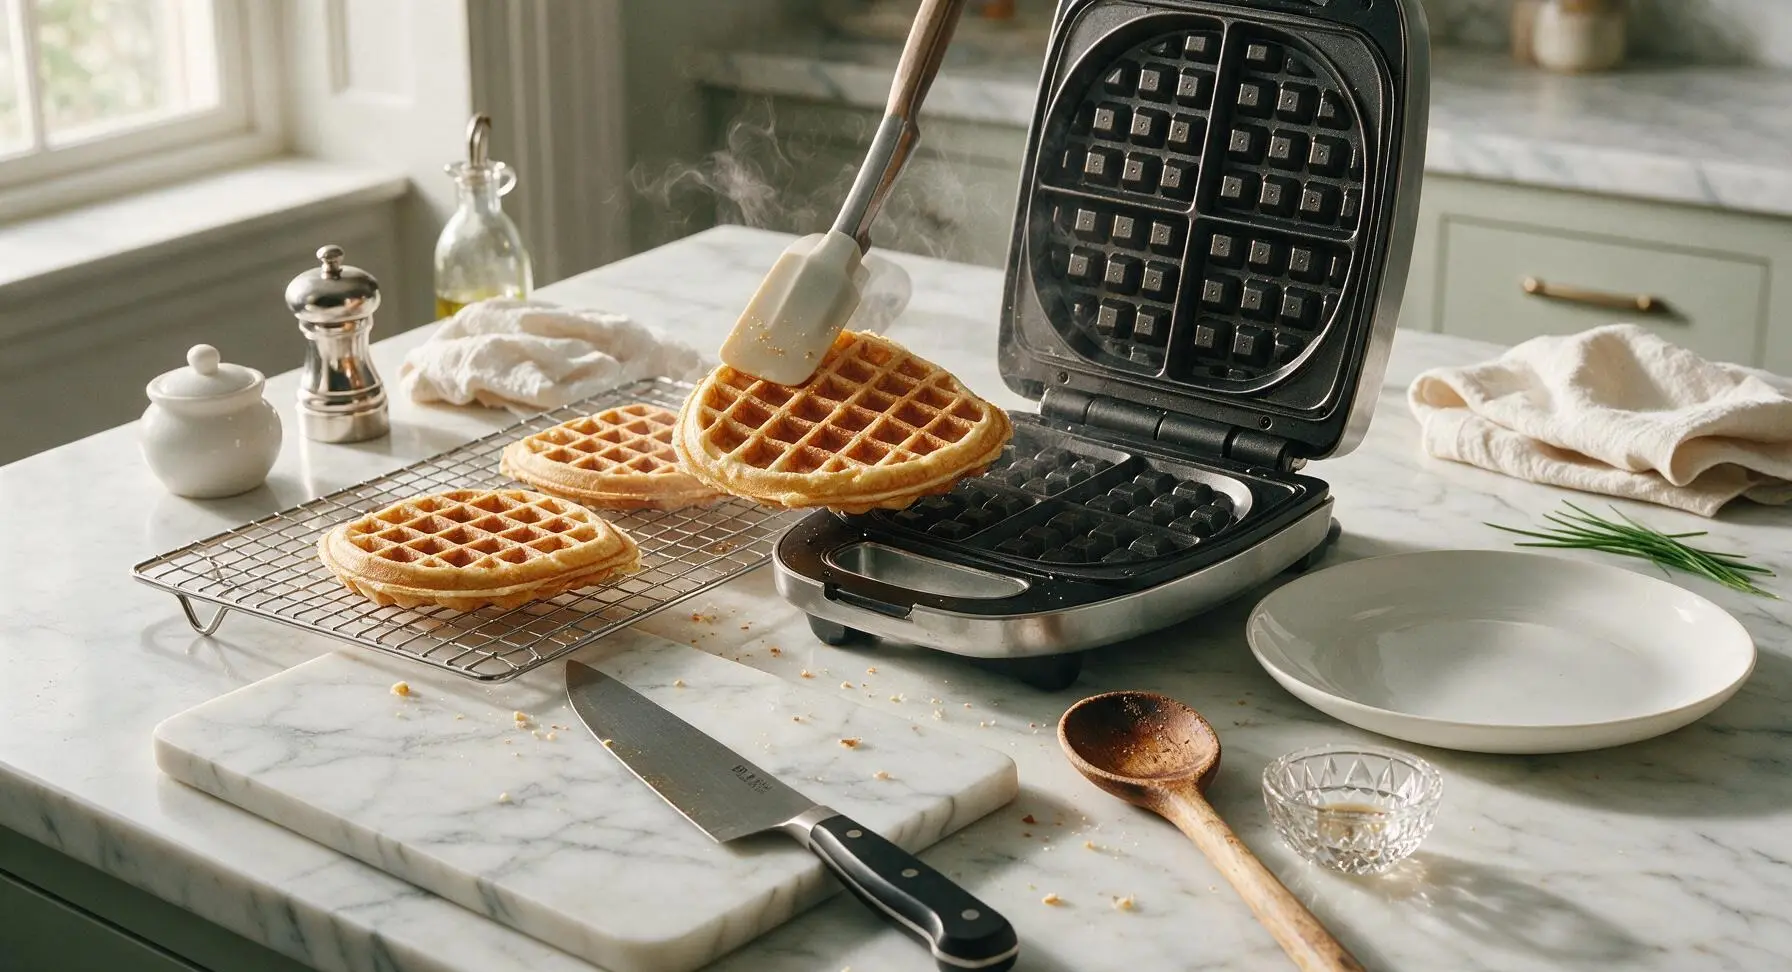
Plate And Serve
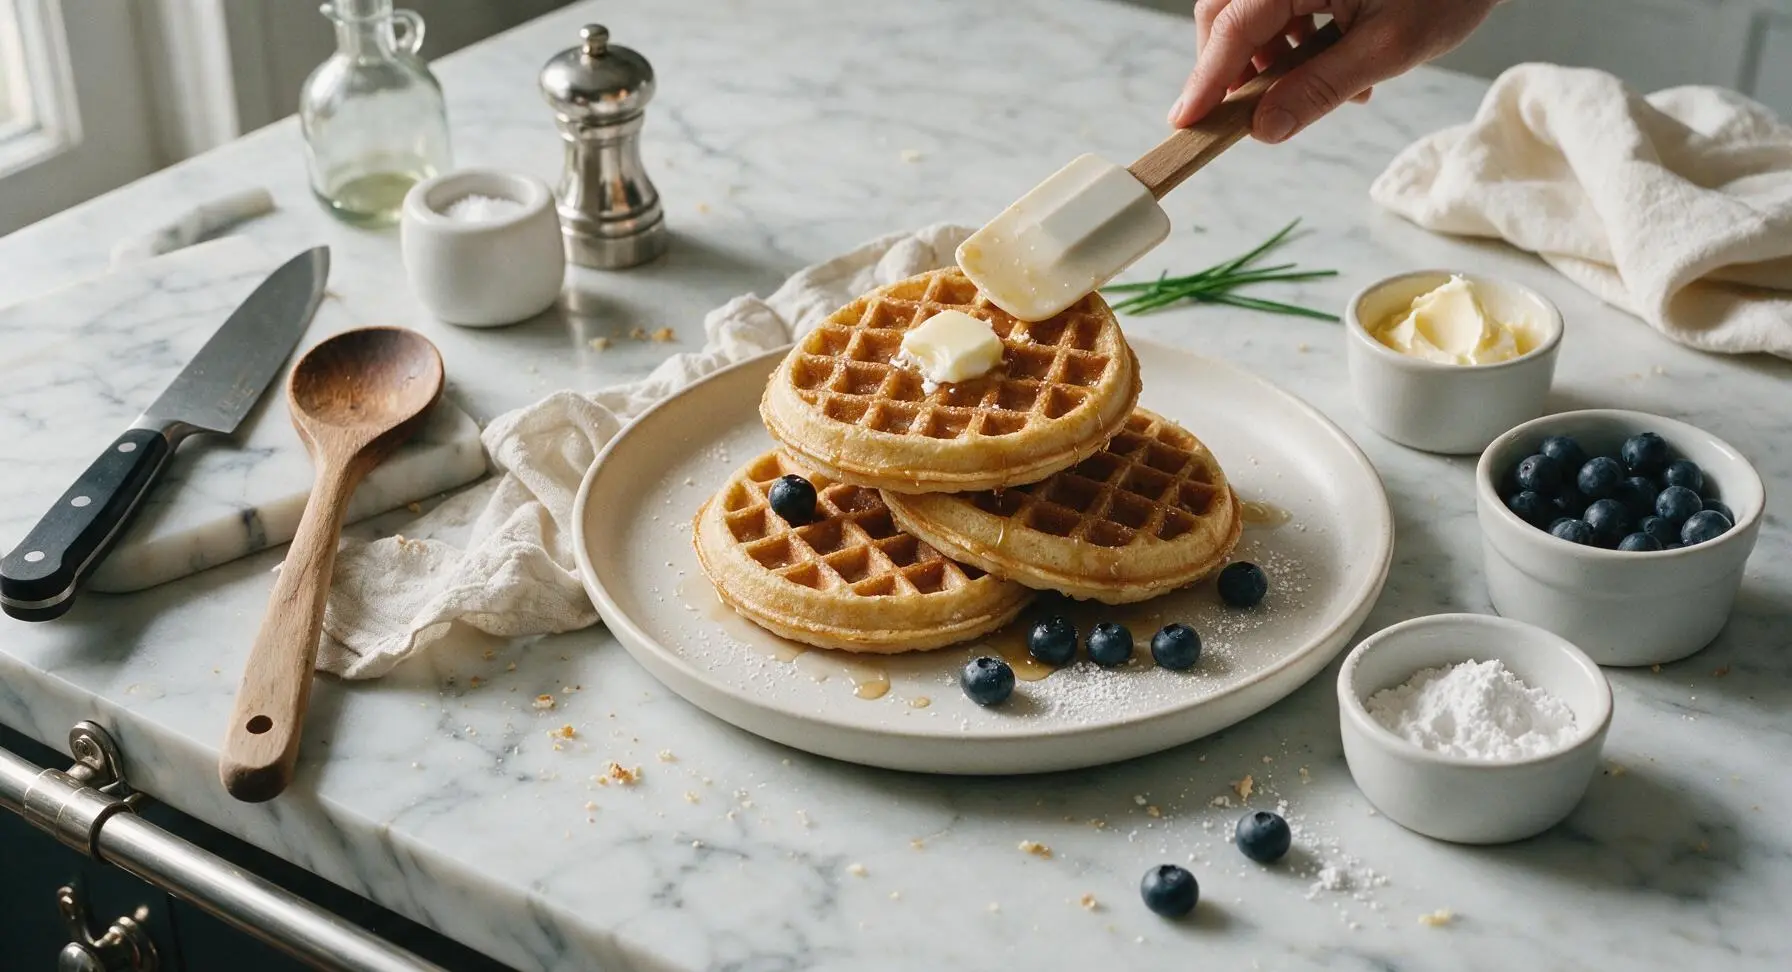
Stack three warm waffles centered on the matte off-white ceramic dinner plate. Top with a pat of salted butter, a light drizzle of maple syrup, a scattering of fresh blueberries, and a faint dusting of powdered sugar if desired. Serve immediately while warm and crisp.
Tips
2.Resist the urge to overmix the batter: stirring until completely smooth develops gluten in the flour, resulting in tough, chewy waffles instead of tender, fluffy ones. Small, pea-sized lumps are a sign of perfectly mixed batter.
3.Keep cooked waffles crisp by resting them on a wire rack instead of stacking them on a plate mid-batch: stacking traps steam against the waffle surface, turning crisp edges soft and soggy in seconds. For batches larger than 4 waffles, hold the rack of cooked waffles in a 200°F (95°C) oven to keep them warm and crisp until serving.






OMG these homestyle waffles are a total game changer for our Saturday morning breakfasts! My kids loved it, going back for seconds AND thirds which never happens with the store-bought waffle mix I usually grab. I tossed a handful of blueberries into half the batch for my fruit-obsessed youngest, and they came out so fluffy even with the extra add-ins. The 20 minute cook time is totally doable even when I’m half awake before my first cup of coffee, zero fancy skills required since it’s marked easy for beginners. SO good, I’m already planning to make a big batch for my kid’s soccer team snack next weekend!
These waffles are SO good! I’ve tried so many from-scratch waffle recipes that turn out dense and chewy, but these were perfectly crispy on the edges and light and fluffy in the center. My waffle iron runs a little hotter than most, so I cut about 30 seconds off the suggested cook time to avoid burnt edges, which worked like a charm. I served them with crispy fried chicken for a random weeknight dinner last night and my roommate swore they were better than the ones at our favorite brunch spot downtown.
I made a double batch of these for my neighborhood potluck last weekend and they were gone in literally 10 minutes! So many people came up to ask for the recipe all afternoon, I couldn’t believe how easy they were to throw together with basic pantry staples I already had on hand. I set out little topping bowls with whipped cream, real maple syrup, chocolate chips, and rainbow sprinkles so everyone could customize their own waffle, it was such a fun crowd pleaser. I’m already planning to make these for my sister’s bridal brunch next month!