
Hot Cocoa Cookies
intro
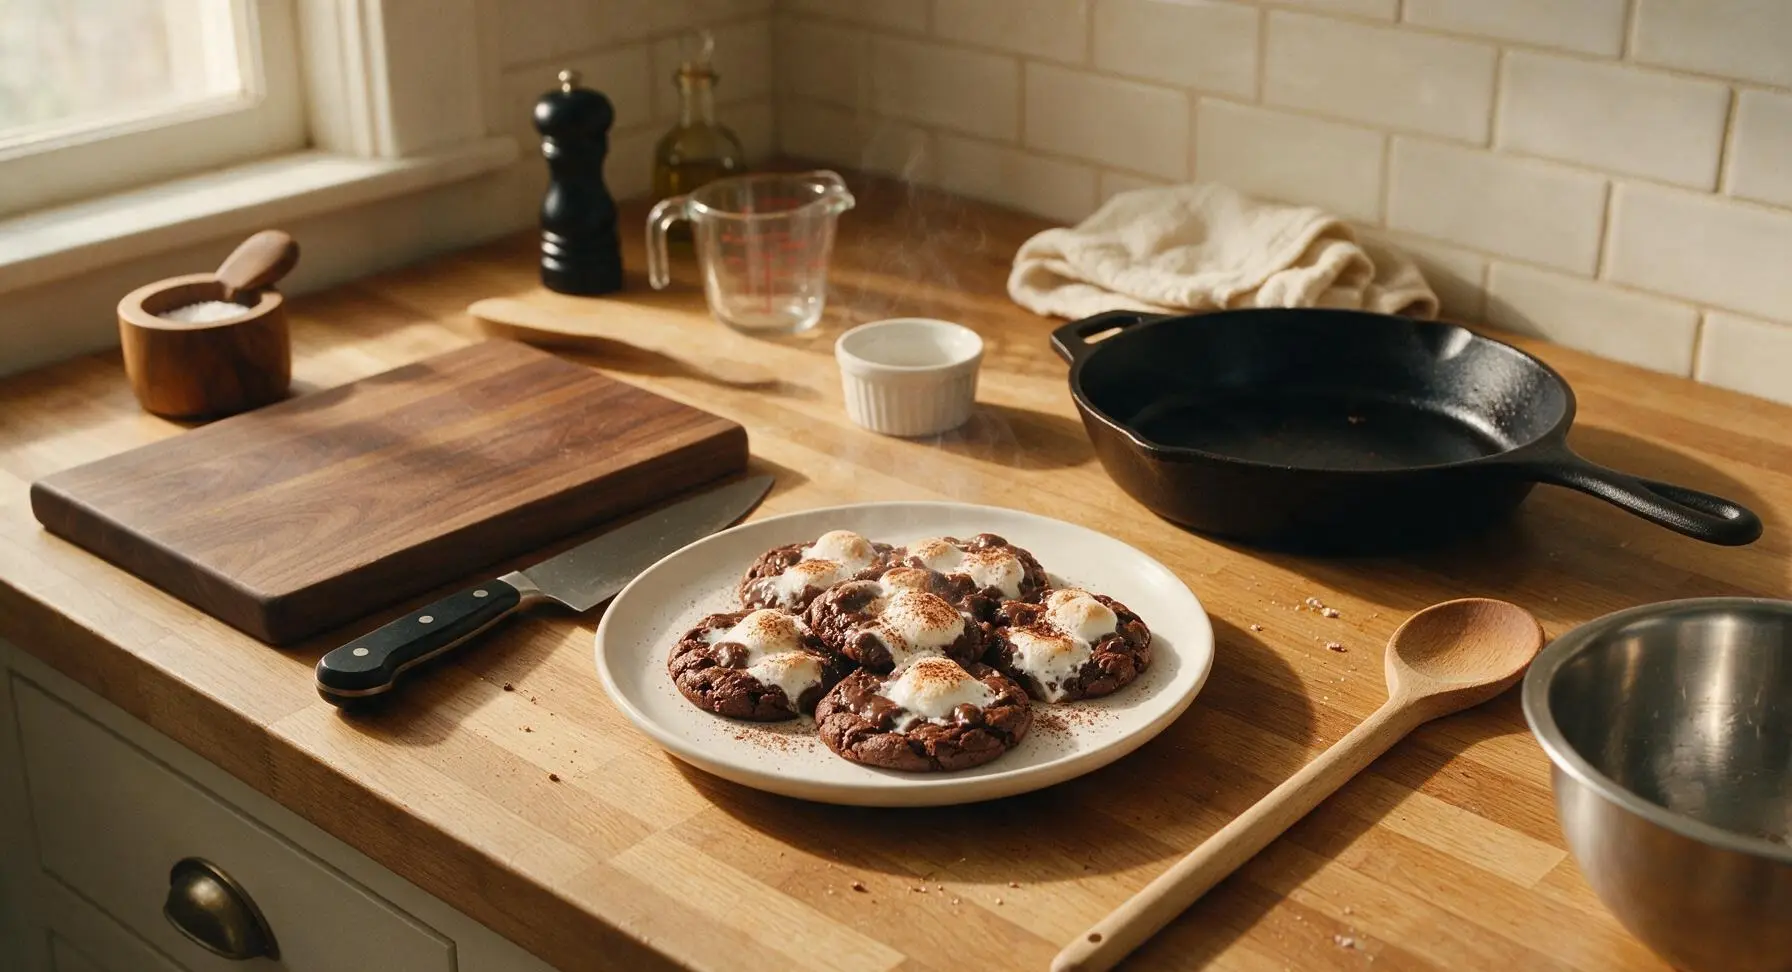
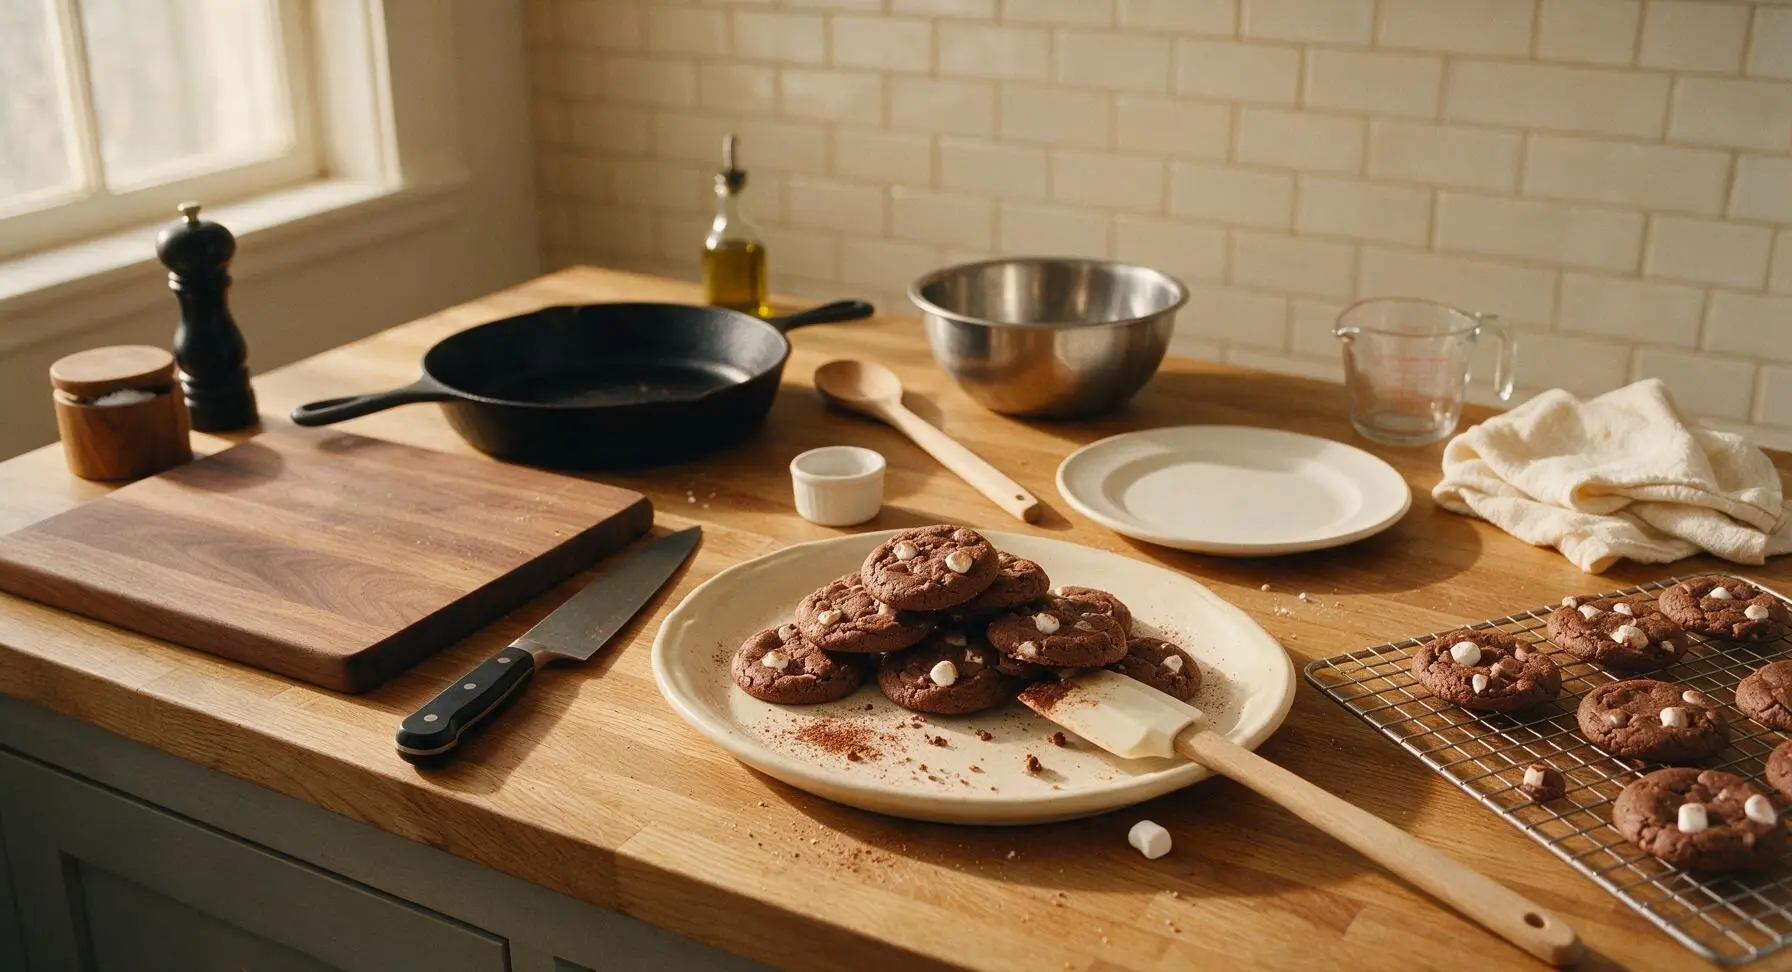
Chewy, fudgy chocolate cookies topped with gooey melted marshmallows and a light dusting of cocoa—just like a warm mug of hot cocoa, in portable cookie form.
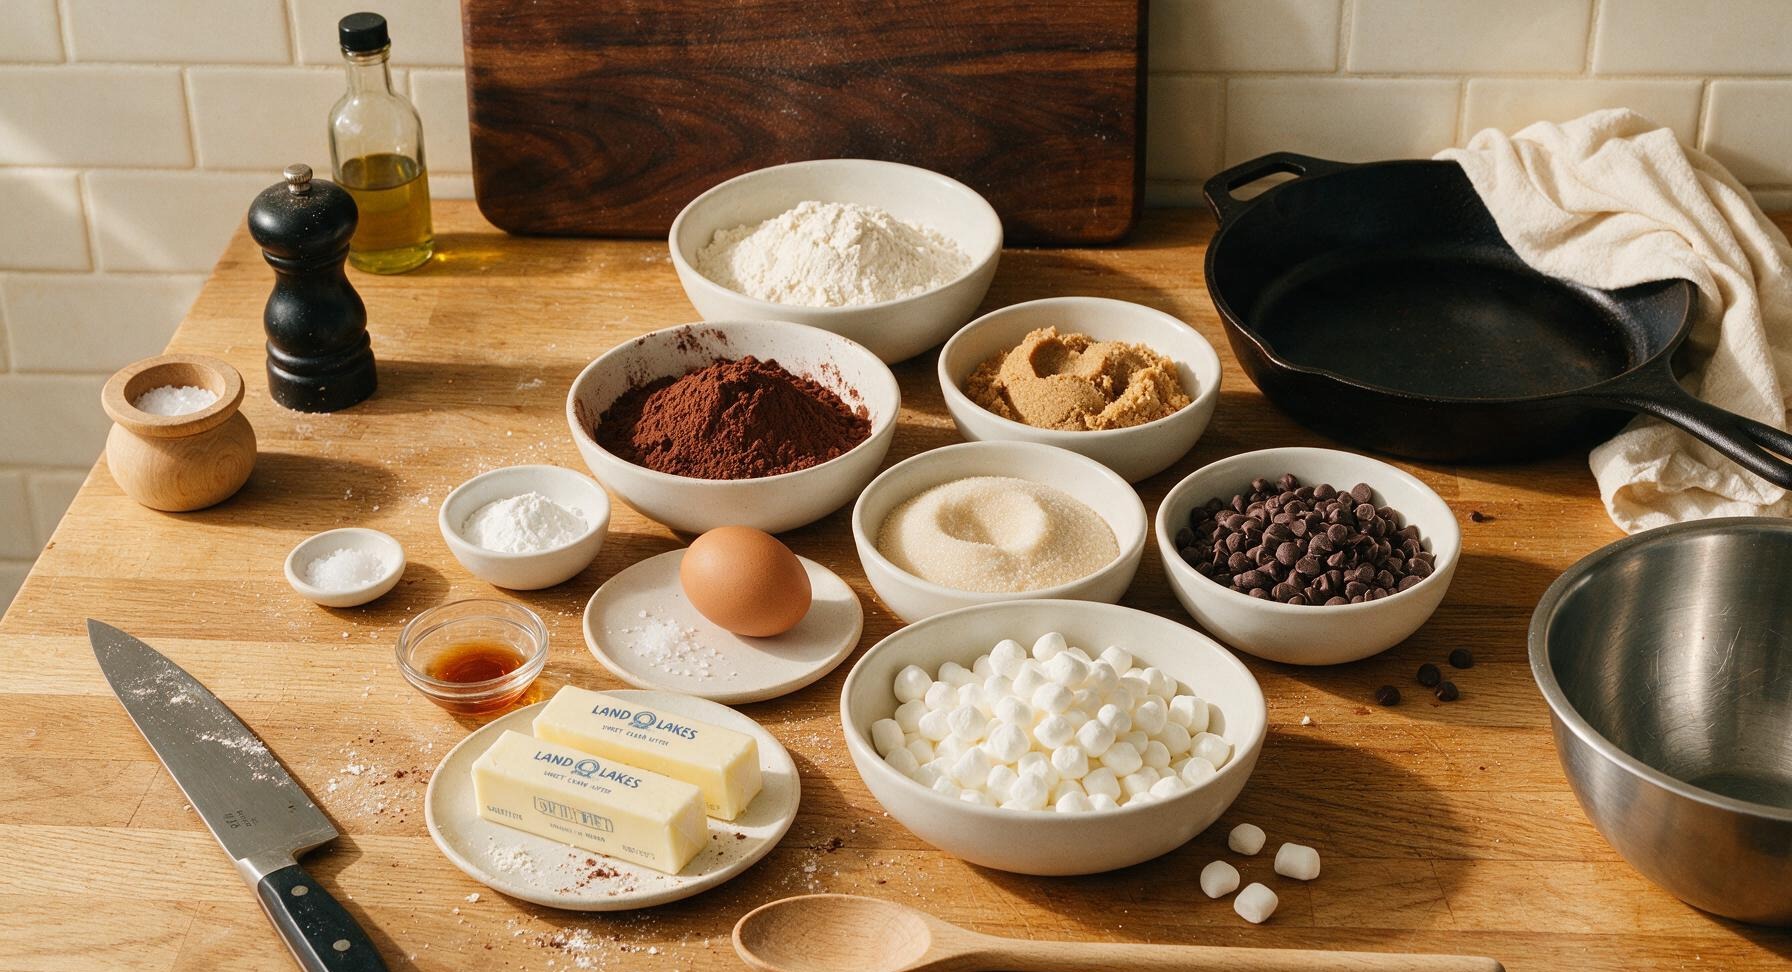
Ingredients
Steps
Whisk Dry Ingredients
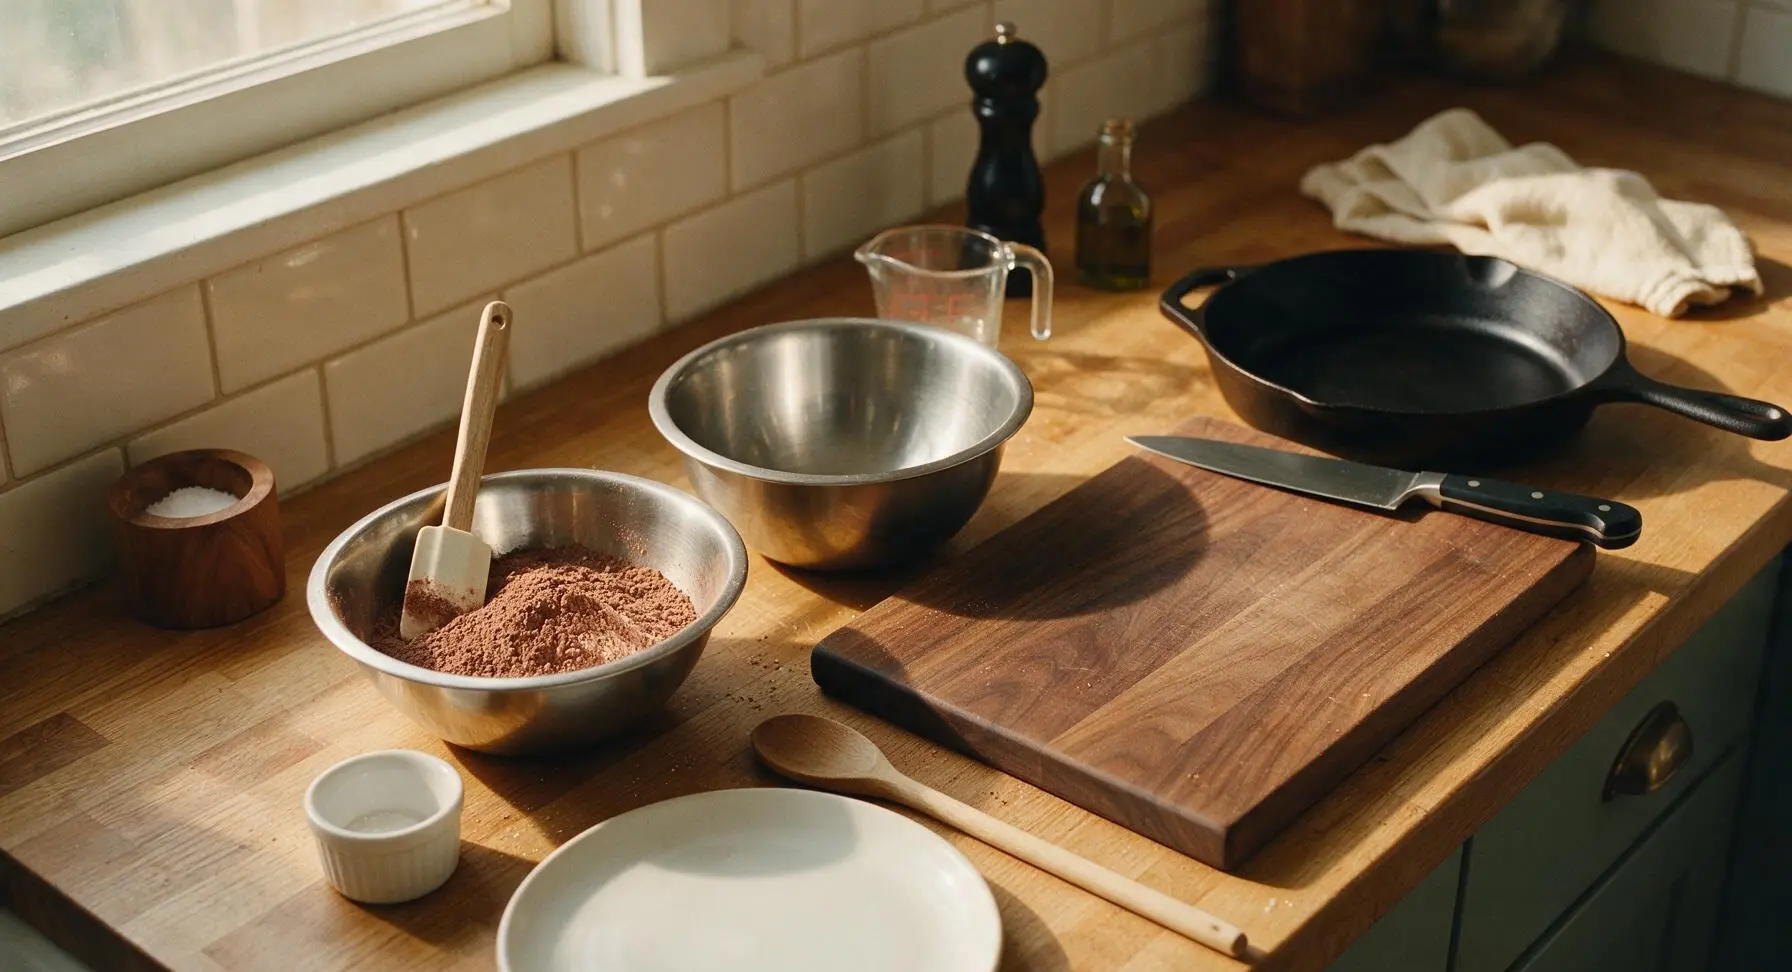
Preheat oven to 350°F (175°C). In the small stainless steel mixing bowl, combine 210g all-purpose flour, 40g unsweetened cocoa powder, 1 tsp baking soda, and 1/4 tsp fine sea salt. Whisk until fully combined, with no visible clumps of cocoa, and set aside. The mixture will be a uniform deep matte brown.
Cream Butter and Sugars
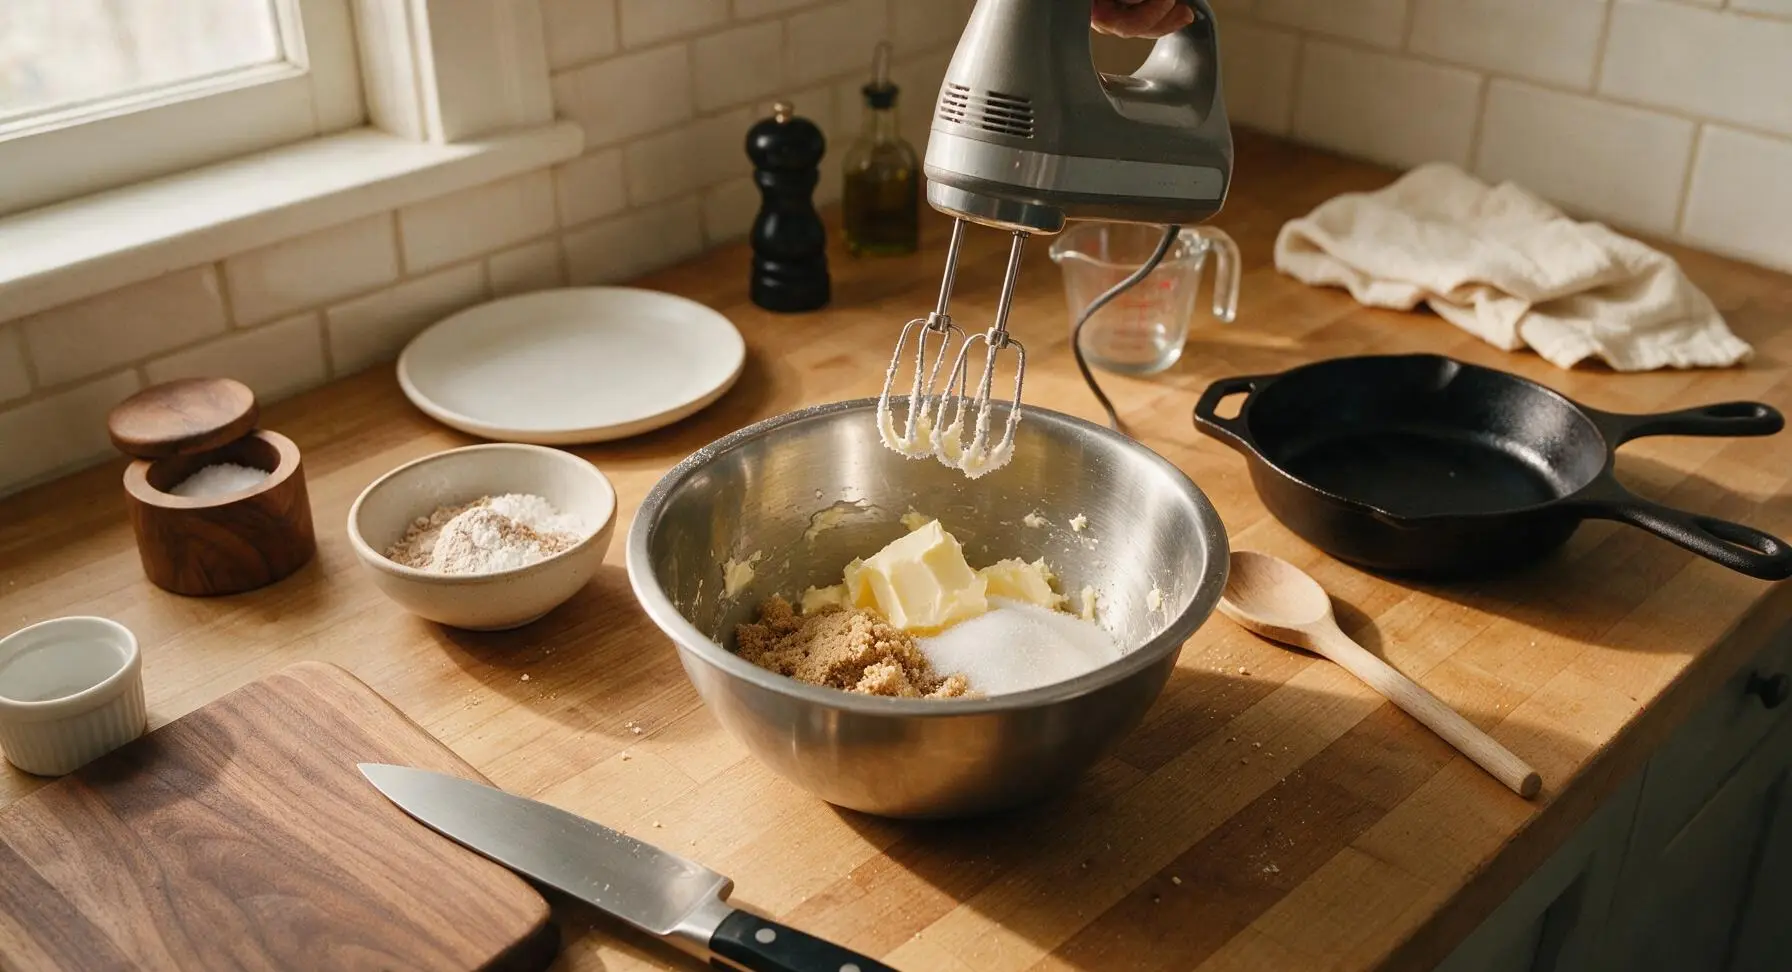
Place 113g softened unsalted butter, 150g packed light brown sugar, and 100g granulated sugar in the medium stainless steel mixing bowl. Using the handheld electric mixer on medium speed, beat the mixture for 2-3 minutes until it is light, fluffy, and pale caramel in color, scraping down the sides of the bowl with the silicone spatula halfway through. The mixture should hold soft peaks when you lift the mixer beaters.
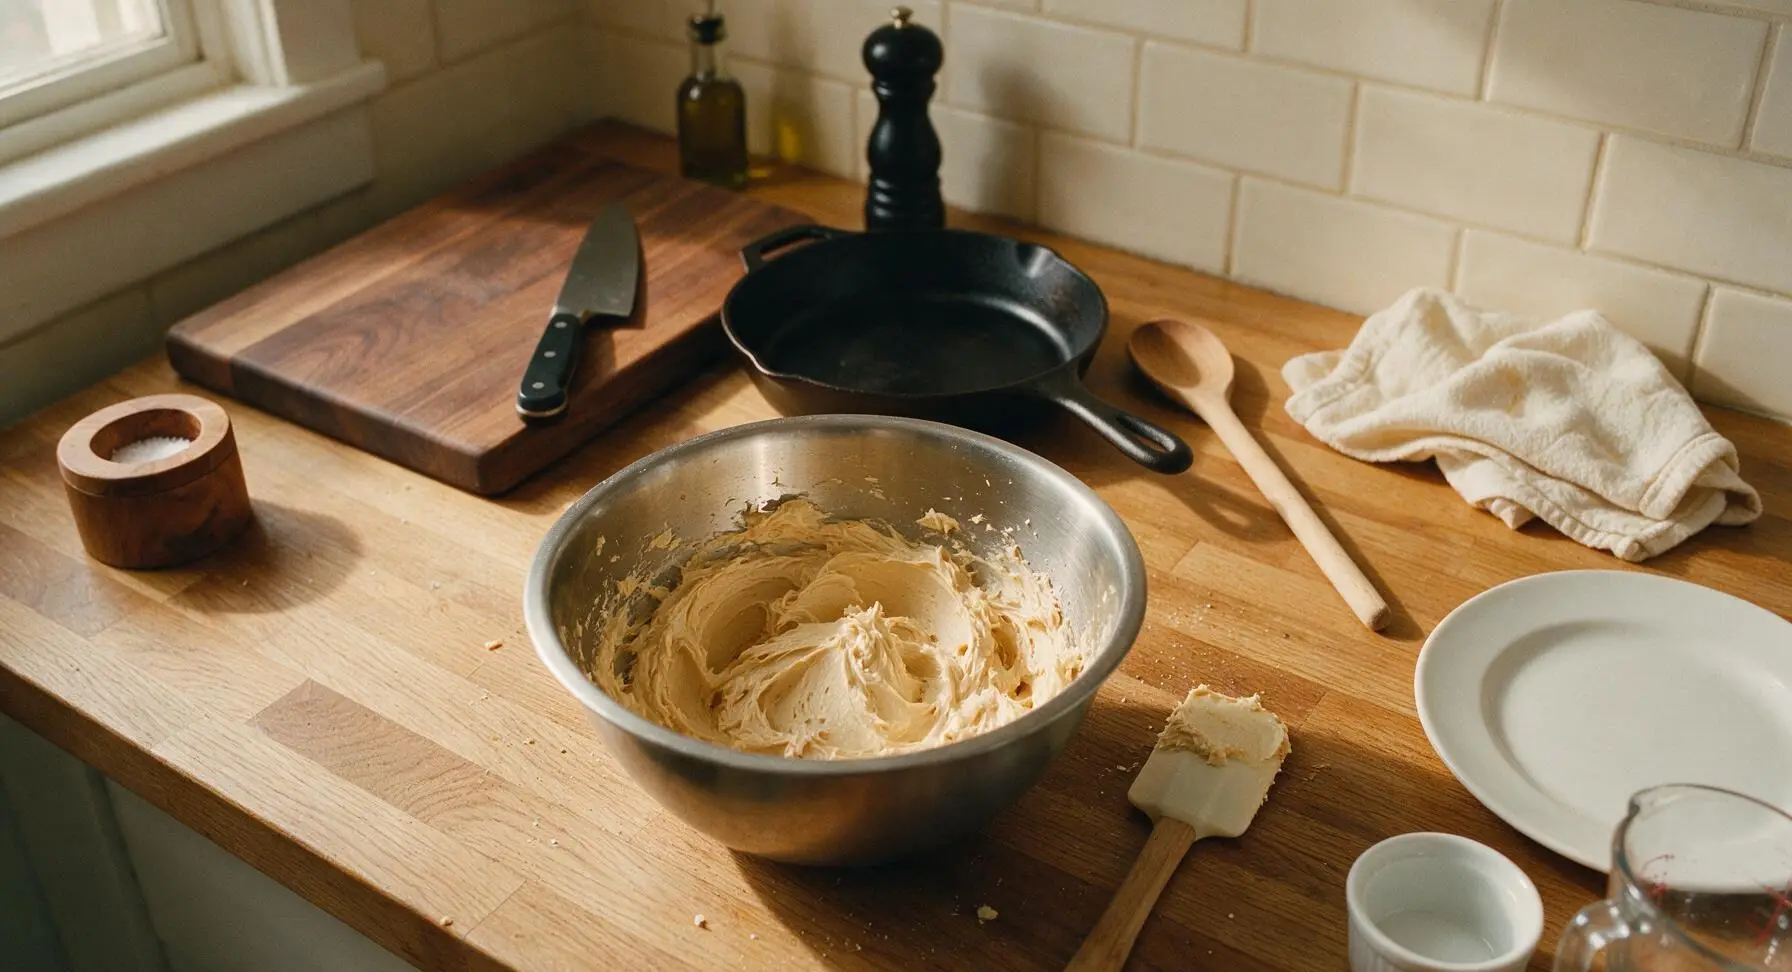
Add Egg and Vanilla
Add 1 room-temperature large egg and 1 tsp pure vanilla extract to the creamed butter and sugar. Beat on low speed for 30 seconds until fully combined, taking care not to overmix. Scrape down the bowl sides once with the silicone spatula to ensure no streaks of egg remain. The batter will be smooth and loose at this stage.
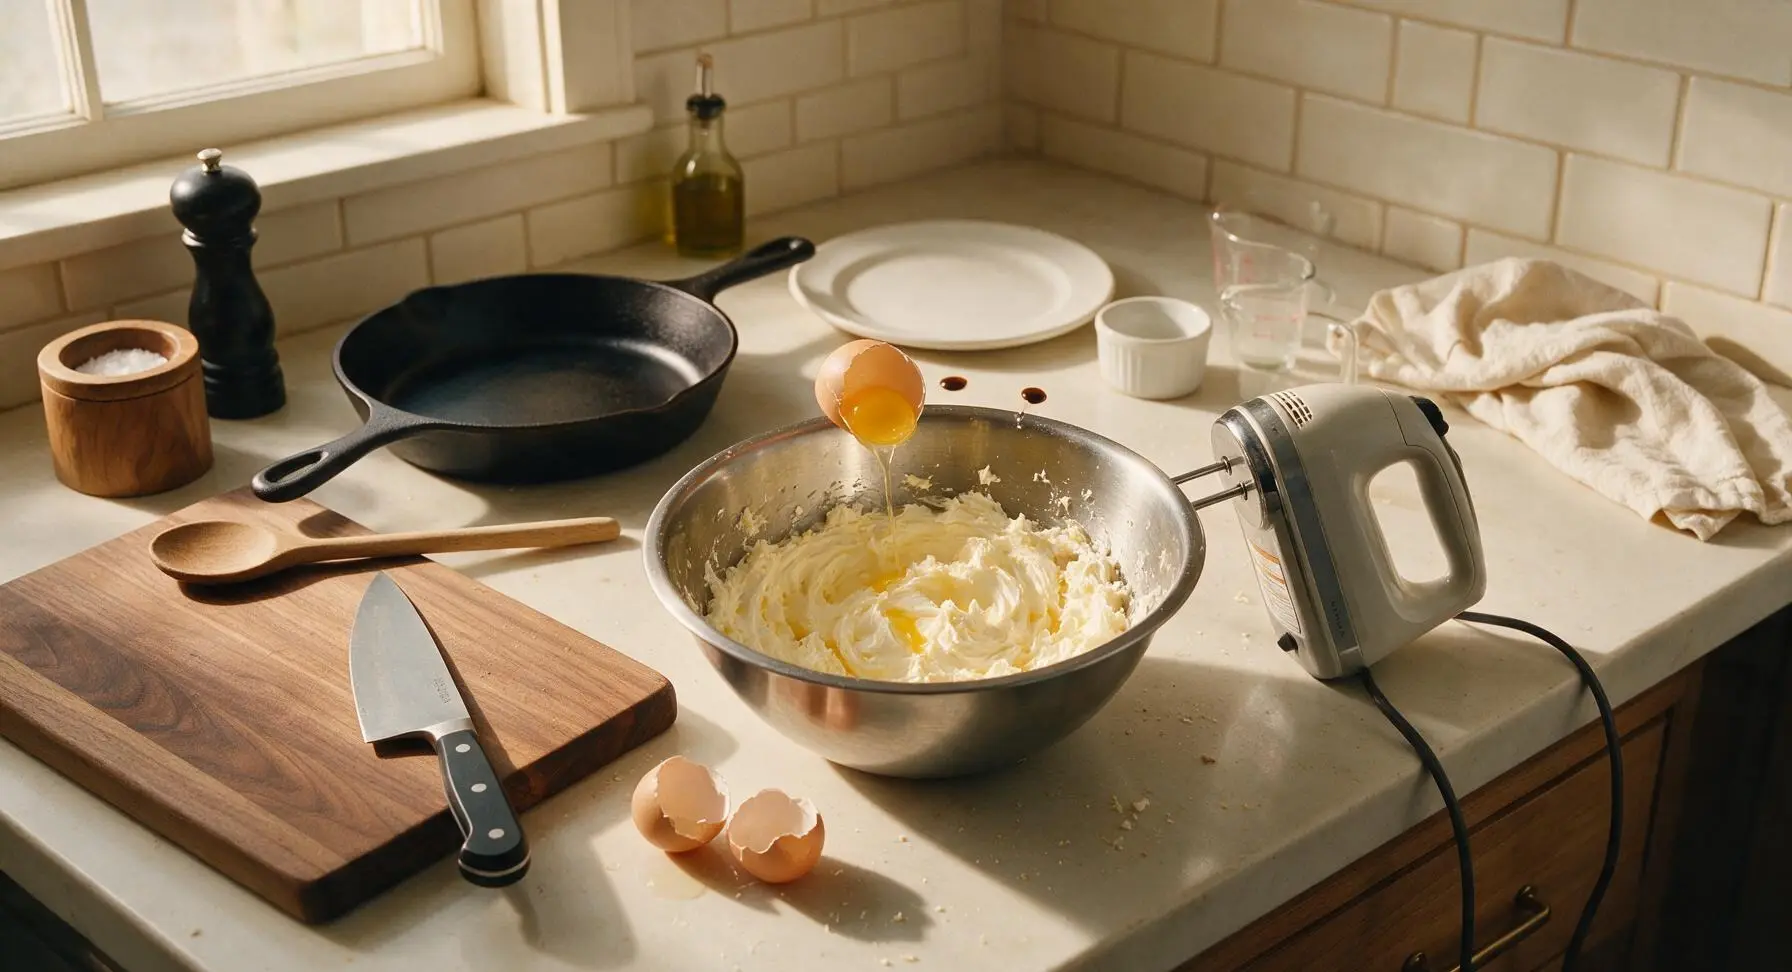
Combine Wet and Dry
Gradually add the dry ingredient mixture from the small bowl to the wet batter in the medium bowl, mixing on the lowest speed just until no dry flour streaks remain – this should take no more than 1 minute. Fold in 170g semi-sweet chocolate chips with the silicone spatula, taking care not to overmix (overmixing will make tough cookies). The dough will be thick, fudgy, and hold its shape when lifted with the spatula.
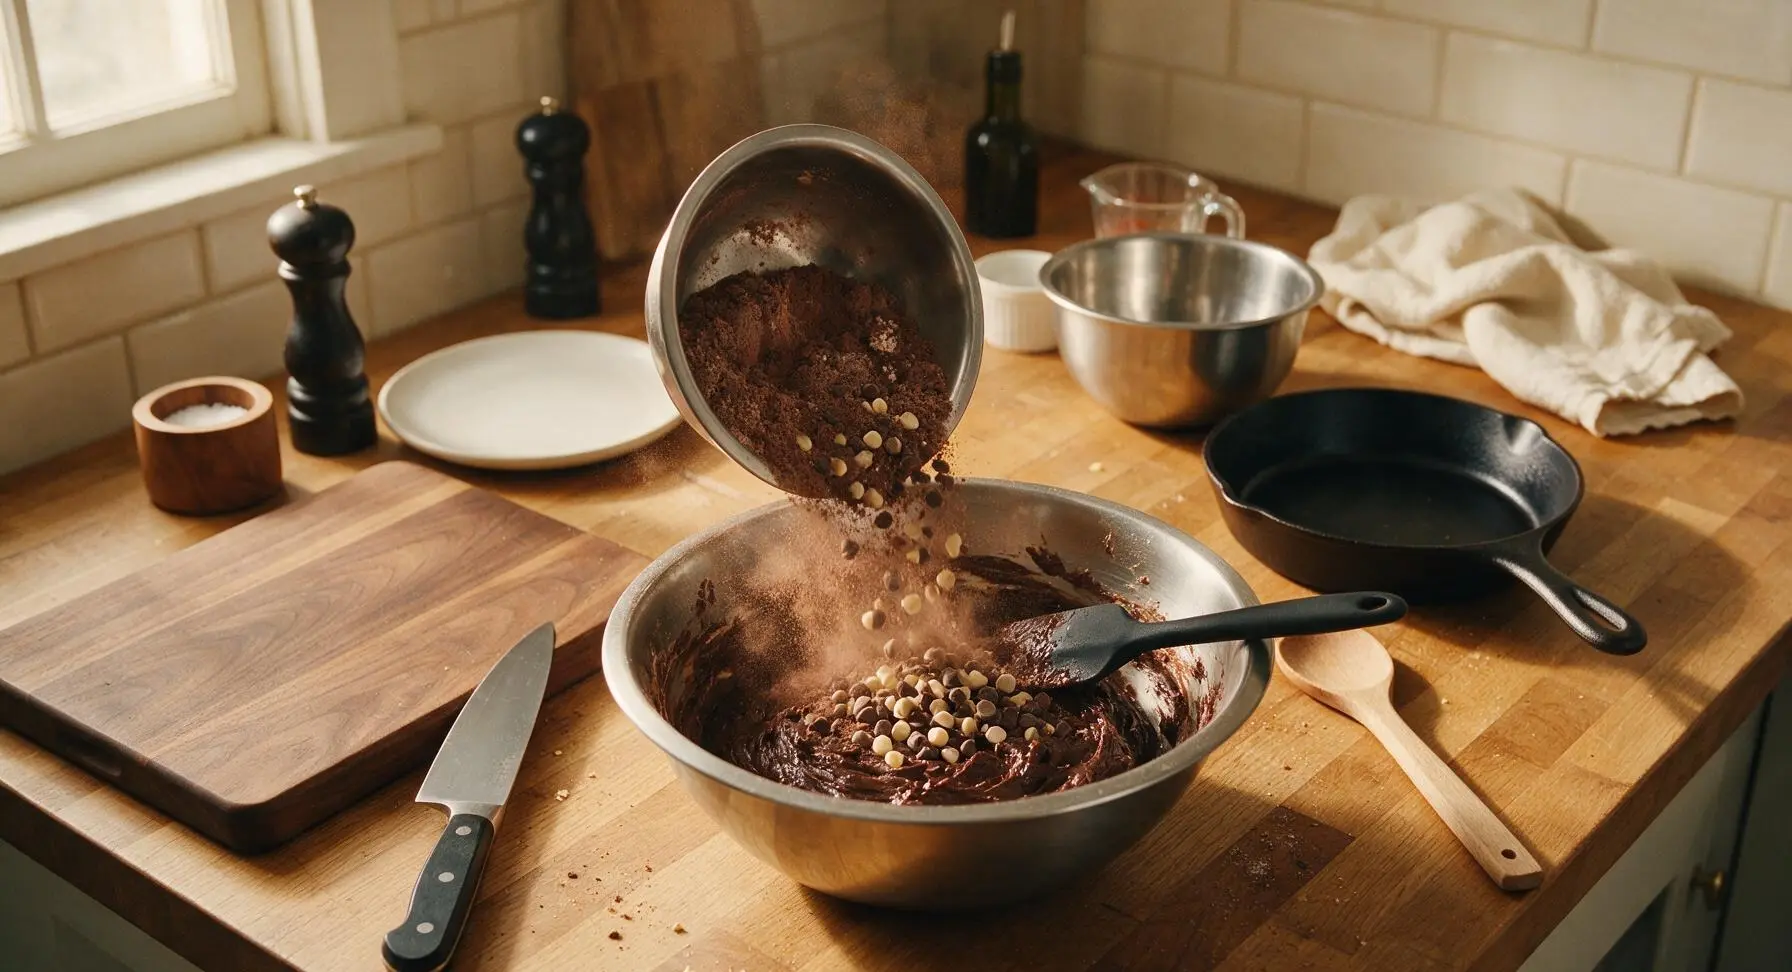
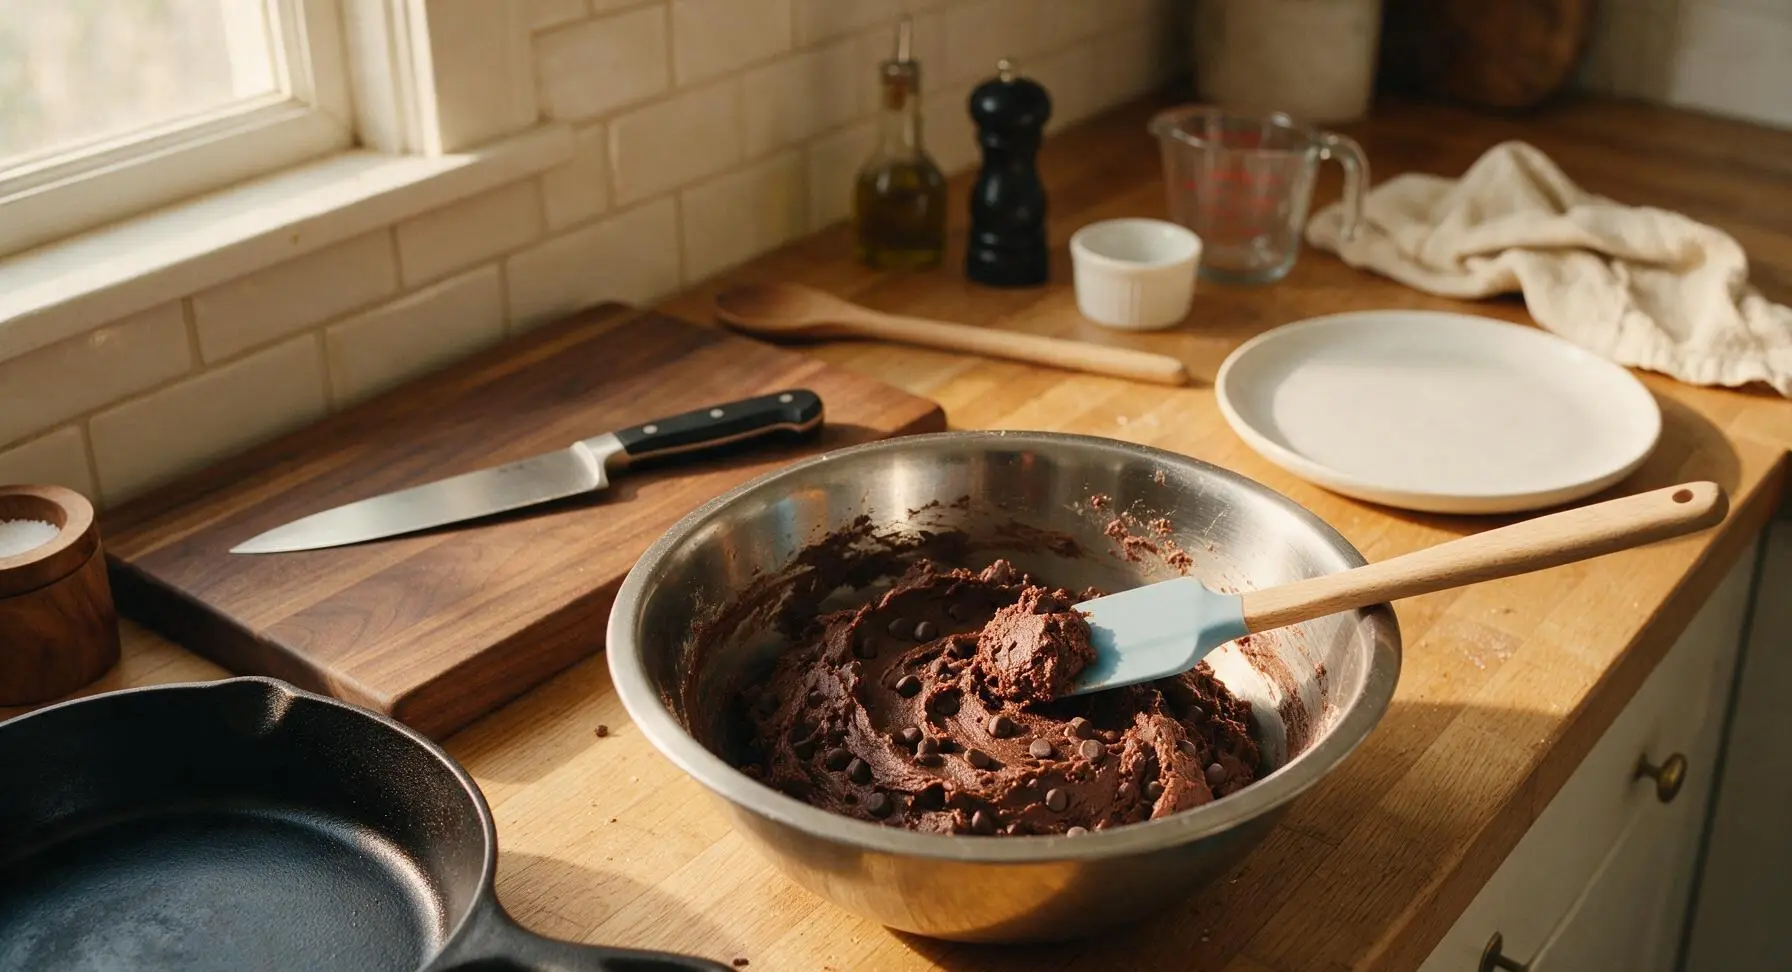
Scoop Dough onto Pan
Line the heavy-gauge aluminum half-sheet baking pan with the cut sheet of unbleached parchment paper. Use the spring-loaded 1-tablespoon cookie scoop to portion dough balls, placing them 5cm (2 inches) apart on the parchment-lined pan – you will fit 12 dough balls per batch. Do not flatten the dough balls; they will spread naturally as they bake.
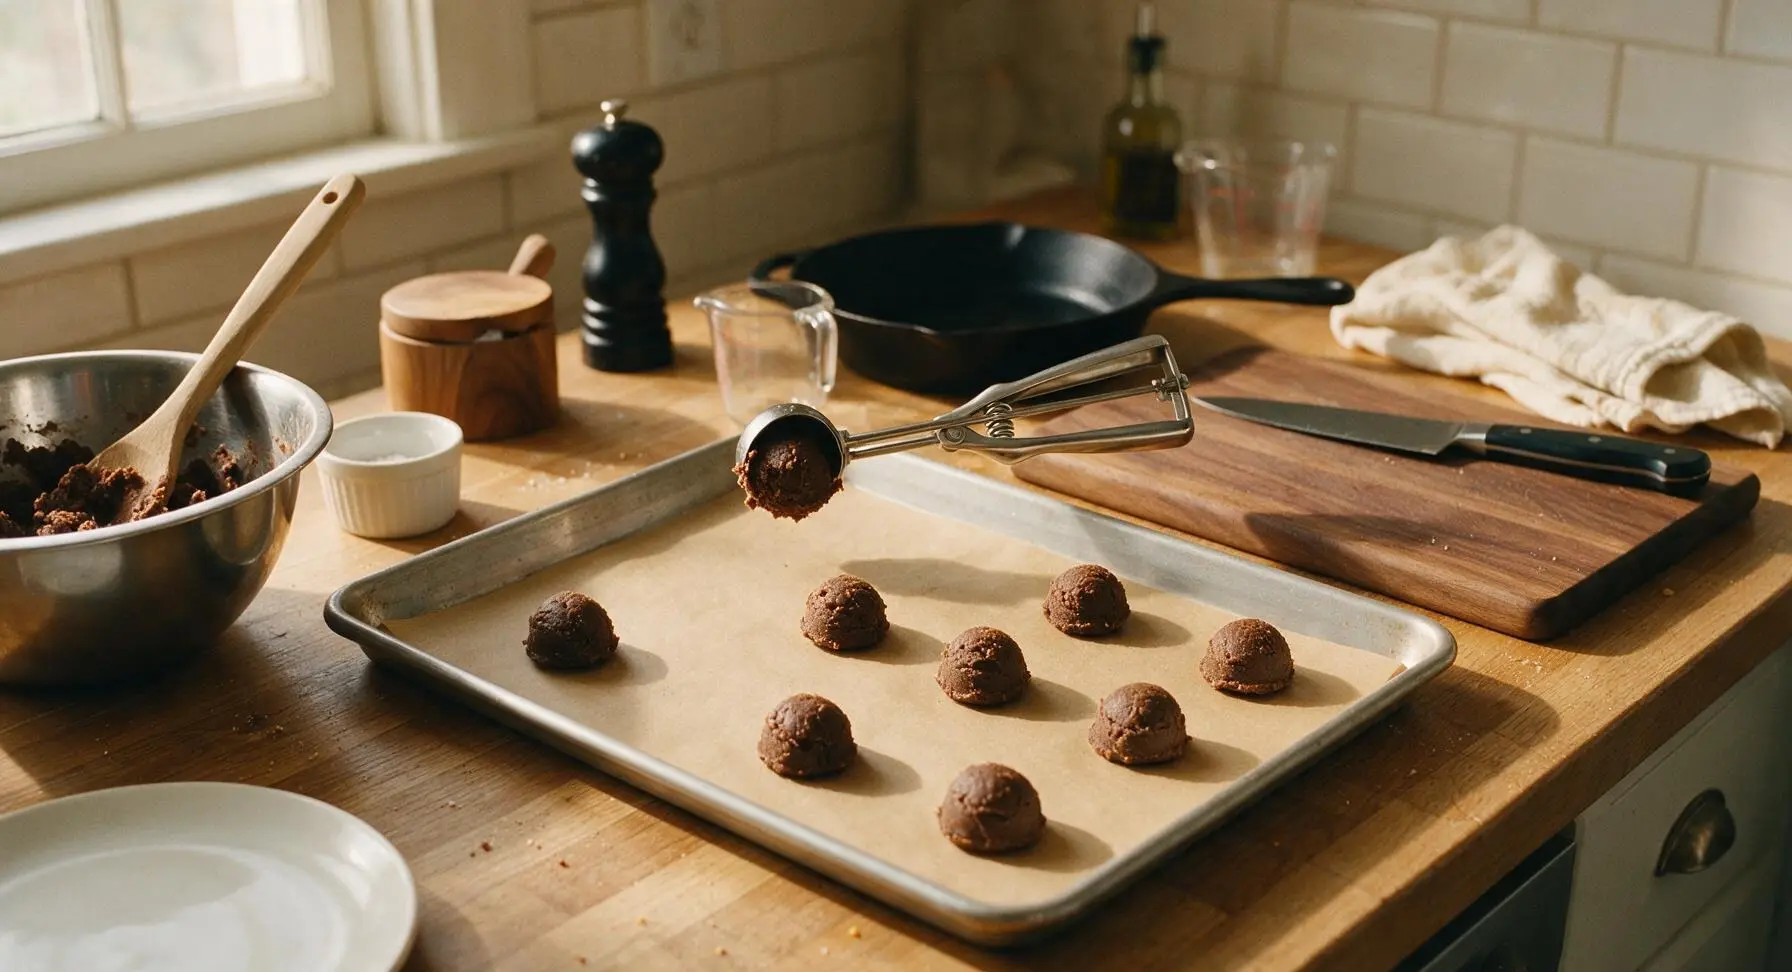
Bake Cookies Until Set
Bake in the preheated 350°F (175°C) oven for 8 minutes. Remove the pan from the oven, and press 2-3 mini marshmallows into the top of each partially baked cookie. Return the pan to the oven and bake for an additional 2-3 minutes, until the edges of the cookies are set and the marshmallows are soft and slightly puffed (do not overbake – the centers will look slightly underdone, which is correct for chewy cookies).
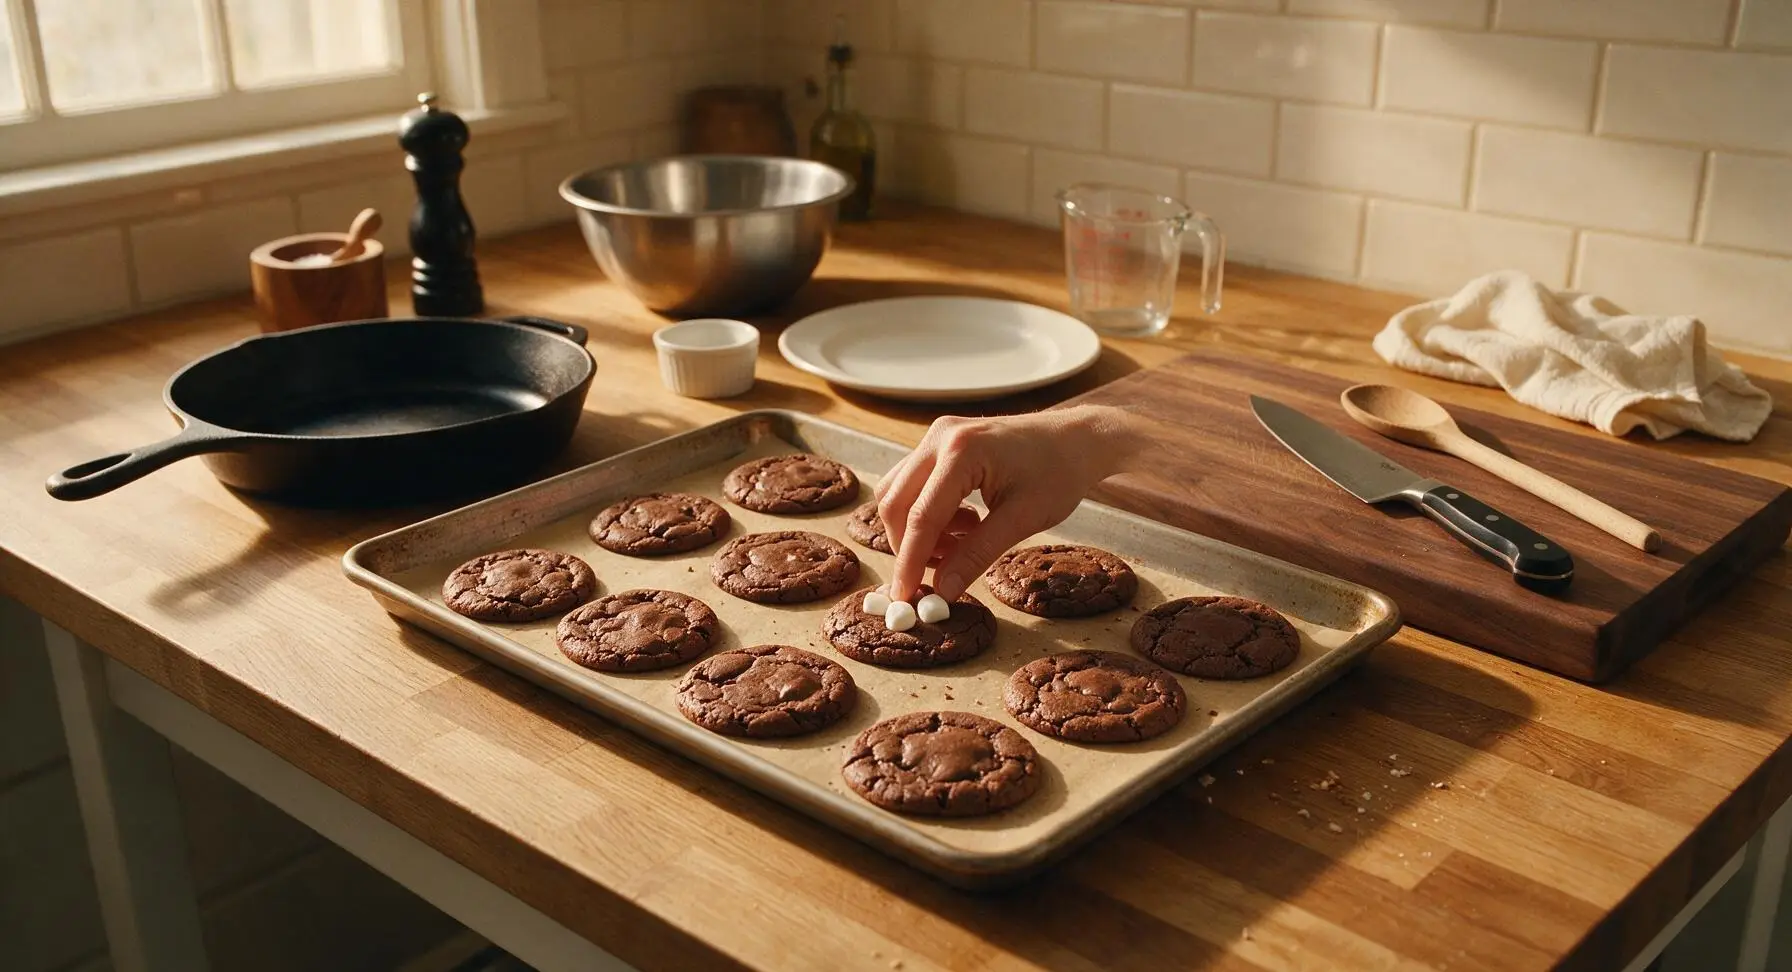
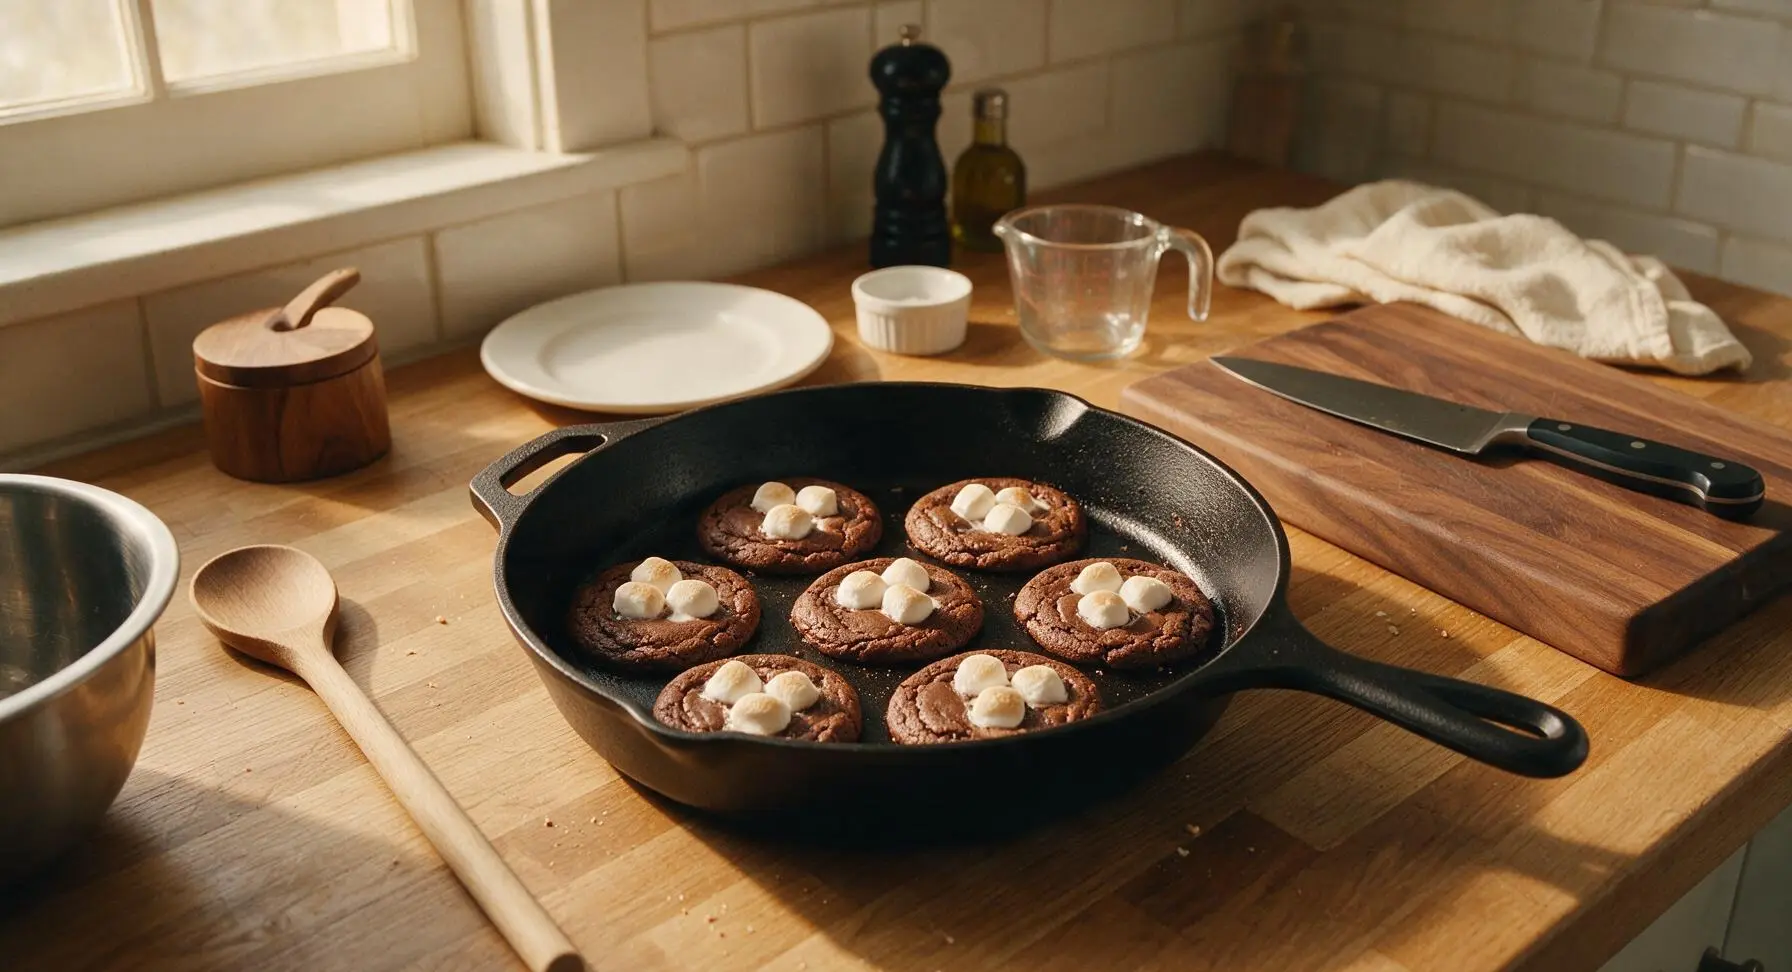
Cool and Dust Cocoa
Let the cookies rest on the hot baking pan for 5 minutes (they will continue to set as they cool), then use the silicone spatula to transfer them to the chrome wire cooling rack to cool for an additional 5 minutes. Place the 10cm fine-mesh sieve over the cookies, add 1 tsp of unsweetened cocoa powder to the sieve, and tap gently to dust a light, even layer of cocoa over the marshmallow tops.
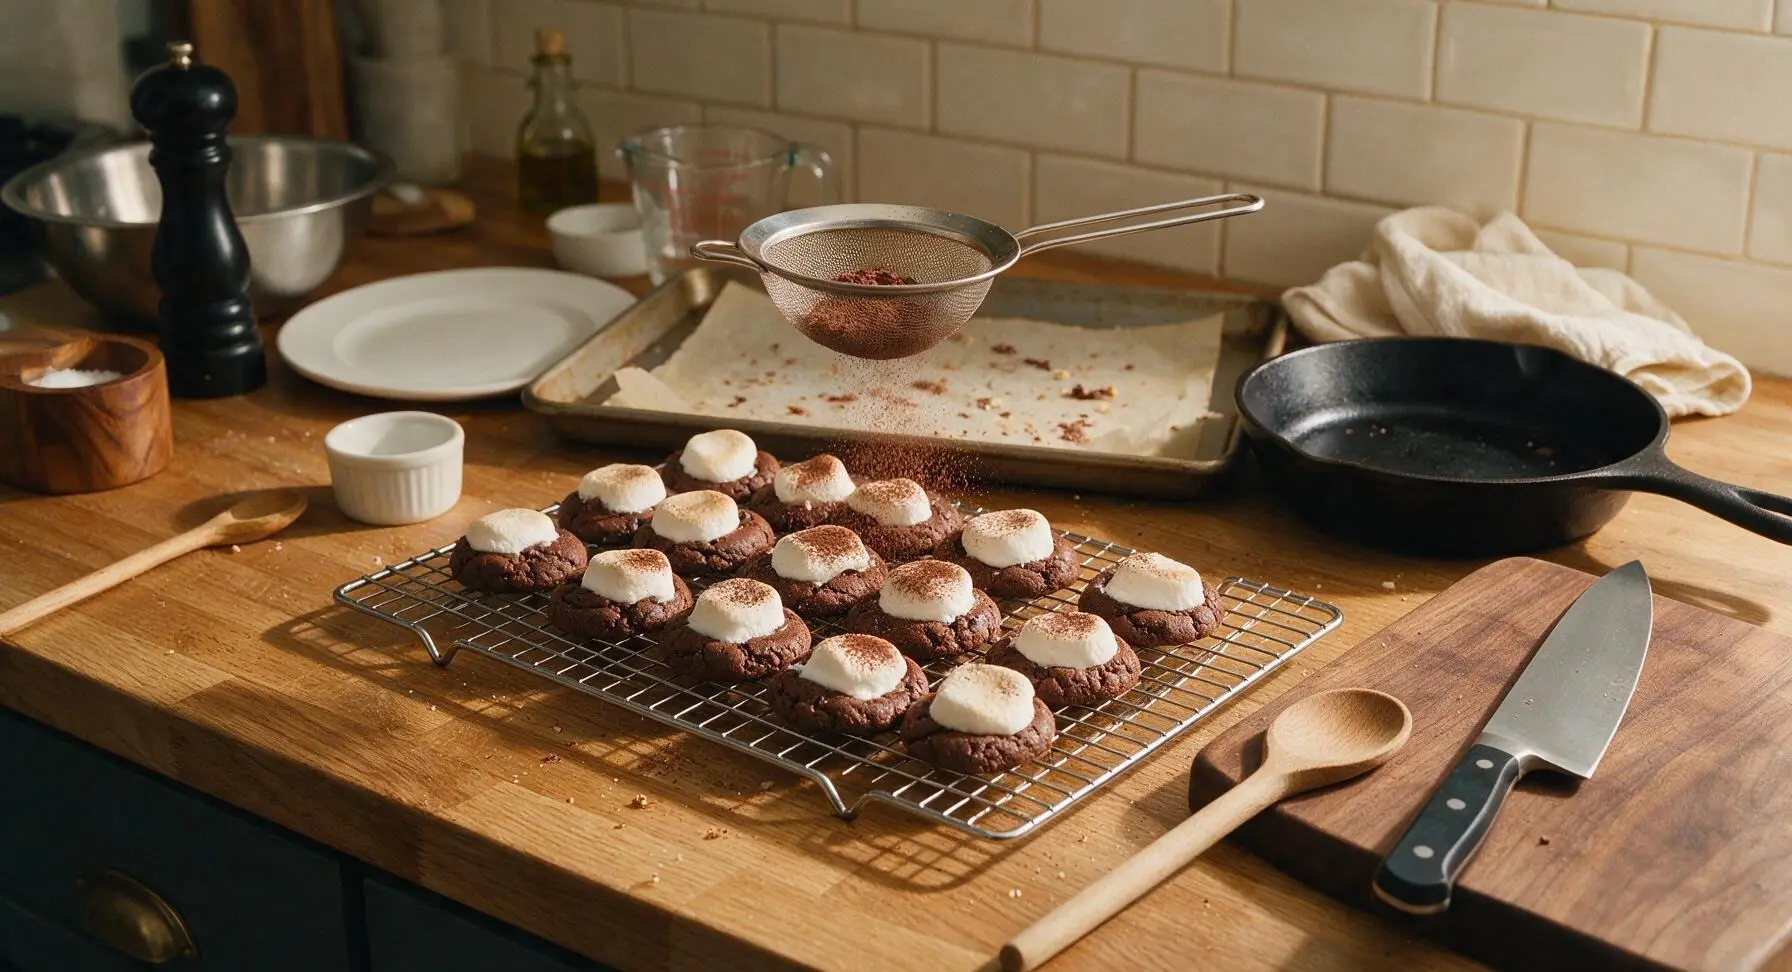
Plate and Serve
Arrange the cooled cookies on the round cream ceramic serving platter, stacking them loosely for a casual, inviting presentation. Serve warm or at room temperature, paired with a mug of warm milk or hot cocoa if desired.
Tips
2.Resist the urge to overbake the cookies: they will look slightly underdone in the center when you remove them from the oven, but residual heat from the hot baking pan will finish setting them as they cool. Overbaking produces dry, crumbly cookies instead of the signature fudgy, chewy texture.
3.Add marshmallows during the final 2-3 minutes of baking, not at the start: adding marshmallows too early causes them to melt completely, slide off the cookie dough, and burn on the hot pan, while the late addition keeps them soft, puffed, and perfectly gooey.






OMG these were such a game changer for our annual snow day cookie bake! My kids went absolutely feral for them — they taste exactly like a steamy mug of hot cocoa but in chewy cookie form, and the little marshmallow bits on top get perfectly toasty in 12 minutes flat. So easy even my 7 year old helped measure ingredients, zero stress. Brought a batch to my son’s class party and every single kid asked for the recipe!
As someone who burns 90% of the things I try to bake in my dorm oven, these were foolproof! 12 minute cook time is no joke, I didn’t even have to wait around forever. They’re so rich and chocolatey, my roommates already begged me to make another batch this weekend for our movie night. 10/10 no notes.
SO good. I added a tiny pinch of cayenne to half the batch for that Mexican hot cocoa kick and it slapped. Chewy centers, crispy edges, exactly the cookie texture I crave. Will be making these on repeat all winter long.
I made these for my grandkids when they came to visit over the weekend and they said they were better than the hot cocoa I make on the stove! High praise, let me tell you. The recipe was so simple to follow, no fancy ingredients I had to run all over town to find. I did add an extra tablespoon of cocoa because we like extra chocolate, turned out perfect.
Uh, help? I followed the recipe exactly but my cookies spread super thin and turned flat as pancakes. They still tasted good but didn’t look like the photos at all. Did I do something wrong?
Brought these to my office holiday potluck and they were gone in literally 10 minutes. Multiple people chased me down the hall to ask for the recipe, it was wild. Love that they’re easy enough to throw together the night before an event without a ton of prep. No fancy skills required, total crowd pleaser.
I swapped the butter for vegan butter, used flax eggs instead of regular eggs, and added dairy free chocolate chunks and these turned out INCREDIBLE. I was worried the swaps would mess up the texture but they were perfectly chewy, just like the regular version. My non-vegan friends had no idea they were plant based!
Wait a second, these taste exactly like those little hot cocoa packets I loved as a kid but in cookie form??? I’m obsessed. I rolled the dough balls in crushed candy canes before baking for a peppermint twist and I will never make them another way. Chef’s kiss.
Made these for a quick weeknight dessert after dinner and my wife said they’re the best cookie I’ve ever made. Win for me! Super straightforward, minimal cleanup, done in 12 minutes so we didn’t have to wait forever for a sweet treat after eating. Will be adding these to the regular rotation.
Meh, these were fine. I thought they’d be a little more chocolatey honestly? Maybe I used the wrong cocoa powder? They were easy to make, don’t get me wrong, just not the most mind blowing cookie I’ve ever had. Probably won’t make them again, but if you like super mild chocolate cookies these are for you.
Pair these with a hot latte in the morning? Game. Changer. I know they’re a dessert but I had one for breakfast today with my oat milk latte and it was better than any pastry I’ve bought from the fancy coffee shop downtown. Chewy, chocolatey, not too sweet. Obsessed.
Made these when we got 8 inches of snow last weekend and they were the perfect cozy snack to have while we watched movies by the fireplace. I topped each one with a tiny square of milk chocolate right when they came out of the oven so it got all melty, 10/10. Only note is that the cook time was spot on for my oven — 12 minutes exactly, no more no less, perfect chewy center.
I brought a batch of these on my last winter day hike and they were the perfect trail snack! They held up really well in my backpack, didn’t get crumbly, and the chocolate boost was exactly what I needed to power up the last steep mile. Super easy to pack, zero mess, great energy boost.
I run a little weekend bake sale out of my garage for the local 4H club and these were our top seller last weekend! We sold out in 45 minutes, people were asking when we’d have them again. The recipe is so easy to scale up for big batches too, which is a total lifesaver when I’m baking 10 dozen cookies at a time.
I made these for my daughter’s scout troop meeting last night and every single parent asked me for the recipe link! My kids loved them, especially the little marshmallow bits on top — it felt like a fun treat without being over the top sugary. The easy difficulty rating is no lie, even with a toddler clinging to my leg while I baked I pulled these off no problem.
Quick question before I make these for my ugly sweater holiday party this weekend — can I make the dough ahead of time and keep it in the fridge for a couple days, or do I need to bake it right away? I want to knock out as much prep as possible early so I’m not rushing around cleaning and baking the day of the party!