
hot dog bun ingredients

title 1
hot dog bun ingredients
⏱️ cook time 15 minutes
🍽️ servings 8
⚡ Difficulty medium

intro

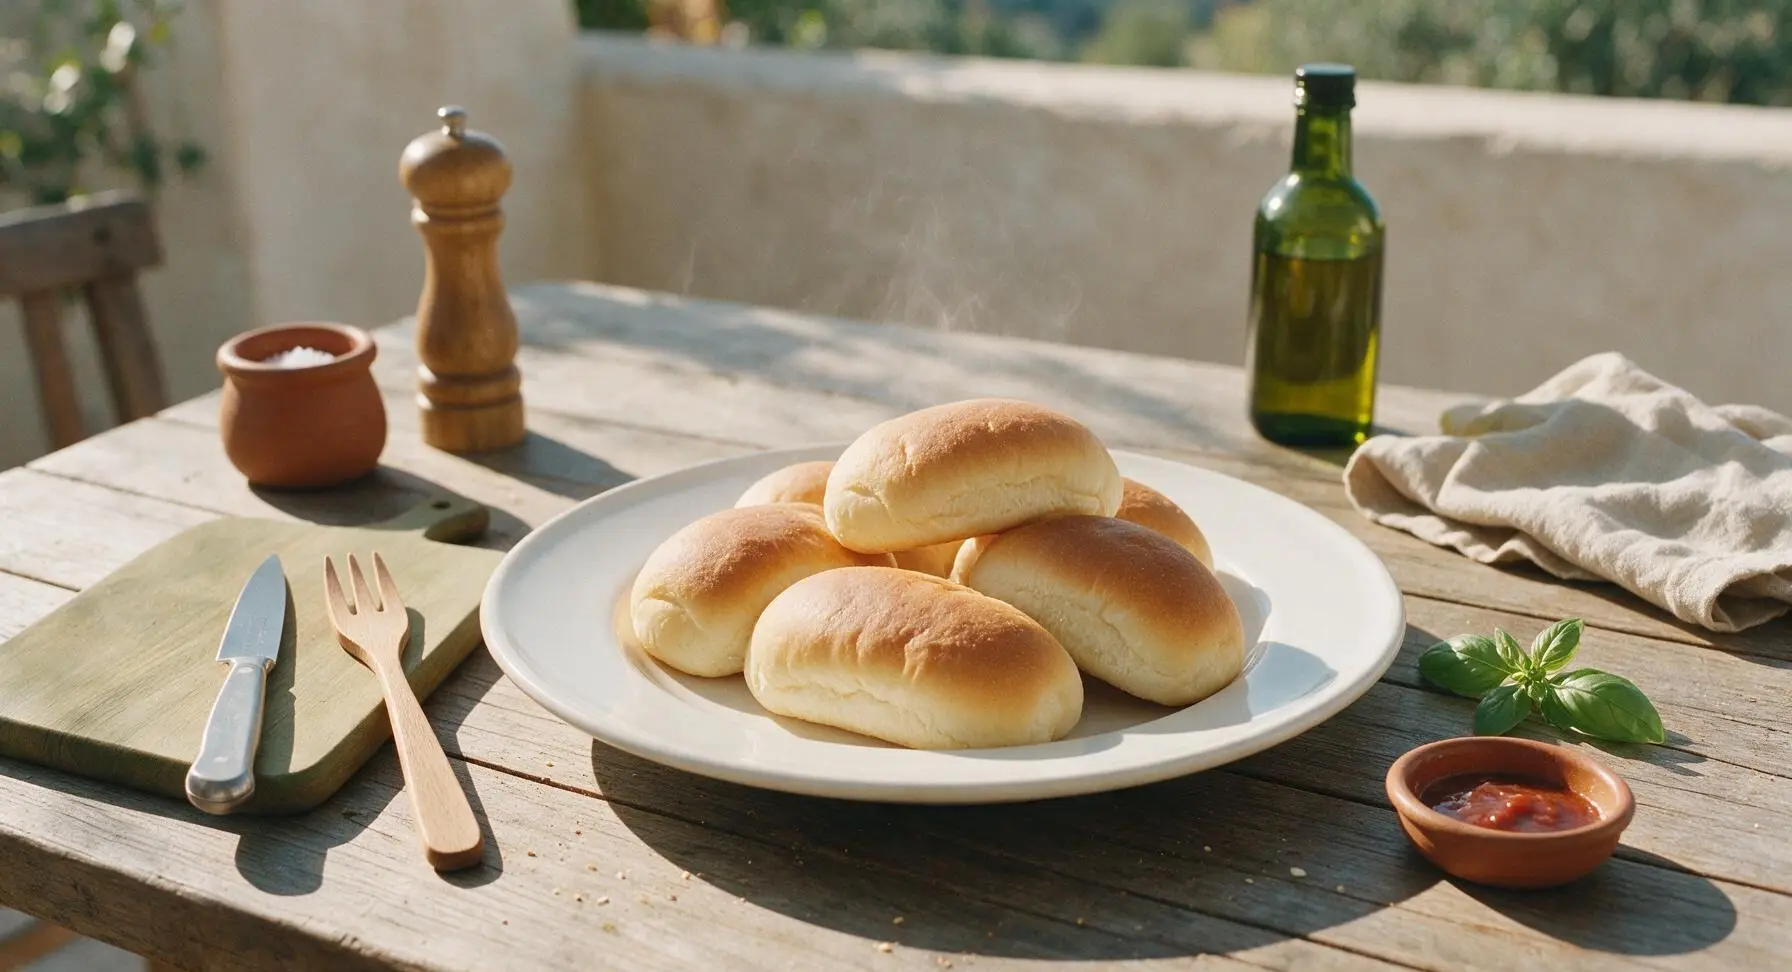
Soft, pillowy, slightly sweet homemade hot dog buns with a tender golden crust, perfect for piling high with grilled franks and toppings at summer cookouts.

Ingredients
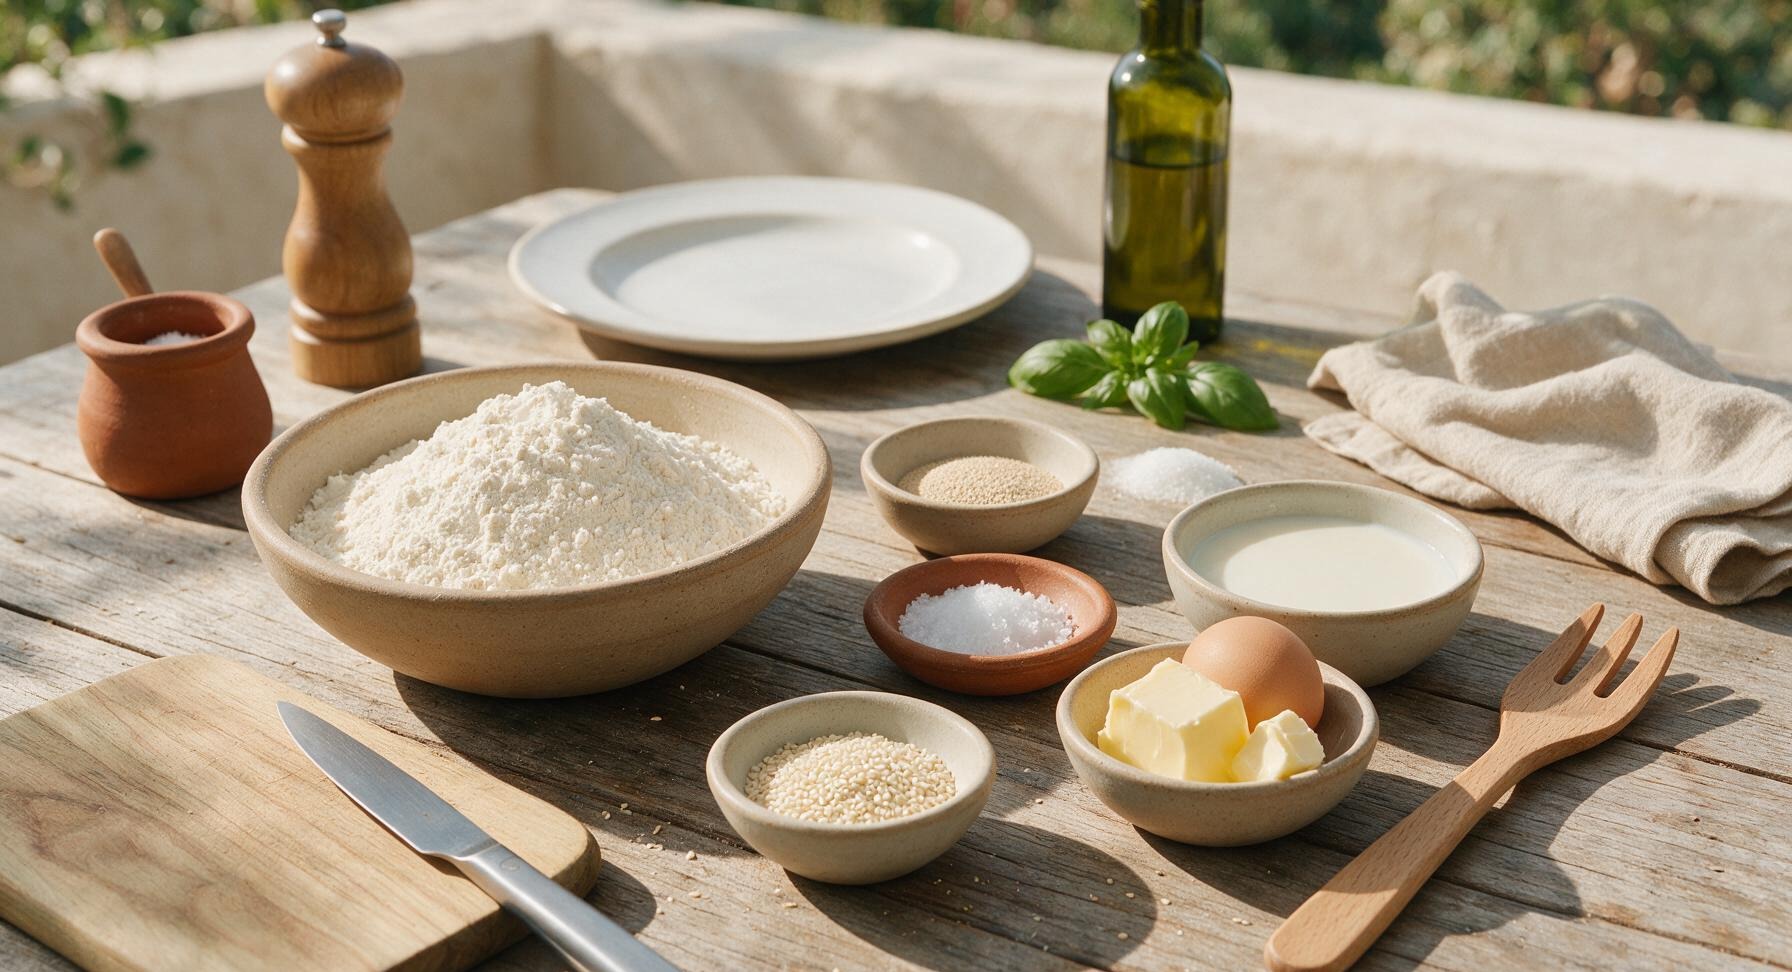
All-purpose flour 420g (3 1/2 cups)
Active dry yeast 7g (2 1/4 tsp, 1 standard packet)
Granulated sugar 25g (2 tbsp)
Fine sea salt 5g (1 tsp)
Whole milk 240ml (1 cup), warmed to 110°F
Unsalted butter 42g (3 tbsp), softened, plus extra for greasing
Large egg 50g (1), room temperature
Sesame seeds (optional) 9g (1 tbsp)

Steps

1

Activate the Yeast

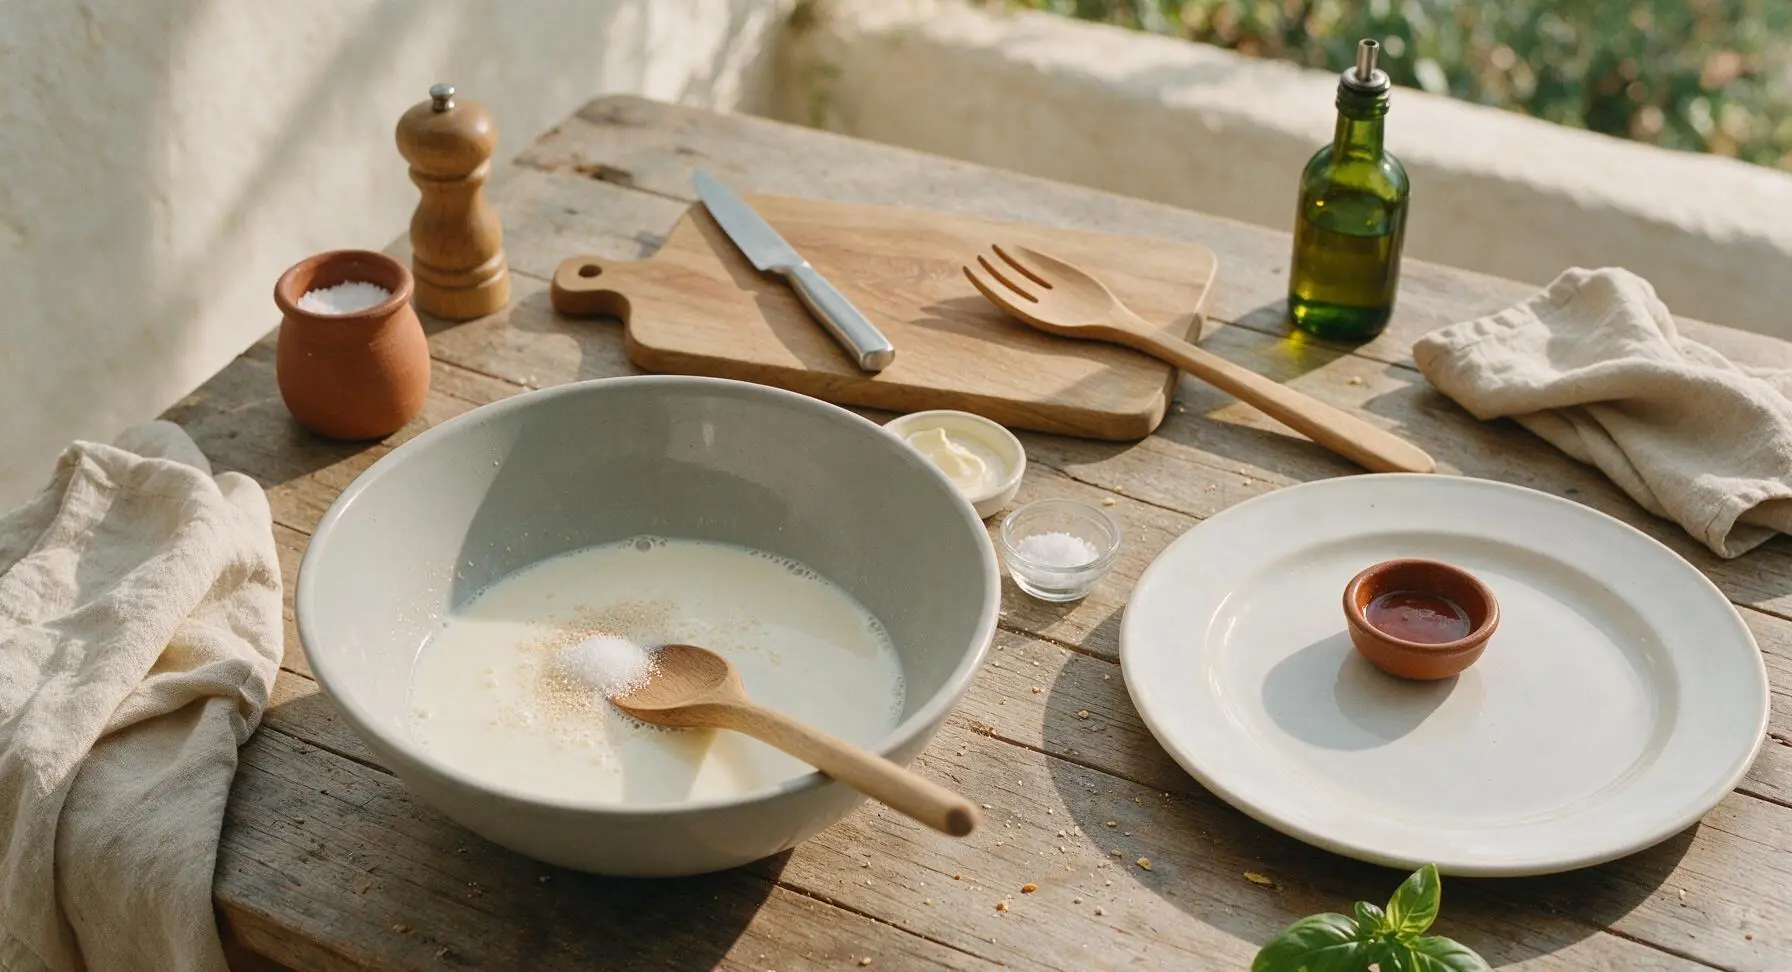
Pour the warmed whole milk (110°F, slightly warmer than body temperature) into the large light grey mixing bowl. Stir in 1 teaspoon of the granulated sugar and the full packet of active dry yeast using the beech wood spoon. Let rest for 5-7 minutes until the mixture forms a foamy, frothy layer on top, confirming the yeast is active. If no foam forms after 7 minutes, the yeast is expired and should be replaced to avoid dense buns.
Step 1
step1:Activate the Yeast
2

Mix Dough Ingredients

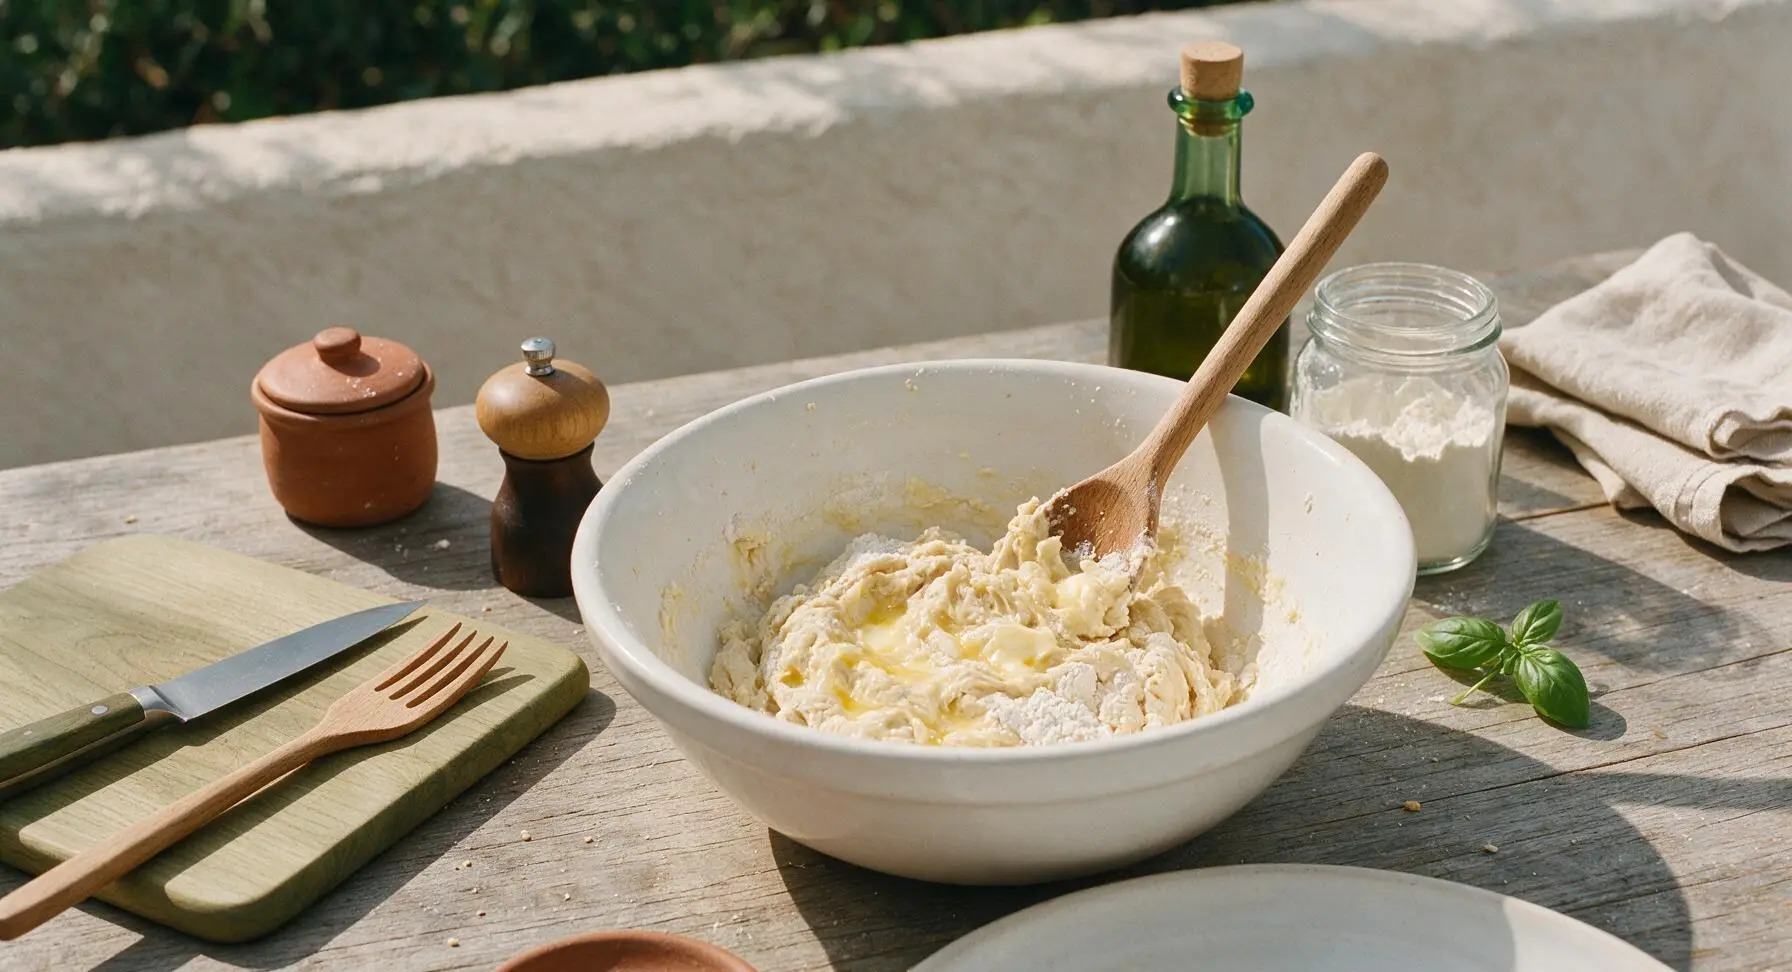
Add the remaining granulated sugar, softened unsalted butter, room temperature egg, and fine sea salt to the foamy yeast mixture. Stir with the beech wood spoon to roughly combine. Gradually add the all-purpose flour 1 cup at a time, stirring after each addition, until a shaggy, sticky dough forms that pulls away from the sides of the bowl.
Step 2
step2:Mix Dough Ingredients
3

Knead Until Smooth

Turn the shaggy dough out onto a lightly floured section of the oak counter (no extra flour needed if dough is properly hydrated). Knead by hand for 8-10 minutes, folding the dough over itself and pushing forward with the heel of your hand, until the dough is smooth, elastic, and springs back slowly when poked with a finger. The finished dough will feel soft and pliable, not tough or overly sticky.
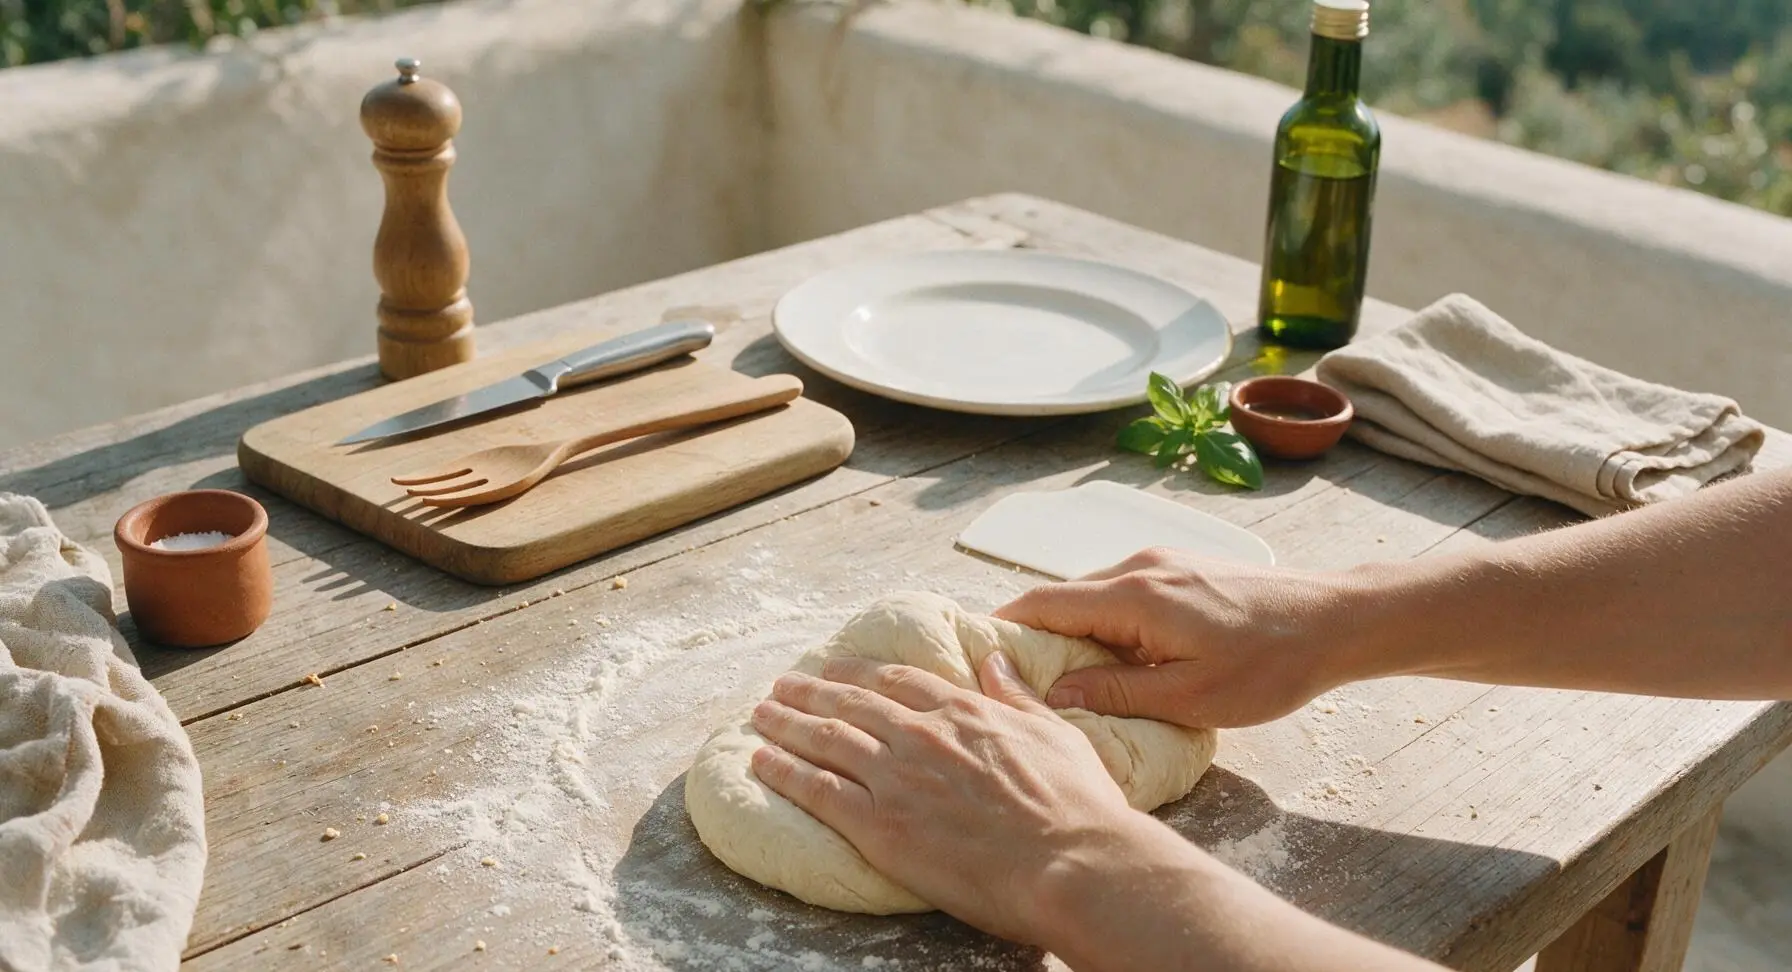
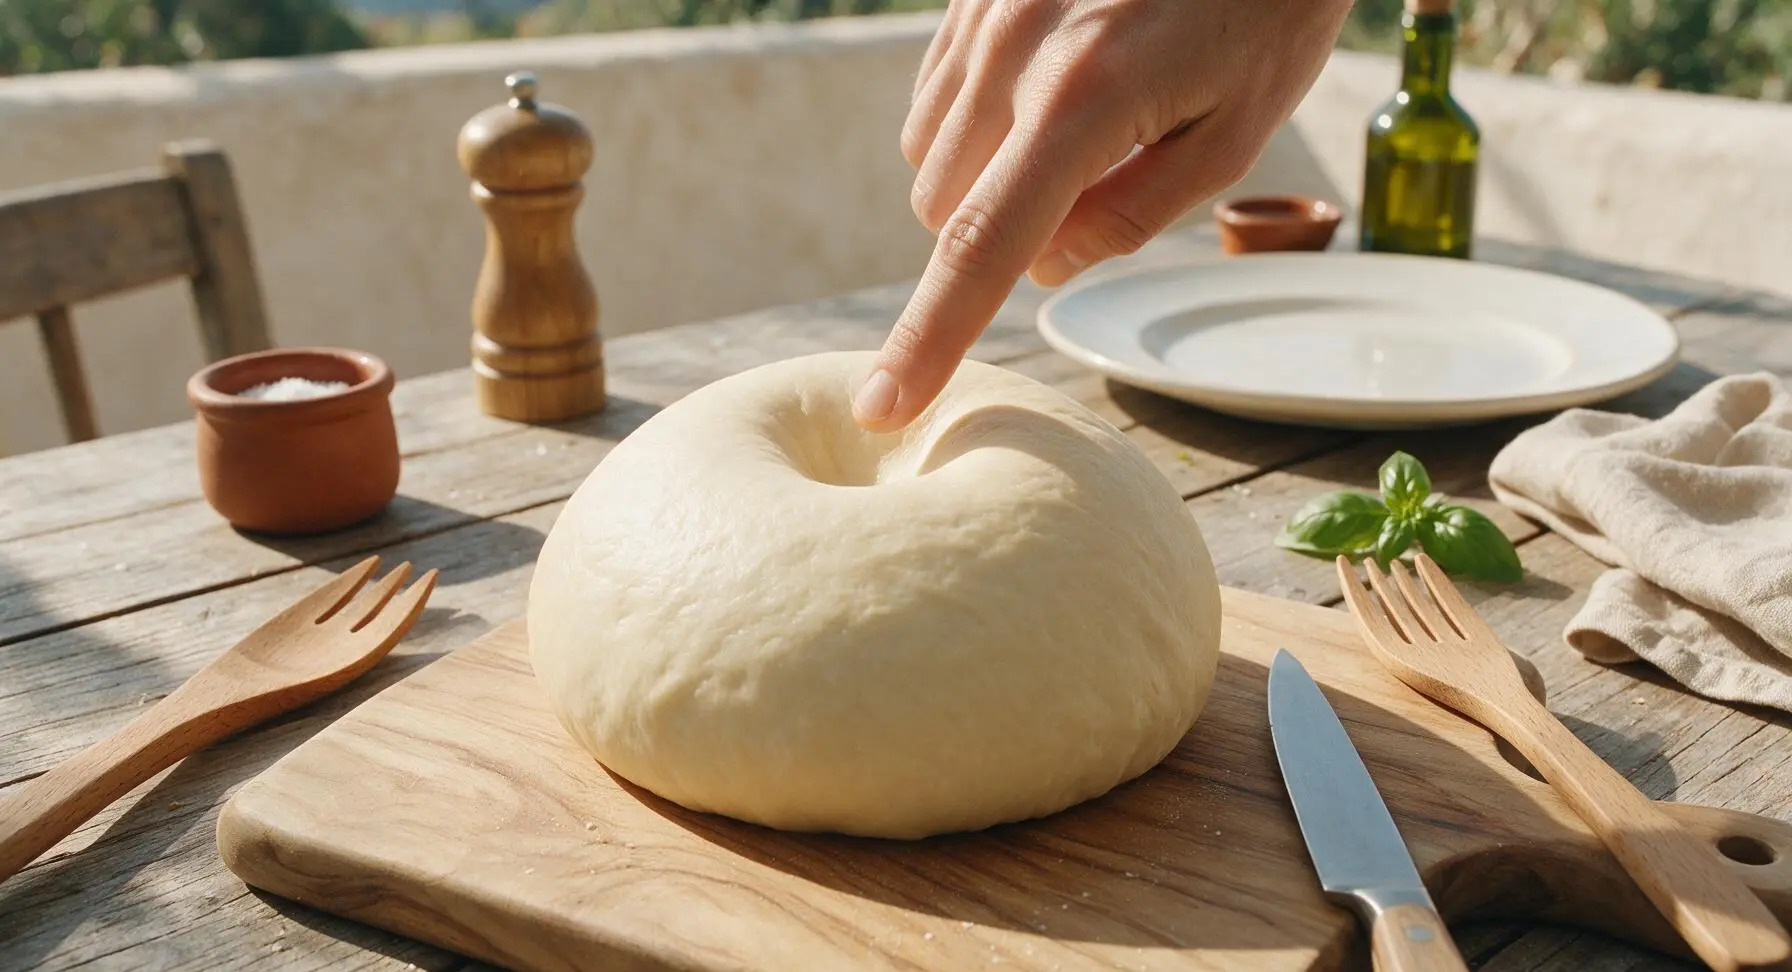
Step 3
step3:Knead Until Smooth
Step 3
step3:Knead Until Smooth
4

Let Dough Rise

Form the kneaded dough into a tight ball and place it back into the lightly greased (with extra butter) light grey mixing bowl. Turn the dough once to coat its surface in a thin layer of butter to prevent drying. Cover the bowl loosely with the unbleached cotton bowl cover stored under the bowl, and let rise in a warm, draft-free spot for 1 to 1 1/2 hours, until the dough has doubled in size and leaves an indentation when poked that does not bounce back.
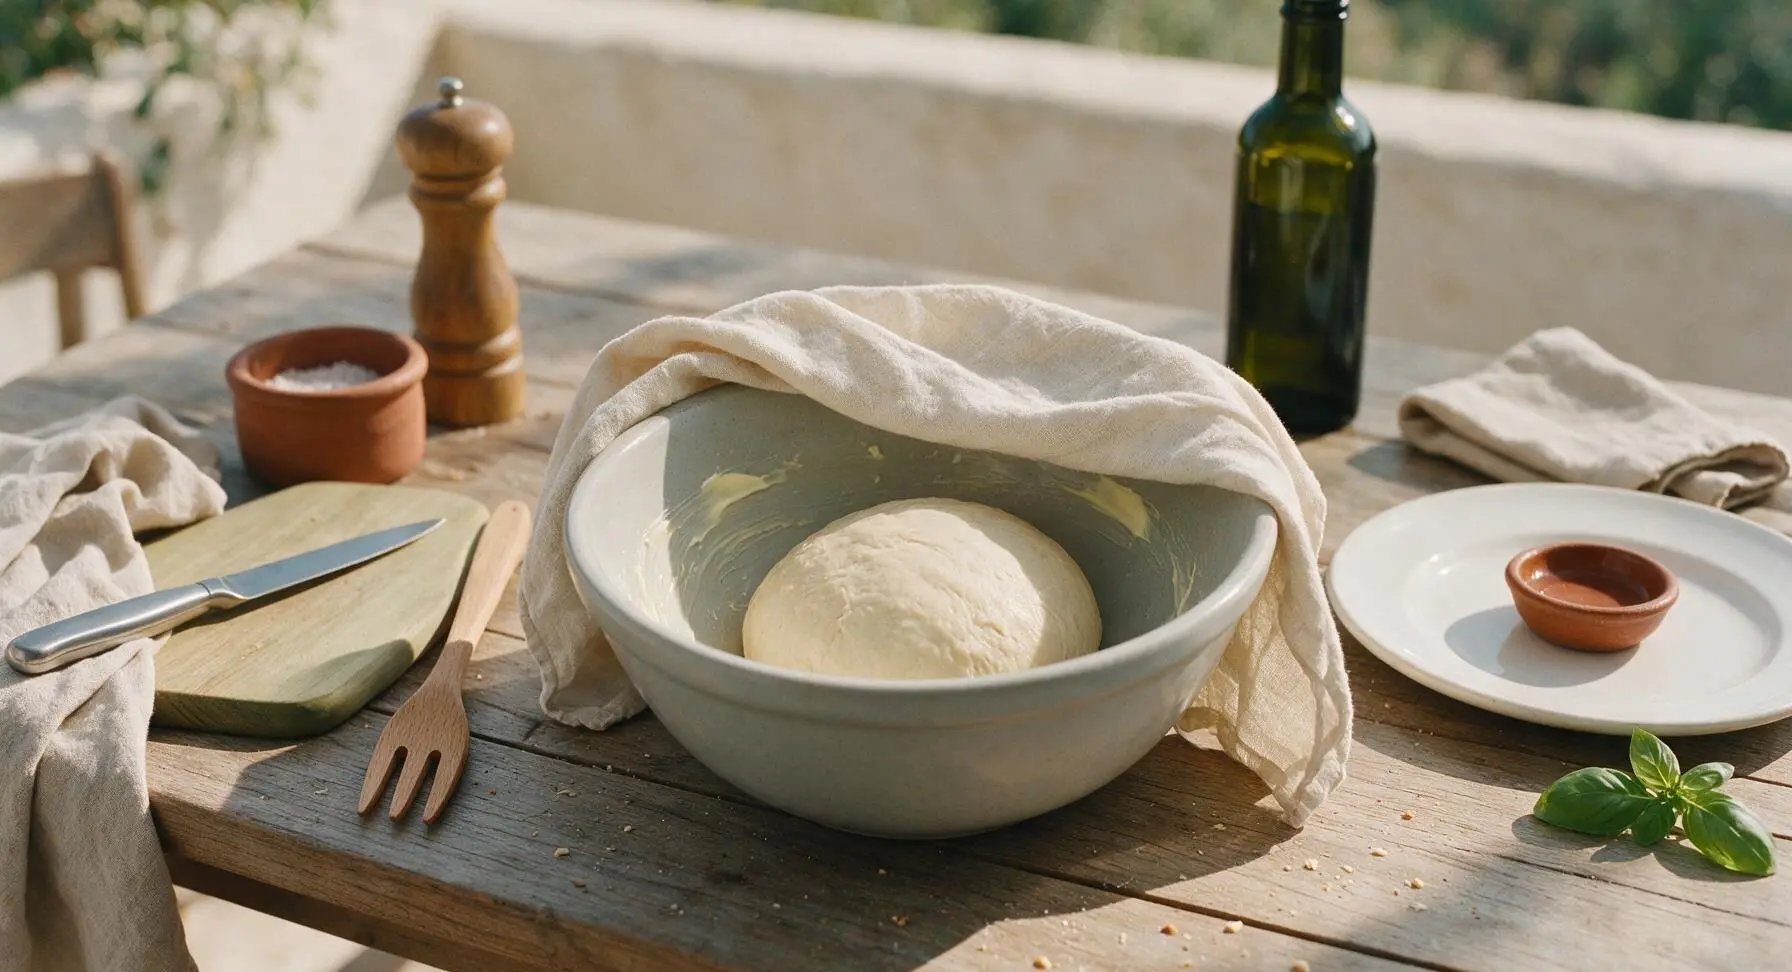
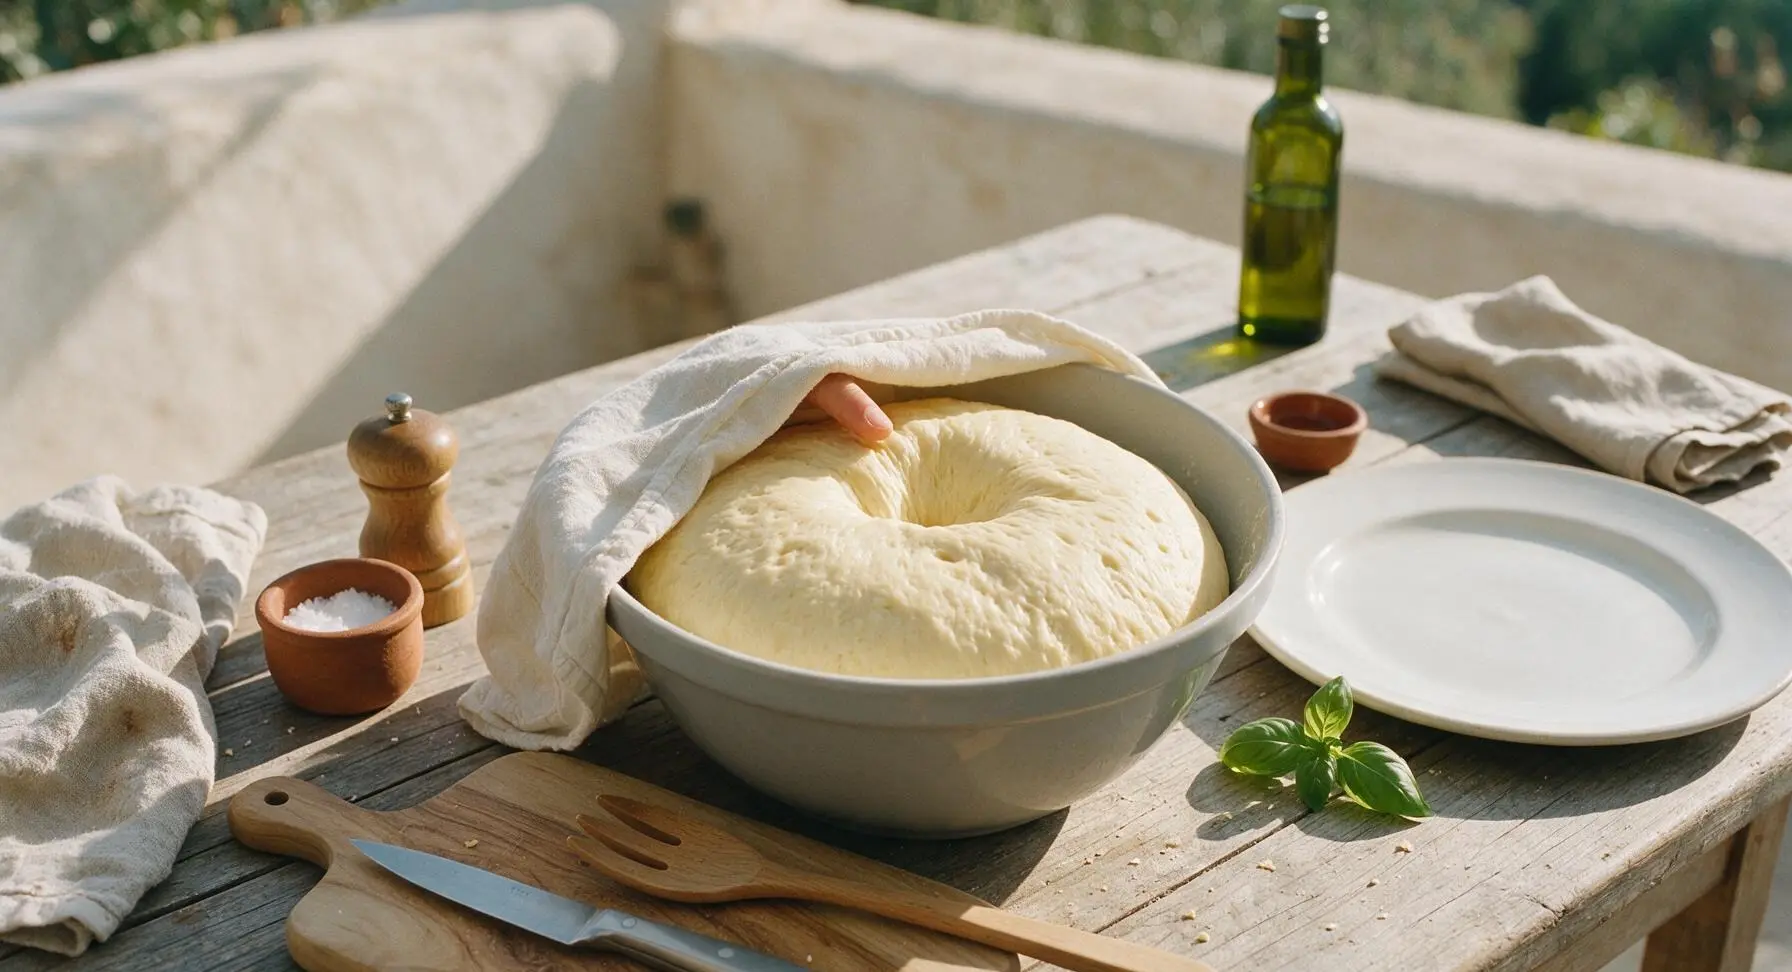
Step 4
step4:Let Dough Rise
Step 4
step4:Let Dough Rise
5

Shape Hot Dog Buns

Punch the risen dough down firmly to release all trapped air, then turn it out onto the clean, unfloured counter. Use the dough scraper to divide the dough evenly into 8 equal pieces (each ~95g for uniform buns). Roll each piece into a 6-inch long log with the maple rolling pin, tapering the ends slightly to form the classic hot dog bun shape, pinching the seam along the bottom tightly to seal.
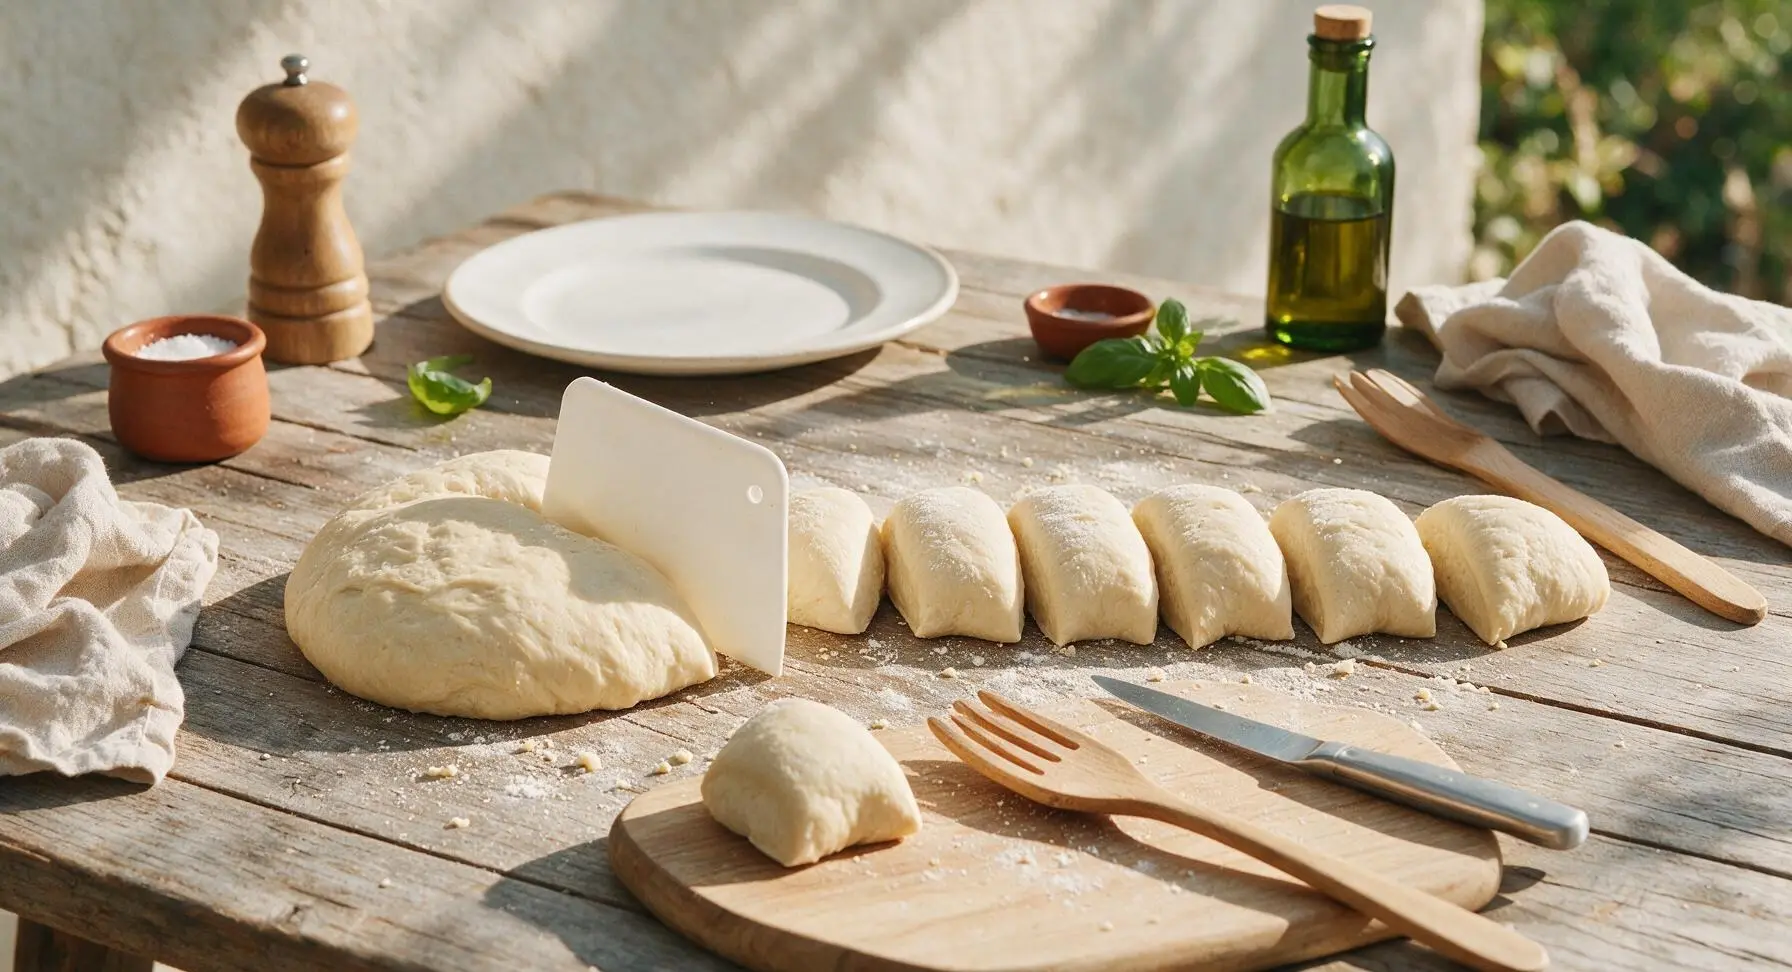
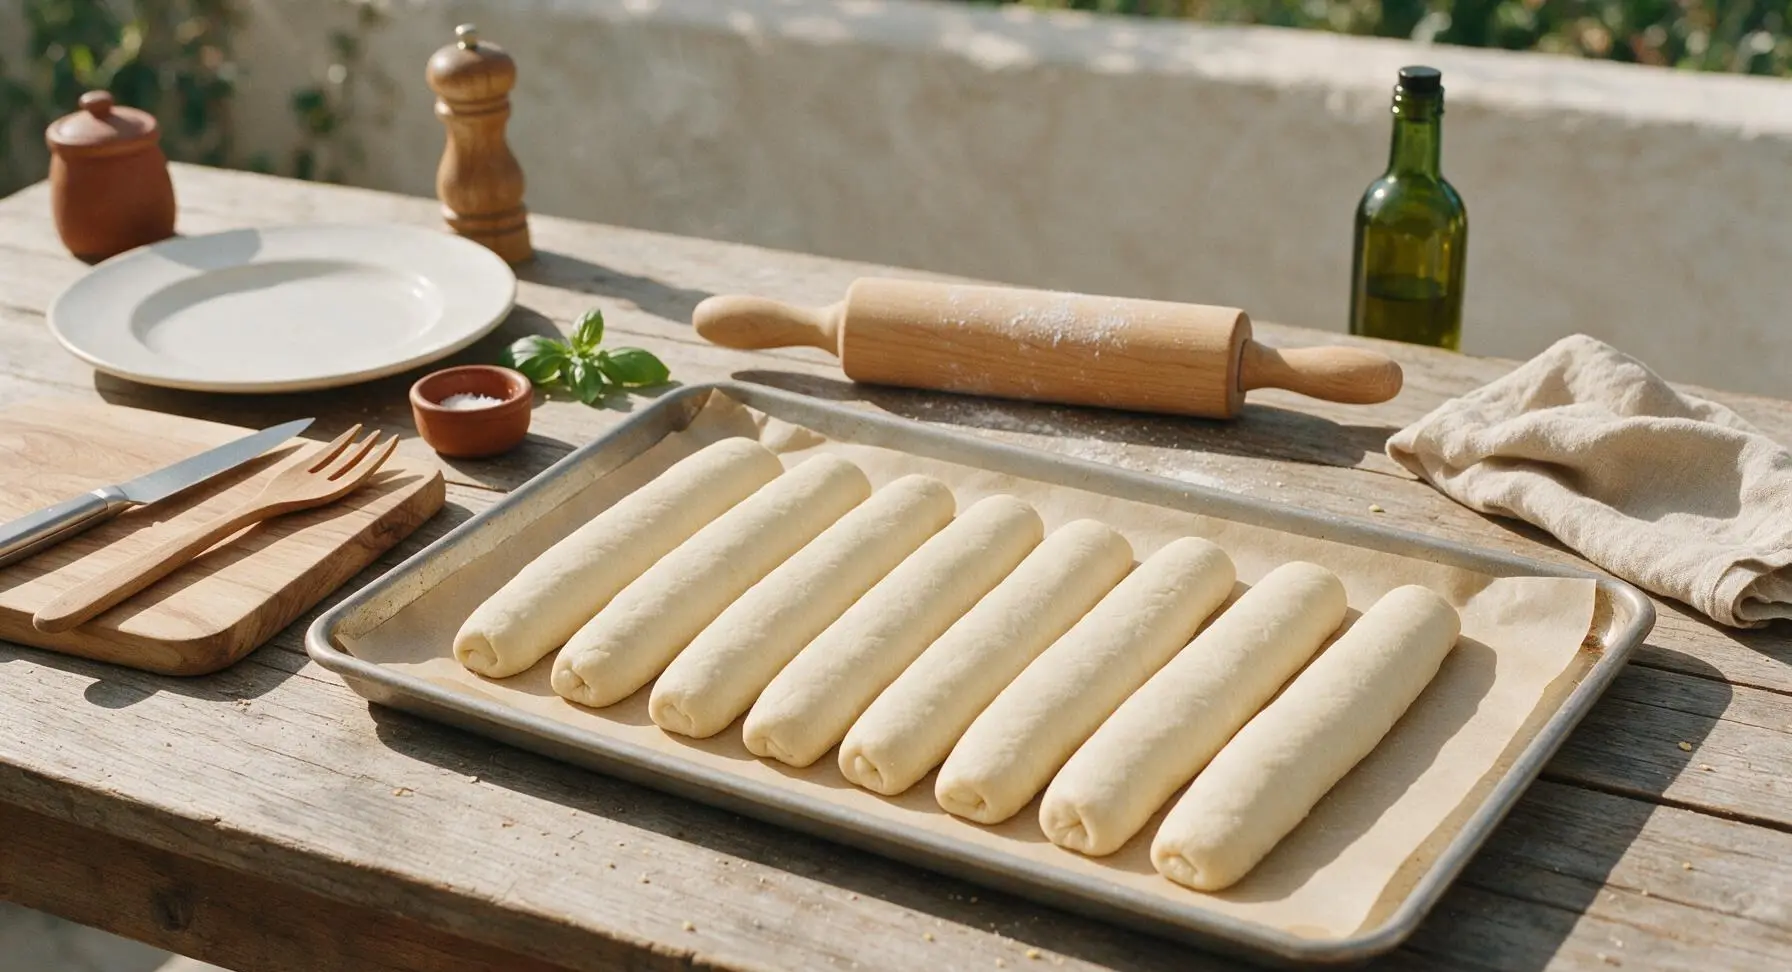
Step 5
step5:Shape Hot Dog Buns
Step 5
step5:Shape Hot Dog Buns
6

Proof Shaped Buns

Loosely cover the baking sheet of shaped dough logs with the same cotton bowl cover, and let rise for a second time for 30-45 minutes, until the buns are puffy, have nearly doubled in size, and hold a slight indent when gently pressed. Preheat the oven to 375°F (190°C) during the last 10 minutes of this rise.
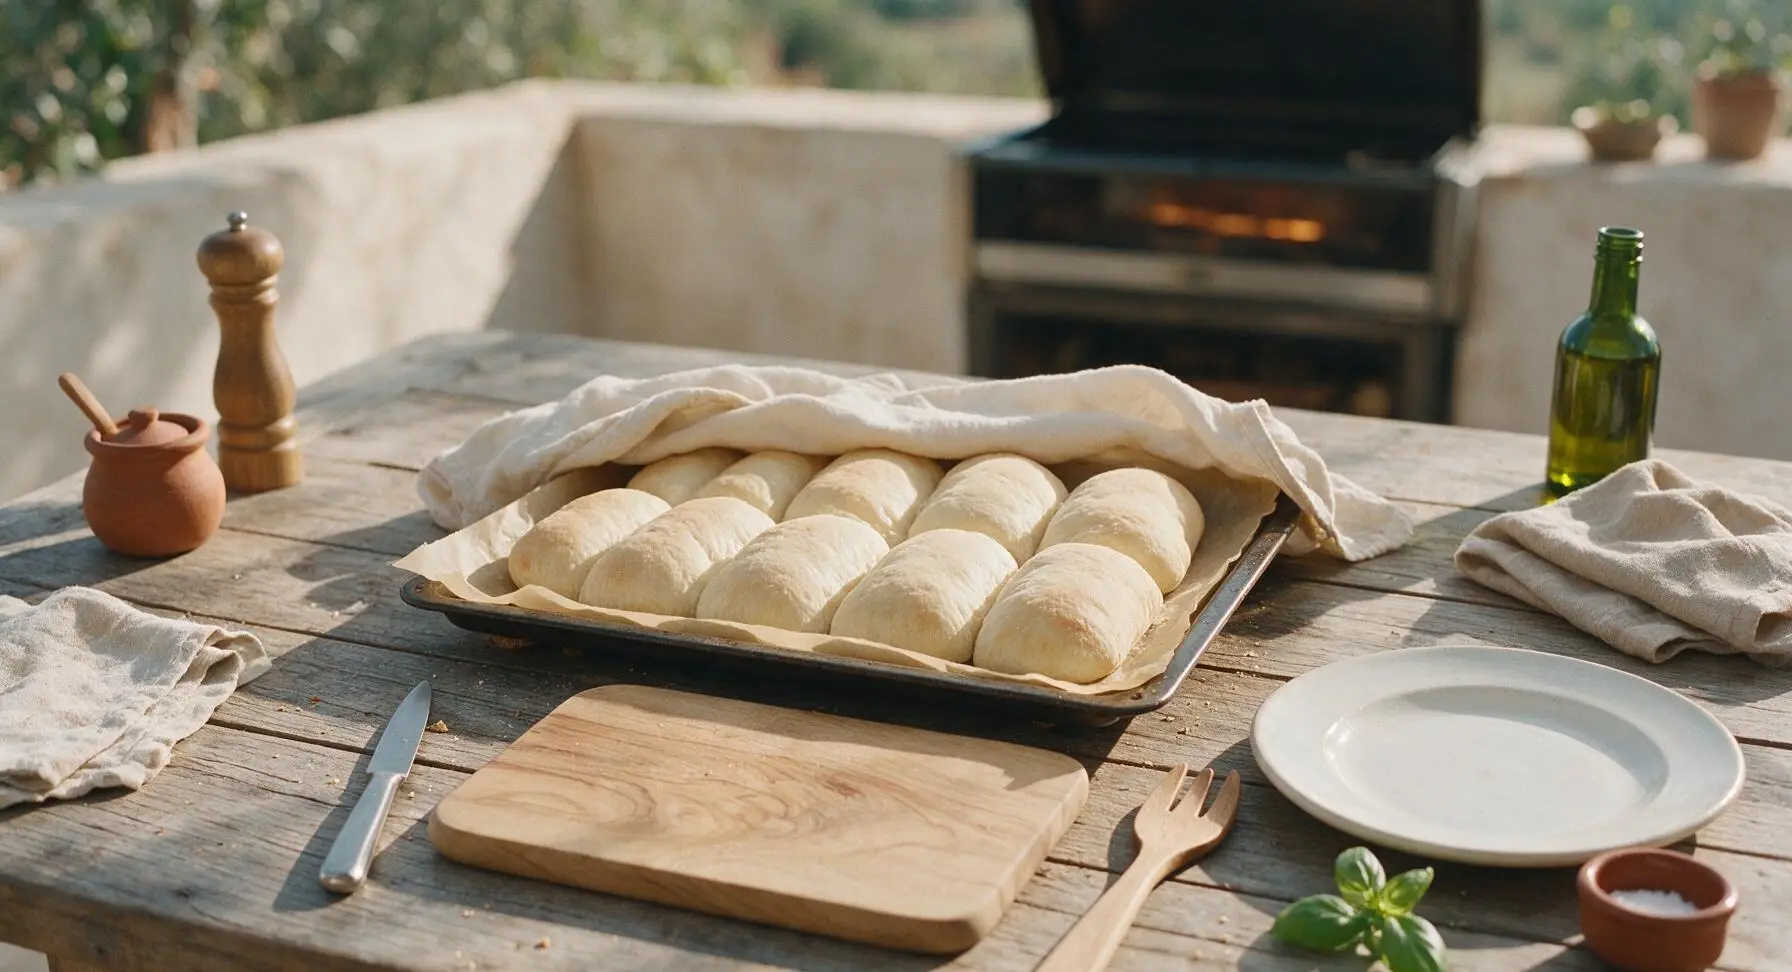
Step 6
step6:Proof Shaped Buns
7

Bake Until Golden

Use the pastry brush to gently brush the tops of the proofed buns with a thin layer of leftover milk, then sprinkle with sesame seeds if using. Bake on the middle rack of the preheated 375°F oven for 12-15 minutes, until the tops are a deep even golden brown and the internal temperature of the buns reads 190°F (88°C) on the instant read thermometer.
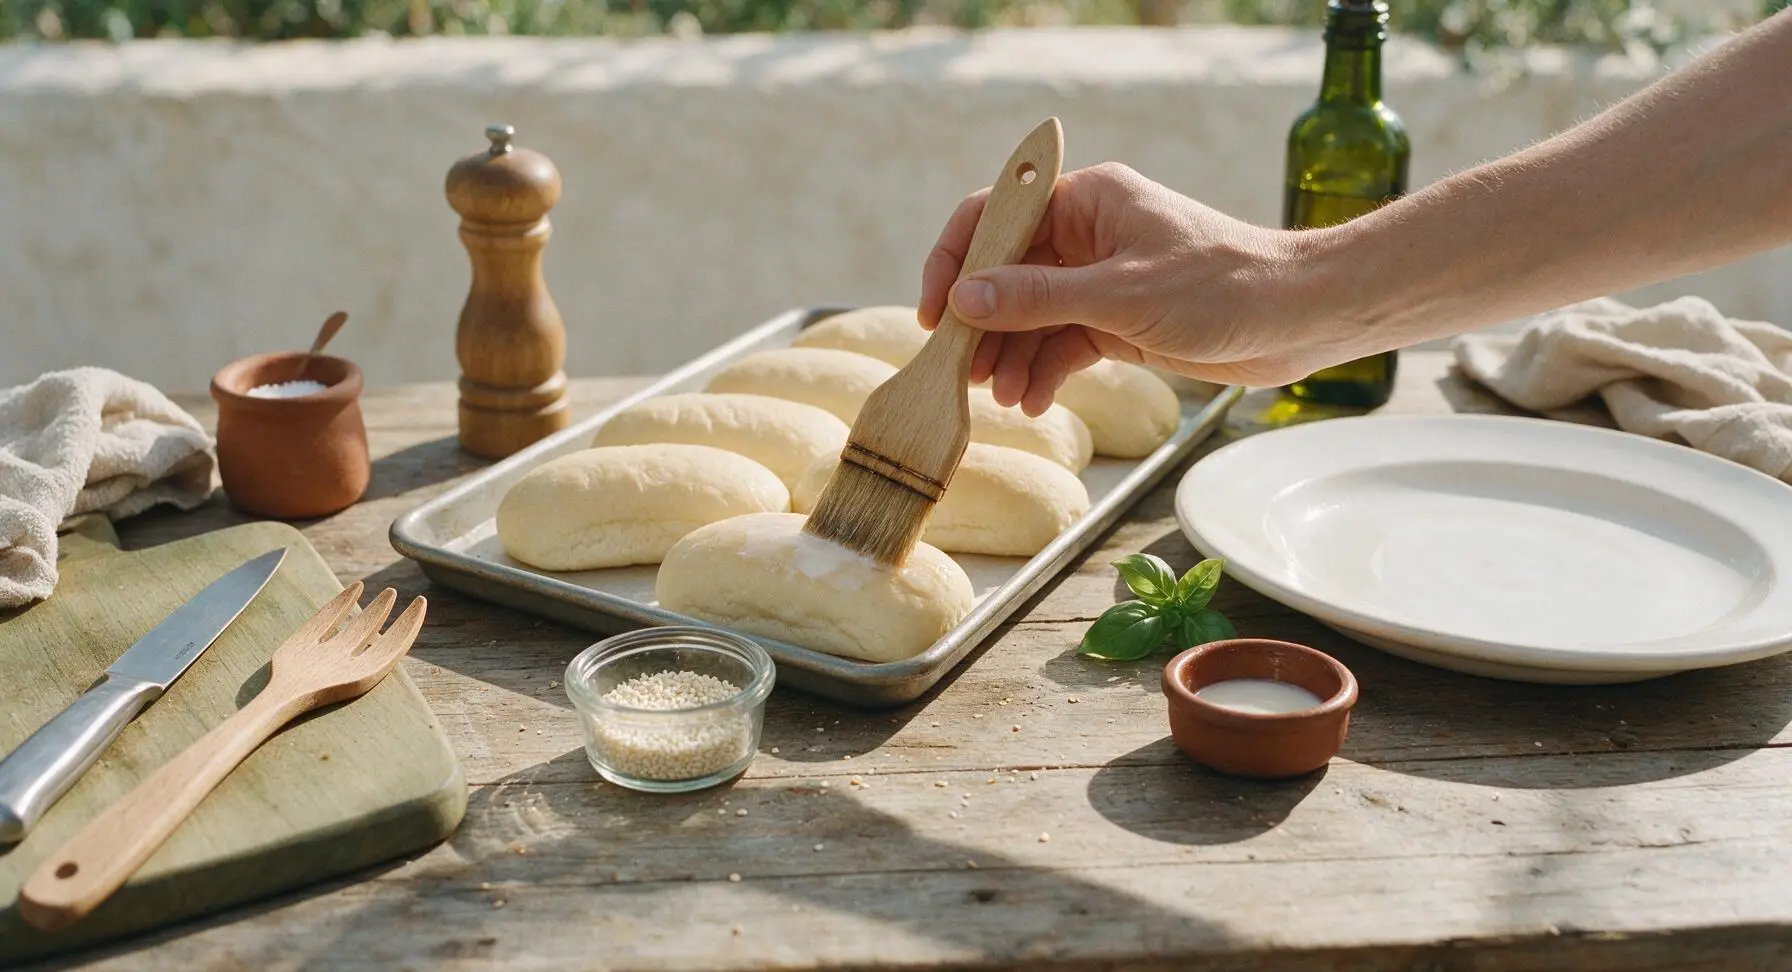
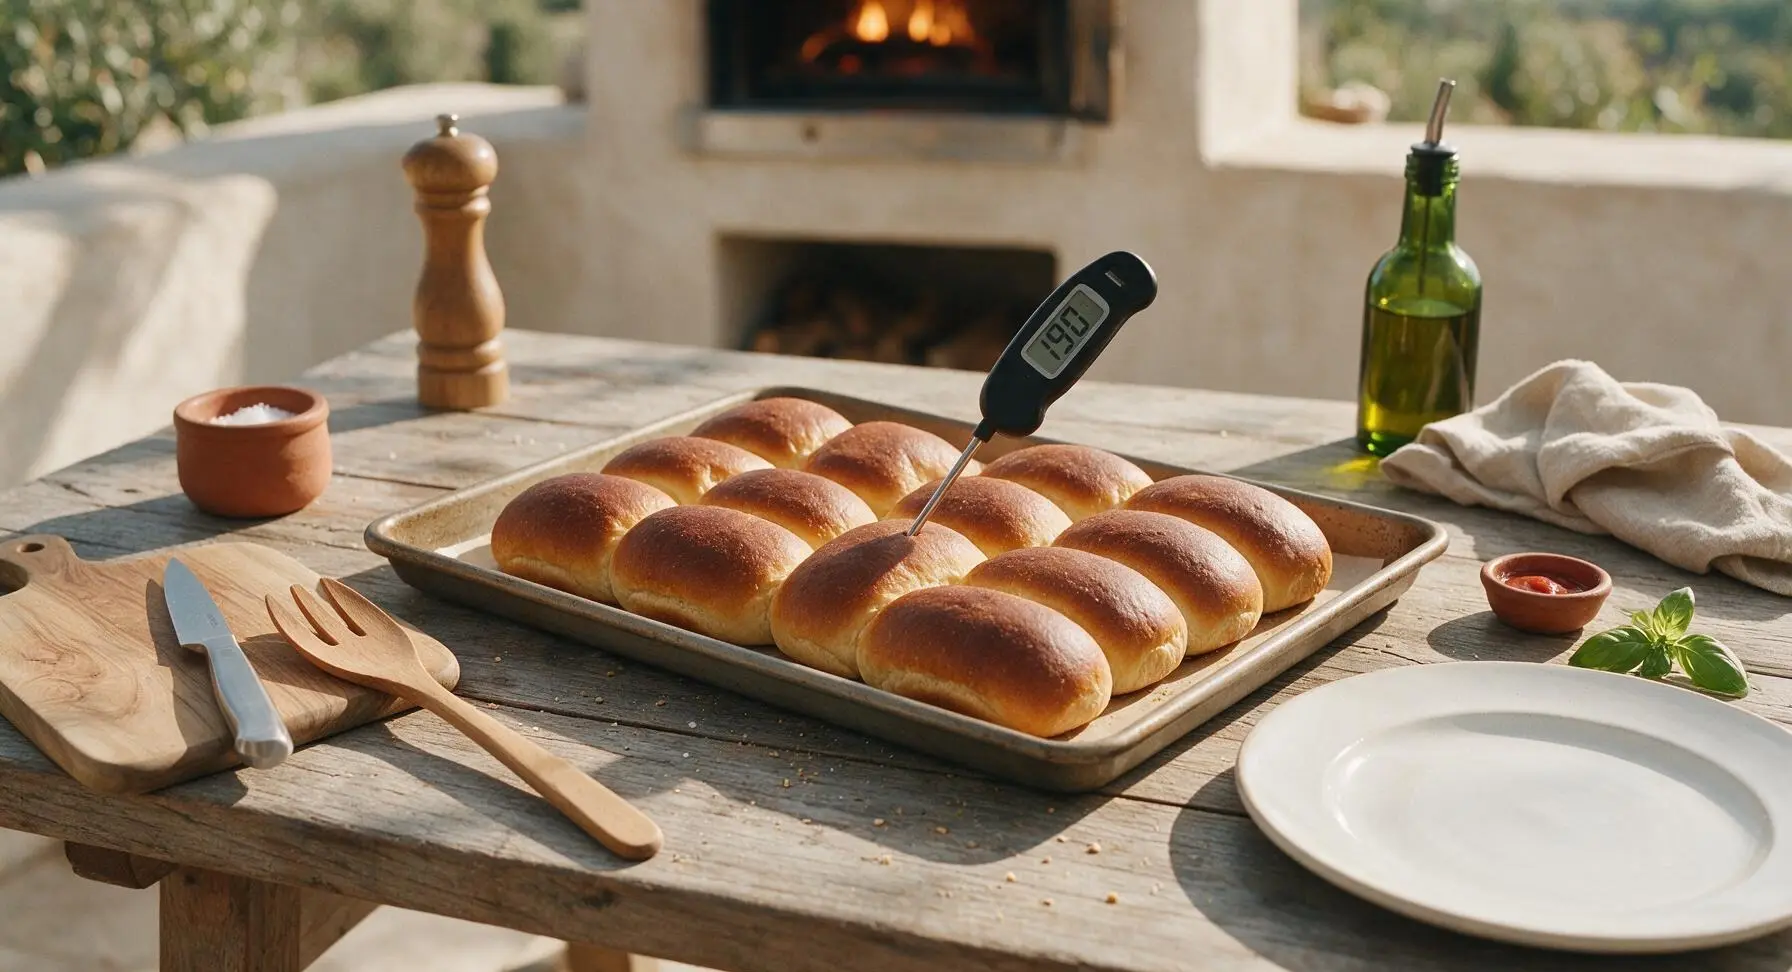
Step 7
step7:Bake Until Golden
Step 7
step7:Bake Until Golden
8

Cool Before Serving

Transfer the freshly baked buns from the baking sheet to the chrome wire cooling rack immediately after removing from the oven. Brush the warm tops lightly with a tiny amount of melted butter for a soft, glossy crust if desired. Let cool for at least 10 minutes before splitting lengthwise and serving with grilled hot dogs and your favorite toppings.
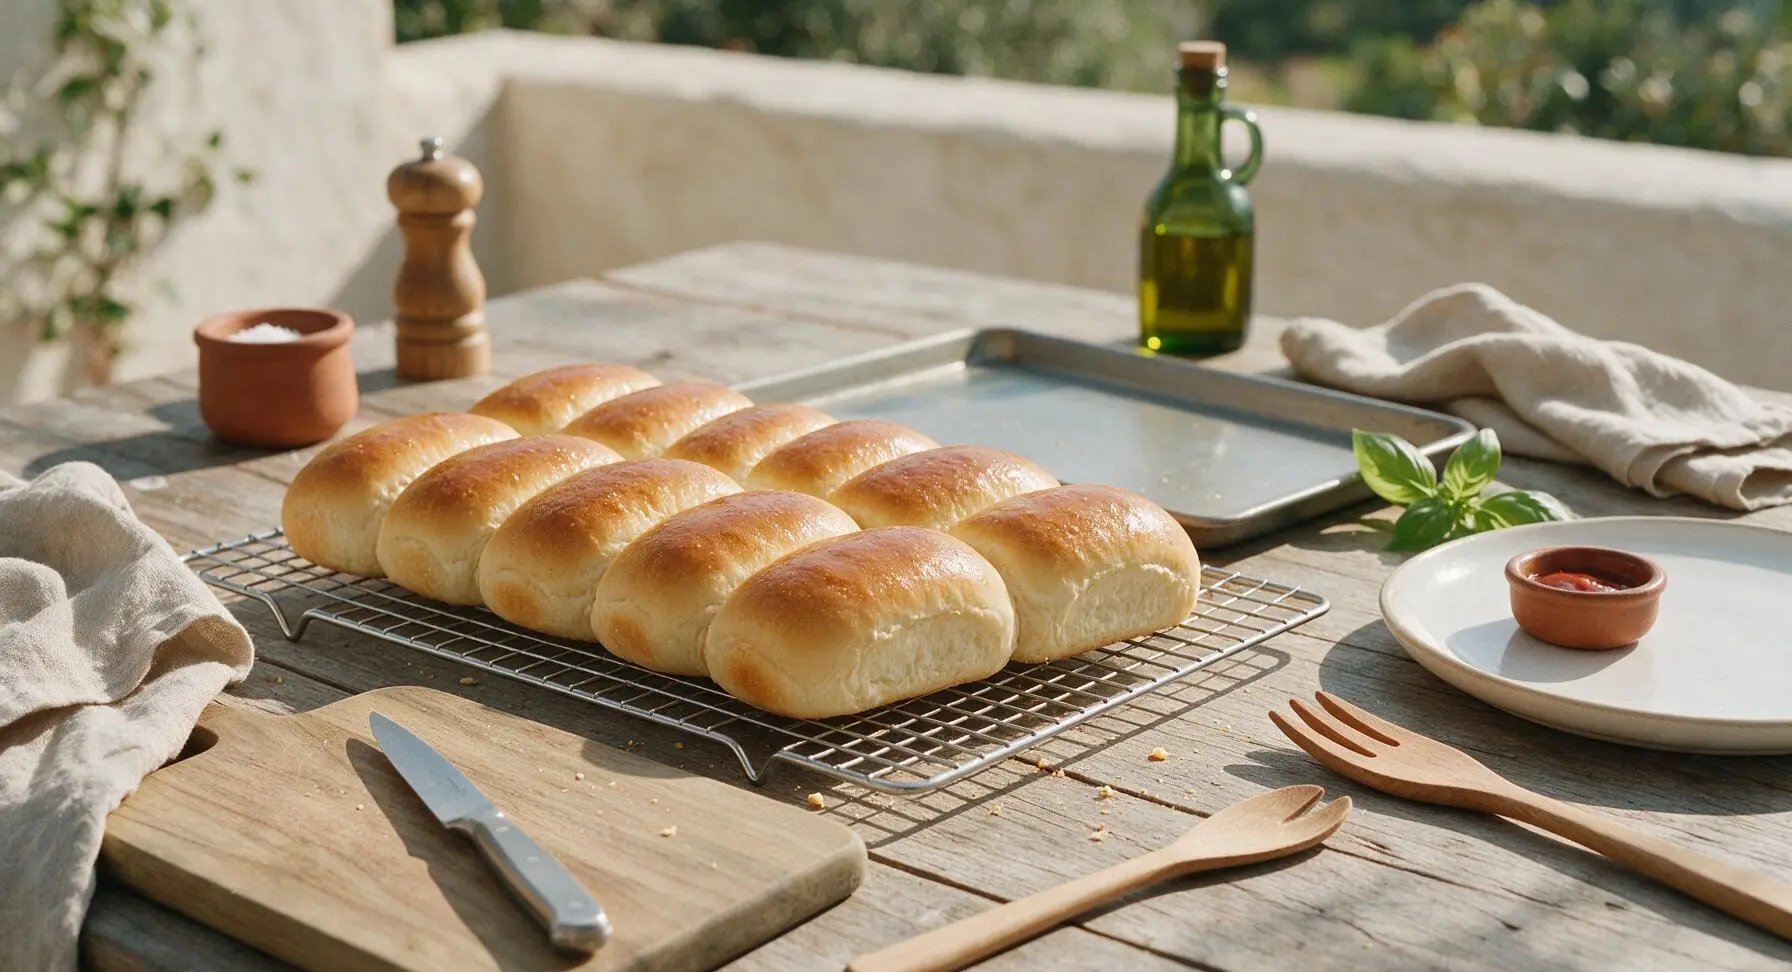
Step 8
step8:Cool Before Serving

Tips

1.Do not warm milk above 115°F when activating yeast: temperatures exceeding 120°F will kill live yeast cells, preventing the dough from rising properly and resulting in dense, heavy buns instead of light, fluffy ones.
2.Avoid adding extra flour during kneading unless the dough sticks aggressively to your hands or counter: over-floured dough will produce tough, dry buns; a slightly tacky, smooth dough yields the signature soft, pillowy hot dog bun texture.
3.Allow buns to cool for a full 10 minutes on the rack before splitting: cutting into piping hot buns straight from the oven will compress the delicate crumb and cause gummy, compressed interiors as trapped steam escapes too quickly.


✨ You May Also Like

Desserts & Baking
🍜 Italy

Creamy, coffee-kissed classic Northern Italian no-bake dessert, with layers of rum-spiked mascarpone cream, soft ladyfingers, and a rich cocoa dusting.

⏱️ 4 hours 3Desserts & Baking ★ 4.7
Desserts & Baking
🍜 France

Flaky, shatteringly crisp, buttery French croissants with golden exteriors and soft, airy layered interiors, perfect for pairing with coffee for a special morning treat.

⏱️ 12 hours Desserts & Baking ★ 4.5
Desserts & Baking
🍜 United States

Warm, spiced baked apples topped with a fluffy golden biscuit crust, this cozy dessert pairs perfectly with vanilla ice cream for cool-weather comfort.

⏱️ 55 minuteDesserts & Baking ★ 4.6
Desserts & Baking
🍜 United States

A star-spangled classic American blueberry pie with buttery flaky crust and bright sweet-tart filling, perfect for summer patriotic gatherings.

⏱️ 1 hour 25Desserts & Baking ★ 4.7
Desserts & Baking
🍜 United States

A beloved no-bake regional Maine candy with a chewy coconut-potato center coated in rich dark chocolate, a New England holiday staple since the 1870s.

⏱️ 2 hours 3Desserts & Baking ★ 4.8
Desserts & Baking
🍜 France

Luxuriously creamy, floral frozen custard made with aromatic Tahitian vanilla beans, boasting a smooth, rich texture that melts slowly on the tongue.

⏱️ 3 hours 3Desserts & Baking ★ 4.5

hot dog bun ingredients:Frequently Asked Questions

1.Why does this recipe use whole milk instead of water for the dough? ▾
Whole milk adds rich milkfat and natural lactose that creates that signature soft, pillowy crumb, helps the tender golden crust develop, and keeps buns moist far longer than water-based dough. Skim or low-fat milk won’t deliver the same tender texture, so stick to full-fat whole milk for best results.
2.Can I use instant yeast instead of active dry yeast for these buns? ▾
Absolutely! Swap active dry yeast for instant yeast at a 3:4 ratio (use 25% less instant yeast than the called-for active dry amount). You can skip the initial proofing step in warm milk too—just mix instant yeast directly in with your dry ingredients for a faster, equally reliable rise.
3.How do I know if my active dry yeast is still active enough to use? ▾
Test it by stirring a pinch of the measured granulated sugar into ¼ cup of warm (105–110°F) whole milk, then sprinkle the yeast over top. Wait 5–10 minutes: if it foams into a frothy, bubbly layer, it’s good to use. If no bubbles form, your yeast is dead and won’t create a proper rise.
4.Why do these hot dog buns include a small amount of granulated sugar? ▾
The small measure of granulated sugar does three key jobs: it feeds the yeast to support a steady, even rise, adds that subtle classic slightly sweet hot dog bun flavor, and encourages that soft, golden-brown crust as the buns bake. It’s not enough to make the buns taste overly sweet, just perfectly balanced.
5.Can I use bread flour instead of all-purpose flour for these buns? ▾
You can, but know that bread flour’s higher protein content will create a chewier, sturdier bun rather than the ultra-soft, pillowy texture this recipe targets. If you do swap, hold back 2 tablespoons of milk initially to account for bread flour’s higher absorption rate, adding more only if dough feels too stiff.
6.Why does the recipe call for fine sea salt instead of regular table salt? ▾
Fine sea salt dissolves quickly and evenly throughout the dough to evenly season every bite, without leaving gritty undissolved spots. Table salt works as a 1:1 swap if that’s what you have on hand, but avoid coarse flaky sea salt for mixing into the dough—it won’t distribute evenly across the batch.
7.How long should I knead the hot dog bun dough for the best texture? ▾
Knead by hand for 8–10 minutes, or in a stand mixer with a dough hook on low speed for 4–6 minutes, until the dough is smooth, elastic, and pulls away clean from the bowl sides. Don’t over-knead, as that can create tough, dense buns instead of the light, soft texture you want.
8.What temperature should my milk be to properly activate the yeast? ▾
Aim for whole milk between 105–110°F—this feels like warm bath water to the touch, not scalding hot. Milk hotter than 115°F will kill the active dry yeast, leading to flat, dense buns, while milk that’s too cold won’t wake the yeast enough to drive a strong, even rise.
9.How do I shape the dough into classic hot dog bun forms? ▾
After the first rise, divide the dough into equal 3-ounce portions, roll each into a tight 6-inch long log, tucking the seams firmly underneath to create a smooth, even top. Space them 2 inches apart on a lined baking sheet so they rise into soft, pull-apart buns just like the store-bought style.
10.How do I know when the shaped buns are done proofing and ready to bake? ▾
Do the simple poke test: gently press a floured finger ½ inch into the surface of a shaped bun. If the indentation slowly springs back halfway and leaves a small visible mark, they’re ready. If it springs back instantly, they need more time; if it doesn’t spring back, they’re over-proofed.
11.What baking temperature gives these buns a soft, golden crust instead of a hard one? ▾
Bake at 375°F for 12–15 minutes, rotating the baking sheet halfway through, until the tops are a pale even golden brown and the internal temperature of the buns hits 190°F on an instant-read thermometer. Don’t over-bake, as that will dry out the crumb and create a tough crust.
12.Should I brush the bun tops with anything before baking for extra softness? ▾
Absolutely! Brushing the tops with melted butter right before baking, and again as soon as they come out of the oven, will keep the crust ultra-tender, add a rich buttery flavor, and give them that perfect subtle sheen. Use a light egg wash if you prefer a slightly glossier, firmer top.
13.Why did my first batch turn out dense and heavy instead of light and soft? ▾
The most common culprits are dead yeast that didn’t create enough rise, dough that was too stiff from adding too much extra flour, under-proofing the shaped buns, or baking them at too low a temperature for too long. Always test your yeast first, and avoid overworking the dough during kneading.
14.How should I store leftover homemade hot dog buns to keep them soft? ▾
Let the buns cool completely to room temperature first, then store them in an airtight zip-top bag or sealed container at room temperature for up to 3 days. Don’t refrigerate them—cold temperatures speed up staling and will make the buns go dry and tough much faster than counter storage.
15.Can I freeze these hot dog buns to use for later cookouts? ▾
Yes! Wrap fully cooled buns individually in plastic wrap, then tuck them into a labeled freezer bag for up to 3 months. Thaw them at room temperature still wrapped, then warm for 30 seconds in the microwave or 2 minutes in a 350°F oven to bring back that fresh-baked soft texture.
16.Do I really need to let the dough rise twice for these buns? ▾
Yes, the two-rise process is key for that light, airy soft texture. The first bulk rise after kneading lets the yeast develop depth of flavor and build tiny air pockets, and the second shorter rise after shaping ensures the buns hold their shape and bake up light, not dense and heavy.
17.Can I prep these buns ahead of time for a summer cookout? ▾
Definitely! You can make the dough the night before, let it do its first rise in the fridge for 8–12 hours (the cold slow rise develops even better, richer flavor), then shape the buns, let them proof at room temp for an hour, and bake right before guests arrive for warm, fresh buns.
18.Can I adapt this recipe to make gluten-free hot dog buns? ▾
You can, but you’ll need to swap the all-purpose flour for a high-quality 1:1 gluten-free baking blend that includes xanthan gum, since wheat flour’s gluten creates that signature soft, stretchy crumb. Add ½ teaspoon extra yeast to support a better rise, as gluten-free flours are denser than standard AP flour.
19.Why did my last batch have a thick, tough crust instead of the tender one described? ▾
A thick, tough crust usually comes from over-baking the buns, baking them at too high a temperature, or leaving them exposed to air instead of storing them in an airtight container once cool. Brushing tops with melted butter right out of the oven softens crust immediately, and pulling them once they hit 190°F internal temp prevents over-drying.

Comments (5)

2 days ago

OMGGGG these are a total game changer! I’ve been buying store-bought hot dog buns for our weekly summer cookouts for years and they always get soggy 2 minutes after piling a chili dog on them. These stayed perfectly soft but held up like a dream through loaded chili, melted cheese, and diced onions at our cookout last night. My kids went back for seconds and even begged me to make them for our neighborhood potluck next weekend! 10/10, no more store-bought buns for us.

yesterday

Wait quick question — did you let them cool all the way before slicing? I tried a different homemade bun recipe last month and they totally squished flat when I cut into them while they were still warm 😅

yesterday

So glad your family loved them, Jill! And to answer Tom’s question too — definitely let the buns rest on a wire rack for at least 20 minutes before slicing to keep that soft, fluffy structure intact, and they’ll hold up perfectly to all your favorite loaded toppings!

3 days ago

Okay these were SO good when they finally came together, but wow the dough was way stickier than I expected while kneading! I ended up adding almost an extra quarter cup of flour to get it to pull away from the bowl like the instructions said. I totally panicked for a minute that I’d ruined the whole batch, but they still came out fluffy, buttery, and soft. Will absolutely make these again, I’ll just come prepared with extra flour next time!

2 days ago

Thanks so much for the honest feedback! Flour absorbency can vary a ton depending on the brand you use and even how humid it is in your kitchen that day, so adding that extra little bit of flour was exactly the right call. So happy they still turned out fluffy and delicious for you!

1 week ago

Total game changer for weekly meal prep! I baked a double batch on Sunday, sliced them once they cooled, and stashed half in the freezer for quick weeknight chili dogs and brats. They thaw in 10 seconds flat in the microwave and taste just as soft and fresh as the day I baked them. No more weird preservative-laced grocery store buns for this house! Already shared the recipe with my whole mom group.

2 weeks ago

Made these for our Father’s Day cookout last weekend and every single guest was hounding me for the recipe! They’re so soft and buttery, I genuinely didn’t realize hot dog buns could taste this good. I brushed the tops with a little melted garlic butter right when I pulled them out of the oven and *chef’s kiss*. Pair ’em with a grilled brat and some tangy sauerkraut and you’ve got the perfect summer meal.

1 week ago

OH that garlic butter brush idea is pure genius! I’m making these for our annual camping trip next week and I’m 100% stealing that trick. Can’t wait!

30 minutes ago

Wait has anyone tried making these with a 1:1 all-purpose gluten free flour? I’ve been hunting forever for a good soft hot dog bun recipe that doesn’t turn into a dry, crumbly mess for my son who has celiac. These look absolutely perfect, I just don’t want to waste a bunch of fancy GF flour on a batch that doesn’t work out!

5 minutes ago

I made these with a 1:1 GF flour blend last week and they turned out amazing! I added an extra tablespoon of xanthan gum since my blend didn’t have any included, and they were just as soft and pillowy as the regular wheat version. My celiac niece ate two and had zero complaints!

just now

Great question, Gracie! Beth’s tip is absolutely spot on — a high-quality 1:1 gluten free flour blend works perfectly here. Just make sure to give the dough an extra 10 minutes of rest time before shaping to let the flour fully absorb the liquids, and you’ll get that same soft, fluffy texture. Hope your son loves them!



