1.Why doesn’t this hot dog chili recipe include beans?
▾
This no-bean formula is designed specifically for topping hot dogs! Beans create a chunkier, looser texture that slides right off franks and makes for messy cookout eats. Skipping beans keeps the chili thick, spreadable, and perfectly clingy so every bite of your topped dog has consistent, meaty flavor without drips down your wrist.
2.Why do you recommend 85/15 lean ground beef for this recipe?
▾
85/15 ground beef strikes the perfect balance for this quick chili! The 15% fat content adds rich, beefy depth without making the final chili greasy, and the lean meat stays tender through the short simmer. Using leaner beef like 90/10 can lead to dry, bland chili, while fattier blends leave an unpleasantly oily film on top.
3.How long does this chili actually take to make from start to finish?
▾
This recipe is built for speed, so you’ll have finished, ready-to-top chili in right around 20 minutes total. There’s no long, slow simmer required: you’ll brown the beef, sauté your onion and garlic, stir in the tomato products, and let it bubble gently for 10 minutes to meld flavors before serving, ideal for last-minute cookout prep.
4.Can I make this chili ahead of time for a cookout?
▾
Absolutely! This chili actually tastes even better when made a day ahead, as the flavors have time to meld fully in the fridge. Let it cool completely, store it in an airtight container for up to 3 days, then reheat gently on the stovetop over low heat, stirring occasionally, until it’s piping hot before topping your grilled hot dogs.
5.Why use no-salt-added tomato sauce instead of regular?
▾
No-salt-added tomato sauce gives you full control over the final sodium level of your chili, so you can adjust salt to taste instead of working with the high, often inconsistent salt levels in regular canned tomato sauce. If you only have regular tomato sauce on hand, hold off on adding extra salt until the very end, tasting as you go to avoid over-salting.
6.What’s the purpose of adding tomato paste to this chili?
▾
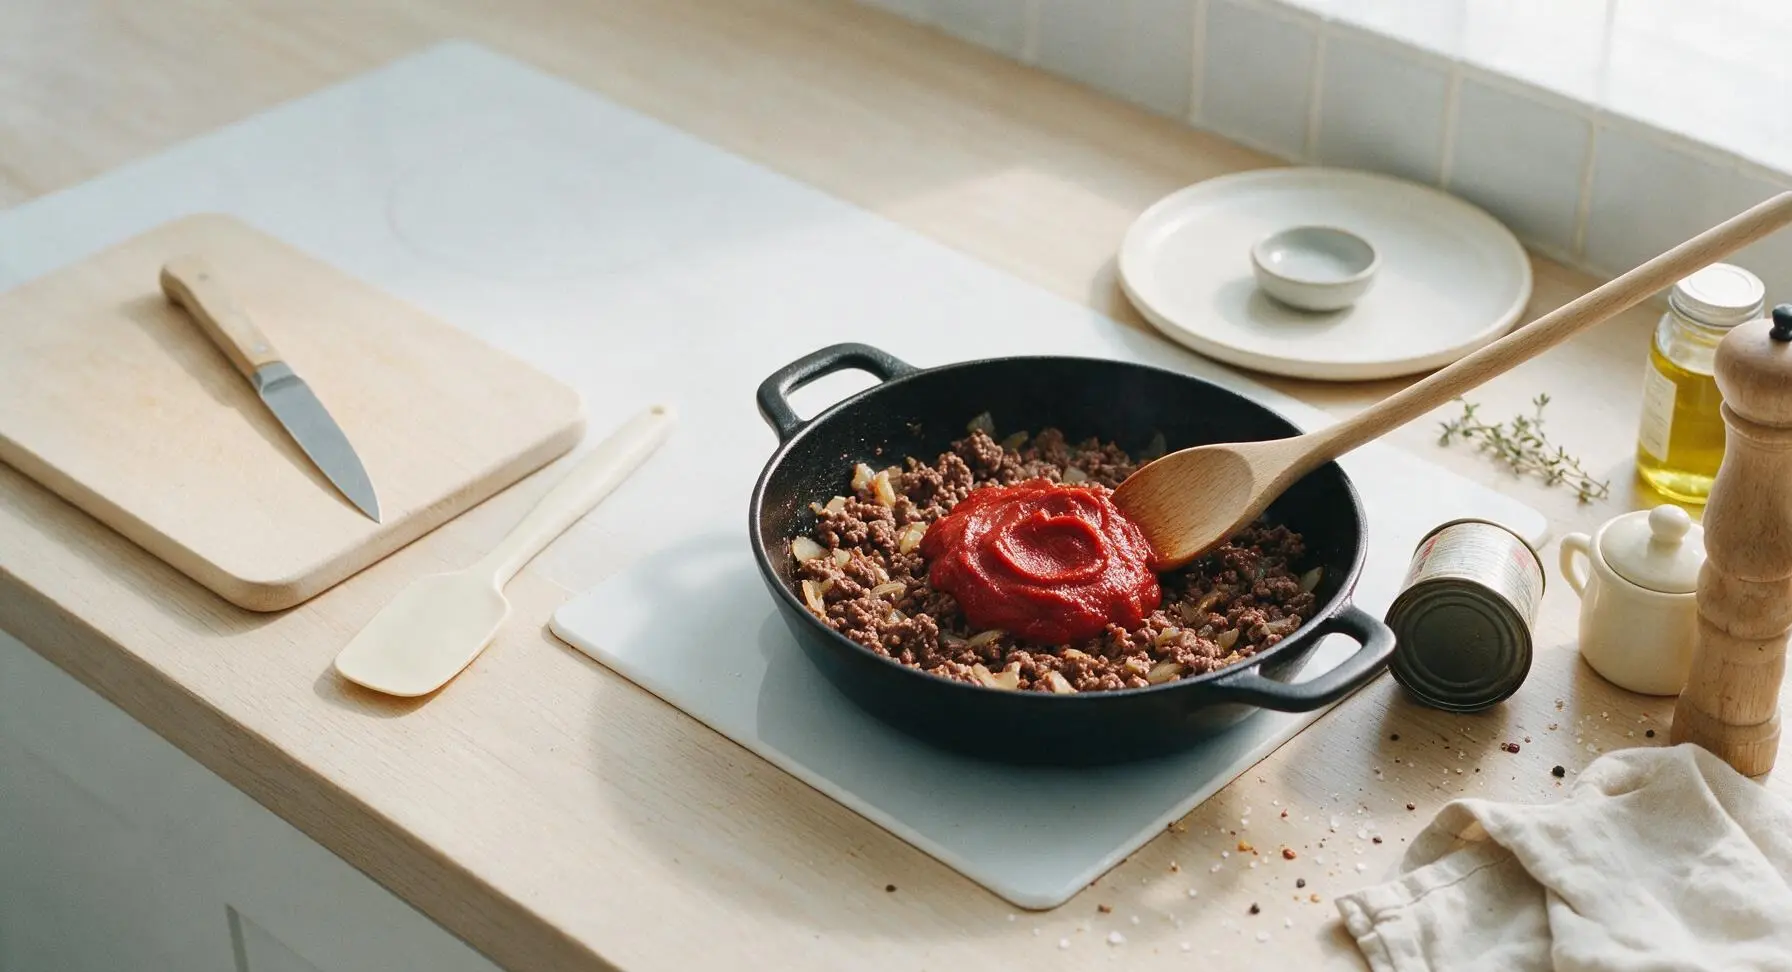
Tomato paste adds concentrated, deep tomato flavor and a thick, rich body to the chili without making it watery, which is key for that ideal spreadable hot dog topping texture. Be sure to sauté the paste for 30 to 60 seconds after adding it to the pan to toast it, mellowing its sharp, raw canned taste for rounded flavor.
7.How do I keep the ground beef from clumping up into big chunks?
▾
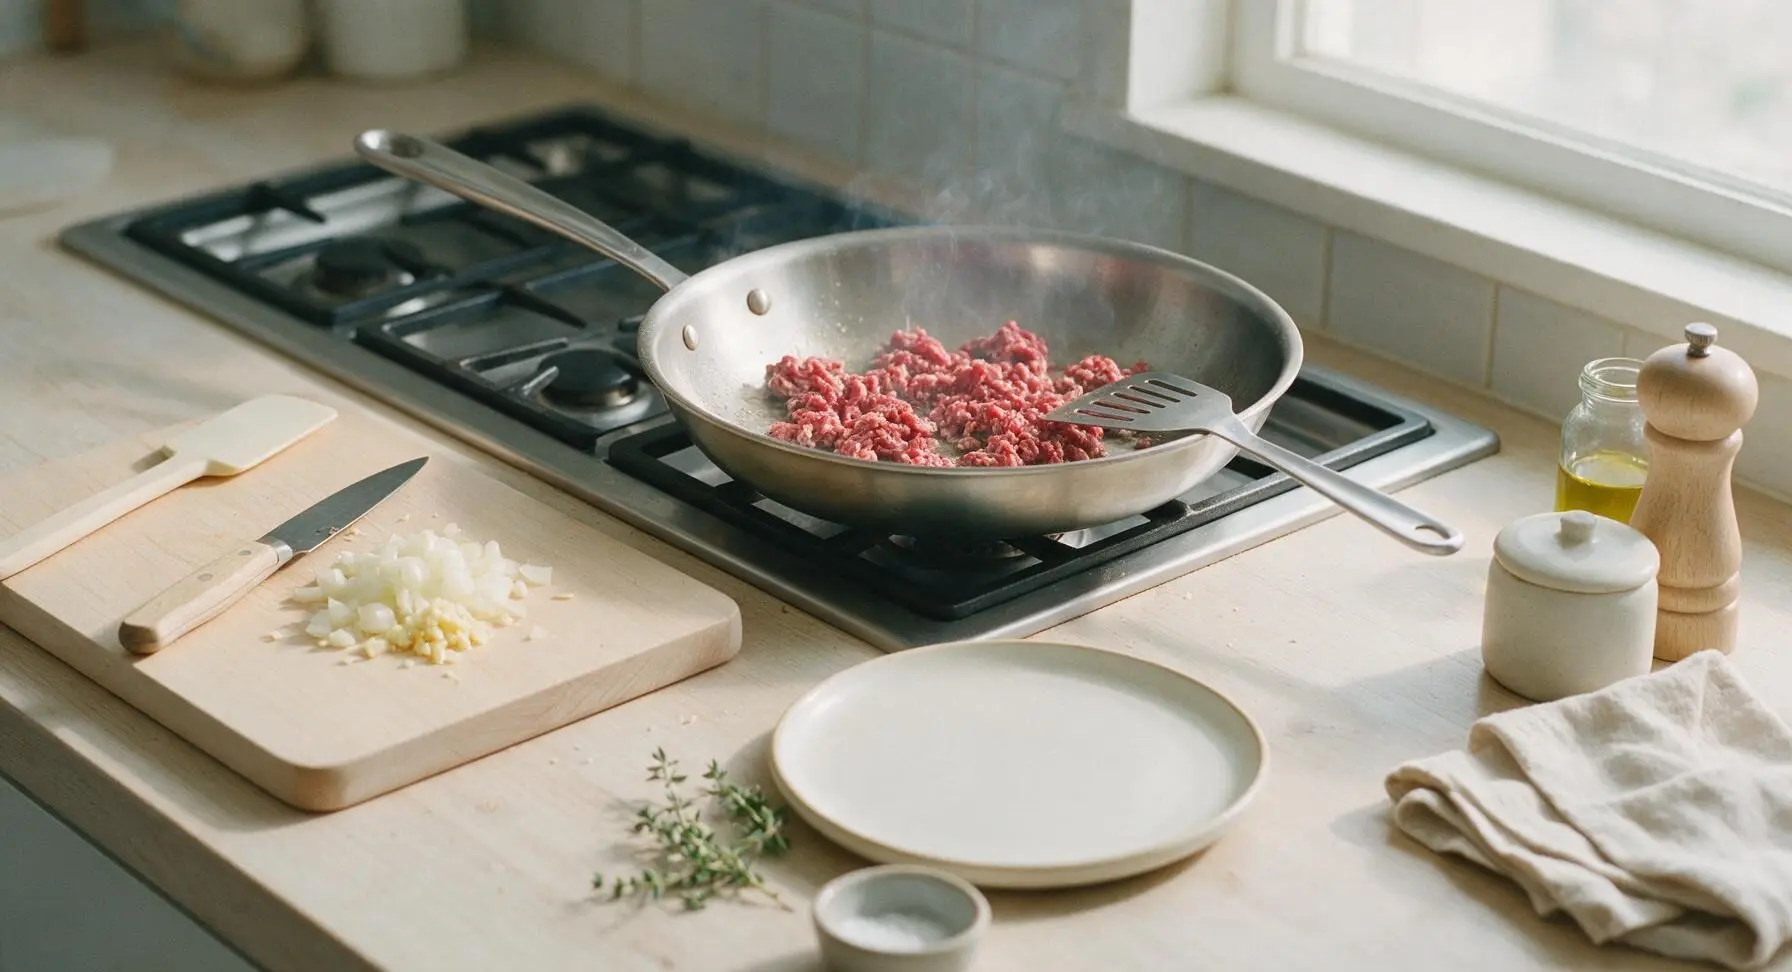
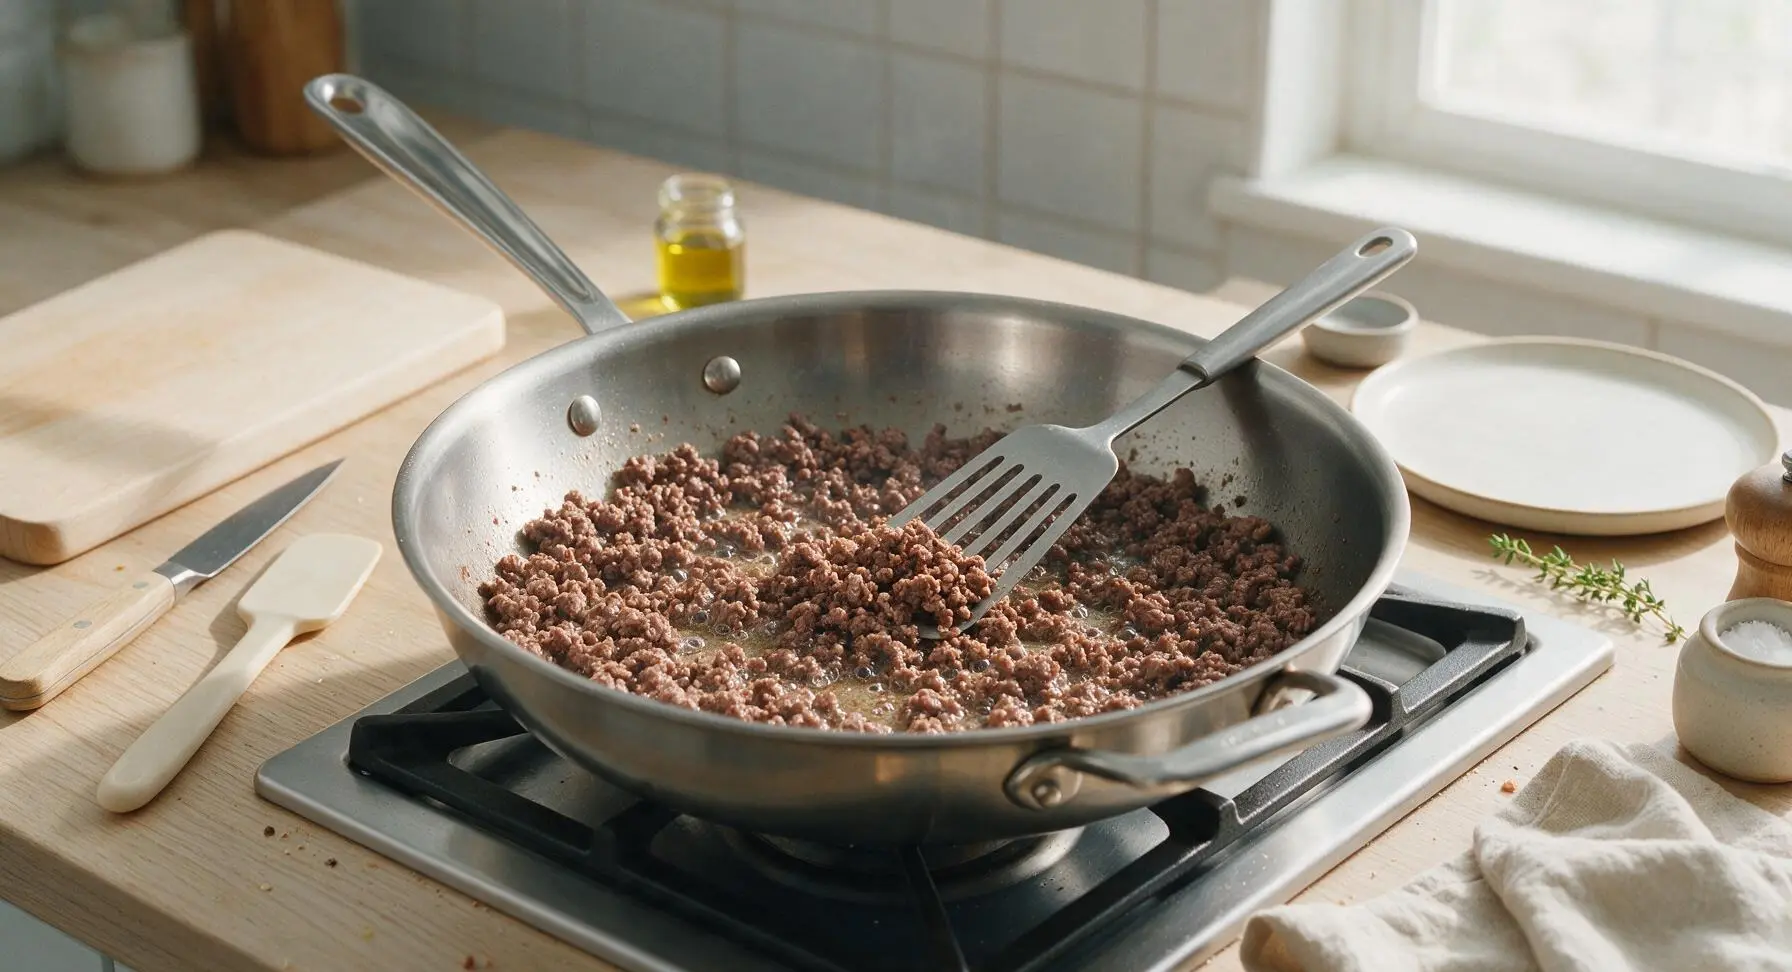
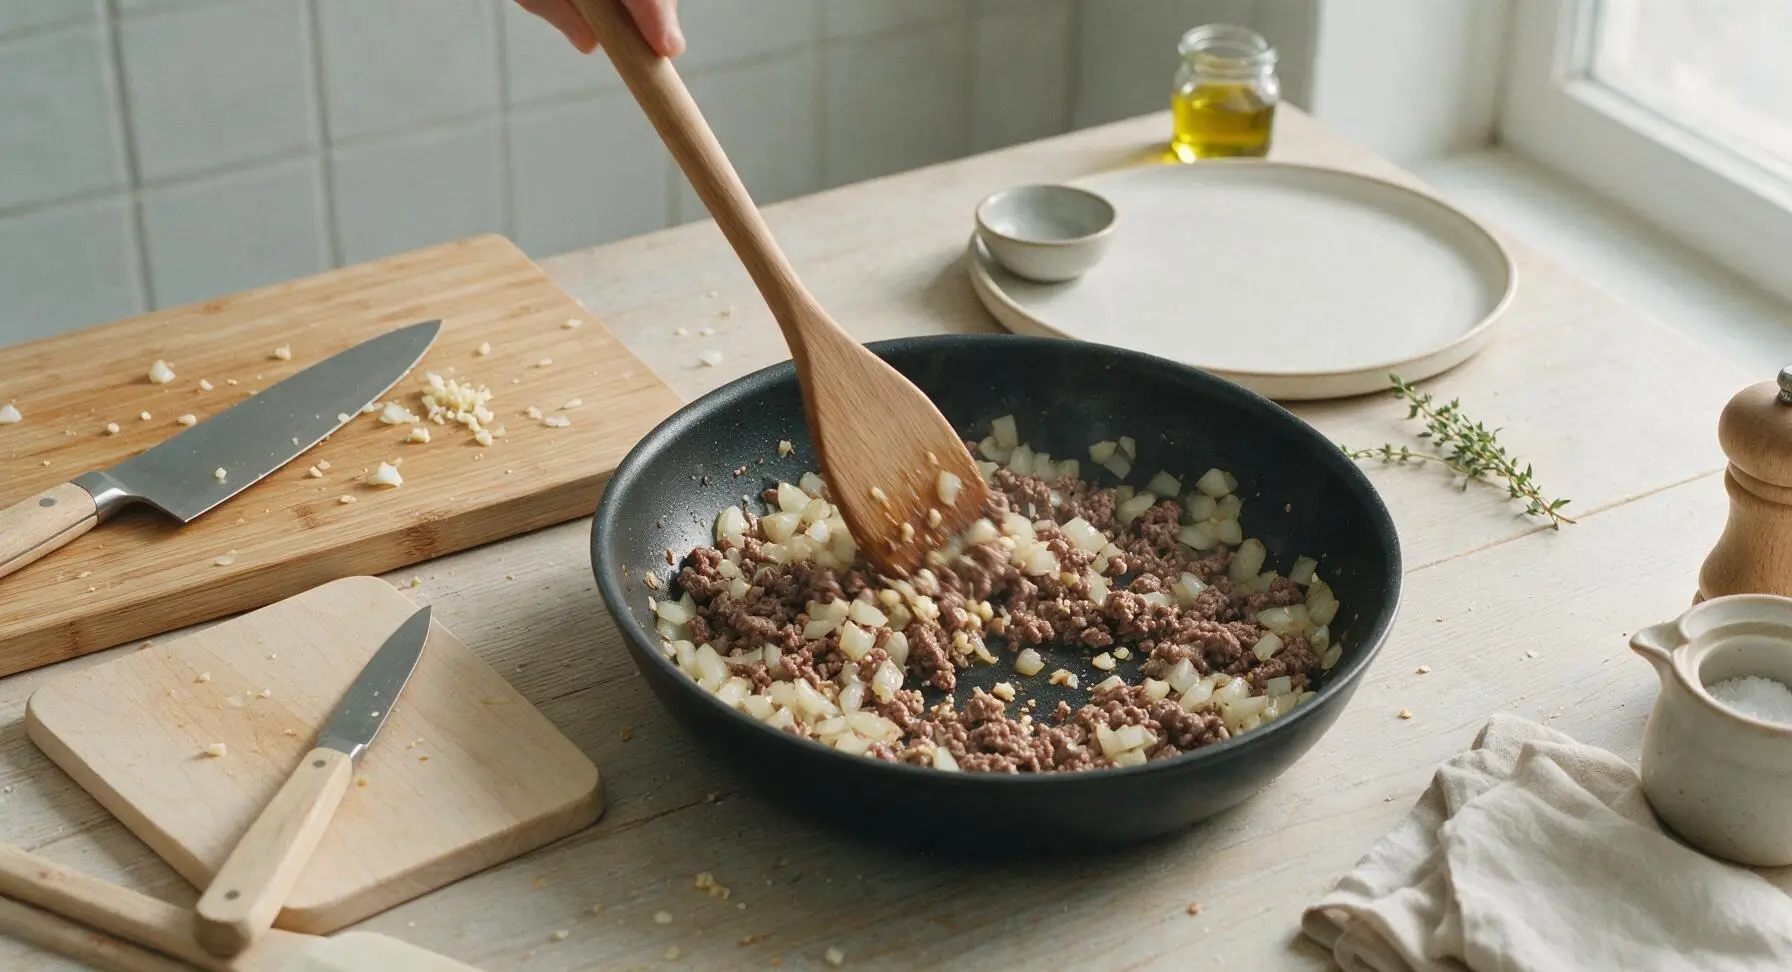
For that fine, crumbly texture perfect for hot dog chili, break the ground beef apart with a wooden spoon or stiff spatula as it browns, pressing it into small, even crumbles as you stir. If you want extra-smooth texture, use a potato masher to break up any remaining larger clumps once the beef is fully browned, before adding your tomato ingredients.
8.Can I freeze leftover no-bean hot dog chili?
▾
Definitely! This chili freezes beautifully for up to 3 months. Let it cool fully, then portion it into freezer-safe zip-top bags or airtight containers, pressing out excess air to prevent freezer burn. Thaw it in the fridge overnight, then reheat on the stovetop over low heat, stirring occasionally, for quick weeknight chili dog nights.
9.Is this chili spicy? My kids don’t like hot food.
▾
The base recipe as written is completely mild, with just rich beef and tomato flavor, so it’s totally kid-friendly right out of the pan. If you want to add a little heat for the adults at your cookout, stir in a pinch of cayenne, dash of hot sauce, or diced jalapeño when you sauté the onion, and serve that spicy batch on the side.
10.What seasonings work well with this base chili recipe?
▾
Since the recipe uses simple core ingredients, you can easily customize the seasoning to taste! Common add-ins include chili powder, cumin, a pinch of smoked paprika, a tiny splash of Worcestershire sauce, black pepper, or a light sprinkle of sugar to cut tomato acidity. Add seasonings slowly, tasting as you go, to avoid over-seasoning.
11.Why do you use yellow onion instead of red or sweet onion here?
▾
Yellow onion has a balanced, sharp-but-sweet flavor when sautéed that pairs perfectly with beef and tomato without overpowering the other ingredients. Red onion has a sharper, more peppery bite that can feel out of place in this mild chili, while sweet onion can make the final flavor feel overly sugary without extra balancing tweaks.
12.Can I use ground turkey instead of ground beef for a lighter version?
▾
You can absolutely swap in ground turkey, but go for a 93/7 blend rather than ultra-lean 99% fat-free turkey to avoid dry, bland chili. Add an extra teaspoon of olive oil when sautéing the onion, and bump up the seasonings a little, since ground turkey has a milder flavor than beef that can get lost next to the tomato base.
13.How thick should this chili be when it’s done?
▾
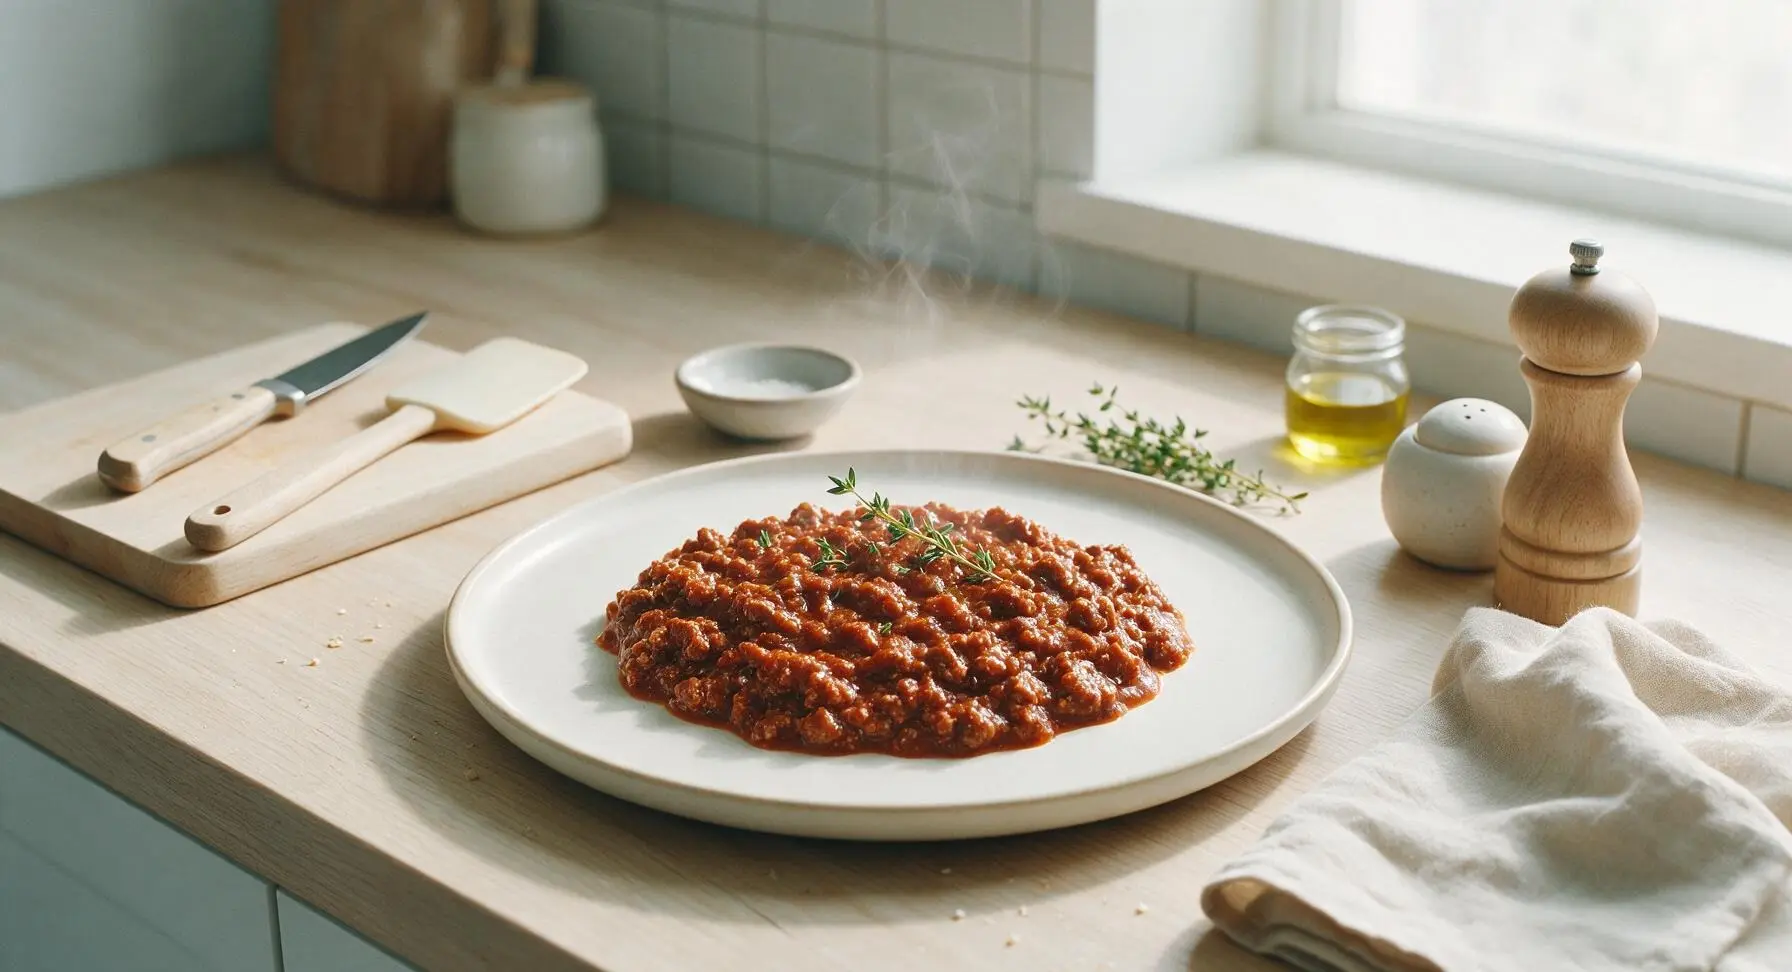
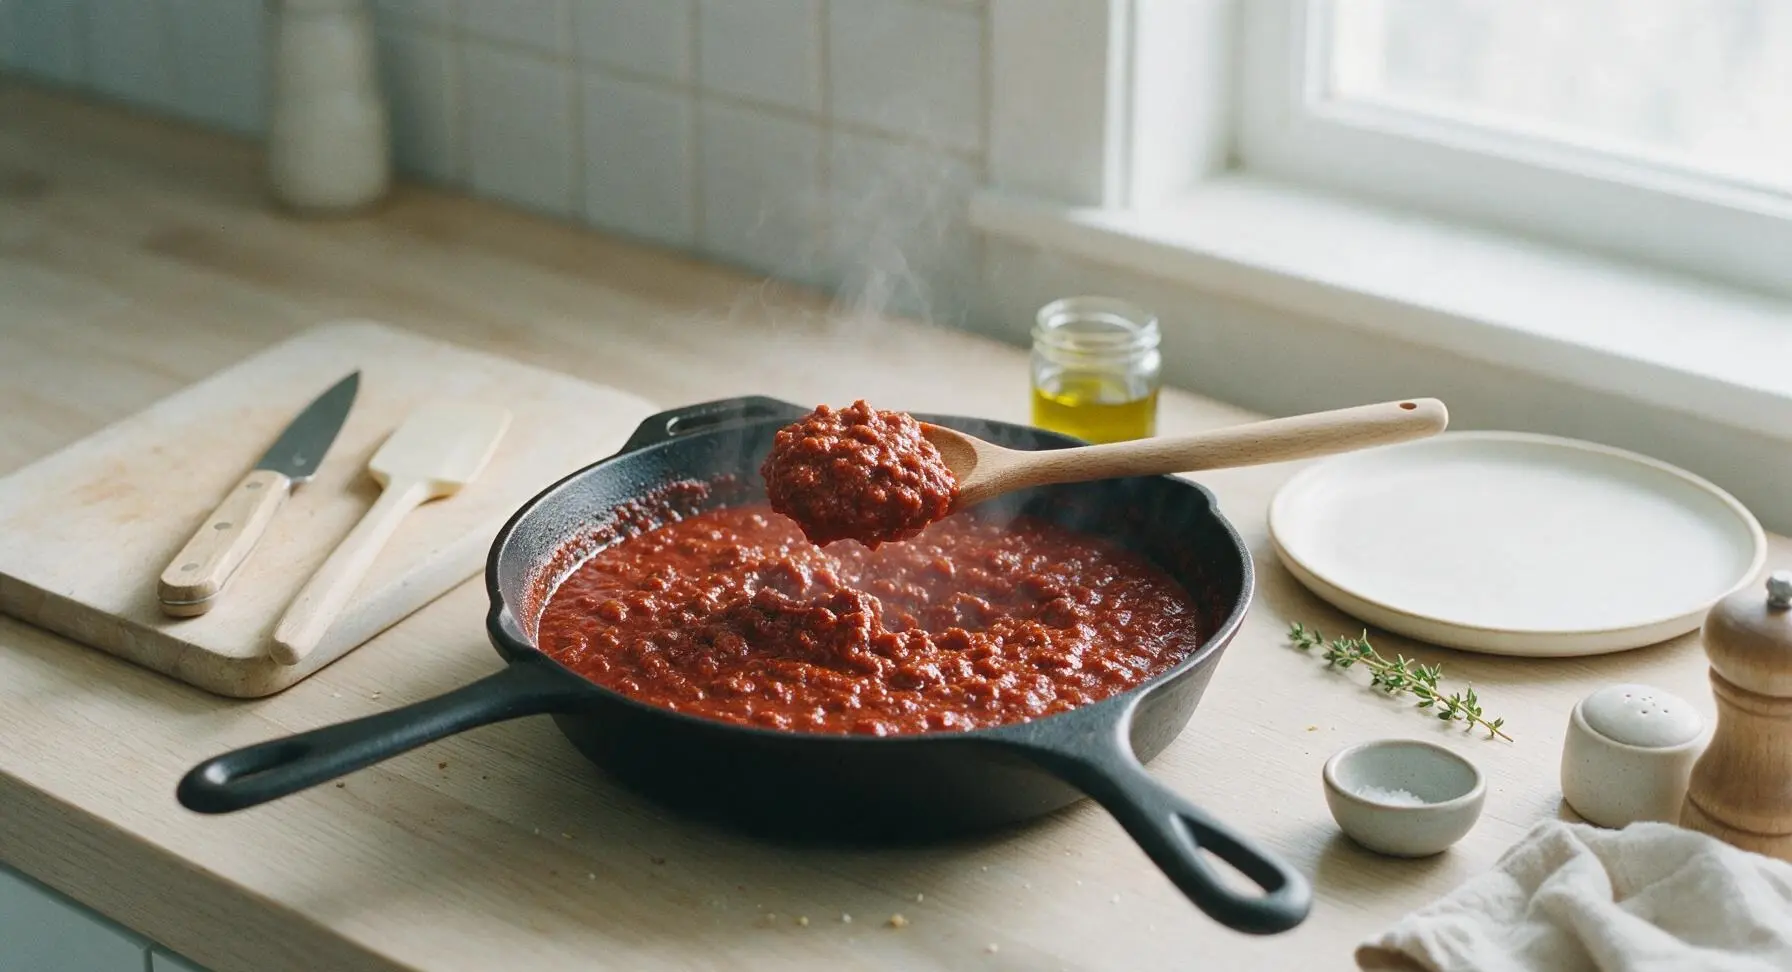
The finished chili should be thick enough to mound slightly on a hot dog without running off the sides, with no watery, loose liquid pooling around it. If your chili feels too thin after simmering, let it bubble uncovered for 2 to 3 extra minutes to cook off excess water. If it’s too thick, stir in a tablespoon of water or beef broth at a time to adjust.
14.Do I need to drain the fat from the ground beef after browning?
▾
When using the recommended 85/15 ground beef, you’ll only have a very small amount of rendered fat left after browning—usually just a teaspoon or two—so there’s no need to drain it. That small amount of fat carries tons of flavor and helps keep the chili rich. If you use a fattier blend, drain off all but a teaspoon of fat to avoid greasy chili.
15.Can I use fresh tomatoes instead of canned tomato sauce?
▾
You can, but you’ll need to cook them down longer to get the right thick consistency, and you should peel and seed them first to avoid a watery, chunky texture. For the quick, 20-minute cook time this recipe is designed for, canned no-salt tomato sauce is far more reliable, with consistent texture and flavor and zero extra prep work.
16.What else can I use this chili for besides topping hot dogs?
▾
While it’s purpose-built for hot dogs, this versatile no-bean chili works great as a topping for crispy french fries, tater tots, nachos, or baked potatoes. You can also stir it into mac and cheese for quick chili mac, layer it into Frito pie, or even use it as a quick sloppy joe base if you stir in a little brown sugar and mustard.
17.How much garlic should I use, and can I substitute garlic powder?
▾
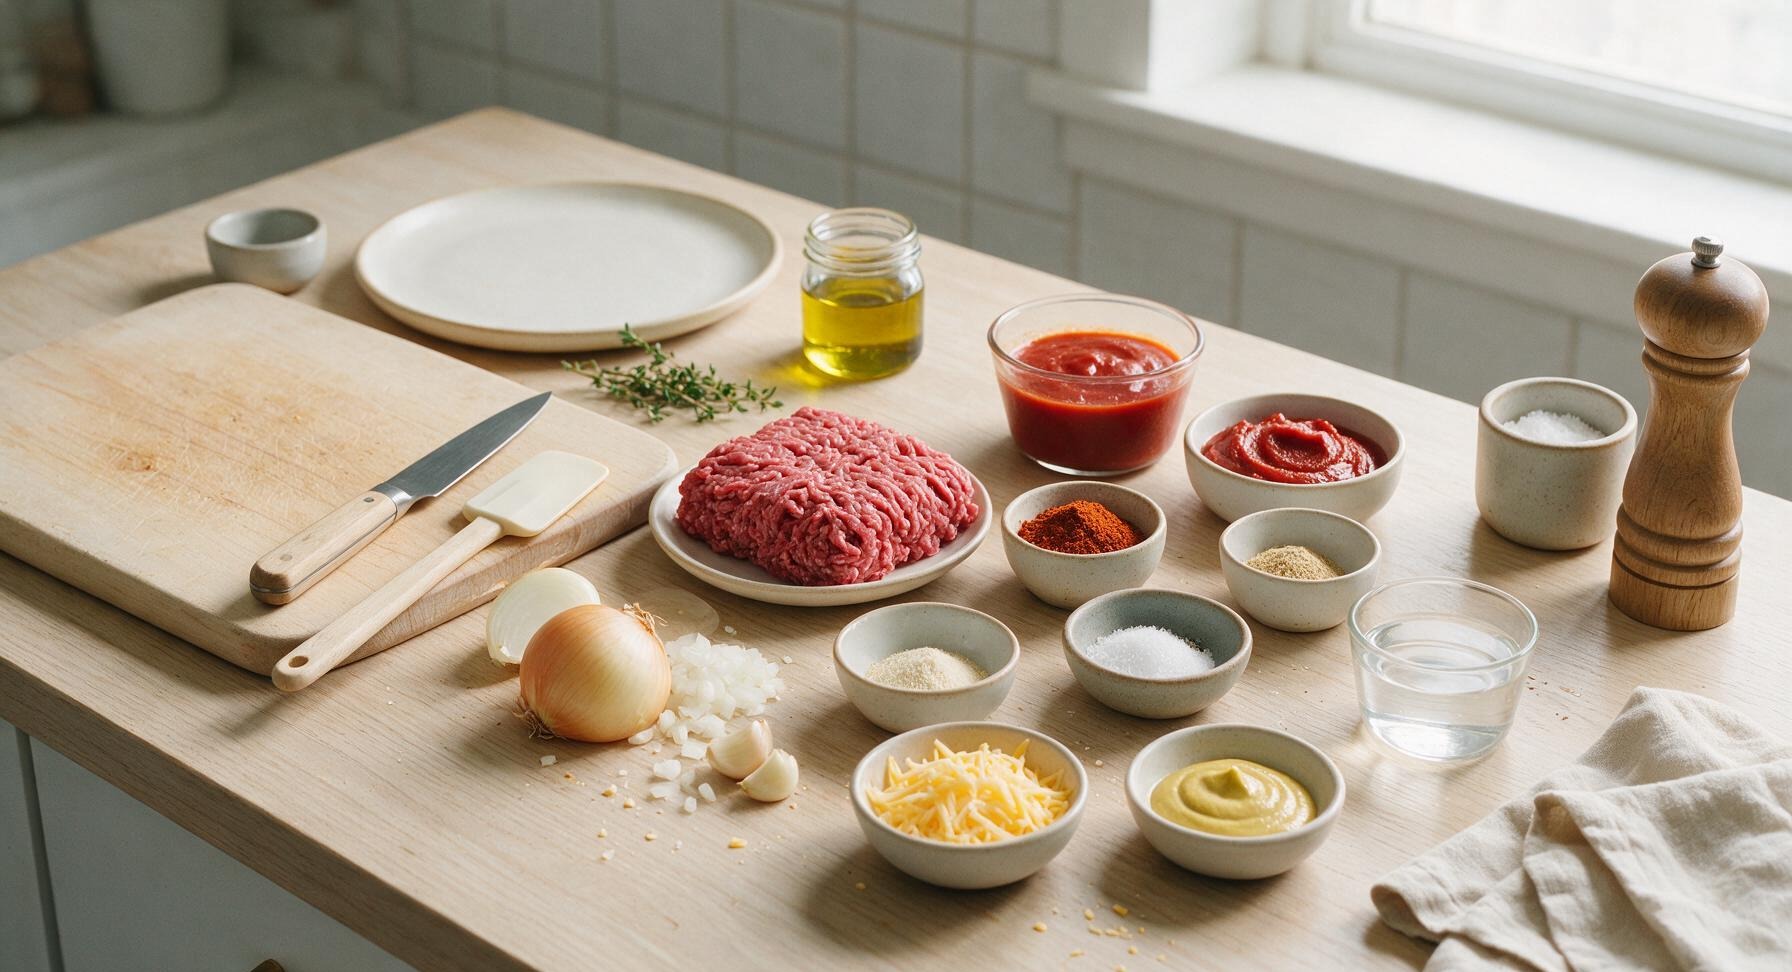
The recipe uses fresh garlic cloves for the brightest, most aromatic flavor, usually 2 to 3 cloves minced fine for a full batch. If you don’t have fresh garlic on hand, substitute ½ teaspoon of garlic powder, added right when you stir in the tomato paste, to avoid the bitter taste that comes from cooking garlic powder too long over high heat.
18.Do I need to let this chili simmer for an hour like regular chili?
▾
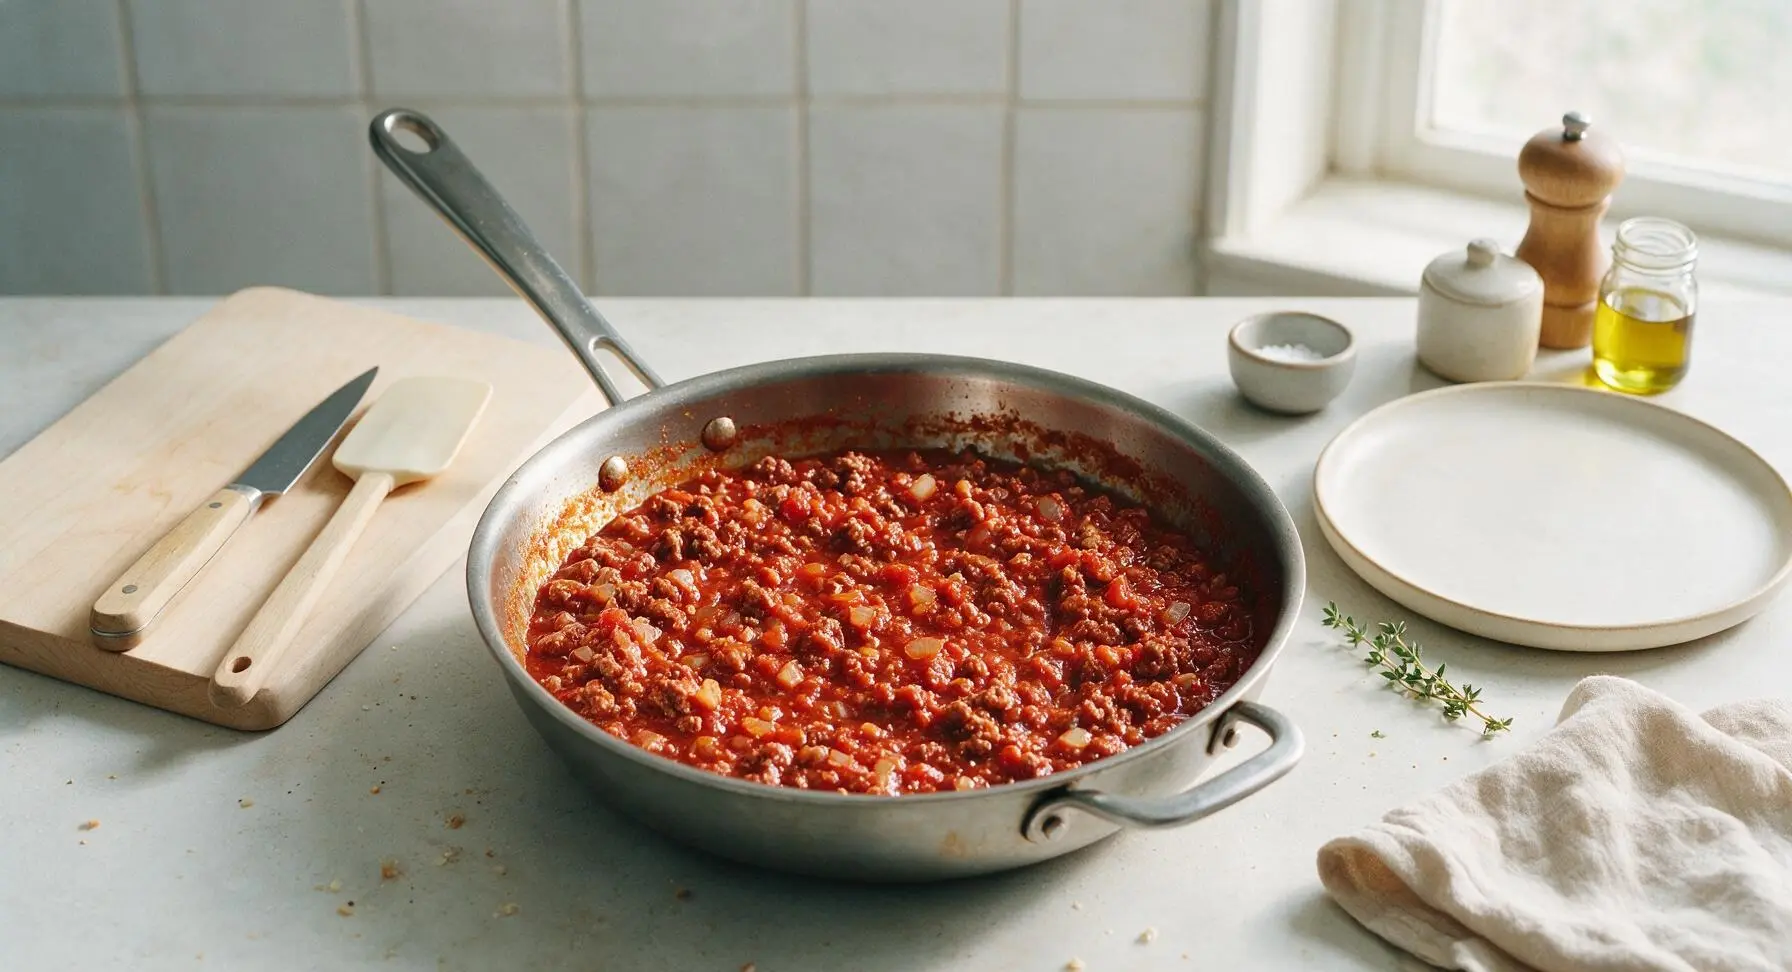
Nope! Unlike hearty, bean-packed chili that benefits from long, slow simmering to tenderize beans and build deep flavors, this quick hot dog chili is designed to be done fast. After adding your tomato sauce and paste, just let it simmer gently for 10 minutes over low heat to let flavors meld—any longer and it may get too thick or dry out.
19.How do I prevent the tomato paste from tasting bitter?
▾
The key to mellowing tomato paste’s sharp, metallic canned taste is to cook it briefly in the pan with your sautéed onion, garlic, and browned beef before adding the tomato sauce. Stir it constantly for 30 to 60 seconds, until it darkens slightly to a deep rust color and smells fragrant—this toasting step eliminates bitter notes for rich, sweet tomato flavor.
20.Can I make this recipe in a slow cooker for a party?
▾
You can easily adapt it for a slow cooker for easy, hands-off party serving! Brown the beef, onion, and garlic on the stovetop first, stir in the tomato paste and sauce, then transfer everything to your slow cooker and cook on LOW for 2 hours to keep it warm for guests. Stir occasionally, adding a splash of broth if it thickens too much while holding.


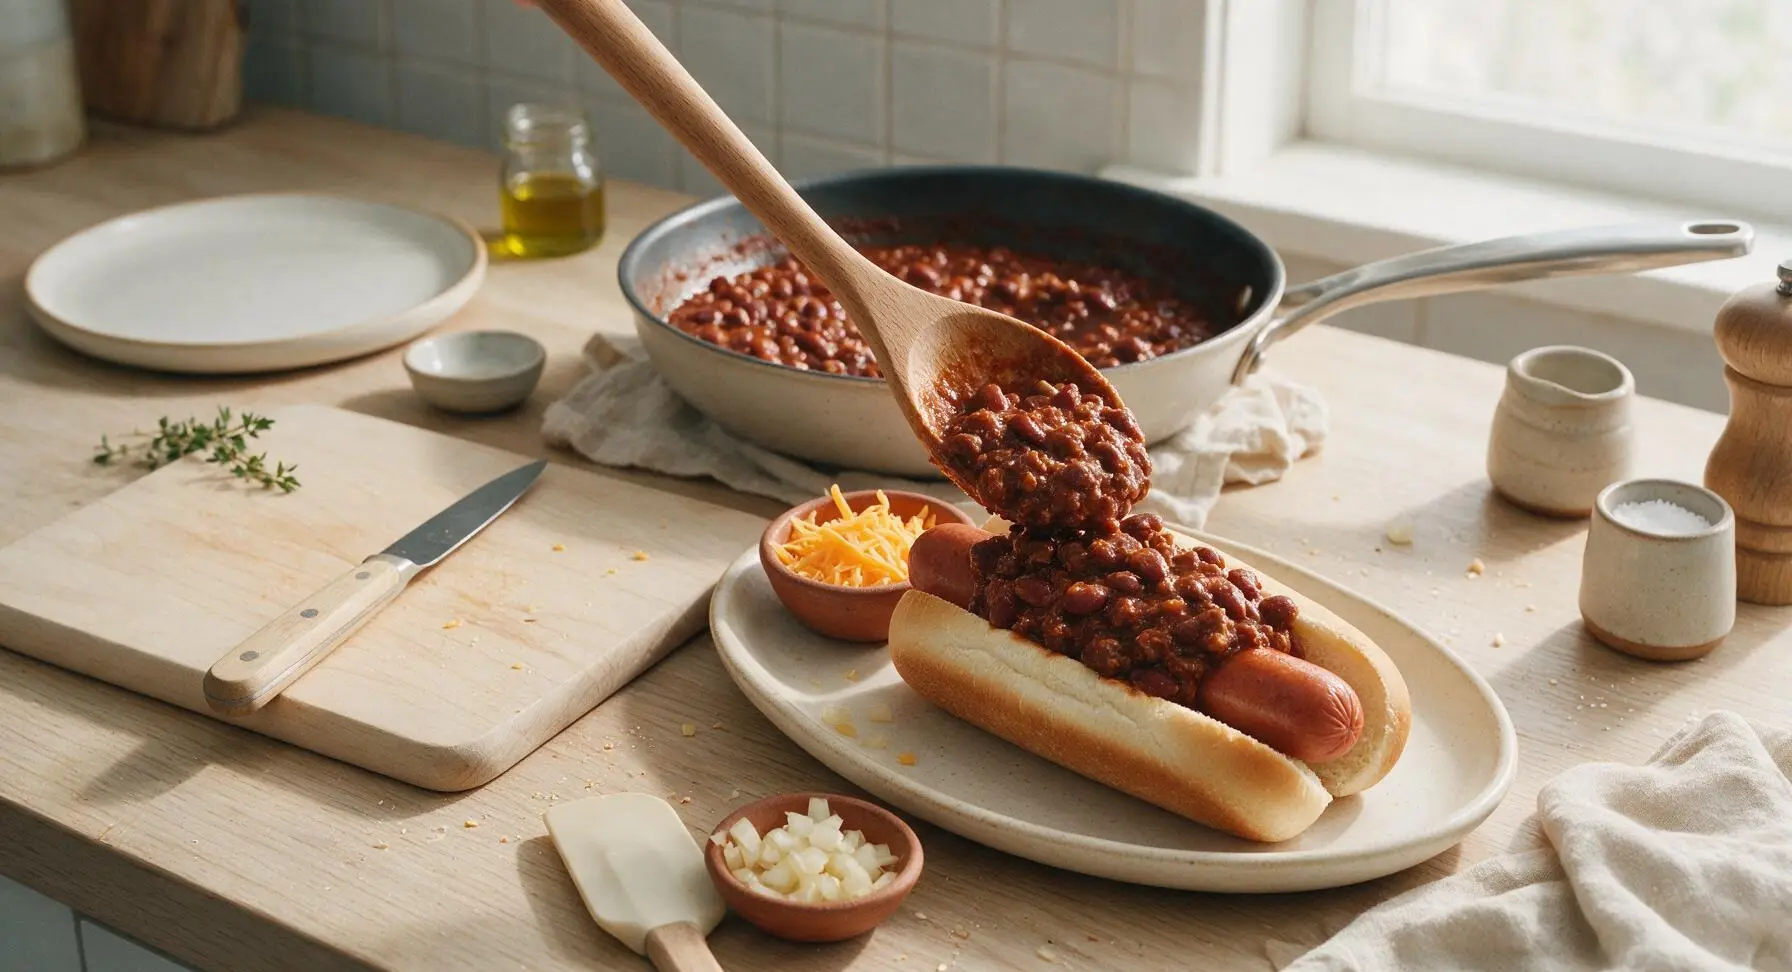






OMG this no-bean hot dog chili is an absolute game changer! I’ve been searching for a copycat of the stadium-style chili they serve at our local minor league ballpark for years, and this hits every single note. That 20 minute cook time is no joke — I threw this together right after work before our family dinner last night, and even my super picky teen who turns his nose up at anything “homemade” piled this high on his dog. No beans means no weird mushy texture, just that rich, meaty, tangy flavor you want on a hot dog. Already added this to our weekly meal rotation!
This no-bean chili was so easy to whip up for meal prep this week! I made a big batch on Sunday, portioned it out into little containers, and it’s been perfect for quick lunches all week — I’ve put it on hot dogs, even tossed a scoop on top of a baked potato for a fast, filling meal. I love that there are no beans to get mushy when I reheat it, which makes it hold up so much better for meal prep. The only tiny tweak I made was using a little less ketchup because I prefer more savory than sweet chili, but it turned out chef’s kiss either way. Will absolutely be making a double batch for our next block party potluck!
SO good! My three kids all raved about this chili on our weekly hot dog night, and I didn’t have to spend an hour slaving over the stove to make it. No beans is non-negotiable in our house because two of my kids will straight-up refuse to eat any bean they spot, so this recipe was basically made for us. I served it topped with a little shredded cheddar and diced white onion, and even my mother-in-law — who is super judgmental about “shortcut easy recipes” — asked me to text her the link before she left. Total weeknight win, will make again and again!