
hot dog dough
intro
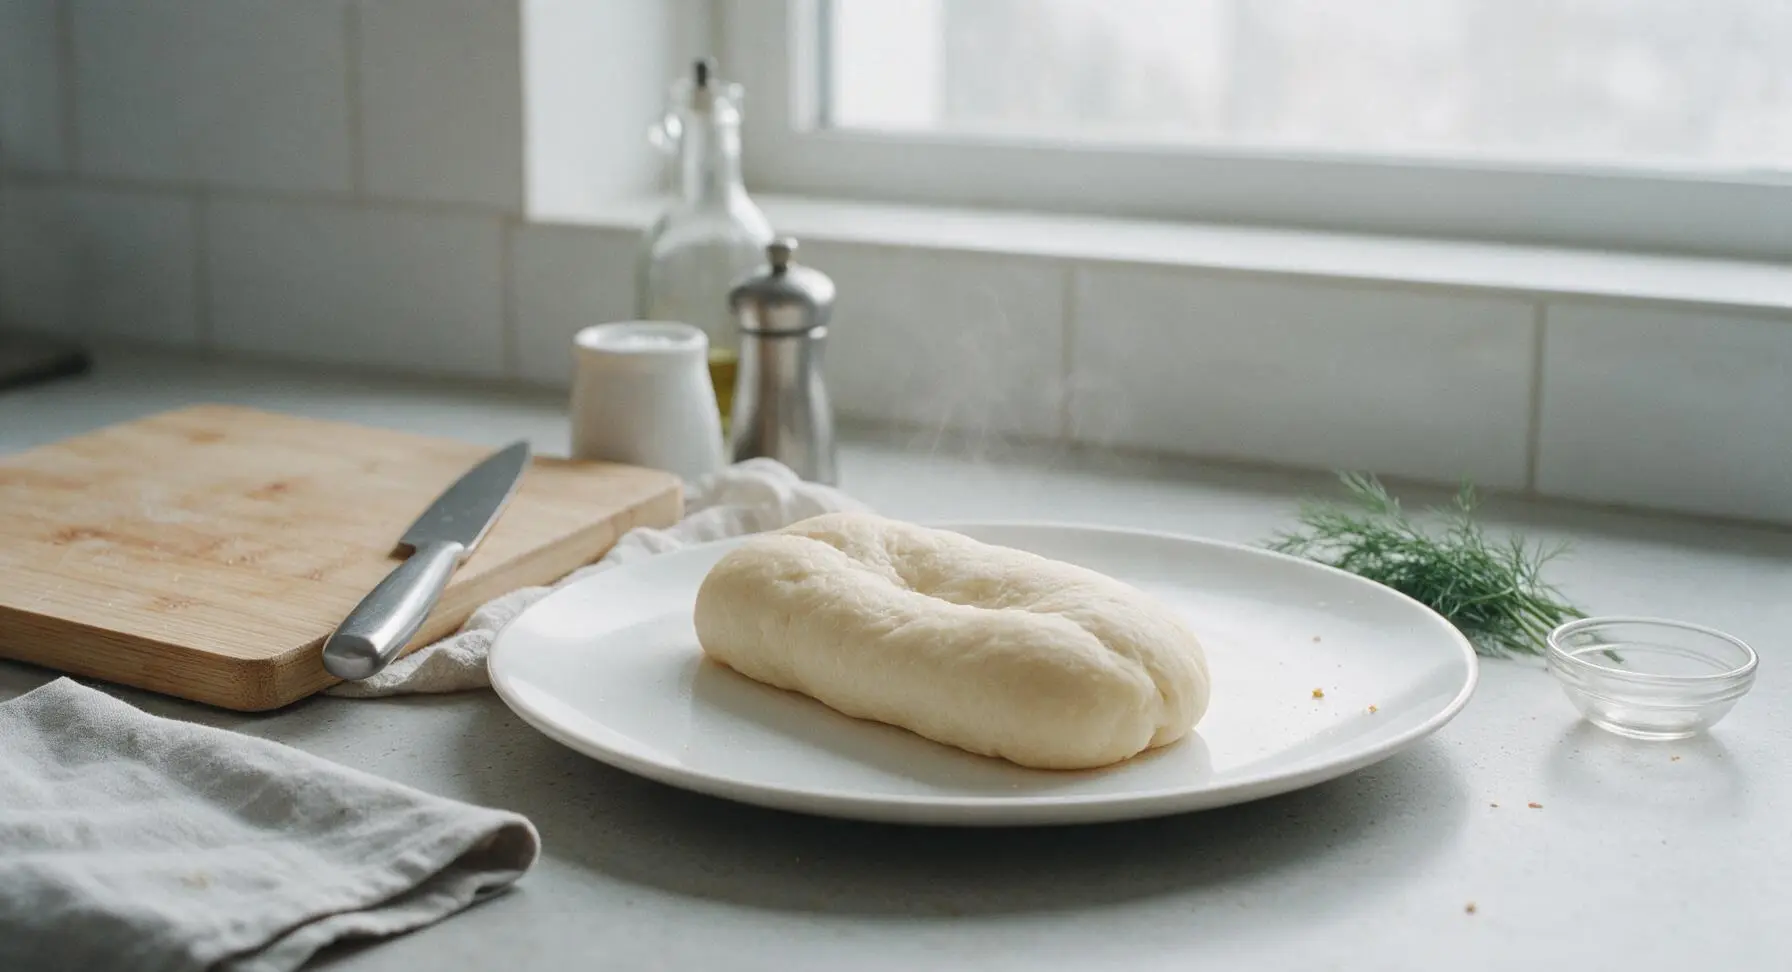
Soft, pillowy, slightly sweet enriched yeasted dough, perfect for baking golden hot dog buns, bagel dogs, or pigs in a blanket for summer cookouts.
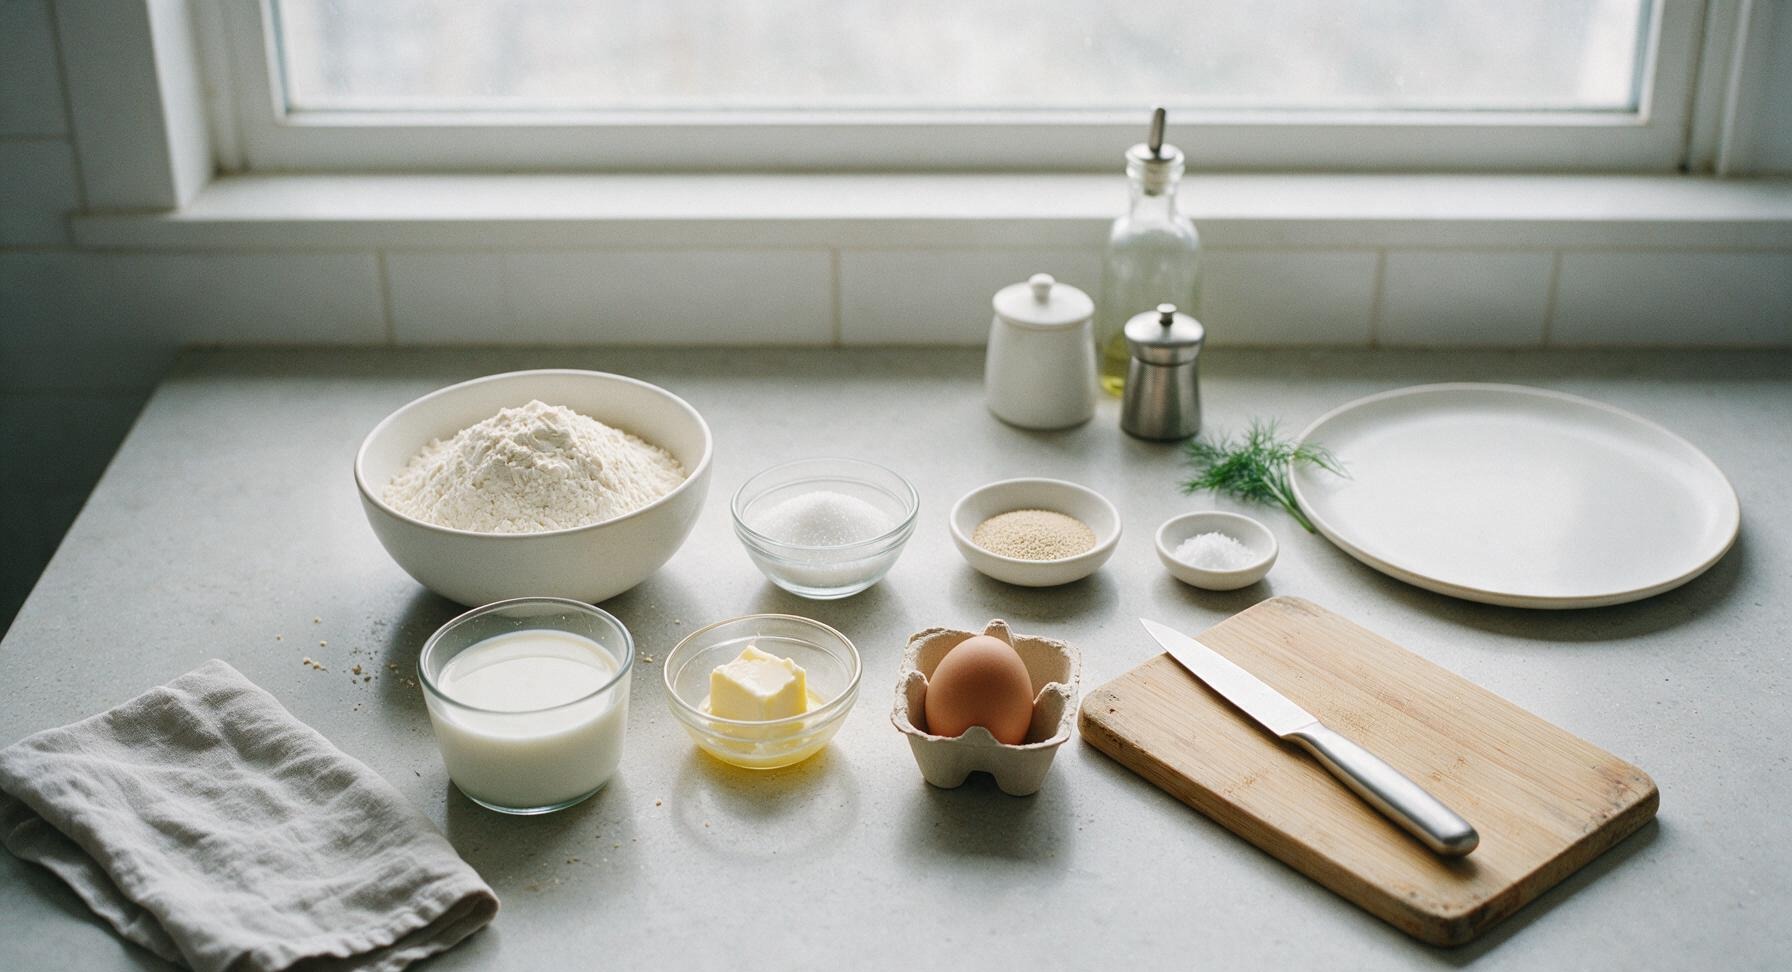
Ingredients
Steps
Mix Wet Yeast Base
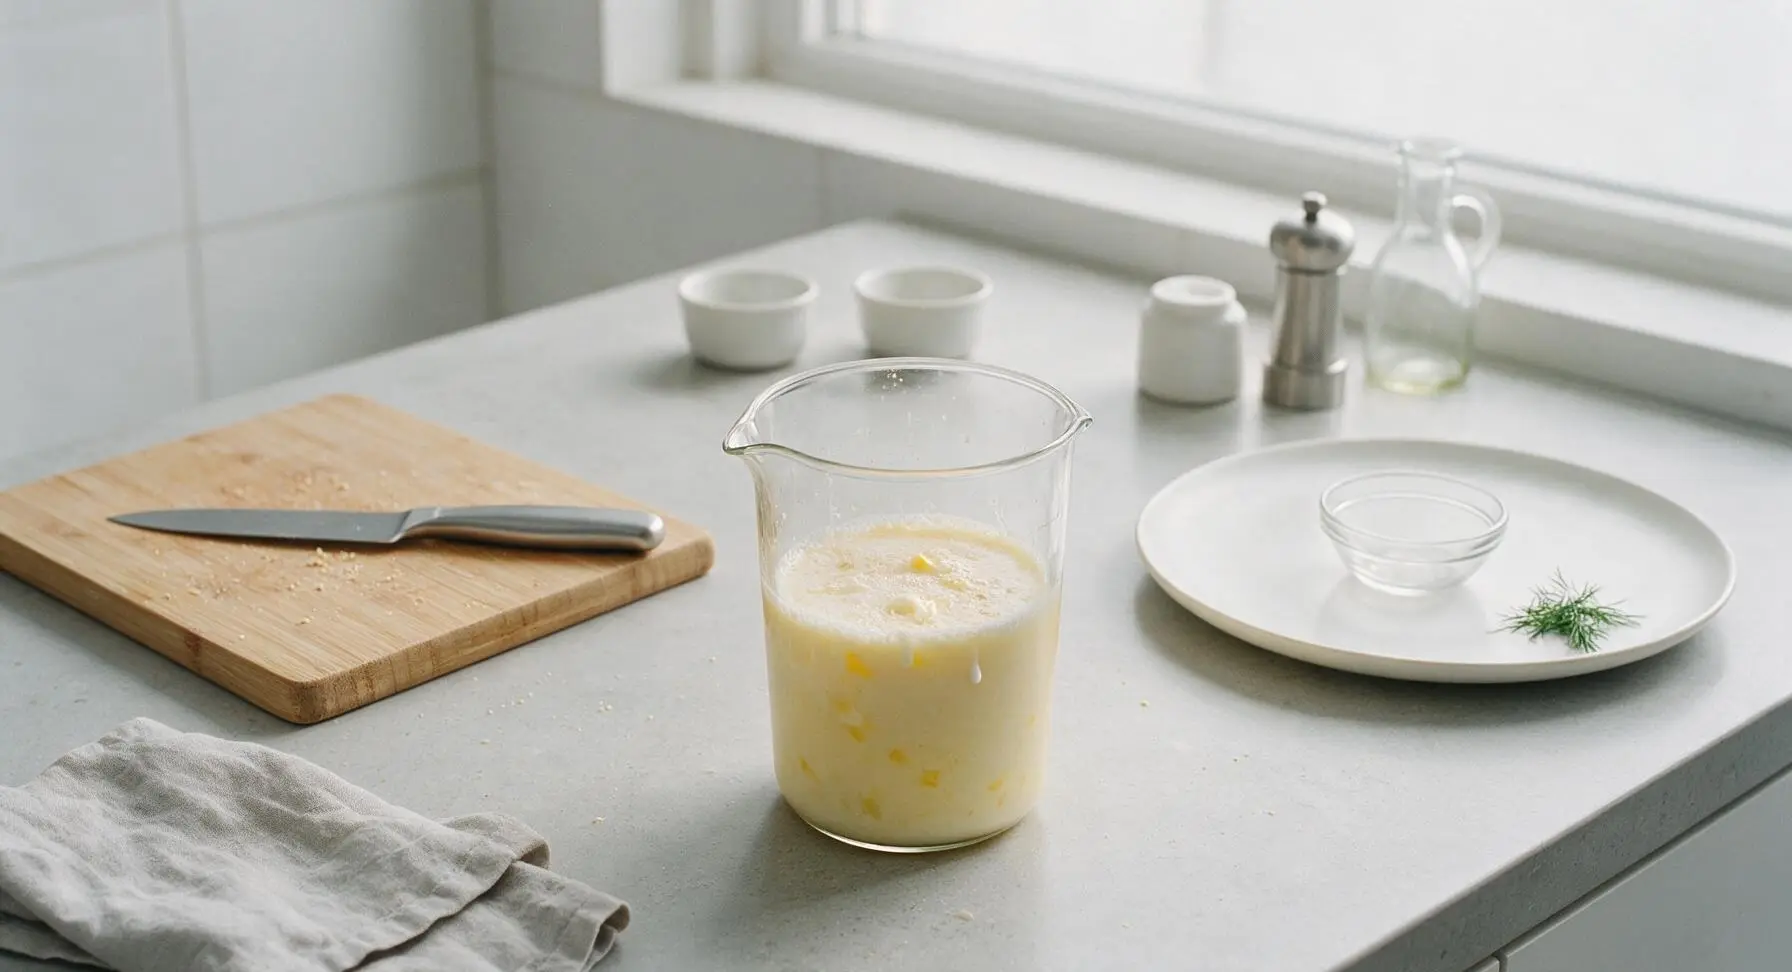
Pour 240ml lukewarm (37°C/98°F, roughly body temperature) whole milk into the fixed clear glass measuring cup. Stir in 1 teaspoon of the measured granulated sugar and all 7g of instant yeast until fully dissolved. Let the mixture rest for 5 minutes, until a thin, frothy pale foam forms across the surface, confirming the yeast is active. Add the room-temperature large egg and 45g softened unsalted butter to the measuring cup, whisking gently with a fork until loosely combined, with small bits of butter still visible.
Whisk Dry Ingredients
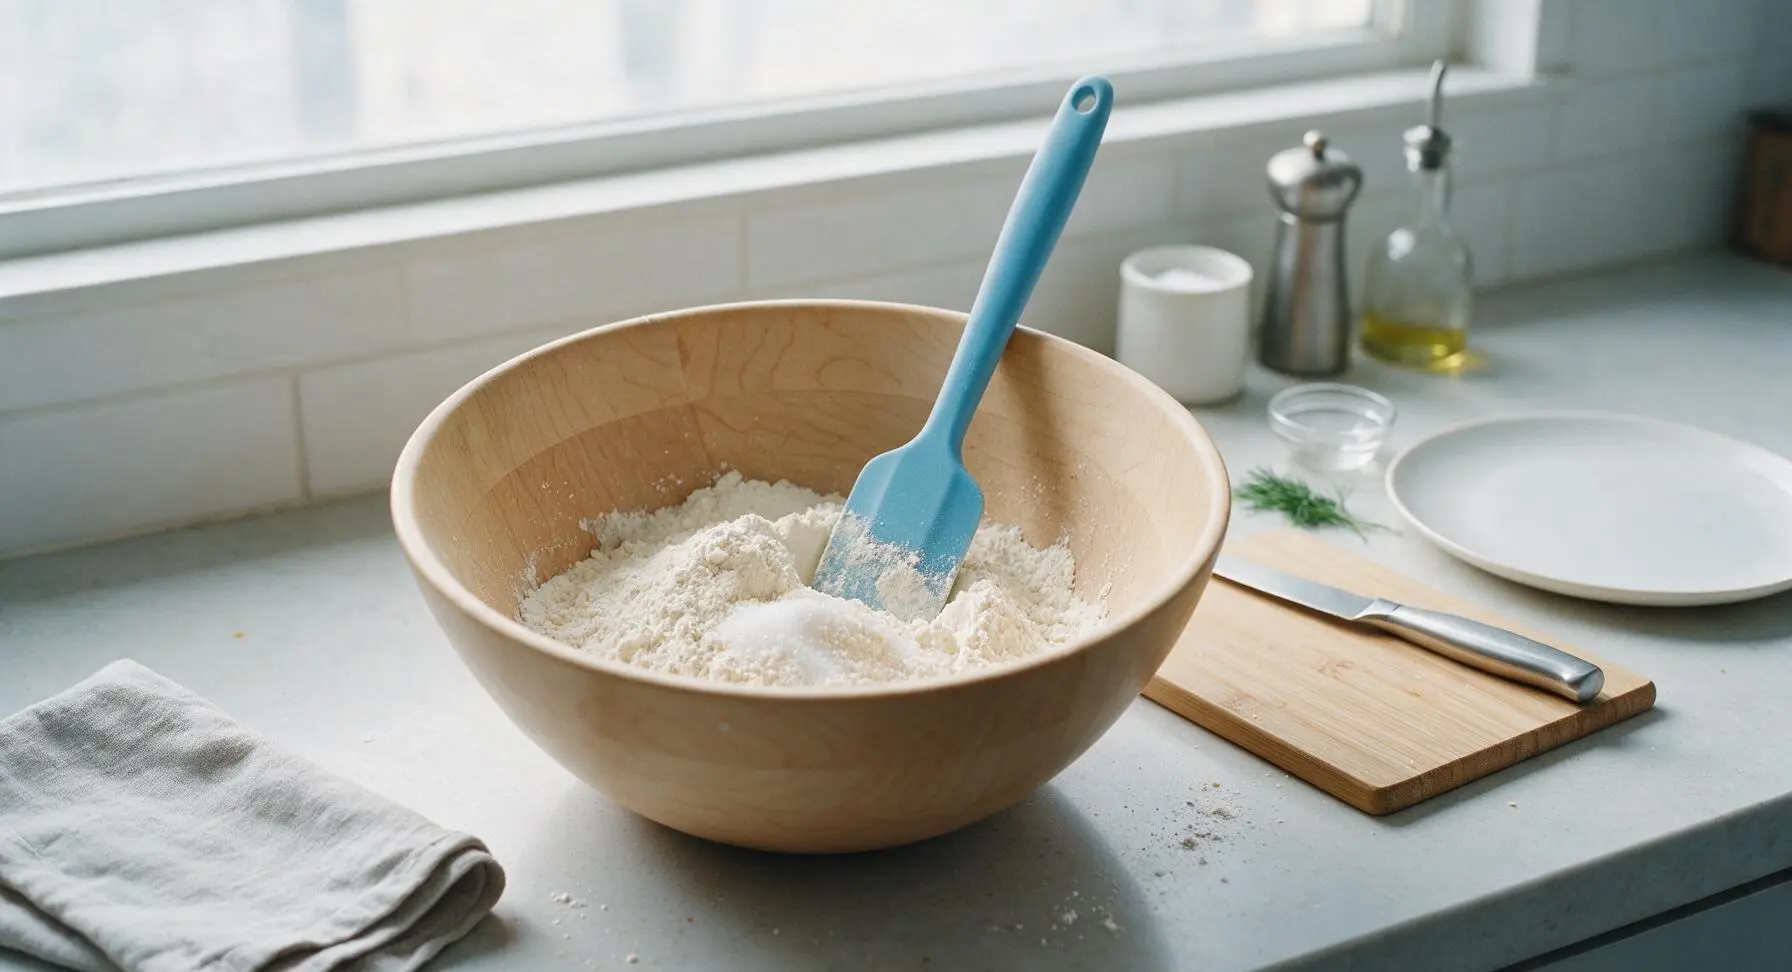
Add all 480g all-purpose flour, remaining granulated sugar, and 8g fine sea salt to the fixed light maple mixing bowl. Use the sky blue silicone spatula to stir the dry ingredients for 30 seconds, ensuring the salt and sugar are evenly distributed throughout the flour with no visible clumps.
Mix Shaggy Dough
Pour the entire wet yeast mixture from the glass measuring cup into the maple mixing bowl with the dry ingredients. Use the silicone spatula to stir in broad, firm circular motions, scraping down the sides and bottom of the bowl to catch any hidden dry flour pockets, for approximately 2 minutes. Stop stirring once no dry flour remains, and a lumpy, sticky, shaggy dough mass forms.
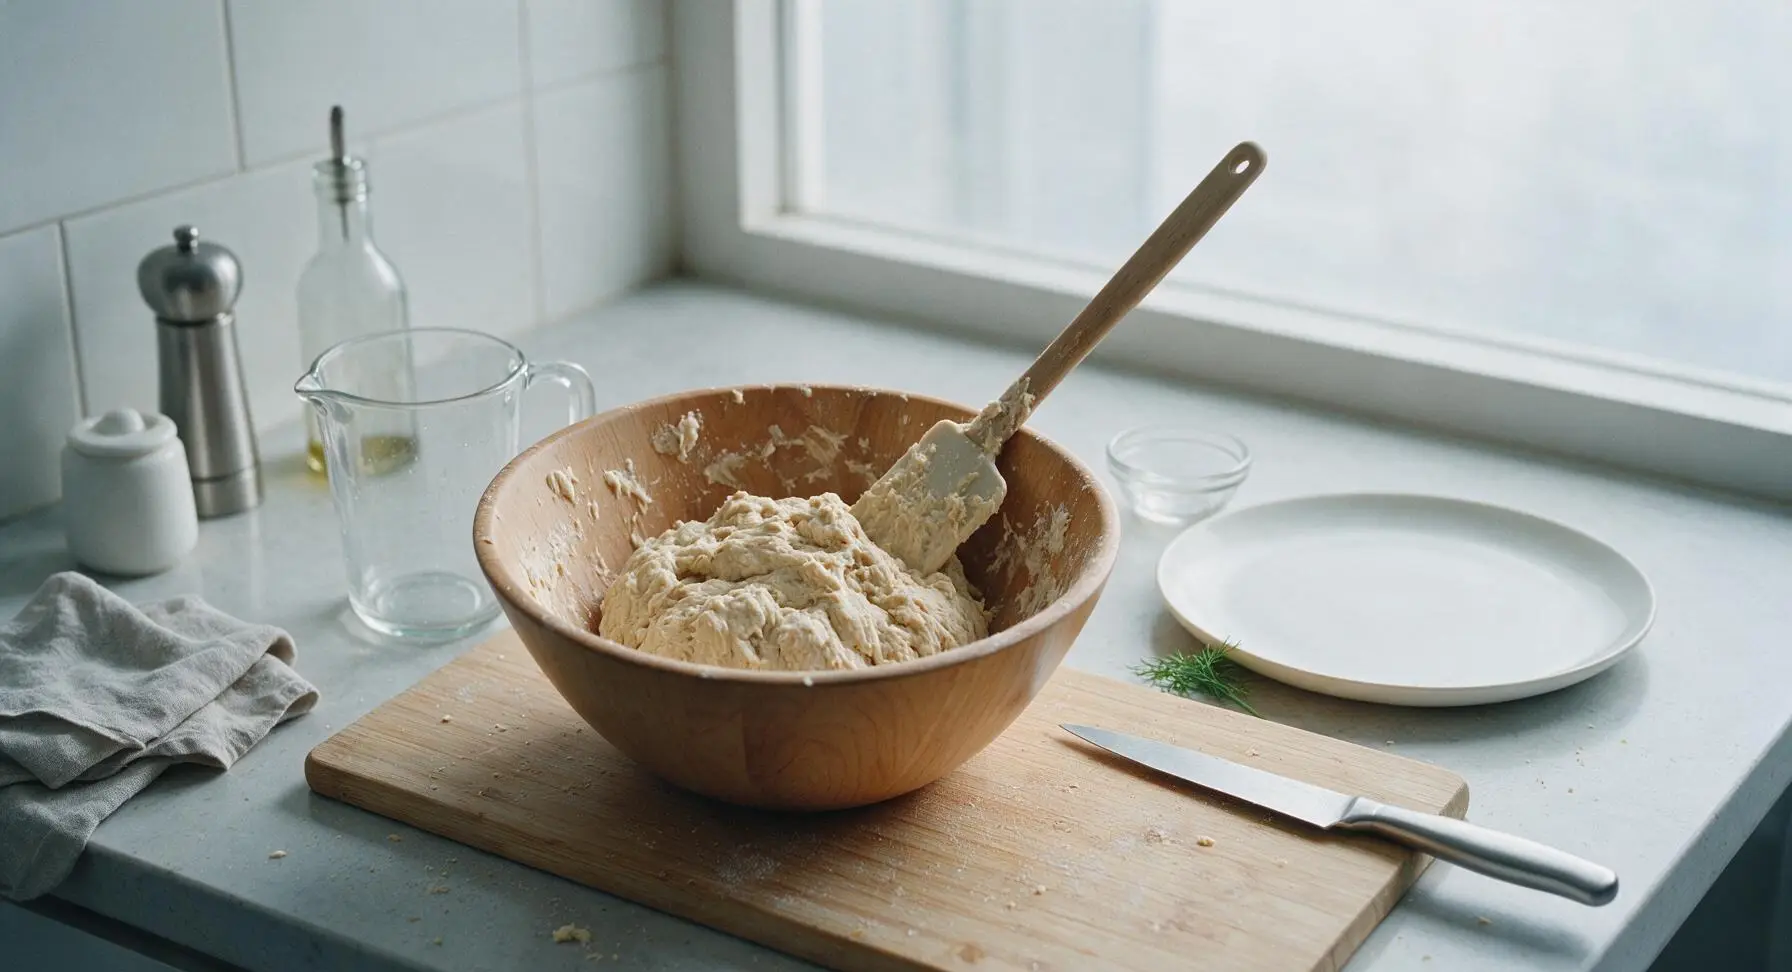
Knead Until Smooth
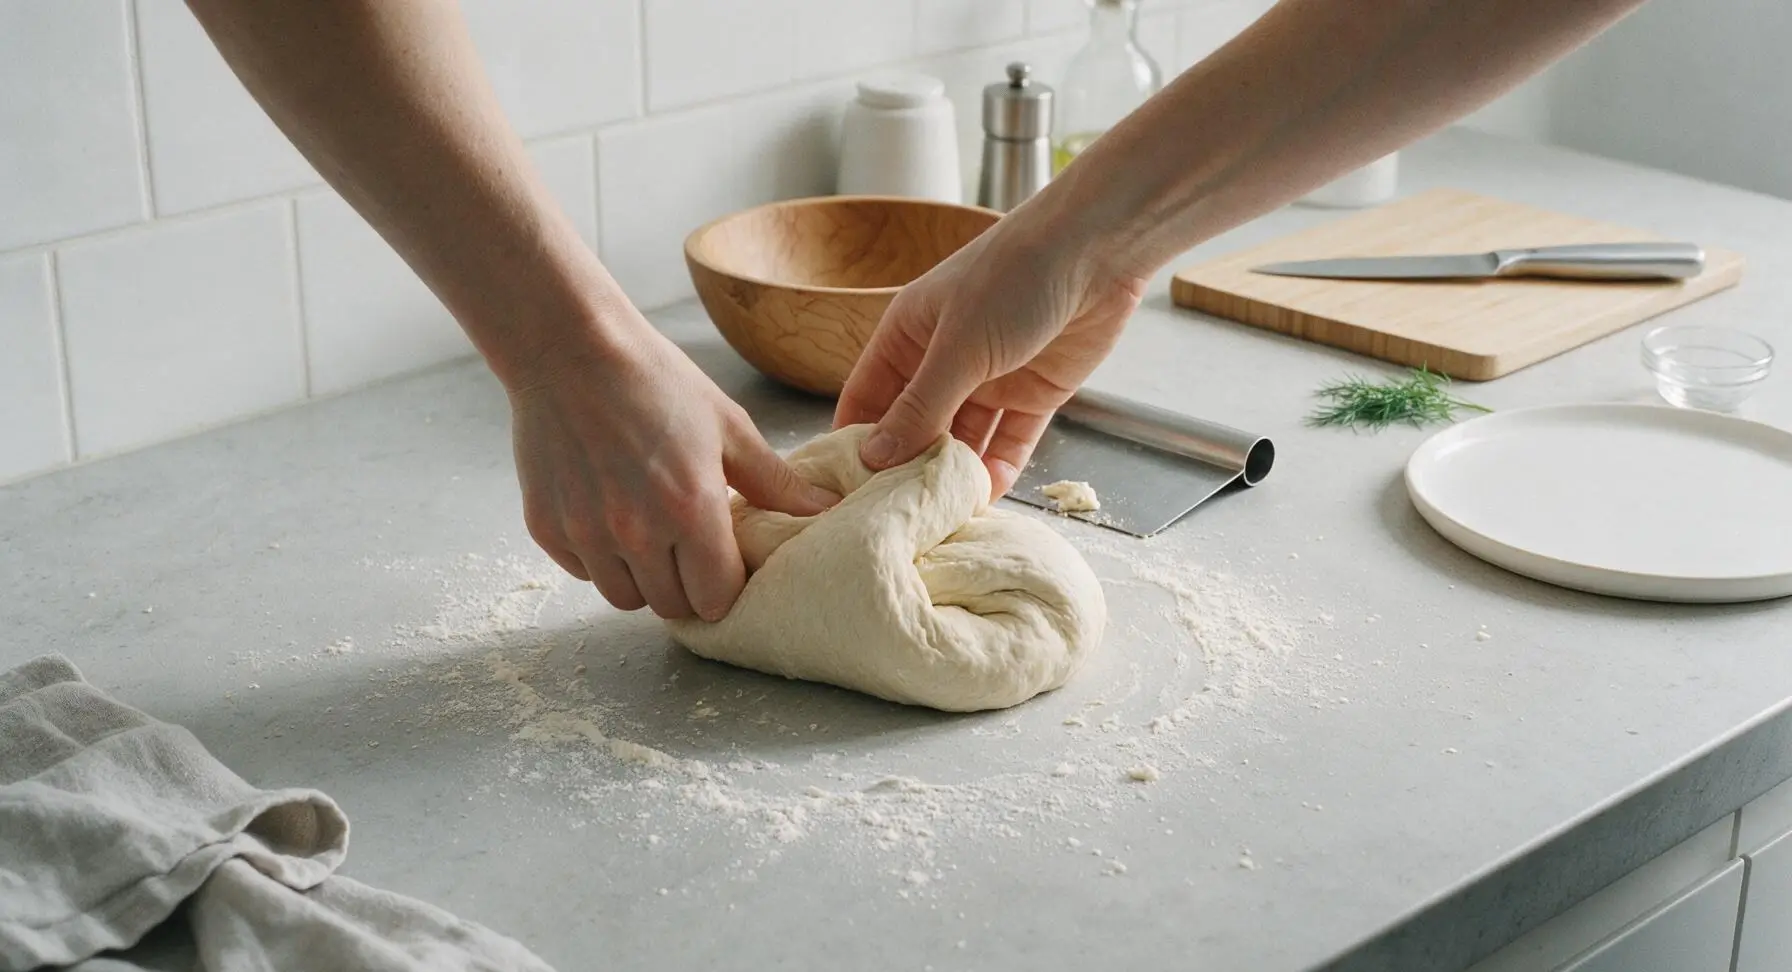
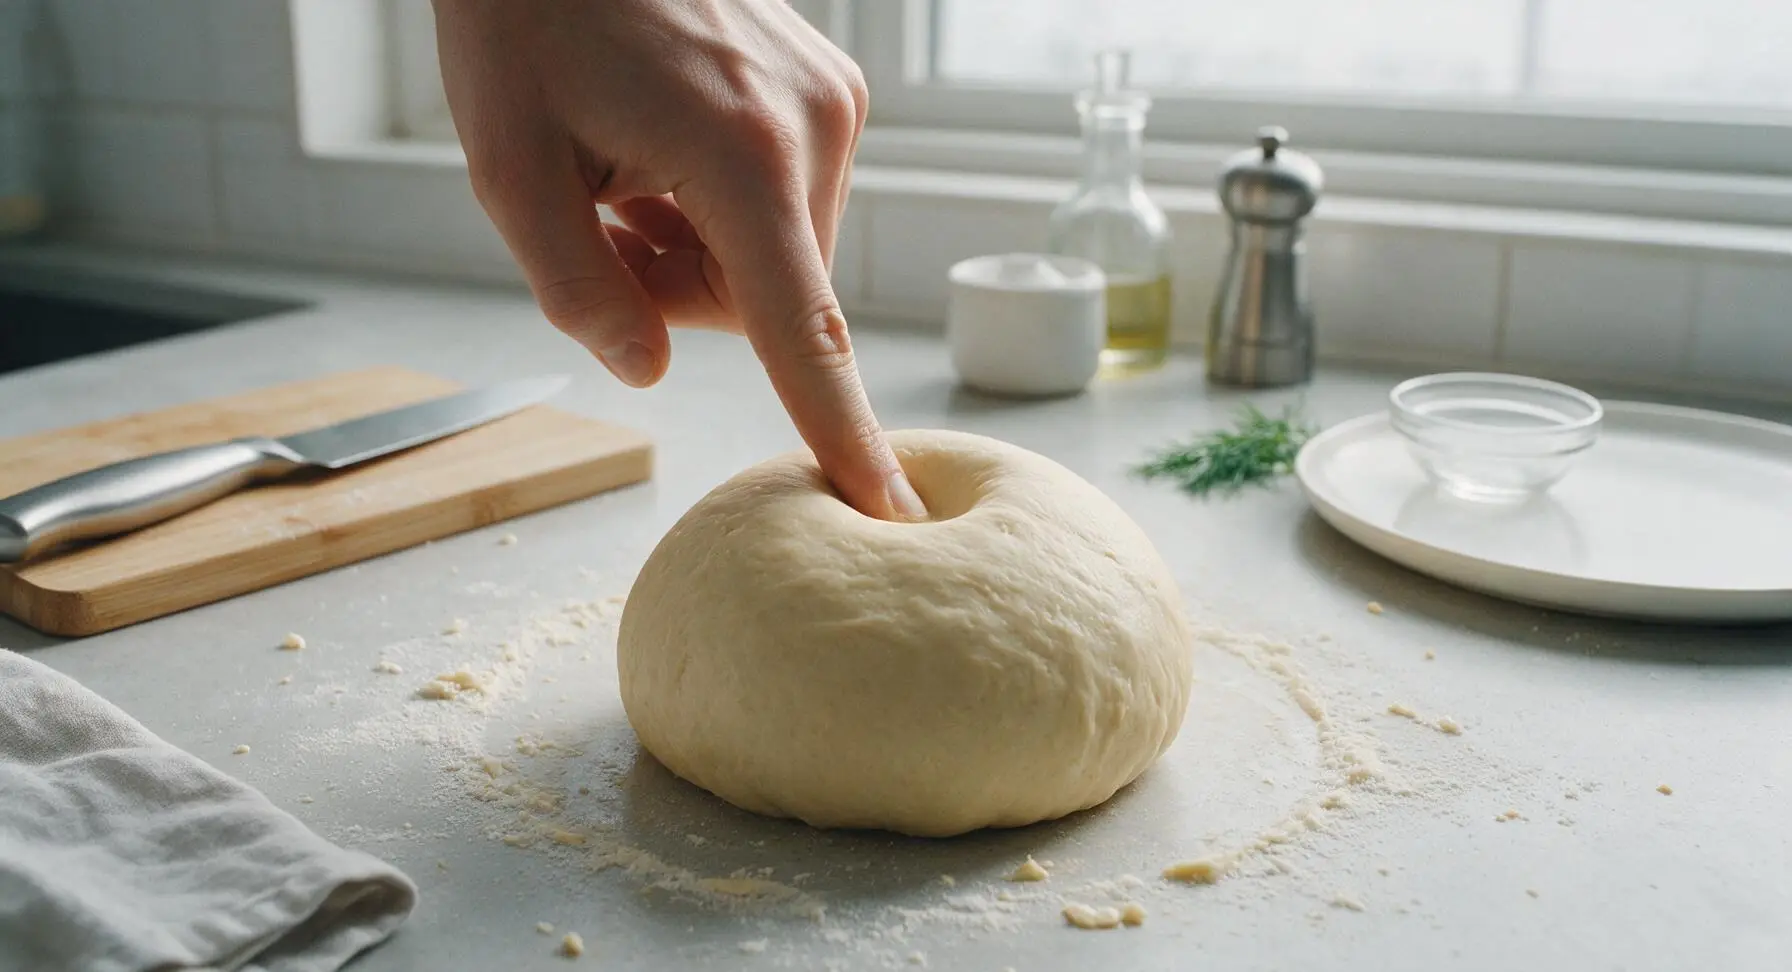
Tip the shaggy dough out onto a lightly floured section of counter directly in front of the maple bowl. Knead by hand for 8-10 minutes: fold the far edge of the dough over toward you, push forward and away with the heel of your palm, then turn the dough a quarter turn and repeat. Use the stainless steel dough scraper to lift any stuck dough bits from the counter as you work. The dough is finished kneading when it is soft, smooth, slightly tacky (not sticky), and springs back halfway when poked with a finger, with a tight, even surface.
Let Dough Double
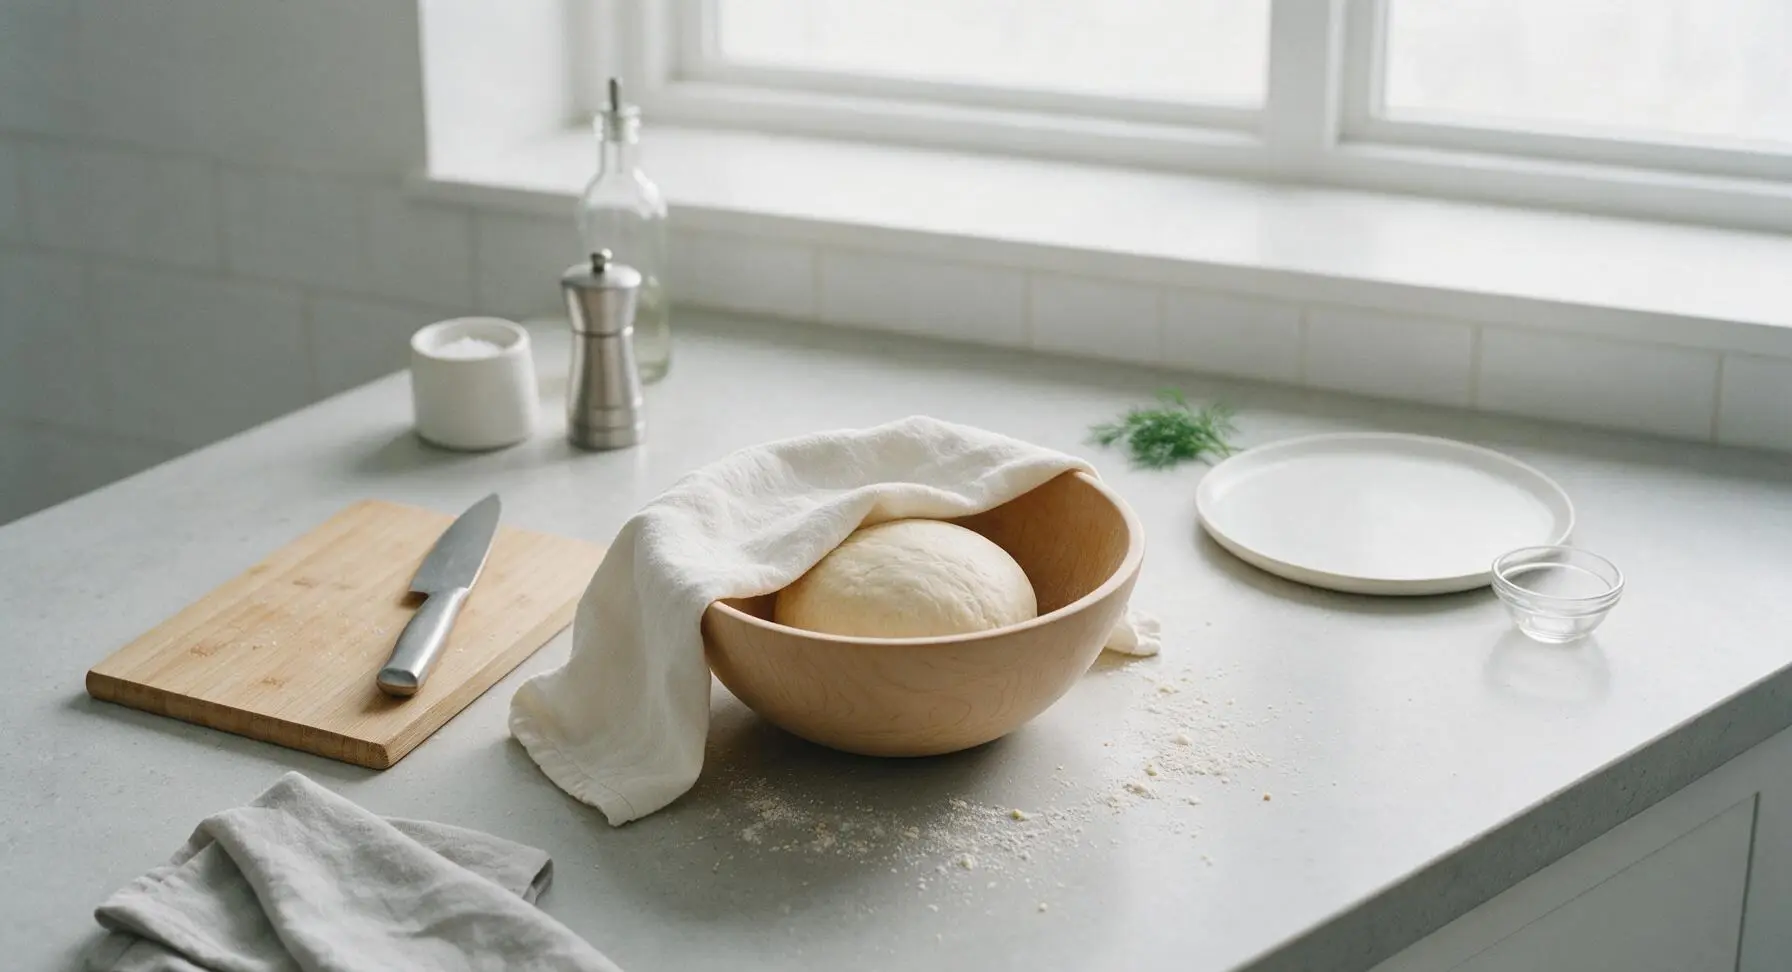
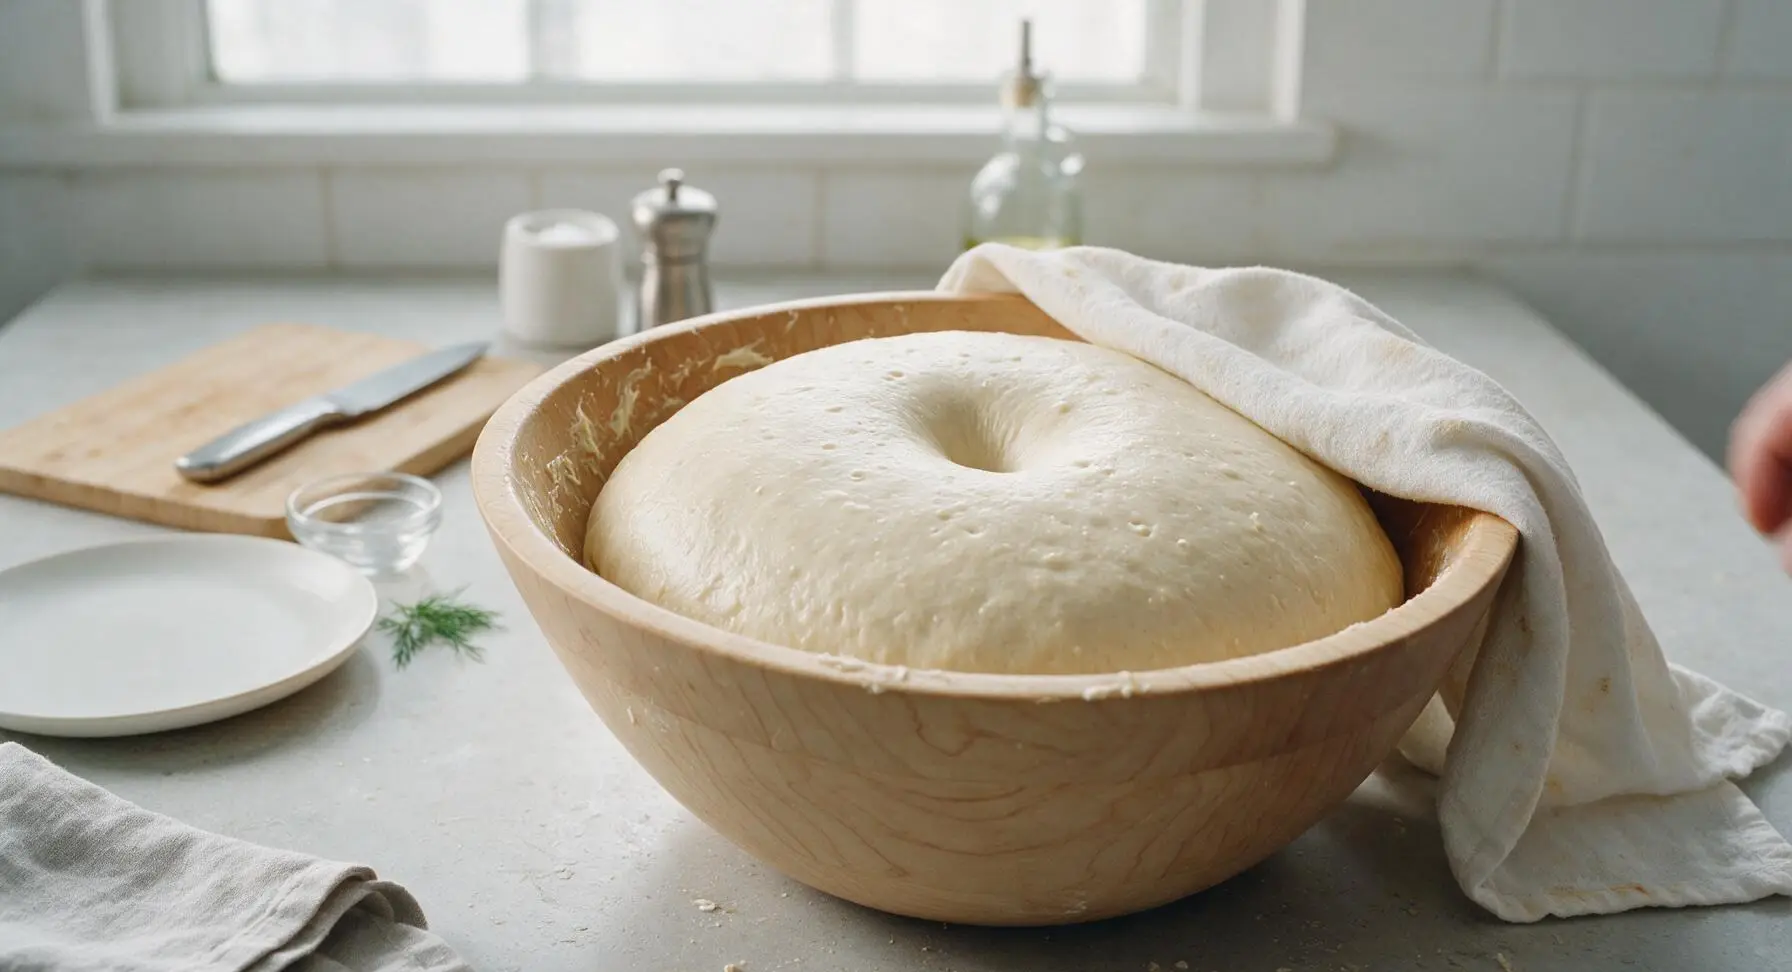
Lightly grease the inside of the maple mixing bowl with a tiny swipe of butter, then place the kneaded dough ball back into the bowl seam-side down. Drape the folded off-white cotton kitchen towel from the bottom left counter loosely over the bowl top to trap humidity. Let the dough rest in a warm, draft-free spot (24°C/75°F) for 1 to 1.5 hours, until it has fully doubled in volume. The rise is complete when a finger poked 1cm deep into the dough center leaves an indent that does not spring back.
Degas and Portion
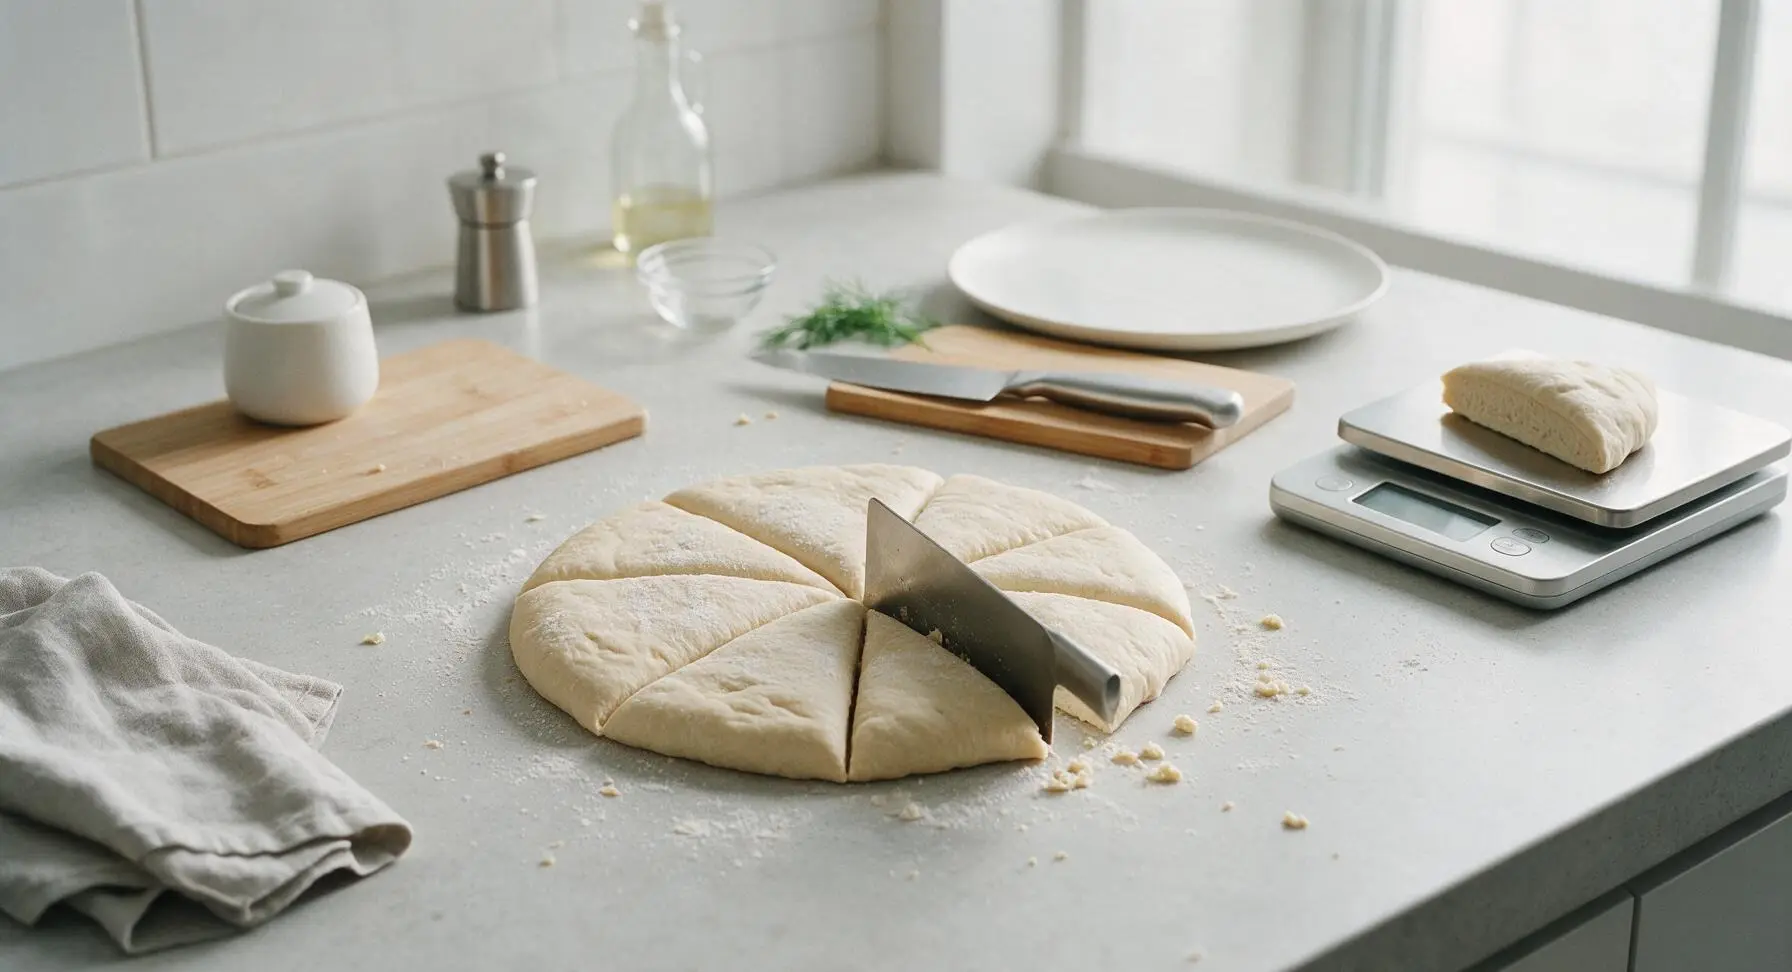
Gently tip the risen dough out of the bowl onto the lightly floured counter. Use the palm of your hand to press firmly across the entire dough surface to pop large trapped air bubbles and deflate the dough into an even, flat round. Use the stainless steel dough scraper to cut the deflated dough into 8 equal 100g portions, as measured on the fixed digital kitchen scale for even sizing.
Shape Dough Logs
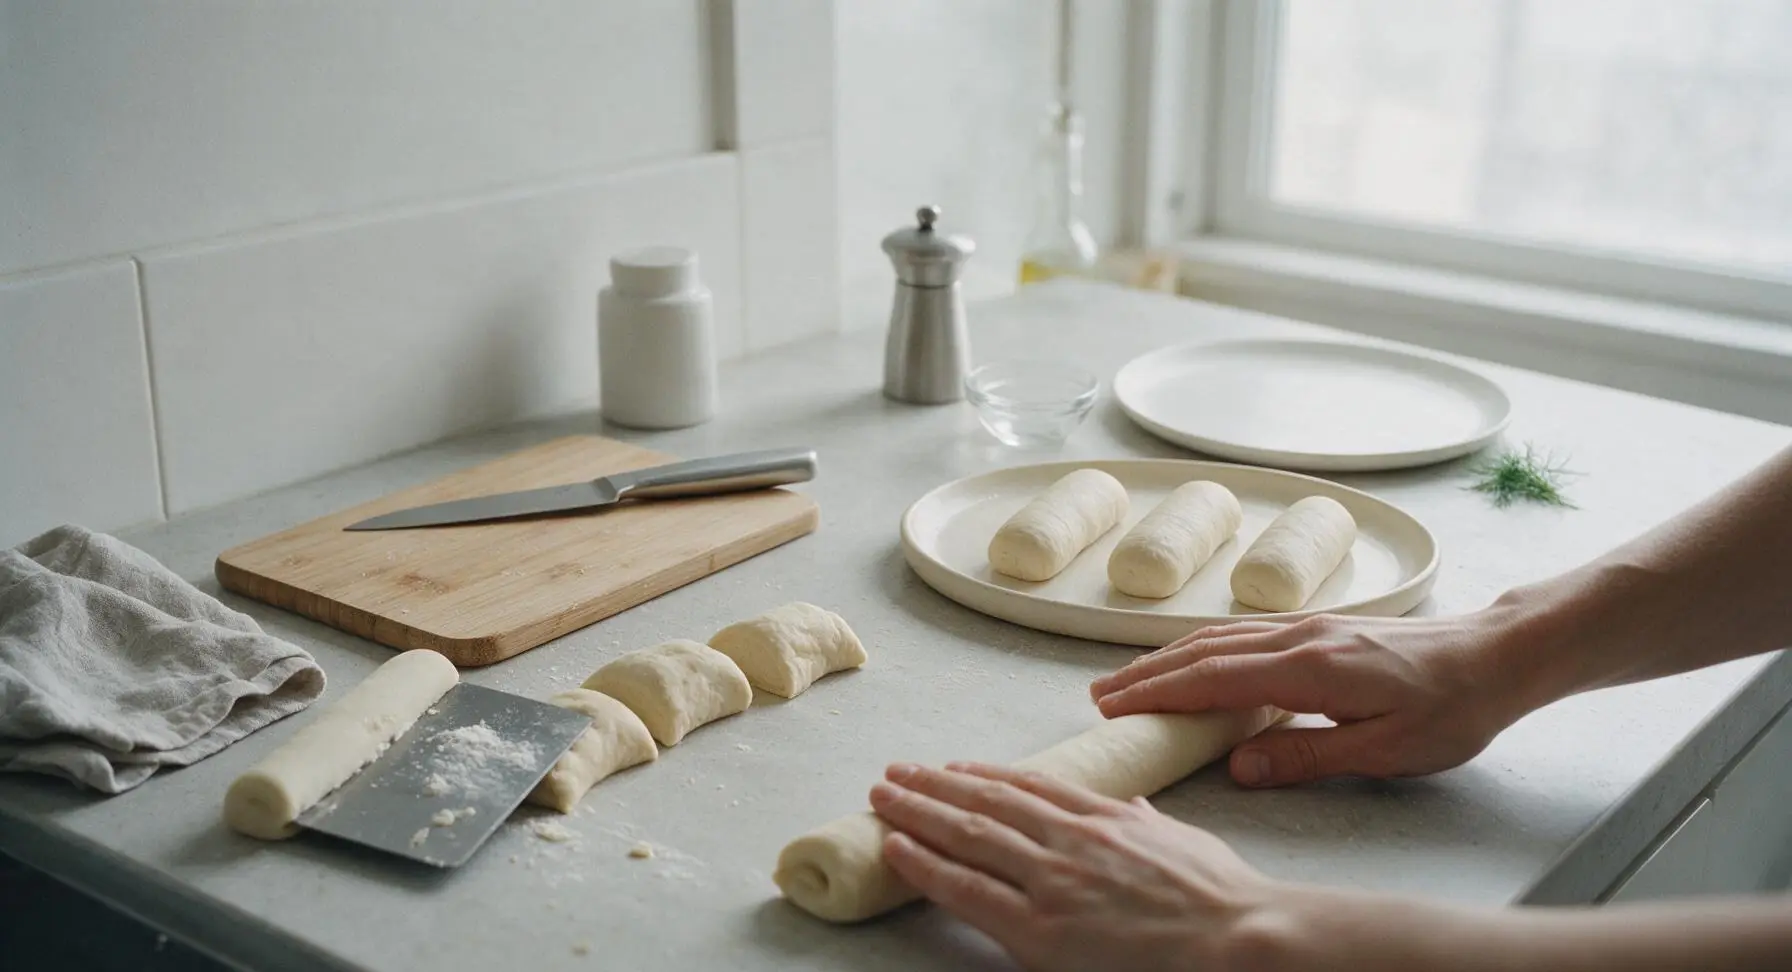
Take each cut 100g dough portion, fold the edges under to form a tight smooth ball, then roll back and forth with the palm of your hand on the unfloured counter to form a 12cm (5 inch) long log with slightly tapered ends, the classic shape for hot dog buns. Arrange the shaped logs evenly spaced on the fixed matte cream ceramic platter. The dough is now fully prepared, ready for a 30 minute final proof before baking at 190°C/375°F for 12-15 minutes into golden hot dog buns.
Tips
2.Resist adding extra flour during kneading: this dough is designed to be soft and slightly tacky to the touch. Adding too much extra flour will create tough, dense buns instead of the light, pillowy, soft crumb that is classic for hot dog buns.
3.For make-ahead convenience, after the first rise and degassing step, wrap the unportioned dough tightly in plastic wrap and refrigerate for up to 3 days, or freeze for up to 3 months. Thaw frozen dough in the refrigerator overnight before portioning, shaping, and final proofing.






OMG this dough is a total game changer for our weekend cookouts! I’ve been buying store-bought hot dog buns for years because I thought homemade would be too dense, but these came out so pillowy soft even my super picky 8 year old asked for seconds. Baked them exactly 13 minutes at 375 like the recipe said and they were perfect for our chili dog night.
Tried this for our neighborhood potluck last weekend and got so many compliments! Only thing is my first batch proofed a little faster than I expected because my kitchen is super warm right now — ended up with slightly puffier buns than I planned, but no one complained at all. Would definitely make again.
Wait this is SO easy?? I’m a total beginner who burns toast half the time and I still managed to make soft, edible hot dog buns for my dorm floor hot dog night. Everyone thought I bought them from the fancy bakery down the street. 10/10 will be making this every other week for meal prep.
Can I freeze this dough after shaping it? I like to prep a big batch of buns ahead for busy weeknights so I don’t have to run to the store last minute for dinner.
Made these for my son’s end-of-season soccer team cookout and the kids demolished two full batches. I added a little sesame seed on top before baking and they looked just like the premium buns you get at the ballpark. So much better than the sad squishy ones from the grocery store.
Taste was great but my buns came out a little tougher than I expected? I think I overkneaded the dough because I don’t have a stand mixer and did it by hand. Any tips for next time?
Used this dough to make buns for my carrot dogs and it was unreal. I swapped the regular milk for oat milk to keep it dairy free and it still came out so fluffy and soft, no weird texture at all. Will absolutely be adding this to my weekly rotation.
Wait a second, this dough doesn’t just make good hot dog buns?? I had extra leftover after shaping buns so I split it into little rolls for sliders at our game night and they were the hit of the party. People were asking for the recipe before halftime.
I’ve been making hot dog buns from scratch for 40+ years and this is easily the softest, most reliable recipe I’ve ever tried. The proofing time is spot on, the bake time is perfect, no weird fancy ingredients required. Already shared it with my whole church baking group.
Taste is amazing, but does anyone else’s dough stick like crazy to the counter when they’re rolling it out? I had to dump so much extra flour down that my first batch was a little dry, but the parts that didn’t get extra flour were perfect.
Made these for our family Labor Day cookout and even my brother-in-law who swears store-bought is ‘the only way’ admitted these were better. Brushed them with garlic butter before baking for a little extra flavor and *chef’s kiss*.
Just pulled my first ever batch of homemade buns out of the oven and I’m low key proud of myself? They’re so soft, they squish just like the store ones but taste 100x better. Can’t wait to serve these to my toddler for dinner tonight, he’s gonna go nuts for the mini hot dogs I got to go with them.
Y’all, this saved me so much money this month. A pack of nice hot dog buns is almost $5 at my grocery store now, and I made 12 perfect buns for less than $2 worth of pantry staples. Did a double batch and stashed half in the freezer for later, no issues at all.
Great recipe! I used my convection oven setting and only needed to bake them for 11 minutes total, so just a heads up for anyone with convection to start checking a little early so they don’t get too crispy on the bottom.
My kid has texture issues with store-bought buns because they’re either too crumbly or too chewy, but these were soft enough that he ate an entire hot dog without complaining for the first time in months. I could cry, this is such a win for our dinner table.
Made these ahead for our college football tailgate this weekend and they held up perfectly in the cooler even after 4 hours. Didn’t get soggy, didn’t get hard, still soft enough to pile high with chili and cheese and onions. Total tailgate MVP recipe.
Wondered if I could swap a little of the all purpose flour for sourdough discard to add that tangy flavor, so I tried it with 1/2 cup discard and cut back a little on the milk and yeast, and it worked beautifully! Still super soft, just a little extra depth of flavor.
I live in a tiny studio apartment with barely any counter space and no stand mixer, and I still pulled this off! Just mixed the dough in a big bowl, kneaded it on my tiny cutting board, and let it proof on top of my fridge where it’s warm. Perfect buns, no fancy equipment needed.
I brushed the tops with a little honey butter right when they came out of the oven and sprinkled on a tiny bit of flaky salt, and my roommate said these are better than the buns we get at our favorite gourmet hot dog spot downtown. Will 100% be making these on repeat.
Tested this recipe before our big family camping trip and it works even when you proof the dough in a cooler with a warm water bottle to keep the temperature steady! We baked them in our cast iron dutch oven over the campfire and they were just as soft as when I make them in my home oven. Best camp hot dogs we’ve ever had.