
hot ham and cheese in oven

title 1
hot ham and cheese in oven
⏱️ cook time 15 minutes
🍽️ servings 4
⚡ Difficulty easy

intro

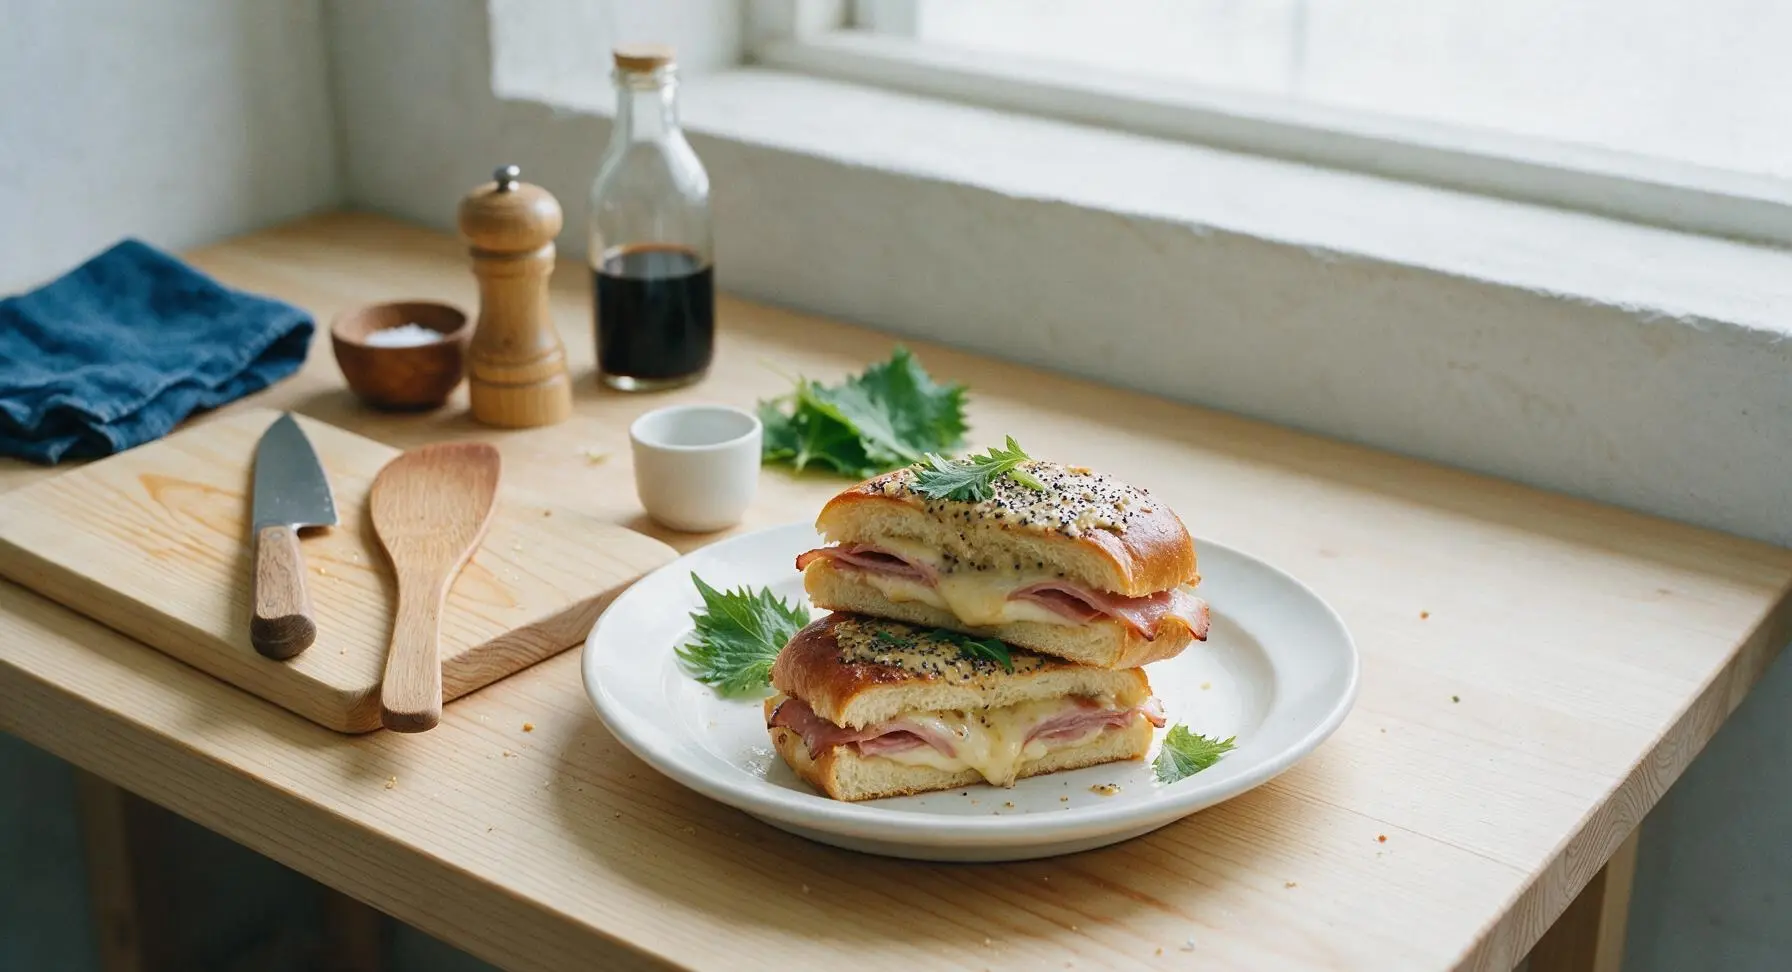
Crispy golden brioche buns layered with smoky ham and gooey melted cheese, brushed with savory poppy seed-mustard butter, baked hot for a cozy, quick comfort meal.

Ingredients
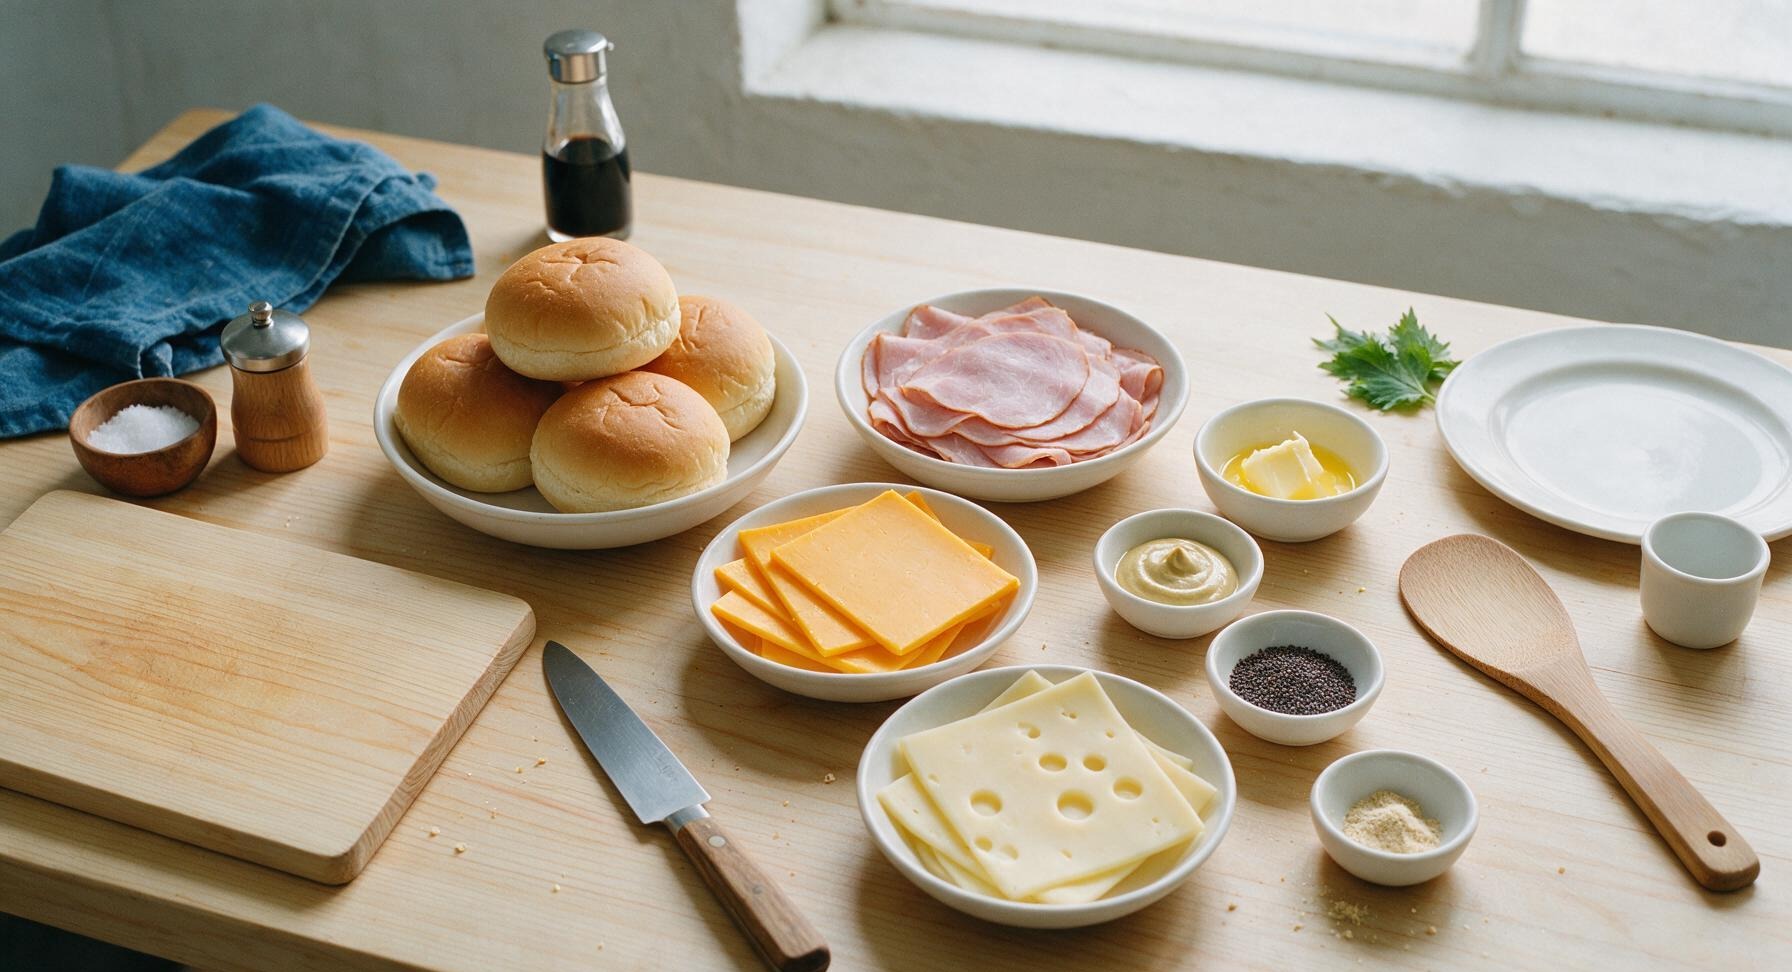
Brioche hamburger buns 4 whole
Thinly sliced smoked deli ham 225g (8 slices)
Sliced sharp cheddar cheese 110g (4 slices)
Sliced Swiss cheese 110g (4 slices)
Unsalted butter, melted 2 tbsp (28g)
Dijon mustard 1 tbsp (15g)
Poppy seeds 1 tsp (3g)
Garlic powder 1/4 tsp (1g)

Steps

1

Preheat Oven and Dish

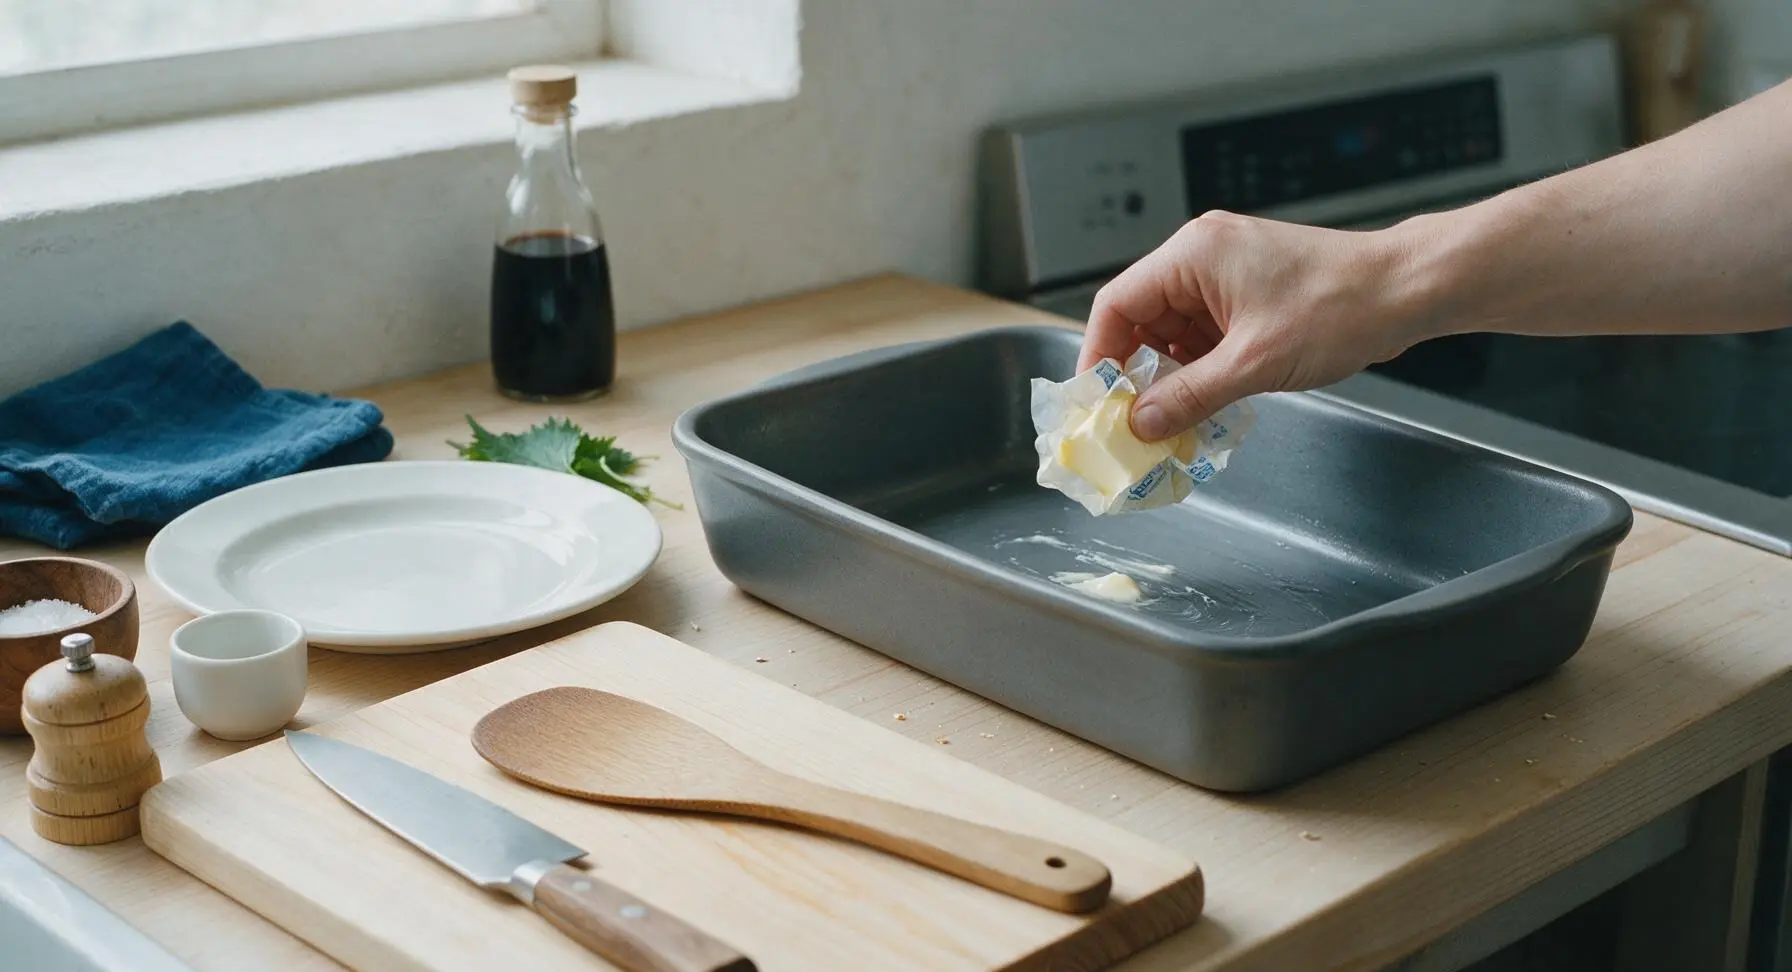
Adjust your oven rack to the middle position, then preheat the oven to 180°C (350°F). Use a small scrap of butter wrapper to lightly grease the entire interior of the 9x13 inch matte dark gray ceramic baking dish, coating the bottom and 1 inch up the sides to prevent sandwiches from sticking during baking. Set the prepared dish in its fixed center-right position on the counter.
Step 1
step1:Preheat Oven and Dish
2

Mix Savory Butter Glaze

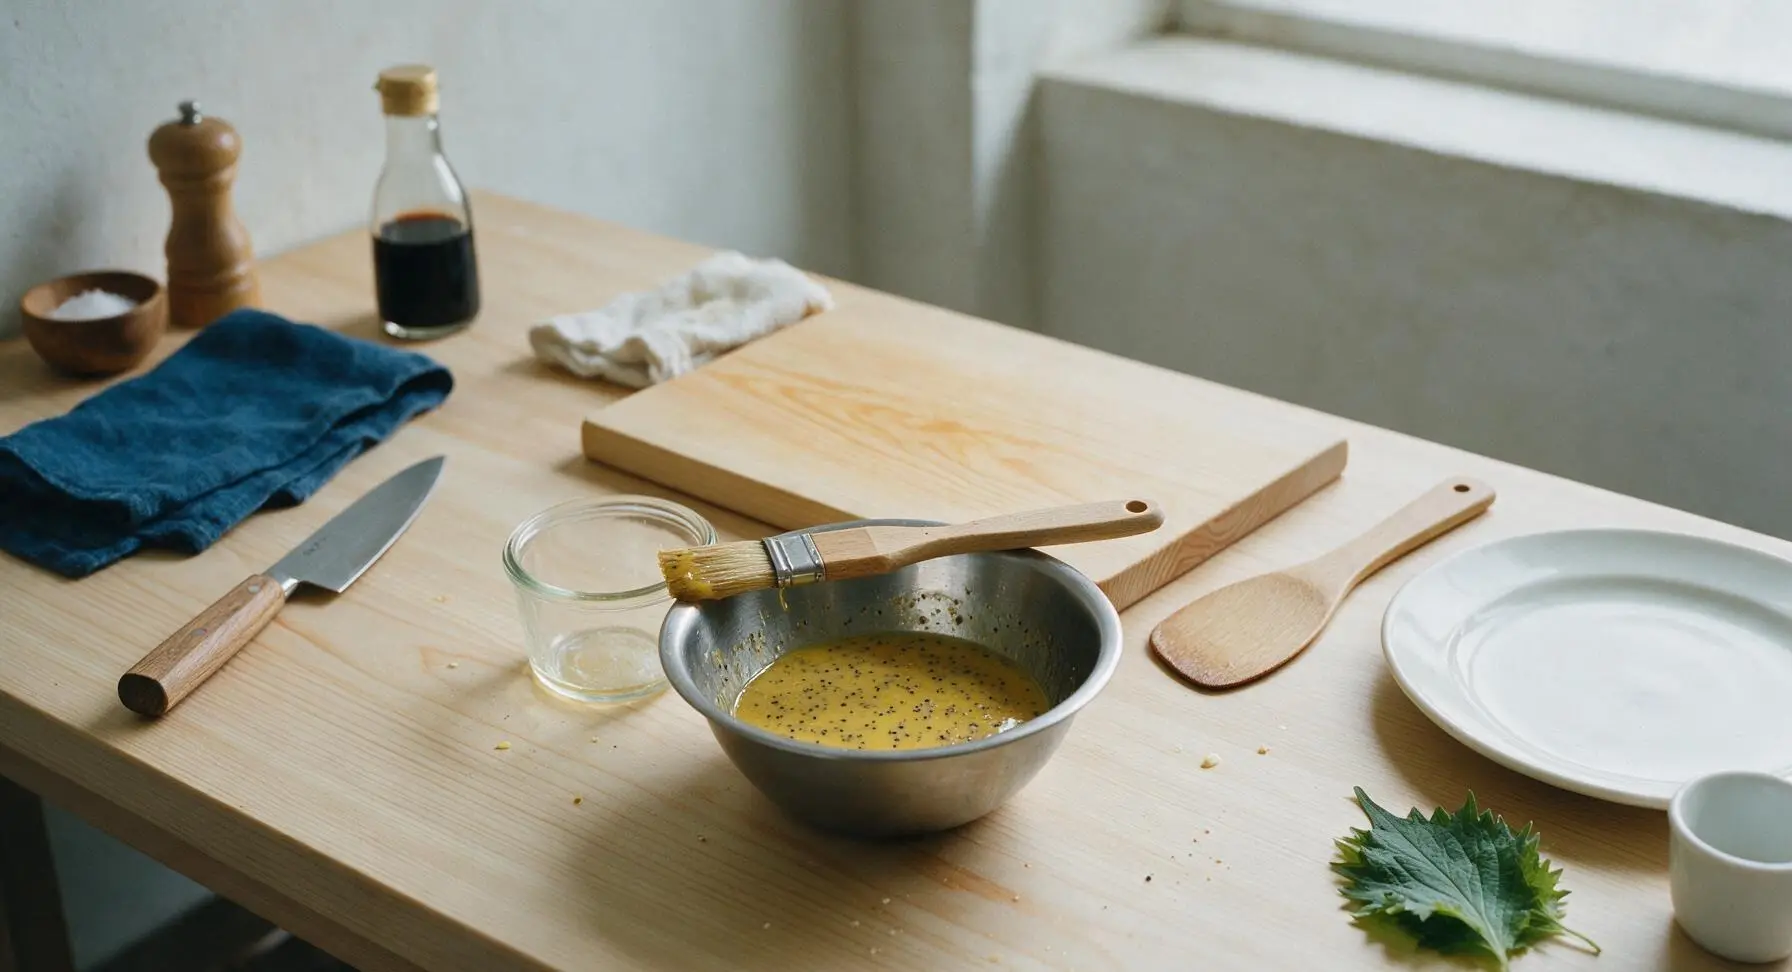
In the small brushed stainless steel mixing bowl, combine 2 tablespoons melted unsalted butter, 1 tablespoon Dijon mustard, 1 teaspoon poppy seeds, and 1/4 teaspoon garlic powder. Stir thoroughly with the handle end of the beech-handle pastry brush until the mixture is fully smooth, with no unblended streaks of mustard, and poppy seeds evenly distributed throughout the golden liquid.
Step 2
step2:Mix Savory Butter Glaze
3

Layer Sandwich Bases

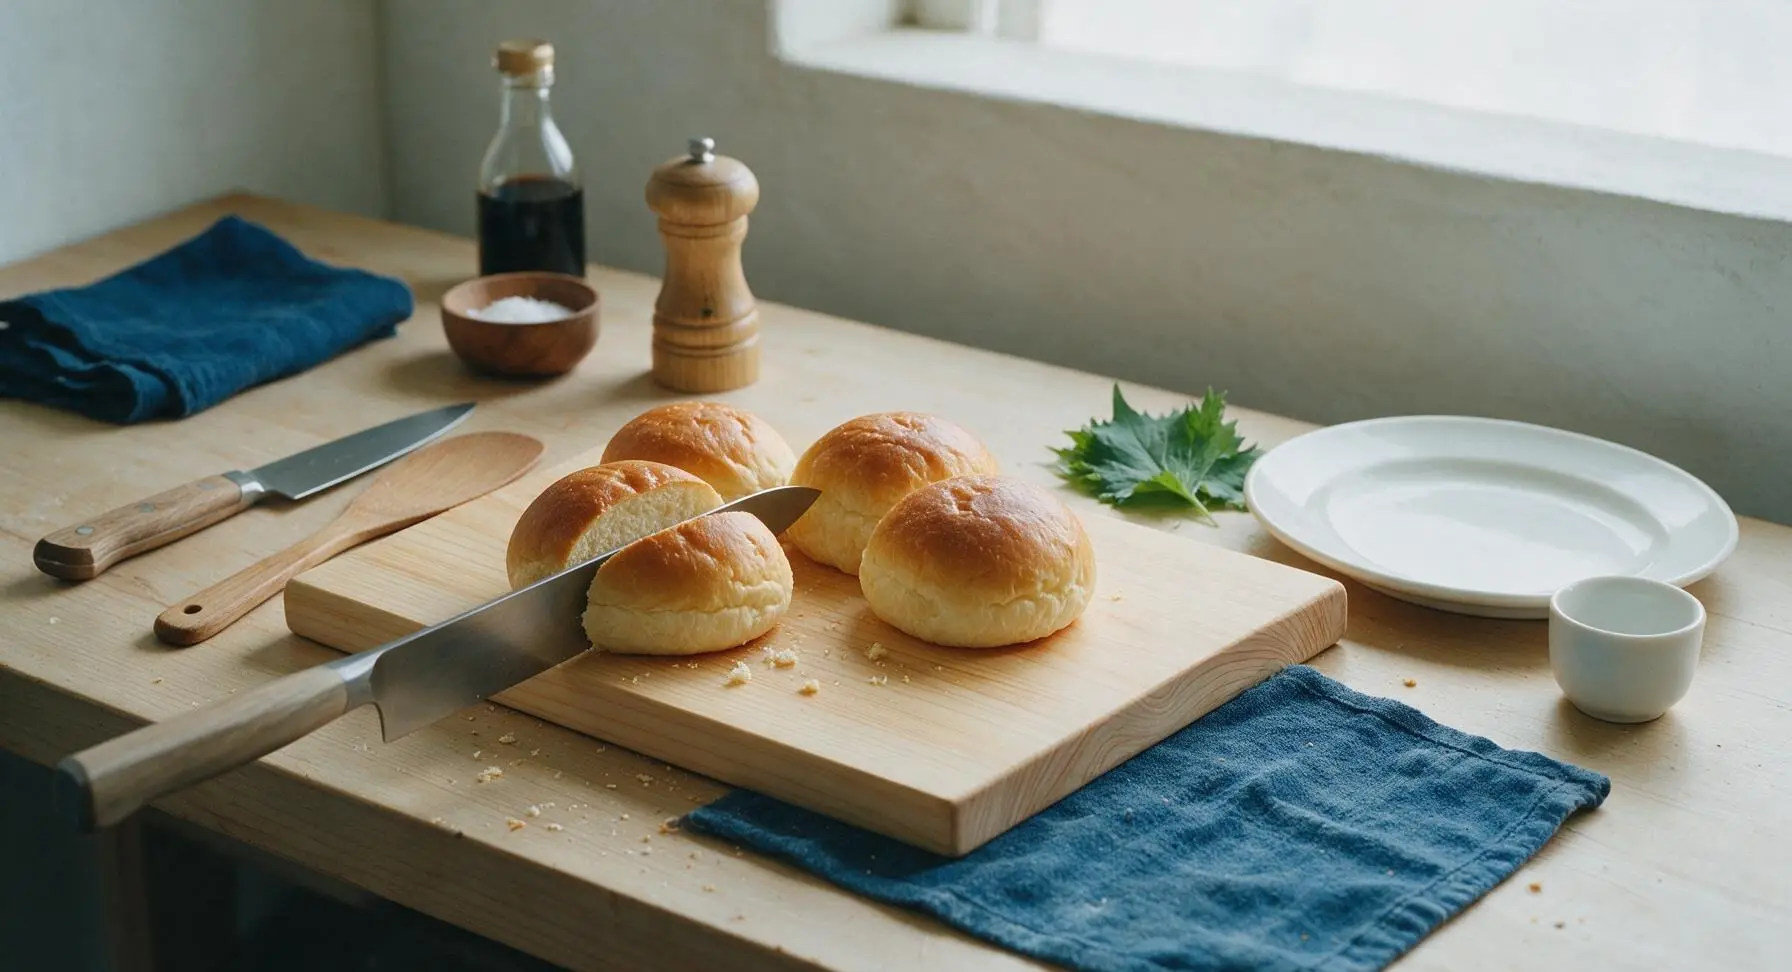
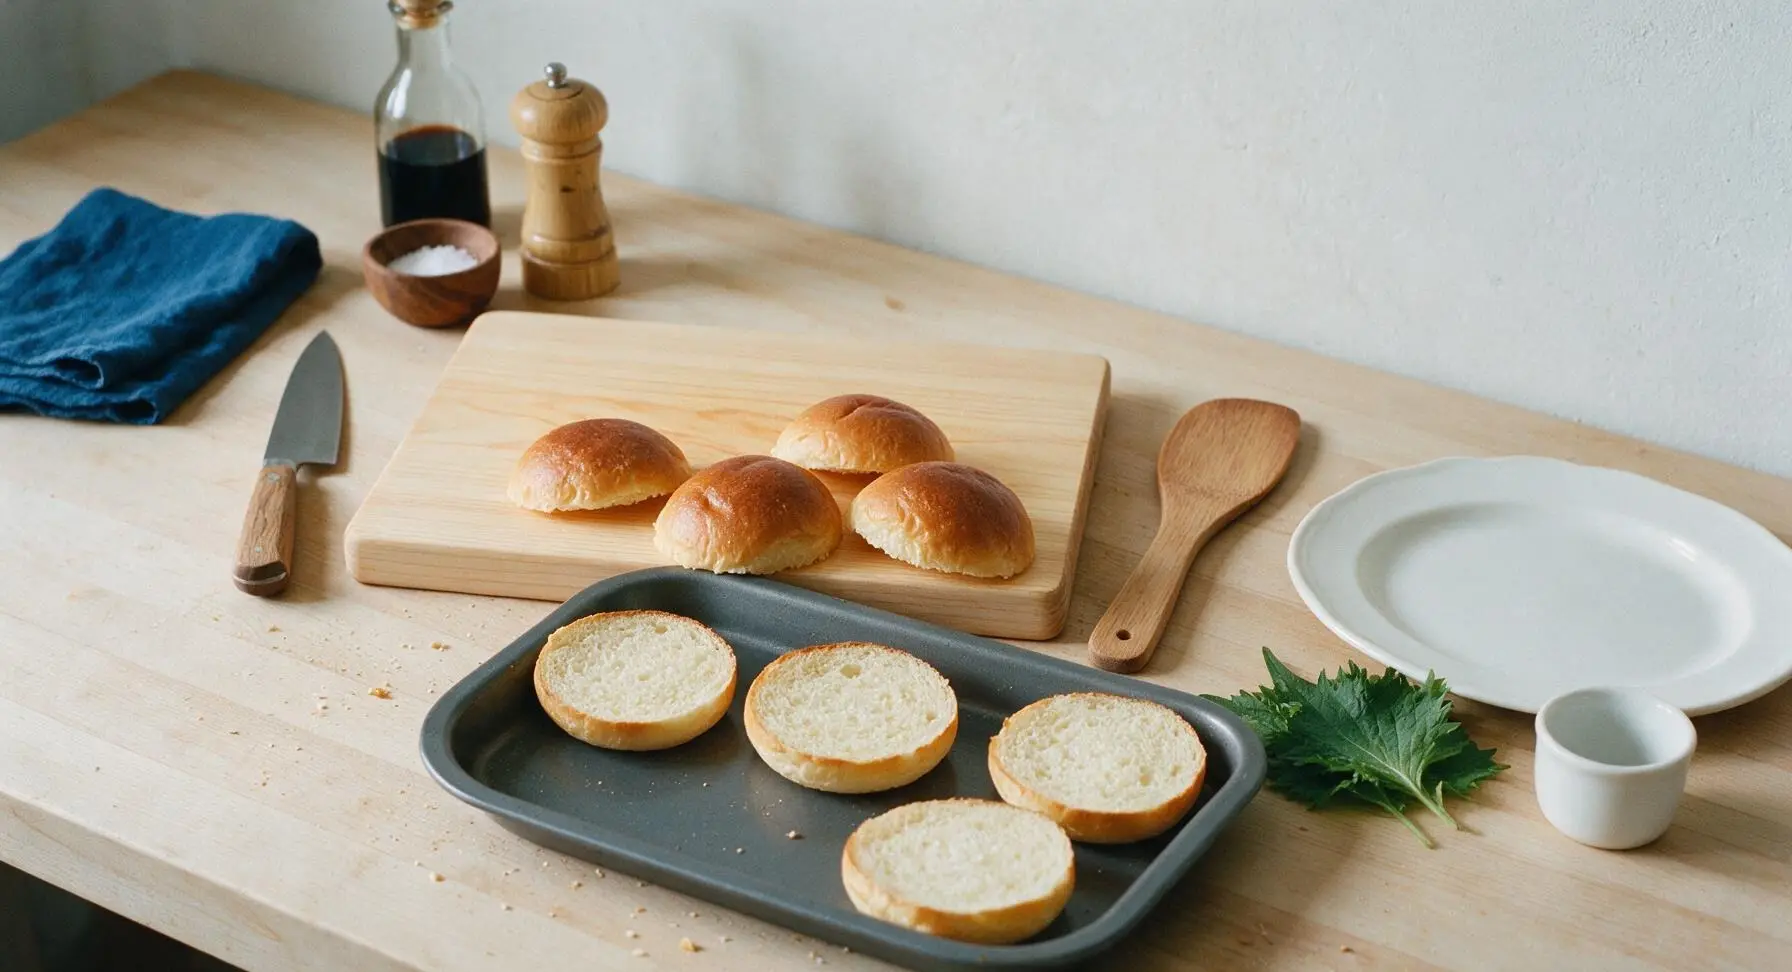
Place the 4 brioche buns on the maple cutting board, and use the 8-inch chef’s knife to split each horizontally into even top and bottom halves. Arrange the bottom halves cut-side up in the prepared dark gray baking dish, spacing them evenly so they sit completely flat without overlapping.
Step 3
step3:Layer Sandwich Bases
Step 3
step3:Layer Sandwich Bases
4

Layer Ham and Cheese

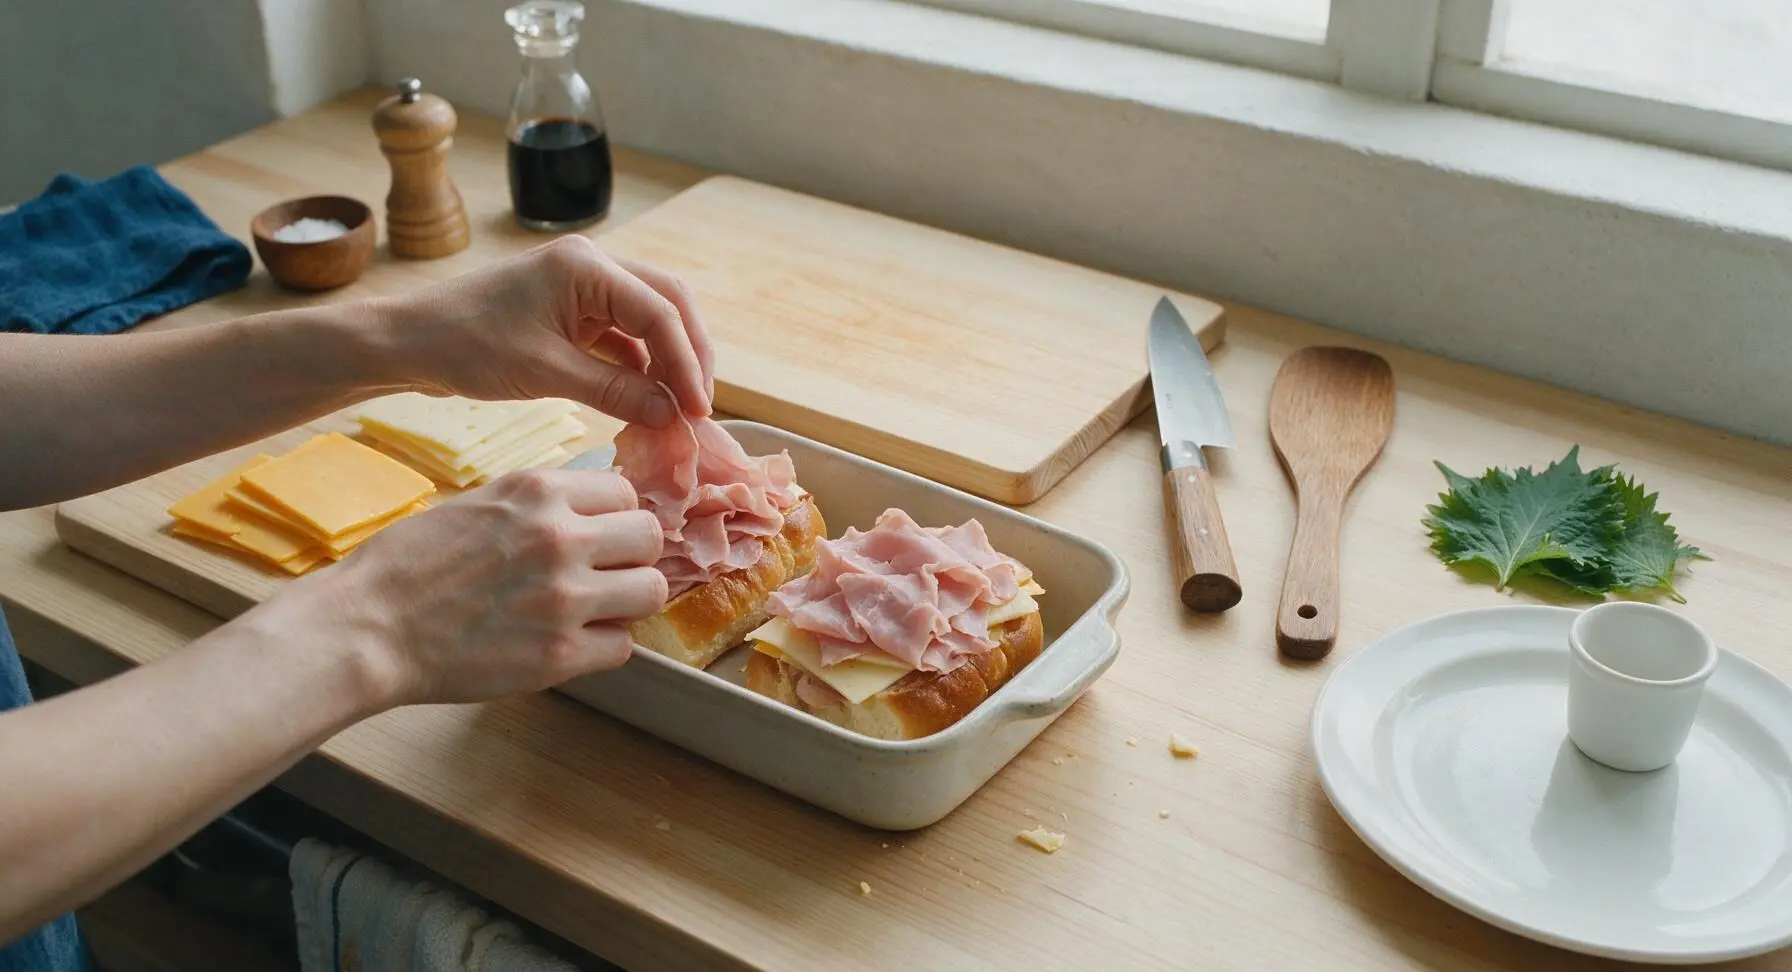
Fold 2 thin slices of smoked deli ham to fit each bun bottom, ruffling the slices slightly to create small air pockets rather than laying them completely flat. Top the ham on each sandwich with 1 slice of sharp cheddar and 1 slice of Swiss cheese, tearing slices slightly as needed to cover the ham fully, with no more than 1/4 inch of cheese hanging over the bun edges to avoid messy drips while baking.
Step 4
step4:Layer Ham and Cheese
5

Top Buns and Brush Glaze

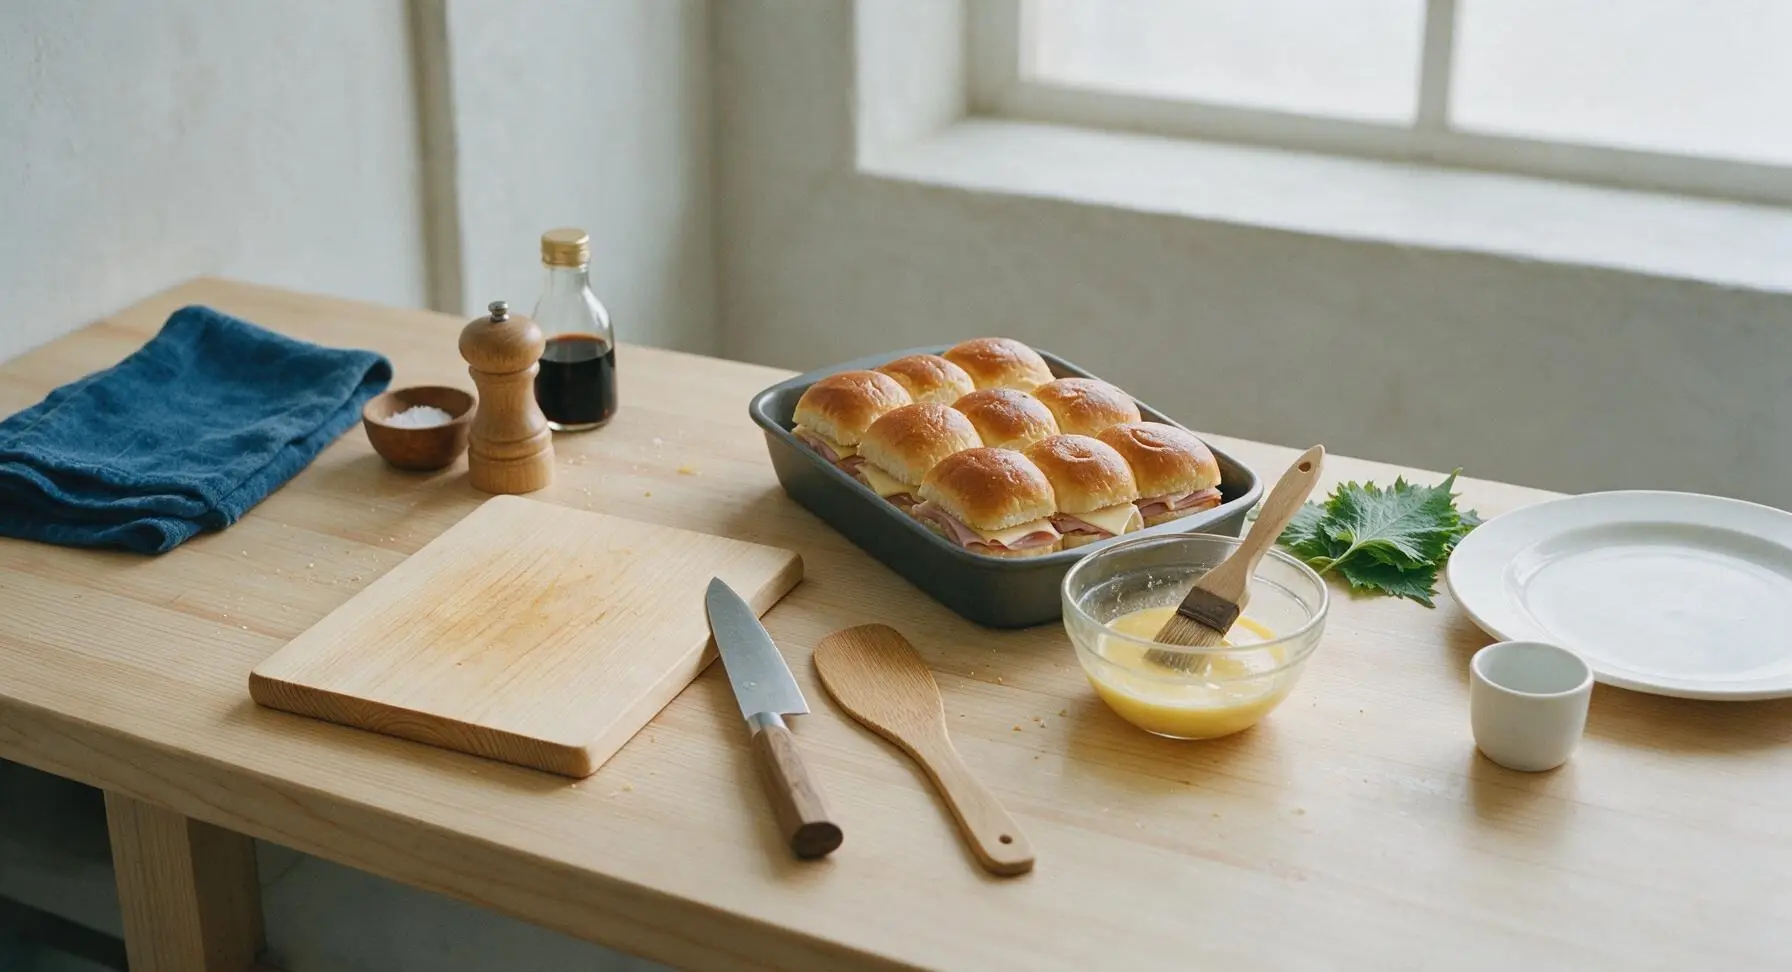
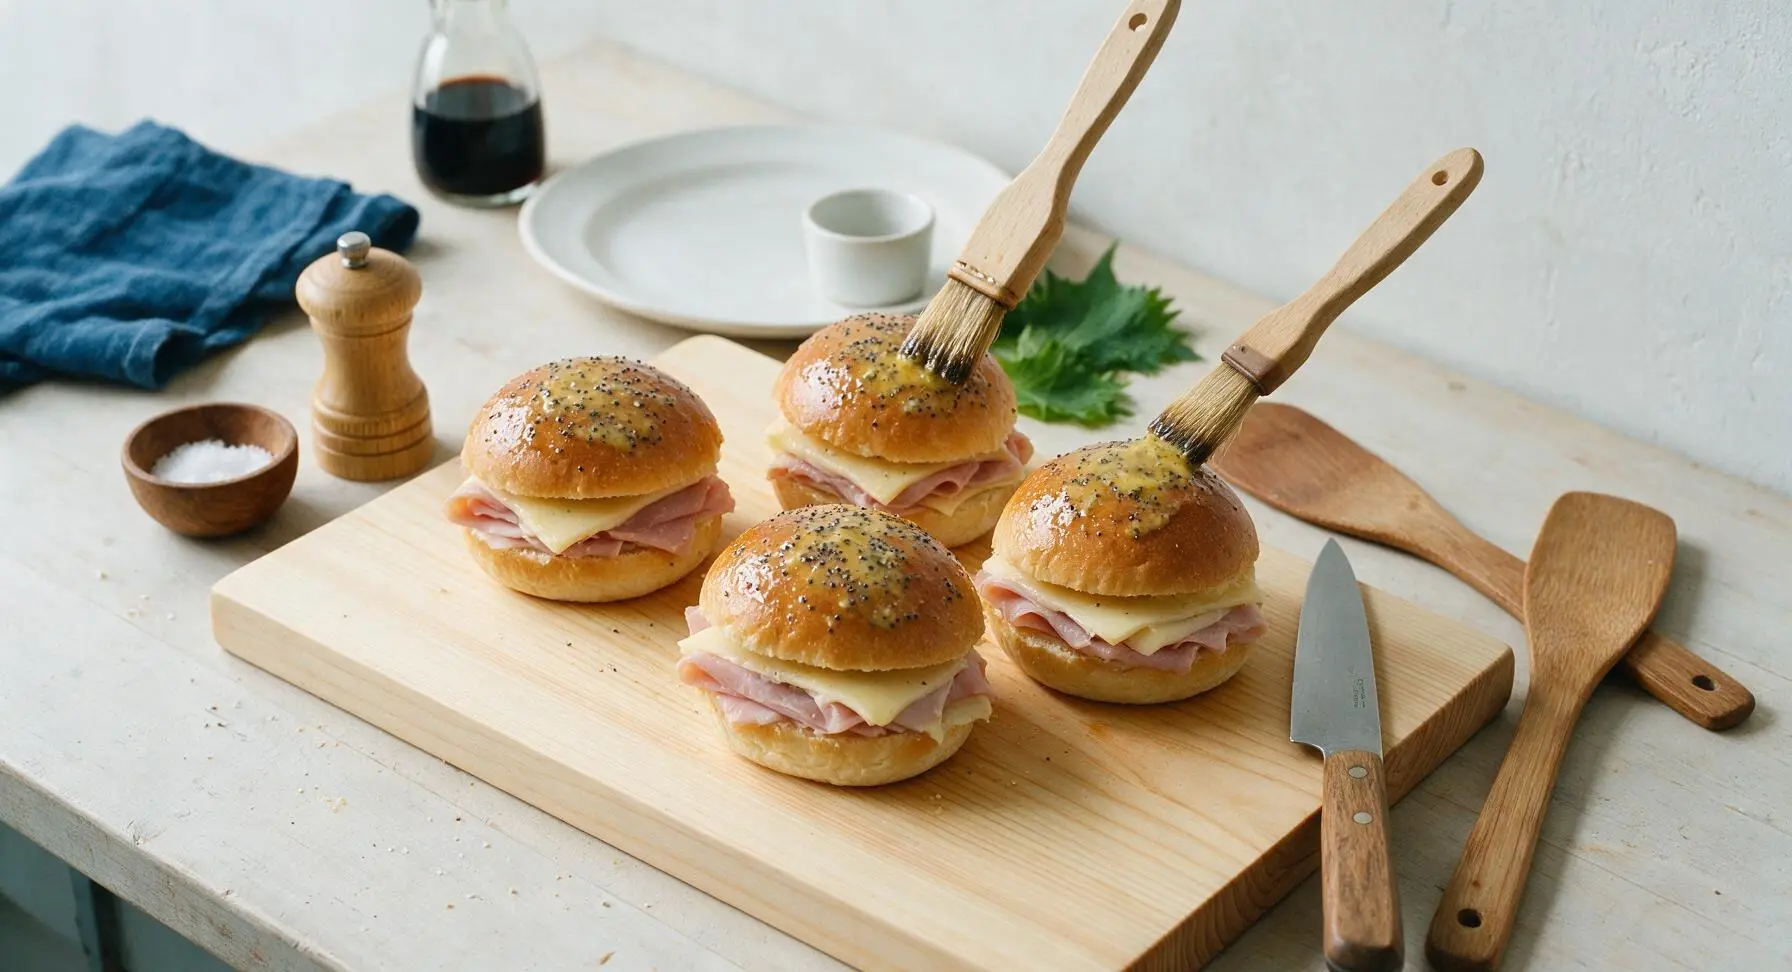
Place the reserved top halves of the brioche buns over the ham and cheese layers, pressing down gently to seat each sandwich firmly. Use the boar-bristle pastry brush to coat the entire top surface of each bun evenly with the savory butter glaze, using every last drop of the mixture and ensuring poppy seeds are distributed across every bun top.
Step 5
step5:Top Buns and Brush Glaze
Step 5
step5:Top Buns and Brush Glaze
6

Bake Until Melted

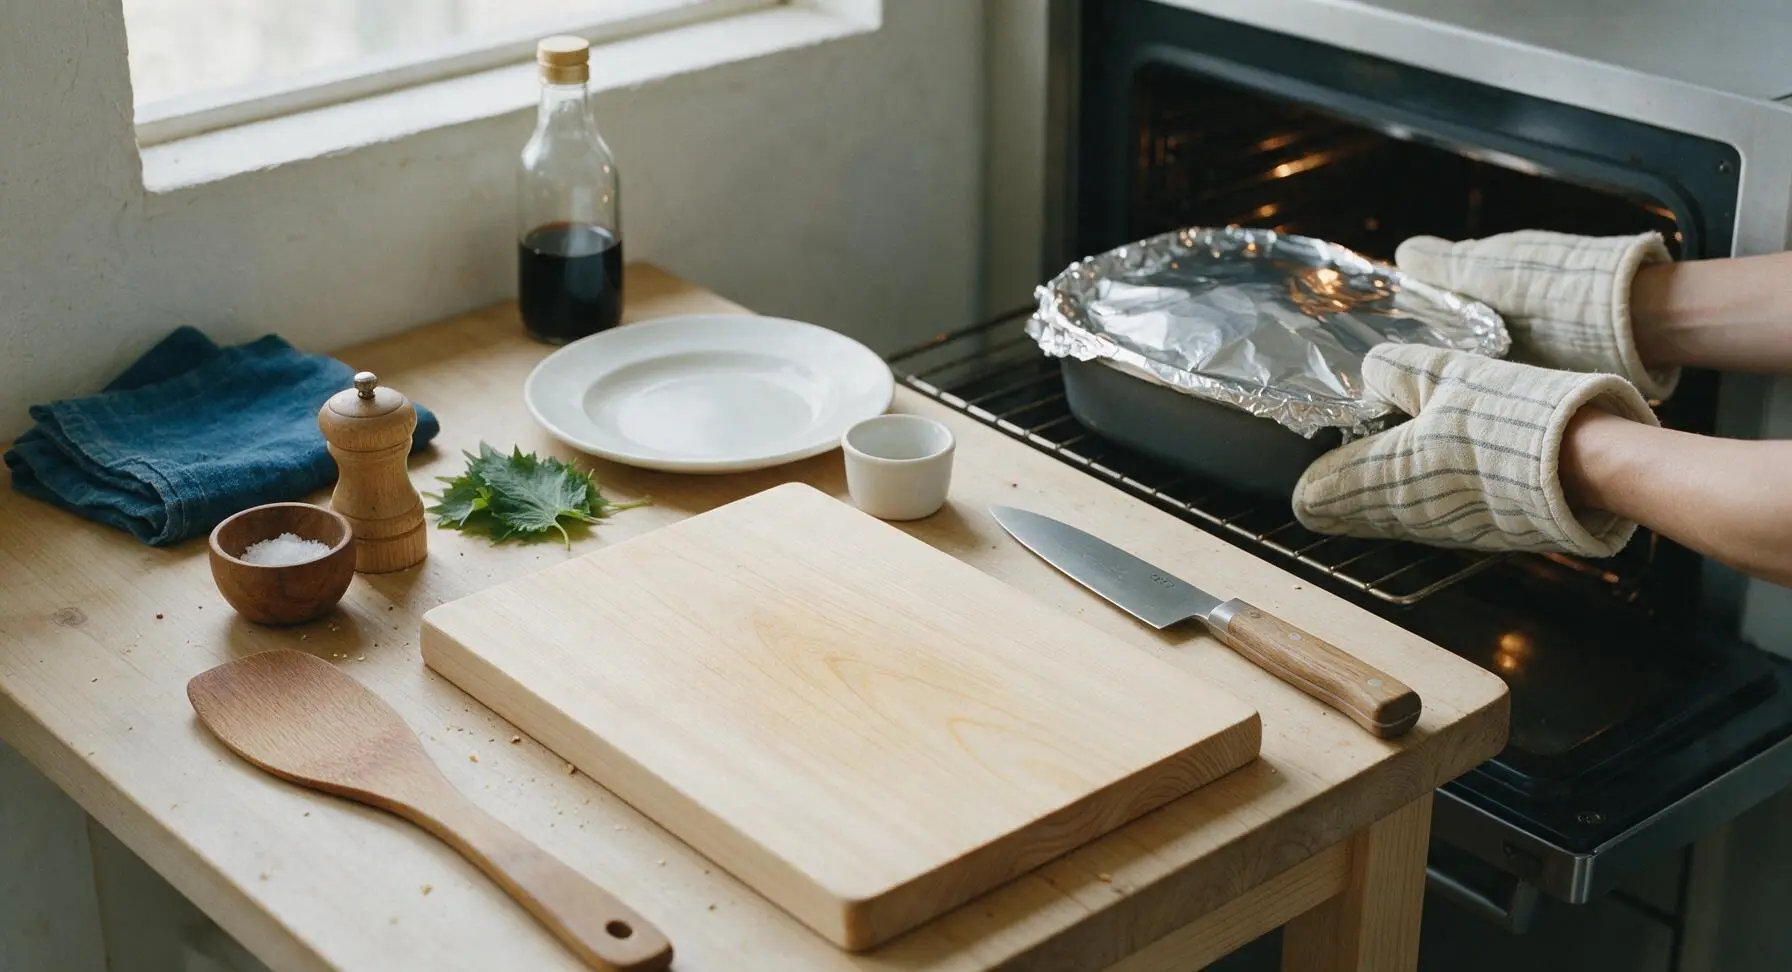
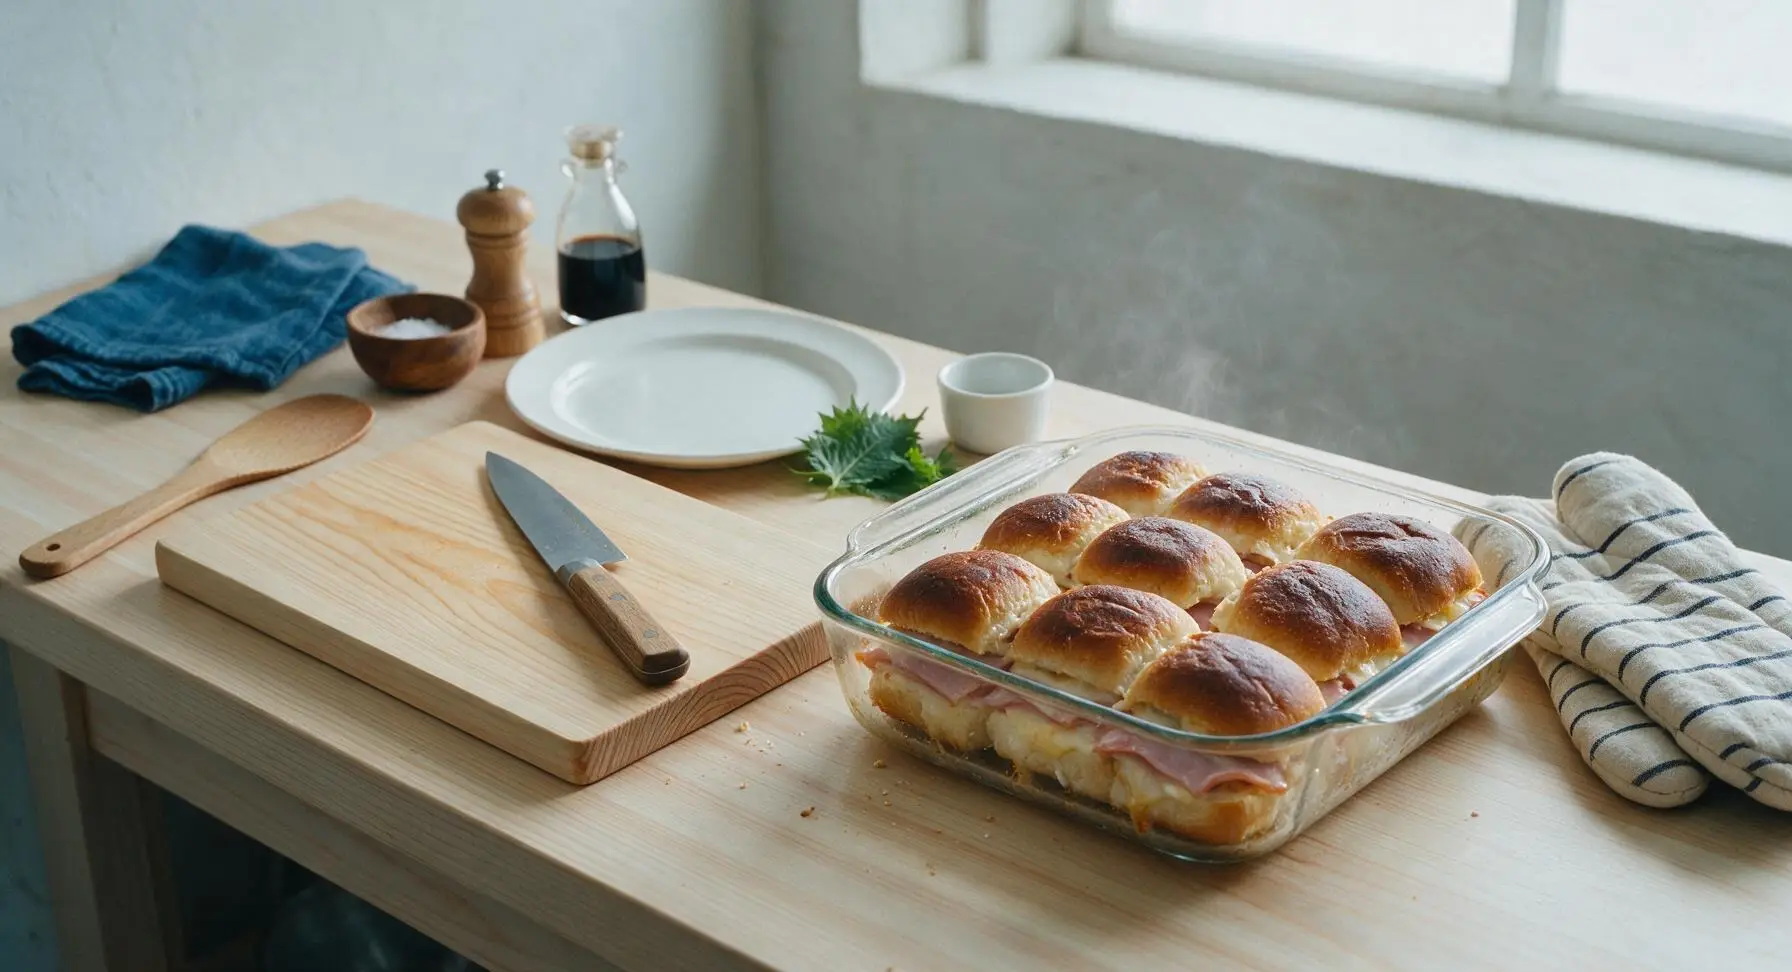
Cover the baking dish tightly with a sheet of aluminum foil, then place it on the middle rack of the preheated oven. Bake covered for 10 minutes to heat the ham and melt the cheese through, then remove the foil and bake for 5 additional minutes, until the bun tops are deep golden and crisp at the edges, with small bubbles of melted cheese peeking out from the sandwich sides.
Step 6
step6:Bake Until Melted
Step 6
step6:Bake Until Melted
7

Let Sandwiches Rest

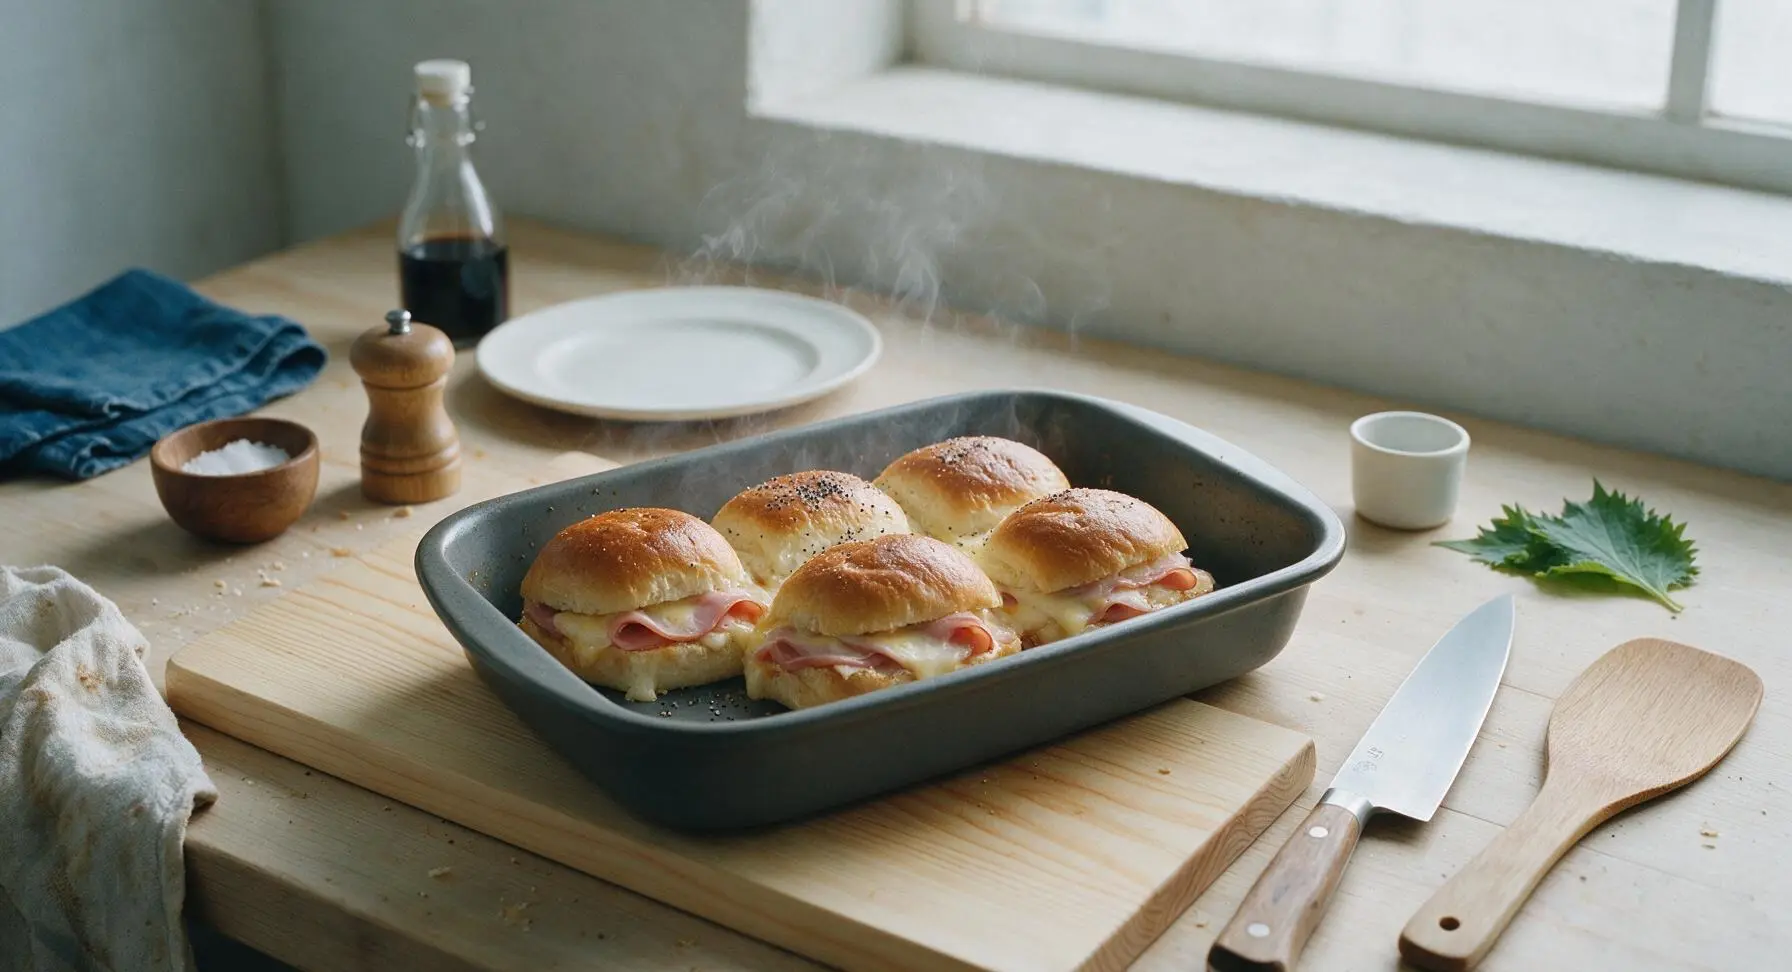
Leave the baked sandwiches in the dish on the counter to rest for 2 full minutes. This short rest allows the melted cheese to set slightly so it does not pour out when cut, and gives the glaze time to absorb into the bun tops without making the bread soggy.
Step 7
step7:Let Sandwiches Rest
8

Plate and Serve Hot

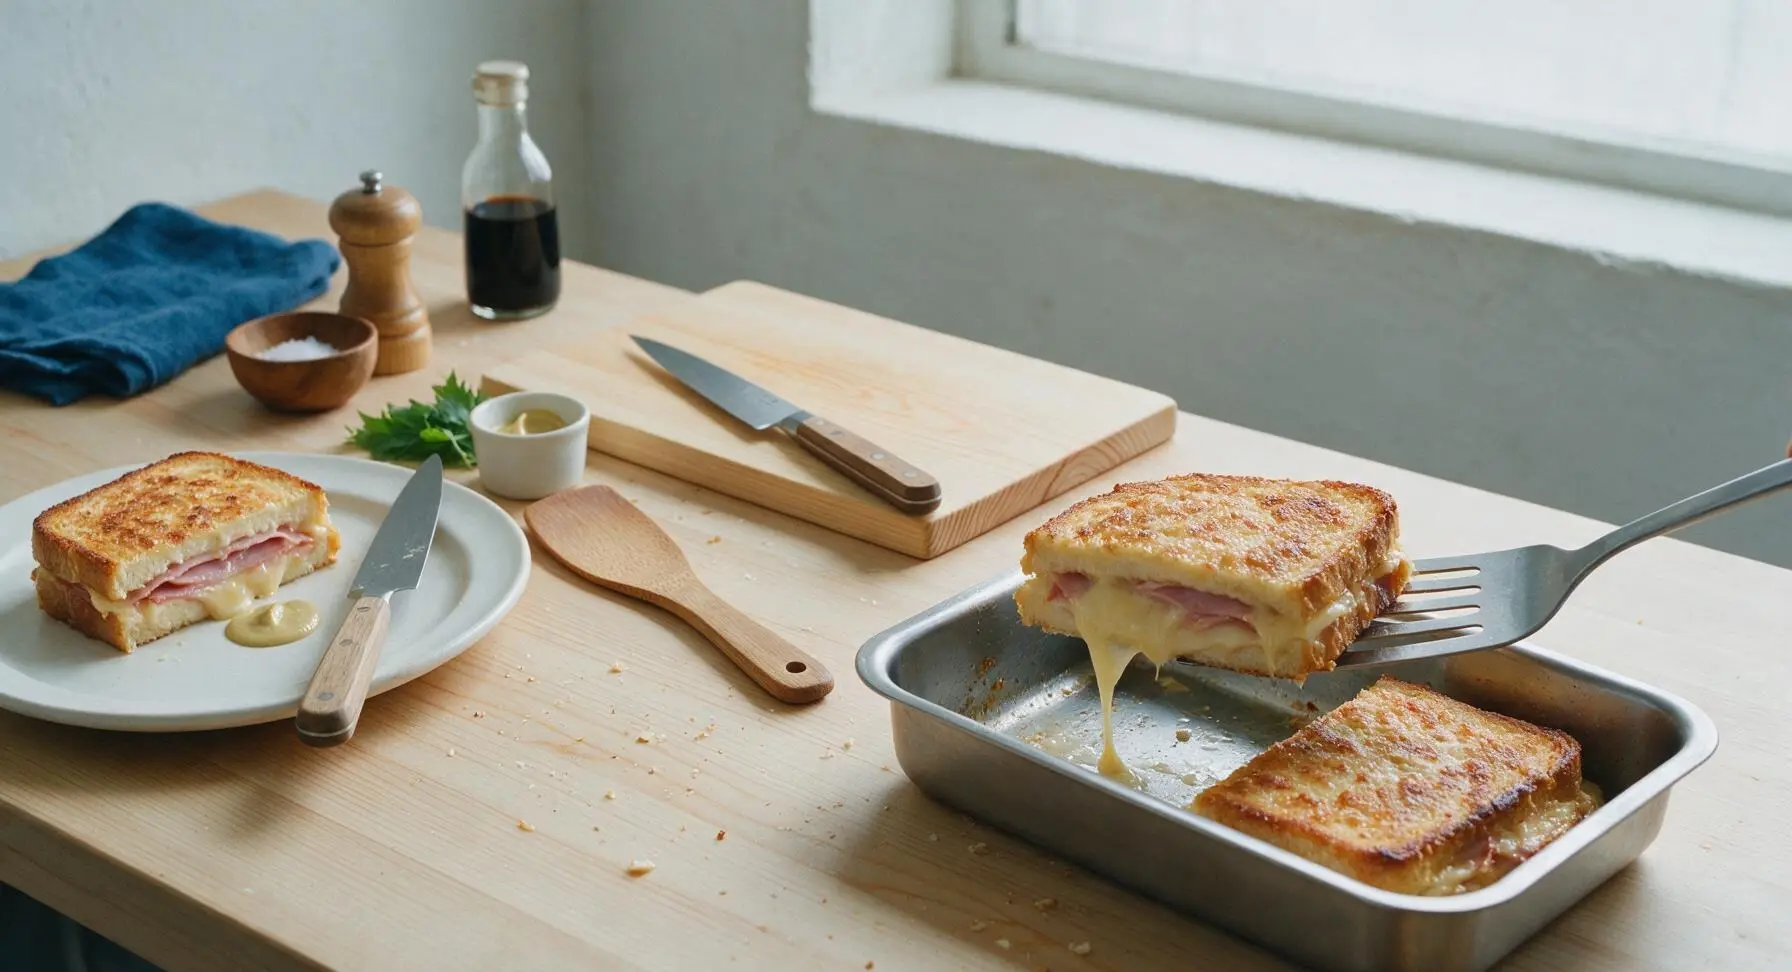
Use the slotted stainless steel turner to lift two sandwiches from the baking dish onto the matte white ceramic dinner plate. Cut each sandwich diagonally with the chef’s knife to expose the layered ham and oozing melted cheese, then serve immediately while hot, with extra Dijon mustard on the side if desired.
Step 8
step8:Plate and Serve Hot

Tips

1.Ruffle ham slices instead of laying them flat: The small air pockets between meat layers let hot oven air circulate evenly, eliminating cold ham spots in the center of sandwiches and ensuring cheese melts uniformly all the way through.
2.Don’t skip the 2-minute post-bake rest: Cutting sandwiches straight from the oven will cause runny, sliding cheese that pours out the sides; the short rest lets cheese thicken just enough to stay neatly layered without turning gummy.
3.For extra crispy tops, broil for the final 60 seconds: Keep a close eye the entire time, as the sugar in brioche buns can burn in as little as 30 seconds under direct broiler heat, but this quick step adds a perfect toasty crunch to the glazed bun tops.


✨ You May Also Like

Main Course
🍜 United Kingdom

A showstopping classic of tender seared beef, savory mushroom duxelles, and crisp prosciutto wrapped in flaky golden puff pastry, baked to juicy perfection.

⏱️ 2 hours 1Main Course ★ 4.7
Main Course
🍜 India

Tender charred marinated chicken simmered in a rich, spiced creamy tomato sauce, this iconic Anglo-Indian curry pairs perfectly with basmati rice or warm naan.

⏱️ 50 minuteMain Course ★ 4.6
Main Course
🍜 Thailand

Classic tangy, sweet, and savory Thai stir-fried rice noodles with shrimp, tofu, and crunchy garnishes, balancing all five core Thai flavor profiles.

⏱️ 30 minuteMain Course ★ 4.5
Main Course
🍜 United Kingdom

Crispy golden beer-battered cod and fluffy double-fried chips, served with tangy tartar sauce and malt vinegar: the timeless, beloved British pub comfort classic.

⏱️ 45 minuteMain Course ★ 4.7
Main Course
🍜 Mexico

Smoky, chile-marinated pork tacos with caramelized pineapple, fresh cilantro, and lime: a beloved classic Mexican street food perfect for casual summer gatherings.

⏱️ 1 hour 45Main Course ★ 4.8
Main Course
🍜 United States

Crunchy Fritos corn chips layered with savory beef chili and melted cheddar, topped with cool, zesty fixings for a beloved, cozy Tex-Mex comfort food.

⏱️ 35 minuteMain Course ★ 4.8

hot ham and cheese in oven:Frequently Asked Questions

1.Can I assemble these baked ham and cheese sandwiches ahead of time for a party or potluck? ▾
Absolutely! Assemble the full sandwiches up to 24 hours in advance, wrap the baking dish tightly in plastic wrap, and store it in the fridge. Hold off on brushing the poppy seed-mustard butter until right before baking, let the dish sit at room temp for 10 minutes as the oven preheats, then bake as directed for easy, crowd-pleasing results.
2.Why does the recipe call for brioche hamburger buns instead of regular white hamburger buns? ▾
Brioche has a rich, buttery, slightly sweet crumb that toasts to a perfect crispy golden exterior in the oven without turning tough, unlike plain white buns that dry out fast. Its soft, sturdy structure also holds up to melted cheese, ham, and butter topping without getting soggy, for that ideal crisp-tender bite.
3.Do I have to use both sharp cheddar and Swiss cheese, or can I use just one type? ▾
You can absolutely use a single cheese if that’s what you have on hand! The two-cheese blend works because sharp cheddar brings a bold, tangy bite, while Swiss melts into that ultra-gooey, mild, creamy pull everyone loves. If using one cheese, pick a good melting variety like gouda, provolone, or extra-sharp cheddar to avoid rubbery texture.
4.How do I keep the bottom of the sandwiches from getting soggy while they bake? ▾
First, avoid dousing the buns with too much of the butter topping—brush it on lightly, don’t soak them. Line your baking sheet with parchment paper for air flow, and if prepping far ahead, toast the cut side of the bottom buns for 3 minutes at 350°F before adding fillings to create a moisture barrier against the ham and cheese.
5.What oven temperature and bake time gives the best melt without burning the buns? ▾
Bake these at 350°F, covered loosely with aluminum foil for the first 10 minutes, then uncovered for the last 5 to 7 minutes for a total 15 to 17 minute bake time. They’re done when the cheese is fully bubbly, the bun tops are golden crisp, and the internal temperature of the ham hits 145°F for food safety.
6.Can I freeze these assembled sandwiches for quick weeknight meals later? ▾
You sure can! Assemble the sandwiches without the butter topping, wrap each individually tight in plastic wrap then foil, and freeze for up to 3 months. When ready to bake, no thawing is needed—unwrap, brush on the poppy seed-mustard butter, and add 5 to 7 minutes to the standard bake time until cheese is fully melted.
7.What’s in the poppy seed-mustard butter, and can I leave the poppy seeds out? ▾
The classic savory topping is melted unsalted butter mixed with Dijon mustard, a pinch of garlic powder, a pinch of onion powder, and poppy seeds for a subtle nutty crunch. You can absolutely skip poppy seeds if you don’t have them, or swap them for toasted sesame seeds for a similar texture without changing the core tangy, buttery flavor.
8.What type of ham works best for these baked sandwiches? ▾
Thinly sliced smoked deli ham, as noted in the recipe, is ideal—opt for a low-moisture variety, rather than extra-wet honey-glazed ham, to avoid soggy buns. You can swap in thin-sliced Black Forest ham, leftover baked holiday ham, or even sliced smoked turkey if you don’t eat pork, just pat slices dry first before layering.
9.Is it necessary to cover the sandwiches with foil while baking, or can I bake them uncovered the whole time? ▾
I highly recommend covering loosely with foil for the first two-thirds of bake time! The foil traps just enough gentle steam to melt the cheese evenly and warm the ham all the way through without drying out the buns. Uncovering for the last few minutes lets the tops crisp up to that perfect golden, buttery crunch.
10.Can I add extra fillings like pickles, onions, or spreads to these sandwiches? ▾
Definitely! Thinly sliced dill pickles, caramelized onions, a thin layer of Dijon, or a swipe of fig jam are all fantastic add-ins that pair perfectly with ham and cheese. Just skip high-moisture add-ins like fresh sliced tomato unless you pat them extremely dry, as they’ll release water and turn crispy buns soggy.
11.How do I reheat leftover baked sandwiches so they don’t get chewy or rubbery? ▾
Skip the microwave, which will make the buns tough and cheese rubbery! Instead, reheat leftovers in a 325°F oven, wrapped loosely in foil, for 8 to 10 minutes until the cheese is melty again. For extra crisp on the bun tops, unwrap the foil for the last 2 minutes of reheating to refresh that buttery golden crust.
12.Can I scale this recipe up to serve a large crowd for game day or a potluck? ▾
This recipe scales incredibly easily! A standard batch with 8 brioche buns makes 8 sliders or 4 full-sized sandwiches. For larger groups, just arrange assembled sandwiches in a bigger baking dish, keep the same ratio of ham, cheese, and butter topping, and add 2 to 3 minutes of covered bake time for double or triple batches.

Comments (5)

2 hours ago

OMG these are a total game changer for our busy weeknight dinners! I threw these together in 10 minutes before my kid’s soccer practice, popped them in the oven, and they were perfectly melty and crispy on the edges when we got home. My kids devoured two each and asked if we can have them every week. 10/10, already added to our regular meal rotation!

30 minutes ago

Wait, you put them in the oven and left for soccer practice? Did you set a timer or just let them go? I’m terrified of burning the whole pan if I step out for even 20 minutes lol

5 minutes ago

So stoked these are a hit with your family, Maggie! Quick safety note if you’re stepping out while they bake: we always recommend setting a loud oven timer or using a smart oven that you can control remotely, just to avoid burnt sandwiches (or worse!). They also hold up great if you want to prep them ahead and bake them right when you get home, no need to leave the oven running!

3 days ago

Brought these to our neighborhood block party potluck last weekend and they were GONE in 10 minutes flat! I brushed a little garlic butter on the buns like my mom used to for sliders, and everyone was begging for the recipe. So easy to make a big batch without slaving over the stove all day, SO good.

2 days ago

This makes our whole day to hear, Pam! That garlic butter on the buns hack is absolute chef’s kiss — we’re going to add that as a fun variation tip on the recipe card for other folks to try. So glad they were a potluck home run!

5 days ago

As someone who barely knows how to boil water, this recipe was totally foolproof! I made these for my roommates during our Sunday football watch party and none of us could believe how good they turned out for how little effort it took. Only thing is I added a ton of extra cheddar because I’m a total cheese fiend, zero regrets.

1 week ago

These are perfect for my weekly meal prep! I wrapped them individually in foil after baking, stashed them in the fridge, and they heat up so nice in the toaster oven for quick work lunches. Way better than the sad cafeteria sandwiches at my office. The only tweak I’ll make next time is add a few dill pickles for some zing.

5 days ago

The pickle addition is genius! I threw in some dill pickles and a little drizzle of hot honey the last time I made these, total game over. You have to try it!

2 weeks ago

Quick question — can I assemble these the night before and stick them in the fridge to bake the next day? Mornings are absolute chaos getting the kids up and ready for school, so a hot breakfast I can just pop in the oven would be a total lifesaver. Also, has anyone tried these with Swiss instead of cheddar?

1 week ago

I do overnight prep for these all the time! Just cover the baking pan tight with plastic wrap and keep it in the fridge, then bake like normal the next day — no extra time needed. Swiss is amazing in these, I do a half Swiss half sharp cheddar mix and it comes out so creamy and delicious.

5 days ago

Great question, Ryan! You absolutely can assemble these up to 24 hours ahead and keep them covered in the fridge before baking — it’s one of our all-time favorite make-ahead hacks. Swiss works beautifully here, as does provolone or pepper jack if you want a little spicy kick!



