
Huckleberry Pie
intro
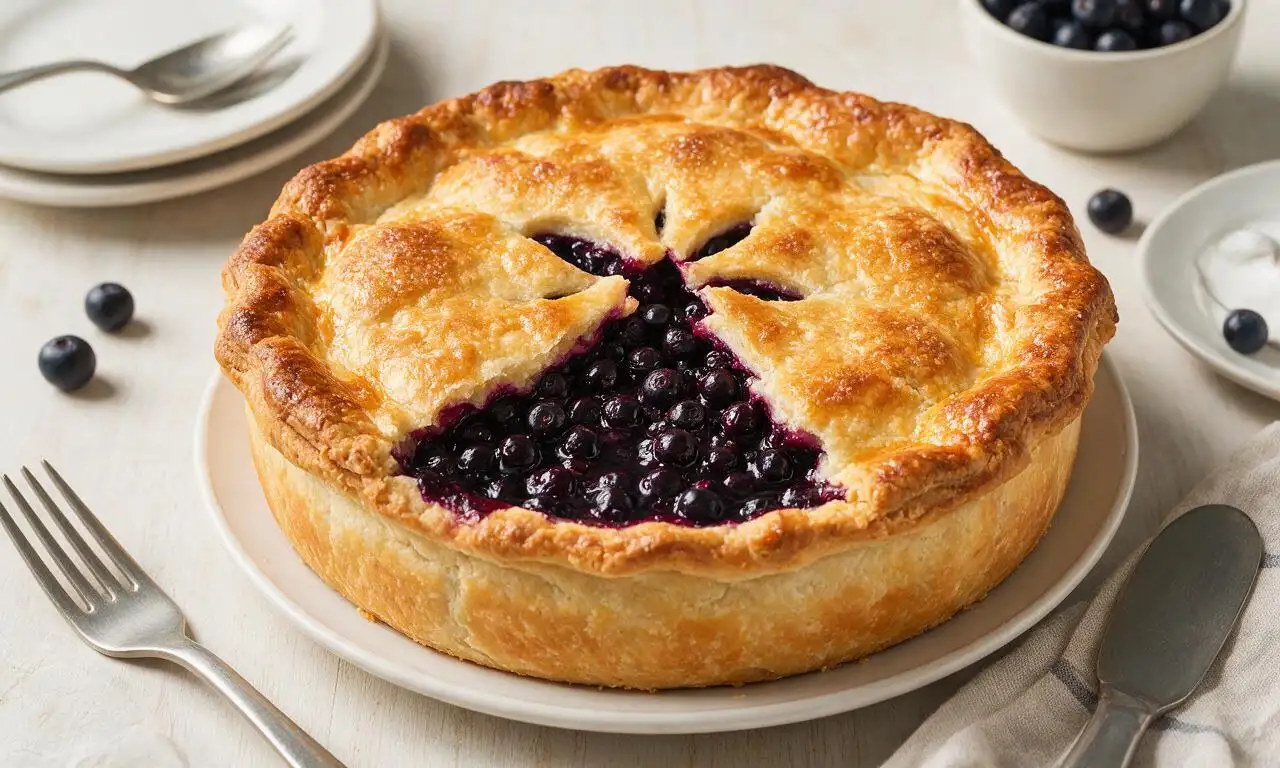
Sweet-tart, juicy wild huckleberries baked in a flaky buttery double crust, this Pacific Northwest classic balances bright berry flavor with rich, crisp pastry.
Ingredients
Steps
Prepare flaky pie crust
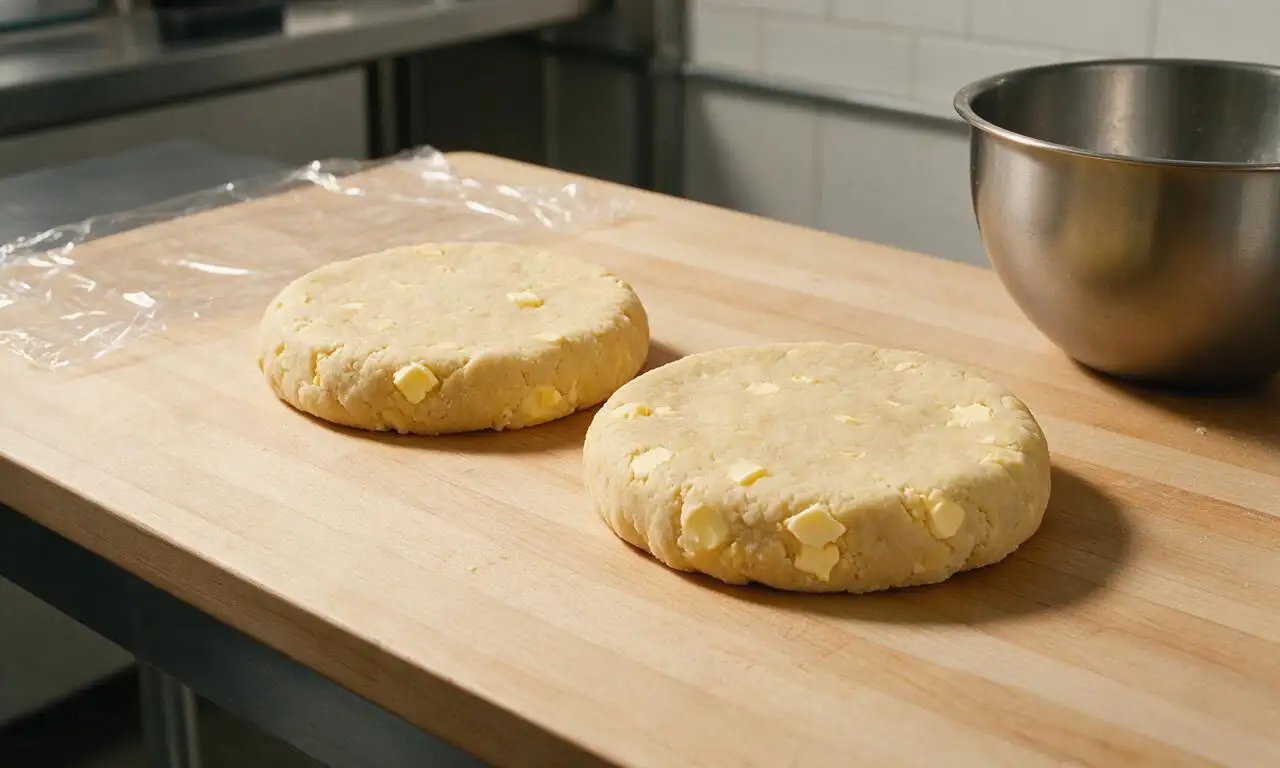
In a large mixing bowl, combine 315g all-purpose flour and 3g (1/2 tsp) fine sea salt. Add 226g cold cubed unsalted butter, and use a pastry cutter to work the butter into the flour until the mixture forms pea-sized crumbs with a few larger, almond-sized butter pieces remaining. Drizzle in 60ml ice-cold water 1 tablespoon at a time, mixing gently with a fork just until the dough comes together in a shaggy mass. Split the dough into two equal discs, wrap tightly in plastic wrap, and chill in the refrigerator for at least 30 minutes before rolling.
Mix huckleberry filling
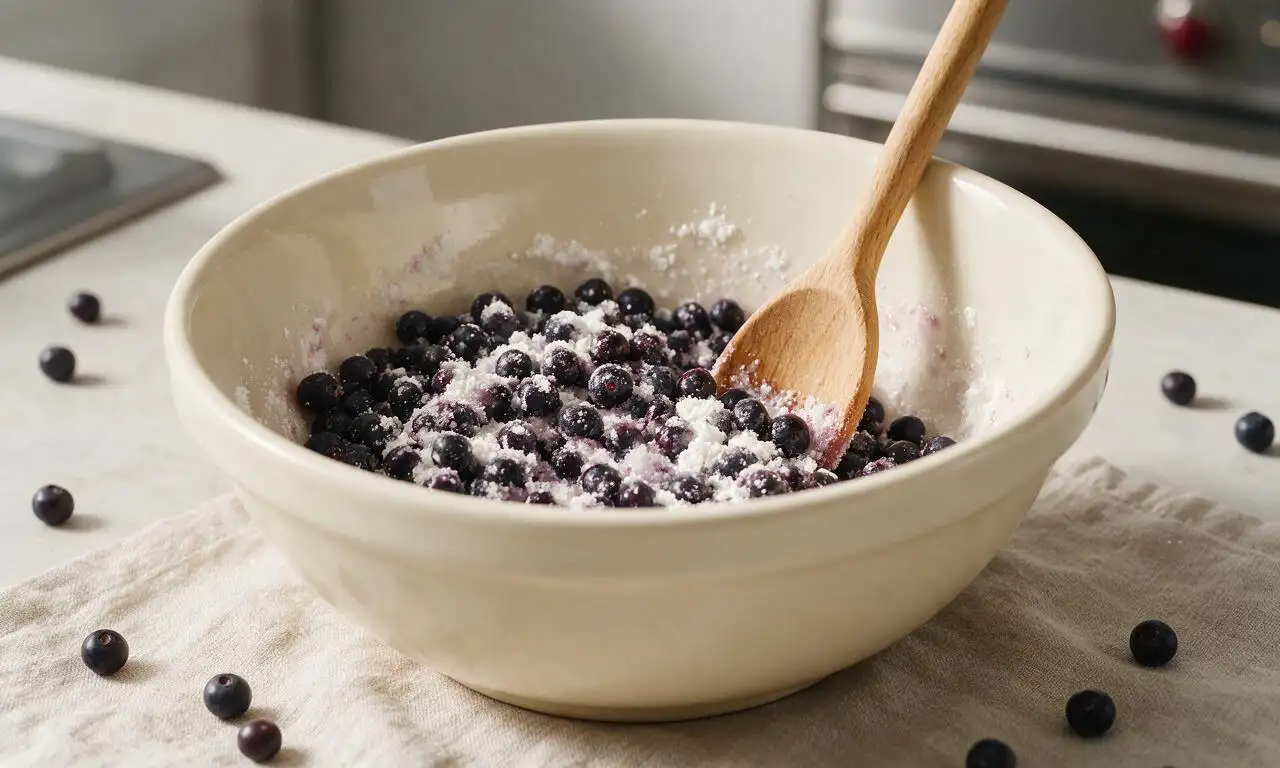
While the dough chills, gently toss 600g huckleberries (patted dry if using thawed frozen berries) with 150g granulated sugar, 24g cornstarch, 15ml fresh lemon juice, and the remaining 2g (1/2 tsp) fine sea salt in a large bowl until all berries are evenly coated. Let the mixture rest for 15 minutes at room temperature to allow the berries to release a small amount of juice, stirring once halfway through.
Roll and line pie dish
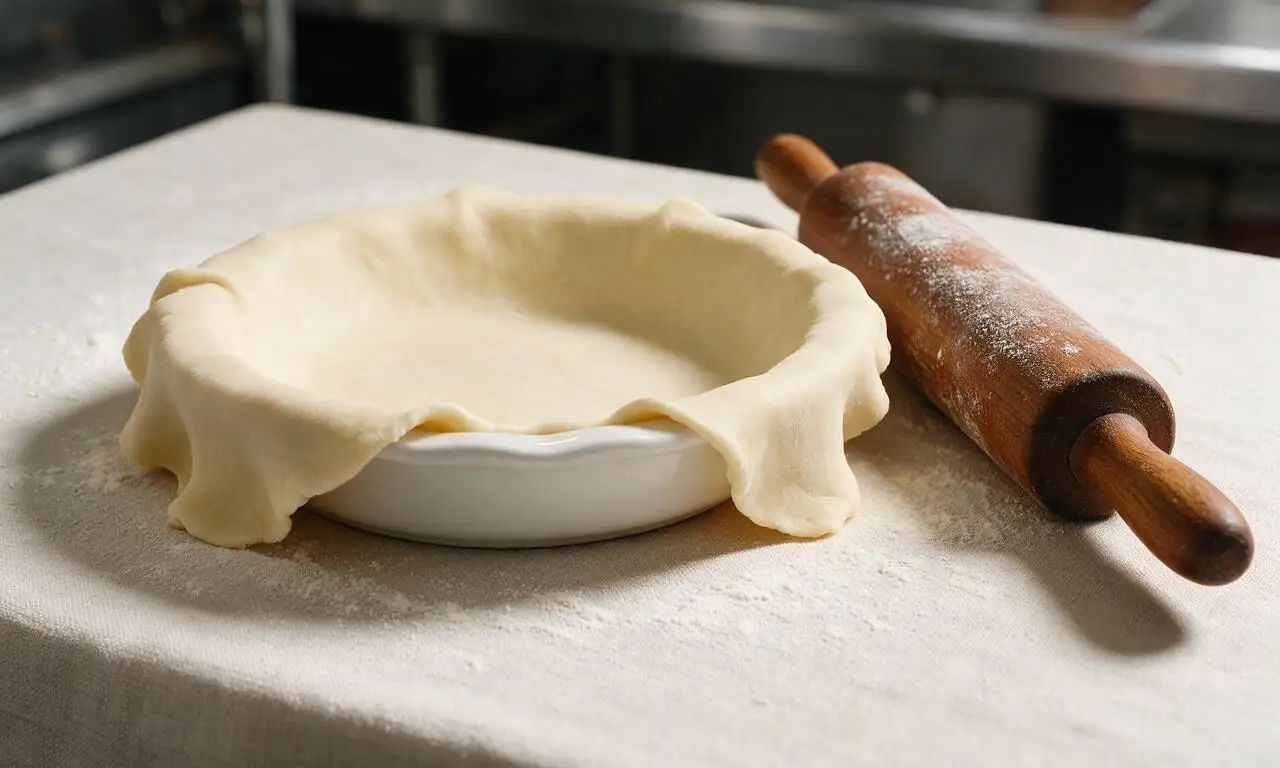
Preheat your oven to 200°C (400°F). Remove one chilled dough disc from the fridge, and roll it on a lightly floured surface to a 30cm (12-inch) circle, about 3mm (1/8-inch) thick. Carefully lift the dough and drape it over a standard 23cm (9-inch) pie dish, pressing it gently into the bottom and up the sides of the dish, leaving a 2.5cm (1-inch) overhang around the rim. Trim any excess dough longer than the 1-inch overhang with kitchen shears.
Fill and top the pie
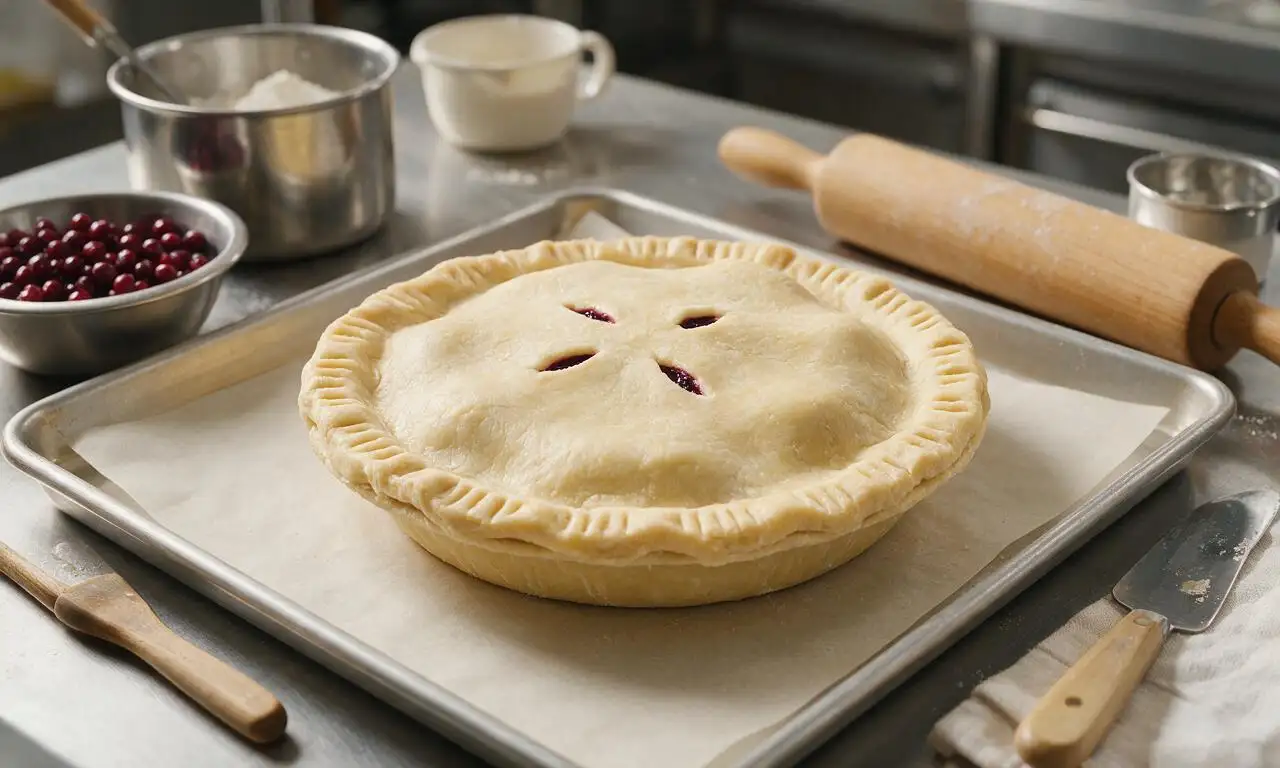
Pour the rested huckleberry filling into the dough-lined pie dish, spreading it into an even layer. Dot the top of the filling with the remaining 28g cold cubed unsalted butter. Roll the second chilled dough disc into a matching 30cm (12-inch) circle, and drape it over the top of the filling. Trim the top crust to match the bottom crust’s 1-inch overhang, then crimp the two crust edges together tightly to seal, pressing with your fingers or a fork to create a decorative border. Cut 4 small 2cm (3/4-inch) slits in the top crust to allow steam to escape during baking.
Bake until golden bubbly
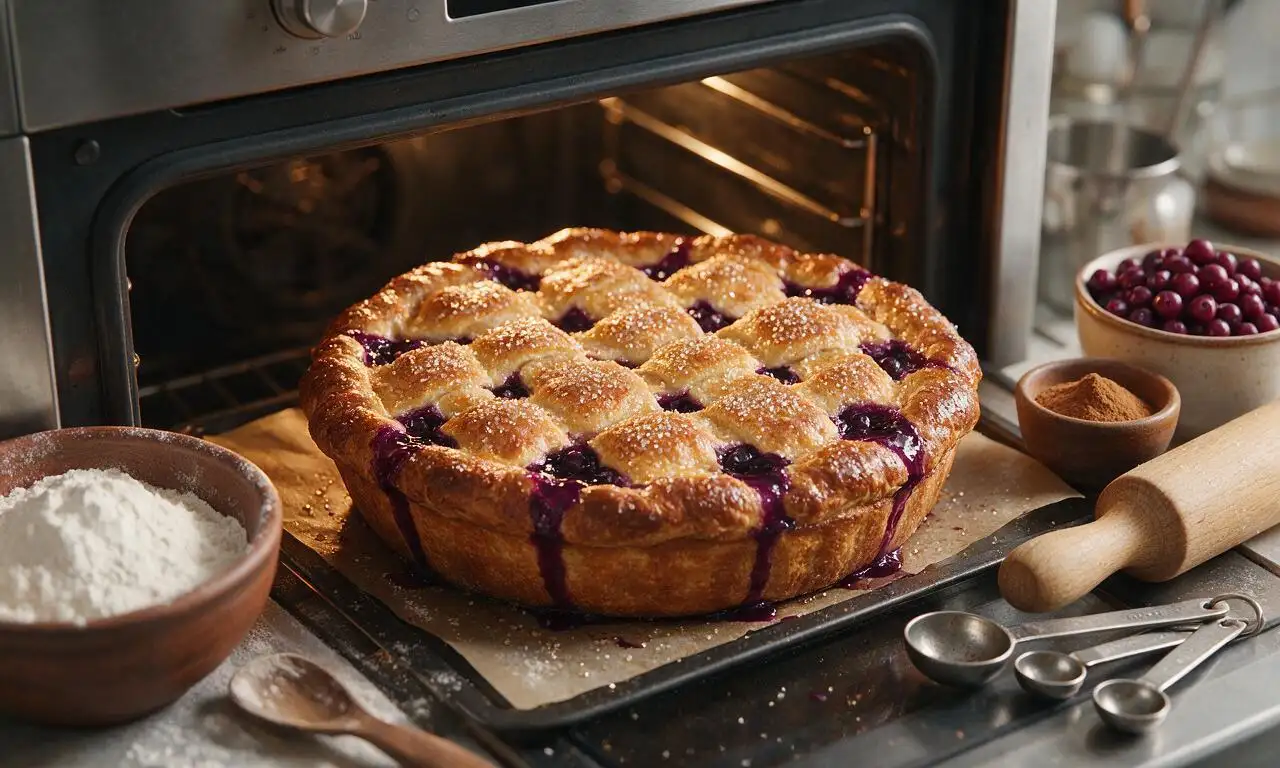
Brush the entire top crust and crimped edge with the beaten egg, then sprinkle evenly with 12g coarse sanding sugar. Place the pie on a middle oven rack, with a rimmed baking sheet on the rack below to catch any bubbling juice. Bake at 200°C (400°F) for 25 minutes, then reduce the oven temperature to 190°C (375°F) and bake for an additional 25-30 minutes, until the crust is deep golden brown and the filling is visibly bubbling through the steam slits.
Cool fully before slicing
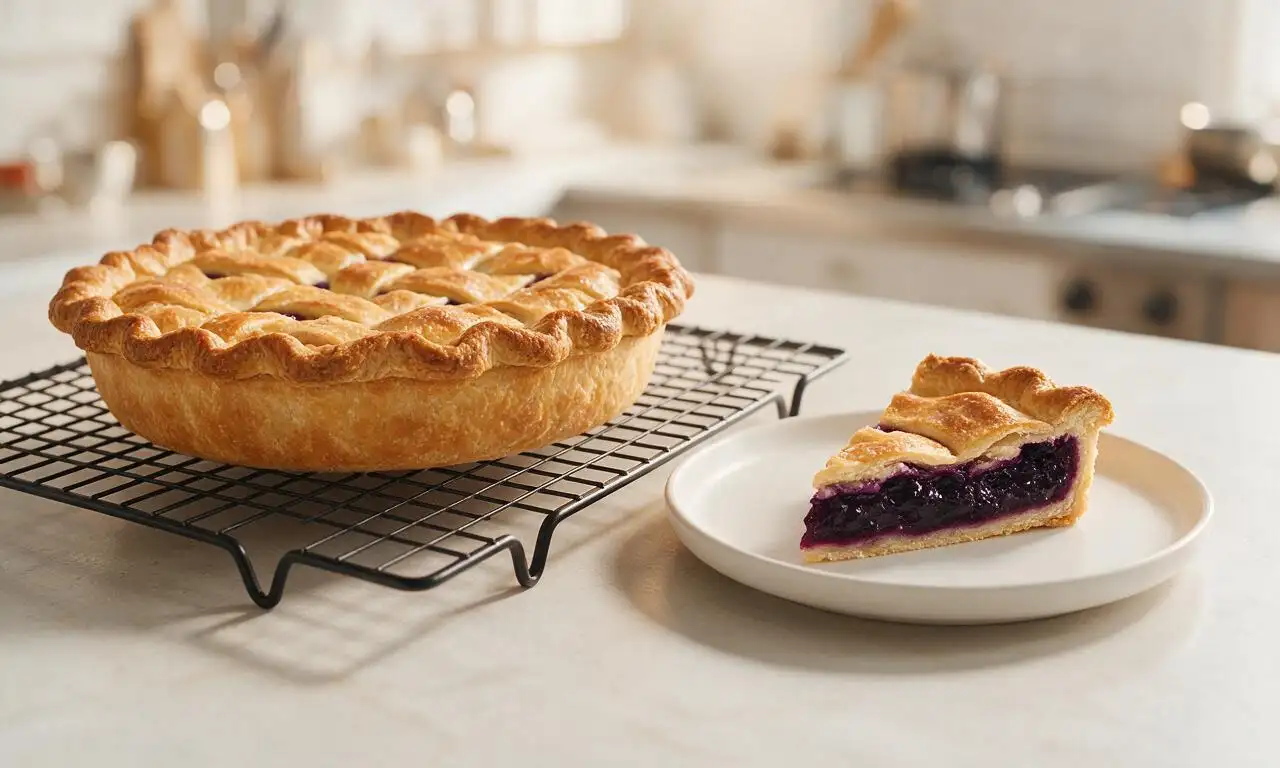
Remove the baked pie from the oven and transfer it to a wire rack to cool completely at room temperature for a minimum of 2 hours, to allow the filling to set fully before slicing. Serve slightly warm or at room temperature, with optional whipped cream or vanilla ice cream if desired.
Tips
2.If using frozen huckleberries, do not thaw them completely before mixing the filling, and add an extra 1 teaspoon (3g) of cornstarch to absorb extra released juice and prevent a runny, soggy pie.
3.If the crimped pie edges start to turn deep brown before the filling finishes bubbling, wrap a narrow strip of aluminum foil around the pie rim to shield it from direct heat and prevent burning.






OMG, this huckleberry pie took me right back to summer trips to my grandma’s cabin in Idaho! I foraged a gallon of wild huckleberries last weekend and was nervous they’d go to waste since I’ve never made pie from scratch before. The crust was flaky as can be, the filling wasn’t too tart or too sweet, and my whole family devoured half the pie before it even fully cooled. Game changer for our Sunday family dinners!
Brought this to our neighborhood potluck last Saturday and people were asking me for the recipe before they even finished their first slice! I added a tiny dash of cinnamon to the filling like my mom used to do and it paired so well with the bright huckleberry flavor. SO good, even my super picky 7 year old asked for a second slice.
Wait, I followed the recipe exactly but my filling came out super runny? Did I misread the cornstarch measurement? I was so excited because huckleberry pie is my husband’s favorite and I made it for our anniversary, but we ended up eating it in bowls like cobbler lol.
I’ve been testing huckleberry pie recipes all summer and this one is hands down the winner! The balance of sugar to lemon zest in the filling lets the actual huckleberry flavor shine instead of being masked by too much sweetener. I pre-baked the crust for 10 minutes like the note said and it didn’t get soggy at all, even after sitting in the fridge overnight. Perfect for meal prep dessert for the week!
Made this for my camping trip last weekend and cooked it in my cast iron dutch oven over the campfire and it turned out INSANE. We didn’t have a lattice top so we just did a full crimped top crust with a few vent cuts, and it was perfect after about an hour over the coals. Nothing beats warm huckleberry pie after a long day on the trails!
I was so intimidated to make homemade pie crust because every attempt I’ve made before turned out tough and crumbly, but your step-by-step tips for keeping the butter ice cold made all the difference! I couldn’t find fresh huckleberries at my local grocery store so I ordered frozen ones online, and you’d never know the difference. My roommates and I ate the whole pie in one sitting last night, oops.