
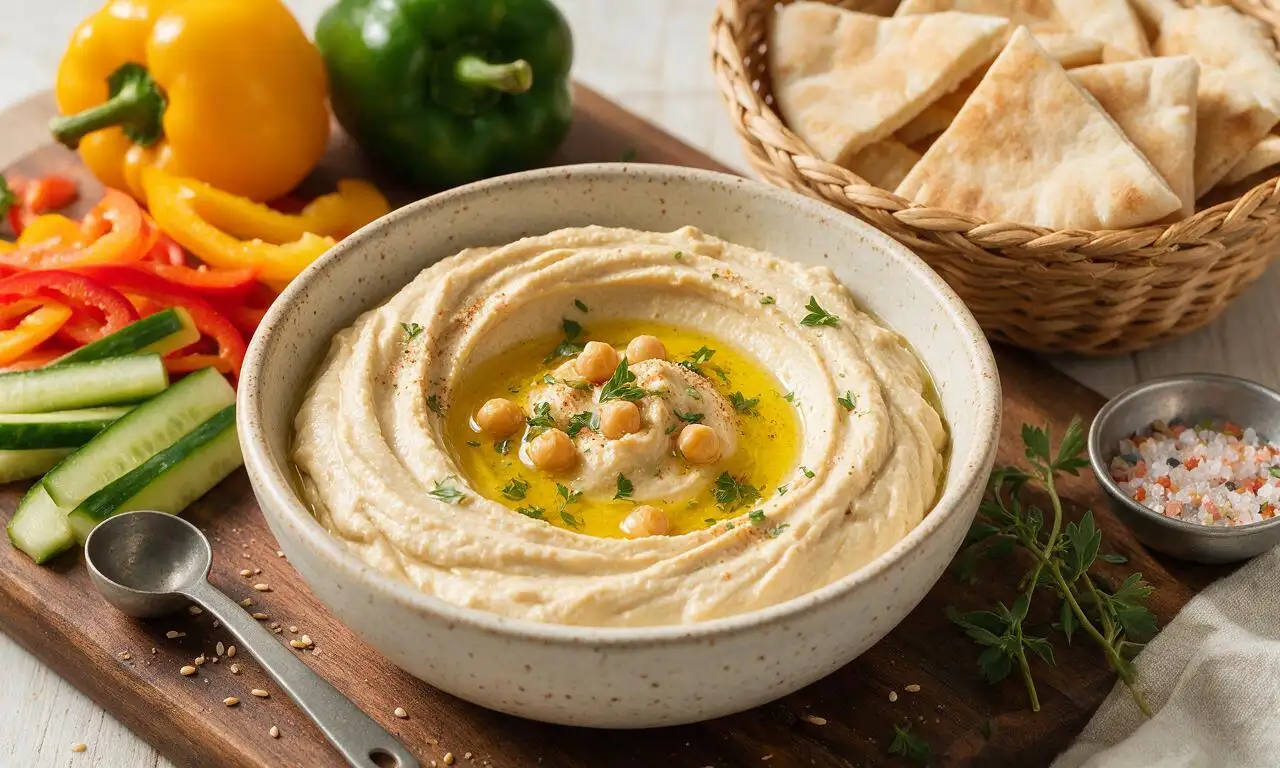
Hummus

title 1
Hummus
⏱️ cook time 15 minutes
🍽️ servings 4
⚡ Difficulty easy

intro

Silky, garlicky, nutty classic hummus: a protein-packed Eastern Mediterranean dip perfect for pita, veggies, or wraps. This no-cook recipe comes together in minutes for a crowd-pleasing bite.

Ingredients

Canned chickpeas (garbanzo beans, drained, rinsed) 250 grams (approx 1 15-oz can, drained weight)
Unsalted tahini (stirred well before measuring) 80 grams (1/3 cup)
Fresh lemon juice 60 ml (1/4 cup)
Peeled garlic cloves 6 grams (2 medium cloves)
Ground cumin 2 grams (1 teaspoon)
Kosher salt 3 grams (1/2 teaspoon)
Ice-cold water 45 ml (3 tablespoons)
Extra-virgin olive oil 30 ml (2 tablespoons, plus extra for garnish)

Steps

1

Prep the chickpeas

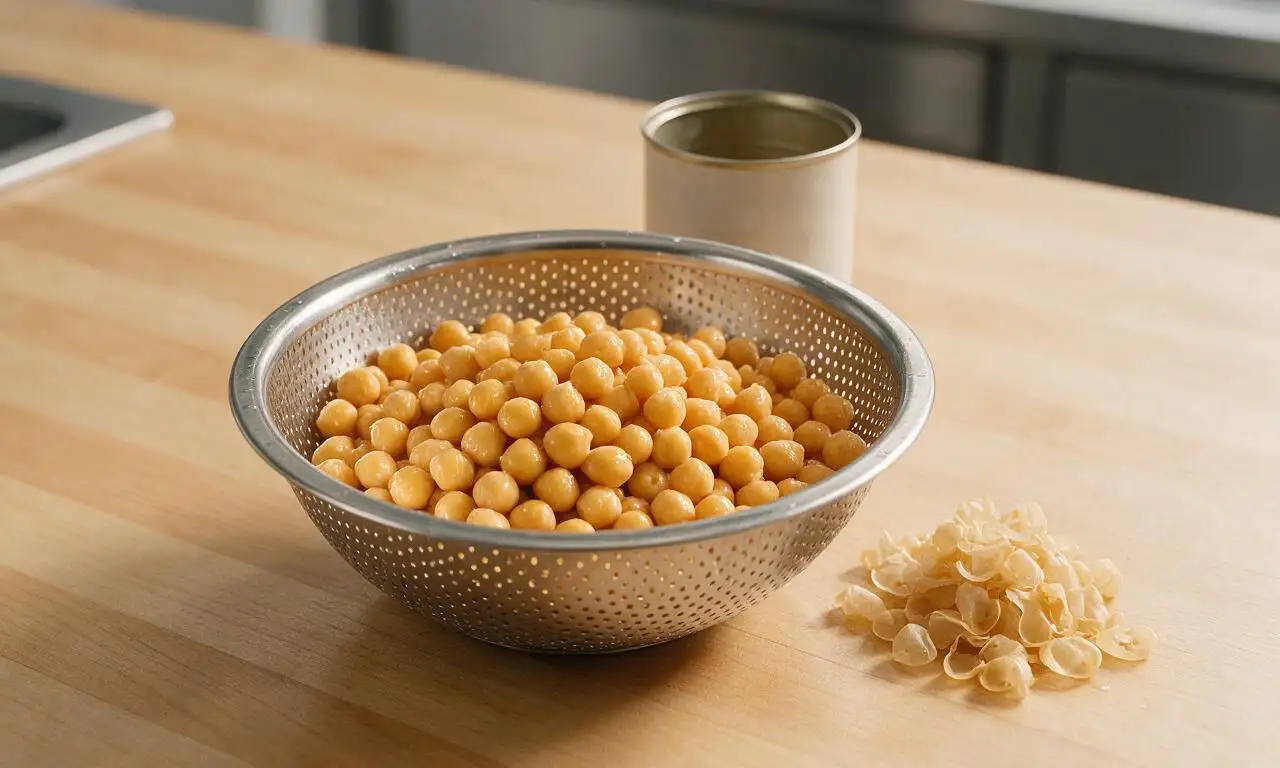
Open the 425g (15-oz) can of chickpeas, pour off all canning brine, and pour the chickpeas into a fine-mesh colander. Rinse thoroughly under cold running tap water for 30 seconds to wash away excess starchy brine. For ultra-smooth hummus, gently pinch each chickpea between your thumb and forefinger to slip off the thin, translucent outer skin, collecting and discarding all skins; this step takes roughly 5 minutes.
Step 1
step1:Prep the chickpeas
2

Blend garlic and lemon

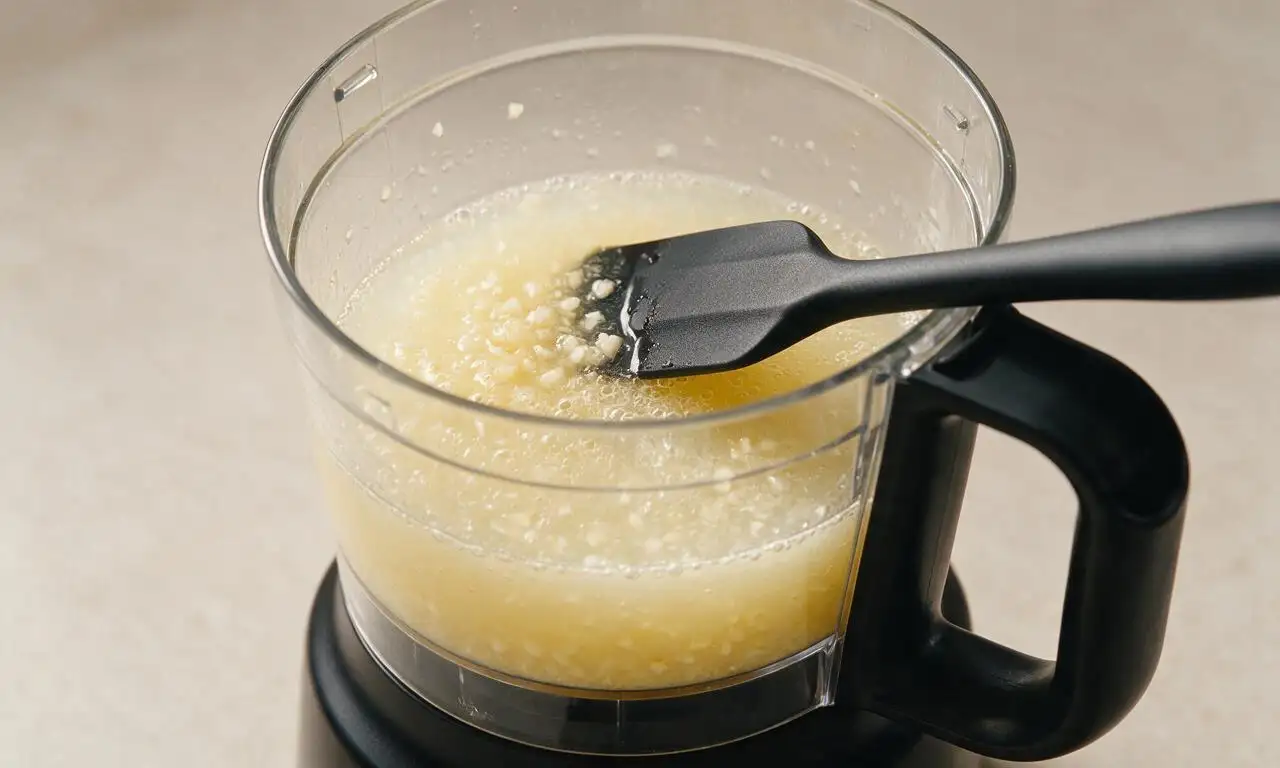
Add the 2 peeled garlic cloves (6g total), 60ml (1/4 cup) fresh lemon juice, and 3g (1/2 tsp) kosher salt to the bowl of a standard food processor. Secure the lid and process on high speed for 30 seconds until the garlic is completely finely minced and the mixture is pale and frothy. Pause halfway through to scrape down the sides of the processor bowl with a rubber spatula to ensure no large garlic pieces remain.
Step 2
step2:Blend garlic and lemon
3

Incorporate the tahini

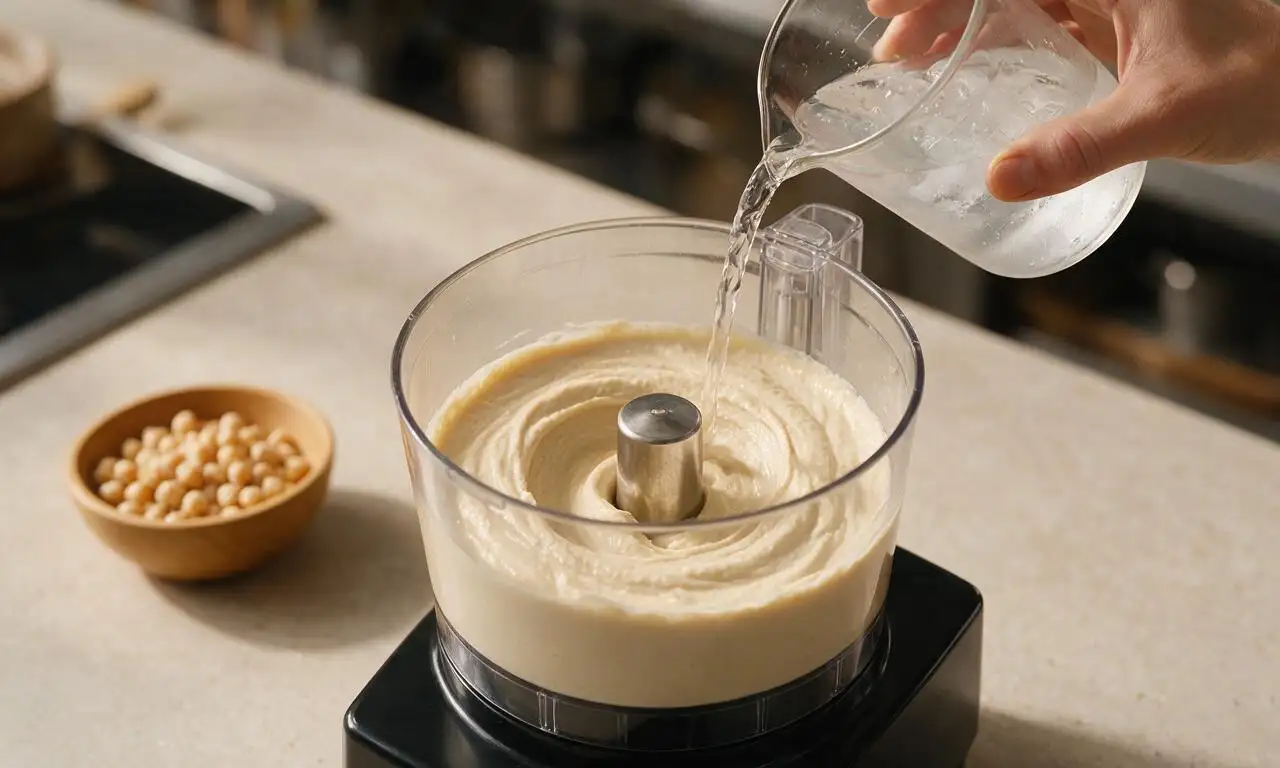
Add all 80g (1/3 cup) of well-stirred tahini to the processor bowl. Secure the lid and process on medium speed for 1 full minute. After the first 30 seconds, slowly drizzle 15ml (1 tbsp) of ice-cold water through the processor’s feed tube while the motor runs, until the mixture thickens, lightens to a pale creamy beige, and is completely lump-free. Scrape down the bowl sides once after processing finishes.
Step 3
step3:Incorporate the tahini
4

Add chickpeas and cumin

Add all 250g of prepped rinsed chickpeas and 2g (1 tsp) ground cumin to the tahini base in the processor. Secure the lid and process on high speed for 2 full minutes, pausing every 30 seconds to scrape down the sides and bottom of the bowl to dislodge any unblended chickpea bits, until the mixture starts to form a thick, coarse paste.
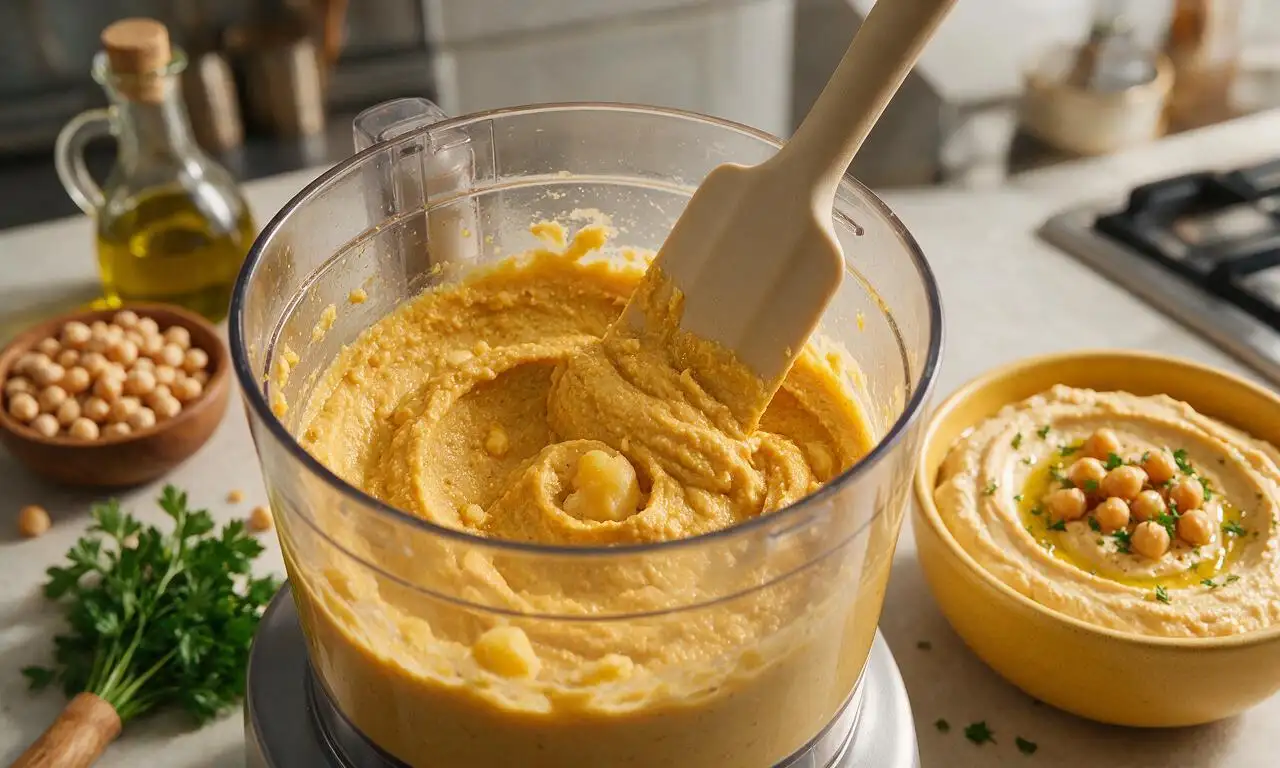
Step 4
step4:Add chickpeas and cumin
5

Whip to smooth texture

Turn the processor to low speed, and slowly drizzle in the remaining 30ml (2 tbsp) ice-cold water and 15ml (1 tbsp) extra-virgin olive oil through the feed tube. Continue processing for 1 full minute, until the hummus becomes light, fluffy, and completely smooth with no gritty texture. Taste and adjust seasoning by adding an extra 1g pinch of salt or 5ml (1 tsp) lemon juice if the flavor tastes flat.
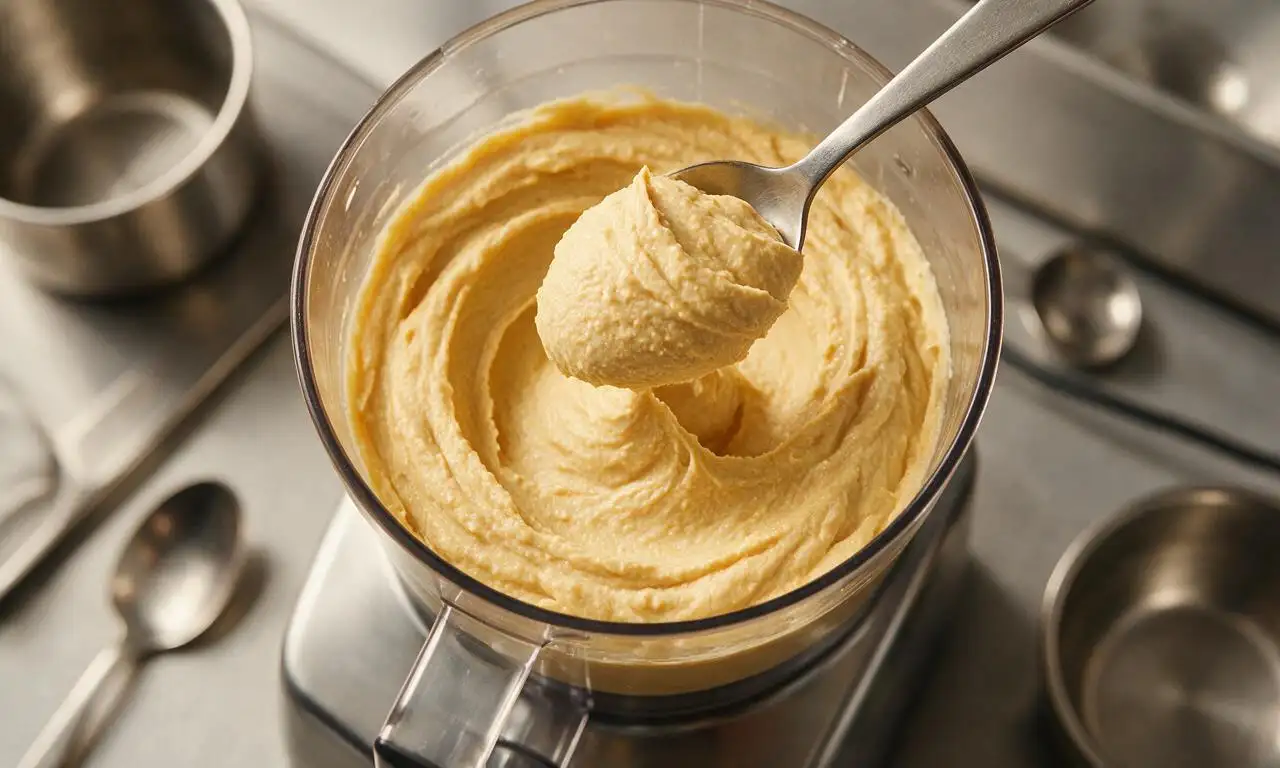
Step 5
step5:Whip to smooth texture
6

Plate and serve hummus

Scoop the finished hummus into a shallow 20cm (8-inch) ceramic serving bowl. Use the back of a spoon to spread the hummus evenly, creating a gentle shallow swirl across the top. Drizzle the remaining 15ml (1 tbsp) extra-virgin olive oil over the swirl, and add a light pinch of extra ground cumin for garnish if desired. Serve immediately, or cover tightly with plastic wrap and refrigerate for up to 5 days.
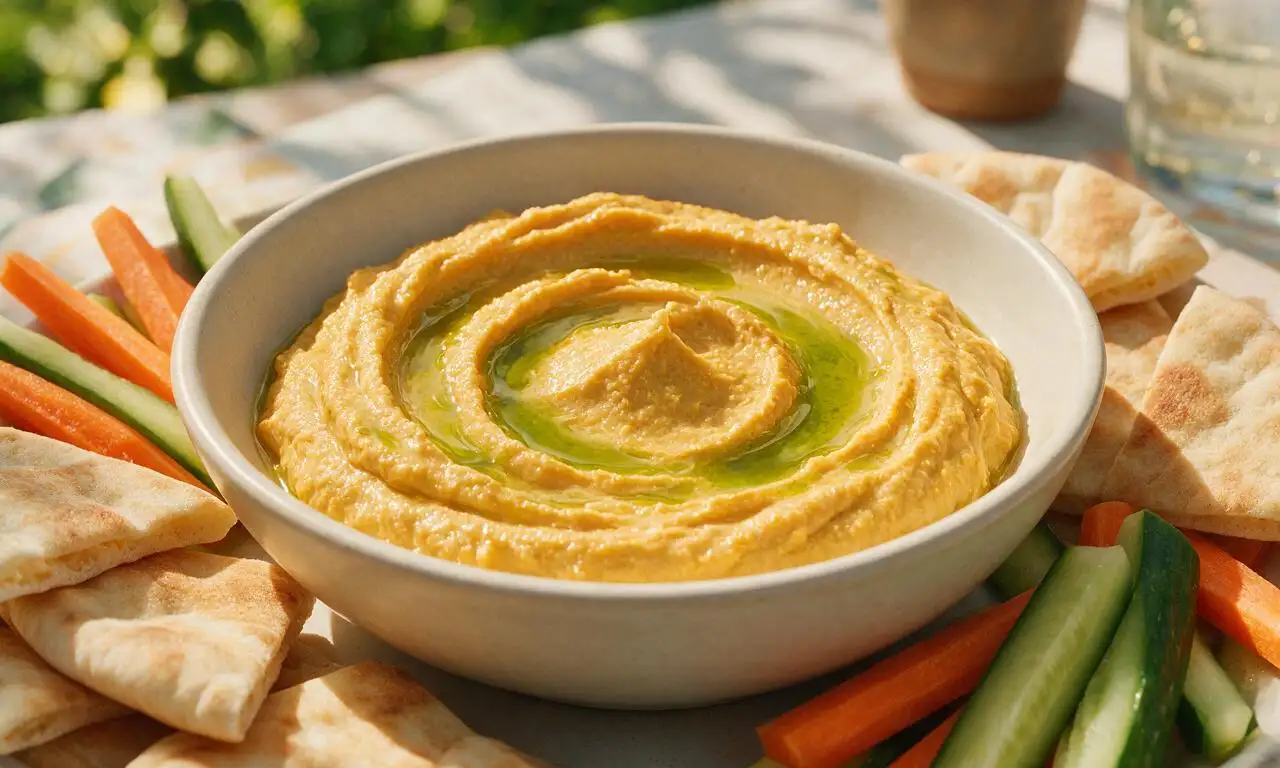
Step 6
step6:Plate and serve hummus

Tips

1.Use ice-cold water instead of room temperature water when blending: the cold temperature helps whip tiny air bubbles into the hummus for a light, fluffy texture instead of the dense, heavy consistency common in store-bought hummus.
2.Peeling chickpea skins is optional: skipping this step cuts prep time by 5 minutes, but will produce a slightly more rustic, less silky-smooth hummus, which works perfectly for casual servings.
3.Always stir tahini completely in its jar before measuring: separated, un-stirred tahini has a thick dry paste at the bottom and separated oil on top, which will make hummus taste bitter and grainy if not fully incorporated first.


✨ You May Also Like

Snacks & Appetizers
🍜 Mexico

Crispy thick-cut tortilla chips piled high with seasoned beef, melted cheese, and bright fresh toppings for a shareable, crowd-favorite bite.

⏱️ 25 minuteSnacks & Appetizers ★ 4.8
Snacks & Appetizers
🍜 United States

Crisp, sweet-tangy spiced pickled watermelon rind is a zero-waste summer staple, perfect with grilled meats, charcuterie, or eaten straight from the jar as a bright snack.

⏱️ 30 minuteSnacks & Appetizers ★ 4.6
Snacks & Appetizers
🍜 Germany

A tangy, jellied pork cold cut slow-simmered with aromatic spices, set into a firm sliceable loaf, served cold with mustard and crusty bread.

⏱️ 3 hours 4Snacks & Appetizers ★ 4.8
Snacks & Appetizers
🍜 United States

Creamy, tangy, perfectly seasoned hard-boiled egg halves filled with a rich, smooth yolk mixture, a timeless, crowd-pleasing bite for holiday and casual gatherings alike.

⏱️ 40 minuteSnacks & Appetizers ★ 4.8
Snacks & Appetizers
🍜 Russia

Silky, dill-forward no-smoke cured salmon, a Scandinavian classic with bright salty-sweet flavor, ideal for holiday starter platters and open-faced rye sandwiches.

⏱️ 48 hours Snacks & Appetizers ★ 4.7
Snacks & Appetizers
🍜 Japan

Crisp golden bottoms, juicy savory pork and vegetable filling, and tangy dipping sauce make these pan-fried gyoza a beloved shareable bite.

⏱️ 45 minuteSnacks & Appetizers ★ 4.8

Hummus:Frequently Asked Questions

1.Why does my homemade hummus turn out grainy instead of the silky restaurant-style texture? ▾
The two most common culprits are skipping chickpea skin removal and overloading your food processor too quickly. After rinsing canned chickpeas, gently rub them between paper towels to slip off the thin, papery outer skins. Process tahini and lemon juice first for 1 full minute until light and whipped before adding remaining ingredients for that luxe, smooth finish.
2.Do I really need to stir my tahini before measuring it for this recipe? ▾
Absolutely—unstirred tahini separates in the jar, with thick, dry nut paste at the bottom and clear, oily liquid on top. If you scoop without mixing, you’ll get an unbalanced ratio that makes hummus greasy or dry, instead of rich and creamy. Stir the entire jar thoroughly until fully smooth right before measuring your portion for best results.
3.Can I make this creamy classic hummus ahead of time for a party or potluck? ▾
You absolutely can, and it actually tastes better after the flavors have time to meld! Store it in an airtight container in the fridge for up to 4 days, and press a piece of plastic wrap directly against the hummus surface before sealing to prevent a dry, tough skin from forming. Give it a quick stir before serving, and add a tiny splash of cold water if it thickens too much.
4.I don’t love super sharp raw garlic—can I adjust the garlic in this hummus without ruining the flavor? ▾
Of course! Start with 1 small peeled garlic clove instead of a larger one, and for an even milder, nuttier flavor, blanch peeled cloves in boiling water for 30 seconds, then shock them in ice water before adding. This tames the harsh, spicy raw bite without losing that signature warm garlic note that makes classic hummus taste balanced, not overpowering.
5.Can I use home-cooked dried chickpeas instead of canned for this no-cook recipe? ▾
You absolutely can, though canned is the faster, no-cook option. If using dried, soak 1 cup of dried chickpeas overnight, then simmer until very tender (about 45 to 60 minutes) before using. Home-cooked chickpeas often make even creamier hummus; just reserve a little cooking liquid to thin the dip to your preferred consistency if needed.
6.I see some hummus recipes use ice water to thin the dip—should I do that for this classic version? ▾
Ice water is a great trick if you want extra-fluffy hummus! If your blended hummus feels too thick after processing all the core ingredients, add 1 teaspoon of ice-cold water at a time while the processor runs, up to 2 tablespoons total. The cold water emulsifies with the tahini to create a lighter, airier texture without diluting the nutty, garlicky flavor.
7.Do I need to add olive oil to this hummus, or is it an optional ingredient? ▾
Olive oil isn’t required for the base of this classic hummus, since well-stirred tahini delivers plenty of rich, nutty fat, but it makes a lovely finishing touch. Drizzle a tablespoon of high-quality extra-virgin olive oil over the top right before serving, along with a pinch of flaky salt or extra cumin, for a restaurant-worthy presentation and extra depth of flavor.
8.The recipe calls for unsalted tahini—how should I season the hummus for the best flavor? ▾
Since unsalted tahini and rinsed canned chickpeas have very little added sodium, you’ll want to season to taste with fine sea salt after blending the core ingredients. Start with ¼ teaspoon, blend, taste, and add a pinch more at a time until the nutty, tangy, garlicky flavors pop. Go slow, since over-salting is much harder to fix than under-salting.
9.Can I freeze leftover creamy hummus to use later? ▾
Yes, hummus freezes really well for up to 3 months! Portion it into freezer-safe airtight containers, leaving ½ inch of headspace to account for expansion, and smooth the top before sealing. Thaw it in the fridge overnight, then stir vigorously or give it a 10-second blend in the food processor to restore its smooth, creamy texture after thawing.

Comments (13)

2 days ago

OMG this hummus is SO good! I’ve tried so many hummus recipes that come out grainy but this one was perfectly creamy after following the tip to peel the chickpeas. Brought it to a neighborhood potluck last weekend and people were begging me for the recipe before I even left. 10/10 will make again for meal prep this week!

yesterday

Wait did you really peel all the chickpeas? I’ve always skipped that step wondering if it makes a difference, I’ll have to try it next time!

yesterday

So glad it was a hit at the potluck, Sarah! Peeling the chickpeas is totally the secret hack for that ultra-smooth texture, but if you’re short on time you can also blend for an extra 2 minutes and it still turns out great!

3 days ago

Super easy recipe, but I thought it was a little light on garlic for my taste. Next time I’ll add an extra clove, maybe a pinch of smoked paprika on top for a little extra kick. Still way better than the grocery store stuff I usually grab!

2 days ago

Great call on the smoked paprika, Carlos! We love that garnish too, it adds such a nice warm depth. Adding extra garlic is always a welcome tweak if you’re a garlic lover — no judgment here!

1 week ago

Made this for our family taco night last night as a side with pita chips and fresh veggies. My husband who swears he “doesn’t like hummus” went back for three helpings. I didn’t even tell him it was homemade until after he ate half the bowl, haha!

5 days ago

Wait a second, 15 minutes total? I was skeptical but I timed it last night — from opening the cans to dipping my first pita wedge, it was 14 minutes flat. Game changer for quick weeknight snacks. Only thing I did wrong was not make a double batch, my roommates demolished it in 10 minutes.

3 days ago

Oh my gosh my roommates do the exact same thing! I started labeling my hummus containers in the fridge and they still find a way to eat half 😂

3 days ago

Love that it came together so fast for you, Tyler! Double batches are definitely the move if you live with snack thieves — this hummus stays good in the fridge for up to a week, so it’s perfect to make ahead!

2 weeks ago

I’ve been making hummus for 40 years and this recipe is hands down the creamiest version I’ve ever made. The trick of adding ice water while blending? I’d never heard that before! It made all the difference. Shared a bowl with my bridge club yesterday and all the ladies asked for a copy of the recipe.

1 week ago

That means the world coming from someone with so much hummus-making experience, Jo! The ice water trick is such a simple little hack but it makes the texture so light and fluffy, we’re so glad it worked for you and your bridge club!

2 hours ago

Great base recipe! I added a roasted red pepper from a jar I had in the fridge to half the batch for a little variety, and it was chef’s kiss. Perfect for meal prepping snacks for work this week, I portioned it out with cucumber slices and pretzel thins so I don’t hit the vending machine at 3pm.

yesterday

Tried this yesterday and my kids loved it! They usually turn their nose up at dips that aren’t ranch, but they ate every last bit of this with pretzels and apple slices? Wait apple slices with hummus? I was skeptical too but they insisted, and honestly it slaps. Will be making this weekly now.

2 hours ago

Wait apple slices and hummus? I’ve never tried that combo but my toddler is obsessed with apples, I’m gonna test that out this weekend!

3 days ago

Ugh I messed up the first batch because I used way too much tahini (oops, misread the measurement). Tried again today measuring correctly and it was perfect! So creamy, bright, exactly the classic hummus I was craving. Pro tip: don’t pour the whole tahini jar in unless you want super bitter hummus, lol.

2 days ago

Oh no I did the exact same thing my first try! I thought more tahini = better but nope, the ratio on this recipe is so spot on if you measure right 😂

2 days ago

We’ve all been there, Hannah! Tahini is such a strong flavor, it’s easy to overdo it. So glad you gave it a second try — it sounds like it turned out perfectly the second go-round!

1 week ago

I brought this to my office potluck on Wednesday and it was the first dish gone! I topped it with a little olive oil, za’atar, and toasted pine nuts like the recipe suggested and it looked so fancy, people thought I bought it from the fancy Mediterranean place downtown. Little do they know it took me 15 minutes to make.

5 days ago

We love a low-effort, high-impact potluck win! That toasted pine nut and za’atar garnish is such a good call, it makes it look and taste totally restaurant-worthy. Thanks for sharing!

30 minutes ago

Took everyone’s advice and peeled the chickpeas this time, and wow, the texture is insane! So smooth, no grit at all. I added a little extra lemon because I love that bright tang, and it’s perfect. Already ate half the bowl while watching the game last night, no regrets.

5 days ago

This recipe is so easy even my teen son could make it! He had friends over after school yesterday and he whipped up a batch all by himself, they ate it with tortilla chips while playing video games. Love finding recipes that are simple enough for him to make without me having to hover the whole time.

3 days ago

That’s such a good idea! I’ve been looking for easy recipes to teach my little cousin when he visits next month, this is definitely going on the list.

1 week ago

I’ve been on a meal prep kick for the last month and this hummus is now a non-negotiable weekly staple. It’s so much cheaper than buying the pre-made containers at the grocery store, tastes way better, and I can customize it however I want week to week. Last week I added roasted garlic, this week I’m thinking spicy jalapeño.

5 days ago

Wait how long does this stay good in the fridge? I want to make it for meal prep too but I’m worried it’ll go bad before I finish it!

5 days ago

Great question, Lila! Stored in an airtight container in the fridge, this hummus stays fresh for 5-7 days. If it gets a little thick after a few days, just stir in a teaspoon of cold water to loosen it back up!

just now

SO good! I made this to go with our Mediterranean family dinner night with homemade falafel and tzatziki, and it was the perfect pairing. The texture was so light and creamy, not heavy like some dense hummus I’ve had from restaurants. Even my super picky sister who swears she hates all bean-based dips went back for two servings. 10/10, this will be my go-to hummus recipe forever.



