1.How far in advance can I assemble this no-bake layered ice cream cake?
▾
You can fully assemble this cake up to 1 week ahead if stored properly. Wrap it tightly in two layers of plastic wrap and keep it in a consistent 0°F freezer, away from strong-smelling frozen items like fish or cut onions to avoid off-flavors. Save any fresh or crunchy decorative toppings to add right before serving.
2.Do I have to use premium ice cream for this recipe, or will budget brands work?
▾
I strongly recommend premium ice cream here for the best texture and flavor. Budget brands often have extra added air and artificial stabilizers that make layers icy or crumbly as they freeze and thaw, rather than staying rich, creamy, and dense enough to hold clean, distinct layers between fudge and cookie crumbs.
3.How do I keep the cookie crumb layers from getting soggy?
▾
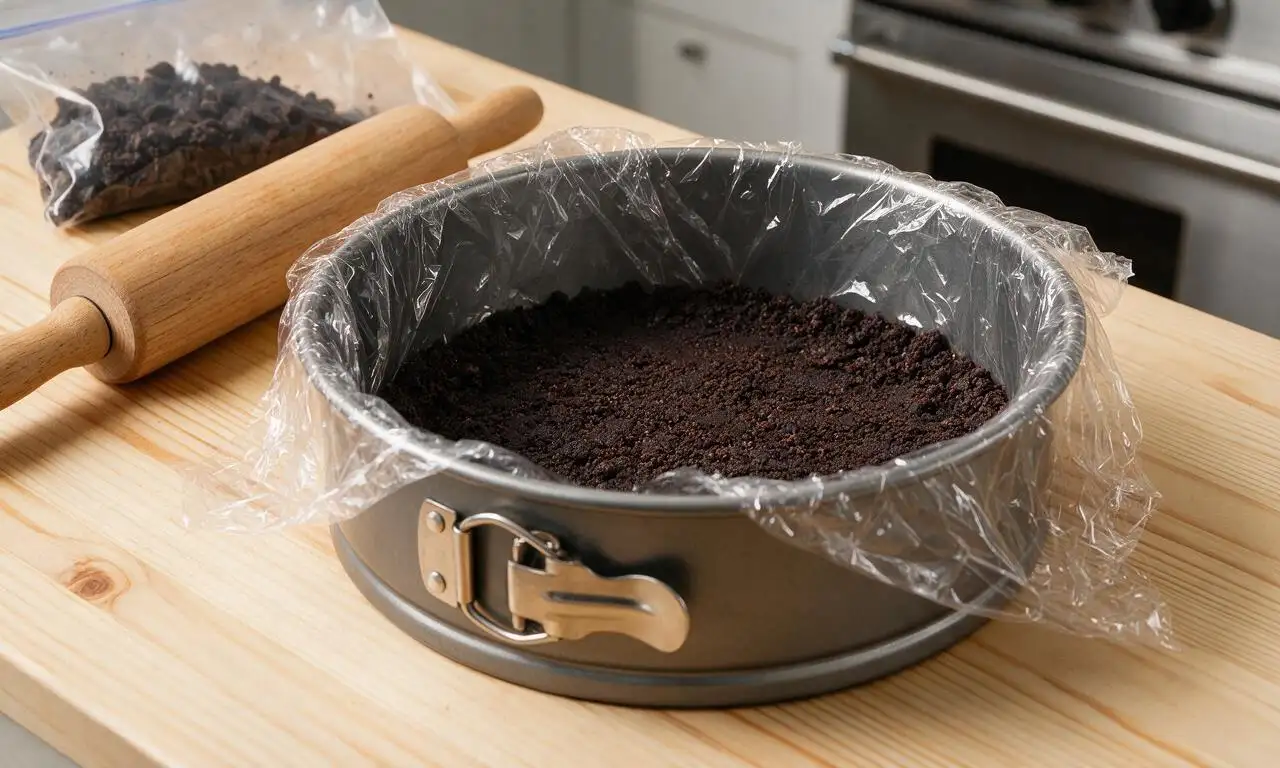
The trick is two-fold: first, mix your crushed chocolate sandwich cookie crumbs with melted unsalted butter, press firmly, and freeze the crumb base for 15 minutes before adding ice cream. Second, let hot fudge cool slightly (don’t pour it boiling hot) so it doesn’t melt adjacent ice cream and seep into the crumbs.
4.Can I swap the vanilla and chocolate ice cream for other flavors?
▾
Absolutely, this recipe is super flexible! Stick to two premium, dense ice cream flavors that pair well with chocolate and fudge—think mint chocolate chip, salted caramel, strawberry, or cookies and cream. Soften each flavor slowly in the fridge for 10-15 minutes so it spreads evenly without melting into slush.
5.What’s the easiest way to spread ice cream into smooth, even layers?
▾
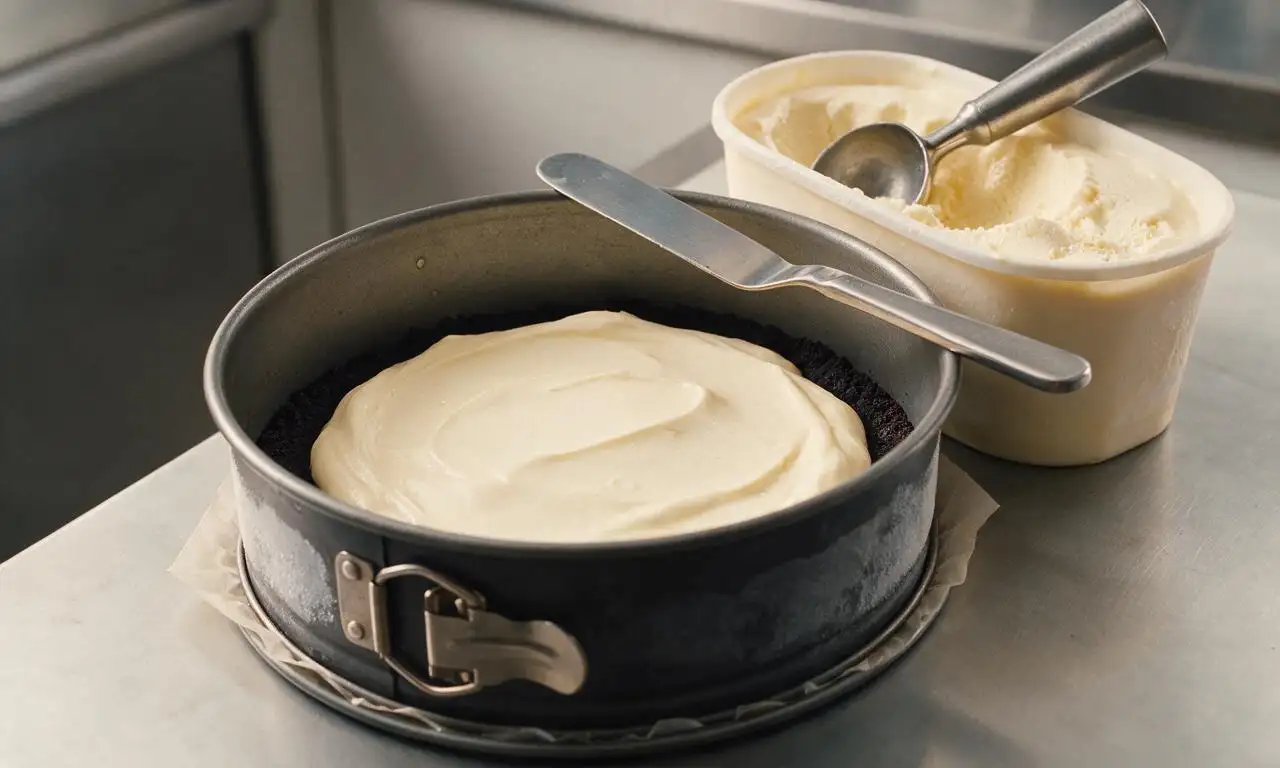
Skip the microwave for softening ice cream—it melts unevenly and causes icy patches later. Instead, let each container sit in the fridge for 10 to 15 minutes until it’s soft-serve consistency, then spread quickly with an offset spatula, popping the pan back in the freezer for 20 minutes between layers to set.
6.Do I need a springform pan to make this ice cream cake?
▾
A 9-inch springform pan makes removal super easy, but you don’t have to buy one special. A regular 9-inch round cake pan works perfectly too—just line it with two crisscrossed parchment paper strips, leaving 3-inch overhangs on all sides to use as handles to lift the frozen cake out once set.
7.How long should I let the cake sit before serving to get clean slices?
▾
Let the frozen cake rest on your kitchen counter for 5 to 10 minutes right before serving—this softens it just enough so you can cut clean slices without ice cream oozing out the sides. Dip your sharp knife in hot water and wipe it dry between cuts for extra smooth, smush-free layers.
8.Can I make this cake gluten-free?
▾
You can easily adapt this to be gluten-free with two simple swaps. Swap regular chocolate sandwich cookies for your favorite certified gluten-free chocolate sandwich cookie variety, and double-check that your hot fudge topping is labeled gluten-free, as some brands use hidden wheat-based thickeners.
9.Why is my hot fudge layer sliding around between the ice cream?
▾
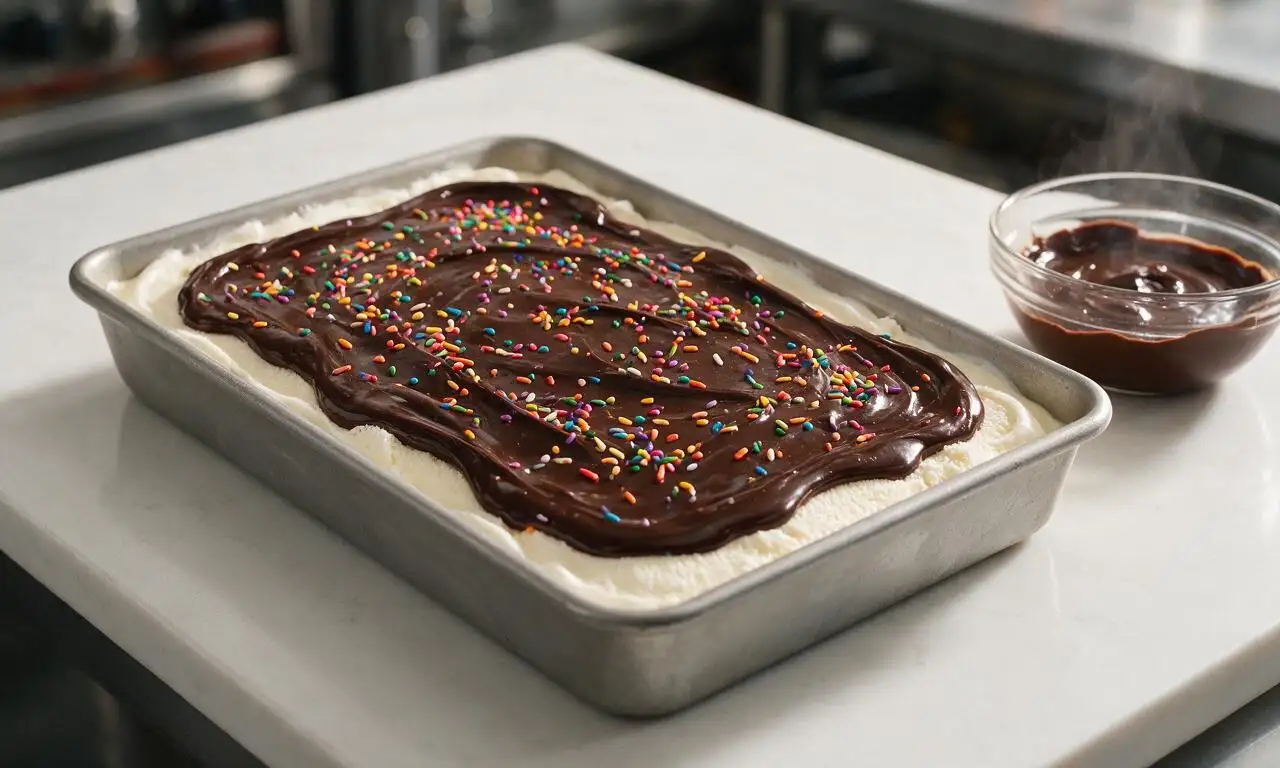
That usually happens if you poured fudge that was too warm, or didn’t let the lower ice cream layer freeze solid before adding it. Make sure your bottom ice cream layer is firm to the touch after 20+ minutes in the freezer, and let warmed hot fudge cool 5 minutes so it’s thick, not runny, before spreading.
10.Do I need to remove the cream filling from the chocolate sandwich cookies for the crumb layers?
▾
Nope, you don’t have to scrape out the filling at all! The sweet cream filling mixes with melted unsalted butter to help crumbs hold together into a firm, crunchy layer that doesn’t turn powdery when cut, and it adds an extra nostalgic cookies-and-cream flavor to each bite.
11.How do I store leftover ice cream cake?
▾
Wrap leftover slices individually in plastic wrap, or cover the remaining whole cake tightly with a layer of plastic followed by aluminum foil to prevent freezer burn. Stored this way, leftovers will stay creamy and delicious for up to 2 weeks, though they’re best eaten within the first week for ideal crunch and flavor.
12.Can I add extra mix-ins between the layers?
▾
Go for it! Just make sure any mix-ins you add are frozen first so they don’t melt the surrounding ice cream. Great options include chopped peanut butter cups, mini chocolate chips, crushed pretzels for a salty-sweet kick, chopped toasted nuts, or extra cooled hot fudge—just don’t pile them so thick that the layers slide apart.
13.My ice cream got too soft while I was layering—what do I do?
▾
No need to panic! If you notice ice cream turning soupy as you spread it, pop the whole pan back in the freezer for 20 to 30 minutes until it’s firm again before adding the next layer. Soupy, half-melted ice cream will refreeze into icy, grainy patches if you keep going, so those quick freezer pauses are worth it.
14.Can I make homemade hot fudge instead of using store-bought?
▾
Homemade hot fudge works beautifully here, just make sure you let it cool for 10 to 15 minutes after cooking so it’s thick and warm, not boiling hot, when you spread it. Avoid fudge recipes that set rock-hard when cold, as those will turn into a tough, chewy slab instead of a soft, easy-to-bite fudgy layer.
15.What’s the best way to crush the chocolate sandwich cookies for the crumb layers?
▾
The fastest, least messy method is to toss whole cookies into a sealed zip-top bag, squeeze out all the air, and roll over them with a rolling pin until you have a mix of fine crumbs and a few pea-sized chunks for texture. You can also pulse them in a food processor for 10 to 15 seconds, but don’t over-process into dust.
16.Will this cake melt too fast for an outdoor summer party?
▾
It holds up really well for warm-weather gatherings if you take a few quick steps. Keep it in the freezer until 10 minutes before you plan to serve it, set the serving platter on a bed of crushed ice if it’s over 85°F outside, and keep slices in shade instead of direct sun to prevent fast melting.
17.Can I make a smaller or larger version of this cake?
▾
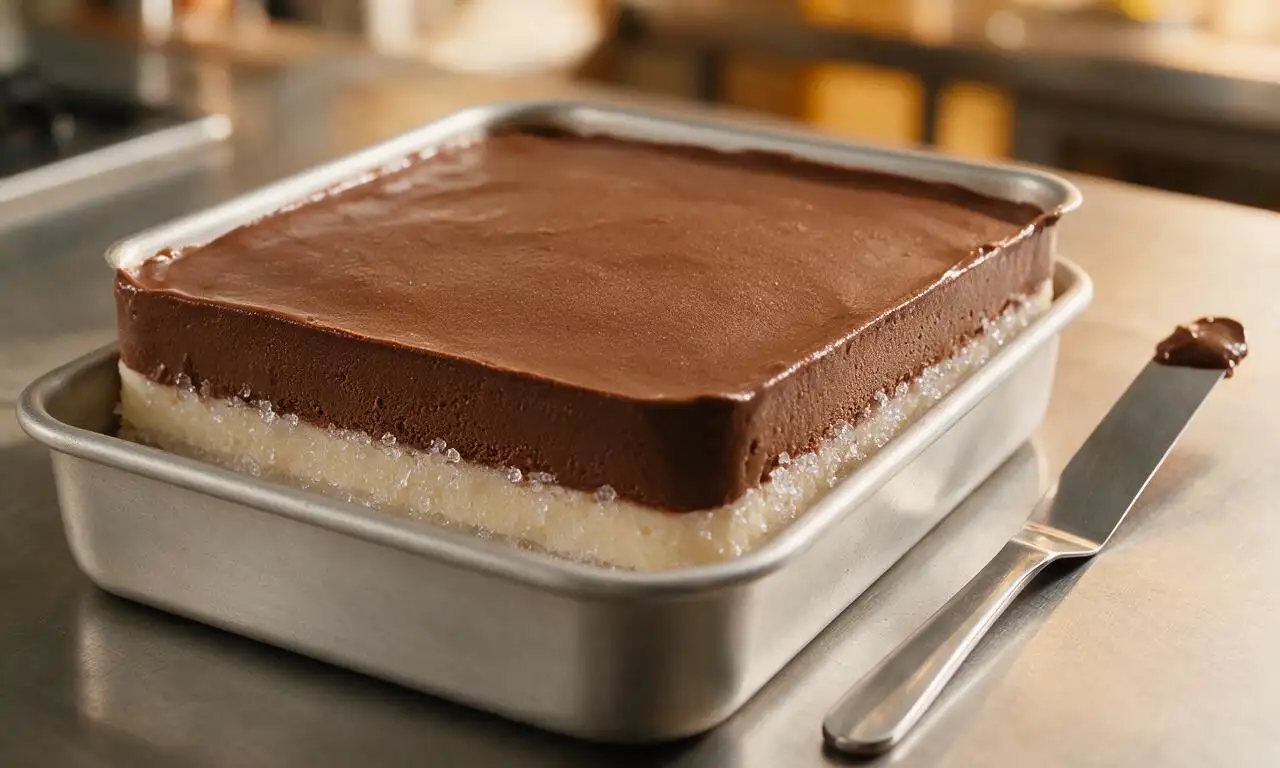
Absolutely! For a smaller 6-inch cake, cut all ingredient quantities in half and reduce freeze time between layers by 5 minutes. For a larger sheet pan version for a crowd, double the ingredients and use a 9x13 inch pan, adding 10 minutes of freeze time between each layer to ensure everything sets firm.
18.Why do my cake layers look uneven and lumpy?
▾
Uneven layers almost always come from spreading ice cream that’s too firm, which gouges the layer below as you try to smooth it. Wait until your ice cream is soft-serve consistency after sitting in the fridge, spread it gently from the center of the pan out to the edges, and don’t press too hard with your spatula as you work.
19.Can I add a whipped cream topping to this cake?
▾
Whipped cream is the perfect classic topper! Just wait to add it until right before serving, since whipped cream will get icy and grainy if it sits in the freezer for more than a couple hours. Pile it high with extra cookie crumbs, a drizzle of hot fudge, and maraschino cherries for that old-fashioned ice cream shop vibe.
20.What do I do if my cookie crumb base is too crumbly and won’t hold together?
▾
That means you either didn’t add enough melted unsalted butter to the crumbs, or didn’t press them firmly enough into the pan. If you haven’t added ice cream yet, stir in an extra 1 to 2 tablespoons of melted butter, press the crumbs down firmly with the flat bottom of a measuring cup, and freeze for 20 minutes before building layers.

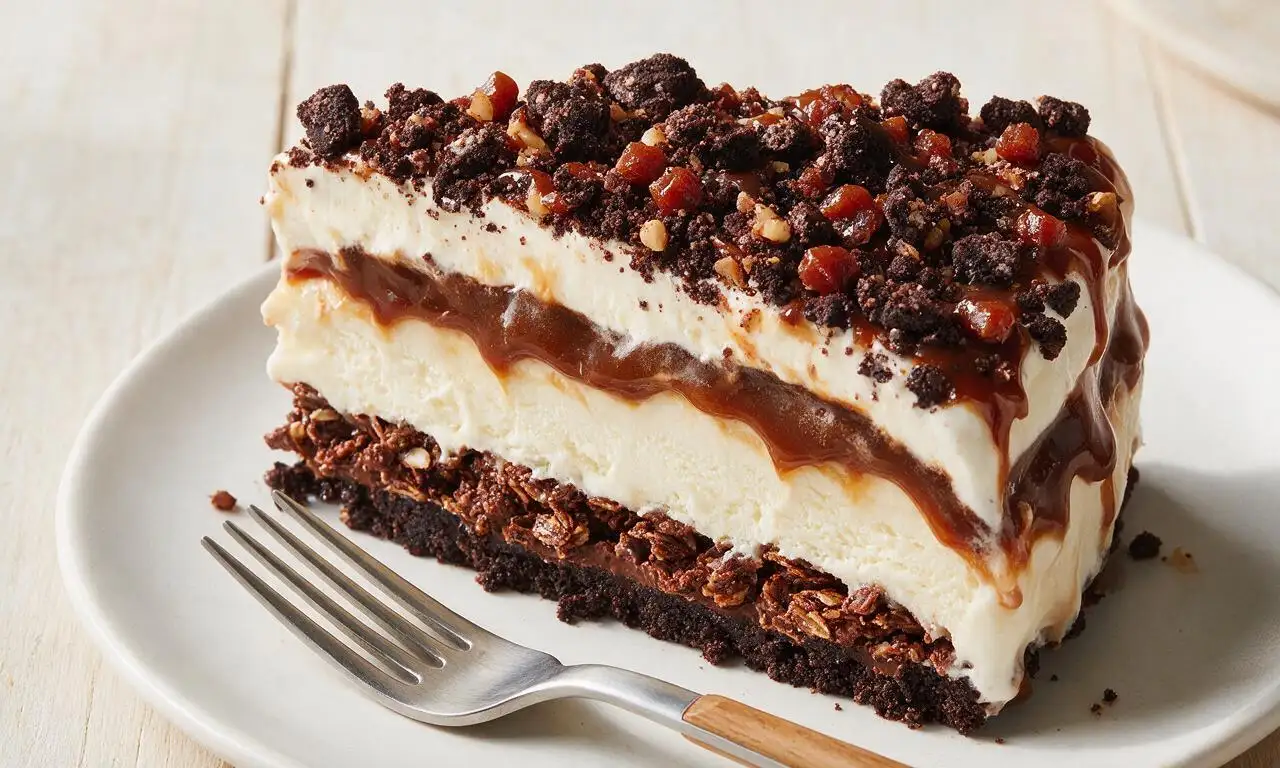
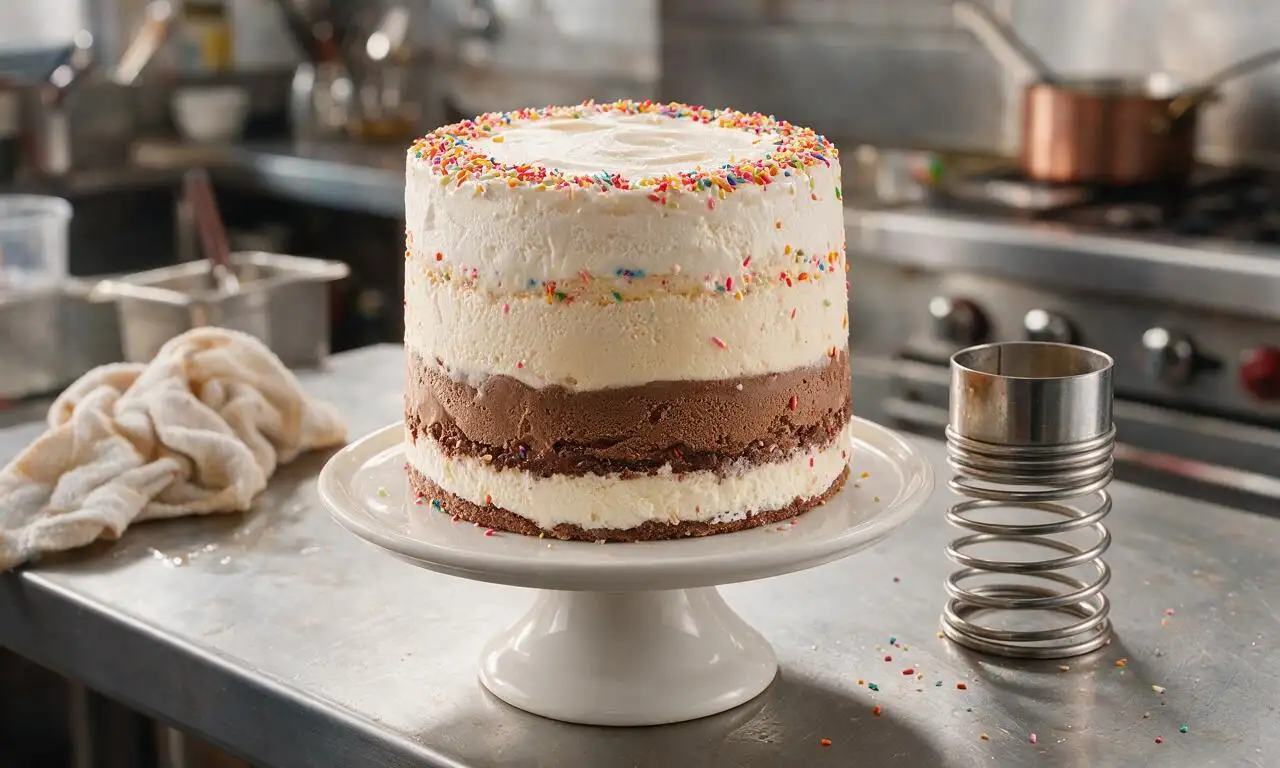
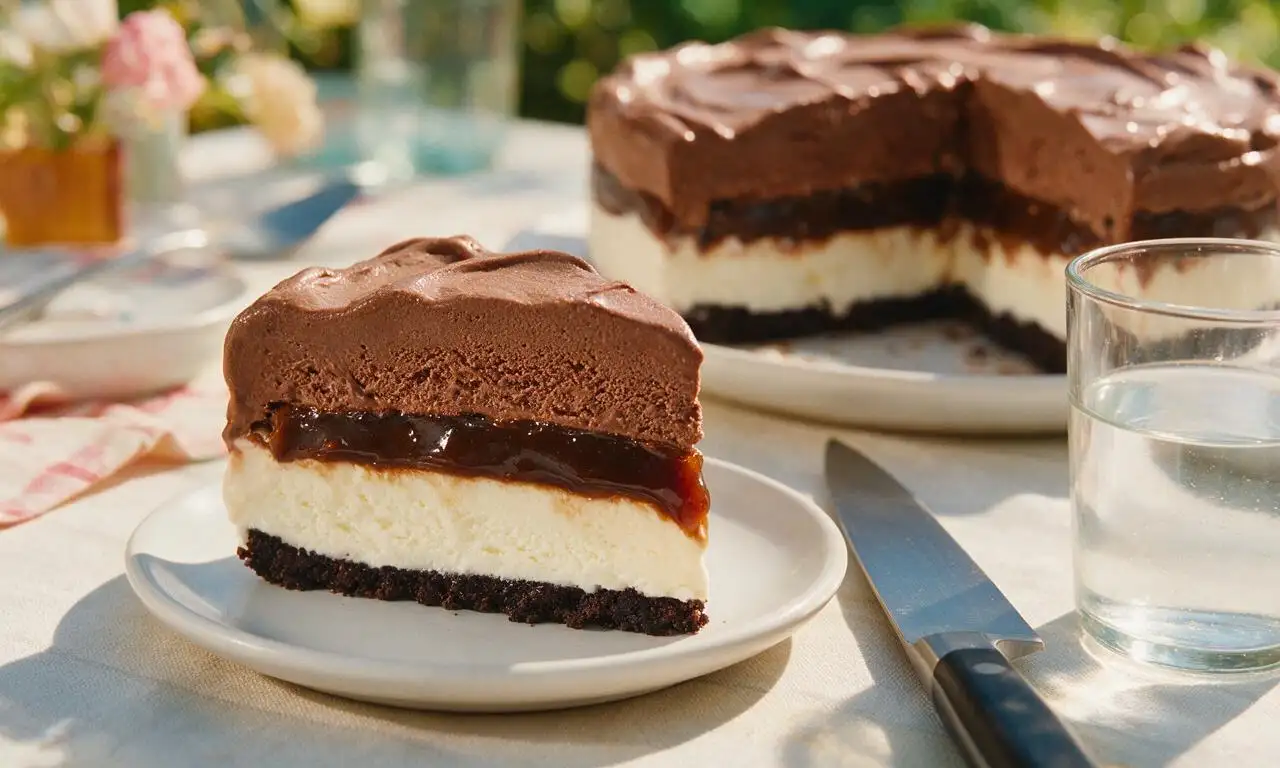






OMG this no-bake ice cream cake was such a game changer for my kid’s end-of-soccer-season team party last night! I was running so late between work and the field that I almost grabbed a grocery store sheet cake, but this came together in literally 20 minutes of active time, no oven required. The crunchy cookie layers between the creamy ice cream are SO good—every single parent tracked me down to ask for the recipe. 10/10 will be making this for every backyard BBQ and potluck the rest of the summer!
Made this for our family camping trip last week and it was a total hit! I pre-assembled all the layers at home, wrapped it tight in plastic, and kept it in the cooler with a block of dry ice for the drive up. It held up perfectly for our first night dessert around the campfire. Even my grumpy older brother who swears he ‘doesn’t eat dessert’ snuck a second slice. Super easy, no fancy ingredients required, which is ideal when you don’t want to pack a bunch of specialty stuff for a trip. Only reason I’m not giving 5 stars is I found the cookie layer a tiny bit thick for my taste, so next time I’ll use a little less crumb and more hot fudge between layers.
Quick question before I make this for our extended family dinner this Sunday! Has anyone tried making this with dairy-free ice cream? My niece is lactose intolerant and I want to make sure there’s a dessert she can enjoy too, but I’m worried non-dairy ice cream will get too icy or be hard to spread into even layers. Also, do gluten-free chocolate sandwich cookies work for the crunchy middle layers? I’ve had GF crumb layers get super soggy in other frozen desserts before and I don’t want to mess this up!