
ice cream cake with ice cream sandwiches
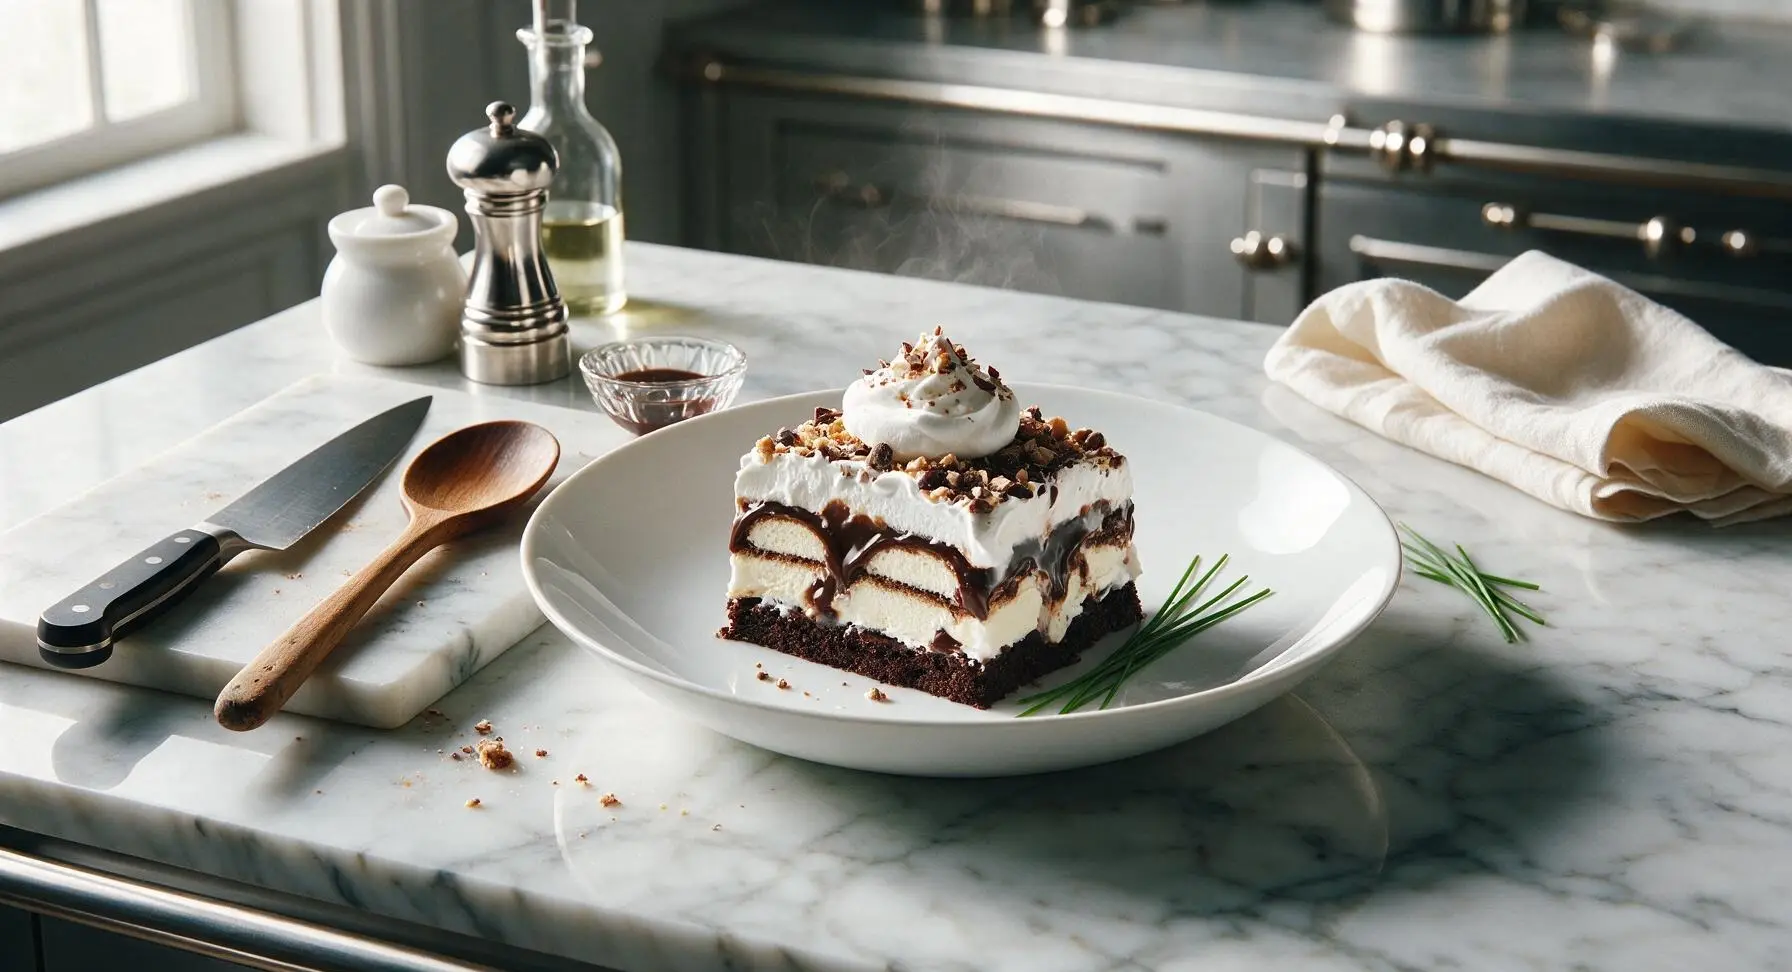
intro
Creamy, crunchy no-bake ice cream sandwich cake layered with rich fudge, fluffy whipped topping, and candy bits— the ultimate easy, crowd-pleasing frozen summer treat.
Ingredients
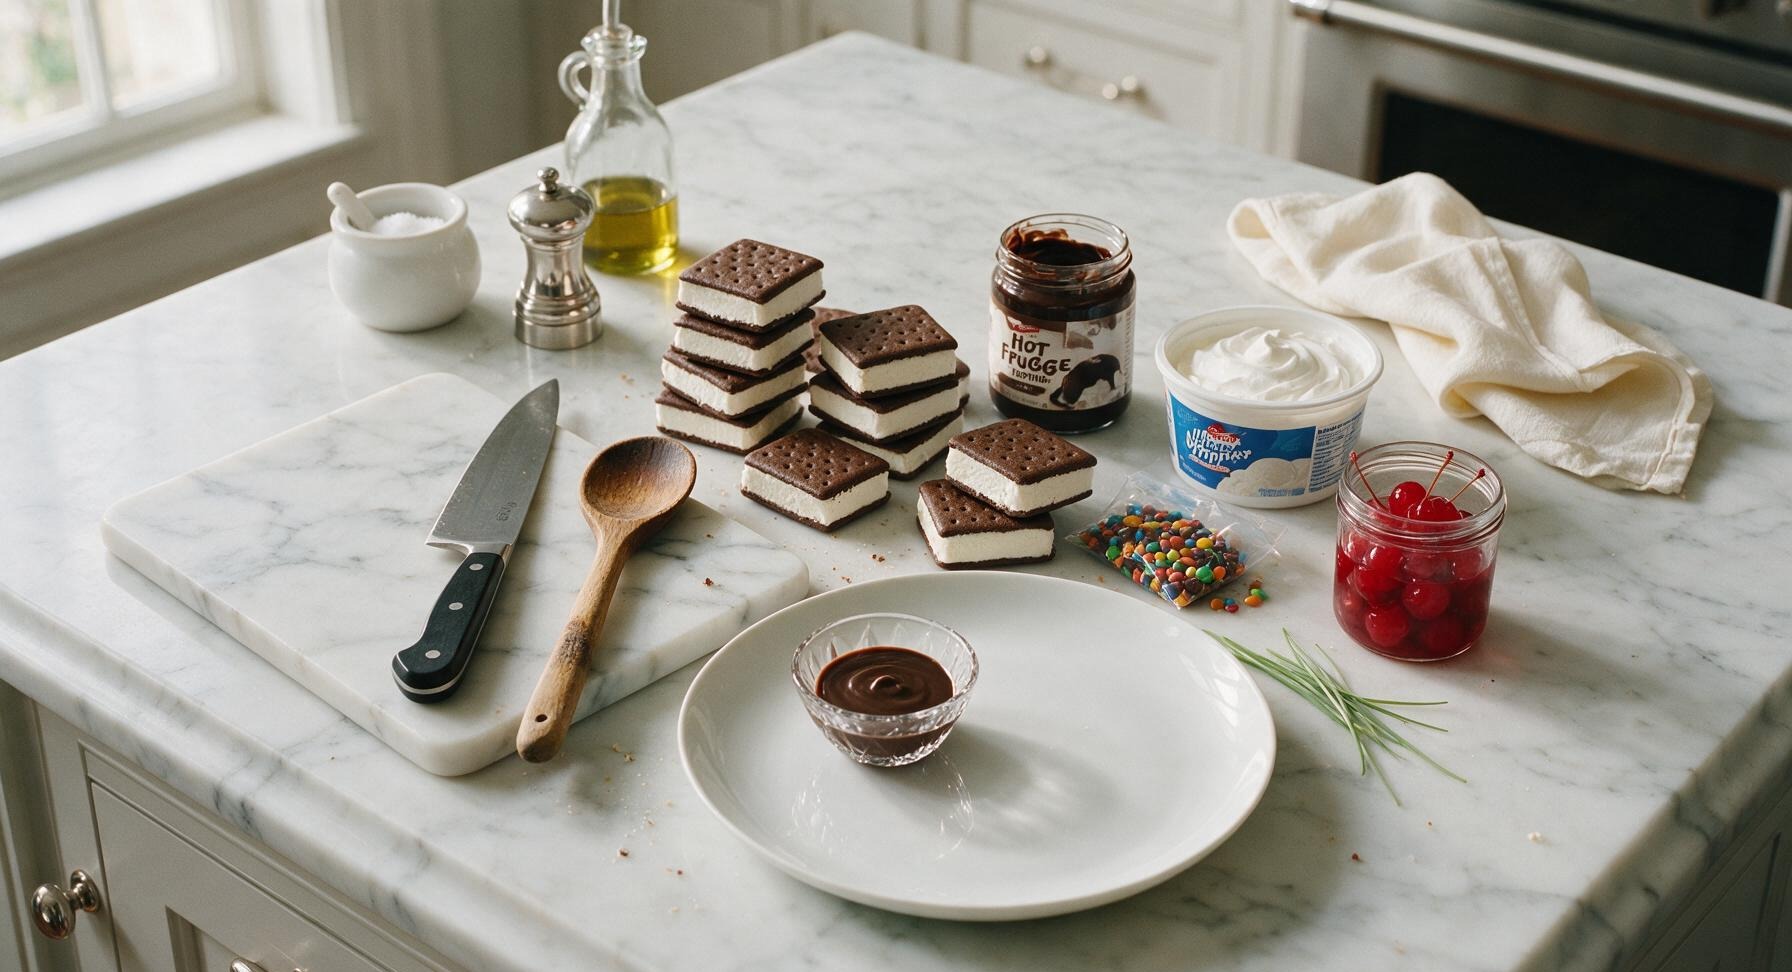
Steps
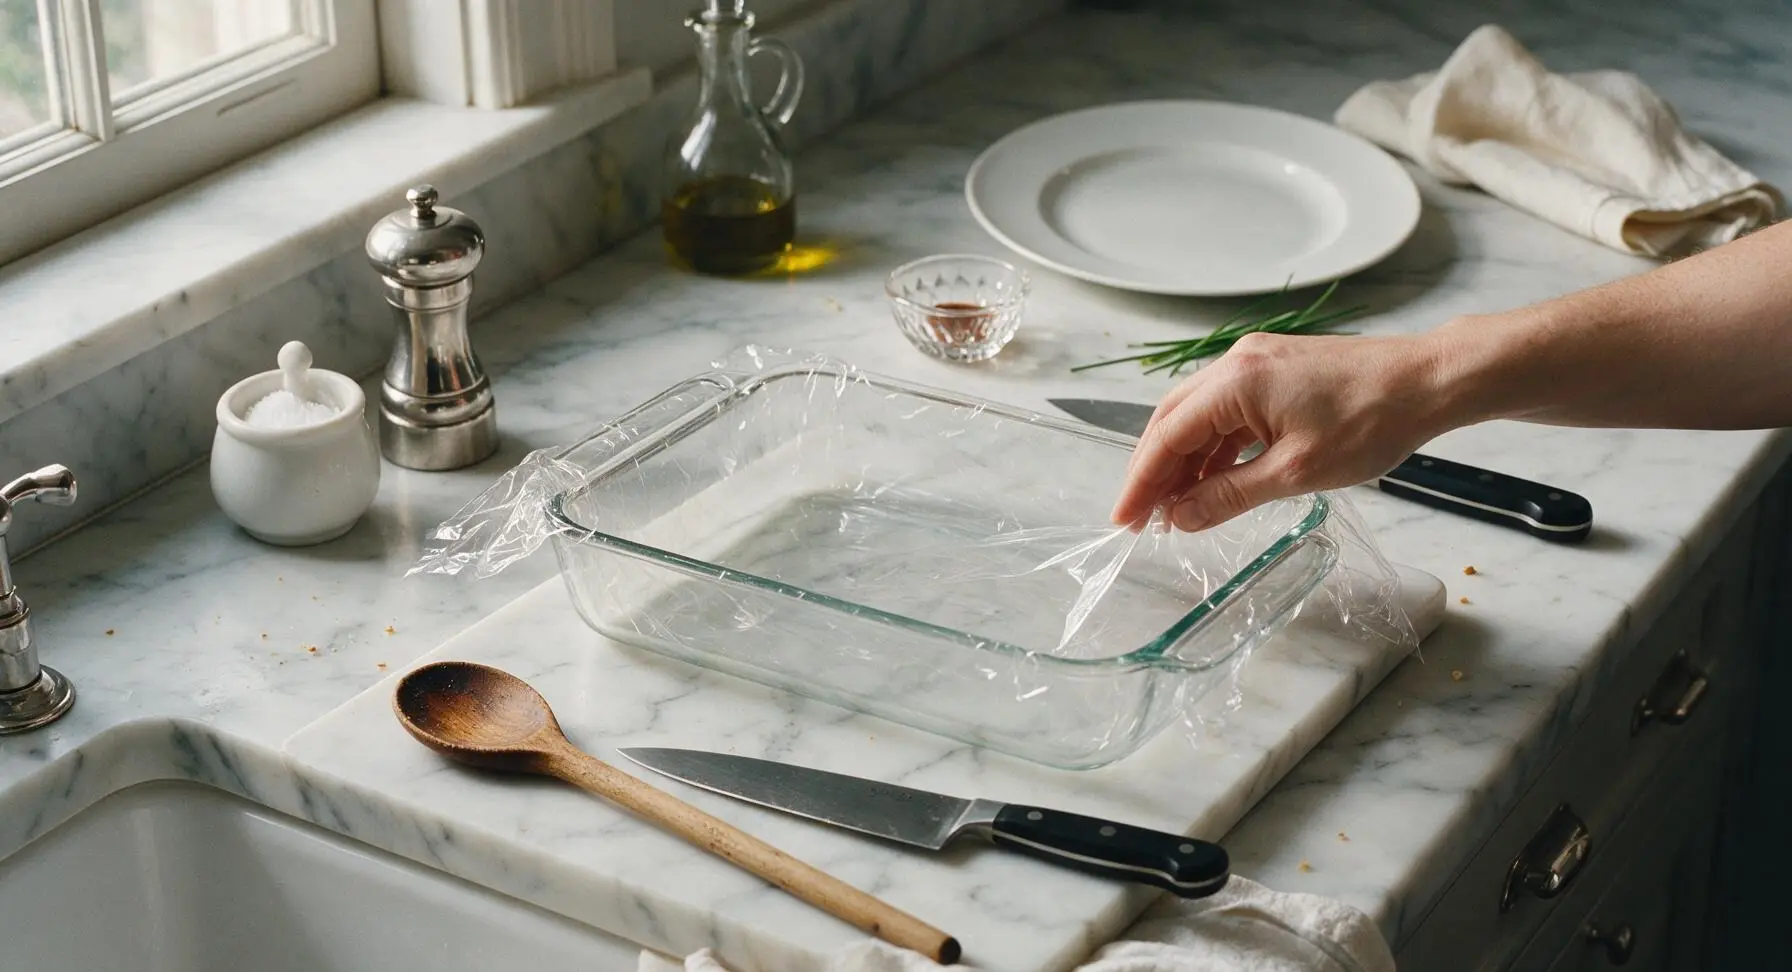
Prep Baking Dish
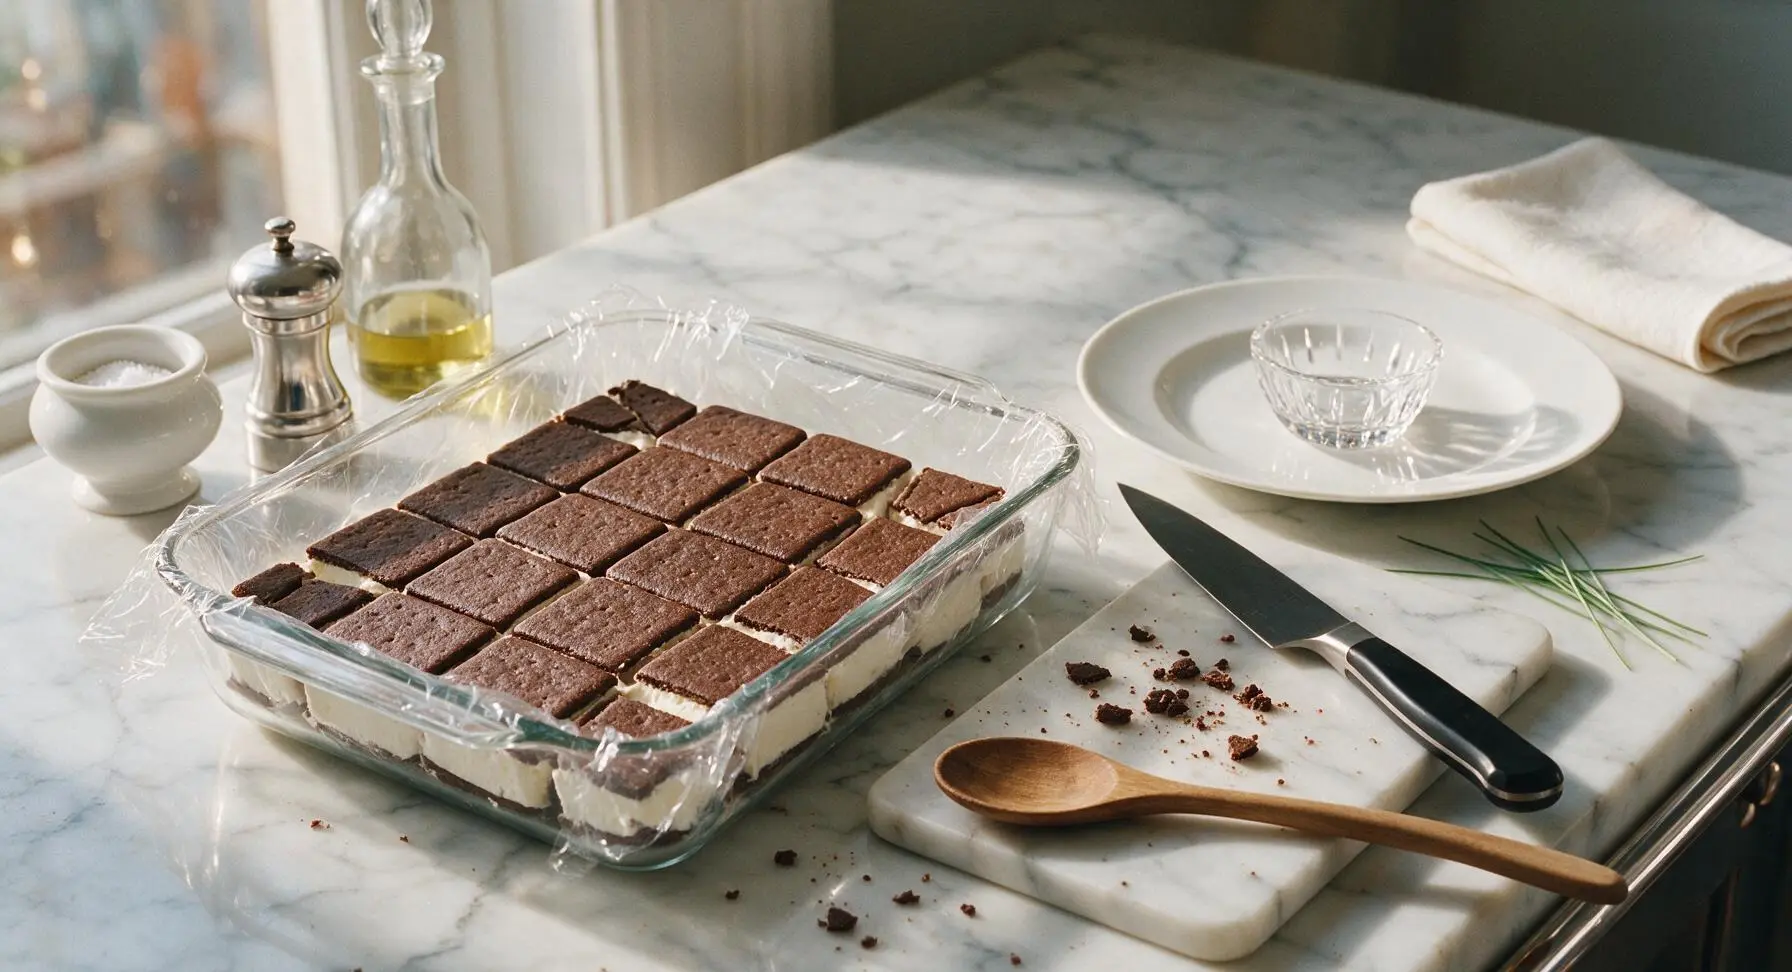
Remove ice cream sandwiches, hot fudge, and whipped topping from the freezer and refrigerator to soften slightly at room temperature for 5 minutes (do not let ice cream sandwiches melt fully—they should hold their shape when pressed lightly). Line the 9x13 inch clear glass baking dish with a single sheet of food-safe plastic wrap, leaving a 2-inch overhang on both long sides to make lifting the finished cake easy later. Smooth out large wrinkles in the plastic with your fingertips, taking care not to tear the wrap.
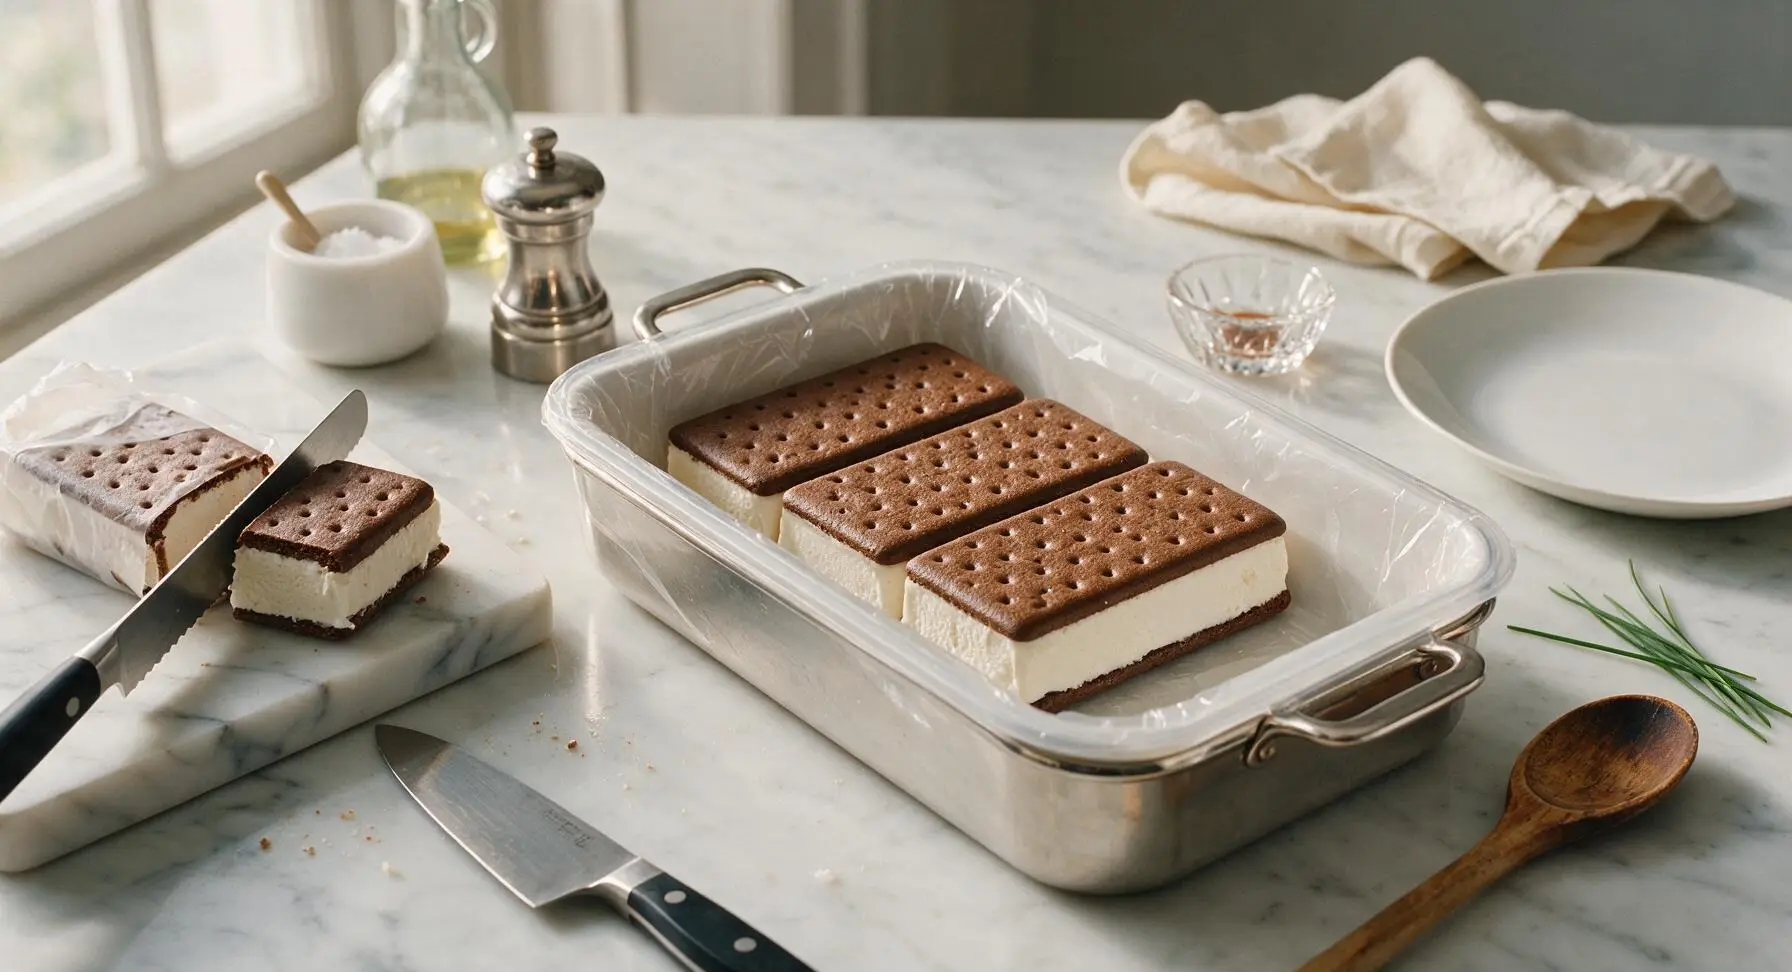
Layer First Ice Cream Sandwiches
Unwrap 6 of the ice cream sandwiches. Arrange them in a single tight layer across the bottom of the plastic-lined baking dish. Use the serrated knife on the small wooden cutting board to trim 1-2 sandwiches as needed to fill any small gaps, so the layer is completely solid with no exposed plastic or pan bottom visible. Press the sandwiches gently together to seal seams.
Spread First Fudge Layer
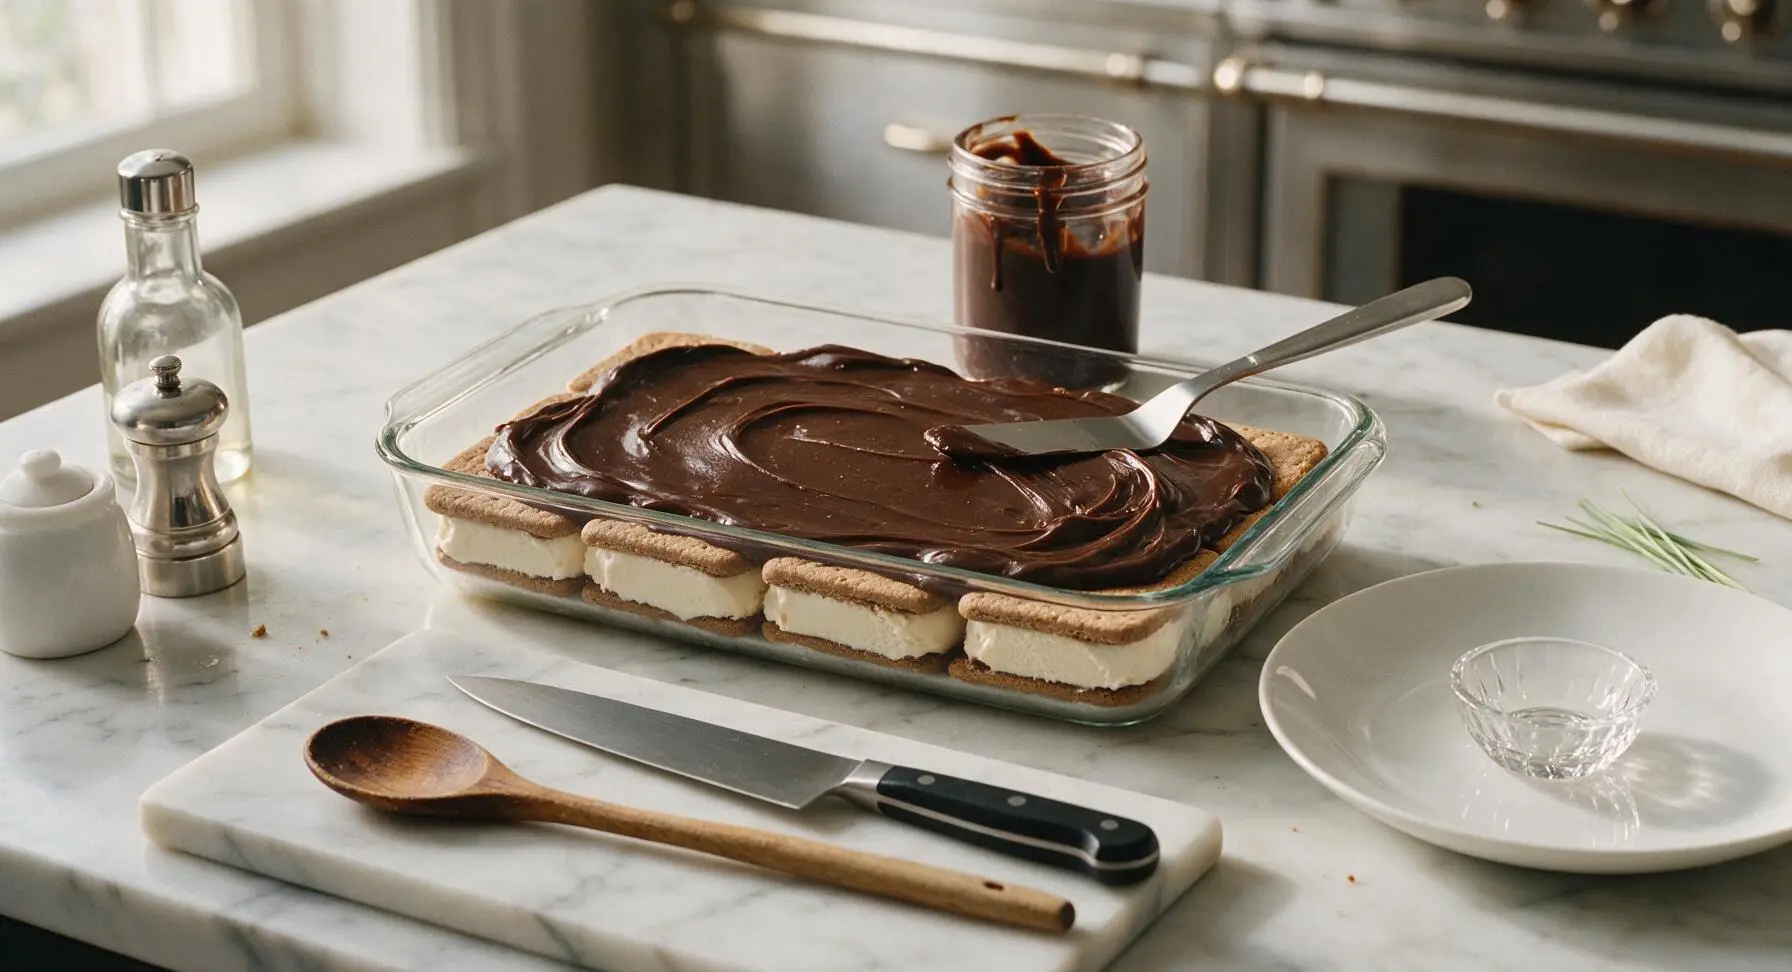
Warm the hot fudge topping for 30 seconds in the microwave until it is pourable but lukewarm (test by dabbing a drop on your inner wrist—it should not feel hot, as hot fudge will melt the ice cream). Pour 8oz (half the jar) of the warmed fudge over the first ice cream sandwich layer, using the offset metal spatula to spread it evenly across the entire surface, right up to the edges of the dish.
Add First Whipped Topping
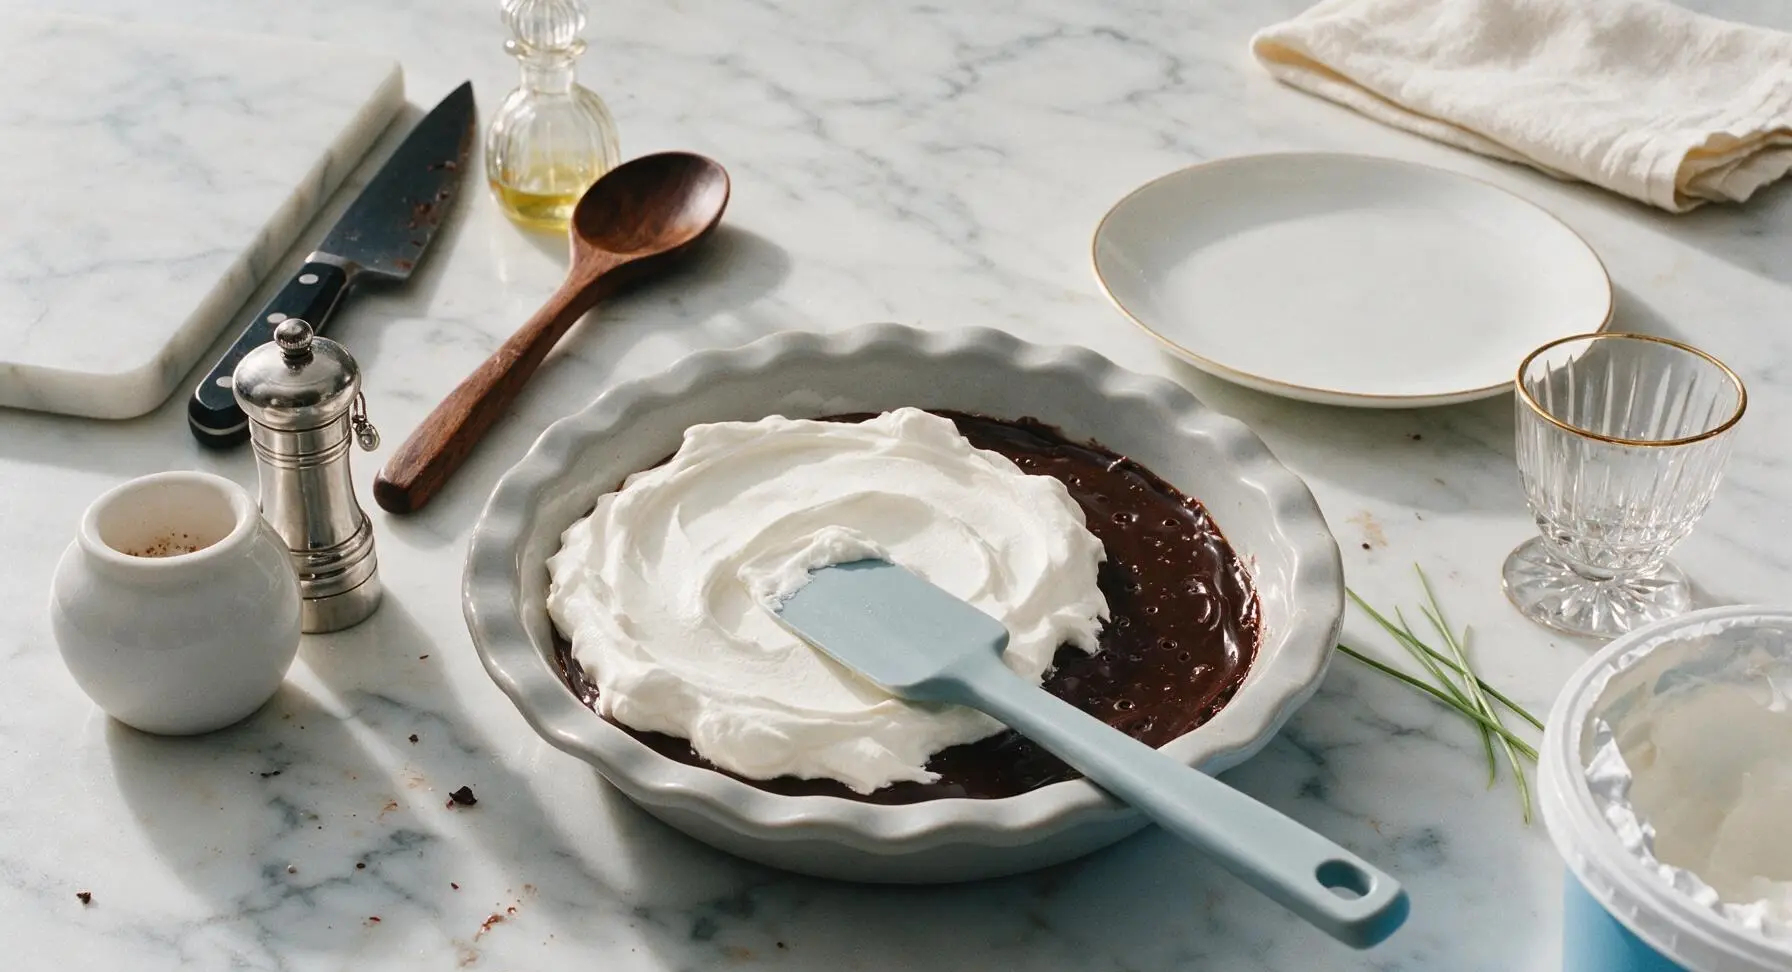
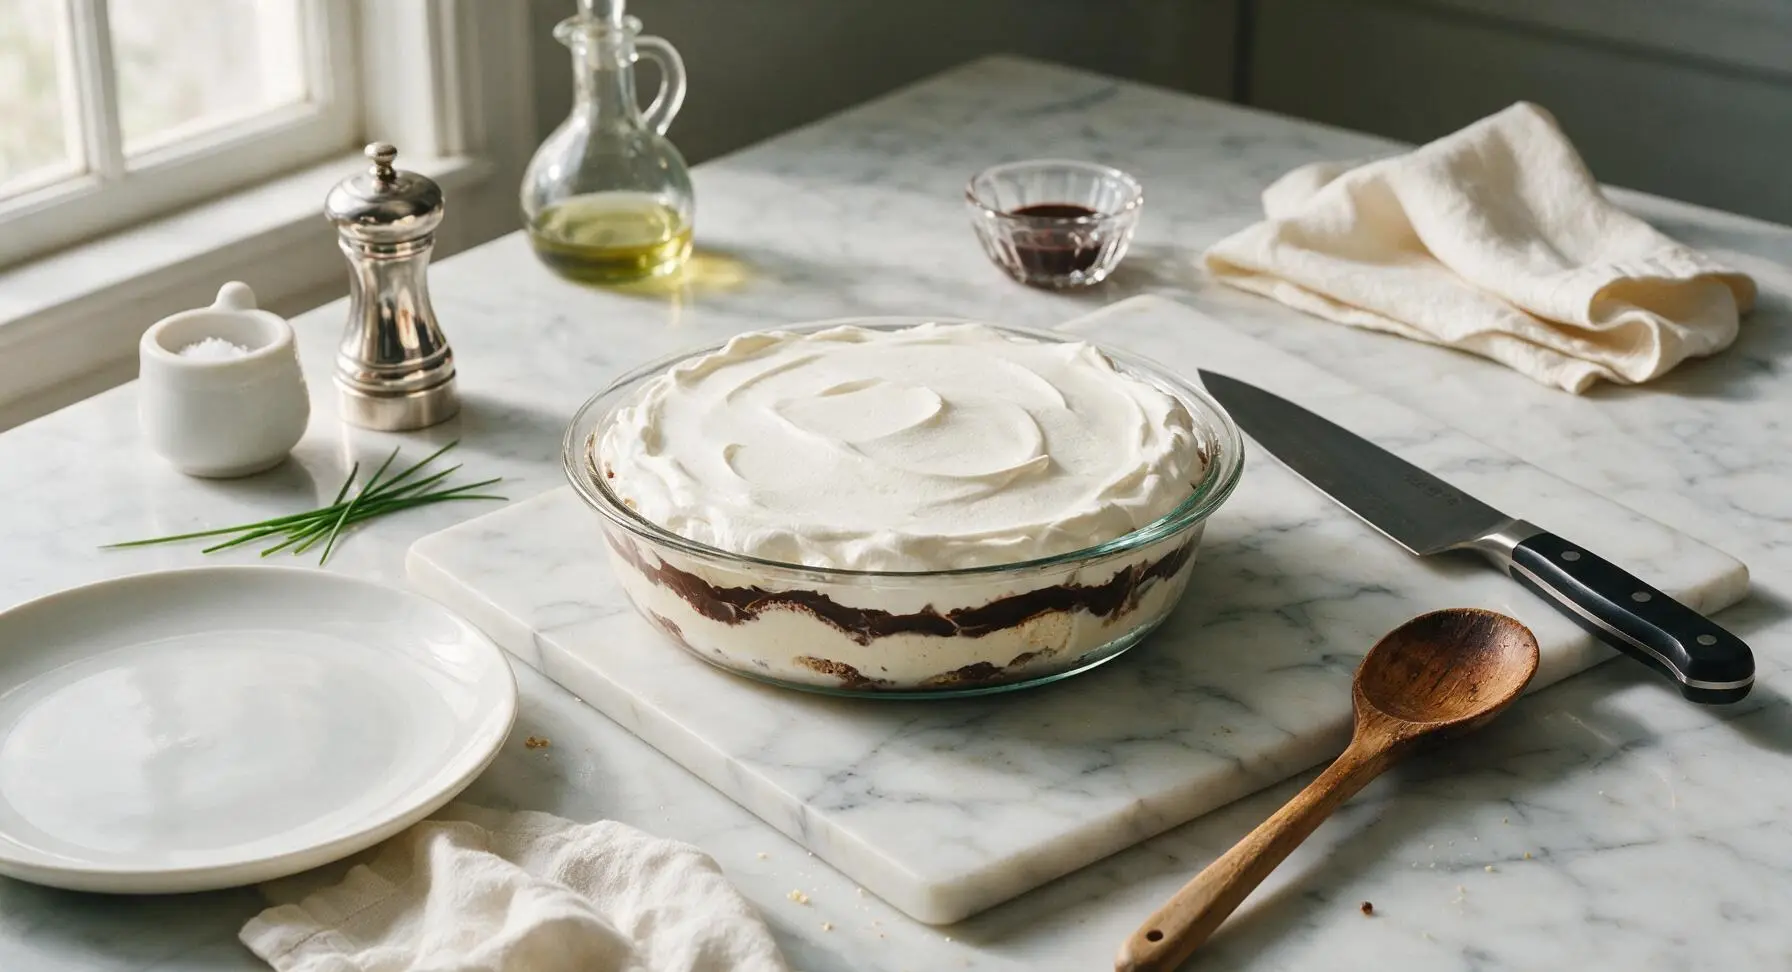
Scoop 8oz (half the tub) of the thawed whipped topping over the fudge layer, using the silicone spatula to spread it gently into a smooth, even 1/2-inch thick layer. Use light, sweeping motions to spread—do not press hard, as this will mix fudge into the whipped topping and create muddy, indistinct layers.
Repeat Remaining Layers
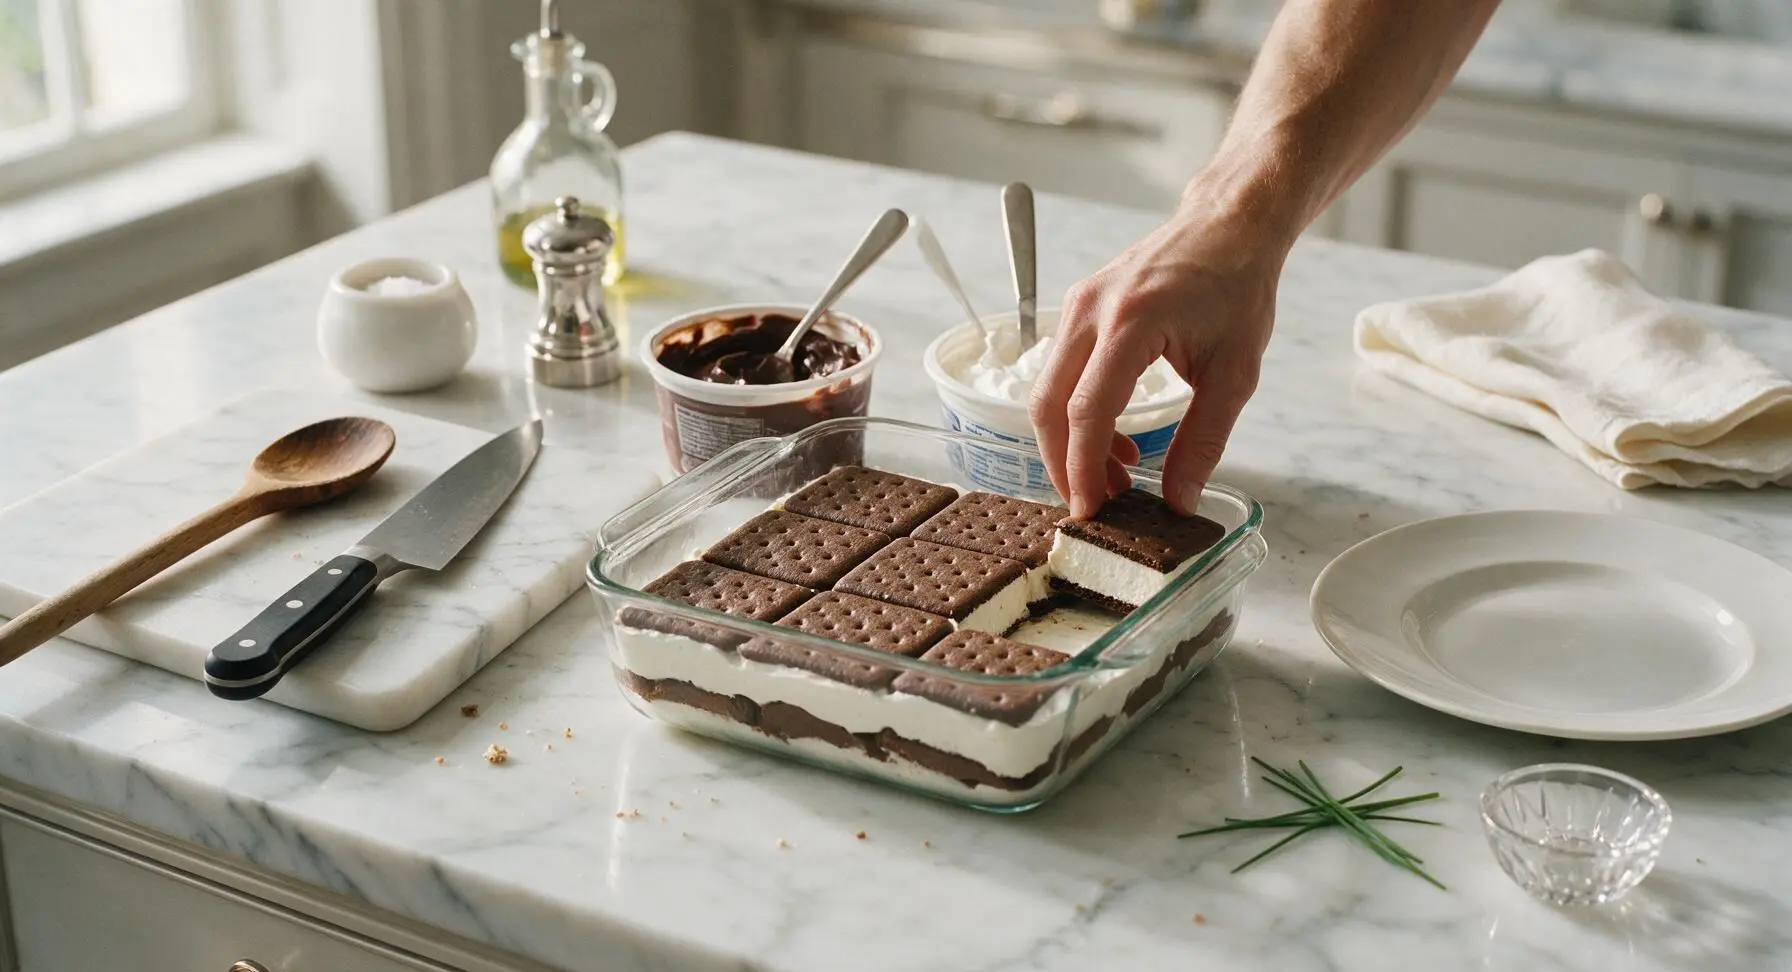
Unwrap the remaining 6 ice cream sandwiches, trimming as needed with the serrated knife on the small wooden cutting board to form a second tight, gap-free solid layer over the first whipped topping. Pour and spread the remaining 8oz of lukewarm fudge over the second ice cream sandwich layer, then top with the remaining 8oz of whipped topping, spreading it smooth with the silicone spatula to cover the entire top of the cake evenly.
Add Top Decorations
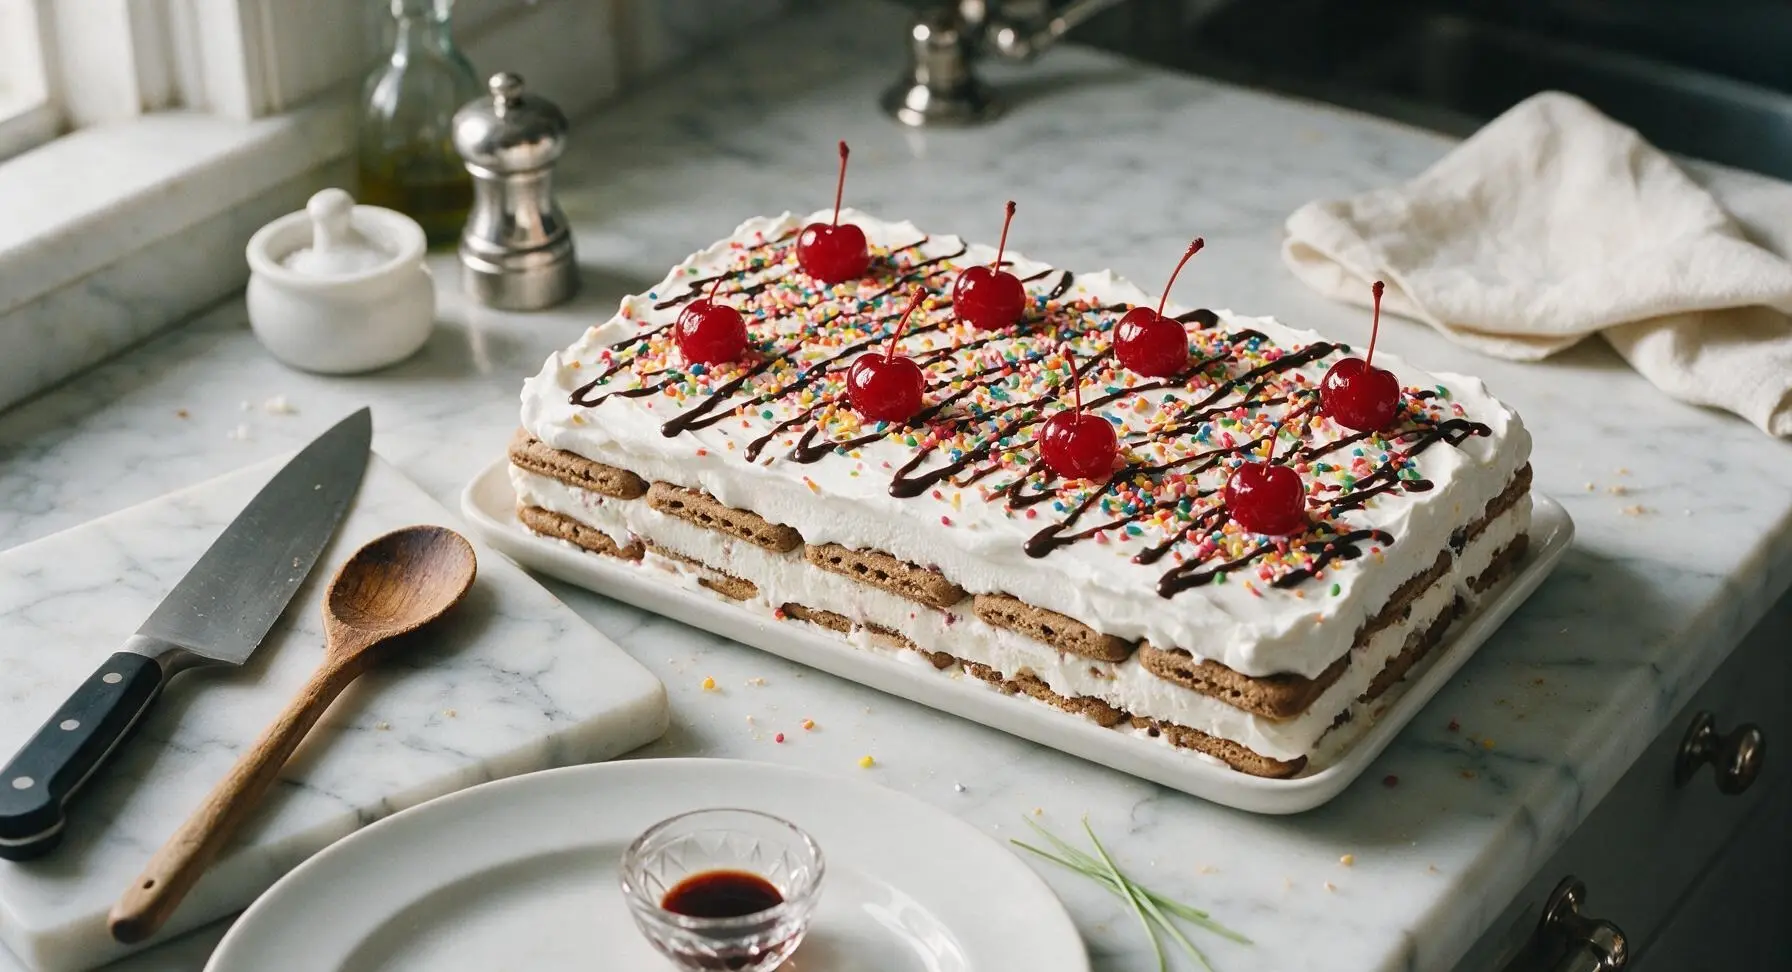
Evenly sprinkle the crushed rainbow chocolate candy bits across the smooth top whipped topping layer. Drizzle 2 tablespoons of chocolate syrup in a thin zig-zag pattern across the candy bits. Place 8 evenly spaced, well-drained maraschino cherries across the top, positioned so each future slice will have one cherry.
Freeze Cake To Set
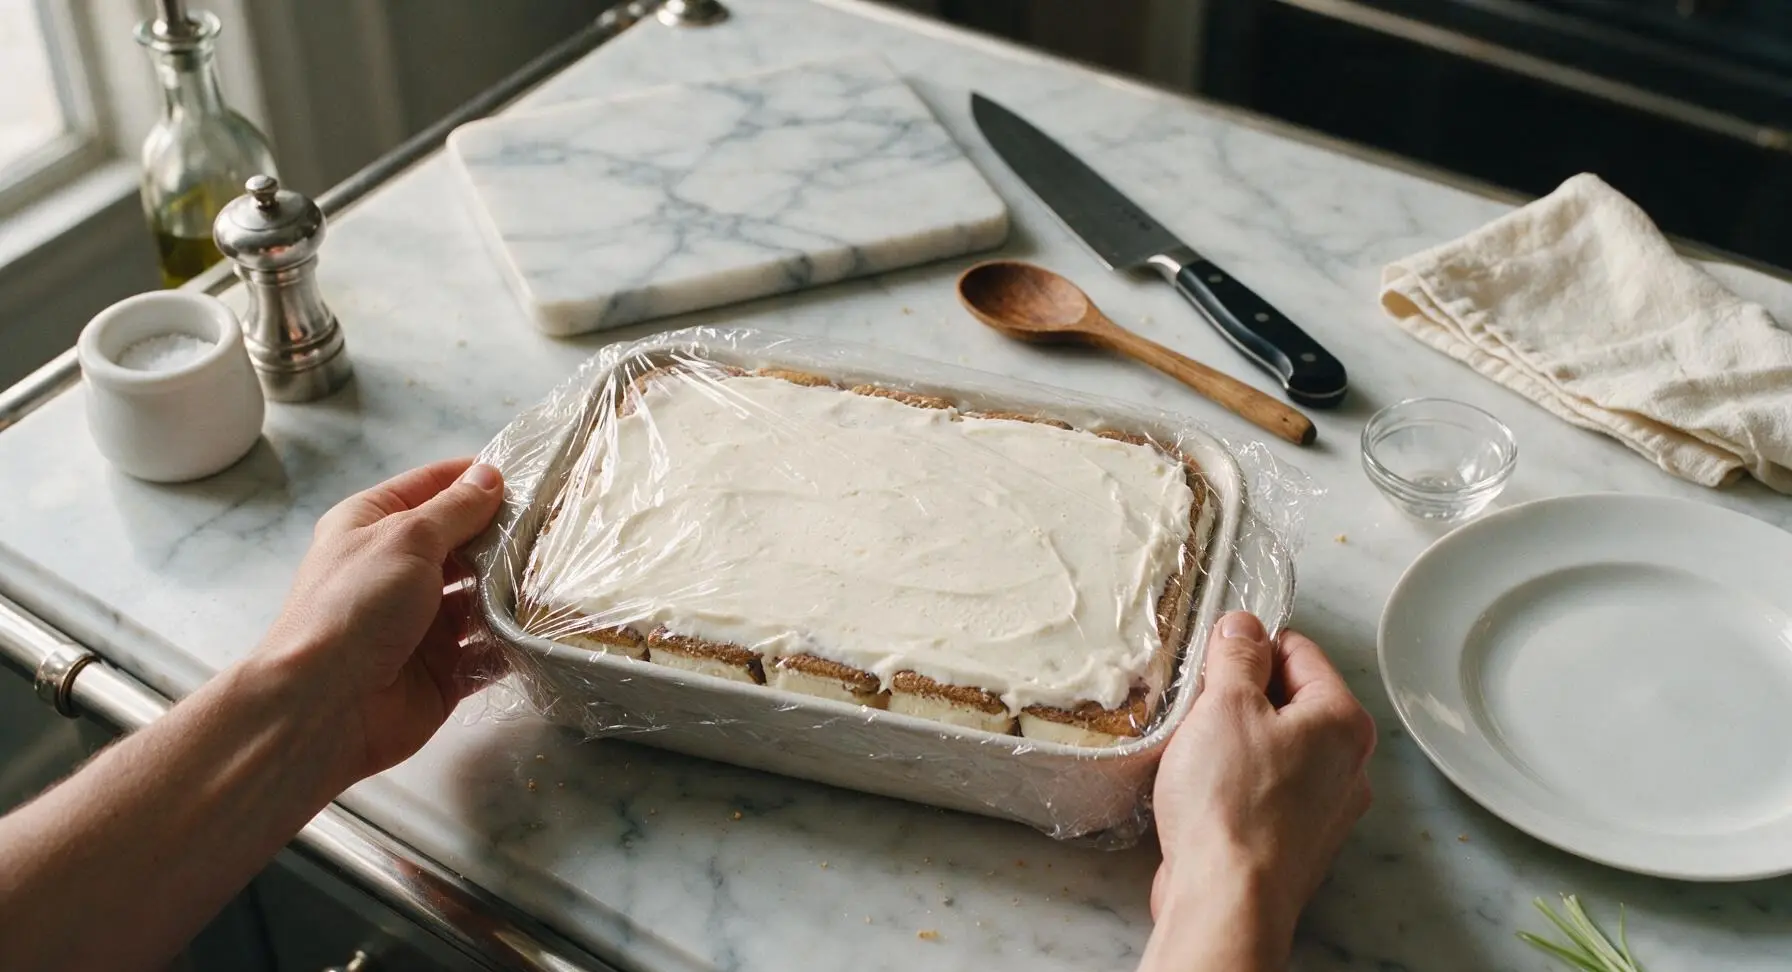
Cover the top of the baking dish tightly with a second sheet of plastic wrap, pressing gently to seal the edges so no air reaches the cake surface (this prevents freezer burn from forming on the whipped topping). Place the dish on a level middle shelf in the freezer for 4 hours, or overnight for best results, until the cake is rock-hard to the touch when pressed through the plastic wrap.
Slice and Serve Cake
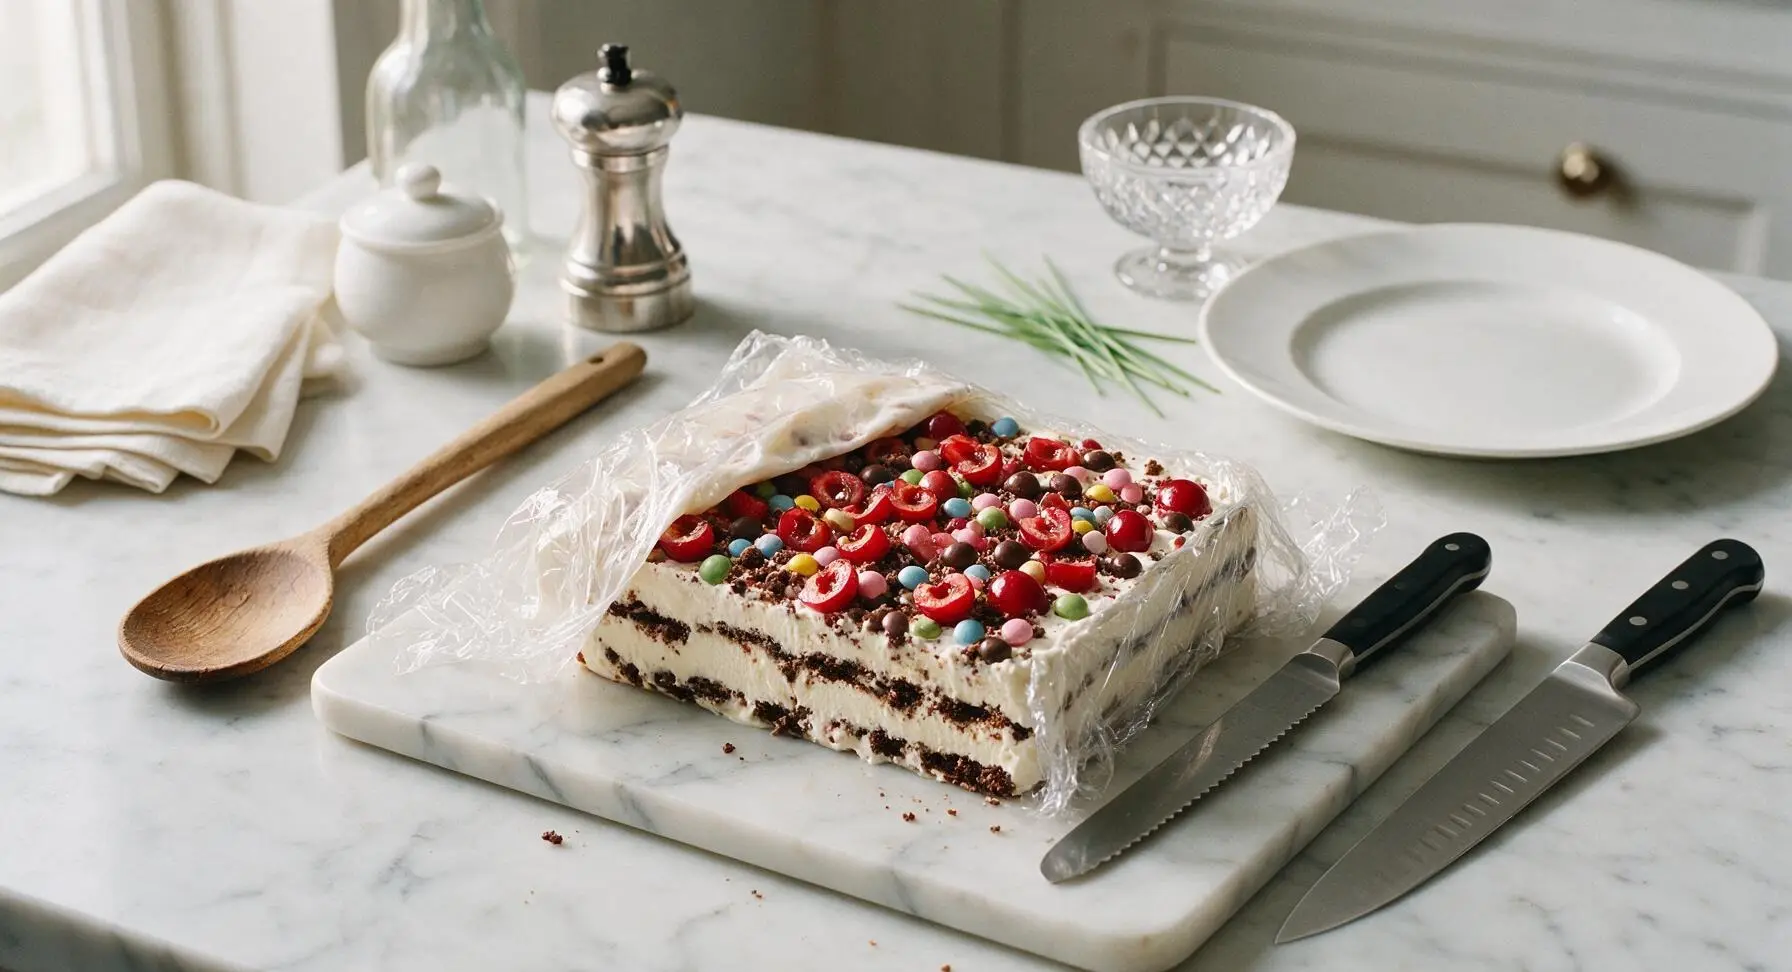
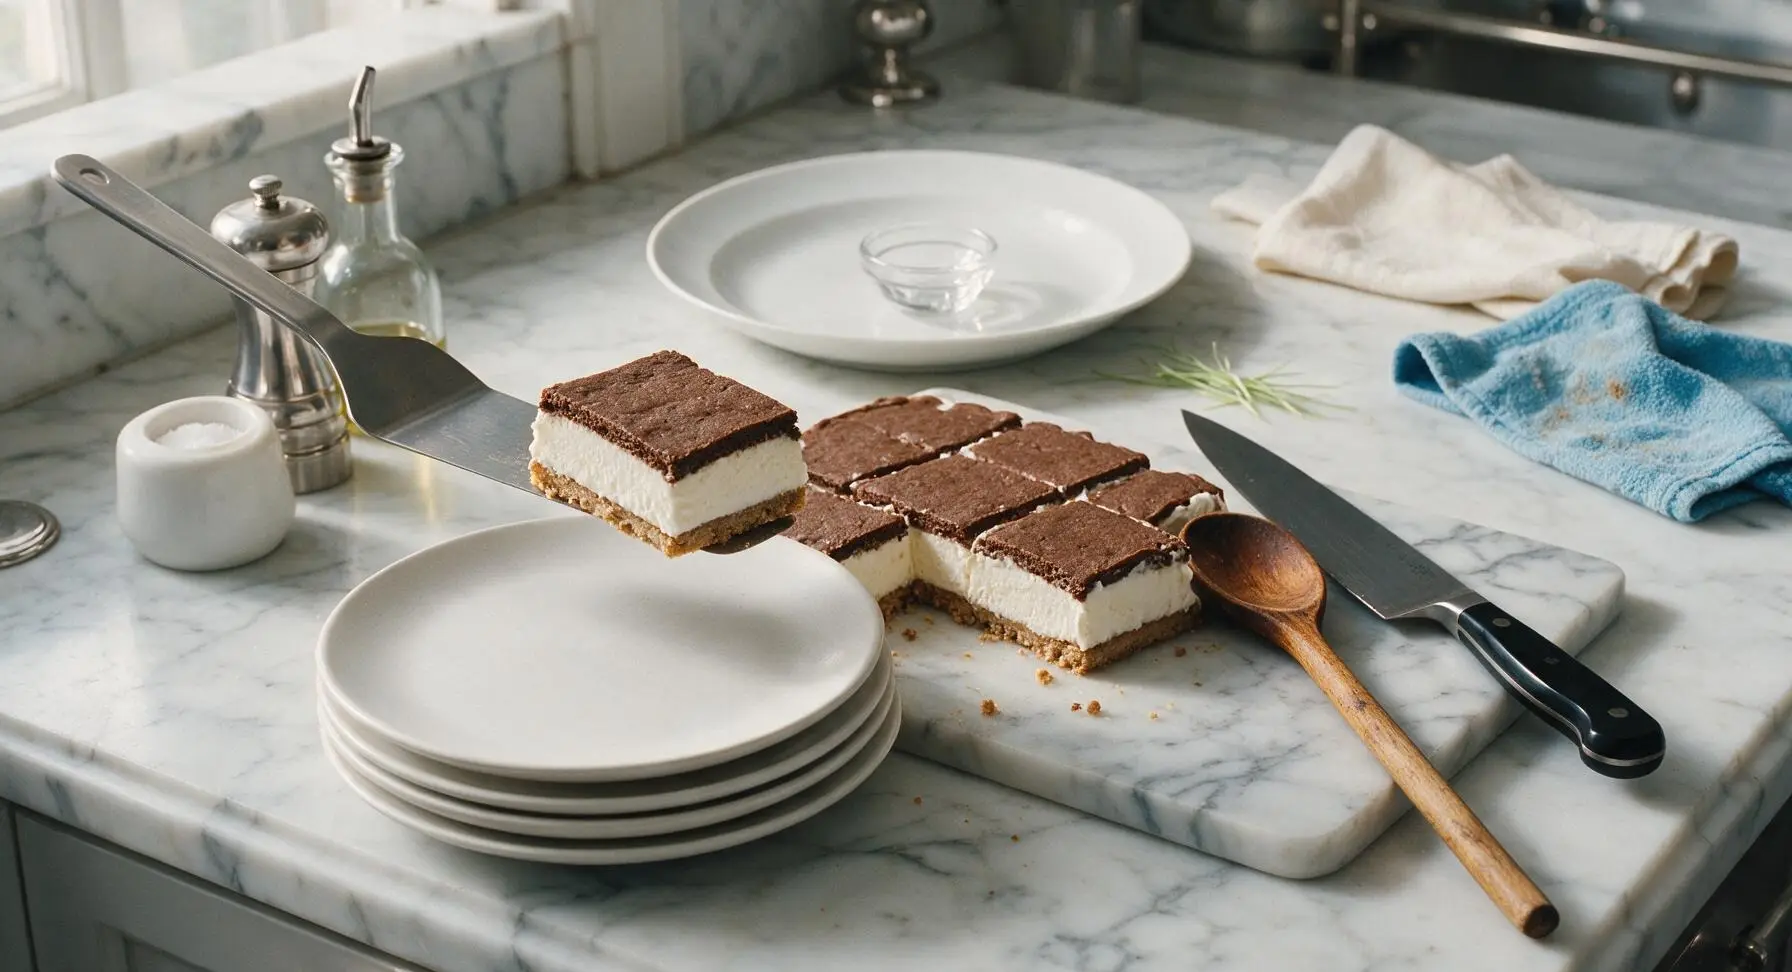
Remove the cake from the freezer and let it rest at room temperature for 10 minutes to soften slightly, which prevents the cookie layers from cracking when sliced. Lift the entire cake out of the dish using the plastic wrap overhang, set it on the small wooden cutting board, and peel back the top layer of plastic wrap. Slice into 8 even square pieces with the serrated knife, wiping the blade clean with the sky-blue kitchen towel between each cut for smooth, neat edges. Transfer slices to the matte white ceramic dessert plates to serve.
Tips
2.Always warm fudge to lukewarm only (never hot): hot fudge will melt the ice cream on contact, causing layers to slide apart and creating soupy gaps in the finished cake. Test temperature by dabbing a drop on your inner wrist—it should feel barely warm, not hot.
3.Wipe your serrated knife blade clean with a warm, damp towel between every slice: sticky fudge and whipped cream will build up on the blade, causing smudged, ragged cut edges if not wiped away. A clean blade gives sharp, bakery-worthy slices that show off every layer.






OMG this was SO easy to throw together for my oldest’s birthday cookout last weekend! I didn’t even turn the oven on which was a lifesaver in this 90 degree Texas heat. My kids loved it so much they asked for seconds before they even finished their first slice. 10/10 will make again!
Total game changer for neighborhood potlucks! I brought this last week and every single person asked me for the recipe. I layered in some hot fudge between the ice cream sandwiches and it was *chef’s kiss*. Zero leftovers, zero stress.
As someone who burns literally everything I put in the oven, this recipe was made for me lmao. I only spent 10 minutes assembling it, stuck it in the freezer while I studied, and had the best late night study snack ever. 10/10 no skill required.
Made this for our family Fourth of July party and added red, white, and blue sprinkles on top! It held up great even when we left it out for 10 minutes while we served everyone. SO good, even my picky mother in law went back for a second slice.
Wait, can I make this a day ahead of time? I’m having friends over for a post-hike hang tomorrow and don’t want to be running around assembling stuff right before everyone gets here.
Told my kids we were having ‘fancy layered ice cream cake’ for dessert and they had no idea it was just ice cream sandwiches and cool whip. Saved me $30 on a store bought ice cream cake, will absolutely be pulling this trick for every future birthday.
Super easy to make gluten free! I just used my favorite gluten free ice cream sandwiches and swapped the regular cookies n cream bits for GF crushed cookies, and nobody could even tell the difference. Amazing for summer cookouts where I can never find GF dessert options.
Wait, does anyone know how well this holds up if I cut it into individual slices and keep them in the freezer for quick treats during the week? I’m trying to stock my freezer with easy snacks for my kids after school.
I added a layer of crushed Oreos and a drizzle of caramel between the ice cream sandwich layers and it was insane. My roommate said it’s better than the Dairy Queen ice cream cake we used to get as kids. No baking, minimal cleanup, maximum flavor. 10/10.
I was so nervous to make dessert for my partner’s family dinner last night and this recipe made me look like a professional chef! Literally everyone raved about it, and I didn’t have to stress about oven temps or anything burning. Already sent the recipe to my sister.
Heads up for anyone with nut allergies: make sure you check the ice cream sandwich label if you’re buying the store brand! I almost grabbed a pack that had peanut cross-contamination warnings, but swapped for the name brand that was totally nut free and it worked perfectly. My son was so excited to have a treat he could eat at his friend’s birthday party.
Made this at 1am after a night out with my friends because we were all craving something sweet. Used what we had in the dorm: mini ice cream sandwiches, cool whip, and some leftover candy bars we crushed up. Tasted better than any expensive dessert we’ve gotten at a restaurant lately. College hack for real.
I’ve been making a version of this for my grandkids for 20 years, but I never thought to add a layer of whipped cream between the sandwiches! Tried it this past weekend and my grandkids said it’s the best version I’ve ever made. Such a simple tweak that makes such a big difference.
I made a slightly lighter version using low fat ice cream sandwiches and light cool whip for my post-workout potluck at the gym, and nobody even noticed it was lower calorie! Tasted just as rich and delicious as the full fat version. Will be making this all summer long.
Wait, is there a trick to keeping the ice cream sandwiches from getting all squished when you layer them? Last time I tried to make a similar cake I pressed too hard and all the ice cream oozed out the sides lmao. Don’t want to mess this up for my block party this weekend.
I coated the top with a whole bag of mini M&Ms and extra chocolate syrup before freezing and it was a chocolate lover’s dream. My friends and I ate half the pan in one sitting while we watched movies last weekend. No regrets, worth every bite.
I was looking for a super easy dessert to bring to my new mom group meetup and this was perfect! I didn’t have to carve out time during nap time to bake anything, just assembled it in 10 minutes the night before and it was a huge hit with all the other moms. Even the toddlers were gobbling it up!