
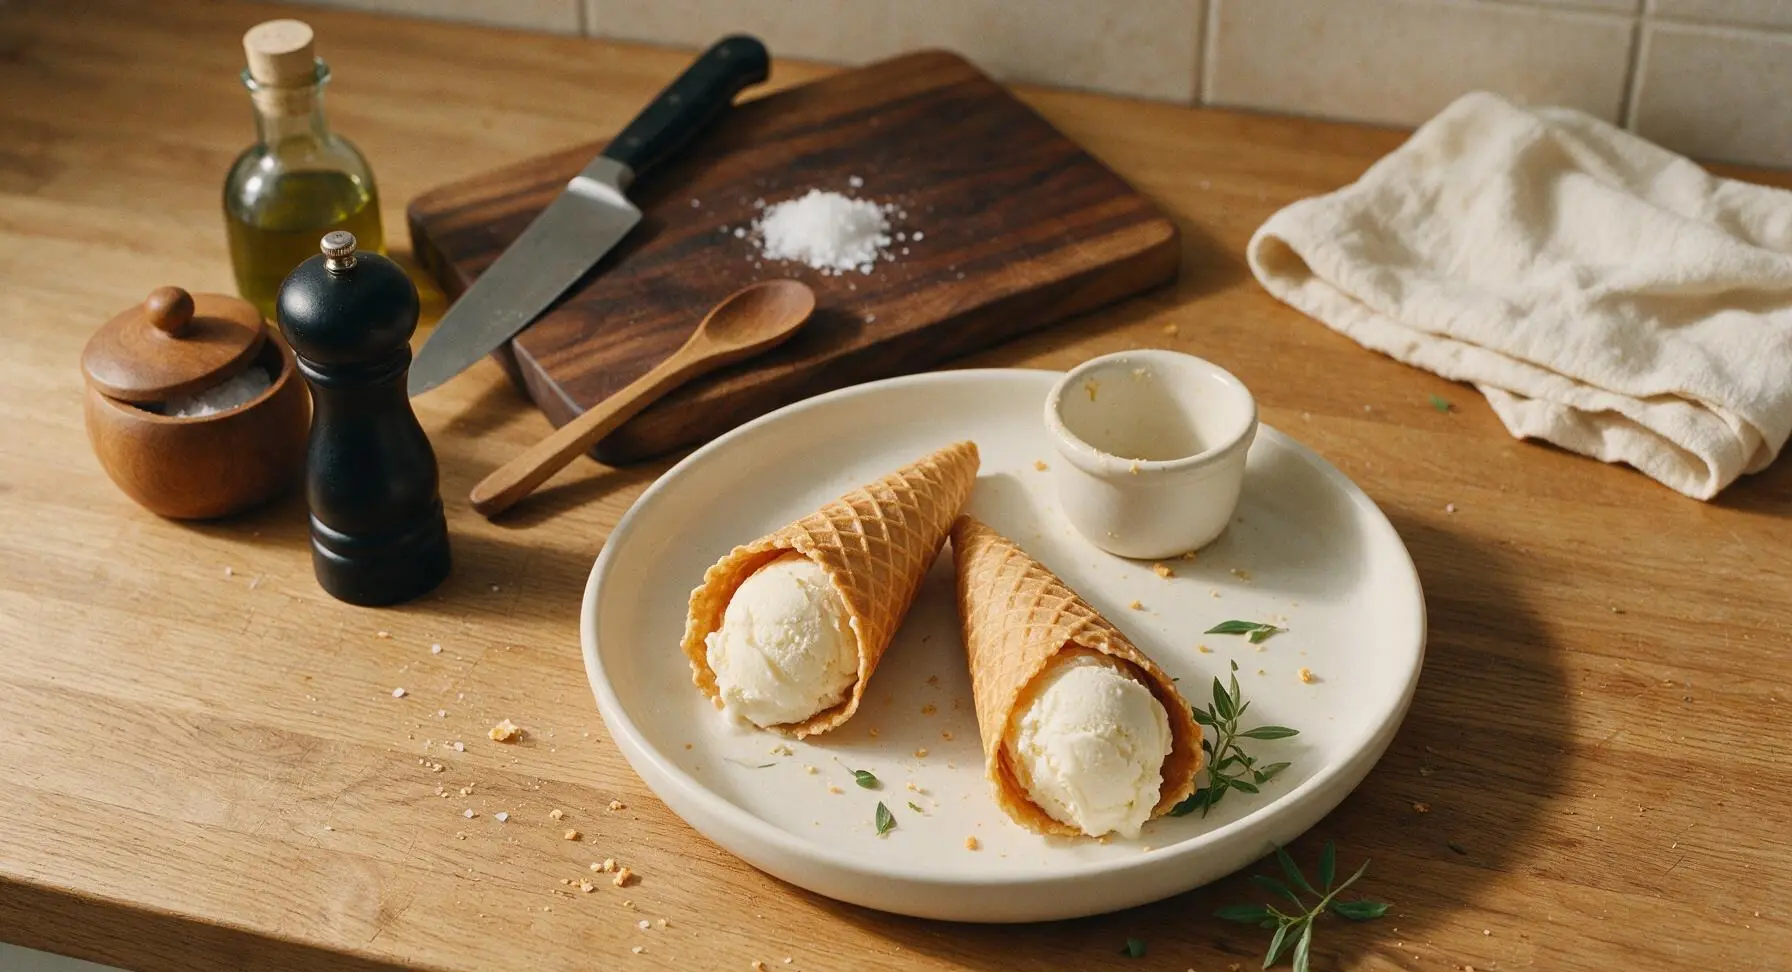
ice cream cone

title 1
ice cream cone
⏱️ cook time 20 minutes
🍽️ servings 8
⚡ Difficulty medium

intro

Crisp, buttery homemade waffle cones with warm vanilla notes, curled tight to hold creamy scoops of your favorite ice cream. Far lighter and crunchier than store-bought, with fresh-baked taste that makes every scoop better.

Ingredients
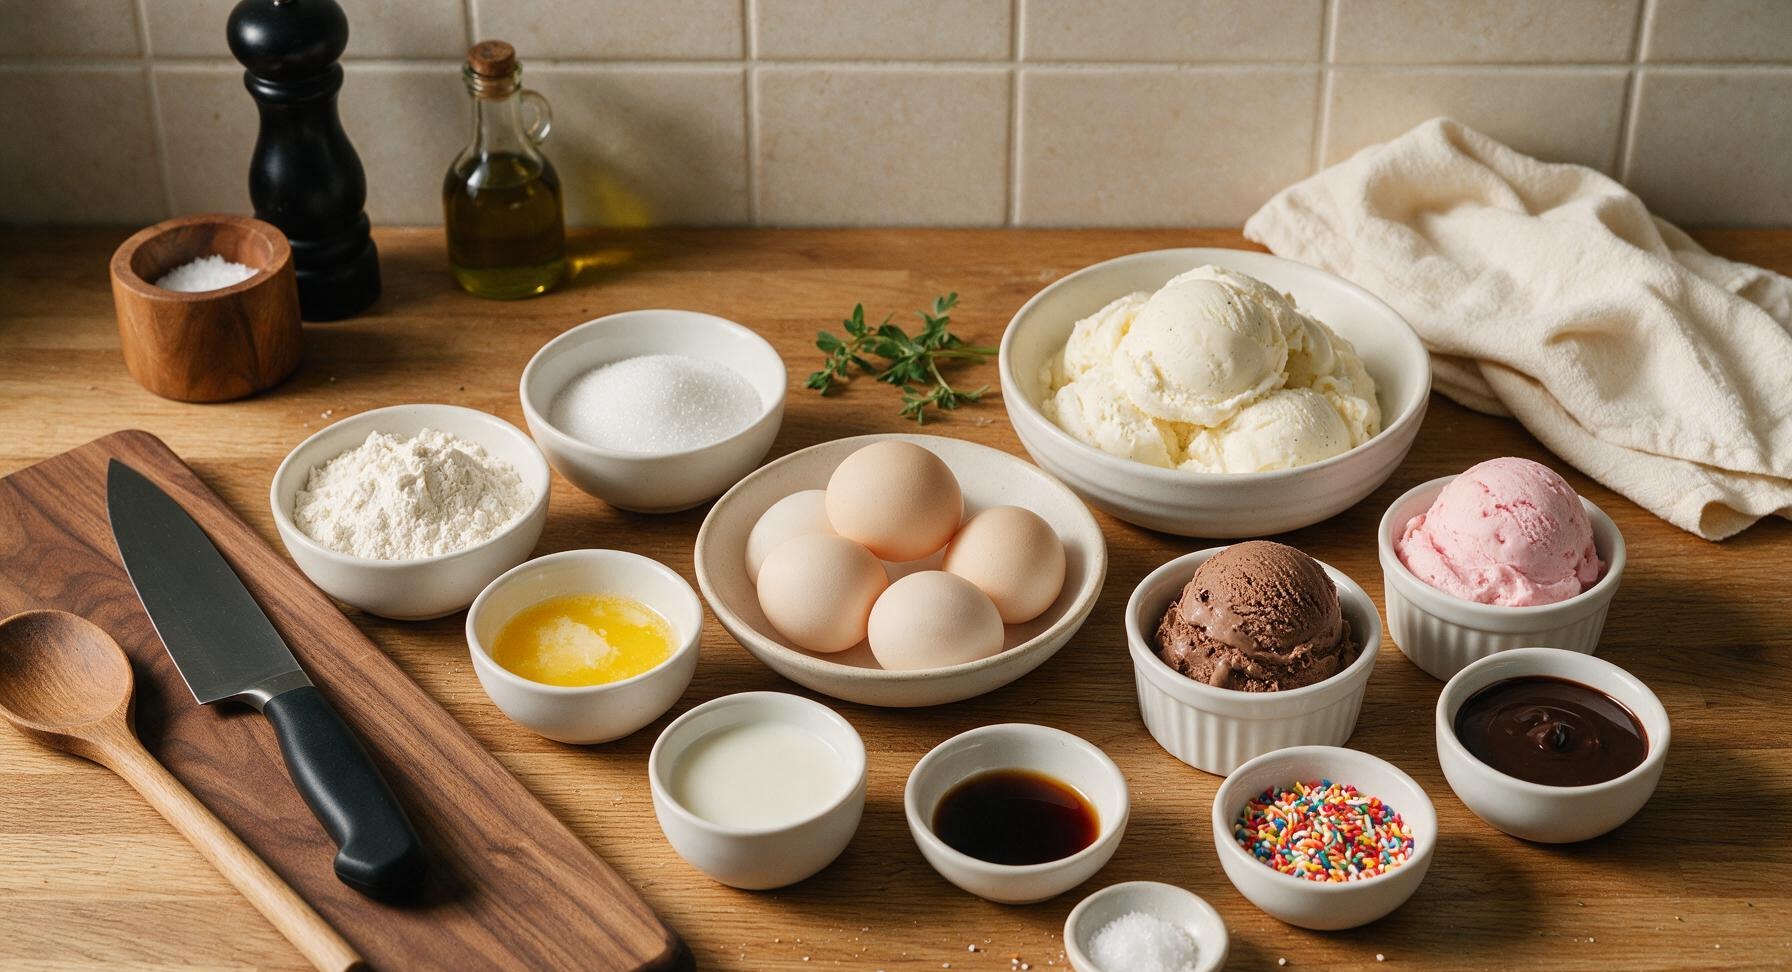
All-purpose flour 1 cup (120g)
Granulated sugar ½ cup (100g)
Unsalted butter 4 tbsp (57g, melted and cooled)
Large eggs 2
Whole milk ¼ cup (60ml)
Pure vanilla extract 1 tsp
Fine sea salt ¼ tsp
Vanilla bean ice cream 1 pint (473ml)
Chocolate ice cream 1 pint (473ml)
Strawberry ice cream 1 pint (473ml)
Rainbow sprinkles 2 tbsp
Dark chocolate syrup 2 tbsp

Steps

1

Mix Dry Ingredients

Add 1 cup all-purpose flour, ½ cup granulated sugar, and ¼ tsp fine sea salt to the brushed stainless steel mixing bowl. Use the light blue-handled silicone whisk to stir the dry ingredients for 30 seconds until fully combined, with no clumps of sugar or flour visible at the bottom of the bowl.
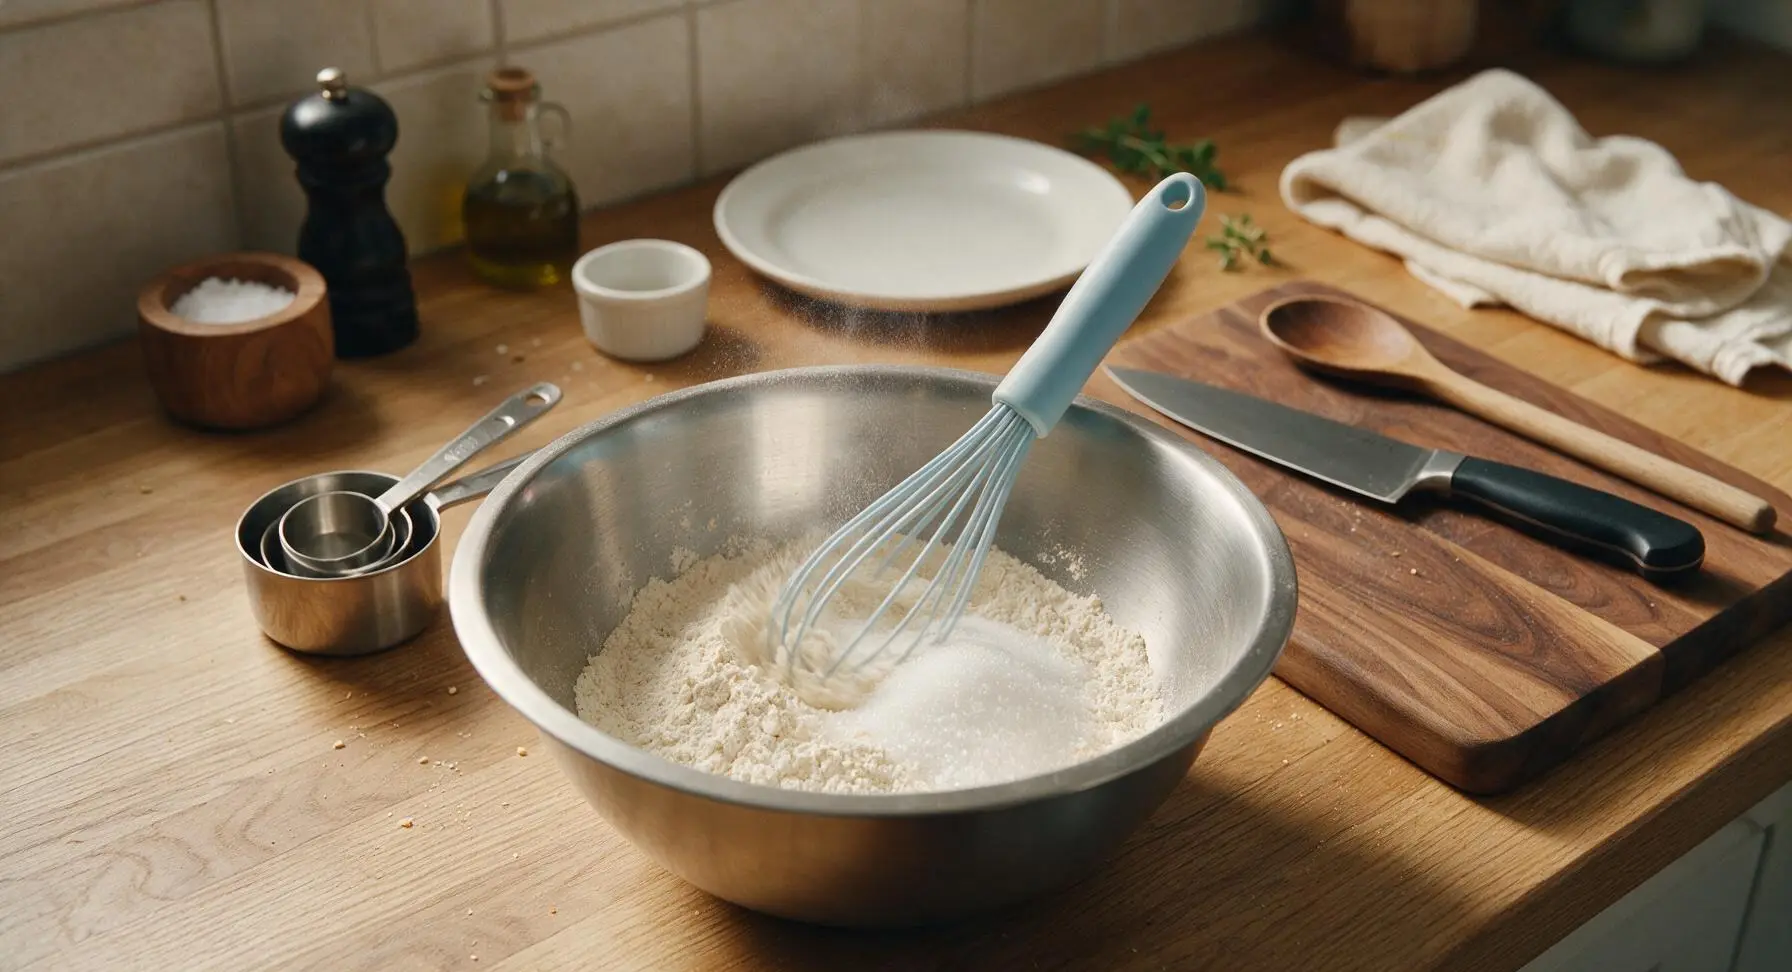
Step 1
step1:Mix Dry Ingredients
2

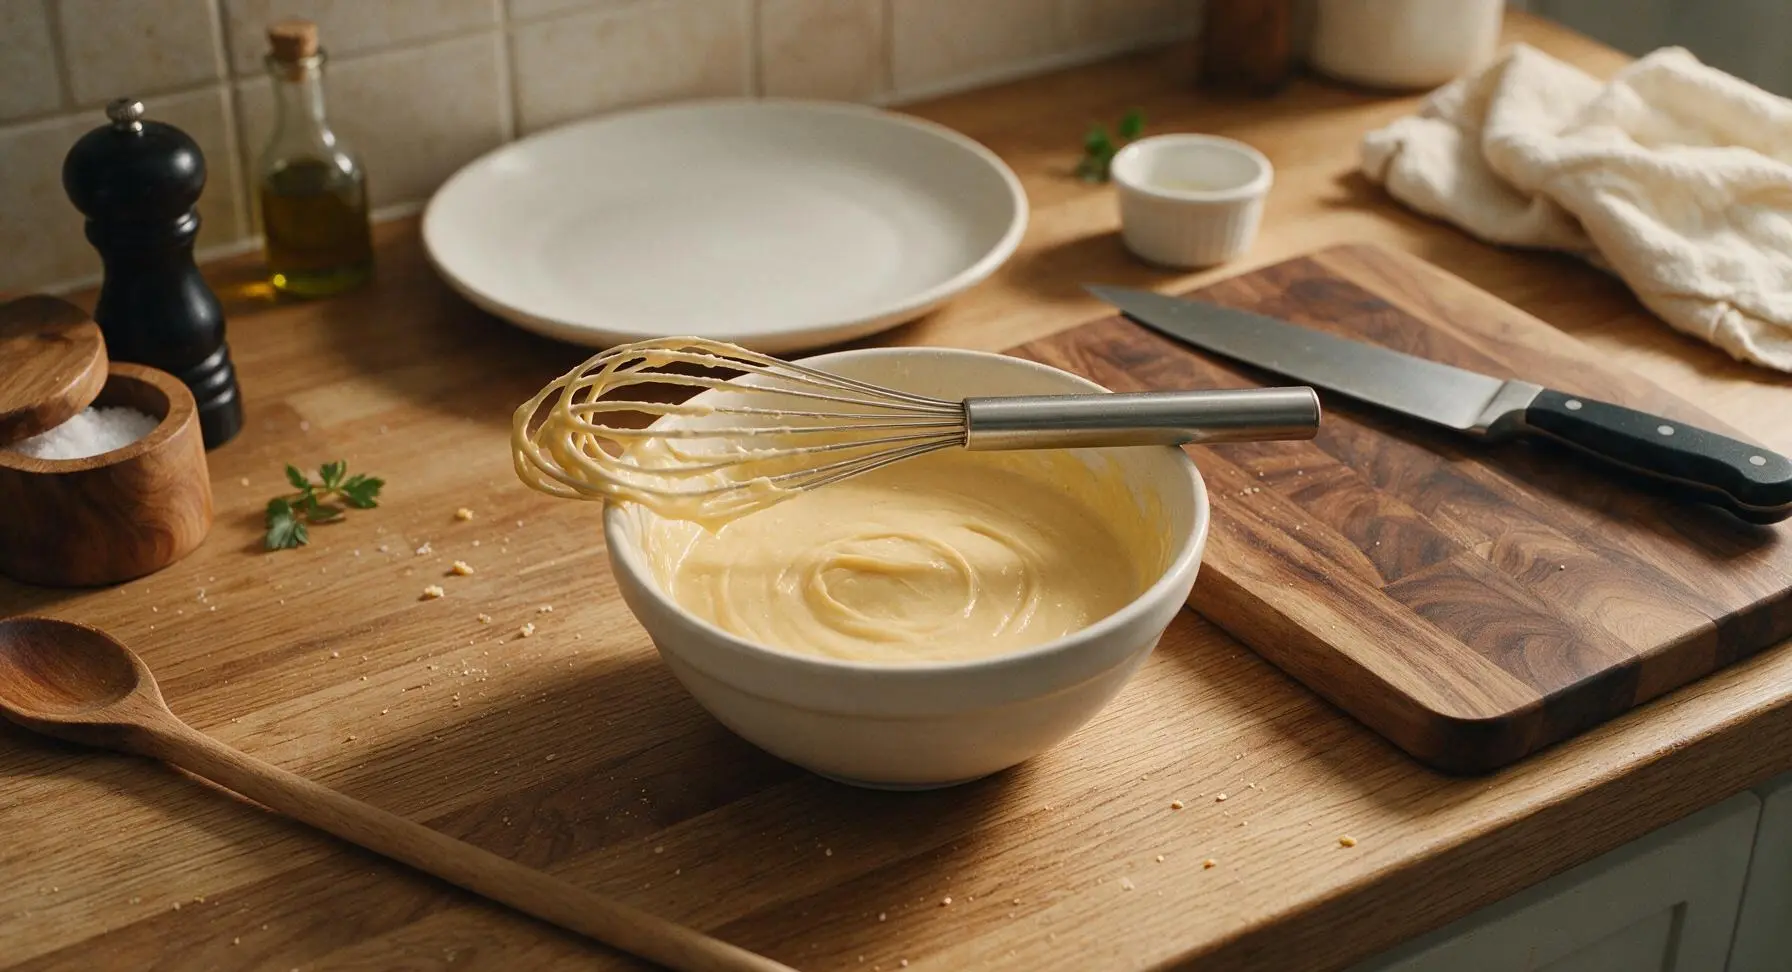
Combine Wet Ingredients

Crack the 2 large eggs into the dry mixture, then add ¼ cup whole milk, 1 tsp pure vanilla extract, and the 4 tbsp cooled melted butter. Whisk slowly at first to avoid splashing, then increase speed to mix for 1 minute until the batter is completely smooth, with a thin, heavy-cream consistency and no lumps. Let the batter rest for 5 minutes at room temperature to relax flour gluten, which prevents tough, chewy cones.
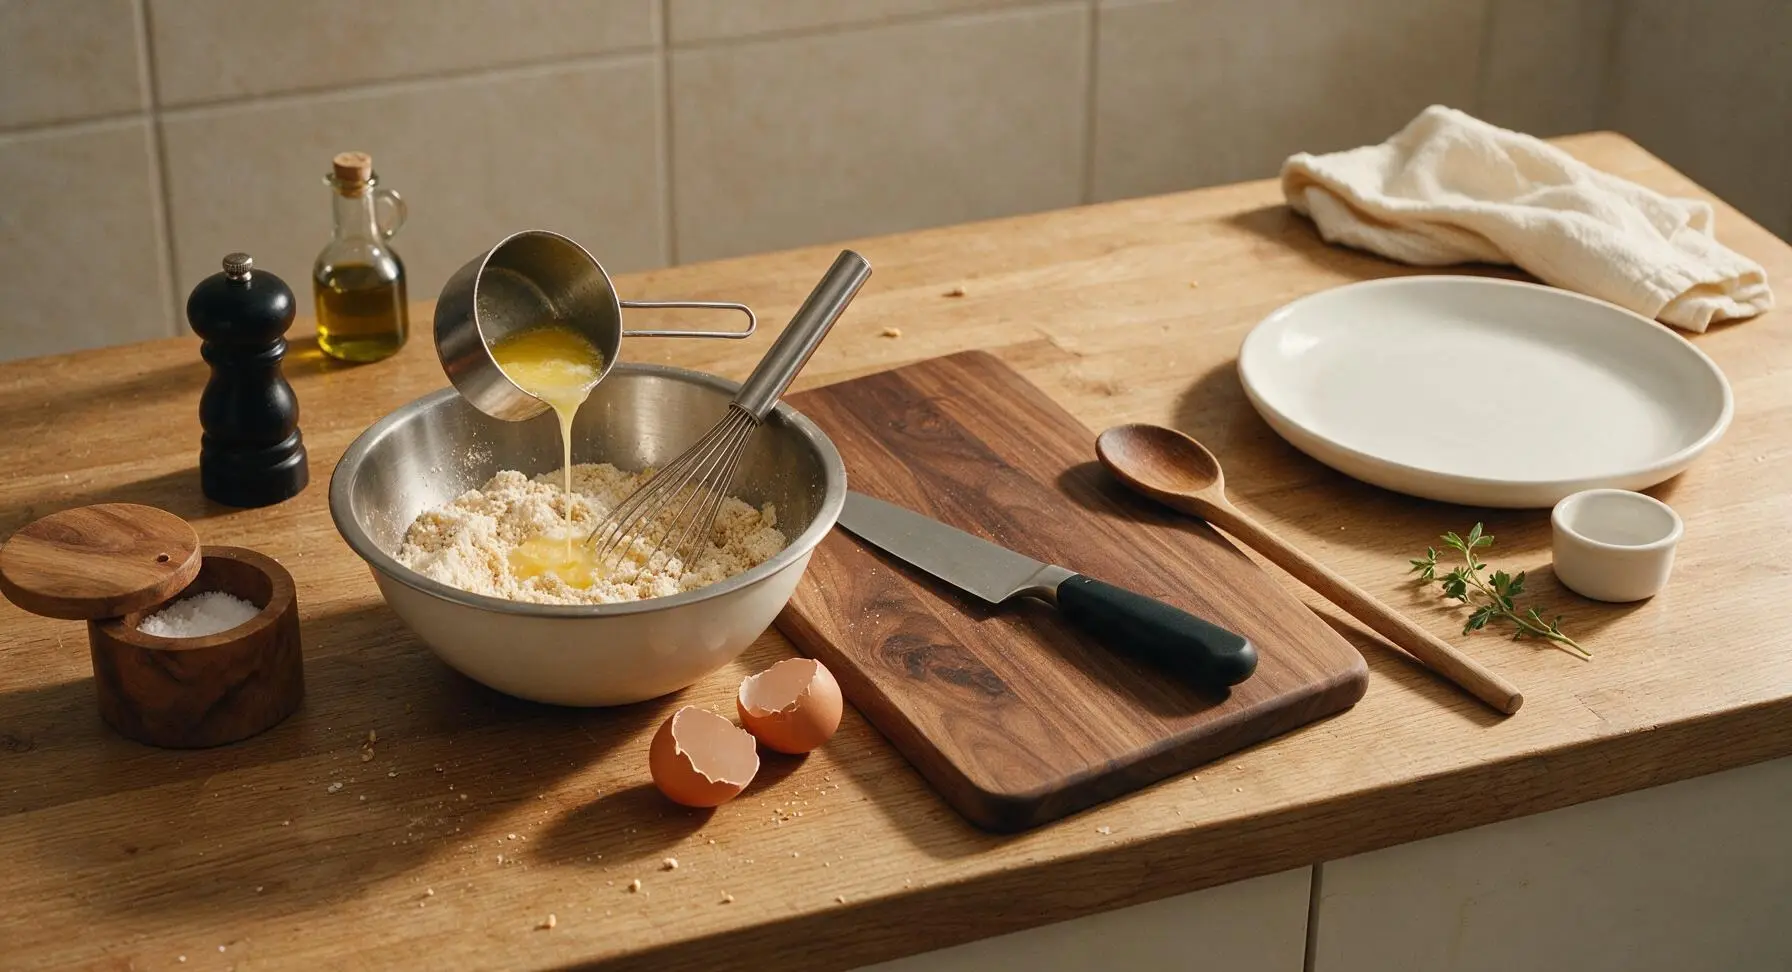
Step 2
step2:Combine Wet Ingredients
Step 2
step2:Combine Wet Ingredients
3

Preheat Waffle Maker

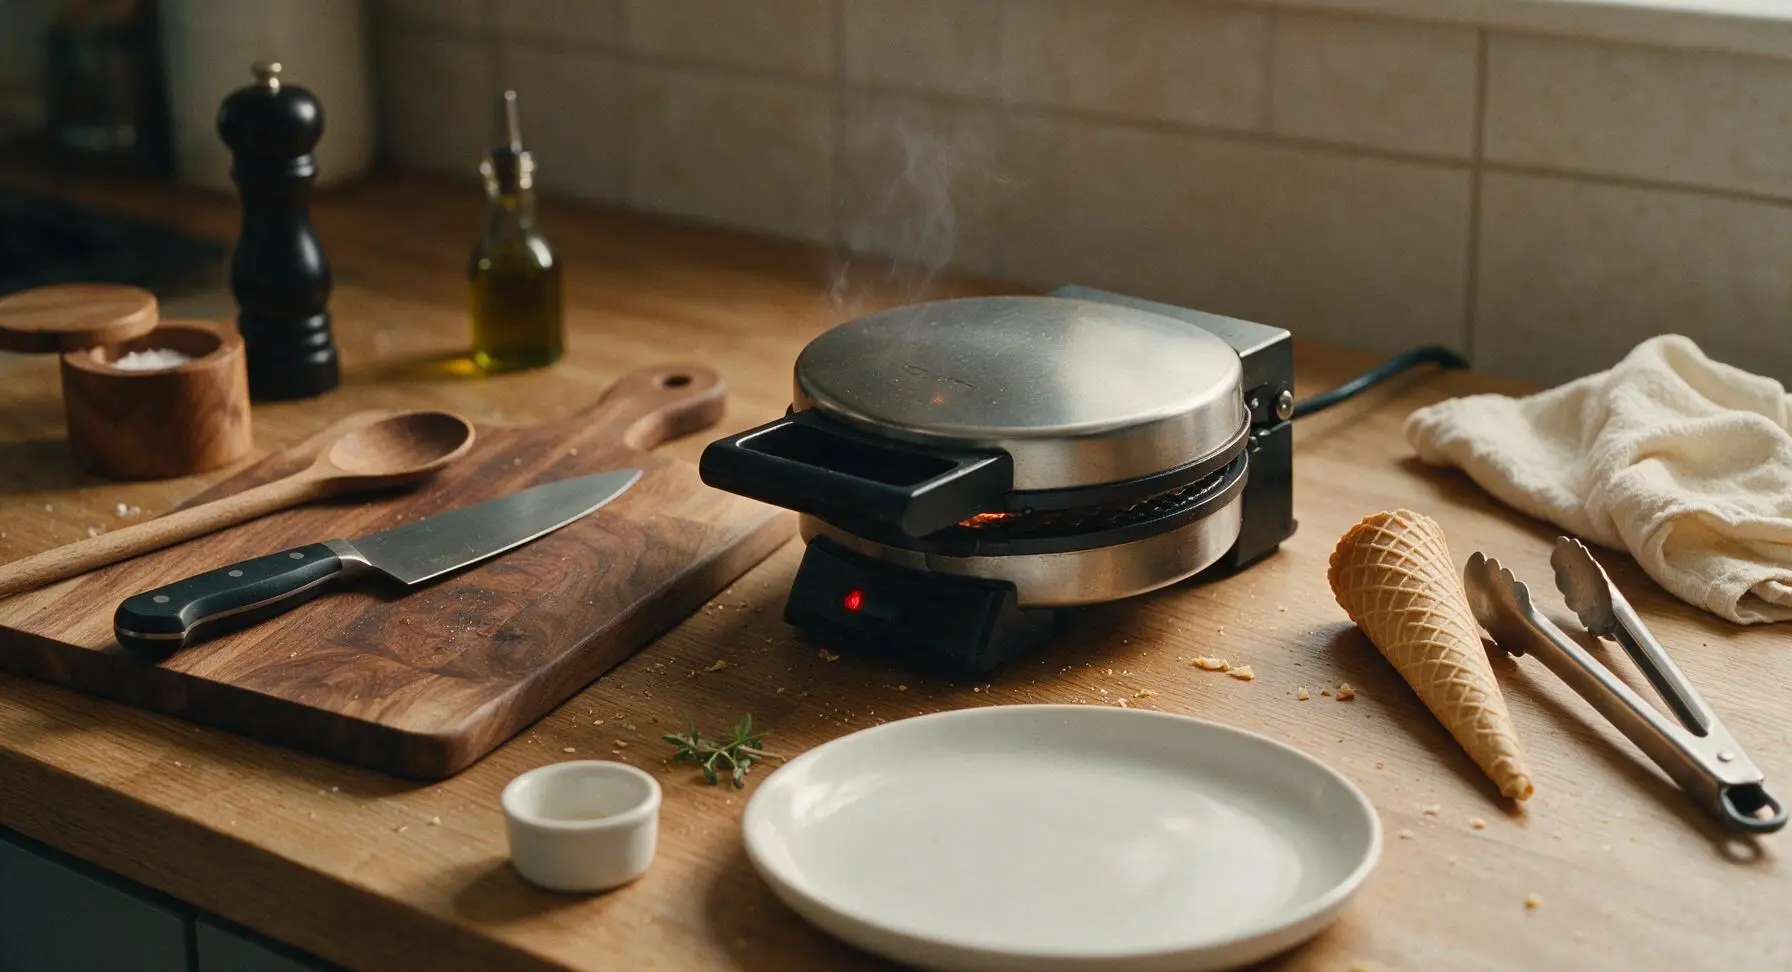
Close the stainless steel waffle cone maker and preheat it to medium-high heat (375°F / 190°C) for 3-4 minutes, until the built-in indicator light shows it has reached full temperature. Do not grease the non-stick plates, as the butter in the batter will prevent sticking and create an extra crisp surface.
Step 3
step3:Preheat Waffle Maker
4

Cook Waffle Discs

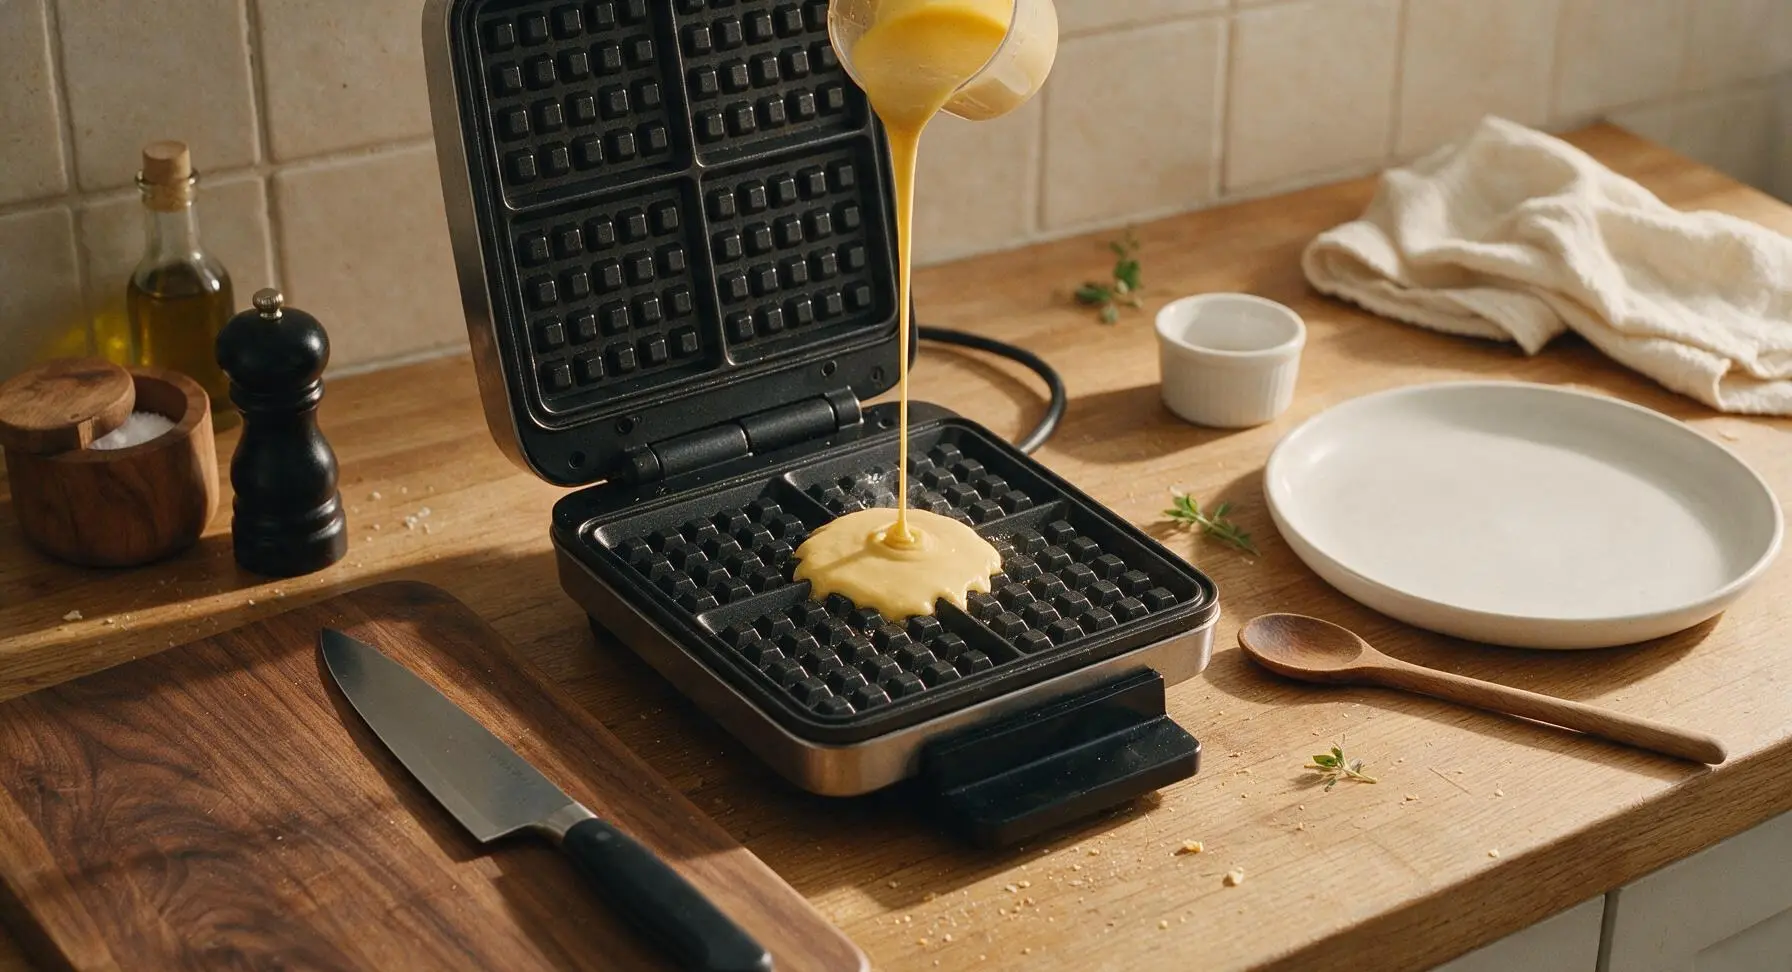
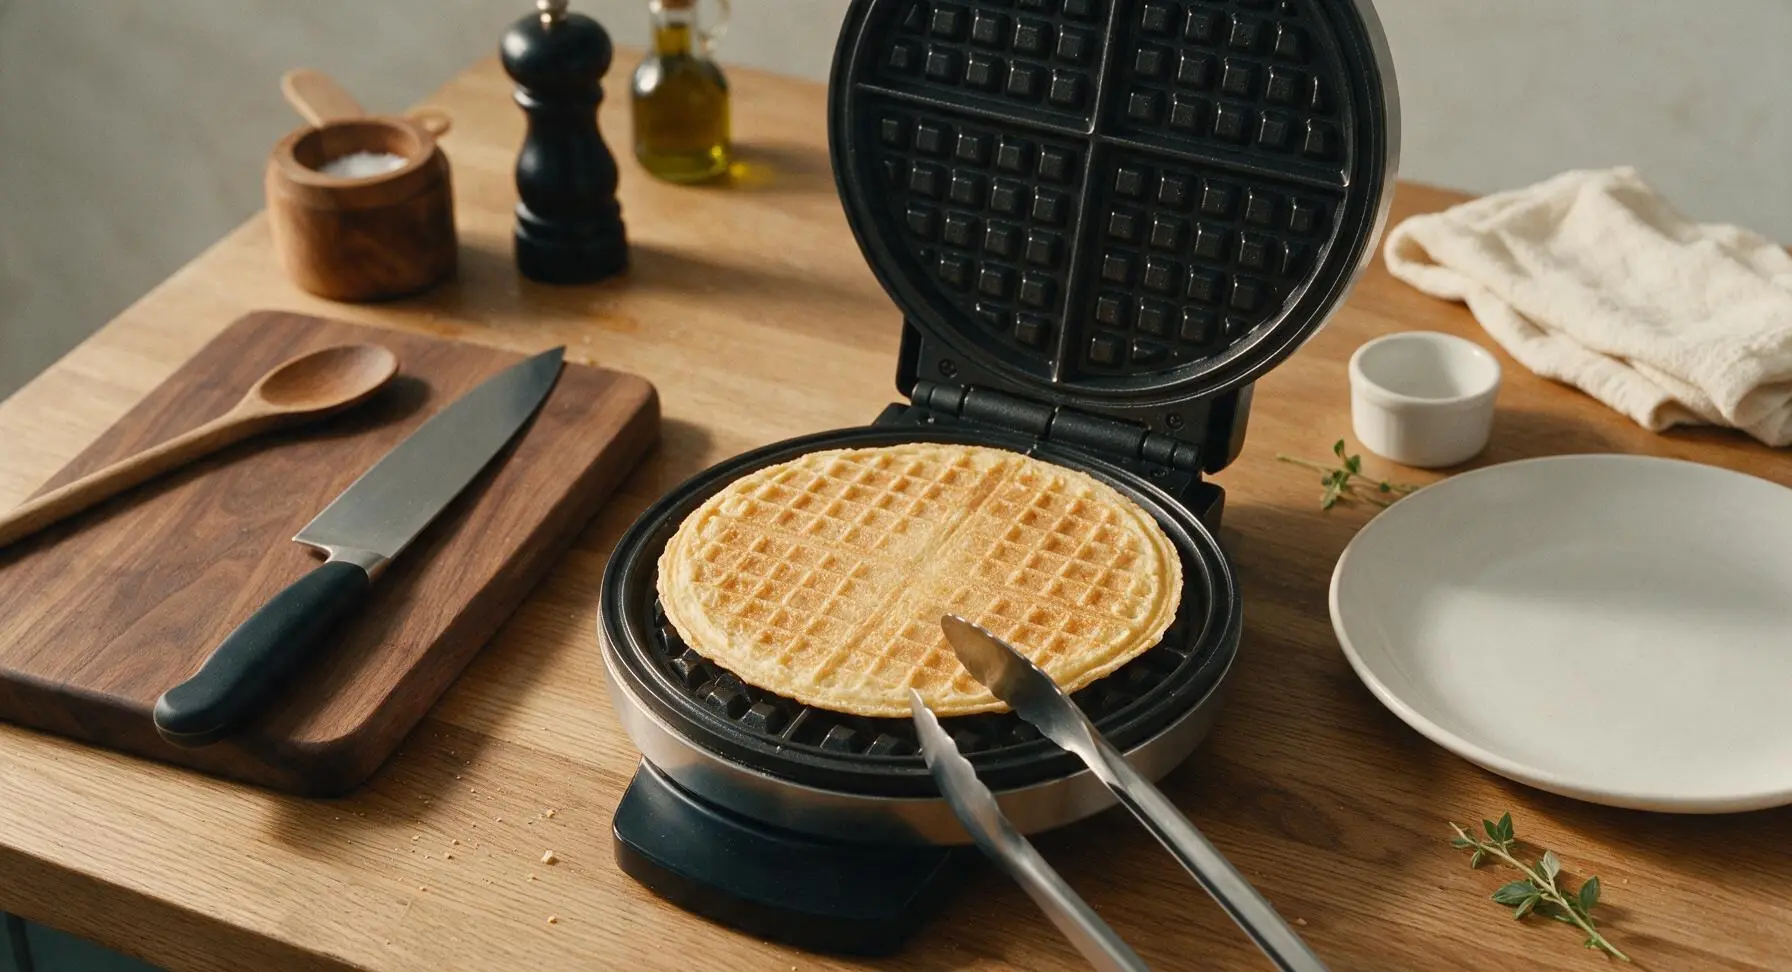
Open the preheated waffle maker and pour 2 tbsp of rested batter directly into the center of the lower grid plate. Close the lid gently, and cook for 1 minute 15 seconds to 1 minute 30 seconds, until the waffle is an even deep golden brown all over. Do not overcook (it will turn brittle and crack when rolling) or undercook (it will be chewy instead of crisp).
Step 4
step4:Cook Waffle Discs
Step 4
step4:Cook Waffle Discs
5

Shape Hot Cones

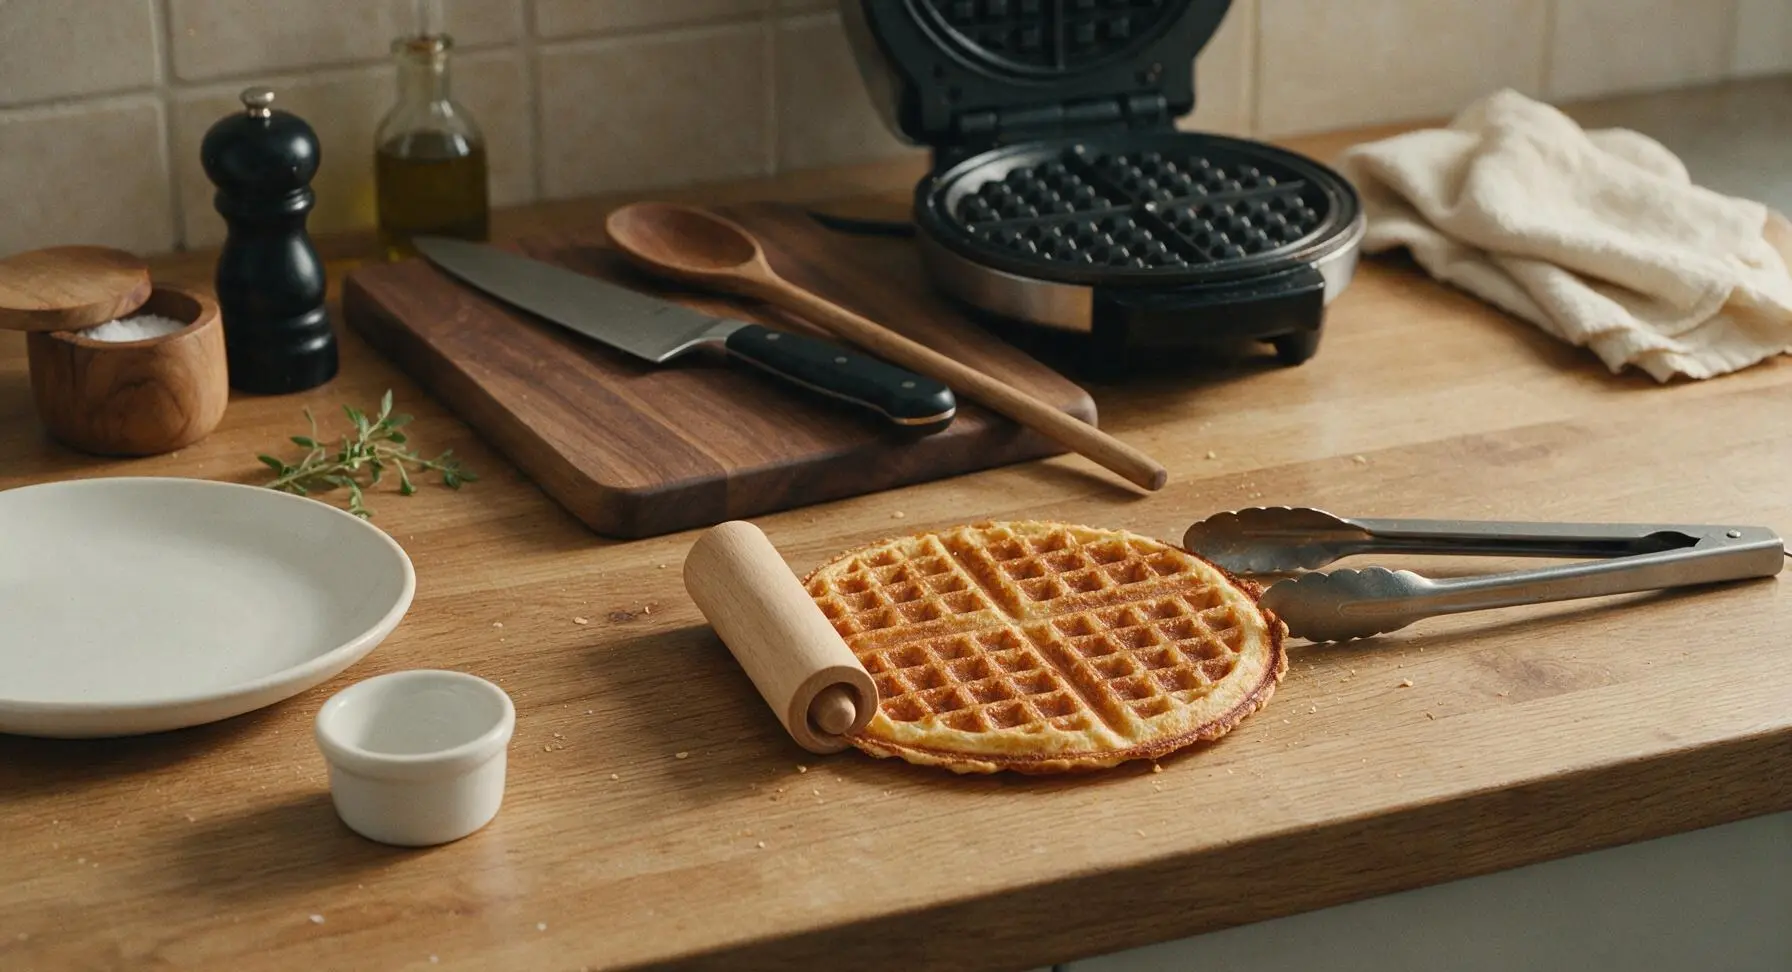
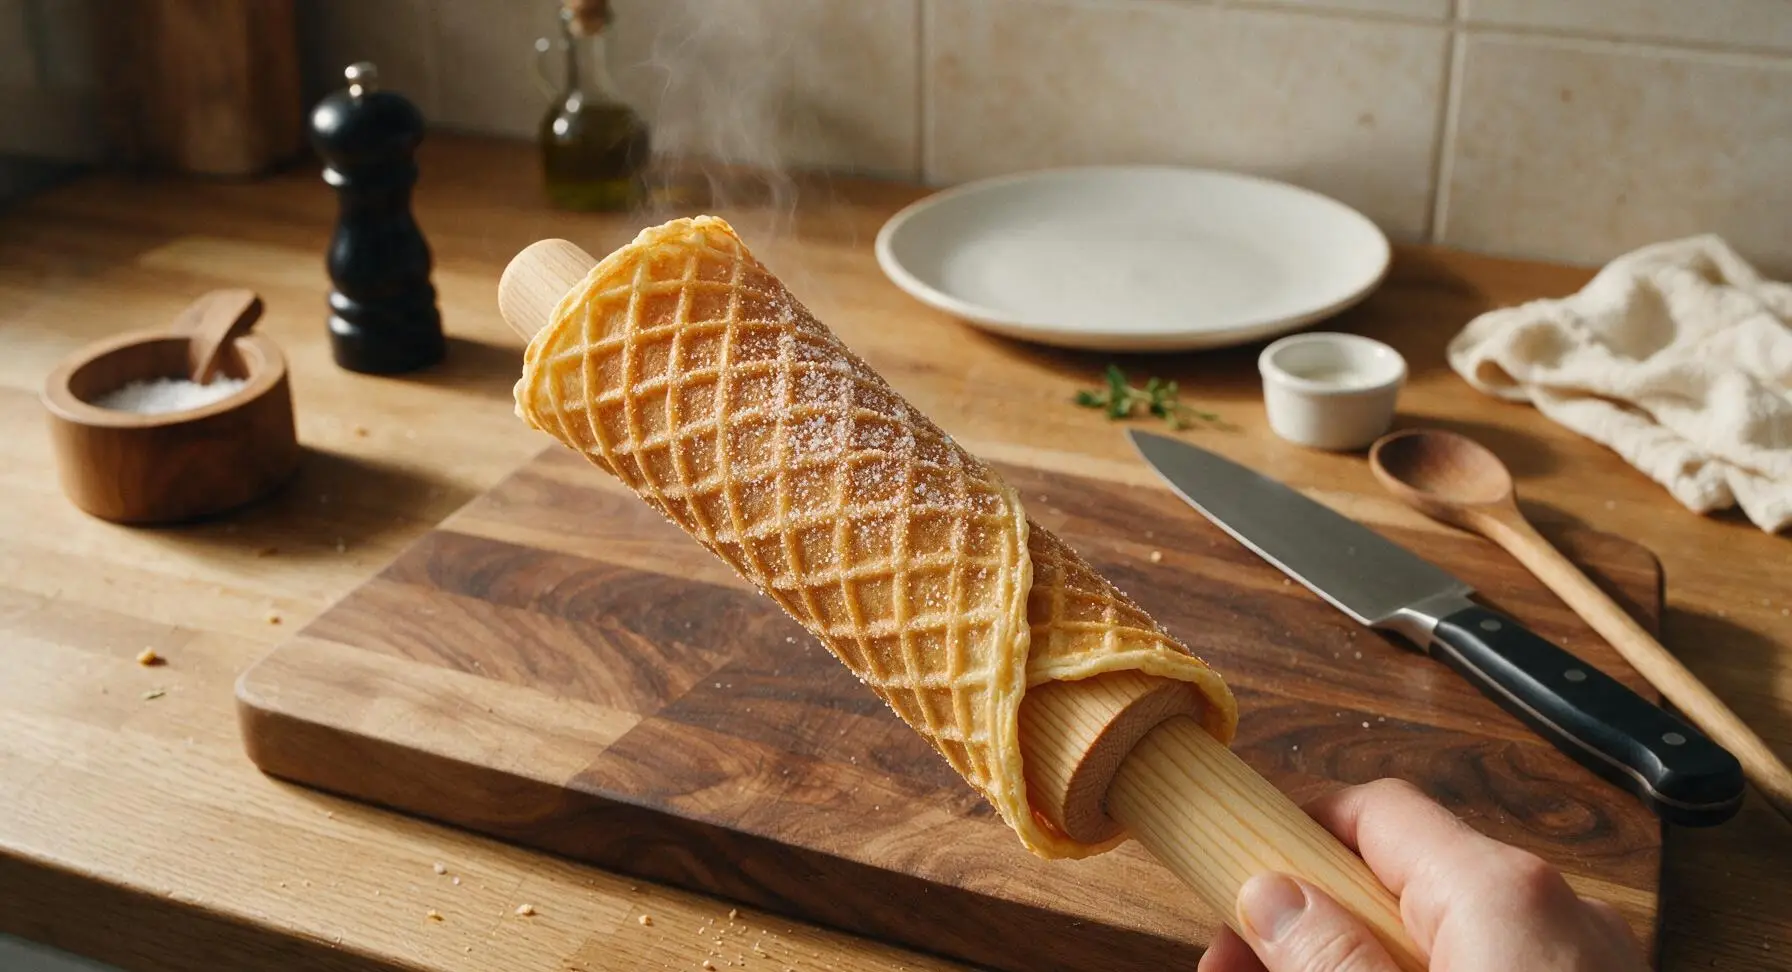
Working quickly (within 10 seconds of removing the waffle from the maker, before it hardens), use the tongs to lift the hot waffle disc onto the counter directly in front of the maker. Place the pointed end of the light pine cone roller at one edge of the waffle, then roll the waffle tightly around the form, pressing the overlapping seam firmly to seal. Pinch the bottom pointed end of the cone closed to prevent ice cream leaks, then hold the shape for 10 seconds until it sets. Slide the cone off the roller and set it upright in one of the clear glass cone stands to cool completely.
Step 5
step5:Shape Hot Cones
Step 5
step5:Shape Hot Cones
6

Cook Remaining Cones

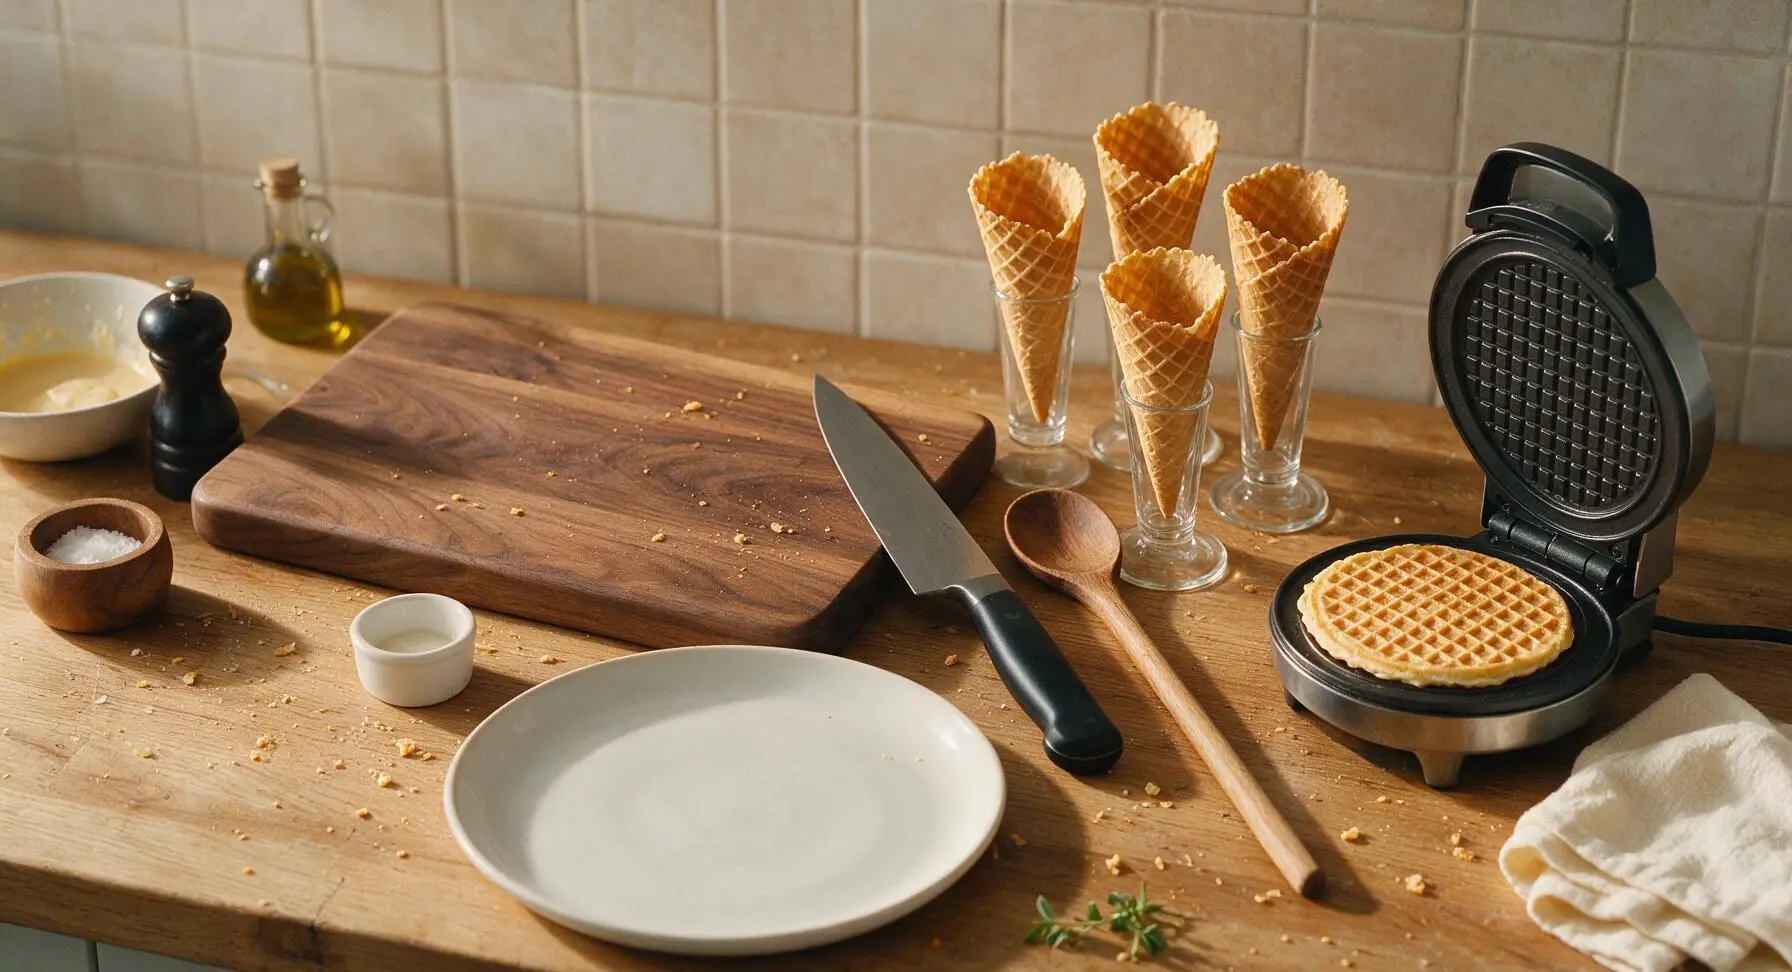
Repeat the cooking and rolling process with the remaining batter to make 8 total cones. If the batter thickens as it sits, stir in 1 tsp of milk at a time to return it to its original heavy cream consistency. Let all cones cool completely for 10 minutes before filling—warm cones will melt ice cream on contact. Stack finished cooled cones loosely in the glass stands as you work.
Step 6
step6:Cook Remaining Cones
7

Scoop Firm Ice Cream

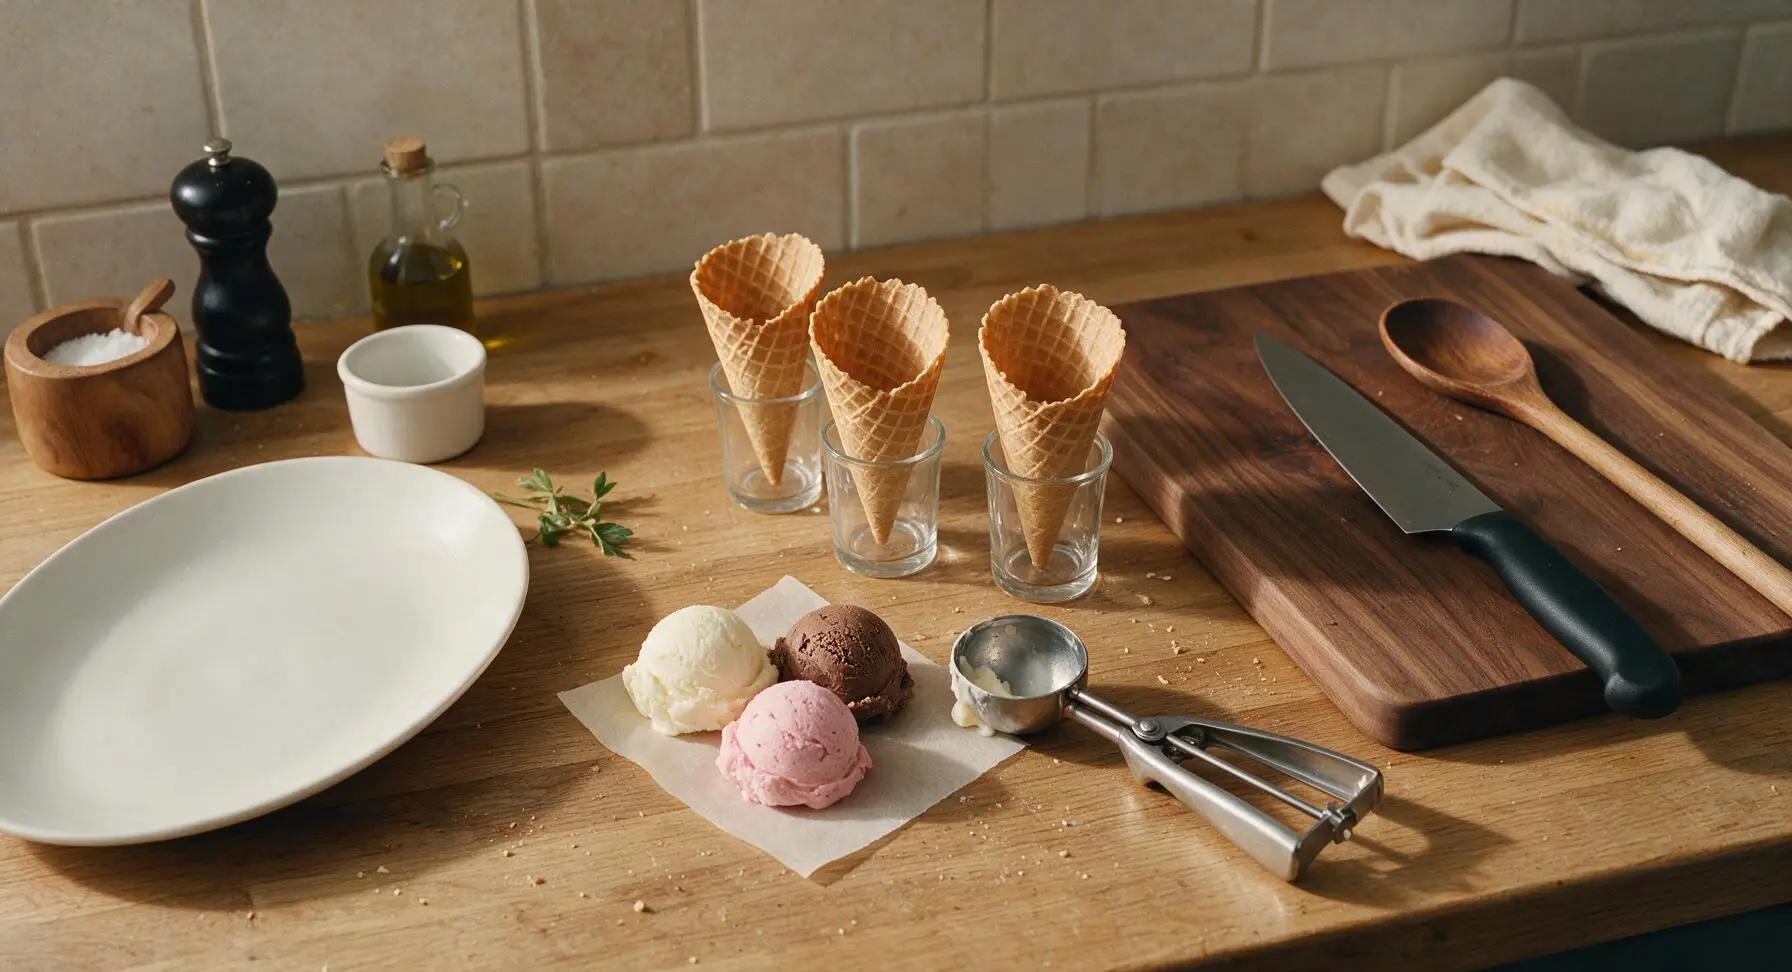
Remove the ice cream pints from the freezer and let them soften at room temperature for 3 minutes for easier scooping. Use the stainless steel ice cream scoop to form tight, rounded ½-cup scoops, placing them on a small square of unbleached parchment beside the cone stands. Return the scoops to the freezer for 2 minutes to firm up again before adding to cones, which prevents quick melting and drips when serving.
Step 7
step7:Scoop Firm Ice Cream
8

Fill and Garnish

Place one firmly scooped ice cream ball into the top of each cooled cone, pressing gently to seat the scoop so it does not fall out. Roll the rim of the vanilla cone in the rainbow sprinkles held in the cream ceramic ramekin, drizzle the chocolate cone with dark chocolate syrup, and tuck a small mint leaf next to the strawberry scoop. Serve immediately for the best crisp cone and creamy ice cream texture.

Step 8
step8:Fill and Garnish

Tips

1.Always roll waffle cones within 10 seconds of removing them from the maker: once the waffle cools below 200°F, it becomes rigid and will crack instead of forming a smooth, tight cone shape. Keep the pine cone roller within arm’s reach of the waffle maker to cut down on transfer time.
2.Pinch the bottom tip of each cone tightly while it is still hot to create a fully sealed point: this prevents melted ice cream from dripping out the bottom as you eat, the most common frustration with homemade cones.
3.Store leftover unfilled cones in an airtight container at room temperature for up to 5 days: never refrigerate or freeze them, as trapped moisture will turn the crisp cones soft and chewy. Re-crisp slightly soft cones in a 300°F oven for 2 minutes before serving.


✨ You May Also Like

Desserts & Baking
🍜 Italy

Creamy, coffee-kissed classic Northern Italian no-bake dessert, with layers of rum-spiked mascarpone cream, soft ladyfingers, and a rich cocoa dusting.

⏱️ 4 hours 3Desserts & Baking ★ 4.7
Desserts & Baking
🍜 France

Flaky, shatteringly crisp, buttery French croissants with golden exteriors and soft, airy layered interiors, perfect for pairing with coffee for a special morning treat.

⏱️ 12 hours Desserts & Baking ★ 4.5
Desserts & Baking
🍜 United States

Warm, spiced baked apples topped with a fluffy golden biscuit crust, this cozy dessert pairs perfectly with vanilla ice cream for cool-weather comfort.

⏱️ 55 minuteDesserts & Baking ★ 4.6
Desserts & Baking
🍜 United States

A star-spangled classic American blueberry pie with buttery flaky crust and bright sweet-tart filling, perfect for summer patriotic gatherings.

⏱️ 1 hour 25Desserts & Baking ★ 4.7
Desserts & Baking
🍜 United States

A beloved no-bake regional Maine candy with a chewy coconut-potato center coated in rich dark chocolate, a New England holiday staple since the 1870s.

⏱️ 2 hours 3Desserts & Baking ★ 4.8
Desserts & Baking
🍜 France

Luxuriously creamy, floral frozen custard made with aromatic Tahitian vanilla beans, boasting a smooth, rich texture that melts slowly on the tongue.

⏱️ 3 hours 3Desserts & Baking ★ 4.5

ice cream cone:Frequently Asked Questions

1.Do I need a special waffle cone maker to make these, or can I use a regular waffle iron? ▾
A dedicated waffle cone maker with thin, shallow grid plates is ideal for producing that paper-thin, ultra-crisp texture these cones are known for. If you only have a standard Belgian waffle iron, you can still use it, but your cones will be thicker, won’t curl as tightly, and will need 30-60 seconds extra cook time to crisp fully before shaping.
2.Why do my homemade waffle cones turn out soft instead of crisp? ▾
Soft cones almost always trace back to three common issues: undercooking the batter so excess moisture remains, adding too much batter that creates a thick, doughy layer, or not letting shaped cones cool fully on a wire rack before use. Cook each cone to deep golden brown, use just enough batter to cover the grid, and let cones set 2-3 minutes post-shaping for maximum crunch.
3.How long do I have to shape the cone after it comes off the iron? ▾
You only have a 10 to 15 second window to start shaping once the cooked waffle comes off the iron, before it starts to harden and turn brittle. Work quickly: lift it with a thin spatula, wrap it around a cone form, hold the seam and pointed tip tight for 10 seconds as it cools, and it will hold its shape as it sets.
4.Can I make these cones if I don’t have a plastic or metal cone shaping form? ▾
Absolutely! You don’t need a specialty form to shape great cones. A clean, empty metal pint ice cream container works perfectly as a makeshift form—just wrap the hot waffle around its tapered end. If you don’t have that, shape the waffle into a loose cone with clean, lightly heat-protected hands, holding the seam tight until it sets.
5.Can I substitute whole milk for a lower-fat milk option in this recipe? ▾
Whole milk is recommended for the richest flavor and ideal crisp texture, but you can substitute 2% milk in a pinch if that’s what you have on hand. Skip skim milk or watery non-dairy alternatives, as those will make cones taste bland and turn soggy much faster once filled with ice cream.
6.How do I keep the pointed tip of the cone sealed so ice cream doesn’t leak out? ▾
To prevent leaky tips, press the very end of the hot, shaped cone firmly together with your fingertips (use a light layer of parchment if it’s too hot to touch) right after you wrap it around the form. As the waffle cools and hardens, that pressed tip will seal completely, so melted ice cream won’t drip out the bottom as you eat.
7.How far in advance can I make these cones before serving ice cream? ▾
These cones stay perfectly crisp for up to 3 days when stored correctly. Let them cool completely first, then tuck them into an airtight container with a tight-fitting lid, and store at room temperature away from direct sunlight or humid spots like above the stove. Don’t refrigerate or freeze them, as excess moisture will make them go soft fast.
8.My waffles keep sticking to the cone maker—what am I doing wrong? ▾
Sticking usually happens if your iron isn’t fully preheated before you add batter, or if you skipped the initial light seasoning of the plates. For non-stick models, a quick light brush of melted butter on the plates before the first batch is all you need; don’t over-grease, as that will make cones greasy instead of crisp, and always wait for the iron’s ready indicator before adding batter.
9.Can I add mix-ins to the batter, like cinnamon or chocolate chips? ▾
Warm spices like cinnamon, nutmeg, or a pinch of cardamom mix beautifully into the dry ingredients for extra flavor. Skip chunky mix-ins like chocolate chips, chopped nuts, or sprinkles in the batter, though—those will tear the thin waffle as it cooks and prevent it from curling into a tight cone. Add those as a dip coating after shaping instead.
10.How much batter should I pour onto the iron for each cone? ▾
For most standard waffle cone makers, 2 to 3 tablespoons of batter is the perfect amount per cone. Pour it right in the center of the lower plate, then close the lid gently—don’t press it down hard, as that will squeeze batter out the sides. This amount spreads to cover almost the entire grid without overflowing, creating a thin, even cone.
11.Why does my batter have lumps, and do I need to mix it until it’s completely smooth? ▾
Small, pea-sized lumps in the batter are totally fine, and actually preferred! Over-mixing the batter develops gluten in the all-purpose flour, which will make your cones tough and chewy instead of light and crisp. Whisk just until the dry ingredients are fully incorporated, then stop—you don’t need a perfectly silky, lump-free batter here.
12.Can I make these gluten-free for friends with dietary restrictions? ▾
You can easily adapt this recipe to be gluten-free by swapping the all-purpose flour for a 1:1 gluten-free baking blend that contains xanthan gum. Stick to blends made for baked goods, not plain rice or almond flour, and add a tiny pinch of extra salt to boost flavor; your cones will be just as crisp and buttery as the original version.
13.How do I dip these cones in chocolate without making a mess? ▾
Let your shaped cones cool fully first, then melt 6 ounces of dark or milk chocolate with 1 teaspoon of coconut oil until smooth. Dip the open top ½-inch of each cone into the chocolate, let excess drip off, then roll in sprinkles, crushed nuts, or cookie crumbs if you’d like. Set them upright in a tall glass to let the chocolate set for 10 minutes before filling.
14.My cones get soggy within minutes of adding ice cream—how do I prevent that? ▾
To stop cones from going soggy fast, make sure they are fully cooled and crisp before adding ice cream, and brush a thin layer of melted chocolate on the inside of each cooled cone to create a moisture barrier. Let that chocolate set for 5 minutes before scooping, and it will block melting ice cream from seeping into the waffle for 20+ minutes of crunch.
15.Can I use salted butter instead of unsalted butter in this recipe? ▾
You can use salted butter if that’s what you have, just reduce any added pinch of salt in the recipe by ¼ teaspoon to account for the salt already in the butter. That subtle salty note actually pairs beautifully with the sweet, warm vanilla and buttery waffle flavor, so your cones will still turn out perfectly crisp and delicious.
16.What’s the best way to re-crisp cones that have gone a little soft from humidity? ▾
If your cones lose their crunch from humid kitchen air, you can crisp them right back up in 2 minutes flat. Preheat your oven to 350°F, set the cones on a wire rack placed over a baking sheet, and bake for 2 to 3 minutes. Pull them out, let them cool fully, and they’ll be back to their light, snappy, crisp state ready for ice cream.
17.Can I make mini waffle cones for kids or small dessert portions? ▾
Absolutely! Mini cones are perfect for kid-sized scoops or party dessert spreads. Just use 1 tablespoon of batter per waffle instead of 2 to 3, cook for the same amount of time until golden, then wrap around a smaller tapered form—like the thick end of a wooden spoon handle—to make tiny cones that hold one small scoop of ice cream perfectly.
18.Do I need to let the batter rest before cooking the cones, like I do for regular waffles? ▾
Unlike fluffy regular waffle batter that benefits from a 15-30 minute rest to let gluten relax, this thin waffle cone batter is ready to use right after mixing. Letting it sit too long lets the melted butter solidify and the flour absorb excess liquid, leading to denser, less crisp cones, so cook batches immediately after mixing for the lightest crunch.

Comments (8)

1 week ago

OMG these waffle cones are a total game changer! I made them for my kid’s end-of-summer pool party last weekend and every single kid (and parent!) was begging for the recipe. They stay crisp for DAYS if you store them in an airtight container, way better than the stale grocery store ones. I will never buy pre-made cones again, SO good. Only note is I had to adjust the cook time a tiny bit on my old waffle cone maker, pulled them 10 seconds earlier to avoid burning the edges.

5 days ago

Wait did you use a standard waffle iron or a specific cone maker? I only have my regular Belgian waffle maker at home and I’m wondering if this will still work!

3 days ago

So glad these were a hit at your party! A regular Belgian waffle maker will work in a pinch, but the texture won’t be quite as thin and crisp as a dedicated cone maker — just make sure to spread the batter extra thin and roll them tight as soon as they come off the heat! Also, great call adjusting the cook time, every appliance runs a little different.

3 days ago

Tried these for the first time last night for our family movie night and my husband said they taste exactly like the old-fashioned cones from the local ice cream shop we went to as kids! Difficulty was totally manageable even for someone like me who burns 90% of my baked goods, haha. I rolled a few too slow on my first batch and they cracked, but by the third one I had the rhythm down.

2 days ago

Love that they brought back those nostalgic vibes! The cracking is totally normal when you’re first starting out — pro tip is to keep a folded kitchen towel handy to help you roll them tight without burning your fingers, since they cool and harden super fast once they’re off the iron.

2 days ago

Made these vegan by swapping the butter for melted coconut oil and using oat milk instead of dairy, and they turned out perfectly crisp! Brought them to a neighborhood potluck last night and even the non-vegan guests were raving. 10/10, will be making these all month for meal prep dessert nights. Only reason I’m not giving 5 stars is the batter is a tiny bit sweet for my taste, I’ll cut the sugar by a tablespoon next time.

2 hours ago

Wait these look incredible! I’ve been wanting to make homemade cones for ages but I always assumed they were way too hard to pull off for a home cook. The medium difficulty rating has me a little nervous though — how long does it take to get the hang of rolling them without breaking? I’m super clumsy in the kitchen lmao. Giving 5 stars in advance because the instructions are so clear and all the photos look amazing!

30 minutes ago

I’m also super clumsy and I got the hang of it by my second cone! They harden really fast so you just have to move quick, but it’s way easier than it sounds. I kept my first cracked ones to crumble over sundaes so nothing went to waste!

5 days ago

Made these on a camping trip last weekend using my cast iron waffle iron over the campfire and they were CHEF’S KISS. There’s nothing better than a warm crisp cone with vanilla ice cream after a long hike. I added a little cinnamon to the batter and it paired so well with the huckleberry ice cream we picked up from a stand on the drive up.

3 days ago

Wait that campfire hack is genius! Did you have trouble rolling them without a flat surface out in the woods? I’m planning a trip next month and want to add these to the menu.

2 days ago

The cinnamon addition and campfire method sound absolutely dreamy! If you’re making these out camping, a small wooden cutting board works perfectly as a flat rolling surface, just make sure it’s stable near your fire so you can roll the cones right after they come off the iron.

yesterday

10/10 recipe! I dipped the tops of my finished cones in melted dark chocolate and rolled them in crushed peanuts and rainbow sprinkles for my daughter’s birthday party. The kids went absolutely wild for them, and even my picky 7 year old asked for seconds. Way cheaper than buying specialty cones from the ice cream shop too.

30 minutes ago

I tried making these today and my cones came out soft instead of crisp? Did I do something wrong? I followed the measurements exactly but they’re chewy instead of snappy, even after letting them cool completely. Bummed because I was so excited for homemade cones!

5 minutes ago

So sorry they didn’t turn out crisp for you! The most common culprit is not cooking them long enough — if the batter is still pale and soft when you pull it off the iron, it won’t harden as it cools. Try adding 15-20 seconds of cook time next go-round, and make sure you’re rolling them immediately while they’re still hot, that helps them set into that crisp snappy shape!

2 weeks ago

Game changer alert! I brought these to our office potluck a couple weeks back and they were the first thing gone, people were asking if I bought them from the fancy dessert shop downtown. The recipe is so straightforward even though it’s marked medium difficulty, I was shocked how professional they looked once I got the rolling down. I will absolutely be adding these to my regular summer rotation.

1 week ago

Wait did you bring the ice cream too or just the cones? I need something to bring to our next team lunch and these would be perfect, but I’m worried about them getting soggy if I make them the night before.

5 days ago

I made them the night before and stored them in a big airtight Tupperware with a paper towel at the bottom to catch any extra moisture, and they stayed totally crisp! I grabbed a few pints of our favorite local ice cream to serve with them, it was such a low-fuss crowd pleaser.



