
Ice Cream Sandwich

title 1
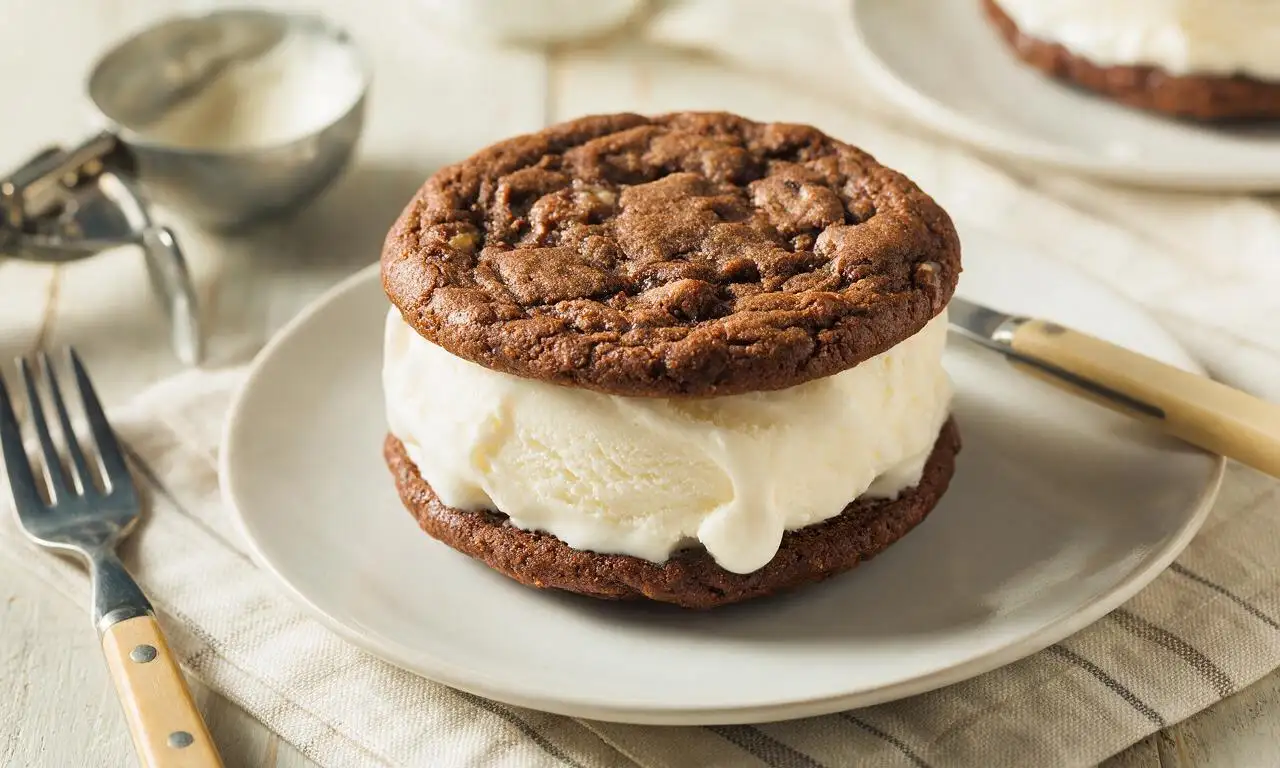
Ice Cream Sandwich
⏱️ cook time 4 hours 30 minutes (30 minutes active prep, 4 hours freezing time)
🍽️ servings 4
⚡ Difficulty easy

intro

Chewy fudgy chocolate cookie layers sandwiched around creamy vanilla ice cream, this nostalgic frozen treat is perfectly portable for warm-weather gatherings.

Ingredients

Premium full-fat vanilla ice cream 480 ml (2 cups)
All-purpose flour, spooned and leveled 120 grams (1 cup)
Dutch-processed unsweetened cocoa powder 40 grams (1/3 cup)
Unsalted butter, softened to room temperature 113 grams (1/2 cup)
Granulated sugar 100 grams (1/2 cup)
Light brown sugar, firmly packed 100 grams (1/2 cup)
Large egg, room temperature 1 (50 grams)
Pure vanilla extract 1 teaspoon (5 ml)
Baking soda 1/4 teaspoon (1 gram)
Fine sea salt 1/4 teaspoon (1 gram)

Steps

1

Preheat Oven, Line Pan

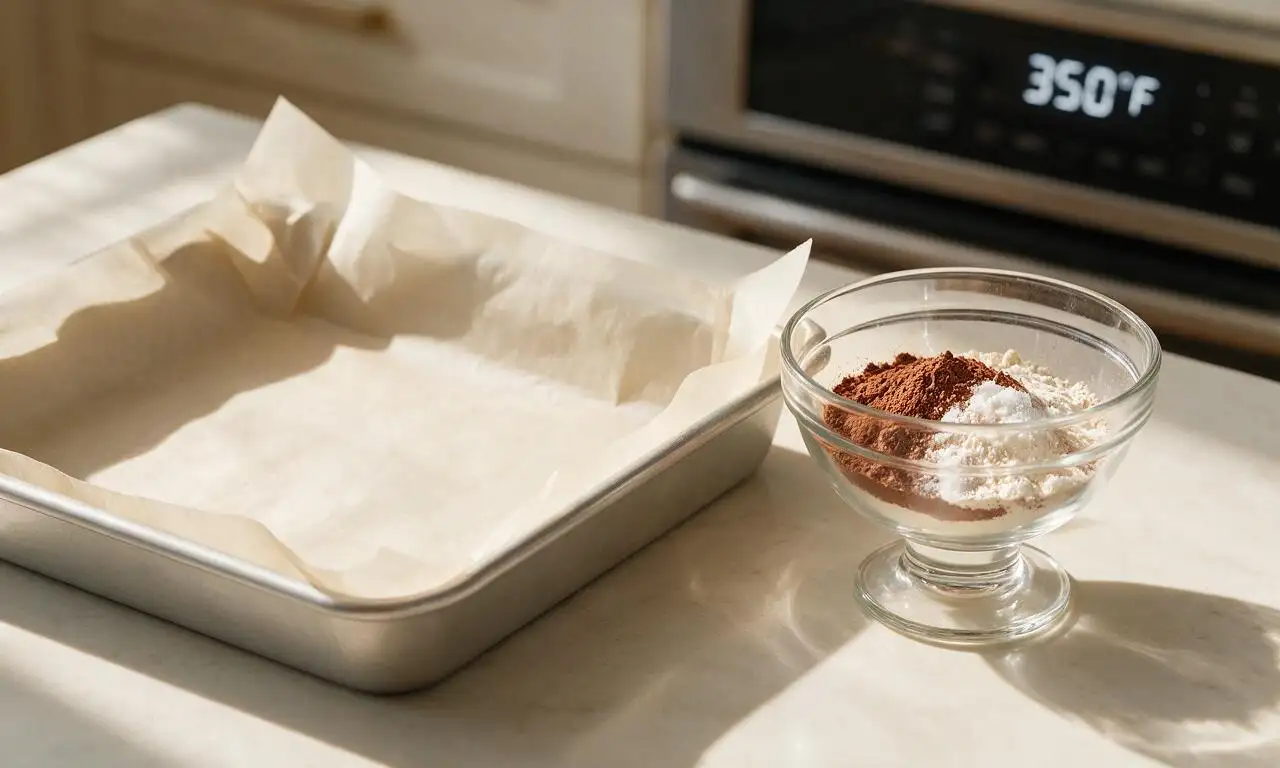
Preheat your oven to 175°C (350°F) and line a 23x33 cm (9x13 inch) rimmed baking sheet with parchment paper, leaving a 5 cm (2 inch) overhang on the long sides for easy lifting later. In a small bowl, whisk together 120g all-purpose flour, 40g cocoa powder, 1/4 tsp baking soda, and 1/4 tsp fine sea salt until fully combined with no visible lumps.
Step 1
step1:Preheat Oven, Line Pan
2

Cream Butter and Sugars

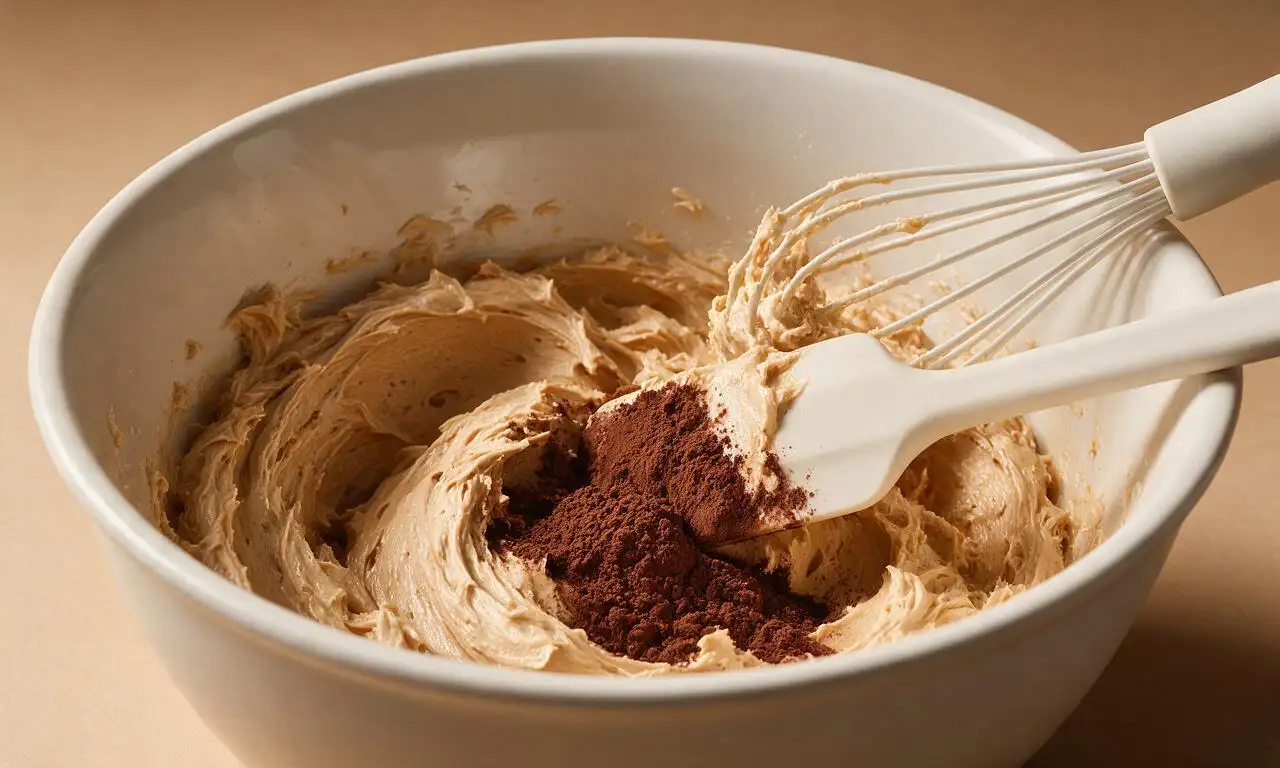
In a large mixing bowl, beat 113g softened unsalted butter, 100g granulated sugar, and 100g packed light brown sugar with a hand mixer on medium speed for 2 minutes until light and fluffy. Add the room-temperature egg and 1 tsp vanilla extract, beat on low speed for 30 seconds until just combined, then gradually fold in the dry flour-cocoa mixture with a silicone spatula until no dry streaks remain.
Step 2
step2:Cream Butter and Sugars
3

Press and Bake Cookie Slab

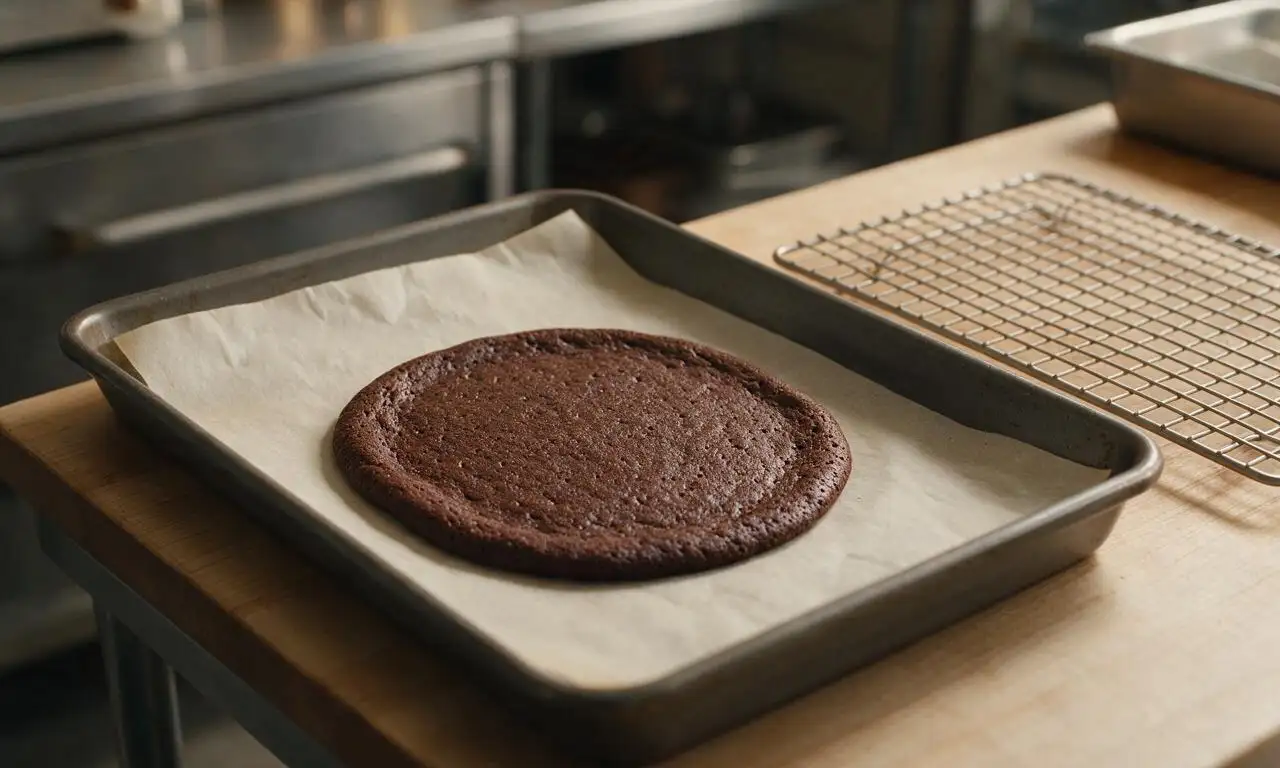
Press the cookie dough evenly across the entire surface of the prepared baking sheet in a thin, uniform 5mm (1/4 inch) layer. Bake on the middle oven rack for 10-12 minutes, until the cookie is set at the edges and slightly soft in the center—do not overbake, as it will firm as it cools. Let the cookie slab cool completely in the pan on a wire rack for 30 minutes at room temperature.
Step 3
step3:Press and Bake Cookie Slab
4

Cut Cookie Slab in Half

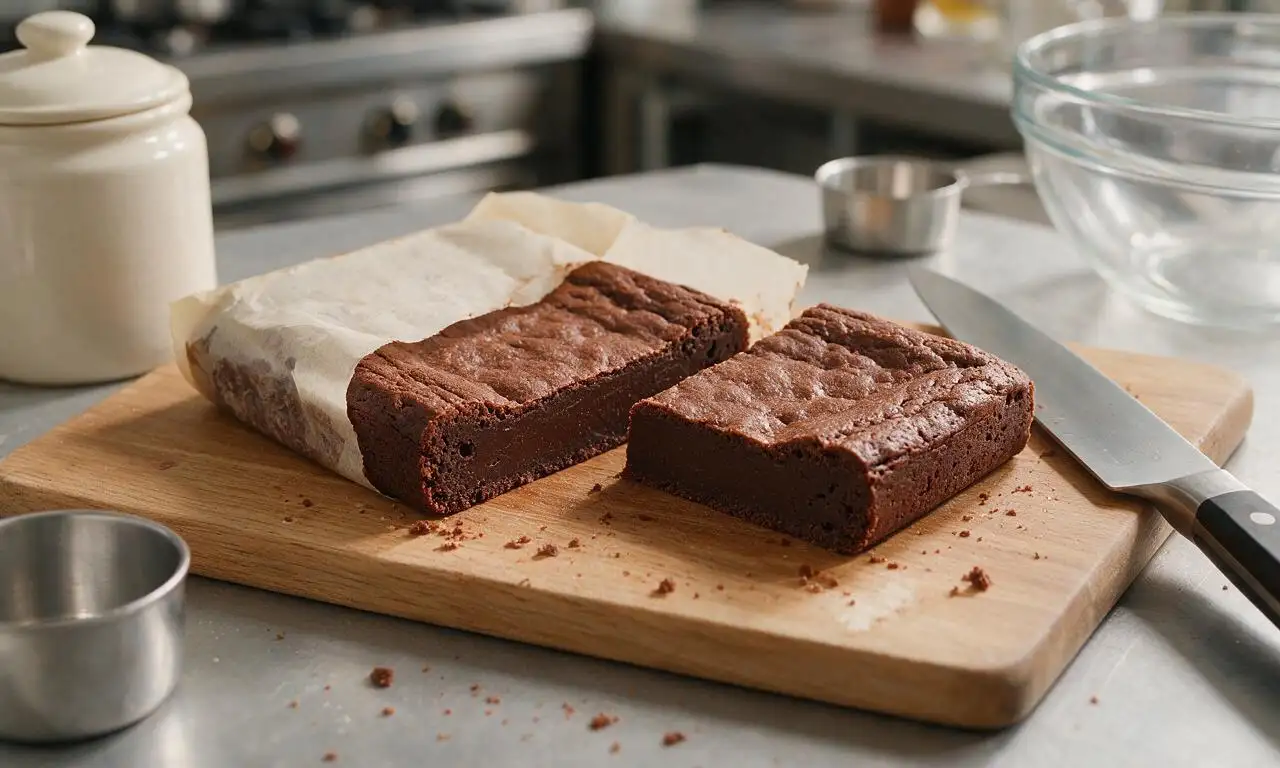
Lift the fully cooled cookie slab out of the pan using the parchment overhang, and place it on a cutting board. Use a sharp knife to cut the slab exactly in half crosswise, creating two equal 23x16.5 cm (9x6.5 inch) rectangular cookie layers. Peel the parchment off the back of each layer, and set one layer back into the same baking sheet, top-side down.
Step 4
step4:Cut Cookie Slab in Half
5

Add and Spread Ice Cream

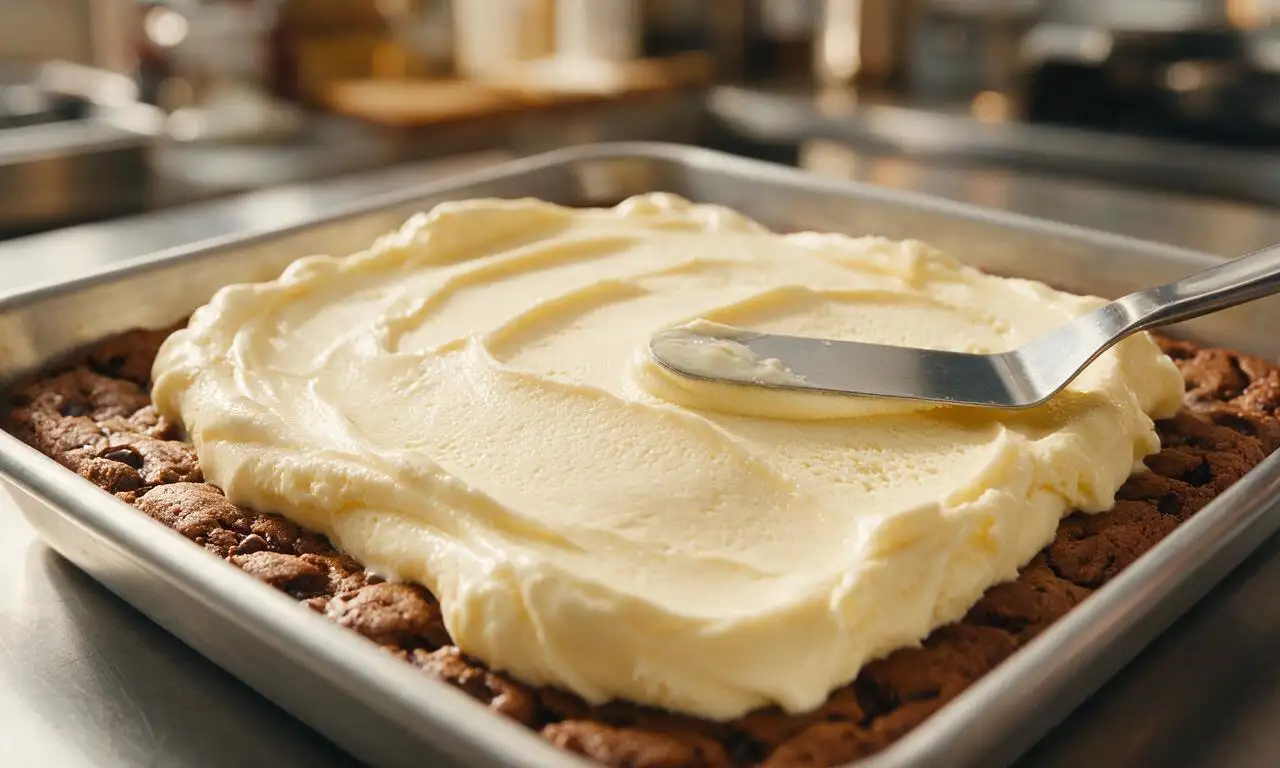
Scoop the slightly softened 480ml (2 cup) vanilla ice cream onto the cookie layer in the baking sheet, and use an offset spatula to spread it into a smooth, uniform 2.5cm (1 inch) thick even layer, working quickly to avoid melting. Ensure the ice cream reaches all edges of the cookie with no gaps.
Step 5
step5:Add and Spread Ice Cream
6

Top and Cover Slab

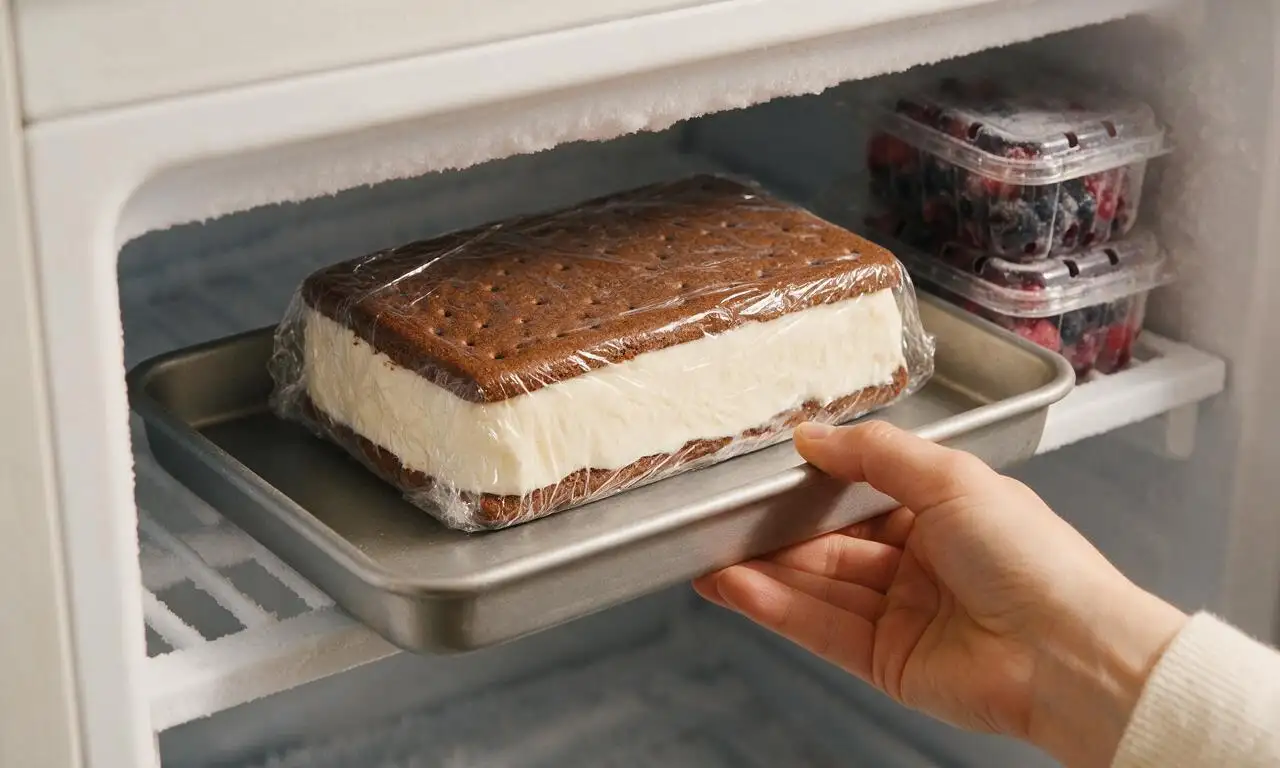
Place the second cookie layer on top of the ice cream, top-side up, and press down gently to adhere. Cover the entire baking sheet tightly with plastic wrap, pressing the wrap directly against the top cookie to prevent freezer burn, then freeze for a minimum of 4 hours until the ice cream is completely firm.
Step 6
step6:Top and Cover Slab
7

Cut Frozen Slab into Sandwiches

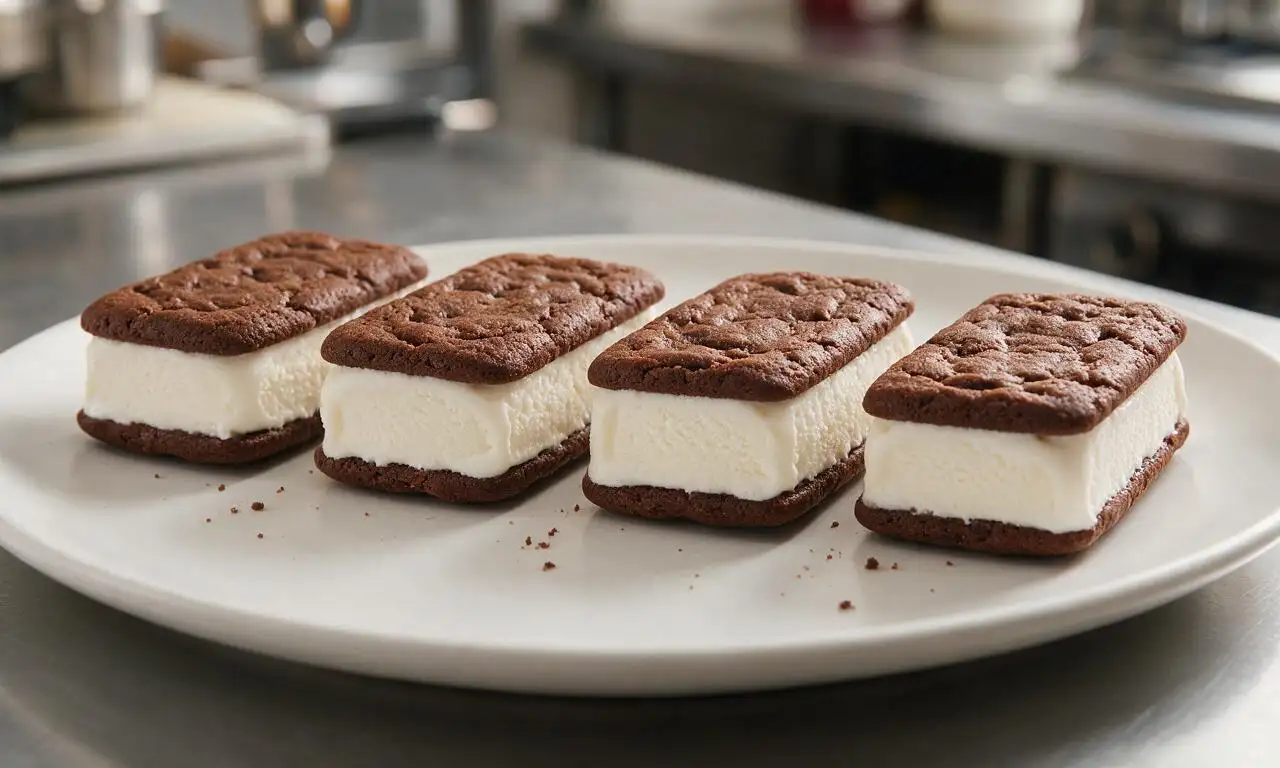
Remove the frozen slab from the freezer, lift it out using the parchment overhang, and cut it into 4 equal 11.5x8 cm (4.5x3.25 inch) rectangular sandwiches with a sharp, warm knife (run the knife under hot water and wipe dry between cuts for clean edges). Serve immediately, or wrap individual sandwiches in parchment paper and store in the freezer for up to 2 weeks.
Step 7
step7:Cut Frozen Slab into Sandwiches

Tips

1.Soften ice cream in the refrigerator for 10-15 minutes before spreading, rather than on the counter, to get a smooth, spreadable consistency without soupy melted patches that soak into the cookies.
2.Do not overbake the cookie layers: overbaked cookies turn rock-hard when frozen, instead of staying chewy and soft enough to bite through easily straight from the freezer.
3.Warm your knife under hot running water for 10 seconds and wipe it dry between every slice when cutting the frozen slab; this prevents ice cream from sticking and pulling, giving you clean, neat edges.


✨ You May Also Like

Desserts & Baking
🍜 Italy

Creamy, coffee-kissed classic Northern Italian no-bake dessert, with layers of rum-spiked mascarpone cream, soft ladyfingers, and a rich cocoa dusting.

⏱️ 4 hours 3Desserts & Baking ★ 4.7
Desserts & Baking
🍜 France

Flaky, shatteringly crisp, buttery French croissants with golden exteriors and soft, airy layered interiors, perfect for pairing with coffee for a special morning treat.

⏱️ 12 hours Desserts & Baking ★ 4.5
Desserts & Baking
🍜 United States

Warm, spiced baked apples topped with a fluffy golden biscuit crust, this cozy dessert pairs perfectly with vanilla ice cream for cool-weather comfort.

⏱️ 55 minuteDesserts & Baking ★ 4.6
Desserts & Baking
🍜 United States

A star-spangled classic American blueberry pie with buttery flaky crust and bright sweet-tart filling, perfect for summer patriotic gatherings.

⏱️ 1 hour 25Desserts & Baking ★ 4.7
Desserts & Baking
🍜 United States

A beloved no-bake regional Maine candy with a chewy coconut-potato center coated in rich dark chocolate, a New England holiday staple since the 1870s.

⏱️ 2 hours 3Desserts & Baking ★ 4.8
Desserts & Baking
🍜 France

Luxuriously creamy, floral frozen custard made with aromatic Tahitian vanilla beans, boasting a smooth, rich texture that melts slowly on the tongue.

⏱️ 3 hours 3Desserts & Baking ★ 4.5

Ice Cream Sandwich:Frequently Asked Questions

1.Why does this recipe call for full-fat premium vanilla ice cream instead of low-fat or light versions? ▾
Low-fat or light ice cream contains extra water and added stabilizers that form gritty, icy crystals when you re-freeze it after assembling sandwiches, and it melts far faster, oozing out the sides as you eat. Full-fat premium vanilla stays luxuriously creamy, holds its clean shape between cookie layers, and delivers that rich, nostalgic treat texture you want.
2.Can I bake the chocolate cookie layers ahead of time before assembling the sandwiches? ▾
Absolutely! Bake the fudgy chocolate cookies fully, let them cool completely to room temperature, then stack them between sheets of parchment paper in an airtight container. They stay fresh at room temperature for up to 3 days, or you can freeze them for up to a month ahead of assembly. You don’t even need to thaw frozen cookies before adding ice cream.
3.Why is Dutch-processed unsweetened cocoa specified instead of regular natural unsweetened cocoa? ▾
Dutch-processed cocoa is treated to cut its natural acidity, delivering a smoother, deeper, mellower chocolate flavor that pairs perfectly with sweet vanilla ice cream. It also creates the dark, chewy cookie crumb classic for this treat, instead of the tangier, lighter crumb from natural cocoa. If you only have natural cocoa, add 1/8 tsp baking soda per 3 tbsp cocoa to balance acidity.
4.My butter was rock hard when I started—can I microwave it to soften it to room temperature fast? ▾
I don’t recommend microwaving butter for this recipe, because it creates unevenly melted spots that make your cookies spread too thin and turn crispy instead of chewy. If you’re short on time, cut cold butter into 1-tablespoon cubes, spread them on a plate, and let them sit 10 to 15 minutes—they’ll soften perfectly without melting.
5.How do I keep ice cream from squishing out the sides when I press the sandwiches together? ▾
The easiest trick is to let your ice cream soften for exactly 10 minutes in the fridge (not on the counter) so it’s spreadable but not runny. Add a ½-inch thick slab of ice cream to the center of the bottom cookie, then press the top cookie down gently and evenly until the ice cream spreads just to the edges, no further, to avoid oozing.
6.Do I have to freeze the assembled sandwiches before eating them, or can I serve them right away? ▾
You can eat them immediately if you’re in a hurry, but letting assembled sandwiches rest in the freezer for at least 2 hours (wrapped tightly in plastic wrap) lets the cookie layers absorb a tiny bit of moisture from the ice cream. This creates that perfectly soft, chewy, fused classic texture, instead of hard, crumbly cookies that slide off the ice cream.
7.What’s the correct way to measure the all-purpose flour to avoid tough, dense cookies? ▾
The spoon-and-level method noted in the recipe is non-negotiable for tender, chewy cookies. Don’t scoop your measuring cup directly into the flour bag—that packs flour down, and you can end up with 20% more flour than called for, leading to tough bakes. Instead, spoon flour loosely into your dry measuring cup, then scrape excess off with a flat butter knife edge.
8.Can I add mix-ins to the cookies or ice cream to customize the sandwiches? ▾
Absolutely, just keep mix-ins small so they don’t make the sandwiches hard to bite through. For cookies, stir ¼ cup mini chocolate chips or finely chopped walnuts into the dough before baking. For ice cream, stick to tiny add-ins like mini sprinkles, crushed mini pretzels, or thin fudge ripple—skip large chunks that make ice cream slide apart.
9.How long will fully assembled ice cream sandwiches stay fresh in the freezer? ▾
When wrapped individually in plastic wrap or parchment paper and stored in an airtight freezer-safe container, these sandwiches stay perfectly fresh for up to 1 month. After that point, the cookie layers will turn overly soggy from absorbing excess ice cream moisture, and the ice cream will develop tiny freezer burn crystals that ruin the smooth texture.
10.My last batch of cookies spread way too thin while baking—what went wrong? ▾
The most common culprits are butter that was too warm (melted instead of properly softened), over-creaming the butter and granulated sugar, or skipping a quick dough chill before baking. Next time, chill your scooped dough balls in the fridge for 30 minutes before baking, and make sure butter is soft enough to indent but not greasy or melted.
11.Can I adapt this recipe for friends with gluten or nut allergies for summer gatherings? ▾
These are super easy to adapt for most dietary needs! For gluten-free versions, swap the all-purpose flour for a 1:1 gluten-free baking flour blend that contains xanthan gum, which delivers the same chewy cookie texture as regular flour. The base recipe is already nut-free as written—just check labels for cross-contamination warnings for guests with severe allergies.

Comments (19)

2 days ago

OMG, these were a total game changer for my kid’s end-of-school pool party! I used vanilla bean ice cream and added a tiny sprinkle of sea salt on top of the chocolate cookies before freezing, and every single kid (and parent!) asked for the recipe. SO much better than the store-bought ones that get all soggy in 2 seconds. 10/10 will make every summer from now on.

yesterday

Wait the sea salt trick sounds chef’s kiss! Did you use regular table salt or flaky sea salt? I wanna try that for our 4th of July cookout next week.

2 hours ago

So glad these were a hit at the pool party, Sarah! The flaky sea salt addition is such a smart call—it cuts the sweetness perfectly. For anyone trying it, just a light pinch goes a long way!

3 days ago

Wait, I’m terrible at baking (like, burn-boxed-brownies level bad) and these actually turned out perfect?? The recipe was so easy to follow, I didn’t even have to run to the store for fancy ingredients. My only mistake was not making a double batch—my roommates ate half the pan before I even got them in the freezer the second time lmao.

2 days ago

Same! I’m in a dorm with a tiny mini fridge and I still pulled these off. Pro tip: if your freezer is tiny, cut the cookie dough into smaller squares so you don’t have to cram a whole pan in there.

yesterday

Love that even beginner bakers are nailing this recipe! That dorm mini fridge tip is genius—thanks for sharing it with the community, and so glad you and your roommates enjoyed them!

1 week ago

Brought these to our neighborhood block party potluck this weekend and they were the first thing gone! I made a few variations: mint chocolate chip ice cream for the mint lovers, cookies and cream for the kids, and classic vanilla for the purists. People were hovering by the platter waiting for me to set it down, no joke.

5 days ago

Oh the mint chocolate chip variation sounds incredible! Did you adjust the cookie part at all for the mint ones, or just swap the ice cream flavor?

3 days ago

I didn’t change the cookies at all! The rich chocolate pairs so perfectly with mint, I didn’t think it needed anything extra. I did add a few mini chocolate chips to the outside edge of the mint ones for fun though!

5 days ago

Made these for a recent camping trip and they held up way better than I expected! I wrapped each one individually in parchment paper and kept them in a hard-sided cooler with dry ice, and they were perfectly solid even after 6 hours of driving and hiking in. Way better than packing a bunch of messy popsicles that drip all over everything. Only reason it’s not 5 stars is I overbaked the first batch of cookies a tiny bit, so they were a little crunchier than I wanted. Next time I’ll pull them out a minute earlier like the recipe says.

3 days ago

What a fantastic idea to bring these camping! So sorry your first cookie batch was a little overbaked—those chocolate cookies continue to set as they cool, so pulling them out when they look just barely underbaked is key. Bet the next batch will be perfect!

2 days ago

Dry ice hack noted! I’ve been looking for easy, no-mess treats for our upcoming camping trip (car camping access at the trailhead, so cooler is allowed) and these are going straight on the menu.

yesterday

Wait a second, the 4 hour freeze time is no joke! I tried to cut mine after 2 hours because I was impatient and they oozed everywhere lmao. Don’t be like me! Wait the full time, it’s so worth it. The final texture is exactly like the classic ice cream sandwiches I remember getting from the ice cream truck as a kid, but better because the cookies are actually homemade.

2 hours ago

Guilty of this too! I thought ‘oh it’s frozen enough’ and ended up with ice cream all over my counter. Learned my lesson the hard way, set a timer and everything for the second batch.

30 minutes ago

We’ve all been there—impatience with frozen treats is so real! So glad you gave them the full freeze time and got that perfect nostalgic texture in the end. That ice cream truck vibe is exactly what we were going for with this recipe!

2 weeks ago

I swapped the regular all-purpose flour for a 1:1 gluten free baking flour and these came out insanely good! I was worried the cookies would be grainy or fall apart, but they had the perfect soft, chewy texture, even after being frozen. My gluten-eating husband said he couldn’t even tell the difference.

1 week ago

Thank you for sharing this swap! My son has celiac and I’ve been searching for a GF ice cream sandwich recipe that doesn’t taste like cardboard. Did you use any particular brand of 1:1 flour?

5 days ago

I used the Bob’s Red Mill 1:1 GF flour, it’s my go-to for all my baking! Just make sure you don’t overmix the dough and it’ll turn out perfect. Hope your son loves them!

3 days ago

Made these for our weekly Sunday family dinner and my grandpa, who swears nothing is as good as the treats he had as a kid, said these were the best ice cream sandwiches he’s ever had. I think that’s the highest compliment I’ve ever gotten on anything I’ve baked, tbh.

2 days ago

There is no higher compliment than a grandparent’s approval—what a special win! So glad these got the seal of approval from your grandpa, that makes all the recipe testing worth it.

1 week ago

These are perfect for weekly meal prep sweet treats! I wrapped each sandwich individually in plastic wrap and tossed them in the freezer, and they stay perfect for a quick after-dinner bite or a snack on my way out the door to work. No weird freezer burn at all after a week, which I was worried about.

5 days ago

The individual wrap tip is a game changer! I’ve been making a big batch on Sundays for my kids’ after-school snacks and it saves me so much time during the chaotic weeknight rush.

30 minutes ago

Okay, I added a half cup of mini chocolate chips to the cookie dough and oh my GOD. It’s like double chocolate cookie ice cream sandwiches, which should be illegal they’re so good. If you’re a chocolate fiend like me, do not sleep on this add-in.

5 minutes ago

Mini chocolate chips in the cookie dough sound absolutely decadent—what a delicious customization! We’ll have to try that version on our next test run, thanks for the great idea!

2 hours ago

This was the first thing I baked in my new apartment’s tiny old oven! I was worried the temperature would be off (you know how ancient apartment ovens are) but the cookies baked perfectly in exactly 10 minutes like the recipe said. Celebrated my first successful bake with one of these while I unpacked boxes, 10/10 experience.

30 minutes ago

Congrats on the new apartment! I feel you on the wonky oven temps—mine runs 25 degrees hot so I always have to keep an extra close eye on baked goods, but these forgiving cookies are perfect for that.

2 weeks ago

Tried making these for a cookout last weekend and accidentally used salted butter instead of unsalted for the cookies. Turns out it was a happy accident! The little extra salt made the chocolate flavor pop even more. Will probably do it on purpose next time, ngl. Knocked a star off only because I was panicking for 20 minutes thinking I ruined the whole batch.

1 week ago

Happy baking accidents are the best kind! The extra salt from salted butter is such a nice balance to the sweet ice cream and rich cookies—we’re glad your ‘mistake’ turned out so tasty.

30 minutes ago

Swapped the vanilla ice cream for cold brew flavored ice cream and these taste like the fancy $6 ice cream sandwiches from the upscale dessert shop downtown. Saved myself so much money by making them at home, and they taste even fresher!

5 minutes ago

Cold brew ice cream?! That’s genius. I’ve been putting espresso powder in my baked goods for years but never thought to use coffee ice cream for these. Trying that this weekend for sure.

5 minutes ago

My super picky 7 year old who turns his nose up at literally every homemade treat I make ate THREE of these in one sitting. I almost fell over. He said they taste “exactly like the ones from the school cafeteria but better.” Win for mom!

just now

A picky eater stamp of approval is the biggest win of all! We’re so glad your son loved them—those cafeteria classic vibes are exactly what we aimed for with this recipe.

5 days ago

Super easy recipe, no fancy equipment needed! I didn’t even pull out my stand mixer, just mixed the cookie dough with a wooden spoon and it came together perfectly. Perfect for when you want a sweet treat without a million dishes to wash after.

1 week ago

I wanted to love these so bad, but I softened my ice cream too much before assembling, so when I went to cut them after freezing, the ice cream had seeped into the cookies and made them super soggy. Definitely make sure your ice cream is firm but spreadable, not melted soup like I used. Will try again though, because the flavor was great even with the soggy cookies!

2 days ago

Made these for a date night in with my partner and they were such a hit! We turned assembling them into a little activity, rolling the edges in sprinkles and crushed peanuts, and then watched a movie while they froze. Way more fun than going out for dessert, tbh.

3 days ago

For my fellow vegan folks: I used vegan butter for the cookies, a flax egg, and dairy free vanilla ice cream, and these turned out incredible! You can’t even tell they’re vegan. My non-vegan roommates ate half the batch before I told them they were dairy free, lmao.

1 week ago

Made these for the little league team snack after our game last Saturday, and the kids went absolutely wild. Way better than handing out sugary popsicles that turn their tongues bright blue and drip all over their uniforms. Will be making these for every end-of-game snack for the rest of the season.

2 weeks ago

I was worried these would be too complicated for a summer treat, but the active prep is only 30 minutes, which is totally doable even when it’s 90 degrees out and you don’t want to be in the kitchen any longer than you have to be. The cookies don’t require any chilling either, which is a huge win for anyone who hates waiting for cookie dough to chill.



