
ice cream waffle cone

title 1
ice cream waffle cone

⏱️ cook time 20 minutes
🍽️ servings 8
⚡ Difficulty medium

intro

Crisp, buttery homemade waffle cones with a delicate caramel edge, sturdy enough to hold scoops of creamy vanilla ice cream without sogginess—far fresher than store-bought.

Ingredients
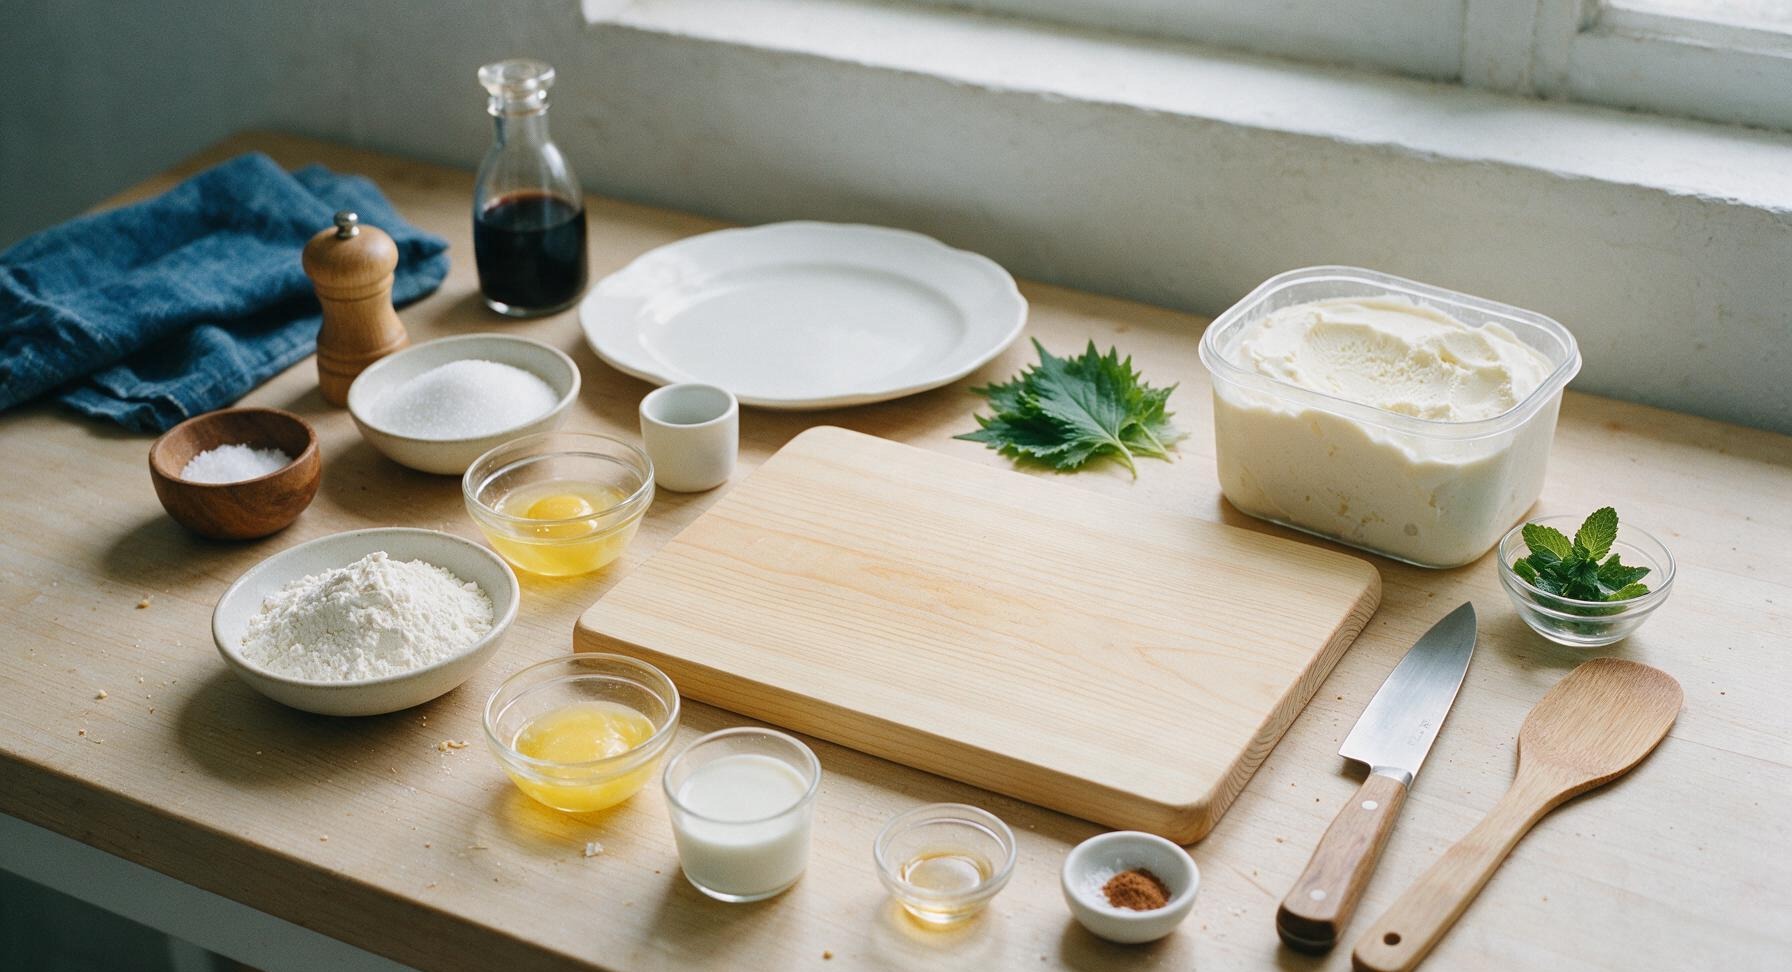
All-purpose flour 100g
Granulated sugar 75g
Unsalted butter, melted and cooled 50g
Large egg whites 2 (60g)
Whole milk 60ml
Pure vanilla extract 1 tsp
Fine sea salt 1/4 tsp
Ground cinnamon 1/8 tsp
Premium vanilla bean ice cream 1L
Fresh mint sprigs 8 small
Powdered sugar (for dusting) 1 tsp

Steps

1

Whisk Dry Ingredients

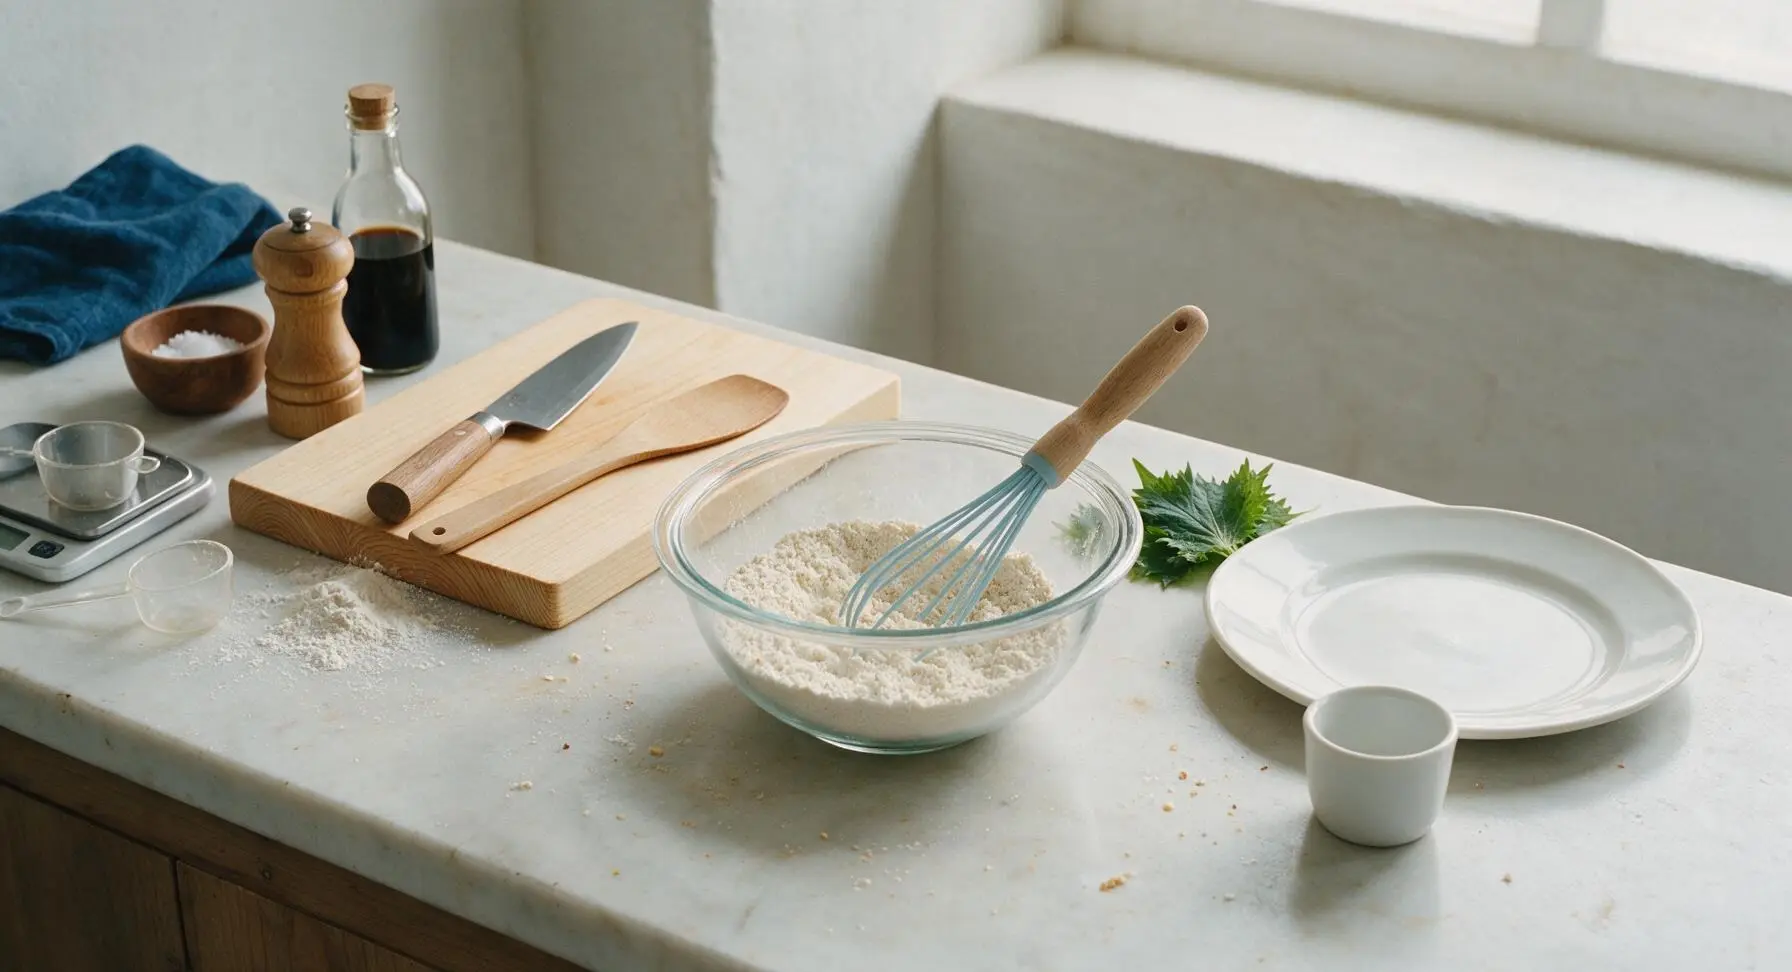
Add 100g all-purpose flour, 75g granulated sugar, 1/4 tsp fine sea salt, and 1/8 tsp ground cinnamon to the clear borosilicate glass mixing bowl. Use the light blue silicone-handled whisk to stir for 30 seconds until fully combined, with no lumps of cinnamon or clumps of flour visible. The mixture should be a uniform pale off-white color.
Step 1
step1:Whisk Dry Ingredients
2

Combine Wet Ingredients

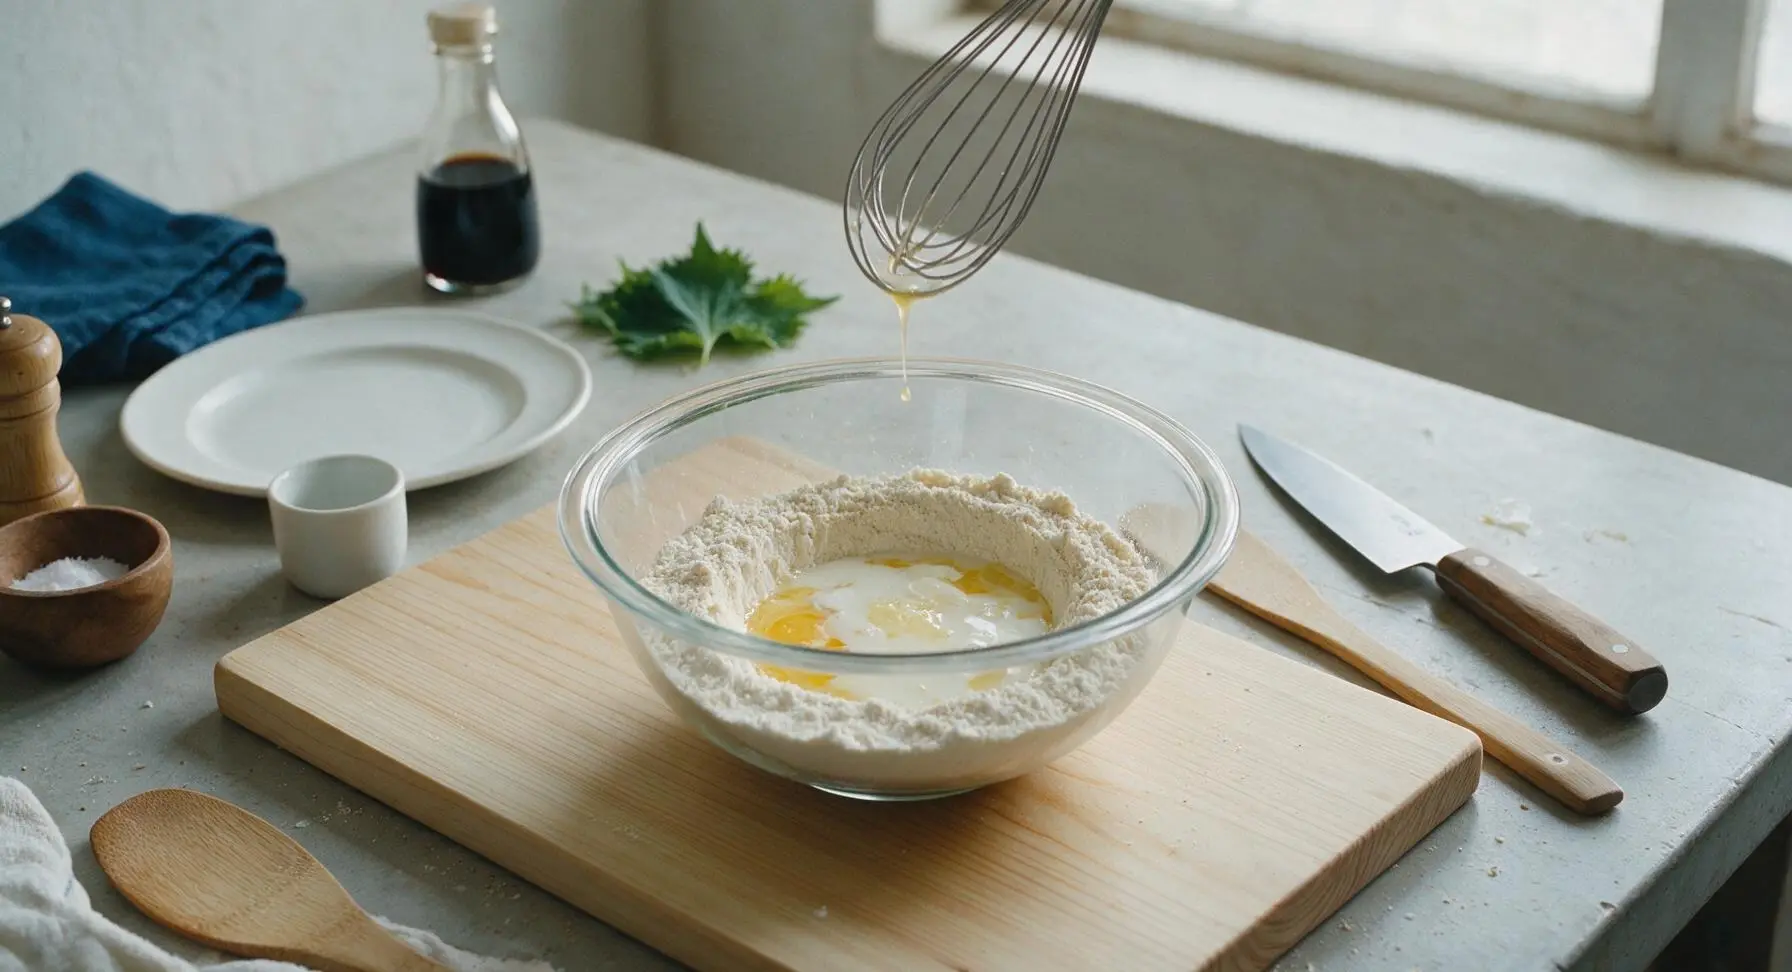
Make a small well in the center of the dry ingredient mix. Add 2 large egg whites, 60ml whole milk, 1 tsp vanilla extract, and 50g cooled melted unsalted butter to the well. Whisk slowly at first to avoid splashing, then increase speed to mix for 1 minute until the batter is completely smooth, with the consistency of heavy cream. Let the batter rest for 5 minutes at room temperature to allow air bubbles to dissipate, which prevents holey, fragile cones.

Step 2
step2:Combine Wet Ingredients
Step 2
step2:Combine Wet Ingredients
3

Preheat Waffle Maker

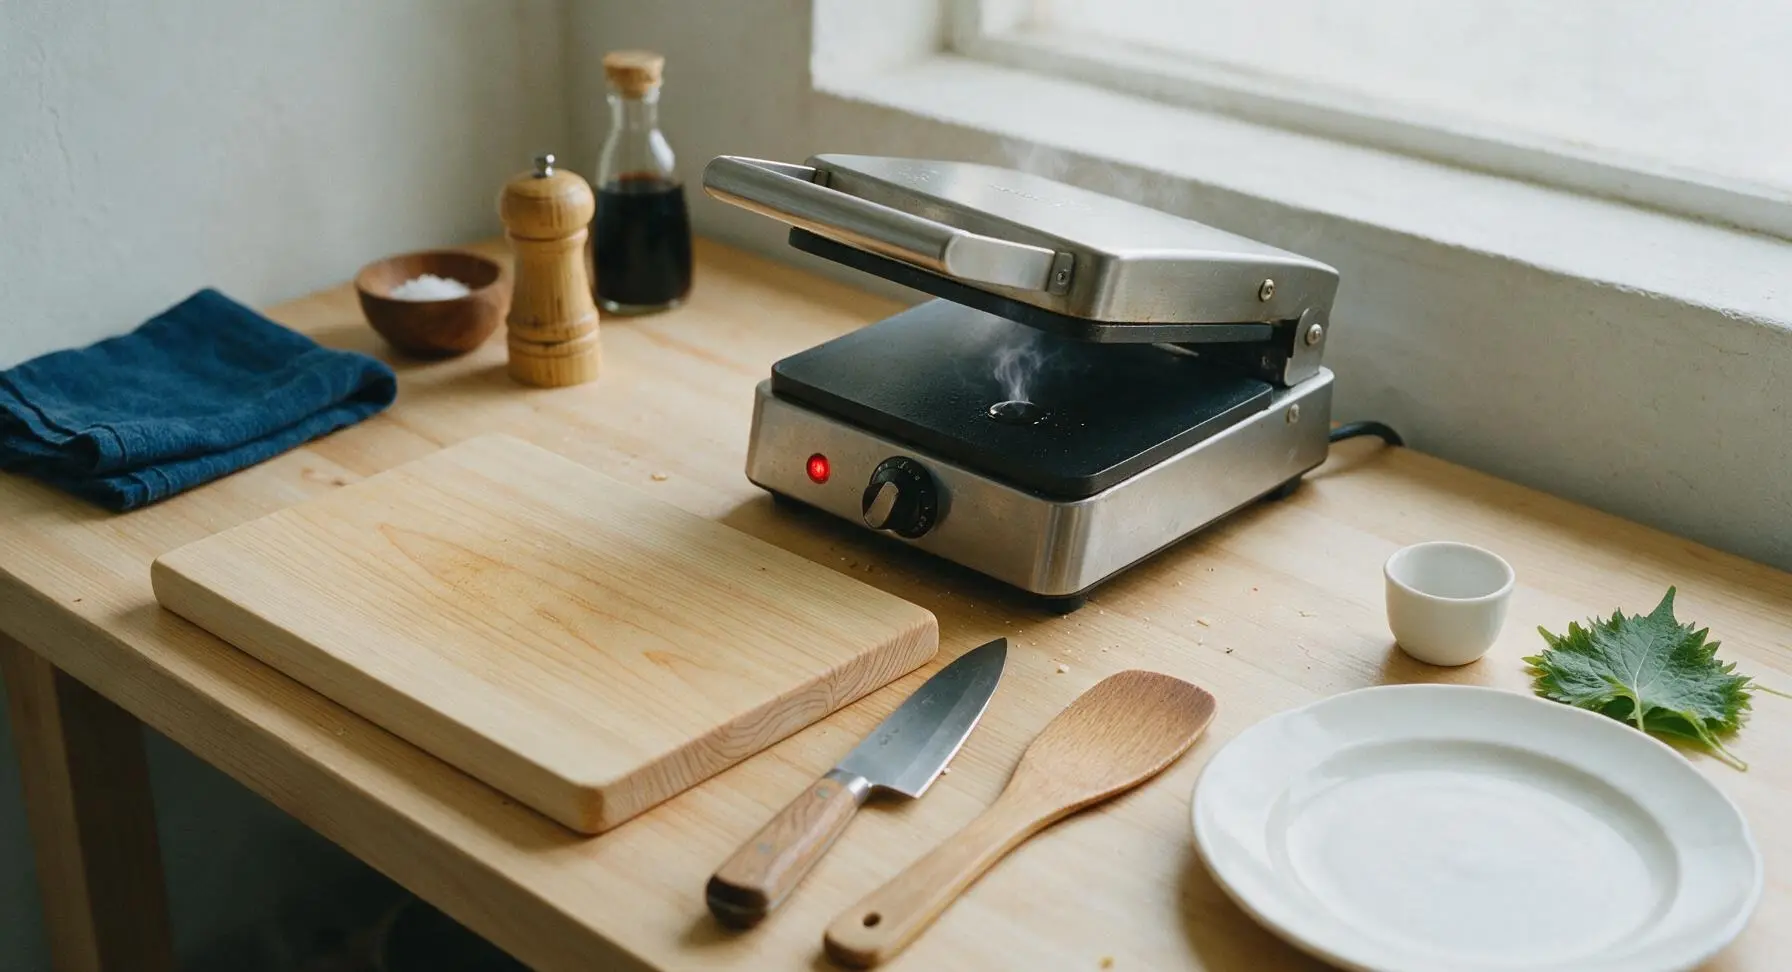
Plug in the stainless steel waffle cone maker and set it to medium-high heat (375°F / 190°C). Let it preheat for 5 minutes, until a drop of water flicked onto the cooking plate sizzles and evaporates in 2 seconds. Do not grease the plates, as the butter in the batter will prevent sticking.
Step 3
step3:Preheat Waffle Maker
4

Cook Waffle Batter

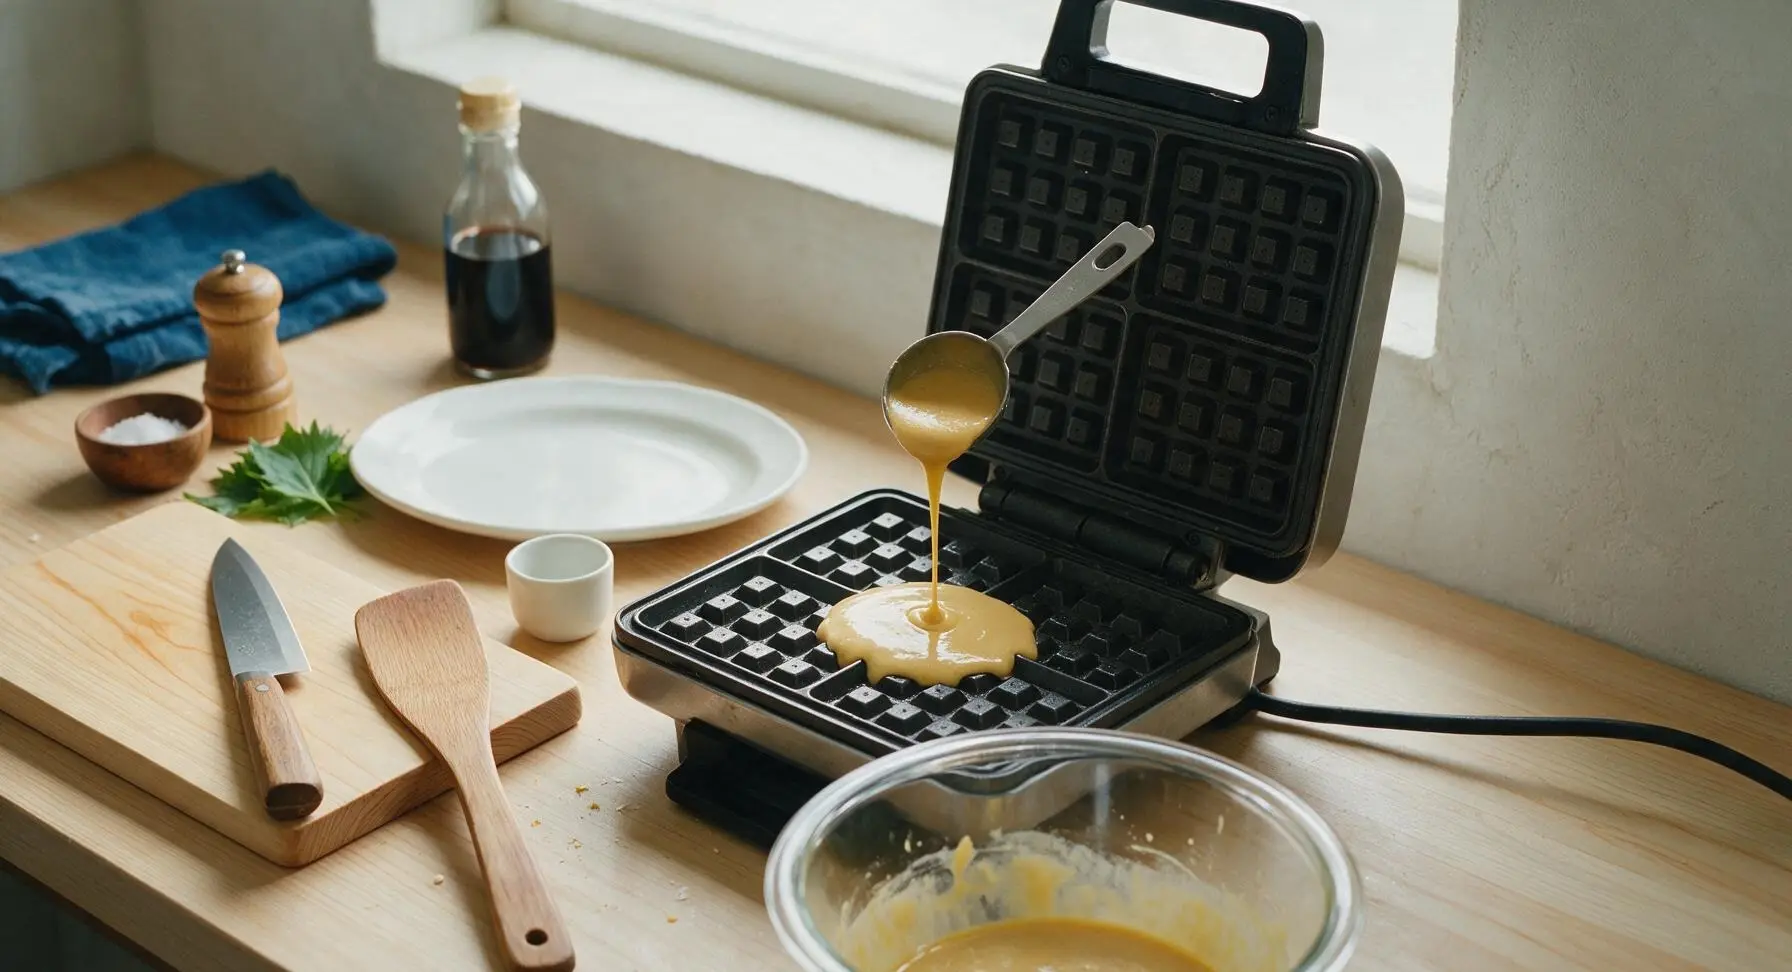
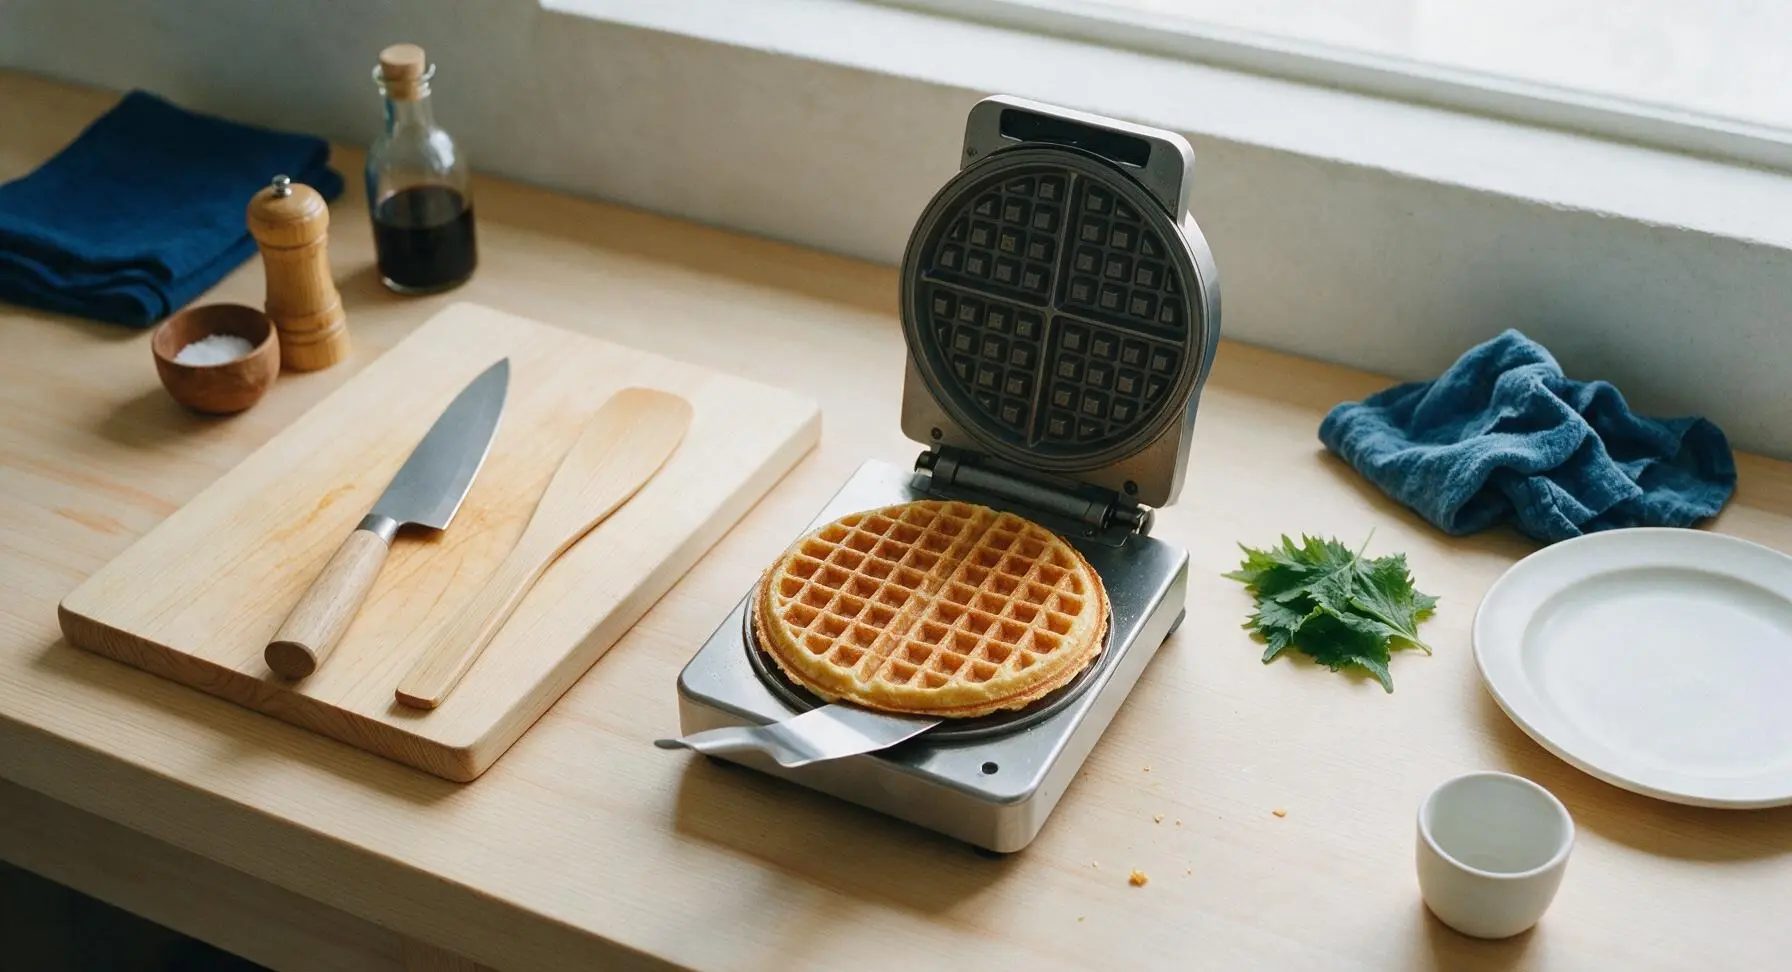
Pour 2 tablespoons of batter directly onto the center of the preheated lower waffle plate. Close the lid gently, and cook for 1 minute to 1 minute 15 seconds, until the waffle is an even deep golden brown across the entire lattice pattern. Do not overcook (it will turn too brittle to shape) or undercook (it will be soft and chewy instead of crisp).
Step 4
step4:Cook Waffle Batter
Step 4
step4:Cook Waffle Batter
5

Shape Hot Waffle

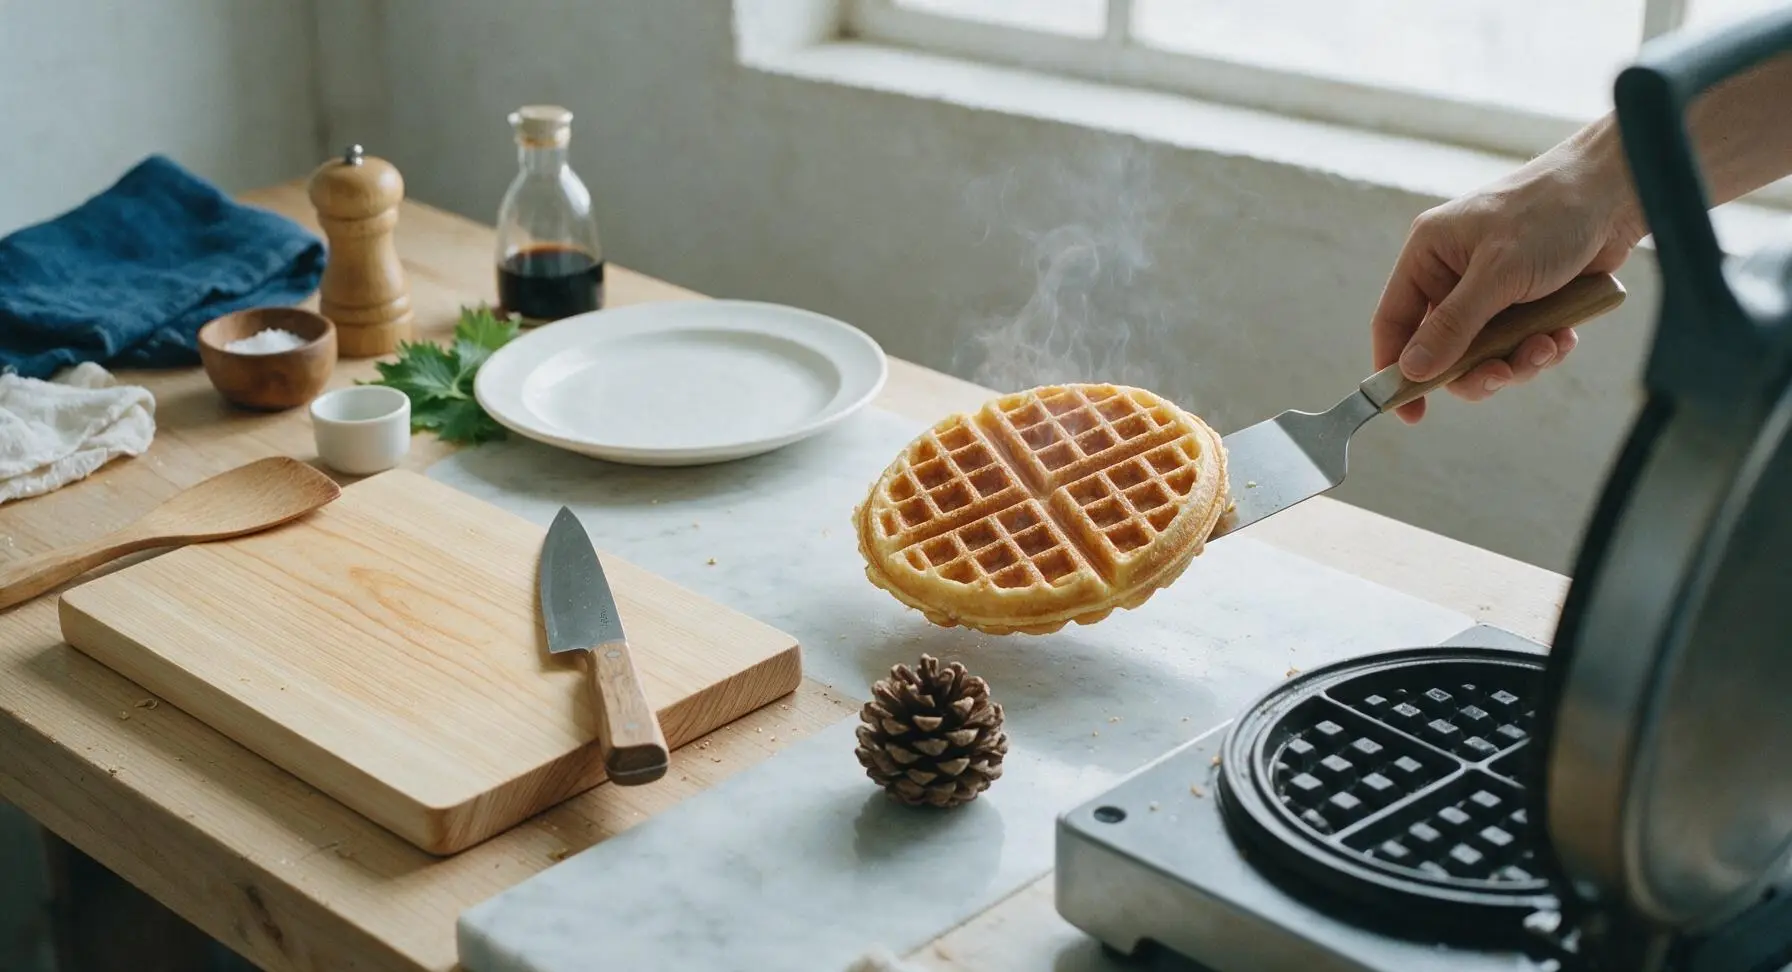
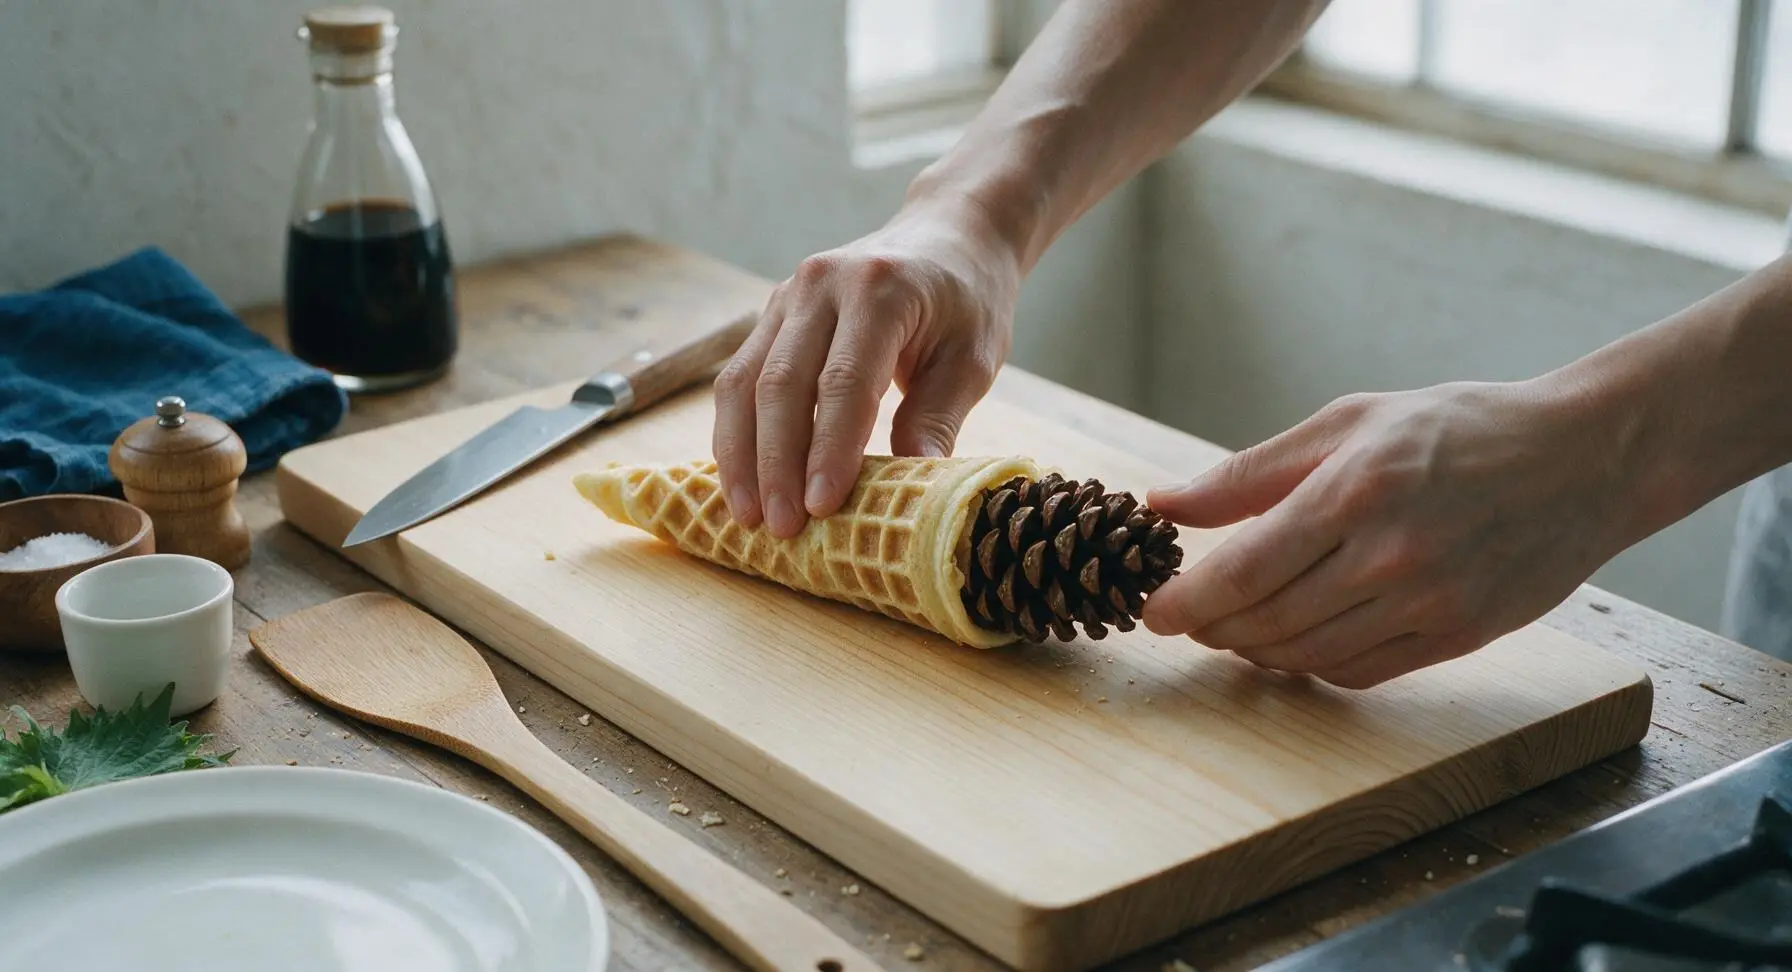
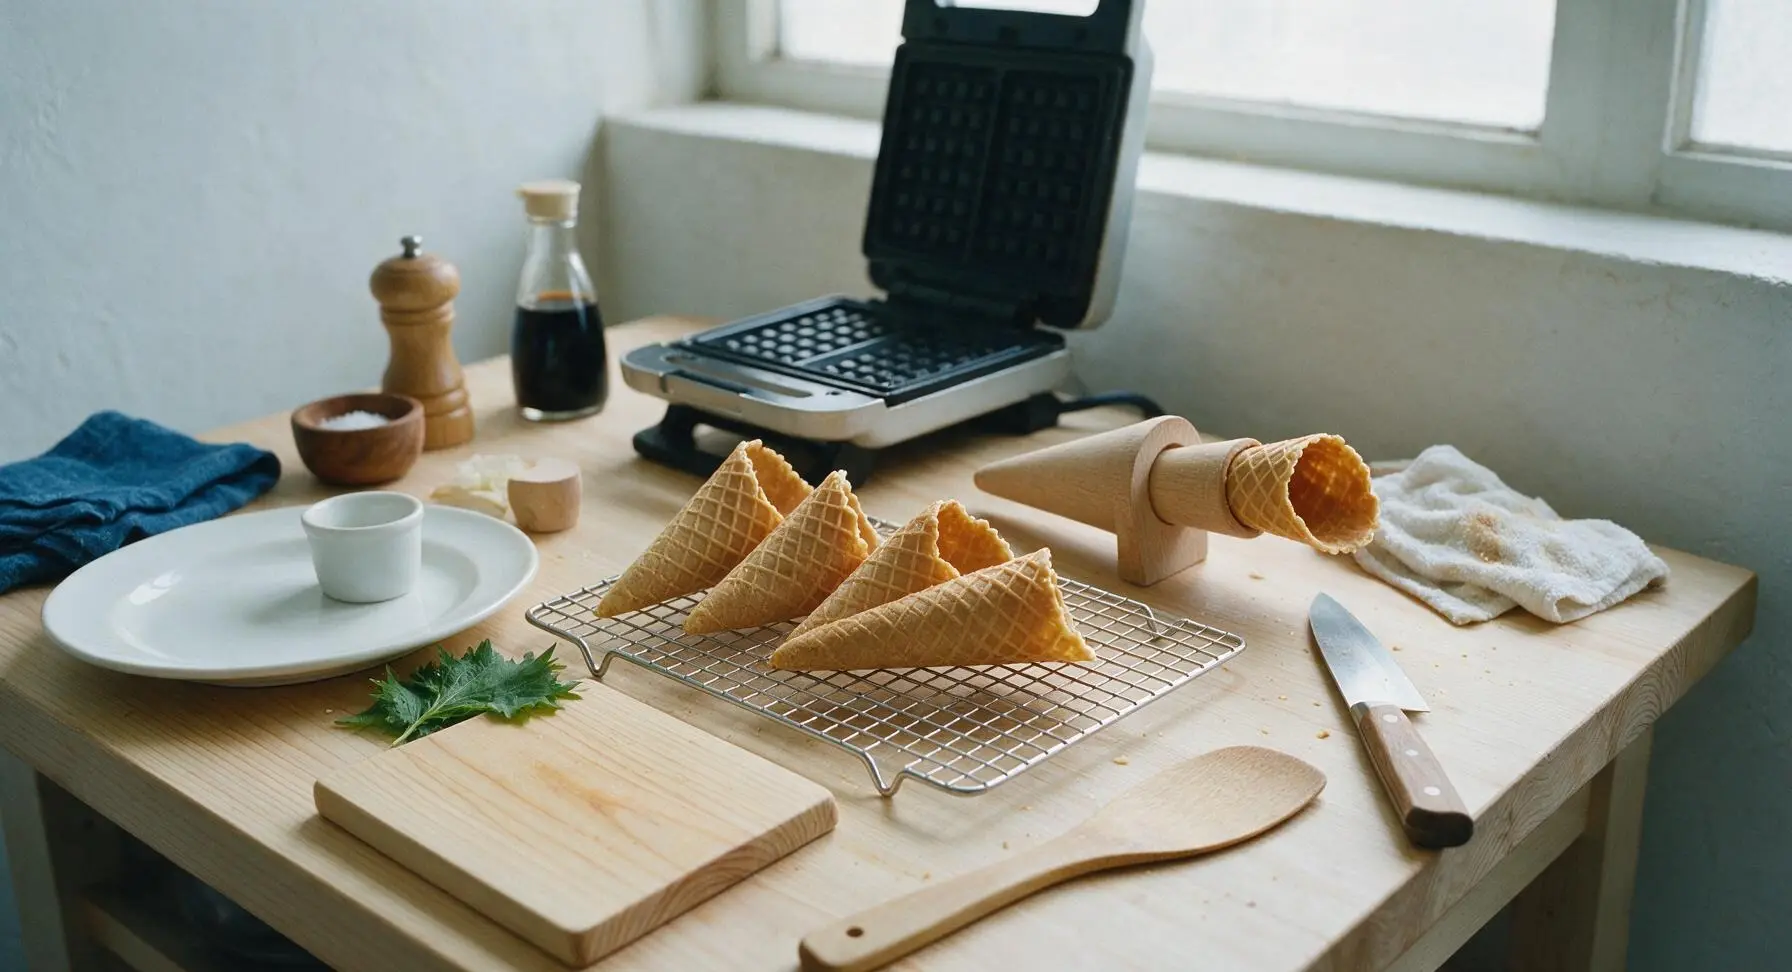
Working quickly (within 10 seconds of removing the waffle from the maker, as it will harden as it cools), use the offset spatula to lift the hot waffle off the cooking plate and lay it flat on the clean marble counter next to the waffle maker. Place the natural pine cone forming tool at one edge of the waffle, roll the waffle tightly around the form to create a cone shape, pinching the pointed bottom end tightly closed to seal it so ice cream does not leak out. Hold the seam against the counter for 5 seconds to set.
Step 5
step5:Shape Hot Waffle
Step 5
step5:Shape Hot Waffle
6

Cool Cones Completely

Slide the shaped cone off the wood forming tool and set it seam-side down on the chrome wire cooling rack. Let it cool for 3 minutes until completely rigid and crisp to the touch. Repeat the cooking, shaping, and cooling process with the remaining batter, making 8 total cones. Do not stack cones while cooling, as trapped moisture will make them soggy.
Step 6
step6:Cool Cones Completely
7

Add Ice Cream Scoops

Once all cones are fully cool, take one cone and hold it at a slight angle over the matte cream ceramic dessert plate. Use the polished stainless steel ice cream scoop to place three firm, rounded scoops of slightly softened premium vanilla bean ice cream into the cone opening, pressing gently to anchor the scoops so they do not fall out. Let the cone sit for 30 seconds to allow a small, natural drip to form down the side for a rustic, inviting look.

Step 7
step7:Add Ice Cream Scoops
8

Garnish and Serve

Tuck a single small fresh mint sprig between the ice cream scoops for a pop of bright green color. Use the small fine-mesh sieve to dust a very light layer of powdered sugar over the ice cream peaks, and serve immediately. For best texture, do not fill cones more than 5 minutes before serving to prevent sogginess.

Step 8
step8:Garnish and Serve

Tips

1.Prep your shaping station before cooking: Set your offset spatula and wood cone form directly next to the waffle maker before you pour the first batter, as hot waffles harden in as little as 10 seconds once removed from heat. If a waffle cools and cracks before you finish shaping, set it back on the closed (still hot) waffle maker for 5 seconds to soften it enough to reshape.
2.Seal the cone tip tightly: Pinch the pointed bottom end of the rolled cone firmly for 5 full seconds while the waffle is still soft to create a leak-proof seal. Unsealed tips will let melted ice cream drip down your wrist as you eat, even if the rest of the cone is perfectly crisp.
3.Skip non-stick spray on the waffle plates: The high butter content in the batter creates more than enough natural release, and extra cooking spray will make waffles greasy, overly dark, and too slippery to shape neatly as you roll them around the form.


✨ You May Also Like

Desserts & Baking
🍜 Italy

Creamy, coffee-kissed classic Northern Italian no-bake dessert, with layers of rum-spiked mascarpone cream, soft ladyfingers, and a rich cocoa dusting.

⏱️ 4 hours 3Desserts & Baking ★ 4.7
Desserts & Baking
🍜 France

Flaky, shatteringly crisp, buttery French croissants with golden exteriors and soft, airy layered interiors, perfect for pairing with coffee for a special morning treat.

⏱️ 12 hours Desserts & Baking ★ 4.5
Desserts & Baking
🍜 United States

Warm, spiced baked apples topped with a fluffy golden biscuit crust, this cozy dessert pairs perfectly with vanilla ice cream for cool-weather comfort.

⏱️ 55 minuteDesserts & Baking ★ 4.6
Desserts & Baking
🍜 United States

A star-spangled classic American blueberry pie with buttery flaky crust and bright sweet-tart filling, perfect for summer patriotic gatherings.

⏱️ 1 hour 25Desserts & Baking ★ 4.7
Desserts & Baking
🍜 United States

A beloved no-bake regional Maine candy with a chewy coconut-potato center coated in rich dark chocolate, a New England holiday staple since the 1870s.

⏱️ 2 hours 3Desserts & Baking ★ 4.8
Desserts & Baking
🍜 France

Luxuriously creamy, floral frozen custard made with aromatic Tahitian vanilla beans, boasting a smooth, rich texture that melts slowly on the tongue.

⏱️ 3 hours 3Desserts & Baking ★ 4.5

ice cream waffle cone:Frequently Asked Questions

1.Why do my homemade waffle cones get soggy soon after adding ice cream? ▾
Sogginess usually stems from undercooking the batter or rolling cones too loosely, which traps moisture. Cook each waffle to a deep golden (not pale blonde) to fully set its structure, roll tightly around your form right after removing it from the iron, and let it cool completely before filling—this creates a moisture-resistant barrier that holds up to ice cream for 15+ minutes.
2.Do I need a special waffle cone maker, or can I use a regular waffle iron? ▾
A dedicated waffle cone maker with thin, shallow grid plates works best for that delicate, crisp classic texture, but a standard Belgian waffle iron works in a pinch. Just spread a thinner layer of batter, cook for an extra minute, and note your cones will have deeper pockets and be slightly thicker—they’ll still taste rich and buttery, just a little less delicate.
3.Can I make these waffle cones without egg whites? ▾
Egg whites are key for that light, crisp structure without a dense, cakey texture, but if you need an egg-free swap, use 3 tablespoons of lightly whipped aquafaba (chickpea brine) per 2 large egg whites in the recipe. The caramel edge will be slightly less pronounced, but the cones will still hold their shape and crisp up beautifully when cooked fully.
4.How long should I cook each waffle cone for the best crisp texture? ▾
Most countertop waffle cone makers take 60 to 90 seconds per cone, but don’t rely solely on built-in timer lights. Cook until the waffle is a uniform deep golden brown with light amber, caramelized edges, not pale yellow. Pale waffles will turn chewy and soft once cool, so don’t pull them early even if your iron signals it’s done.
5.Why do my waffle cones crack when I try to roll them into shape? ▾
Cracking almost always happens when the waffle cools too much before shaping, or if batter is spread unevenly leading to thin, brittle spots. As soon as you lift the cooked waffle from the iron, set it on a clean towel, place your cone form at one edge, and roll tightly in one smooth motion—you only have a 10 to 15 second window before the waffle sets hard.
6.Can I use salted butter instead of unsalted butter for this recipe? ▾
You can absolutely swap in salted butter if that’s what you have on hand, just cut out any small pinch of added salt the recipe suggests. The extra salt will actually amp up the caramel, buttery flavor of the cones nicely—just make sure your melted butter is fully cooled first, so it doesn’t cook the egg whites when you mix the batter.
7.How should I store leftover waffle cones to keep them crisp? ▾
Let freshly cooked cones come fully to room temperature first (any trapped steam will turn them soggy fast), then store them in an airtight container at room temperature for up to 5 days. Tuck a single paper towel in the container to absorb stray ambient moisture, and skip storing them in the fridge or freezer, where high humidity will make them chewy.
8.Can I mix up the waffle cone batter ahead of time for party prep? ▾
Yes, this batter stores beautifully! Mix it fully, cover it tightly, and keep it in the fridge for up to 3 days. Give it a quick stir right before pouring it on the waffle iron, since the flour will settle to the bottom—you don’t need to bring it all the way back to room temperature, as it cooks perfectly straight from the fridge.
9.How do I get that delicate caramel edge mentioned in the recipe intro? ▾
That perfect, nutty caramel edge comes from two simple tweaks: first, don’t cut back on the granulated sugar, since sugar is what caramelizes as the waffle cooks. Second, let the waffle cook 10 to 15 seconds longer than you think you should, until the outermost edges turn a light amber—just watch closely so they don’t burn and turn bitter.
10.My batter is lumpy—will that ruin my finished waffle cones? ▾
Small, pea-sized lumps in the batter are totally fine, and overmixing to get rid of every last lump will actually develop gluten in the all-purpose flour, leading to tough, chewy cones instead of light, crisp ones. Just stir the batter until dry ingredients are just incorporated, and leave those tiny lumps alone—they’ll disappear completely as the waffle cooks.
11.How do I make mini waffle cones for kid servings or dessert shooters? ▾
To make mini cones, simply pour 1 tablespoon of batter (instead of the standard 3 to 4 tablespoons for full-sized cones) in the center of your preheated waffle cone maker, cook for 45 to 60 seconds until golden, then roll around a smaller form—like a wooden spoon handle—to make tiny cones perfect for small scoops or mini dessert spreads.
12.Can I add mix-ins like cinnamon or chocolate to the waffle cone batter? ▾
Absolutely! For warm, spiced cones, stir 1 teaspoon of ground cinnamon or a pinch of nutmeg into the dry flour before mixing. For chocolate cones, replace 2 tablespoons of all-purpose flour with unsweetened cocoa powder, or stir in 2 tablespoons of mini chocolate chips right before cooking—add chips sparingly so they don’t make cones stick to the iron.
13.Why are my waffle cones sticking to the waffle iron? ▾
Sticking usually happens if your iron isn’t fully preheated before adding batter, or if you skipped a light initial seasoning with butter when you first used the iron. If you have a non-stick iron, you won’t need extra grease after the first use, but wait until it hits 375°F before pouring batter, and never pry a stuck waffle—let it cook 10 more seconds to release naturally.
14.Are these cones sturdy enough to hold loaded sundaes with multiple scoops and toppings? ▾
When cooked fully to that deep golden crisp and rolled tightly, these cones are sturdier than most grocery store options, easily holding 2 to 3 scoops of ice cream plus drizzles and sprinkles for 10 to 15 minutes without leaking. Just be sure to pinch the pointed tip fully closed when rolling so melted ice cream doesn’t drip out the bottom.
15.Can I use low-fat or plant-based milk instead of whole milk in this recipe? ▾
Whole milk adds subtle richness that helps cones crisp up evenly, but you can swap in 2% or skim milk if that’s what you have, though your cones will be slightly less buttery. For a dairy-free version, use unsweetened oat milk (it has the closest thickness to whole milk) instead of almond or soy milk, which lead to softer, less crisp cones.
16.I don’t have a specialty cone rolling form—what household items work as a substitute? ▾
No specialty form? No problem! Make a quick homemade form by shaping a 6-inch square of heavy-duty aluminum foil into a tight cone shape, or use the clean, tapered handle of a large wooden spoon for smaller cones. Just roll the waffle while it’s still piping hot, and hold it on the form for 10 seconds until it sets before moving it to a cooling rack.
17.How long do I need to let rolled cones cool before filling them with ice cream? ▾
Let rolled cones cool fully for 2 to 3 minutes on a wire rack before adding ice cream. If you fill them while they’re still warm, residual heat will melt the first layer of ice cream on contact, leading to soggy cones and drips down your hand. Once they’re completely cool to the touch and firm when squeezed, they’re ready to load up with your favorite scoops.

Comments (15)

2 days ago

OMG these homemade waffle cones are a total game changer! I made them for my kid’s end-of-summer pool party and everyone was begging for the recipe. They’re so much crispier and sweeter than the store-bought ones, I don’t think I can ever go back. Pro tip: I added a tiny dash of cinnamon to the batter and it was chef’s kiss. Only hiccup was my first cone cracked when I was rolling it, but I got the hang of it by the third one!

1 day ago

So glad these were a hit at the pool party, Sarah! The cinnamon addition sounds absolutely delicious. The cracking is super common with the first couple cones — the key is to work fast right after pulling them off the iron before they start to set! Keep that trick in mind for next time :)

1 day ago

Wait the cinnamon hack is genius! I’m making these for our neighborhood potluck this weekend and I’m definitely stealing that idea. Did you do like a 1/4 tsp per batch?

3 days ago

Took a swing at these for our family ice cream night last night. Cook time was right around 20 minutes like the recipe says, which was perfect because I didn’t want to spend all night in the kitchen while everyone was outside. Difficulty is definitely medium like noted — don’t go into this thinking it’s a no-brainer, but it’s so worth the effort. My son ate two cones full of mint chocolate chip before I even finished rolling the last batch!

2 days ago

Love that these made family ice cream night extra special! You’re so right about working quickly — it takes a little practice, but the payoff of fresh, warm cones with your favorite ice cream is unbeatable. Hope your son saved room for seconds (sounds like he did!)

1 week ago

These are SO good! I was nervous I’d mess them up because I don’t have a fancy waffle cone maker, I just used my regular waffle iron and trimmed the edges to shape after cooking. Worked like a charm! Dipped the tops in melted dark chocolate and crushed peanuts for that extra old-school ice cream shop vibe. 10/10 will make again.

5 days ago

Has anyone tried making these with a gluten-free flour blend? My daughter has celiac and I’d love to make these for her birthday ice cream bar, but I don’t want to waste ingredients if the texture is off.

3 days ago

I used a 1:1 GF baking flour last week and they turned out perfect! I added an extra tablespoon of melted butter to keep them from getting crumbly, and they rolled just like the regular ones. My GF roommate couldn’t tell the difference!

yesterday

Made these for my kids’ post-soccer practice treat today and they went absolutely feral for them. I let them dip the cone tops in sprinkles after rolling, and they thought they were professional bakers. My only note is that the recipe says it makes 8 cones but I got 10 out of it by using a slightly smaller scoop of batter, which was perfect because we had a couple extra kids stop by. Will absolutely be adding this to our weekly summer rotation!

2 hours ago

The sprinkle dip station is such a good call! I’m hosting a beach bonfire next weekend and this would be so fun for the group. How long did you let the cones cool before letting the kids handle them?

30 minutes ago

Love the sprinkle station idea! That’s such a fun way to get kids involved. If you let the cones cool upright in a glass for 2-3 minutes after rolling, they’ll be firm enough to handle (and dip!) without falling apart. The smaller batter scoop hack is genius too — I’ll have to try that next time I make a batch!

2 weeks ago

Grew up going to Carvel every summer for soft serve in a waffle cone, and these taste exactly like I remember. I was worried they’d be too eggy or too bland, but the vanilla and sugar balance is spot on. Cook time was quick enough that I didn’t heat up my tiny apartment kitchen too bad, which is a huge win in July. No notes, just a perfect recipe.

30 minutes ago

Uh oh, I think I messed up? My cones are coming out really chewy instead of crispy, did I do something wrong? I cooked them for the time listed but they just don’t have that snap I was expecting. Help!!

5 minutes ago

So sorry to hear your cones are coming out chewy! The most common culprit is not cooking them long enough to evaporate all the moisture in the batter — try adding 30-45 seconds of cook time on your waffle iron, and make sure you’re not stacking the warm cones on top of each other while they cool (trapped steam makes them chewy fast!). Give that a shot and let me know how it goes!

1 week ago

I’ve been making waffle cones for my grandkids for 40 years, and this recipe is easily the best one I’ve ever tried. The batter is smooth, doesn’t clump, and rolls perfectly without tearing. I added a little splash of almond extract like I used to do back in the 80s, and it gave the cones such a lovely warm flavor. Thank you for sharing this wonderful recipe!

5 days ago

Oh my gosh the almond extract idea sounds incredible! My grandma used to add that to her sugar cookies too, I bet it pairs so well with vanilla ice cream. Can I ask how much you added?

3 days ago

Grandma Ruth, that means the world coming from someone with 40 years of waffle cone experience! The almond extract addition sounds absolutely lovely — I’m going to test that this weekend for my own batch. What a fantastic, nostalgic twist!

3 days ago

Made these to go with homemade peach ice cream for our Fourth of July cookout, and people were literally taking photos of the cones. I will say, if you don’t have a cone rolling mold, just use the back of a metal measuring cup to shape them — works exactly the same and saves you from buying a random single-use kitchen gadget. Total crowd pleaser, zero leftovers!

2 days ago

The measuring cup hack is a lifesaver! I almost bought a $20 cone shaper off Amazon last week and now I don’t have to. Thanks for the tip — making these for my book club dessert night tomorrow!

5 days ago

Obsessed!!! I made these last weekend and paired them with salted caramel ice cream, and the crunch of the cone against the creamy ice cream was pure heaven. I will say the difficulty is definitely medium — don’t try to multitask while you’re making these, because if you walk away for 10 seconds too long they burn fast. Ask me how I know (RIP my first two cones).

2 hours ago

Just pulled my third batch of these off the iron this month, and I had to pop in to leave a review. These hold up so well even with really melty soft serve, which is a problem I’ve had with other homemade cone recipes. They don’t get soggy after 10 minutes like the store brand ones do, which is a game changer for slow eaters like me. 10/10, no notes.

30 minutes ago

Yay, that makes me so happy to hear! The sogginess factor was my biggest pet peeve with other recipes too, so I tested this batter a dozen times to make sure the cones stayed crisp even with melty ice cream. So glad it works for fellow slow ice cream eaters out there!

yesterday

Okay so I tried making these for book club like I said I would, and they were a hit! But I had one issue: all my cones rolled up a little lopsided. They tasted perfect, but they definitely looked homemade (not that anyone complained, ha). Any tips for getting that perfectly even, tight cone shape?

2 hours ago

I had the same problem at first! Start rolling from the corner of the waffle round, not the straight edge, and keep the point pinched tight as you roll. It gets way easier after 2-3 tries, I promise. My first batch looked like wonky taco shells lmao.

30 minutes ago

So glad they tasted great even if they were a little lopsided — homemade treats are supposed to have character! @PhoenixFoodie’s tip is spot on: starting at the corner and pinching the point tight as you roll will help you get that even shape. Don’t stress if they’re not perfect, they taste just as good!

3 days ago

Made these for our beach bonfire over the weekend and they were chef’s kiss. We set up a whole sundae bar with different toppings, and the homemade cones made the whole thing feel so much more special than just grabbing a box from the grocery store. Even my picky 7 year old who only eats plain vanilla said these were the best cones he’s ever had. Will be making these all summer long!

just now

Wait can I make the batter ahead of time and store it in the fridge for a day or two? I’m hosting a big party next weekend and I don’t want to be mixing batter while guests are over. TIA!

just now

I did this last weekend for my pool party! I mixed the batter the night before and stored it in an airtight container in the fridge, gave it a good stir before using, and it worked totally fine. No difference in texture or taste at all! Saved me so much time day of.

2 weeks ago

Y’all, these are SO much better than the waffle cones I used to get at the county fair growing up. The batter comes together in like 5 minutes, then cook time is super quick, so you can have fresh cones in no time. I dipped mine in melted milk chocolate and toffee bits, and my husband ate three of them before dinner. Whoops! Worth it though.

1 week ago

The toffee bit dip sounds insane! I’m a dark chocolate guy myself but toffee bits would level that up so hard. Gotta try that next batch.

1 week ago

The toffee dip addition sounds incredible! What a perfect crunchy, sweet add-on. I love how everyone is putting their own creative twist on these cones — it makes me so happy to see! Don’t worry about your husband eating three before dinner, we’ve all been there ;)



