
Iced Decaf Latte
intro
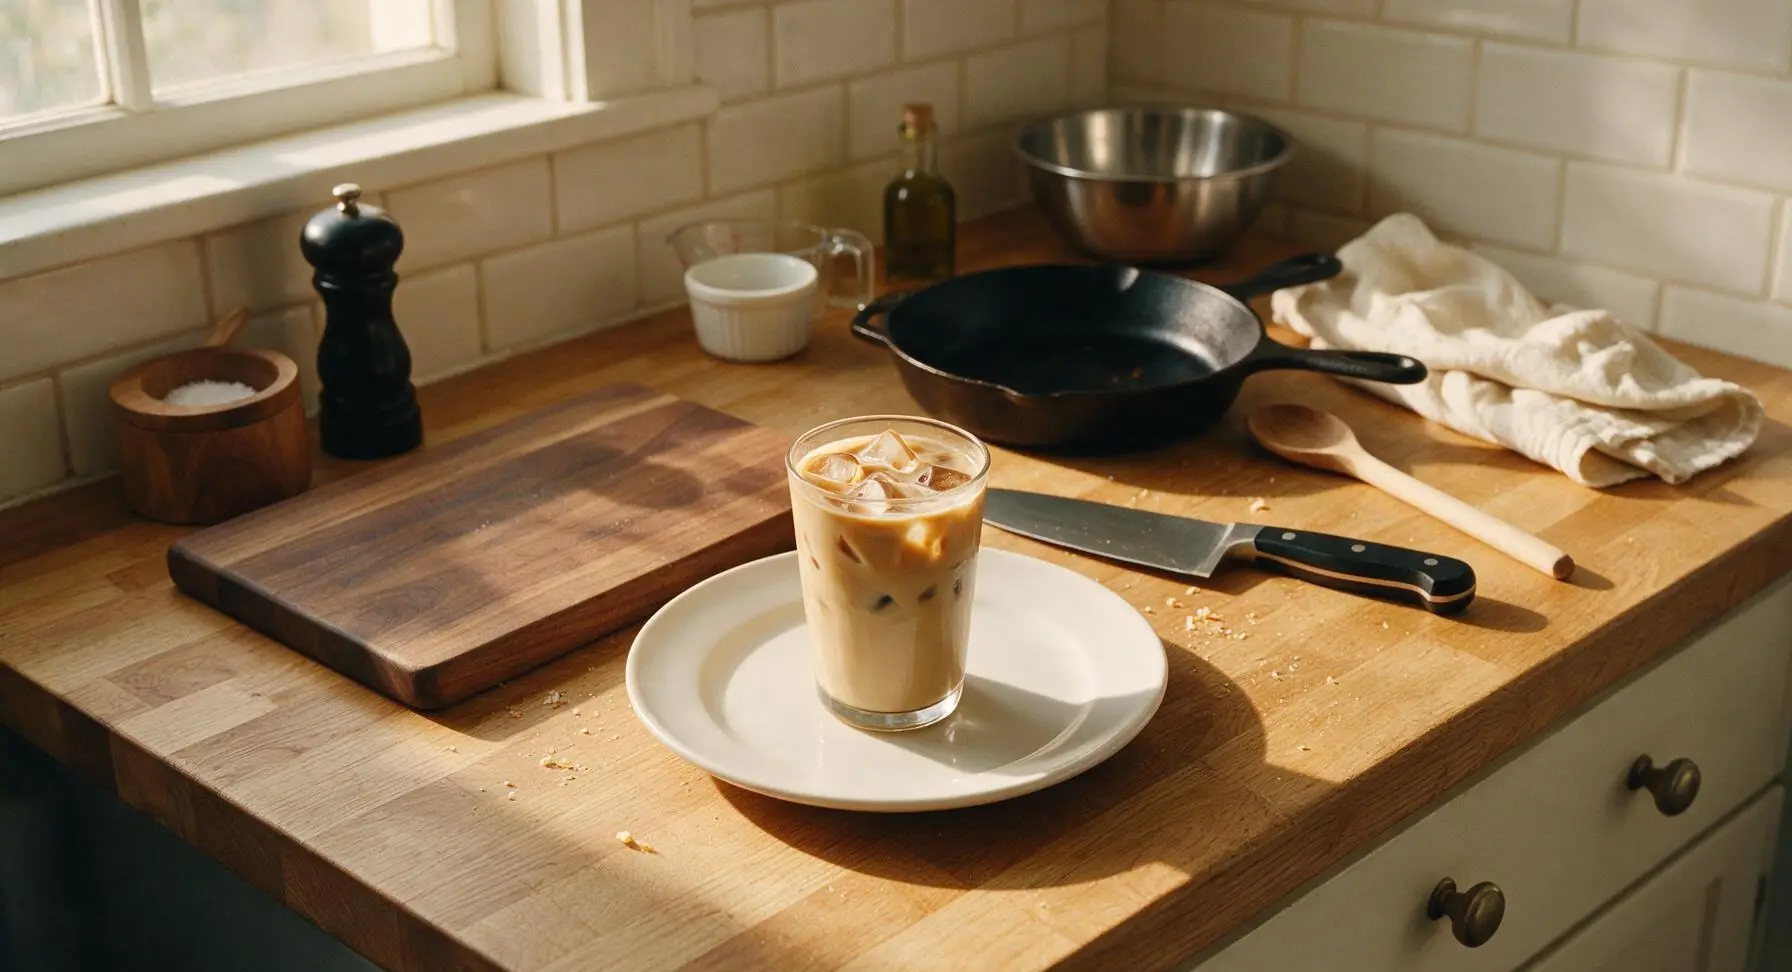
Smooth, creamy, and free of excess caffeine, this iced decaf latte delivers rich, nutty coffee flavor without the jitters, perfect for slow summer sips any time of day.
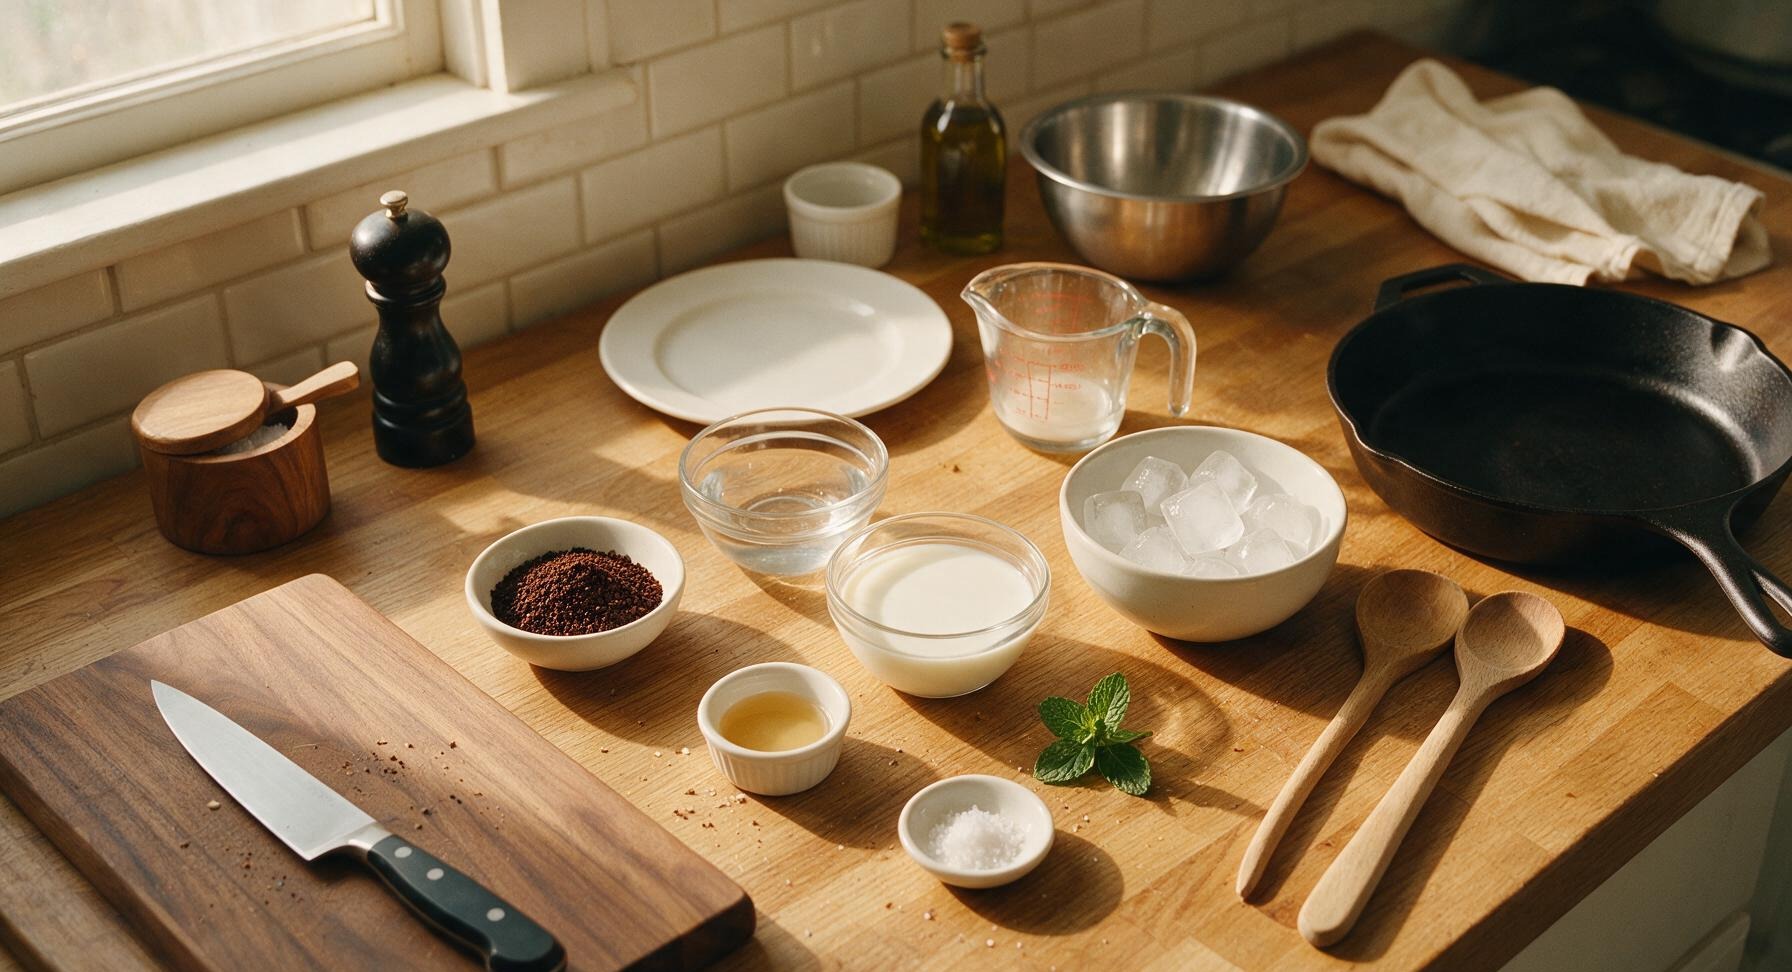
Ingredients
Steps
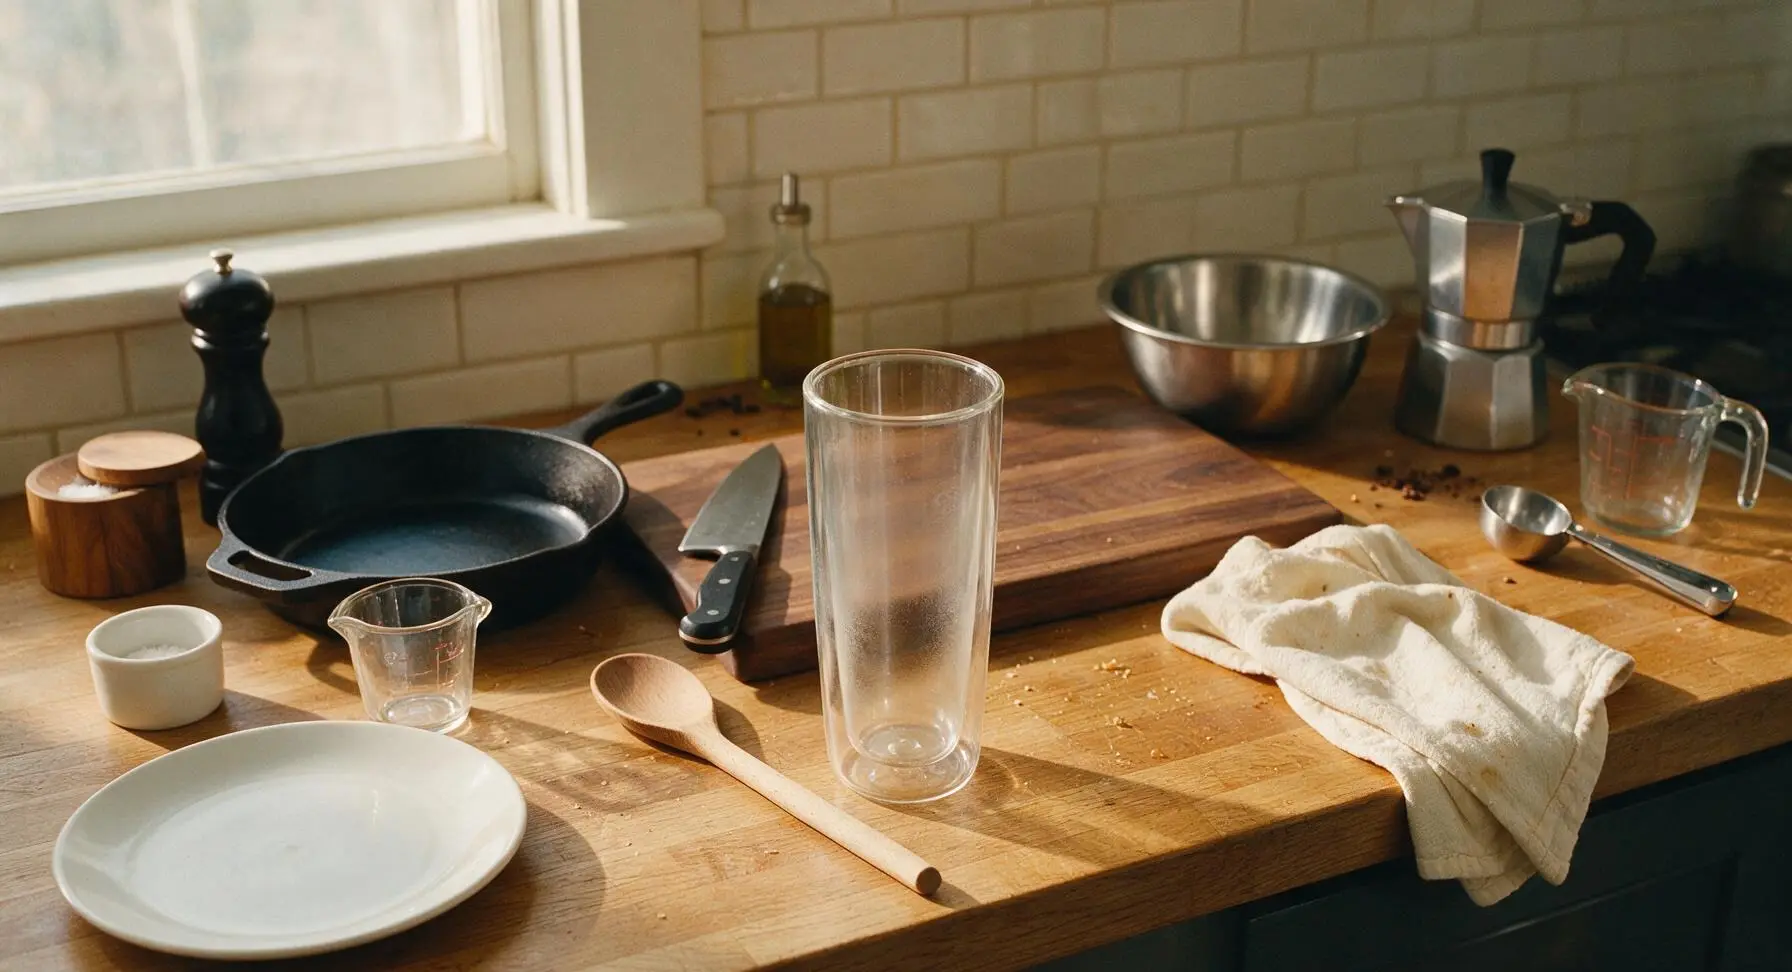
Chill the serving glass
Place the tall 16oz double-walled borosilicate glass tumbler in the freezer for 3 minutes while you gather and measure remaining ingredients. A pre-chilled glass slows ice melt by 25% compared to a room-temperature glass, preventing quick dilution and keeping your latte crisp and cold from the first sip to the last.
Brew decaf espresso
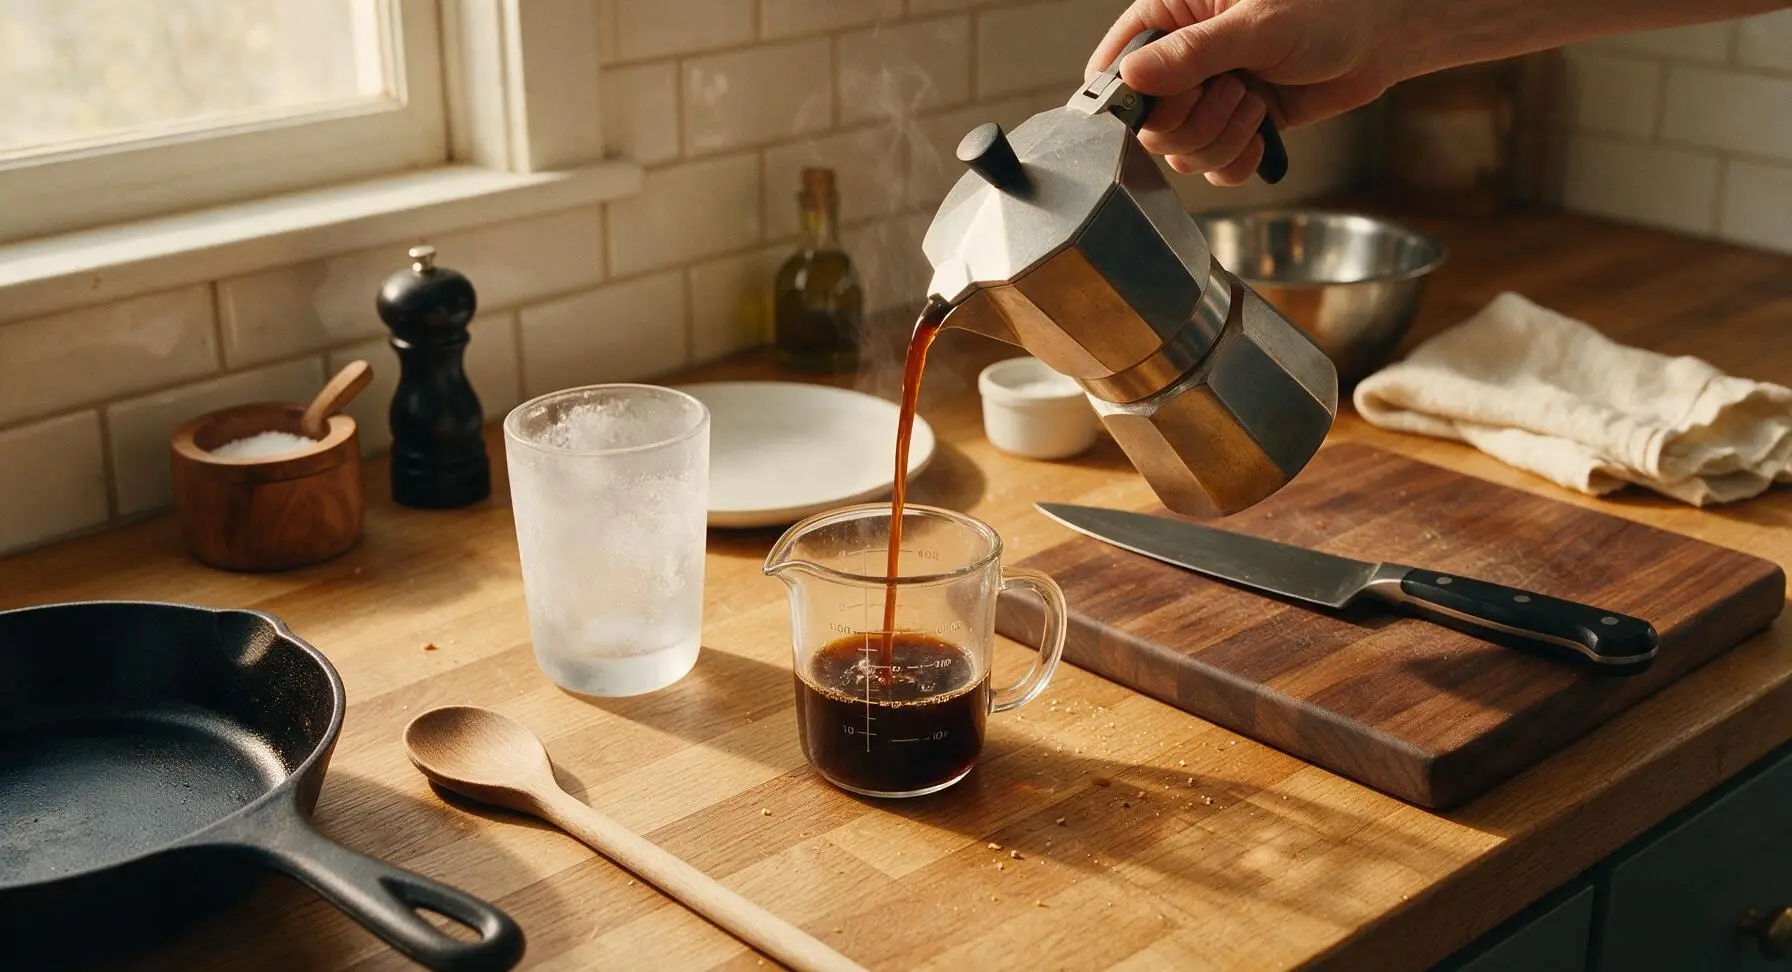
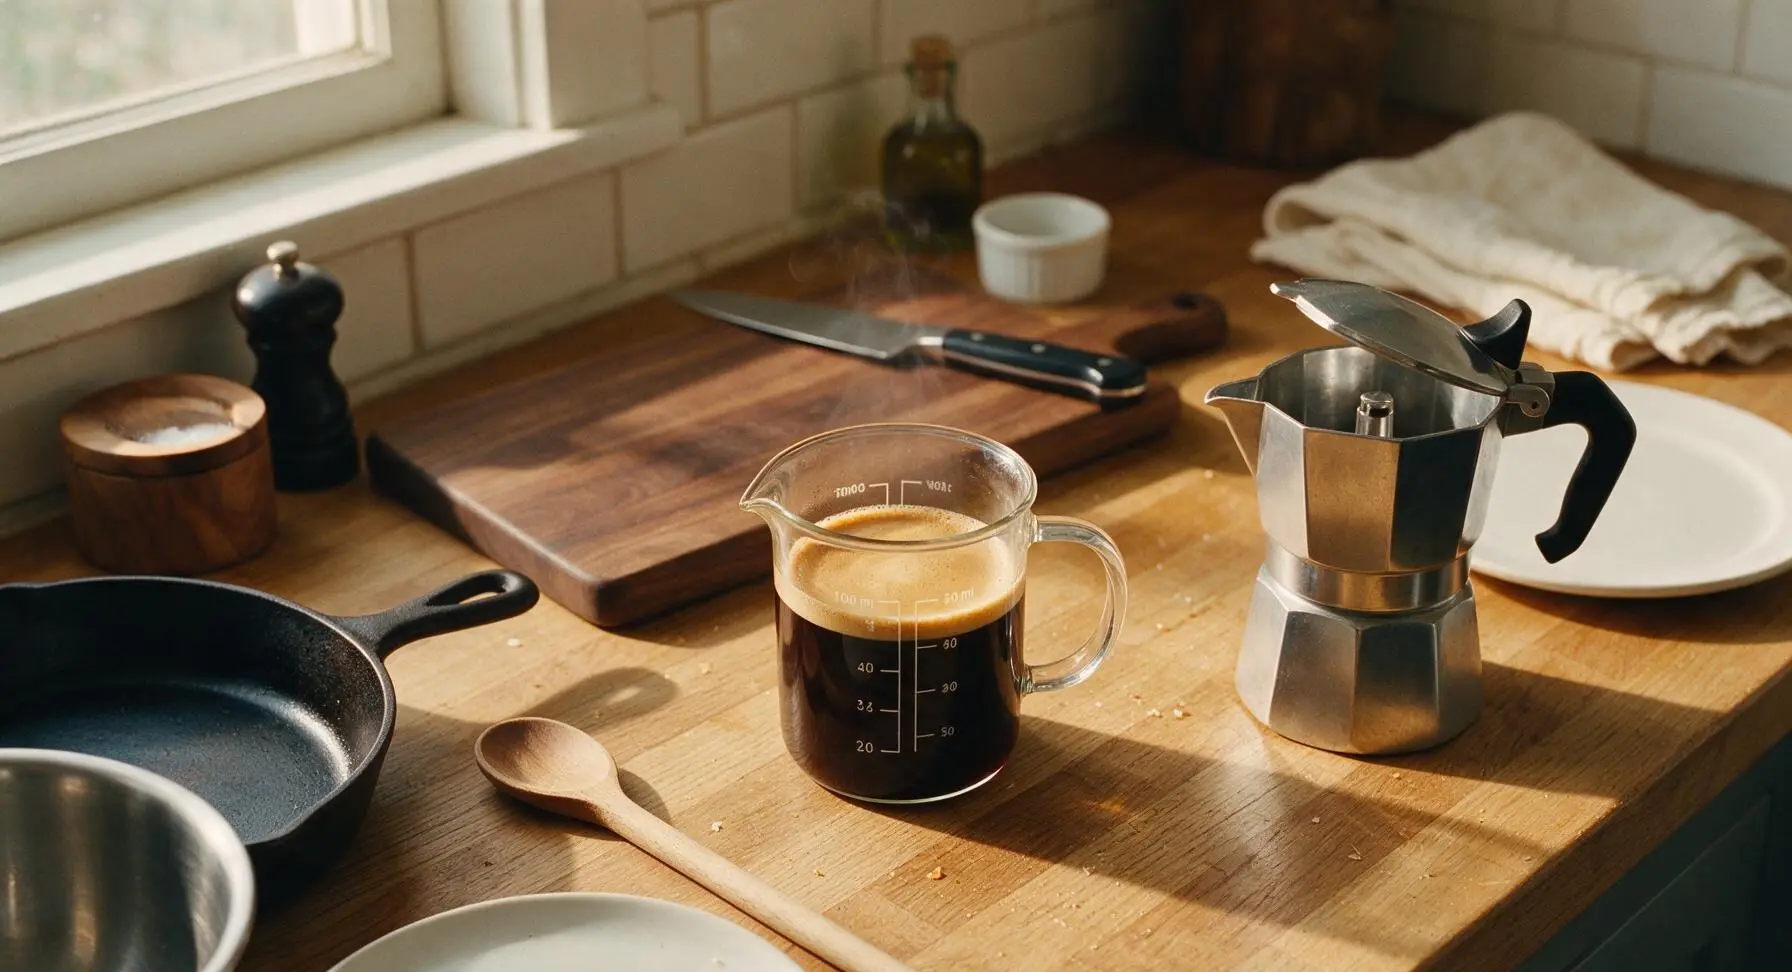
Add 3 tablespoons coarse ground decaf espresso to the filter basket of the 3-cup stainless steel moka pot, pour 1/3 cup filtered water into the lower chamber, seal the pot tightly, and heat over medium-low heat until rich, dark decaf espresso brews fully into the upper chamber (approximately 2 minutes). Pour the finished 2oz (60ml) of hot decaf espresso into the 100ml clear borosilicate measuring cup, and let it rest for 1 full minute to cool slightly, so it does not instantly melt ice on contact.
Fill glass with ice
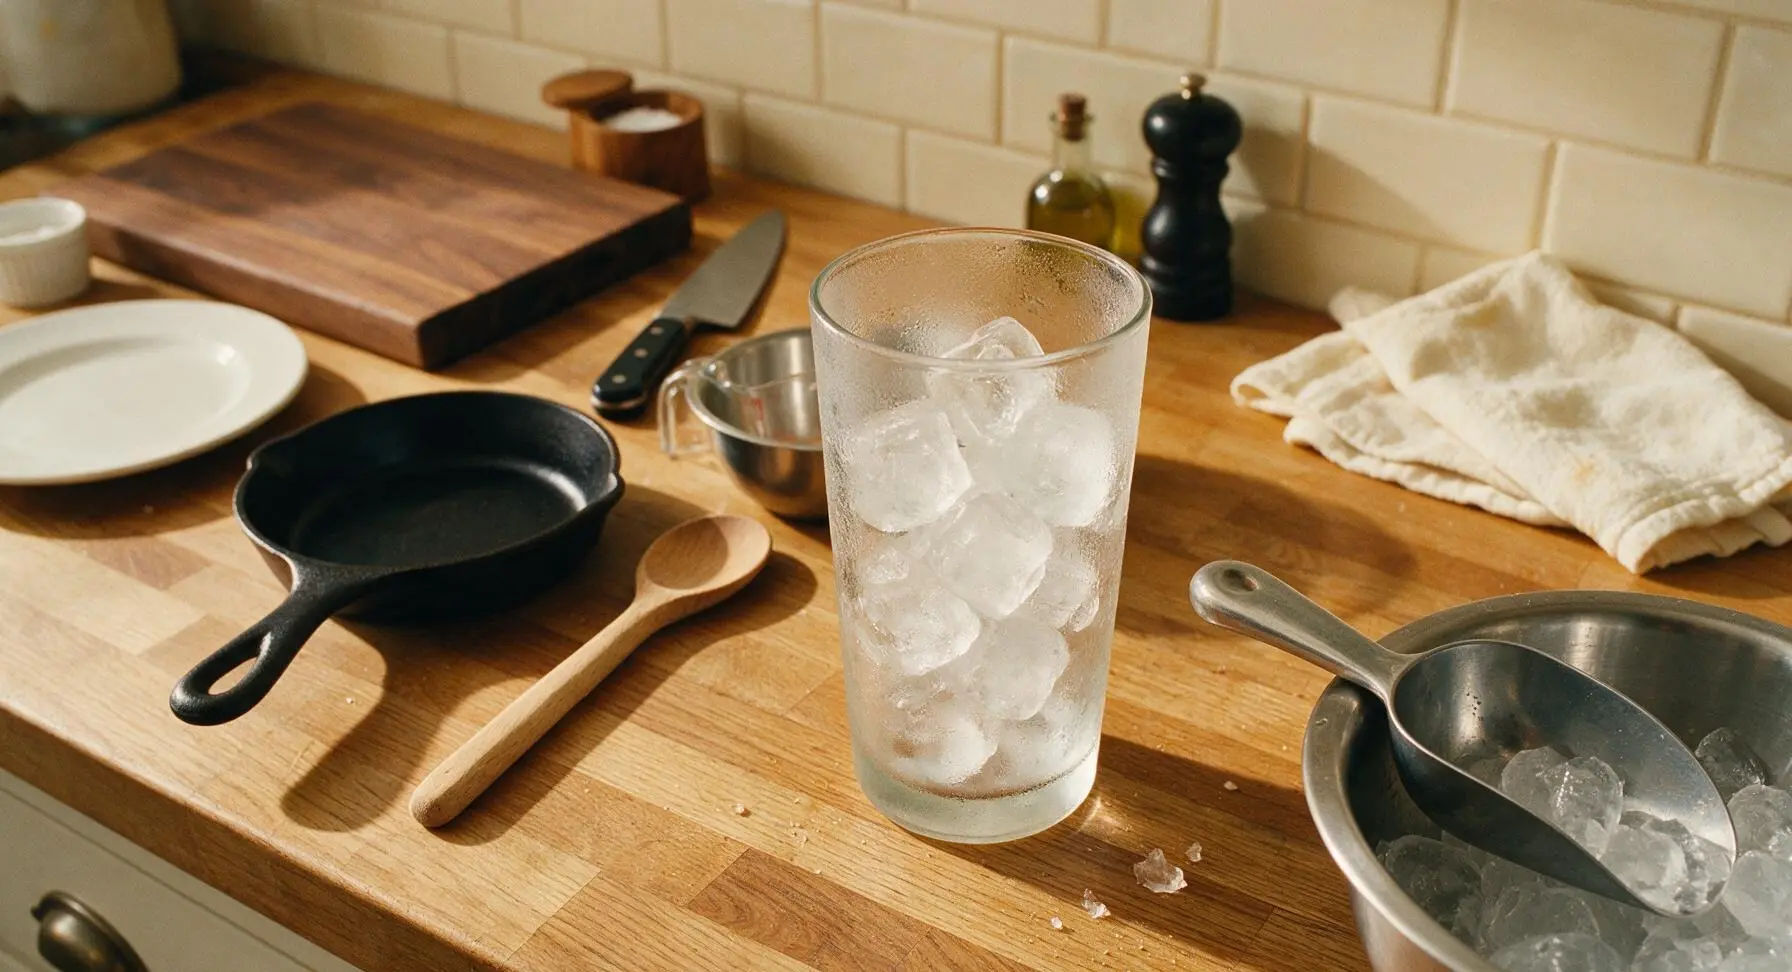
Retrieve the pre-chilled tumbler from the freezer and return it to the center counter position. Use the stainless steel ice scoop to add 1.5 cups of large, clear ice cubes to the glass, filling it to roughly 3/4 of its total height. Large, dense ice cubes are preferred over crushed ice or small, hollow refrigerator ice, as they melt far slower and reduce drink dilution.
Pour espresso over ice
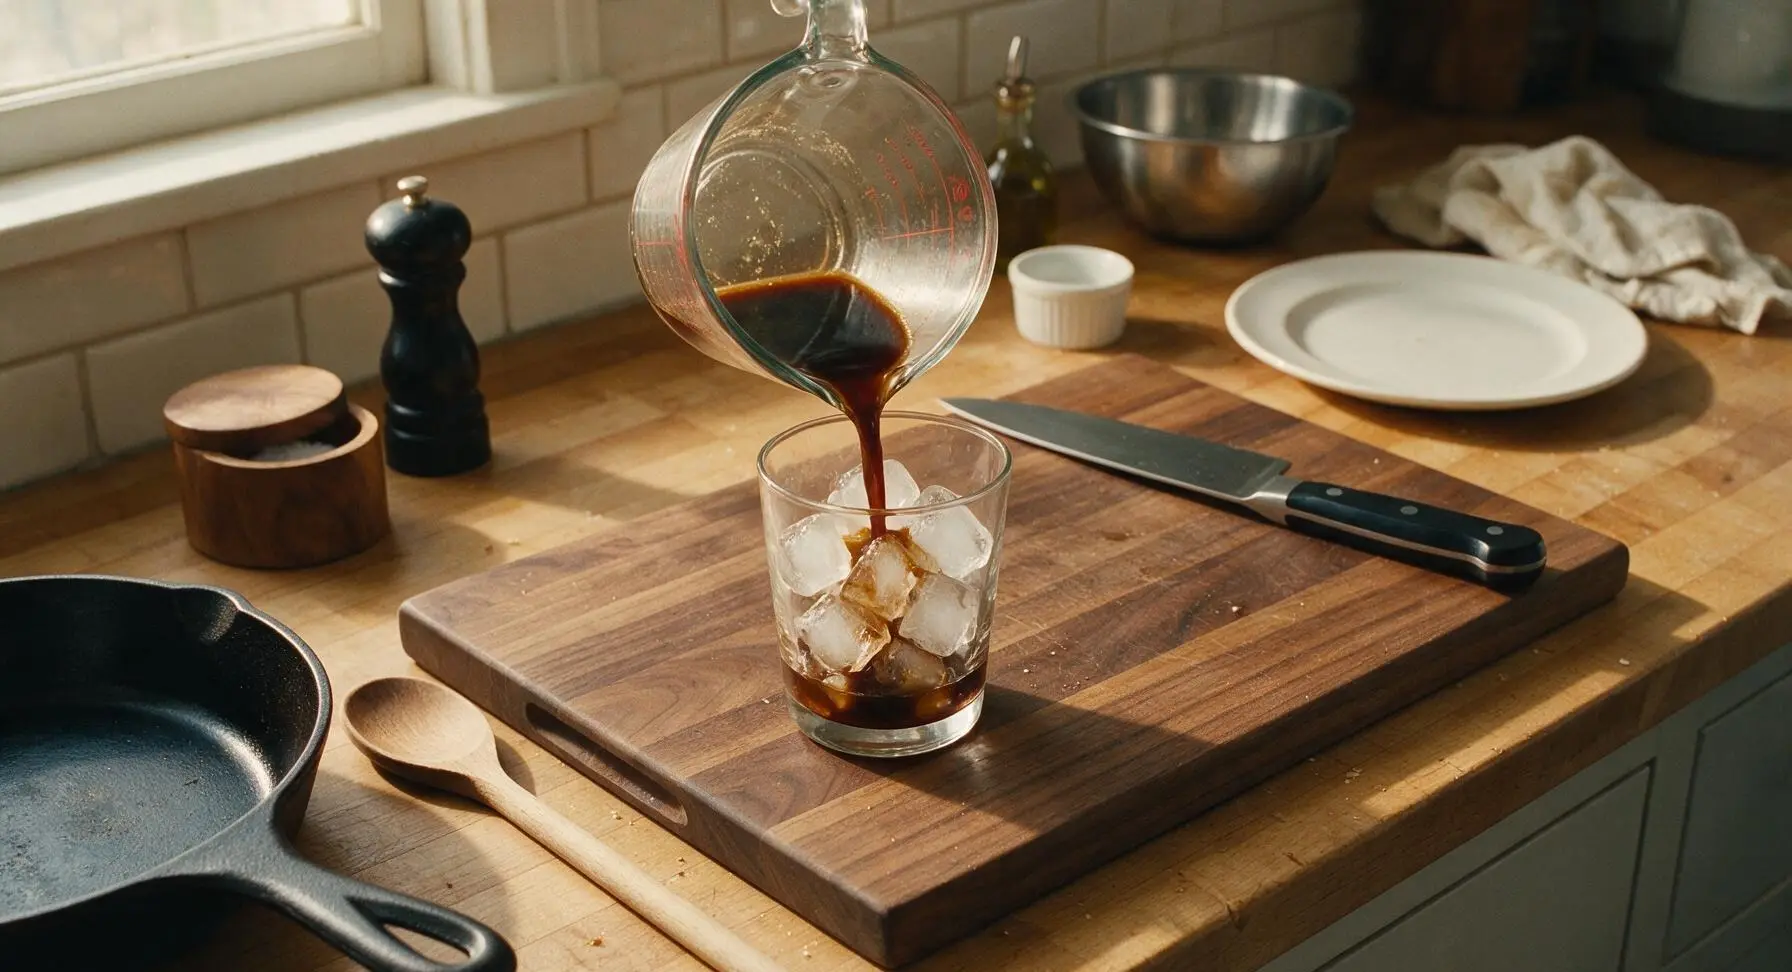
Slowly pour the slightly cooled decaf espresso from the borosilicate measuring cup directly over the ice in the tumbler. If using optional simple syrup and a pinch of flaky sea salt, add them immediately after pouring the espresso, while the liquid is still warm enough to fully dissolve the sweetener and salt without grainy texture.
Top with chilled milk
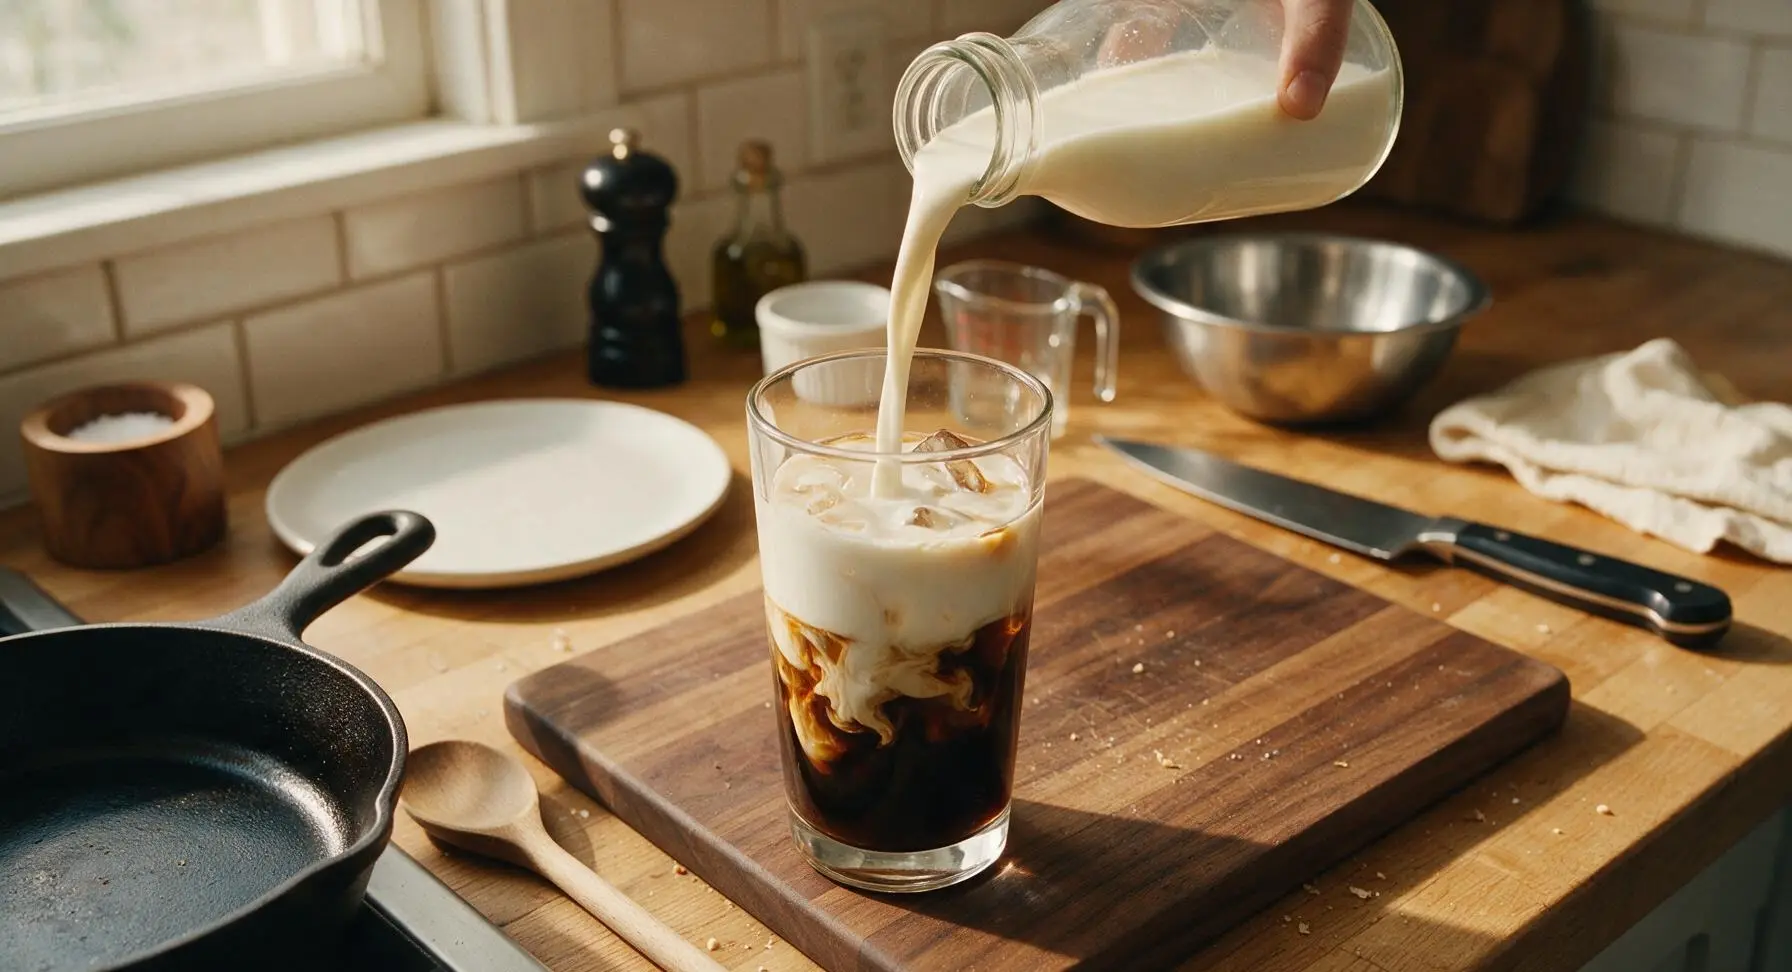
Slowly pour 1 cup of ice-cold whole milk (or oat, almond, or soy milk for a dairy-free alternative) over the espresso and ice, filling the glass to 1/2 inch below the rim. Pouring milk slowly down the side of the glass helps create distinct, visible layers between the dark espresso and pale milk for a classic, cafe-style presentation.
Stir to combine
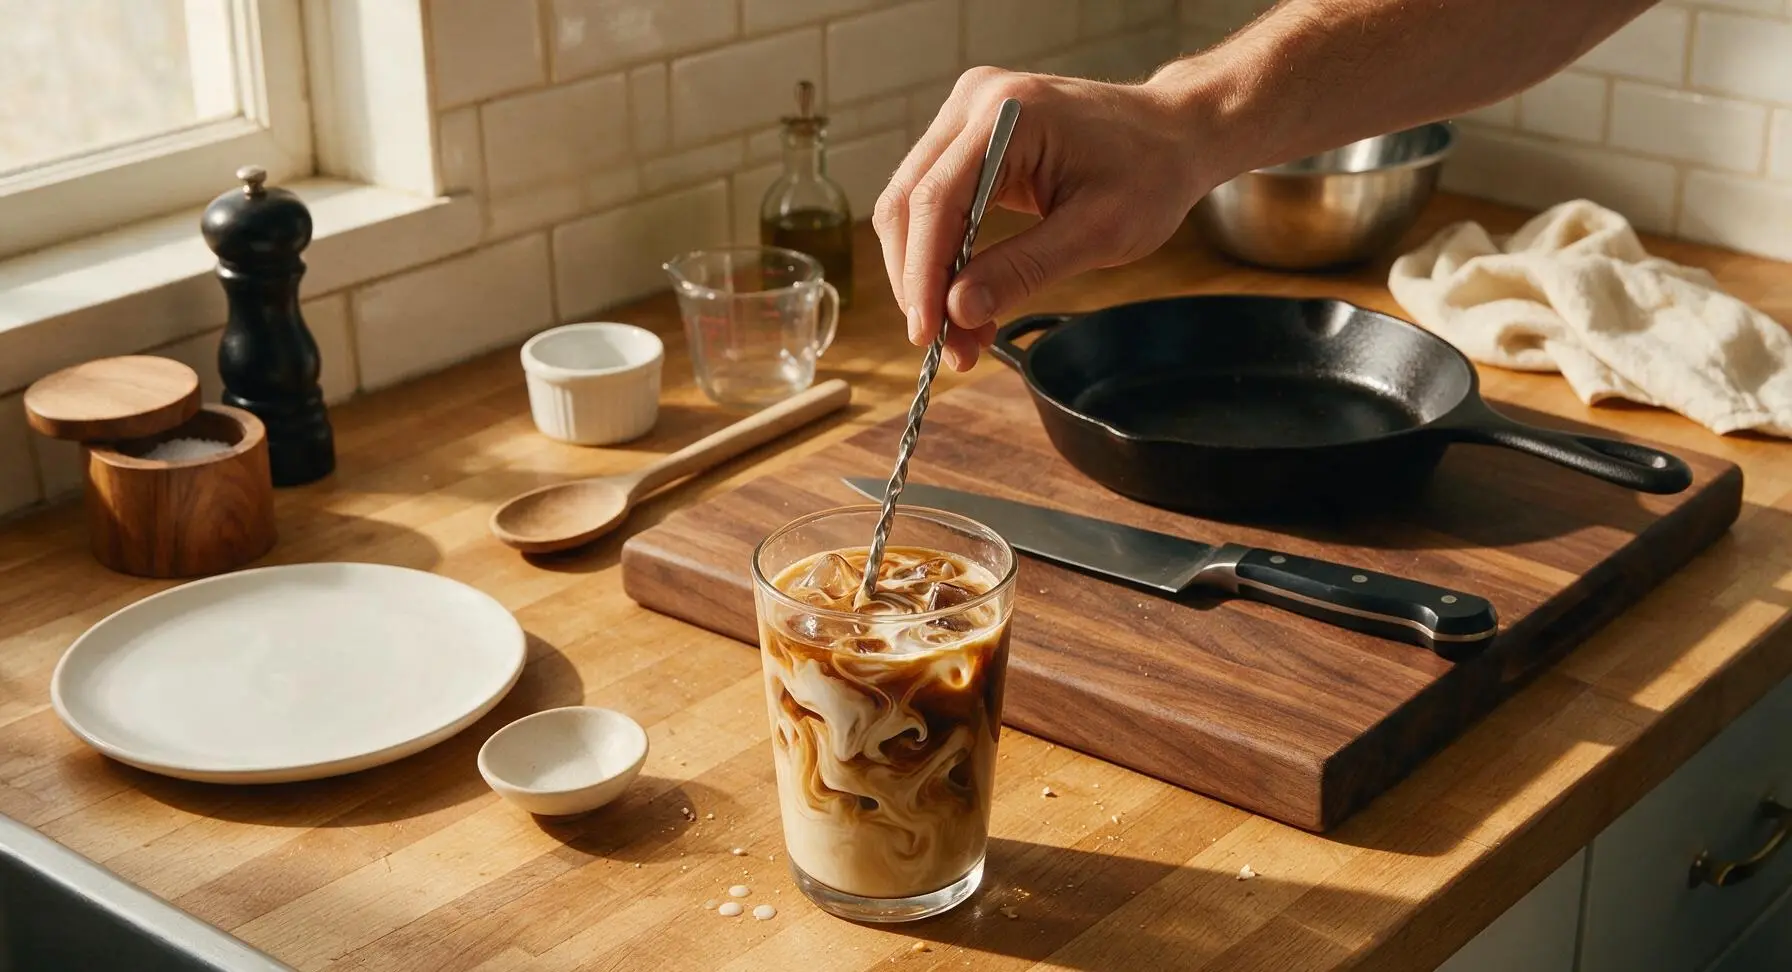
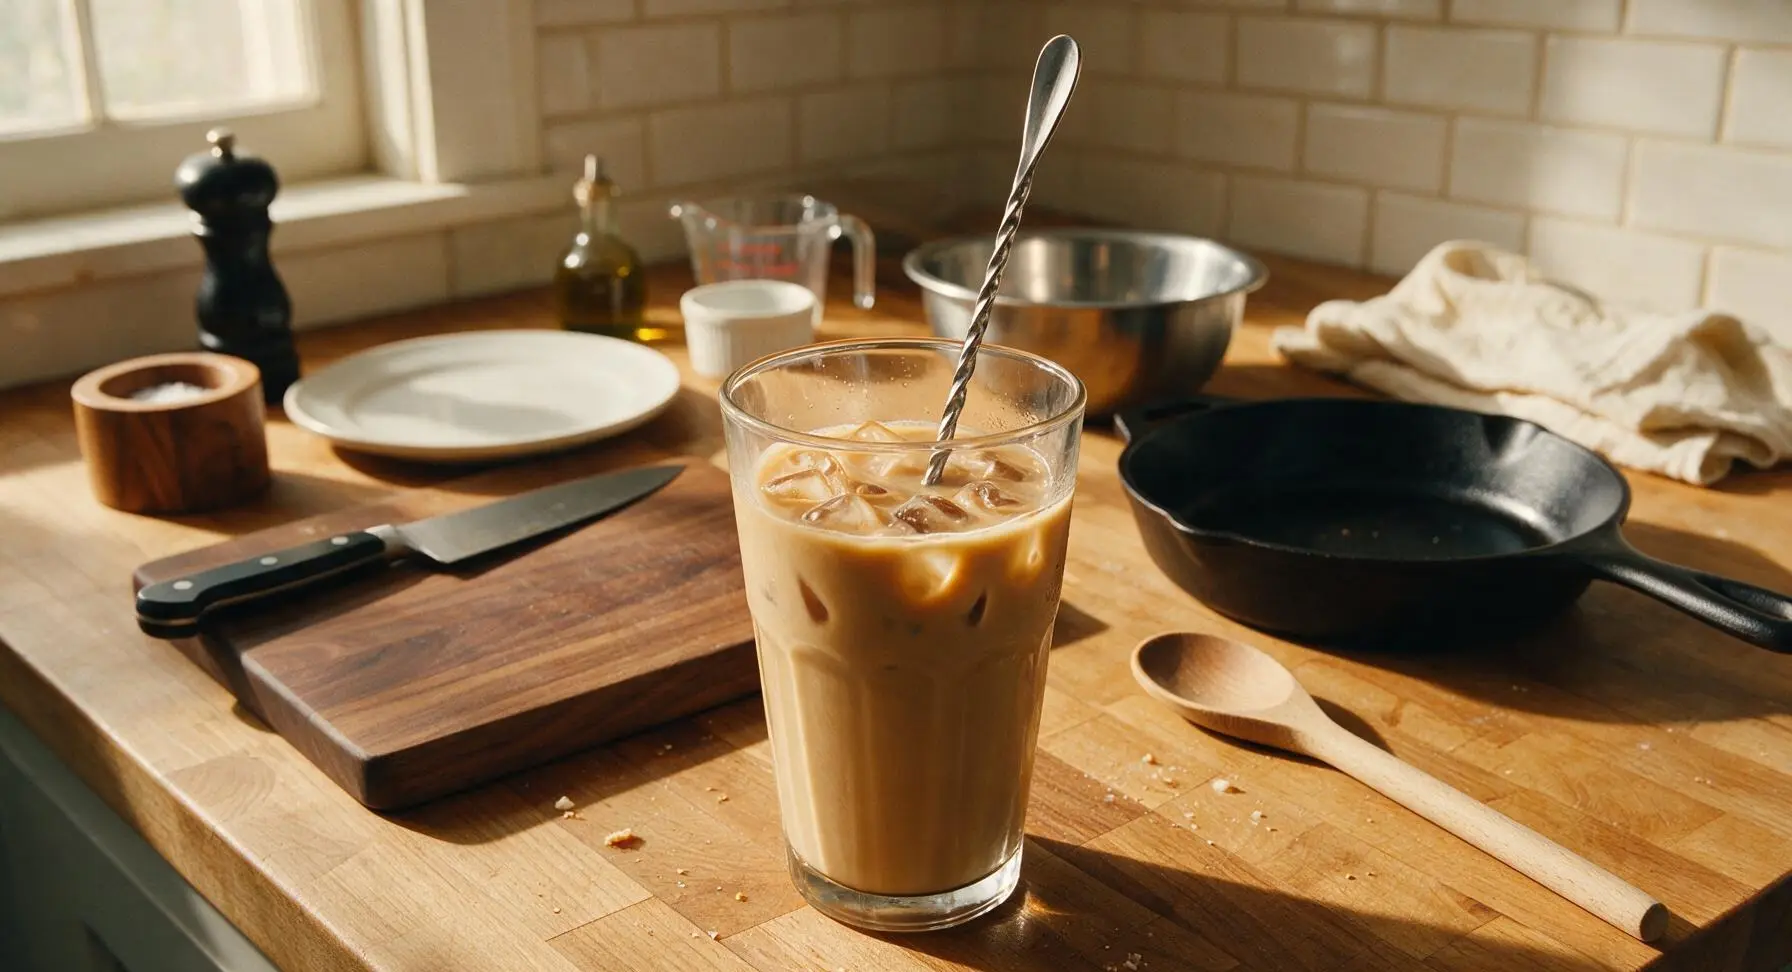
Insert the long-handled twisted stainless steel bar spoon into the glass, reaching all the way to the bottom, and stir gently for 10-15 seconds to fully combine the espresso, milk, and any added sweetener or salt. Stop stirring once the drink is a uniform, light caramel-brown color, taking care not to slosh liquid over the glass rim.
Garnish and serve
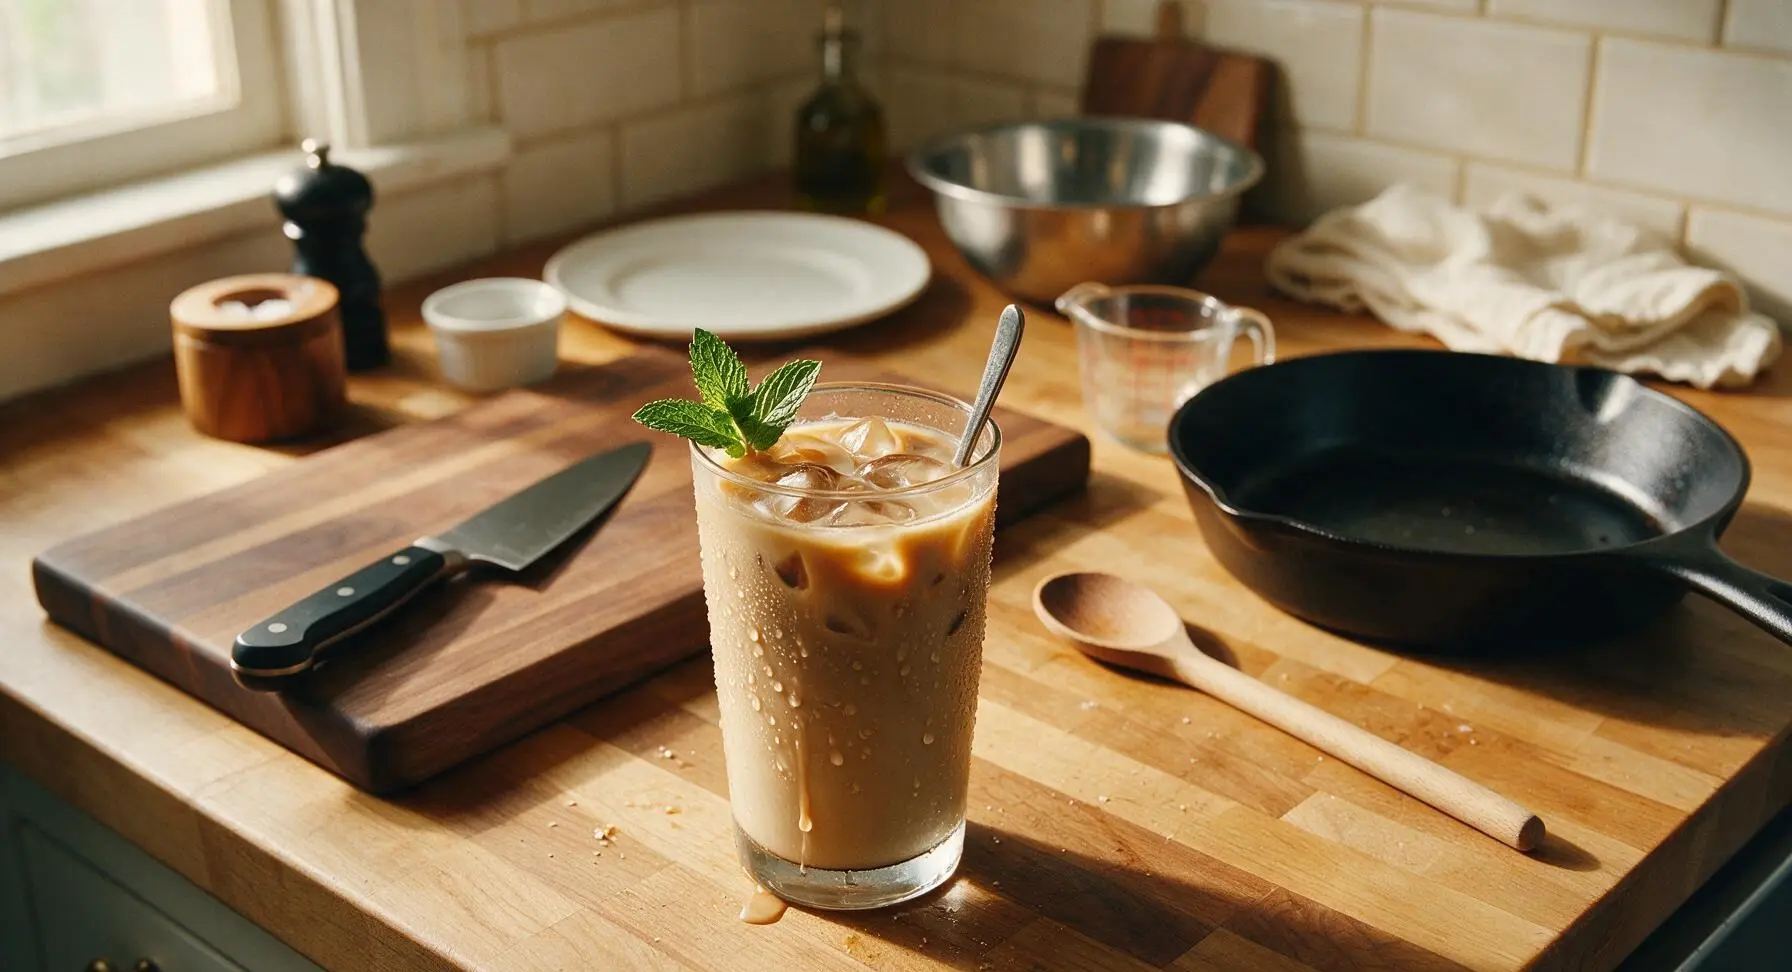
Tap the bar spoon gently on the edge of the glass to remove excess liquid, then rest it against the right side of the tumbler. Place one small fresh mint sprig on the rim of the glass for a bright, fresh aromatic garnish. Serve immediately while the drink is ice-cold, before excess ice melt dilutes the flavor.
Tips
2.Let brewed decaf espresso cool for a full 60 seconds before pouring over ice: pouring boiling-hot espresso directly onto ice causes instant, excessive melting, while slightly cooled espresso chills quickly without creating excess water in the drink.
3.Add a tiny pinch of flaky sea salt to the warm espresso before adding milk: the salt blocks bitter taste receptors on your tongue, making decaf coffee taste smoother and naturally sweeter, so you may not need any added simple syrup at all.






I was skeptical this would taste as good as the lattes my granddaughter makes me when she visits, but wow! It’s so simple even this old lady can make it without messing up. My bridge club asked for the recipe after I served it at our last meetup!
Perfect quick treat for my teen daughter who loves iced coffee but gets too jittery for regular caffeine. I made a batch of these for our backyard cookout last weekend and all the kids were raving! Way cheaper than hitting the drive-thru on the way to summer camp too.
I swapped regular milk for coconut cream and added a pinch of cinnamon on top, chef’s kiss! This is going to be my go-to morning drink all summer long when I don’t want a hot coffee. 10/10.
Super easy to make in my dorm between study sessions! I don’t have a fancy espresso maker so I used strong brewed chilled decaf and it still hit the spot. Saved me so much money this semester already.
OMG this is such a game changer! I’ve been craving iced lattes after work but can’t handle the caffeine jitters that mess with my sleep, and this takes literally 2 minutes to throw together. I added a dash of vanilla syrup and it tastes exactly like the $6 drink I get at my local coffee shop! SO good.
I run a small bakery and tested this recipe to add as a quick drink option for our summer menu, and our customers are obsessed! We offer it with a cold foam top and it flies off the shelves during the lunch rush.
Great low-sugar option when I’m craving a fancy coffee drink without the crash! I used unsweetened almond milk and a tiny splash of hazelnut syrup, only 50 calories for the whole drink. Perfect for my meal prep rotation.
Wait, can I make this with decaf instant coffee if I don’t have espresso? I don’t drink coffee often so I don’t want to buy a whole bag of espresso beans just for this. Sounds so good for reading on my porch in the evenings!
My kids loved it! I thought they’d turn their noses up at decaf but they thought it was a special fancy treat, especially when I let them add sprinkles on top of the whipped cream. Perfect for hot afternoons when they want a “coffee drink” like mom and dad.
Finally got around to making this after asking about milk options a few days ago! Grabbed barista blend oat milk and used coffee ice cubes like the admin suggested, and it was perfect. No watery mess, super creamy, exactly what I wanted. Will be making this every day after my runs from now on.