
instant chocolate pudding mix

title 1
instant chocolate pudding mix
⏱️ cook time 0 minutes
🍽️ servings 12
⚡ Difficulty easy

intro

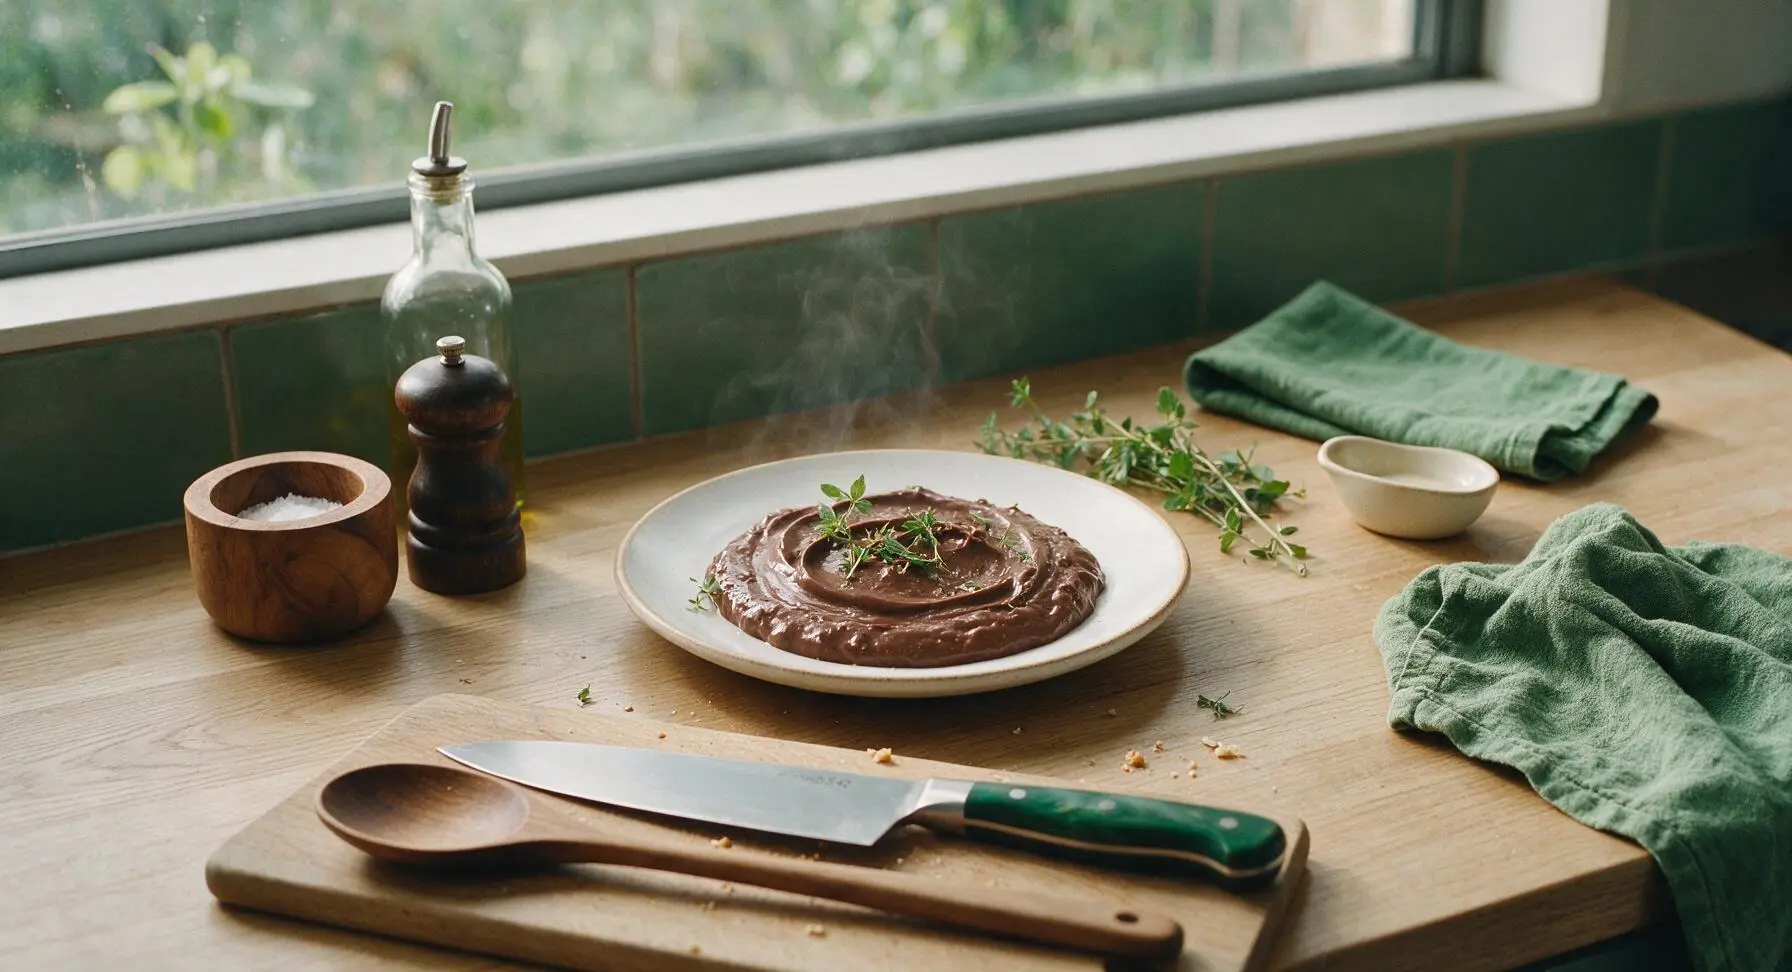
Rich, velvety homemade instant chocolate pudding mix—shelf-stable for months, free of artificial additives, and ready in 5 minutes for creamy, deep-chocolate treats without cooking.

Ingredients
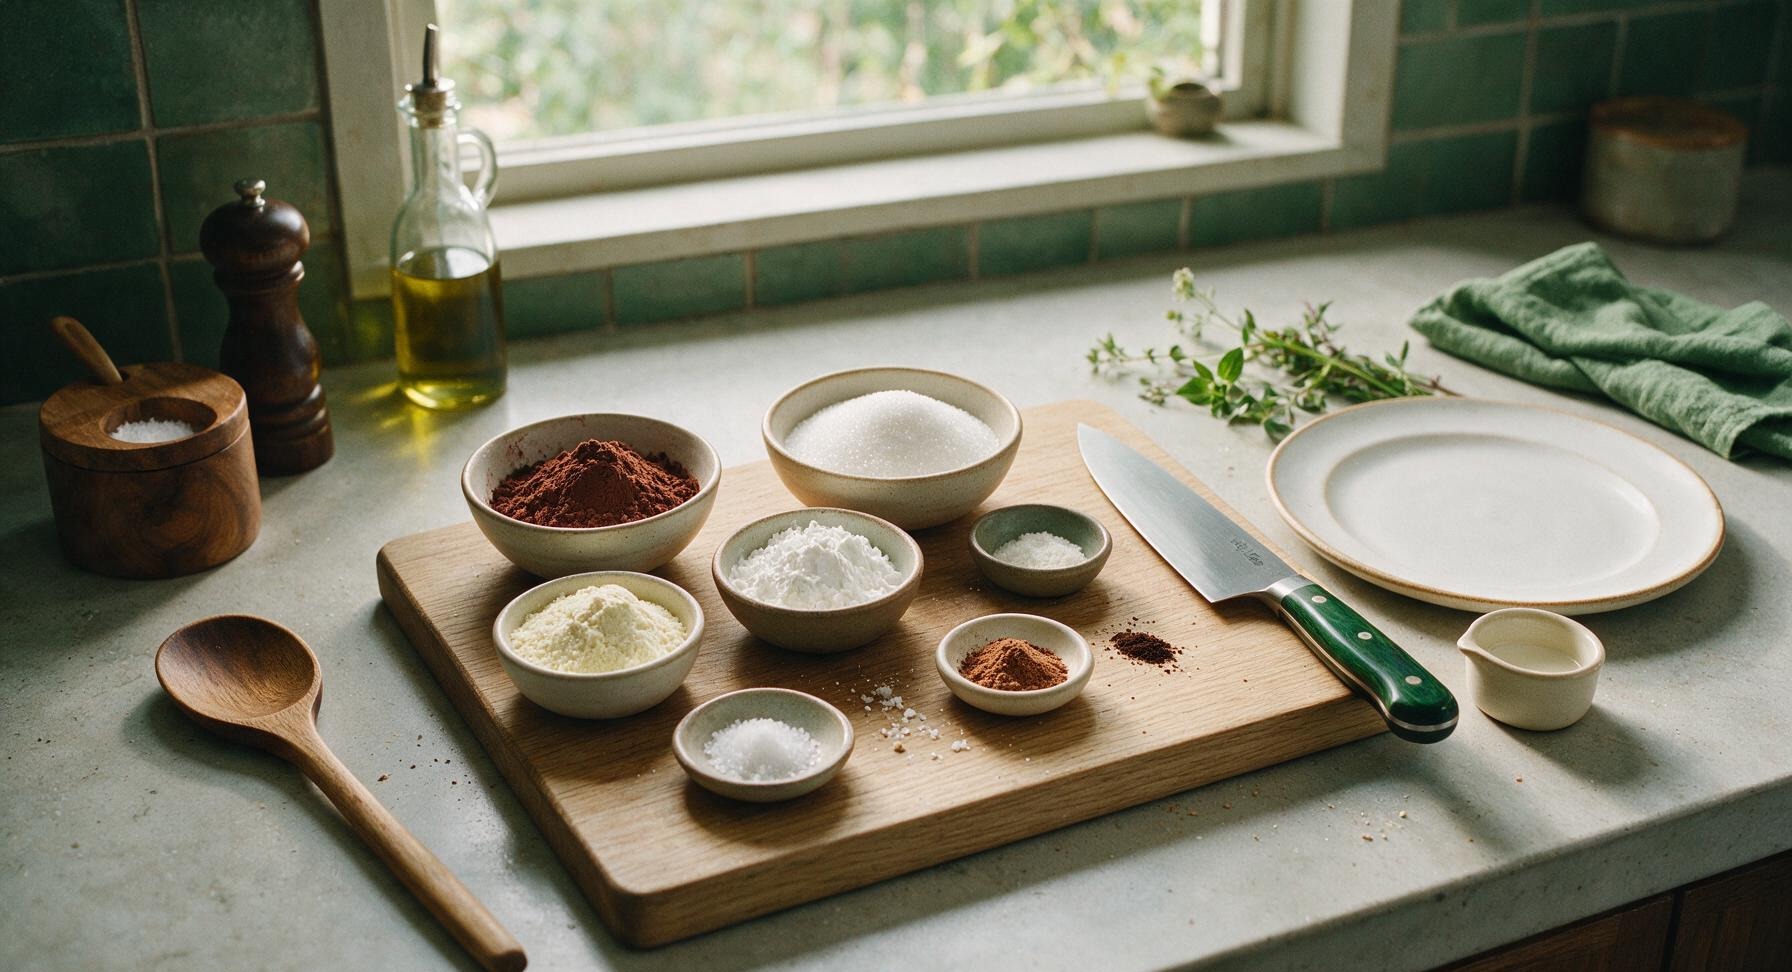
Unsweetened Dutch-processed cocoa powder 1 cup
Granulated sugar 1 1/2 cups
Cornstarch 3/4 cup
Non-fat dry milk powder 1 cup
Fine sea salt 1 teaspoon
Pure vanilla powder 2 teaspoons
Instant espresso powder 1/2 teaspoon

Steps

1

Sift Core Dry Ingredients

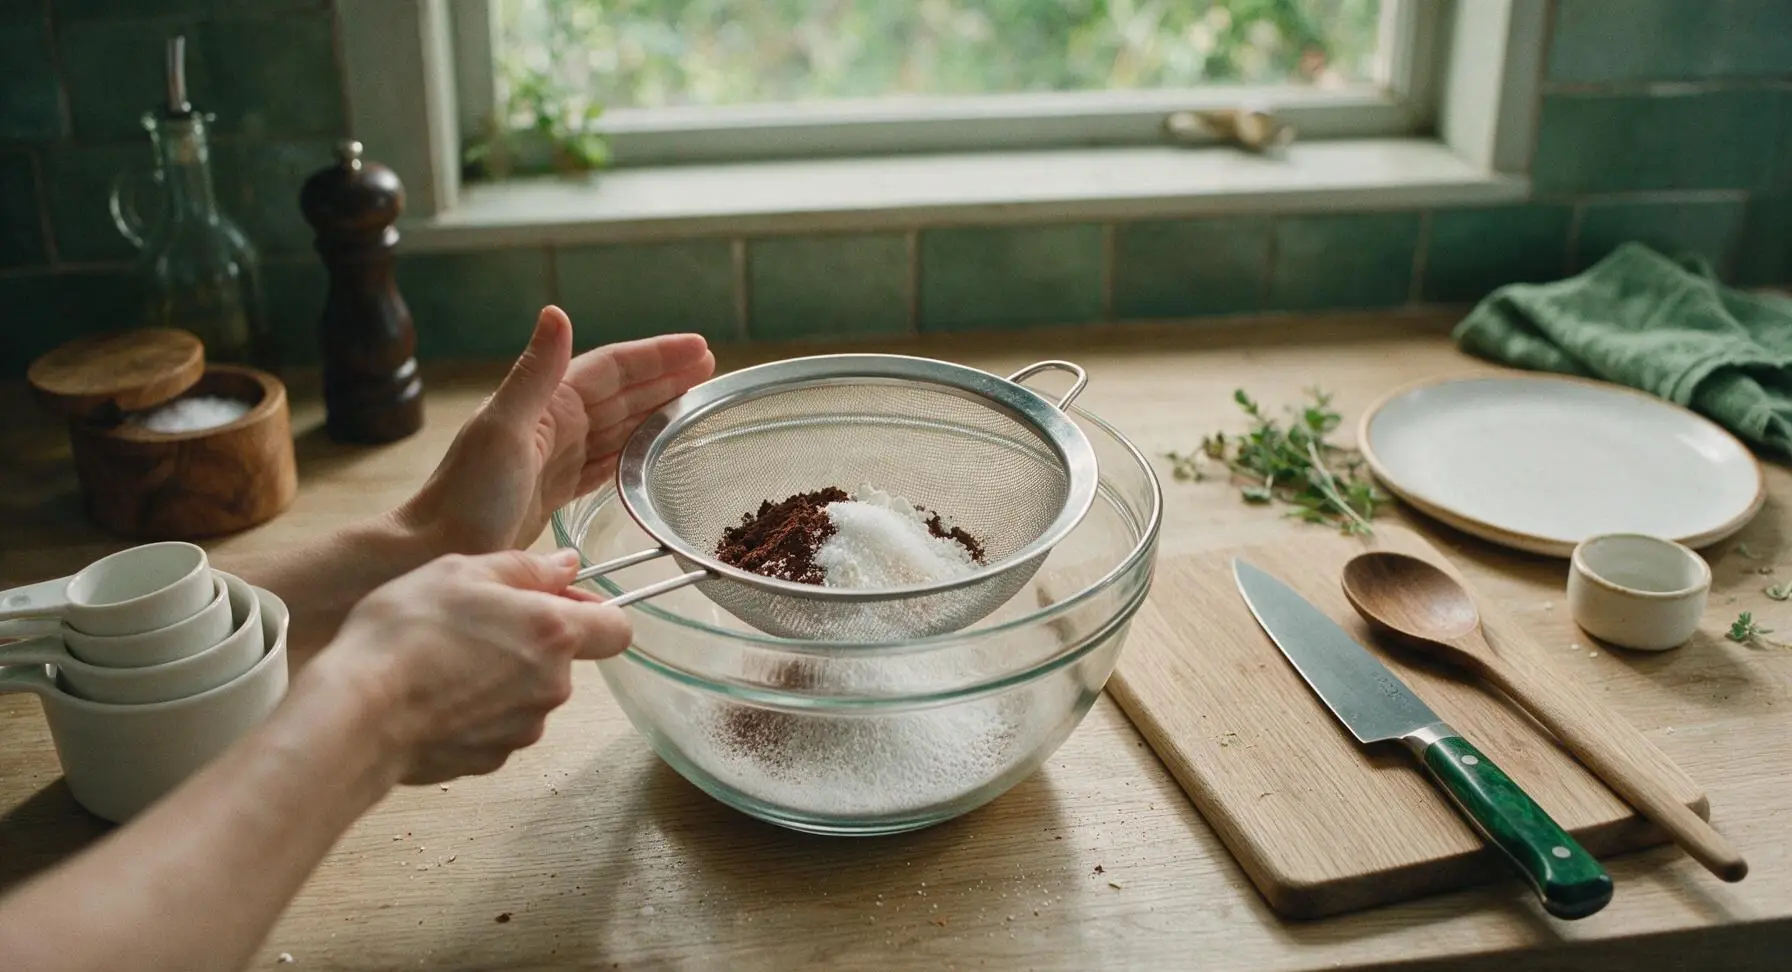
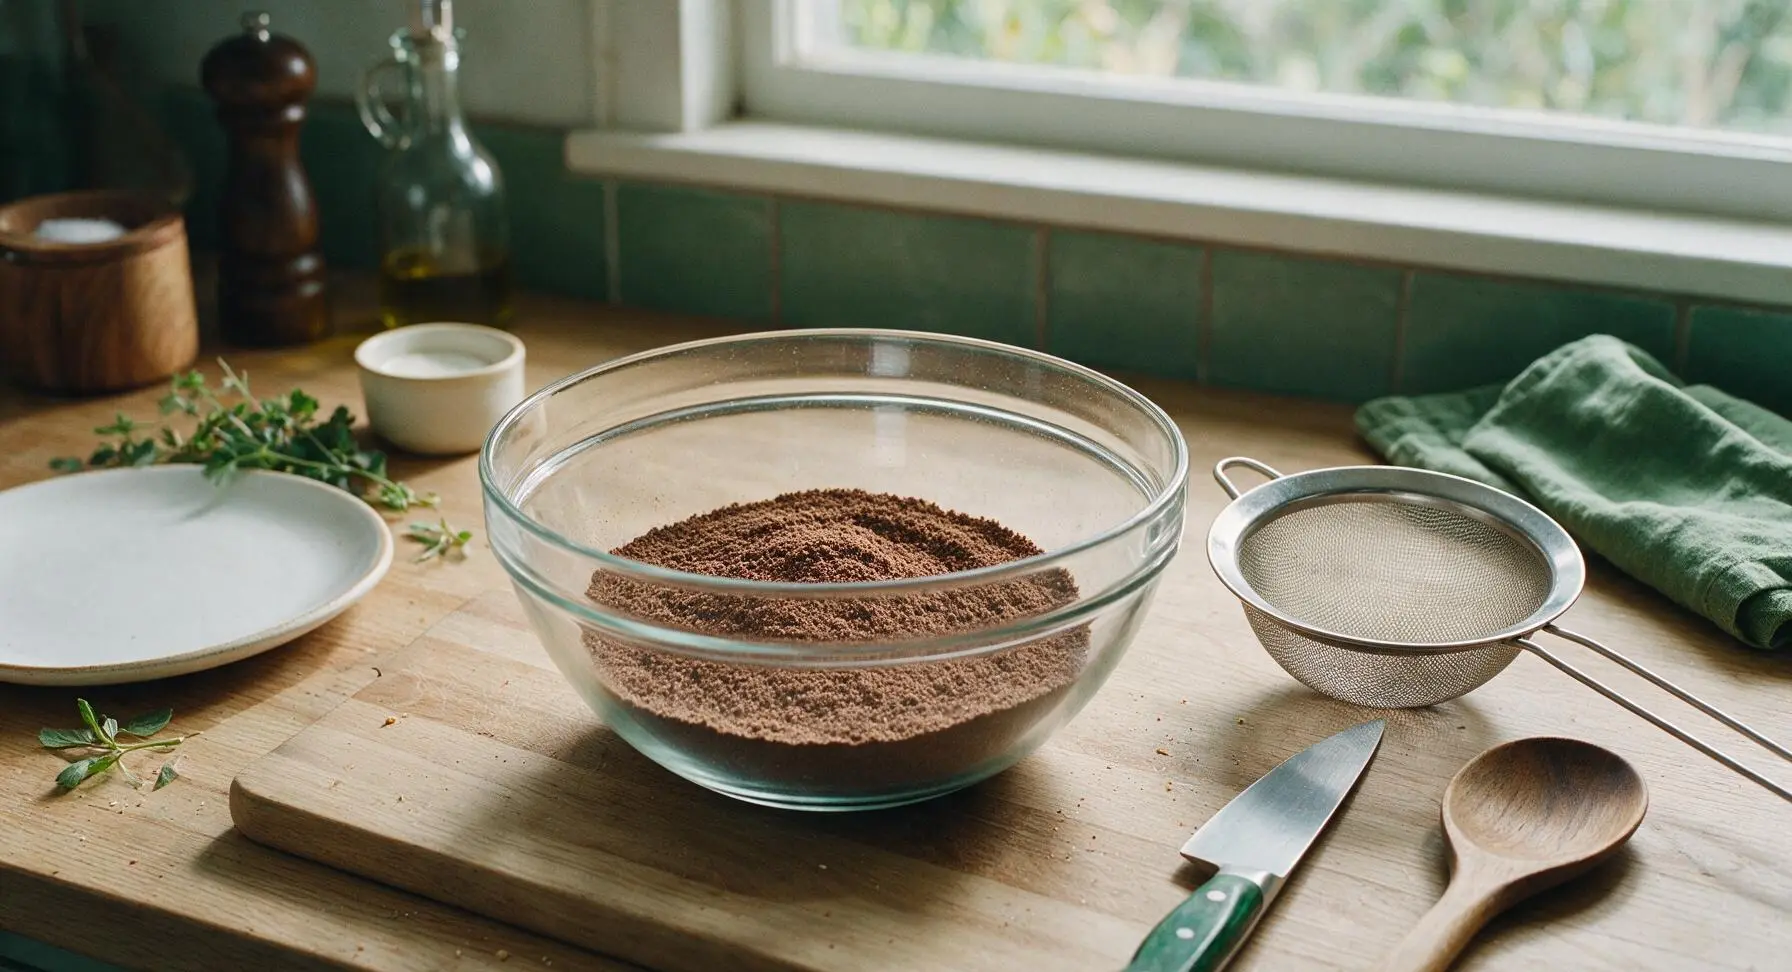
Set the 6-inch stainless steel fine-mesh sieve across the top of the 2.5-quart clear glass mixing bowl. Measure 1 cup unsweetened Dutch-processed cocoa powder, 1 1/2 cups granulated sugar, and 3/4 cup cornstarch using the matte white ceramic dry measuring cups, and add them to the sieve. Gently tap the side of the sieve to sift all ingredients into the bowl below, breaking up any small clumps of cocoa or cornstarch with the back of a clean spoon as you work. Discard any hard, dry clumps that cannot be pressed through the mesh. The sifted mixture should be uniformly fine, dark brown, and completely free of large lumps.
Step 1
step1:Sift Core Dry Ingredients
Step 1
step1:Sift Core Dry Ingredients
2

Add Remaining Dry Goods

Keep the sieve set to the right of the bowl. Measure 1 cup non-fat dry milk powder, 1 teaspoon fine sea salt, 2 teaspoons pure vanilla powder, and 1/2 teaspoon instant espresso powder using the stainless steel measuring spoons and dry measuring cups, and add them directly on top of the sifted cocoa-sugar-cornstarch base in the mixing bowl. Do not pack the dry milk powder when measuring; spoon it lightly into the measuring cup and level the top with a flat edge for accurate thickening ratios.
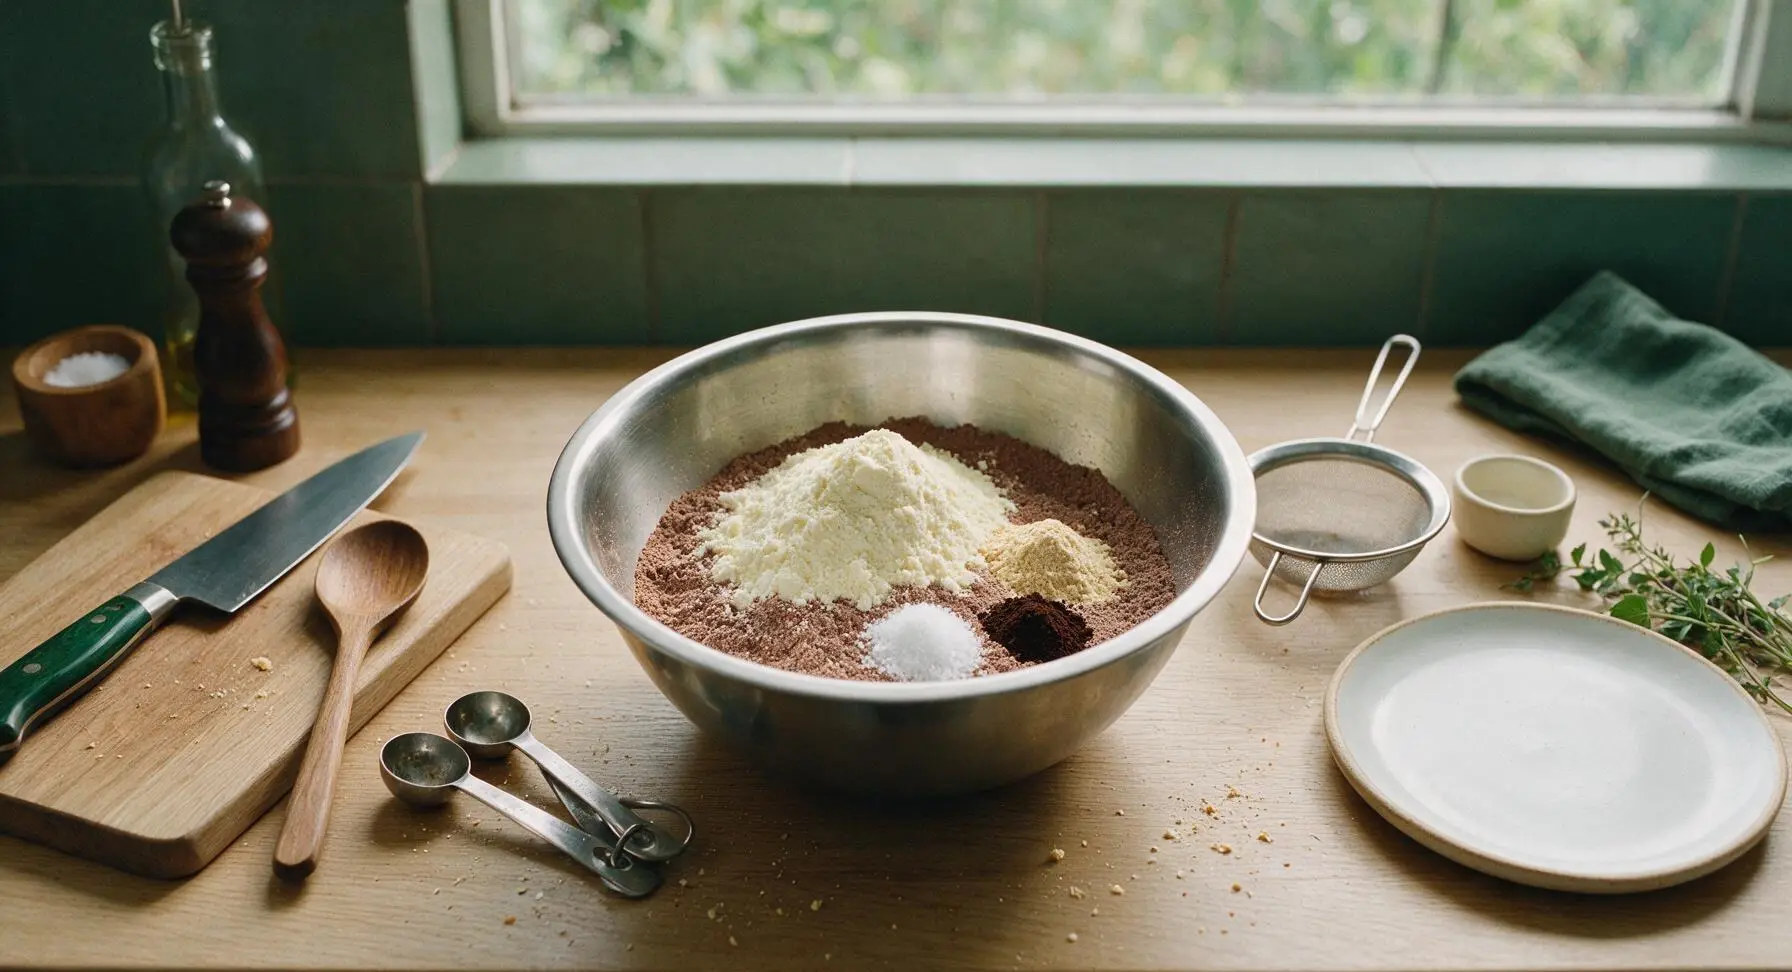
Step 2
step2:Add Remaining Dry Goods
3

Whisk Until Uniform

Use the 10-inch stainless steel balloon whisk to stir all the dry ingredients together for 60 to 90 seconds, scraping the bottom and curved sides of the glass bowl frequently to ensure no pockets of unblended cornstarch or cocoa get trapped at the edges. The finished mix should be a consistent, even medium-dark brown color, with no streaks of white or tan powder visible across the entire batch.
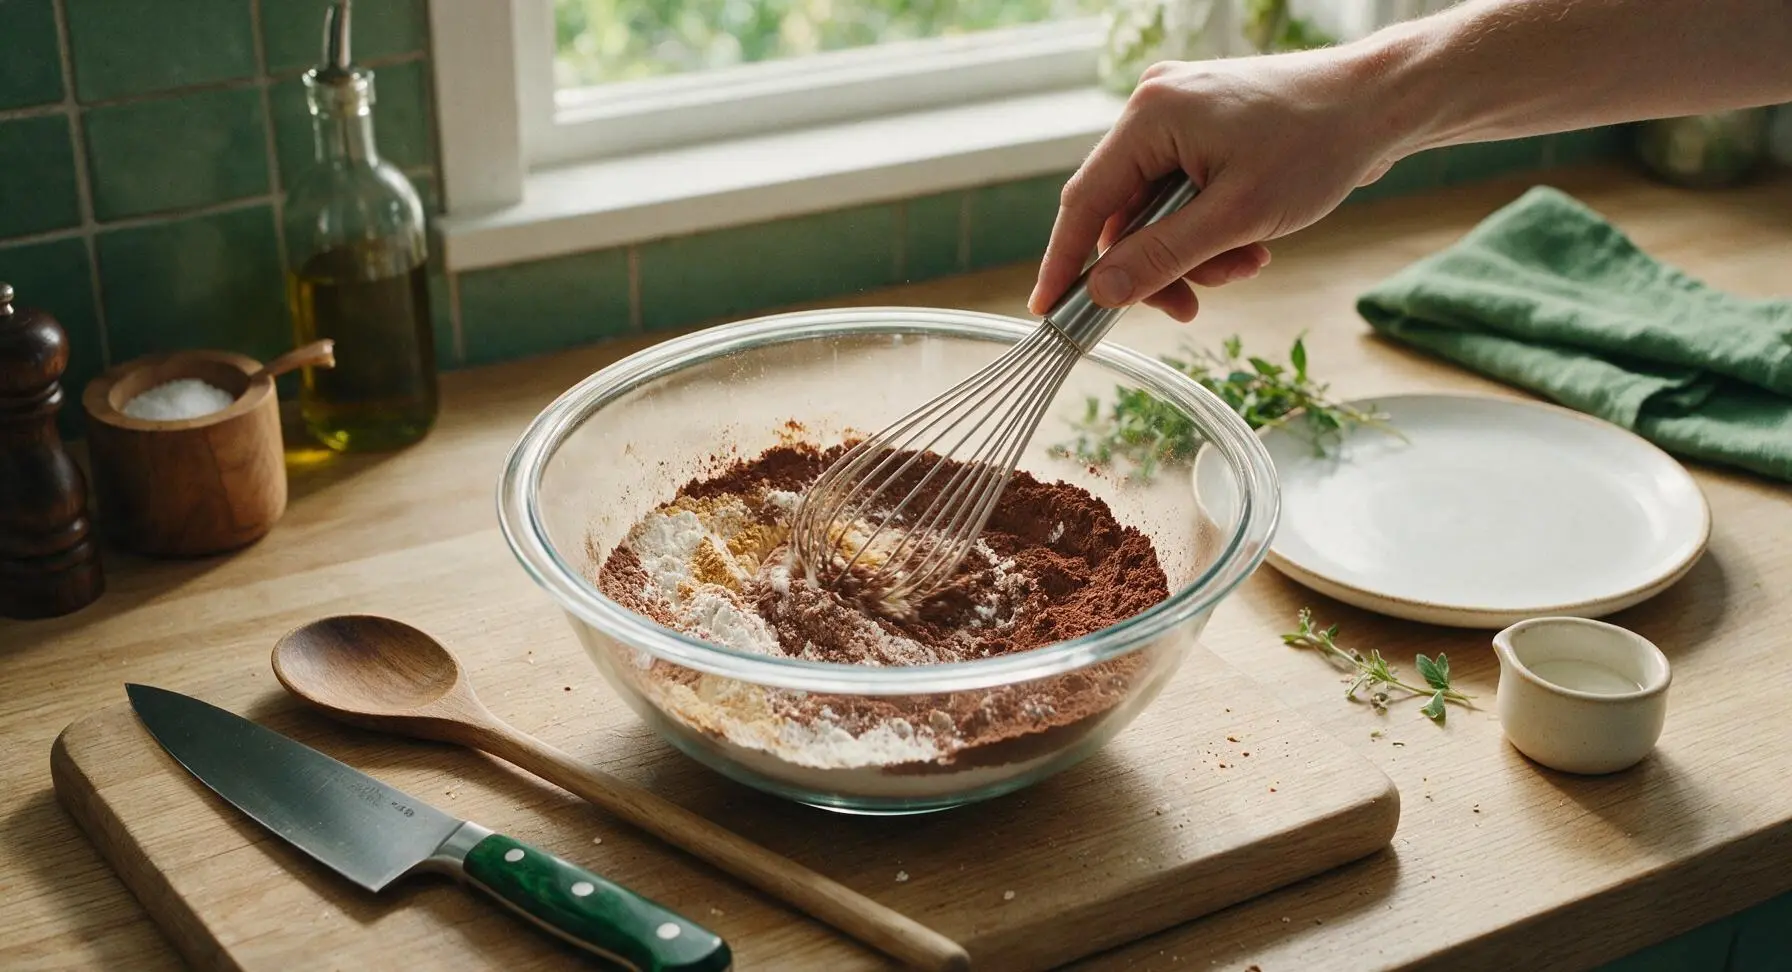
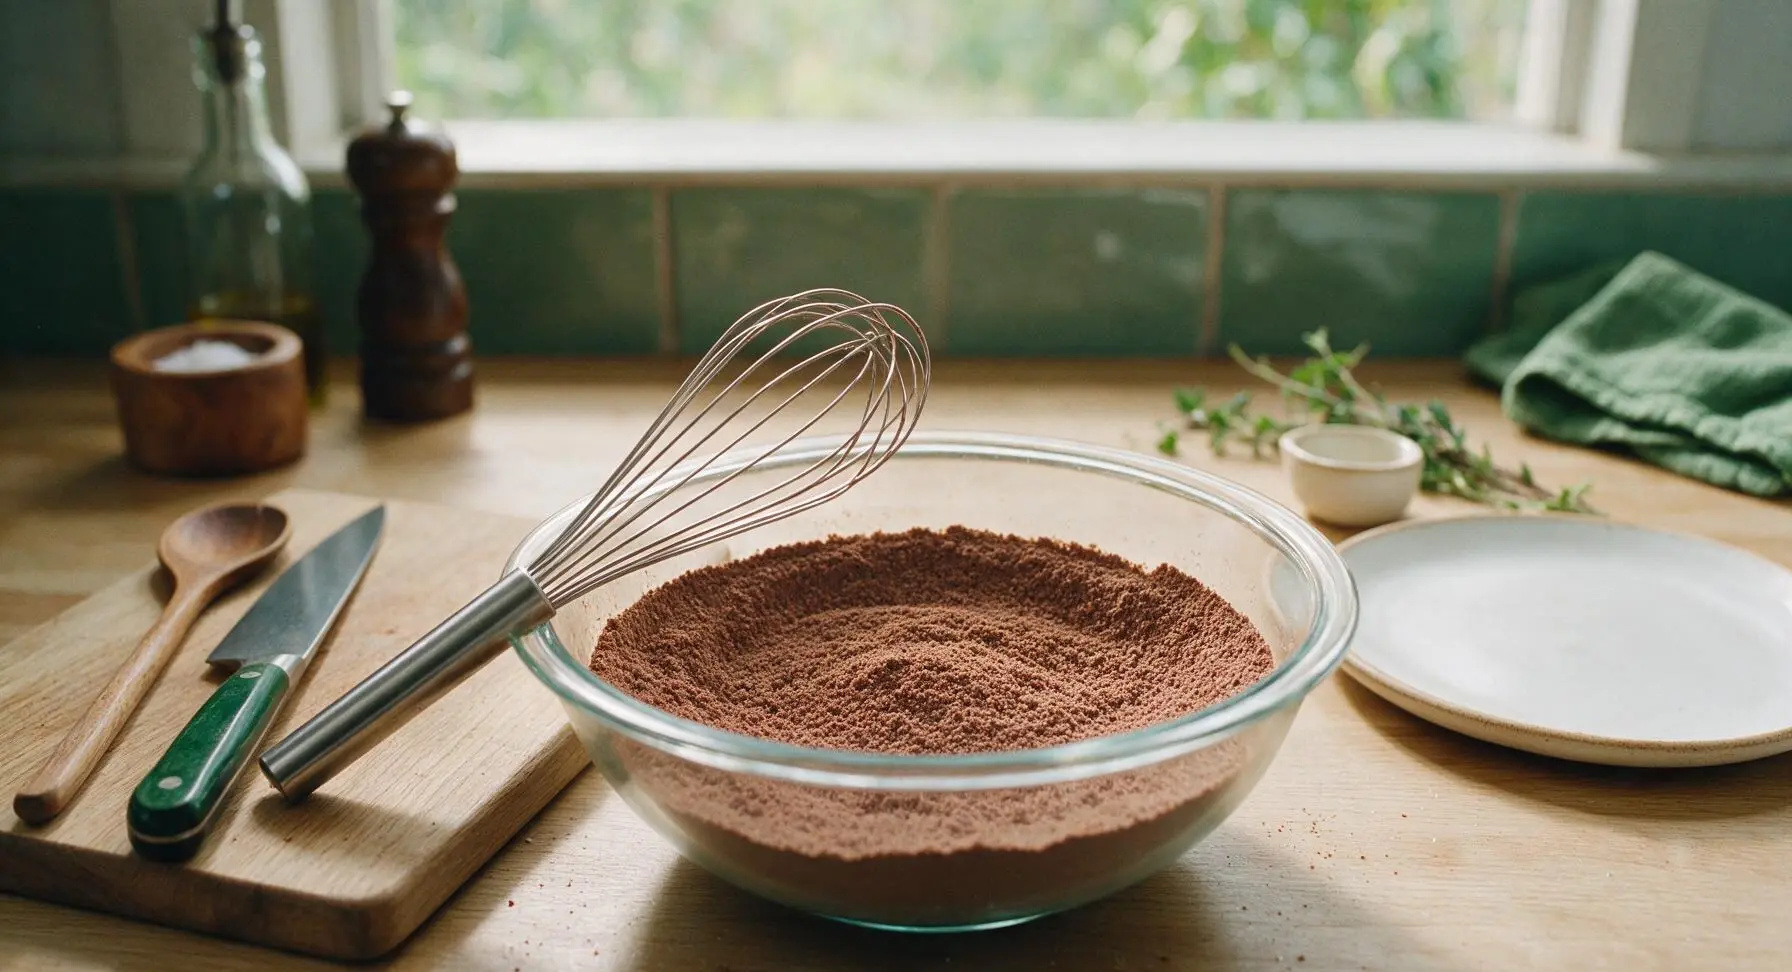
Step 3
step3:Whisk Until Uniform
Step 3
step3:Whisk Until Uniform
4

Check for Hidden Clumps

Run the whisk through the center of the blended mix and press any small, soft clumps (most often from dry milk powder or undissolved cocoa) against the side of the bowl to break them up completely into fine powder. For the absolute smoothest finished pudding, you can sift the entire blended mix a second time if you notice more than 4-5 small clumps, though this step is optional for casual home use. The final mix should flow freely like fine sand when you lift a scoop with the whisk.
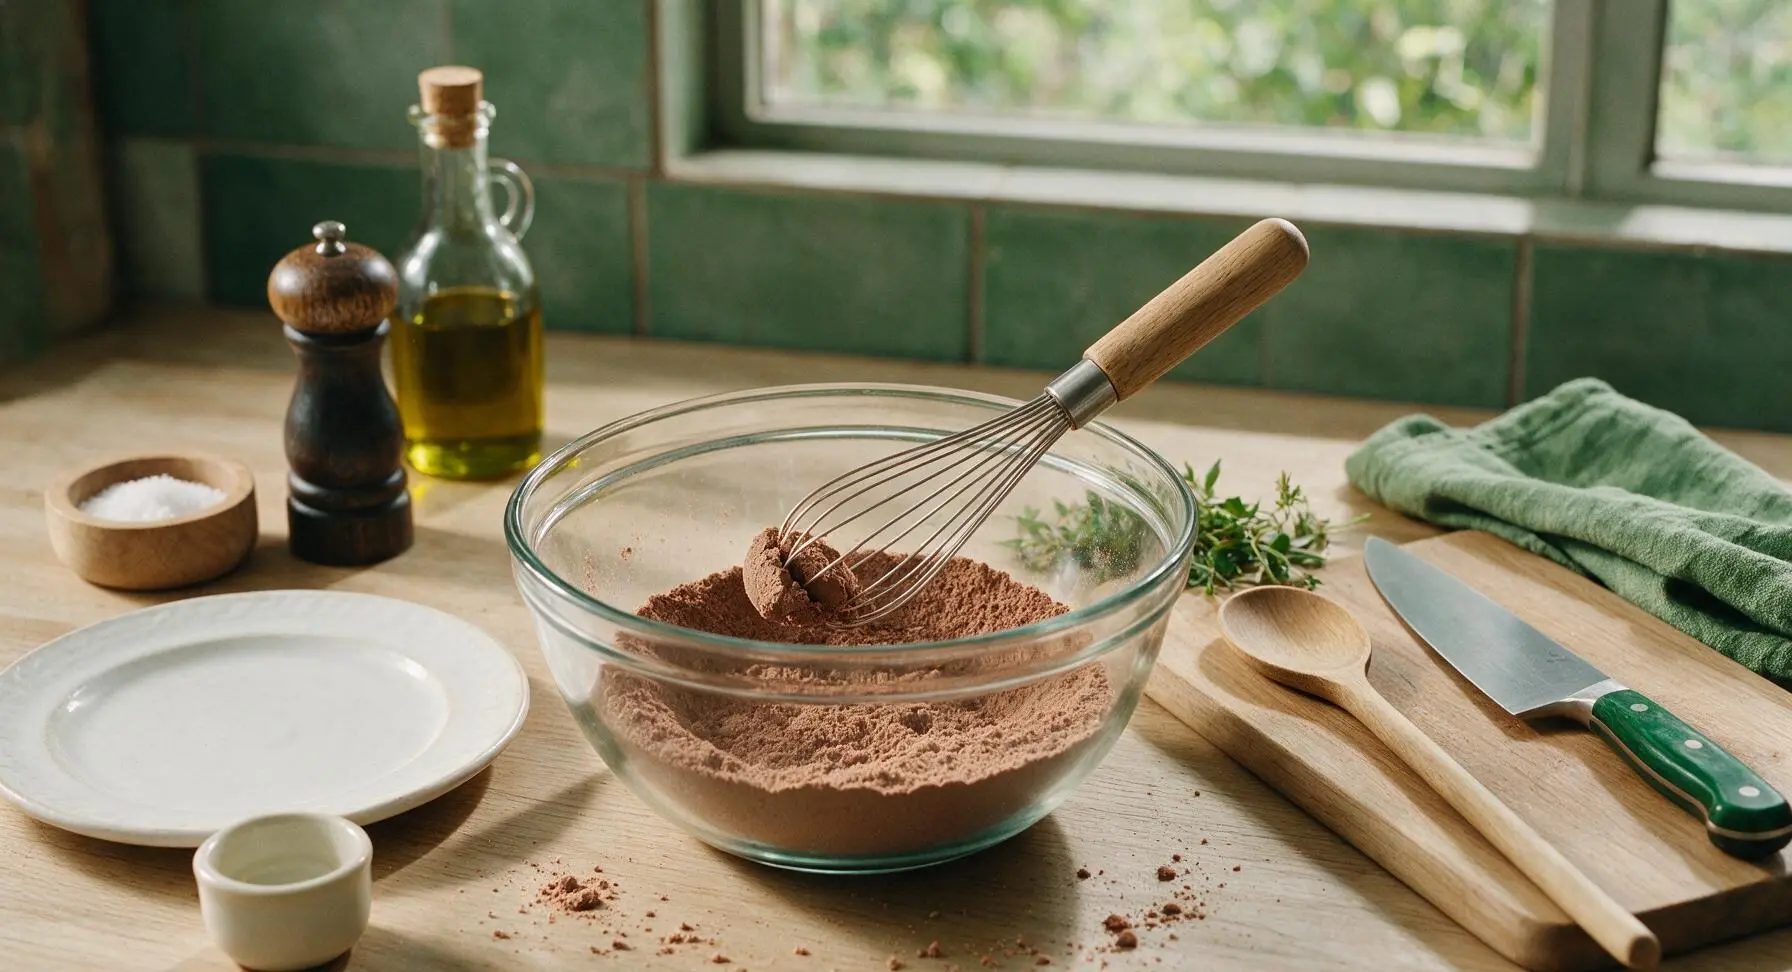
Step 4
step4:Check for Hidden Clumps
5

Transfer to Storage Jar

Hold the mixing bowl at a slight angle over the open, lid-off 32-ounce clear glass storage jar positioned center-right on the counter. Use the whisk to gently guide the dry pudding mix into the jar in a slow, steady stream, taking care not to spill powder over the counter edges. Tap the side of the jar gently every few seconds as you pour to settle the mix and eliminate air gaps, so the entire batch fits easily inside without overflow.
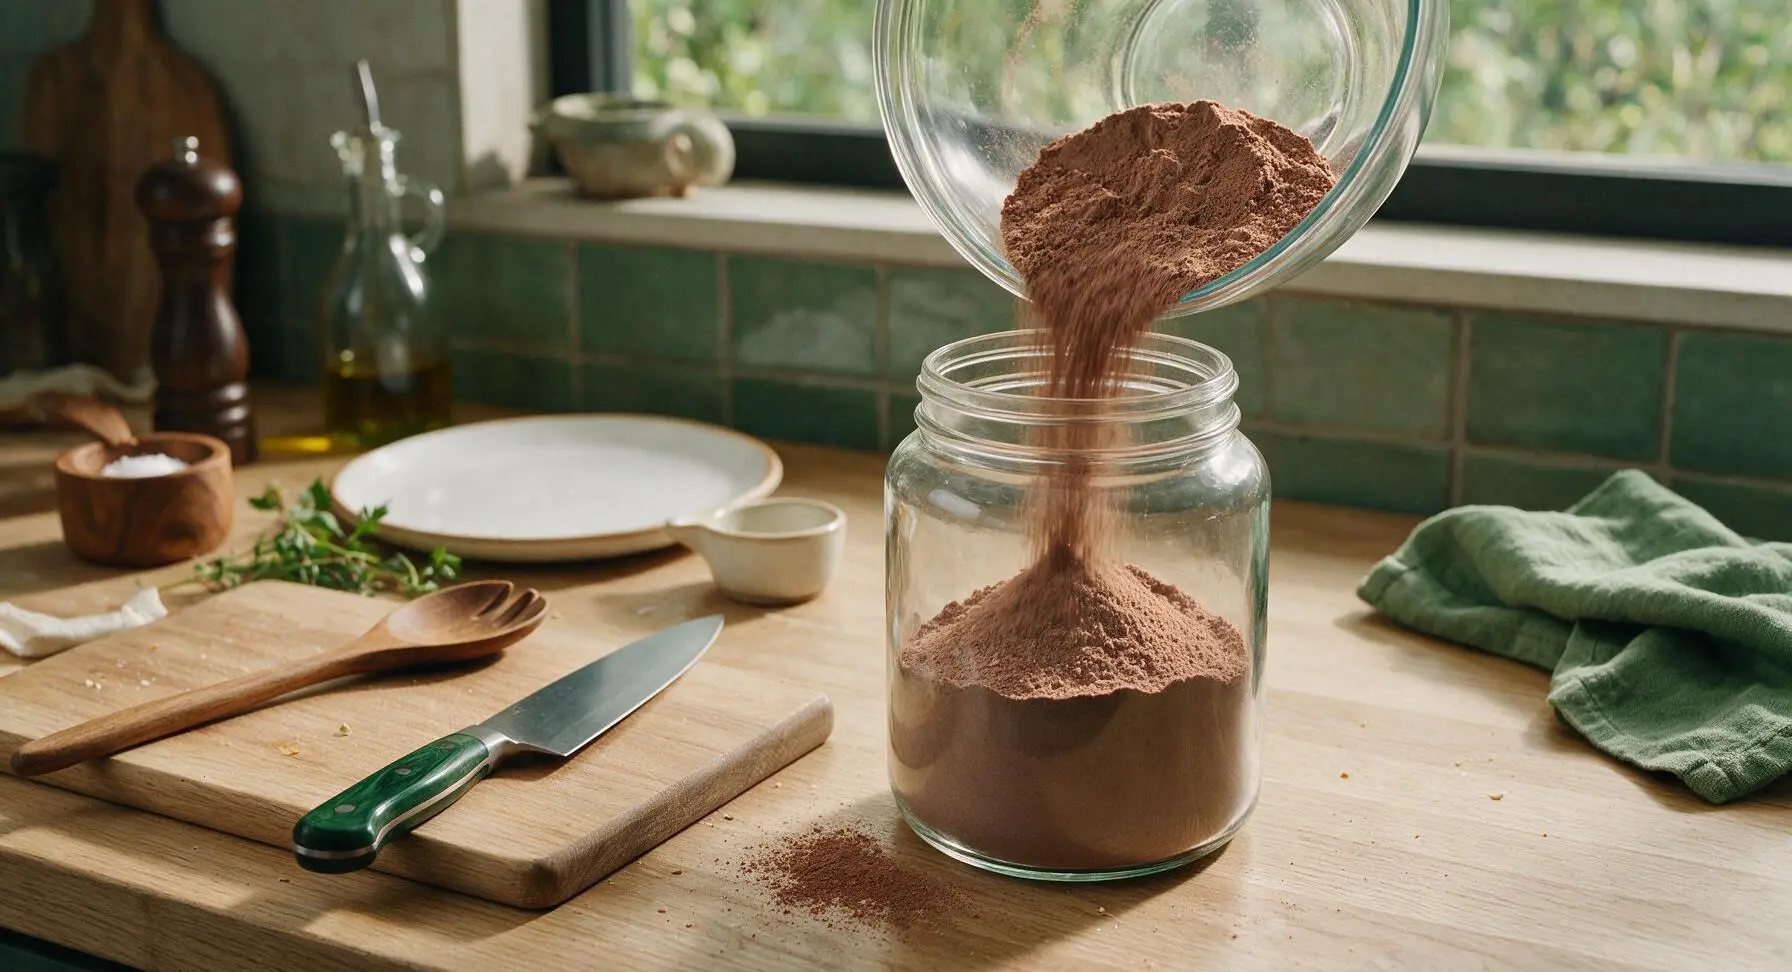
Step 5
step5:Transfer to Storage Jar
6

Seal Jar Tightly

Wipe any stray pudding mix from the rim and outer threads of the glass storage jar with the corner of the cream linen towel, then screw the matte white plastic lid on tightly to create a fully airtight seal. Stored in a cool, dark pantry away from direct heat or stove moisture, the mix will stay fresh and usable for up to 6 months.
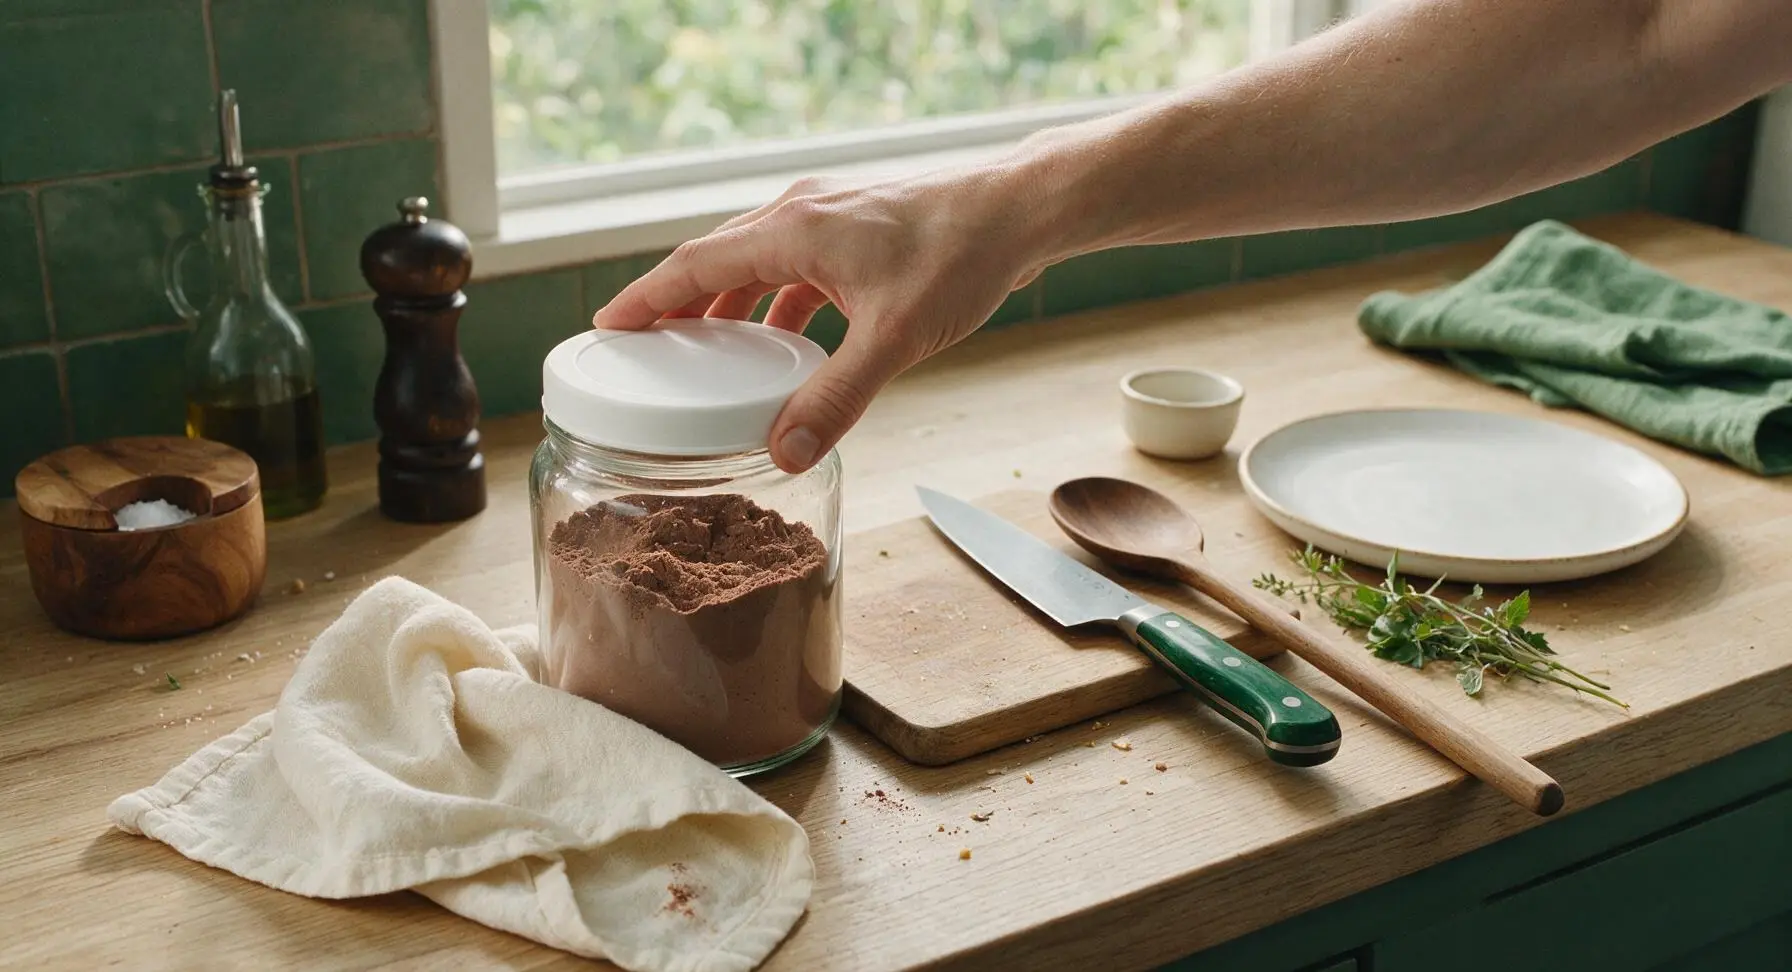
Step 6
step6:Seal Jar Tightly
7

Prepare Test Pudding

To confirm the mix sets correctly, measure 1/3 cup of the instant pudding mix back out of the sealed jar into one of the 6-ounce fluted clear glass dessert cups. Pour in 1/2 cup of cold whole milk, then whisk continuously with the balloon whisk for 2 full minutes, until the mixture is completely smooth and just starting to thicken to a light custard consistency. Let the pudding rest for 5 minutes in the refrigerator to set fully to a soft, creamy, spoonable texture.
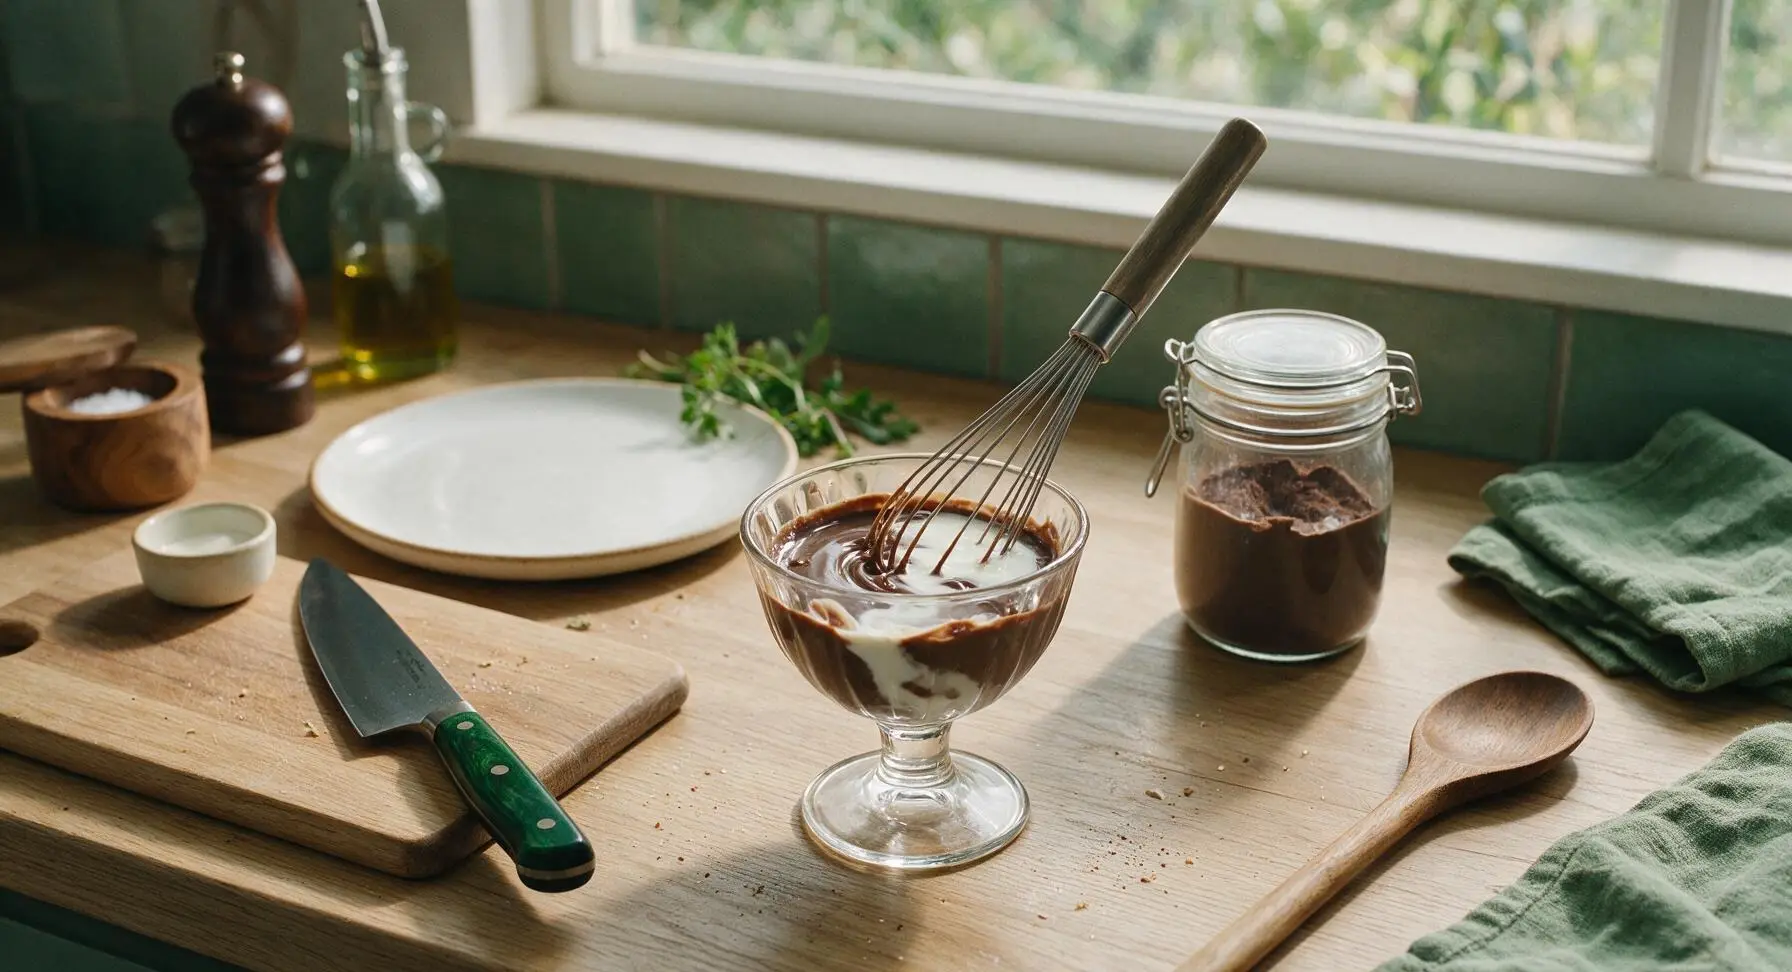
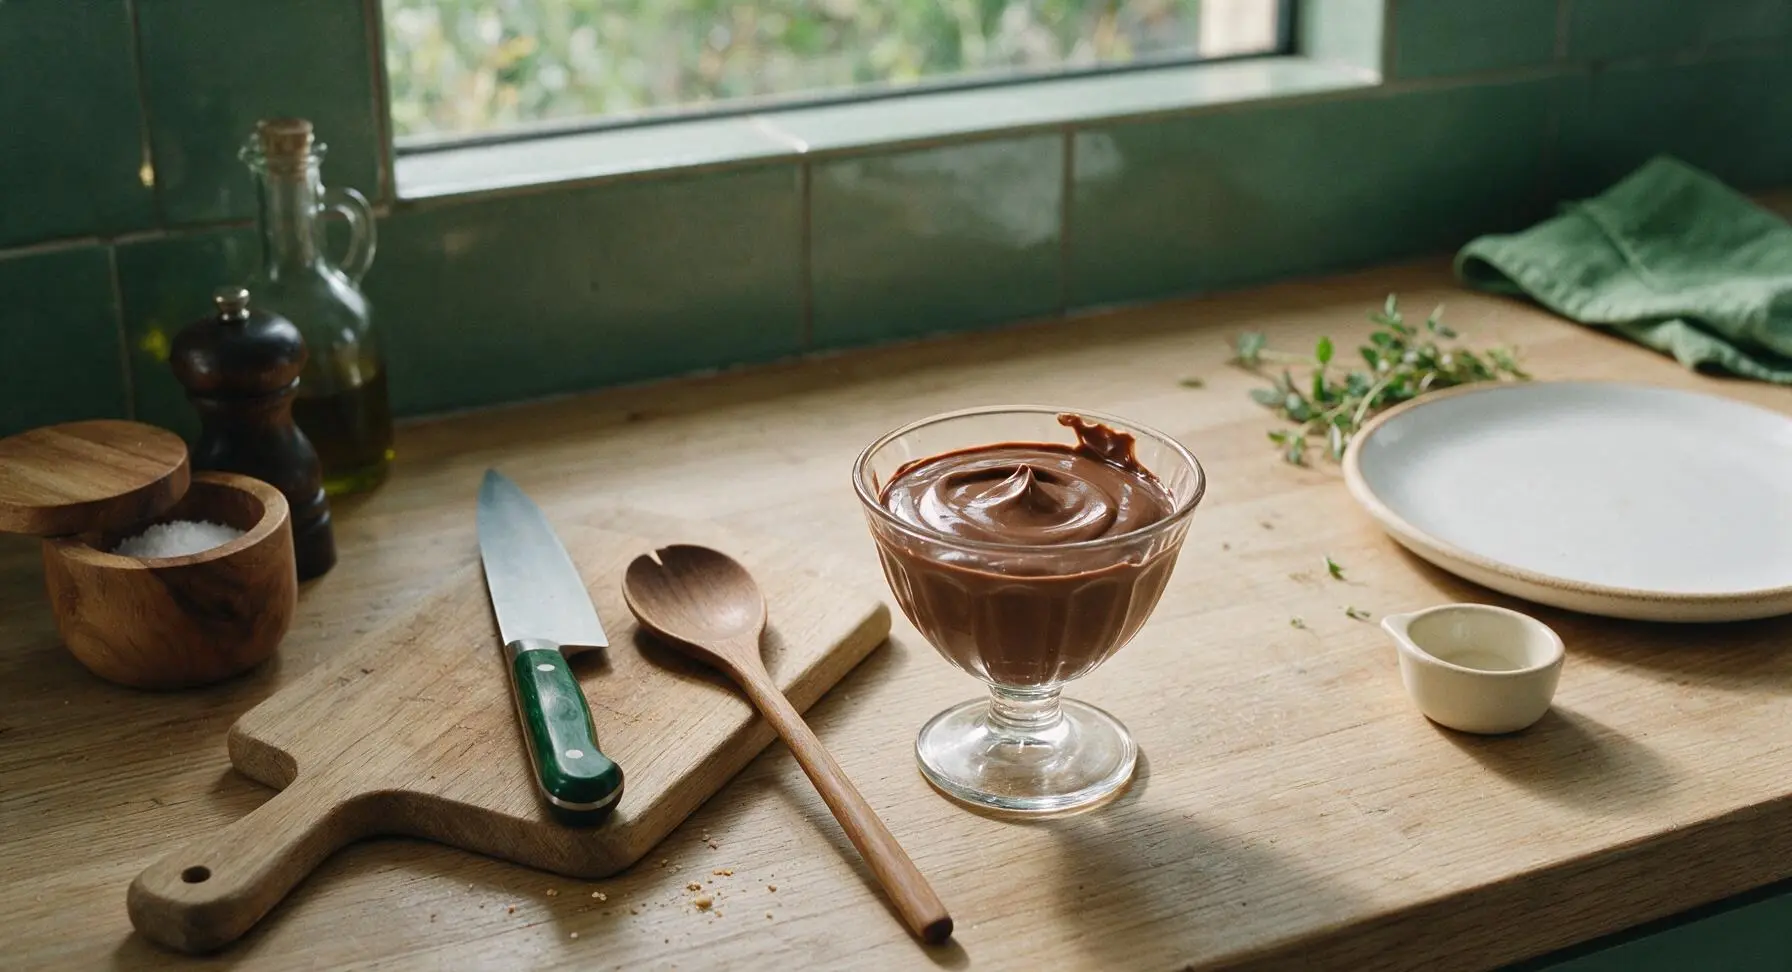
Step 7
step7:Prepare Test Pudding
Step 7
step7:Prepare Test Pudding
8

Garnish for Serving

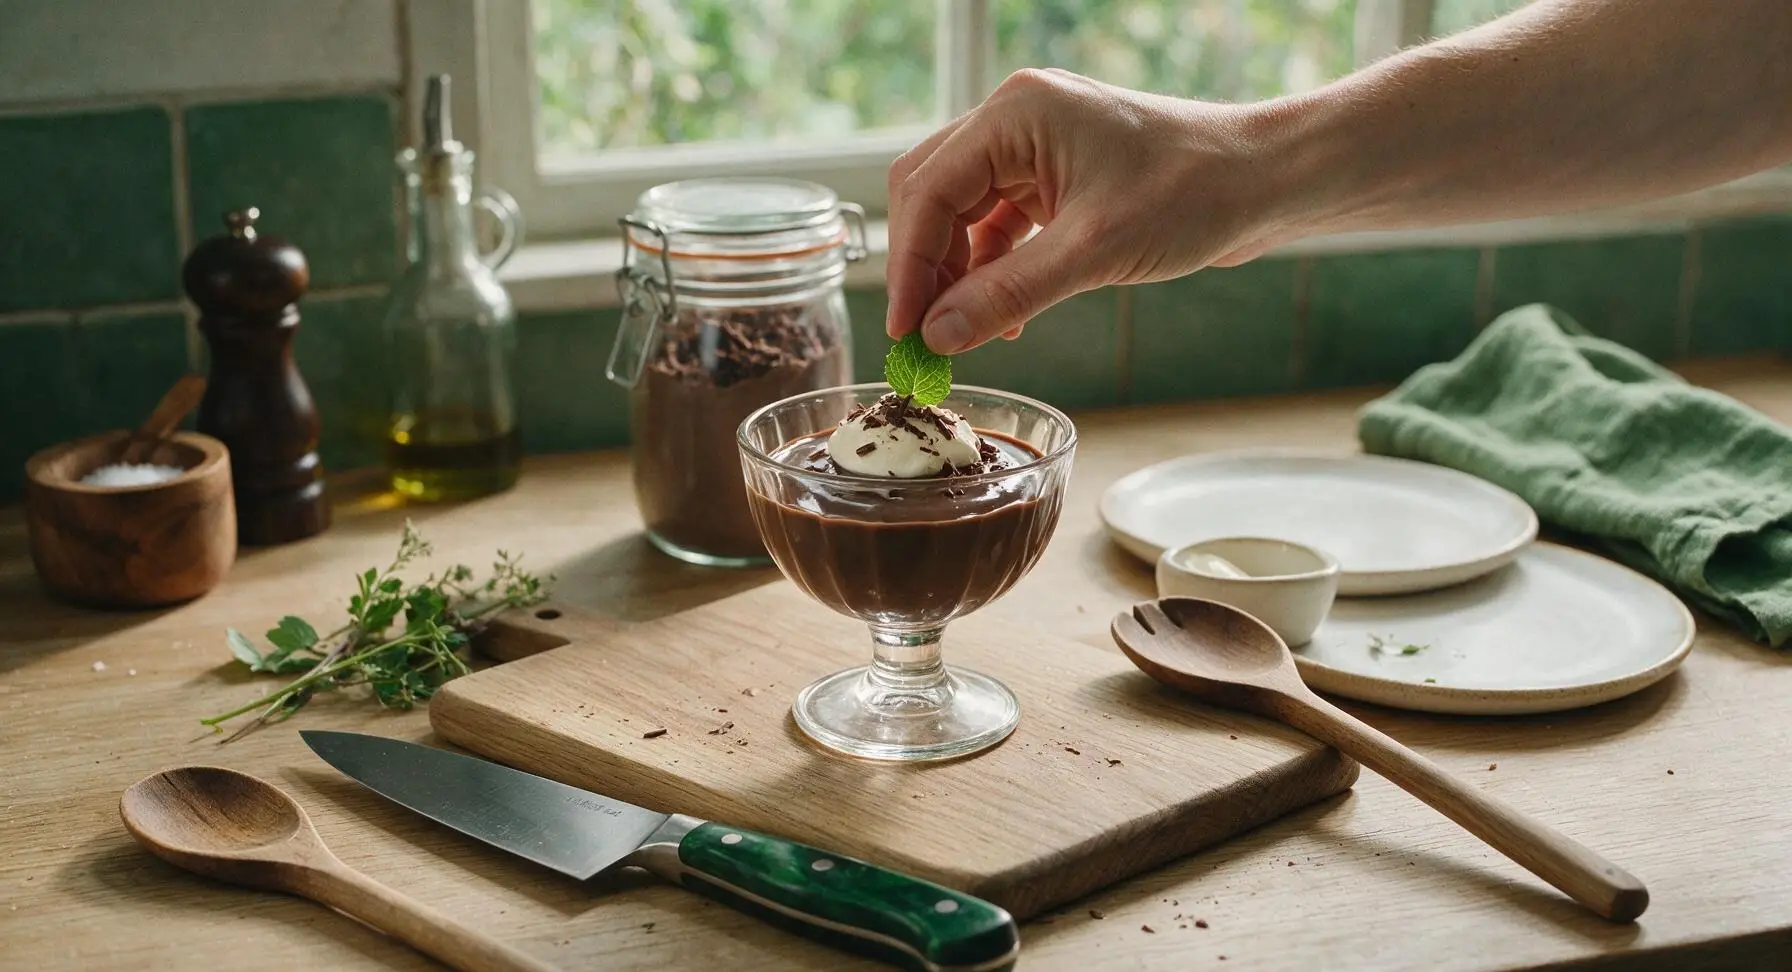
Top the set chocolate pudding with a 1-tablespoon dollop of softly whipped heavy cream, a light sprinkle of dark chocolate shavings from the white ramekin, and one small fresh chocolate mint leaf plucked from the windowsill terracotta pot for a bright, herbaceous contrast. The pudding is ready to serve immediately, or can be covered and chilled for up to 3 days.
Step 8
step8:Garnish for Serving

Tips

1.Use Dutch-processed cocoa instead of natural unsweetened cocoa for a smoother, deeper, less bitter chocolate flavor and darker, richer pudding color; natural cocoa will work in a pinch but produces a slightly tarter, lighter pudding with a more muted chocolate profile.
2.Do not omit the non-fat dry milk powder: it dissolves instantly in cold milk to create a creamy, rich texture without stovetop heating, which is what makes this mix 'instant'—without it, you would need to cook the pudding on the stove to activate the cornstarch thickener.
3.For an extra-luxurious pudding, substitute cold half-and-half for whole milk when mixing up a serving; avoid using thickened barista-blend non-dairy milks, as their added stabilizers can create a gummy, overly firm pudding texture instead of a soft, creamy set.


✨ You May Also Like

Desserts & Baking
🍜 Italy

Creamy, coffee-kissed classic Northern Italian no-bake dessert, with layers of rum-spiked mascarpone cream, soft ladyfingers, and a rich cocoa dusting.

⏱️ 4 hours 3Desserts & Baking ★ 4.7
Desserts & Baking
🍜 France

Flaky, shatteringly crisp, buttery French croissants with golden exteriors and soft, airy layered interiors, perfect for pairing with coffee for a special morning treat.

⏱️ 12 hours Desserts & Baking ★ 4.5
Desserts & Baking
🍜 United States

Warm, spiced baked apples topped with a fluffy golden biscuit crust, this cozy dessert pairs perfectly with vanilla ice cream for cool-weather comfort.

⏱️ 55 minuteDesserts & Baking ★ 4.6
Desserts & Baking
🍜 United States

A star-spangled classic American blueberry pie with buttery flaky crust and bright sweet-tart filling, perfect for summer patriotic gatherings.

⏱️ 1 hour 25Desserts & Baking ★ 4.7
Desserts & Baking
🍜 United States

A beloved no-bake regional Maine candy with a chewy coconut-potato center coated in rich dark chocolate, a New England holiday staple since the 1870s.

⏱️ 2 hours 3Desserts & Baking ★ 4.8
Desserts & Baking
🍜 France

Luxuriously creamy, floral frozen custard made with aromatic Tahitian vanilla beans, boasting a smooth, rich texture that melts slowly on the tongue.

⏱️ 3 hours 3Desserts & Baking ★ 4.5

instant chocolate pudding mix:Frequently Asked Questions

1.How long does this homemade instant chocolate pudding mix stay shelf-stable? ▾
Stored in a tightly sealed, airtight container in a cool, dark pantry away from heat or moisture, this mix stays fresh for 3 to 4 months. Always use completely dry measuring cups and scoops when portioning it out to avoid introducing water that can cause clumping or early spoilage.
2.Do I have to cook the pudding when I use this mix, or is it truly no-cook? ▾
It’s truly no-cook! To make pudding, you just whisk ½ cup of the mix with 2 cups of cold regular or plant-based milk for 1 to 2 minutes until smooth, then let it rest 5 minutes to set. No stovetop heating, no egg tempering, and no long simmer times required.
3.Can I use natural unsweetened cocoa powder instead of Dutch-processed for this mix? ▾
You can swap natural cocoa 1:1 for Dutch-processed if that’s what you have on hand, but note the flavor will be slightly sharper and fruitier, less deep and velvety than the Dutch-processed version. The set will be identical, so the swap only impacts final flavor, not texture.
4.Why is non-fat dry milk powder included in the mix? ▾
Non-fat dry milk powder adds the creamy, milky base that lets this mix work instantly without cooking, and it boosts shelf stability so you don’t need to refrigerate the dry mix. It dissolves smoothly in cold milk to create that luxuriously thick, rich texture you expect from instant pudding, no artificial creamers needed.
5.How do I prevent clumps when mixing up a batch of pudding from this mix? ▾
For zero clumps, add the measured mix to your bowl first, then slowly pour in cold milk while whisking constantly in a steady circular motion. If you still get tiny lumps, pour the mixed pudding through a fine-mesh sieve before letting it set, or use an immersion blender for 10 seconds to smooth it out.
6.Can I make this mix dairy-free for vegan diets? ▾
Absolutely! Swap the non-fat dry milk powder for your favorite shelf-stable non-dairy dry milk powder (soy, coconut, or oat dry milk all work great), then when making pudding, mix it with cold oat, almond, soy, or coconut milk instead of dairy milk. The set and texture will be nearly identical to the original.
7.What does the fine sea salt do in this pudding mix? ▾
The small amount of fine sea salt cuts through cloying sweetness, amplifies the deep chocolate notes from the cocoa, and balances the overall flavor so the pudding doesn’t taste flat. Don’t skip it—you won’t taste salty flavor, just a richer, more well-rounded chocolate taste in every bite.
8.Can I reduce the sugar in this mix to make it less sweet? ▾
You can cut the granulated sugar by up to ¼ cup without impacting the texture or set of the final pudding, since cornstarch (not sugar) is the main thickener here. If you cut more than that, the pudding may taste overly bitter from the unsweetened cocoa, even with the salt balancing flavors.
9.Can I use a sugar substitute instead of granulated sugar for a lower-sugar version? ▾
Yes, you can swap granulated sugar 1:1 for a baking-specific granulated sugar substitute that measures like sugar, such as an erythritol blend or monk fruit sweetener. Avoid liquid sweeteners, as those add moisture to the dry mix and ruin its shelf stability, causing clumping and spoilage.
10.Why is cornstarch used in this mix instead of another thickener? ▾
Cornstarch creates that perfectly smooth, velvety, soft set you want from chocolate pudding, and it dissolves easily in cold liquid without cooking when mixed in the right ratio. It also has a neutral flavor that won’t compete with chocolate, unlike flour or arrowroot which can add a chalky, starchy aftertaste.
11.Can I use this mix to make other treats besides plain chocolate pudding? ▾
Definitely! Use it as a base for no-bake chocolate pie filling, layer it in parfaits with whipped cream and berries, blend it into milkshakes for extra thickness, stir a spoonful into hot milk for quick hot cocoa, or use it as a creamy filling for homemade whoopie pies and snack cakes.
12.How should I store finished pudding once it’s mixed and set? ▾
Once mixed and set, store leftover pudding in an airtight container in the refrigerator for up to 4 days. Press a piece of plastic wrap directly against the surface of the pudding before putting the lid on to prevent a tough, rubbery skin from forming on the top as it chills.
13.Why does my finished pudding turn out runny and not set properly? ▾
Runny pudding usually comes from using too little mix, adding too much milk, or not letting it rest the full 5 minutes after mixing. If it’s still runny after 5 minutes, whisk in an extra tablespoon of dry mix, let it rest another 3 minutes, and it will thicken right up to the perfect consistency.
14.Can I add mix-ins to the pudding when I make it? ▾
Absolutely! Once the pudding is mixed and starts to thicken after 2 to 3 minutes, fold in mini chocolate chips, crushed sandwich cookies, toasted nuts, a pinch of espresso powder to amp up chocolate flavor, a splash of vanilla, or a swirl of peanut butter. Adding mix-ins too early can cause them to sink.
15.Do I need any special equipment to make or store this mix? ▾
No special equipment is required! All you need is a large bowl to whisk the dry ingredients together, a funnel to pour the finished mix into storage jars, and a tight-sealing glass jar or food container to keep it in your pantry. A regular wire whisk works perfectly for mixing individual servings too.
16.Can I use this mix to make instant chocolate pudding pops? ▾
Yes! Mix the pudding as directed with cold milk, then pour it into popsicle molds, add sticks, and freeze for 4 to 6 hours until solid. The high dairy and cornstarch content keeps the pops creamy instead of icy, so you get rich, smooth fudgesicles without any artificial additives or stabilizers.
17.Is there a way to make the pudding extra rich and decadent? ▾
For an ultra-luxurious version, mix the dry pudding mix with cold half-and-half or full-fat canned coconut milk instead of regular skim or 2% milk. You can also stir in 1 tablespoon of melted, cooled unsalted butter per serving right after mixing to add an extra velvety, restaurant-quality mouthfeel.
18.Why is there a powdery aftertaste when I make my first batch? ▾
A powdery aftertaste usually means you didn’t whisk the mix long enough to fully hydrate the dry milk and cornstarch, or you used stale dry milk powder that has gone off. Make sure to whisk for a full 90 seconds when mixing, and always check that your dry milk is fresh before mixing up a big batch.
19.Can I make this mix in bulk to give as homemade gifts? ▾
Absolutely! This mix is perfect for gifting—just double, triple, or quadruple the recipe, portion it into decorative glass jars, and add a tag with mixing instructions. It stays fresh for months so recipients don’t have to use it right away, and it’s free of the artificial additives found in store-bought instant pudding.

Comments (7)

3 days ago

OMG this homemade instant chocolate pudding mix is such a game changer! I whipped up a big jar during my Sunday meal prep last week, and my kids have been begging for it every single night after dinner. No weird unpronounceable ingredients like the store-bought boxes, and it’s so rich and chocolatey? I even brought a scoop of the made-up pudding to our neighborhood potluck last night and three people asked for the recipe. Total win!

2 days ago

Wait how long does the dry mix stay good in the pantry? I’ve been wanting to make a big batch for camping trips this summer!

yesterday

So glad your family and neighbors loved it! The dry mix stays fresh in an airtight container for up to 3 months in the pantry — perfect for quick snacks, camping, or last-minute dessert cravings!

2 hours ago

No cook time?? Sign me up. I don’t have access to a full kitchen in my dorm and I’ve been craving something sweet that isn’t just vending machine candy. Made this with the oat milk I keep in my mini fridge and it turned out perfectly creamy, no lumps at all. Will be making this on repeat for late night study sessions.

1 week ago

Wait, do I have to use Dutch process cocoa for this? I only have regular unsweetened cocoa in my pantry right now and I don’t want to run to the grocery store if I don’t have to. Super excited to try this, I’ve been trying to swap out processed pantry staples for homemade versions lately!

5 days ago

Great question! Regular unsweetened cocoa works totally fine here — the pudding will just have a slightly deeper, more bitter chocolate note compared to using Dutch process. Feel free to add an extra teaspoon of sugar if you prefer a sweeter end result!

5 days ago

Finally! A chocolate pudding mix that doesn’t have hidden weird fillers or gluten cross-contamination warnings on the label. I have celiac so store-bought instant pudding is always a gamble for me, and this is so easy to mix up with ingredients I already trust. Tastes just like the stuff I loved as a kid, no stomach ache after. Win!

3 days ago

Oh thank you for mentioning this! My son has celiac and I’ve been searching for a safe pudding recipe he can take to school for snack time. Can’t wait to make this for him this weekend!

2 weeks ago

I used this mix to make a quick chocolate cream pie for my family dinner last Sunday and it turned out AMAZING. I just mixed it up, poured it into a pre-made graham cracker crust, topped it with whipped cream and some chocolate shavings, and everyone thought I spent hours on it. SO good, will be my go-to quick dessert hack from now on.

30 minutes ago

Obsessed with how customizable this is! I added a pinch of espresso powder to my dry mix and a dash of cinnamon, and it tastes like fancy restaurant chocolate mousse for a fraction of the price. I love that I can make small batches too so I don’t waste food when I’m just making a serving for myself.

5 minutes ago

Love those add-in ideas! Espresso powder really makes the chocolate flavor pop, and the cinnamon adds such a nice warm note. We’ve also had great results mixing in a little crushed peppermint during the holidays for a festive twist!

yesterday

Wait, did anyone else get lumps when they mixed this with cold milk? I followed the directions exactly but I still had little clumps of cornstarch? Flavor was great but the texture was a little off for me, any tips?

2 hours ago

I had that problem the first time too! I started putting the milk in first then slowly whisking in the dry mix a little at a time instead of dumping it all in at once, and no lumps since. Game changer for texture!

just now

Great tip from Tom! Another trick is to put the dry mix and milk in a mason jar, screw the lid on tight, and shake it for 30 seconds — that gets rid of lumps super fast without needing to whisk. Glad you liked the flavor otherwise!



