
instant pot bone broth
intro
Rich, collagen-packed Instant Pot bone broth with deep, savory flavor, ready in a fraction of stovetop time—perfect for sipping, soups, and quick weeknight meals.
Ingredients
Steps
Roast bones and aromatics
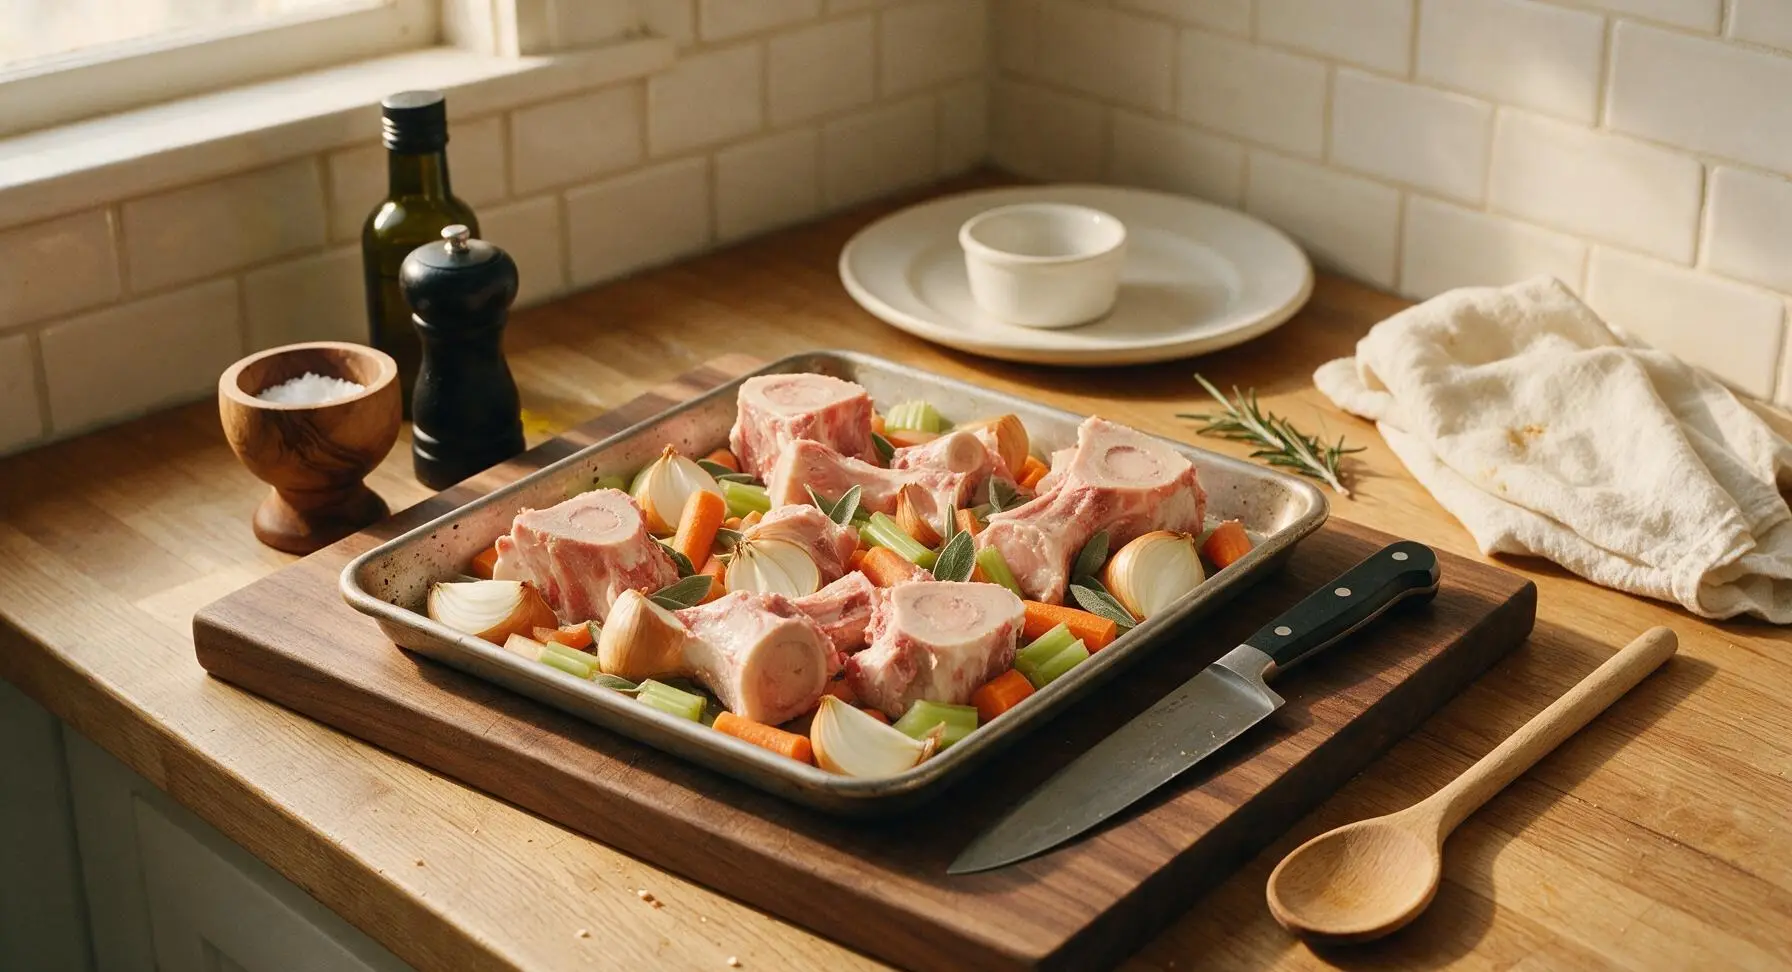
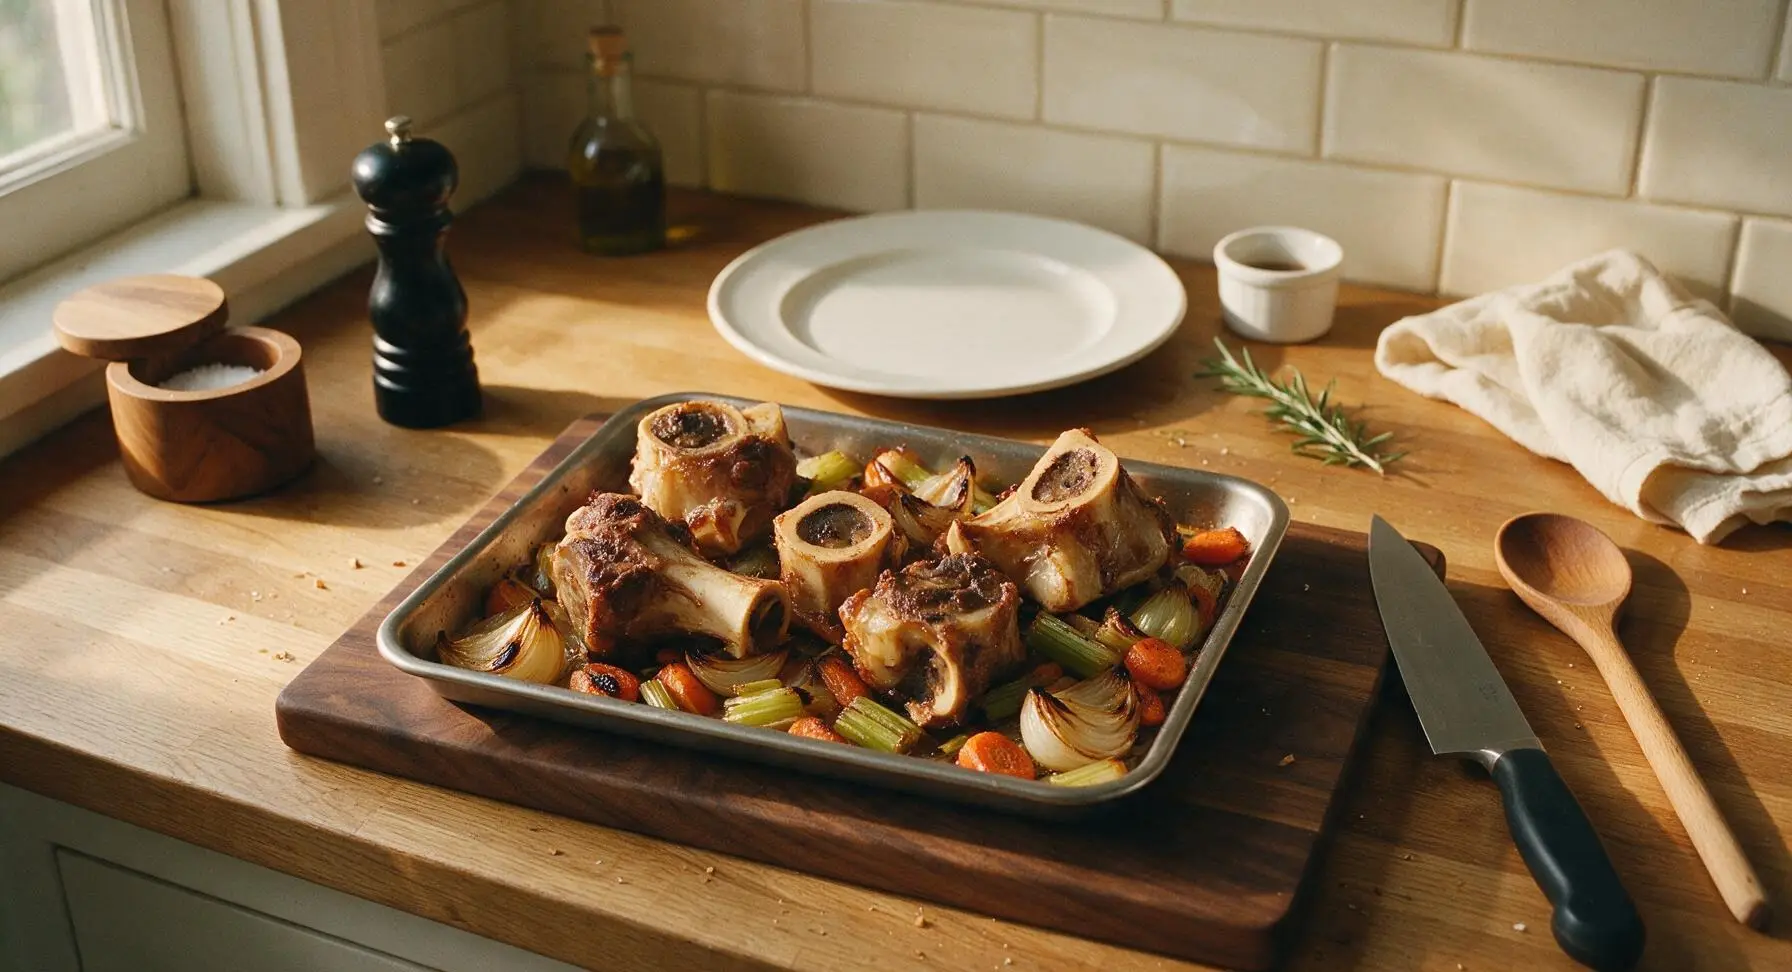
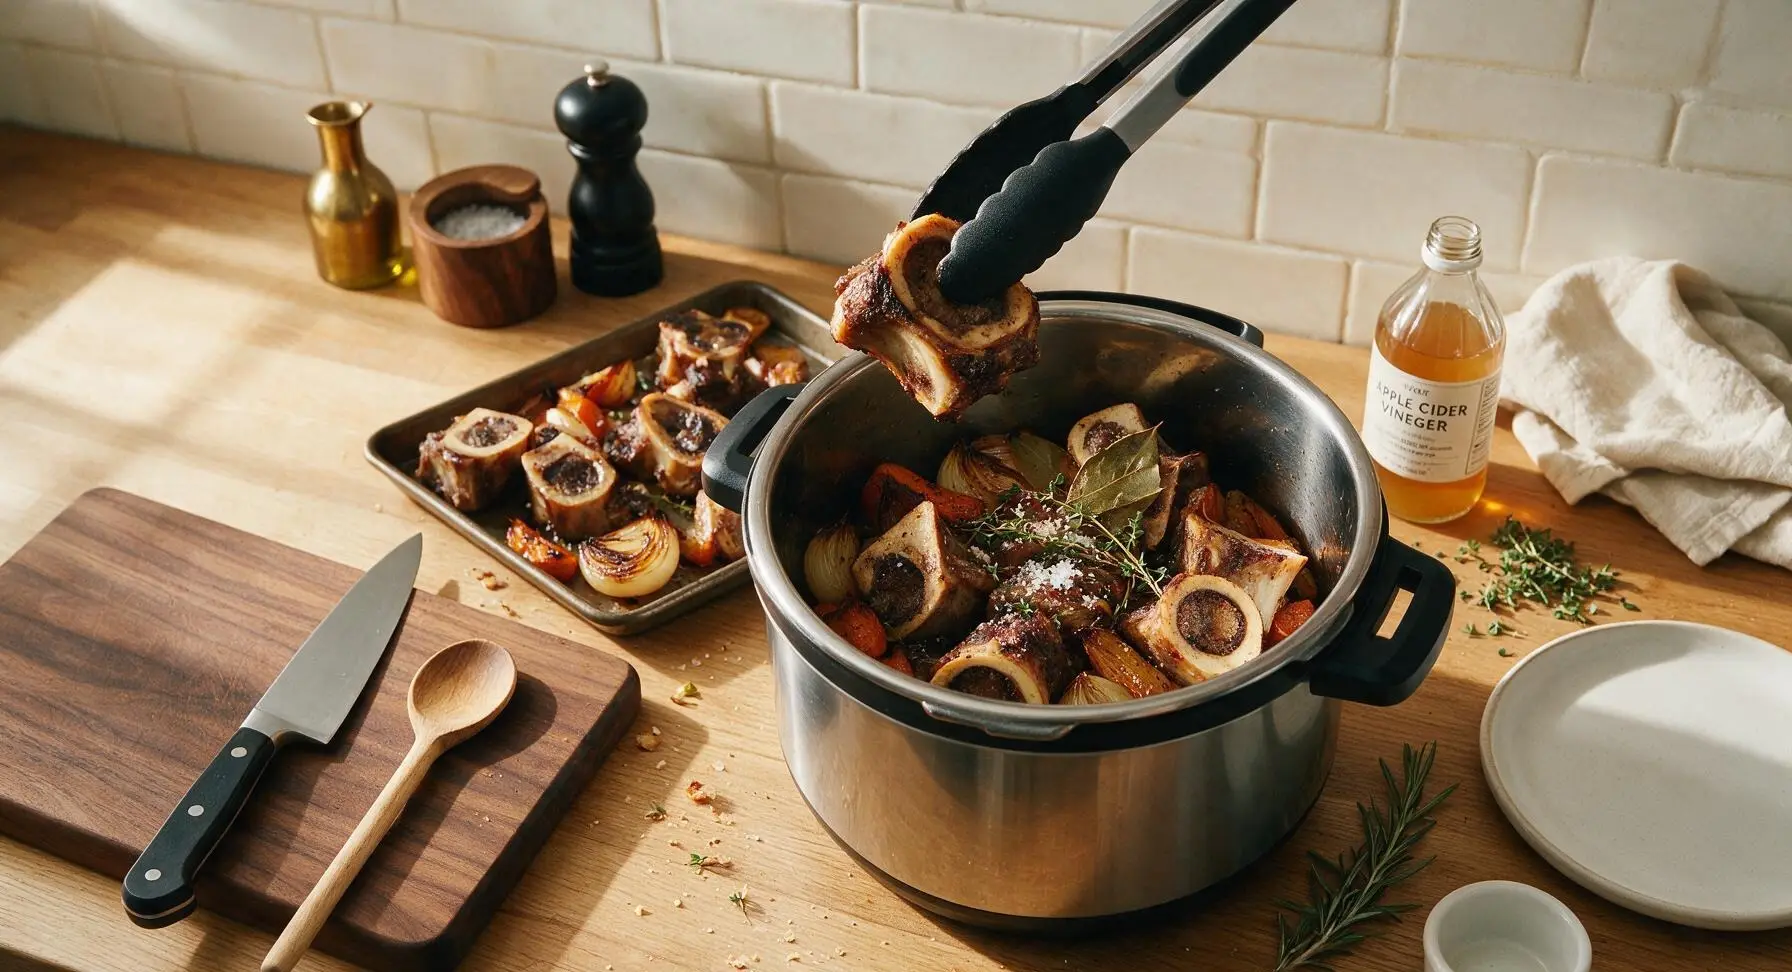
Preheat oven to 425°F (220°C). Arrange the 4 lbs of beef marrow and knuckle bones in a single layer on the rimmed stainless steel baking sheet, tuck the quartered onion, carrot chunks, and celery chunks around the bones. Roast for 30 minutes, until bones are deeply golden and vegetables have caramelized dark edges. This roasting step creates the rich, deep flavor that sets homemade broth apart from store-bought versions.
Transfer to Instant Pot
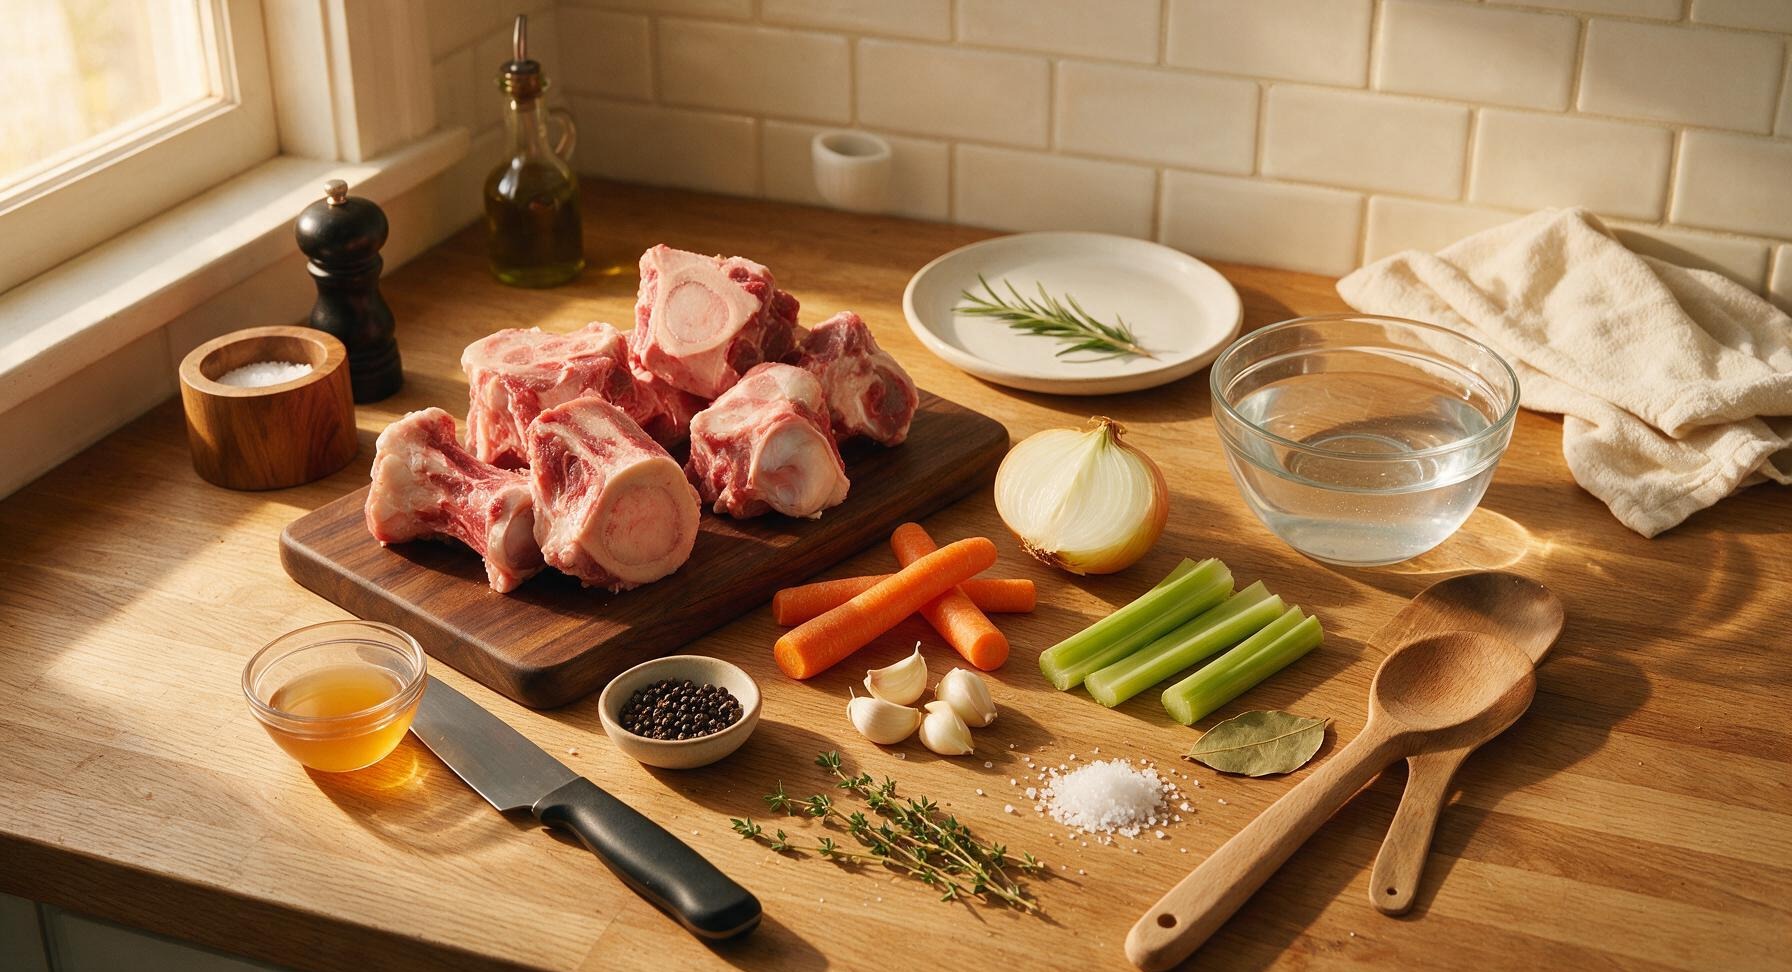
Using the matte charcoal silicone tongs, transfer all roasted bones and caramelized vegetables into the stainless steel inner pot of the Instant Pot. Add the crushed unpeeled garlic, whole black peppercorns, bay leaf, fresh thyme sprigs, and 2 tablespoons apple cider vinegar. The mild acid in the vinegar helps draw collagen and minerals out of the bones for a more nutrient-dense final broth.
Add cold filtered water
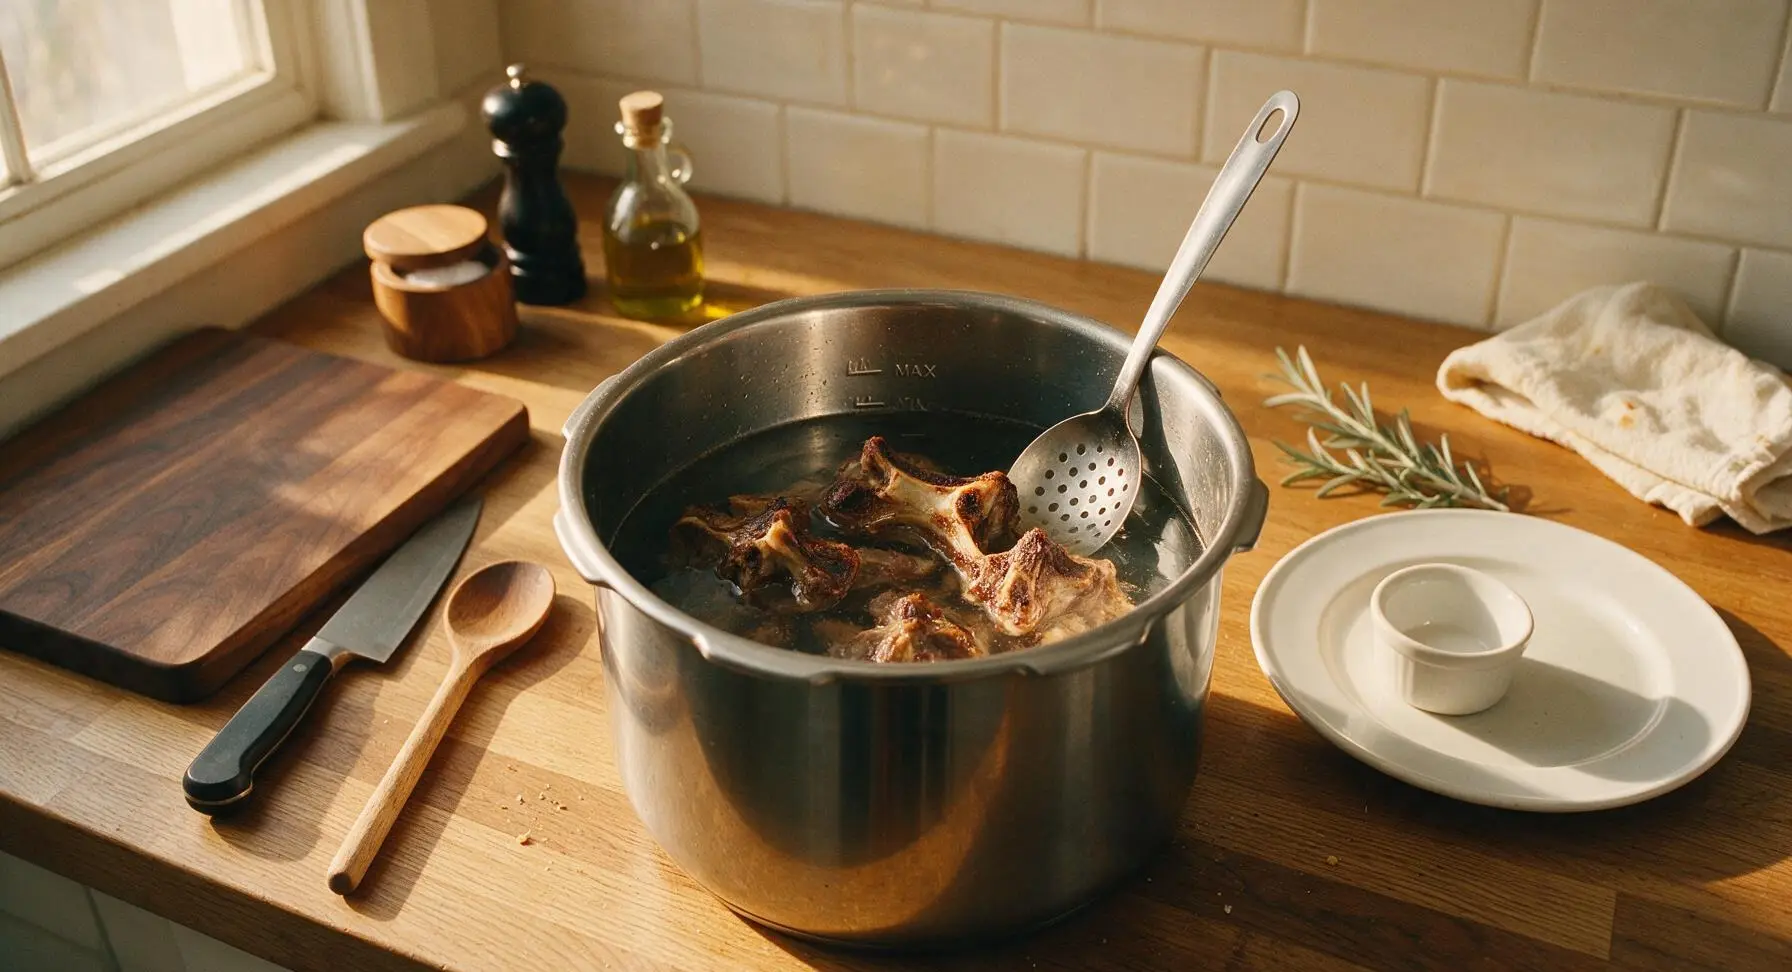
Pour 8 cups of cold filtered water over the bones and aromatics, ensuring the water level sits 1 inch below the Instant Pot's maximum fill line (do not overfill, as pressure buildup can cause leaks). Stir gently once with the slotted skimmer spoon to distribute the ingredients evenly.
Pressure cook on high
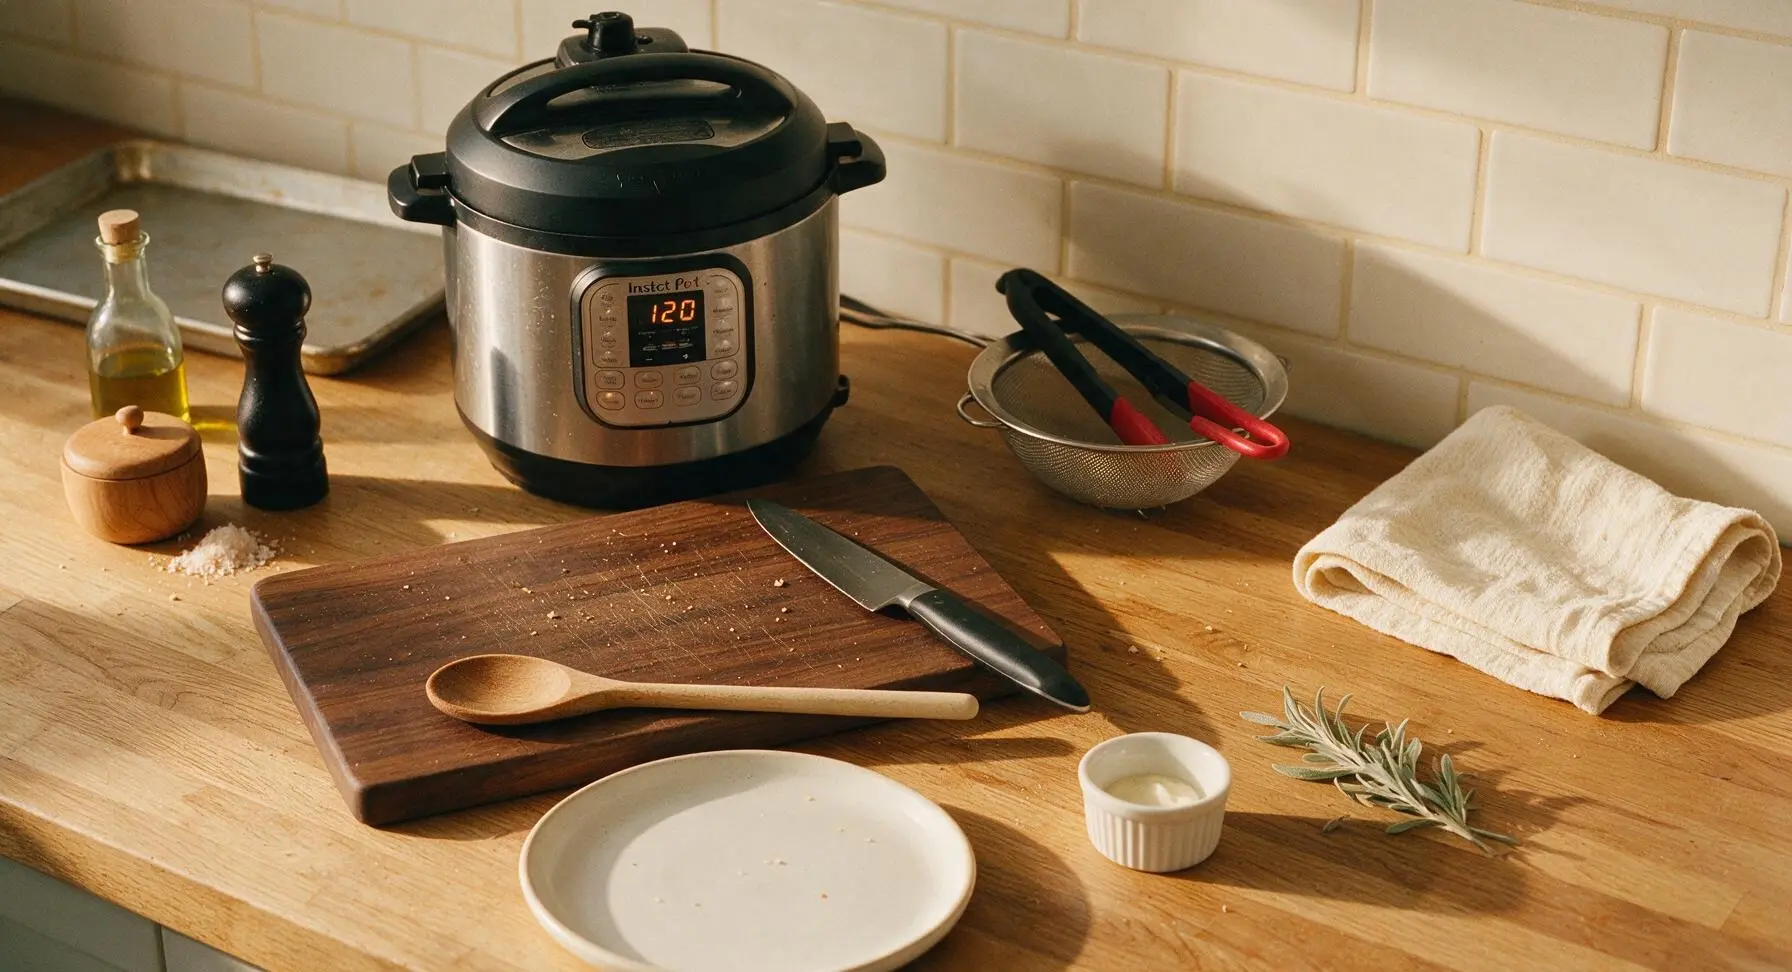
Secure the Instant Pot lid, ensure the pressure release valve is set to the 'Sealing' position. Select the 'High Pressure' setting, set cook time to 120 minutes (2 hours). The pot will take 15-20 minutes to come to pressure before the cook time countdown begins; avoid opening the lid during this process.
Release pressure safely
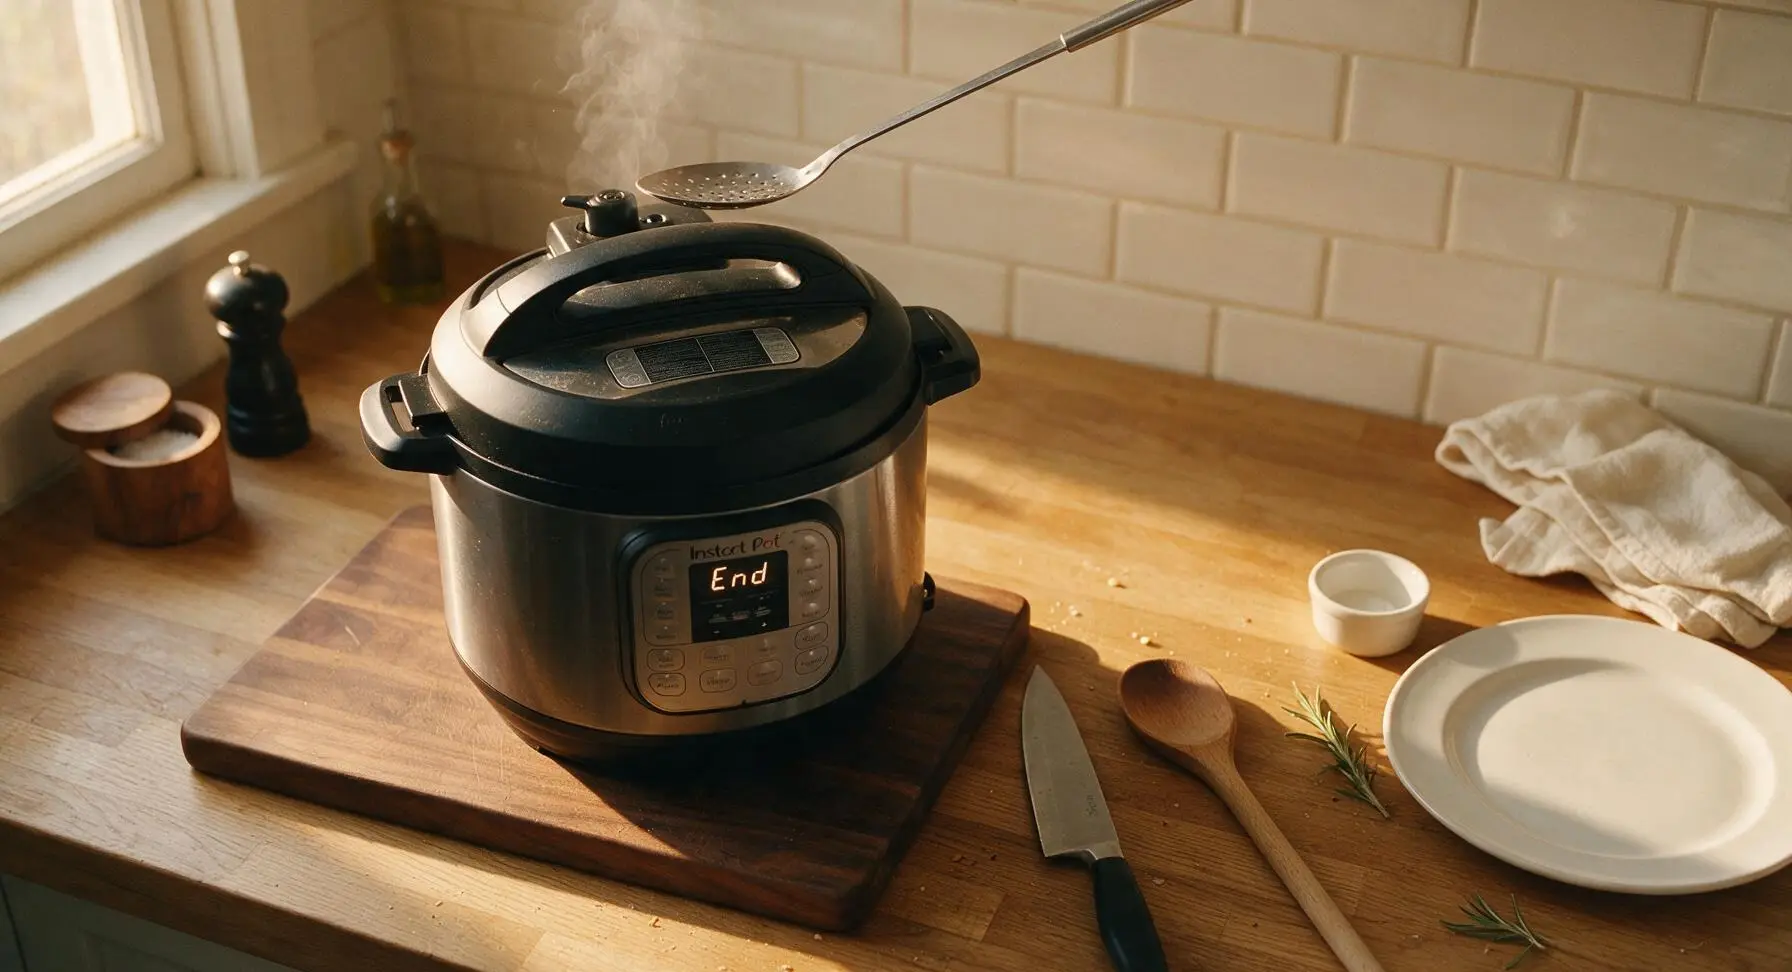
Once the 2 hour cook time ends, allow the pressure to release naturally for 30 minutes (do not turn the valve early, as this can cause broth to spurt out). After 30 minutes, carefully toggle the pressure release valve to 'Venting' using the long handle of the slotted spoon to release any remaining trapped steam, keeping your hands and face 12 inches away from the hot steam to avoid burns.
Strain out solids
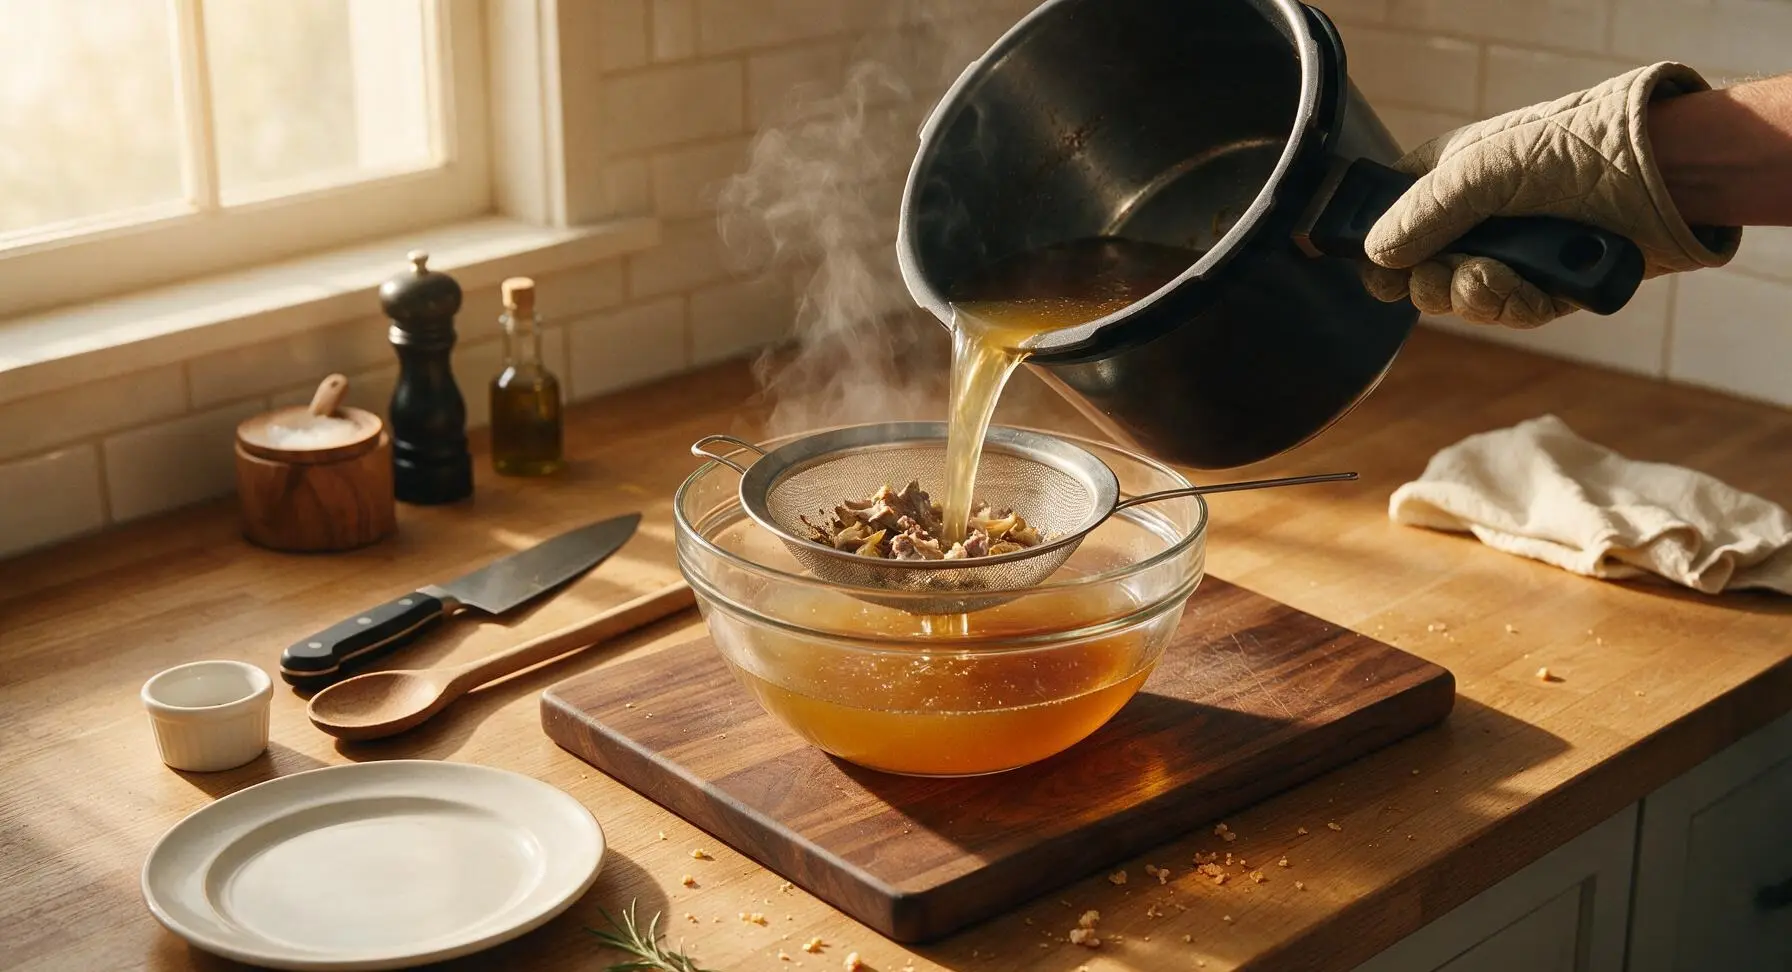
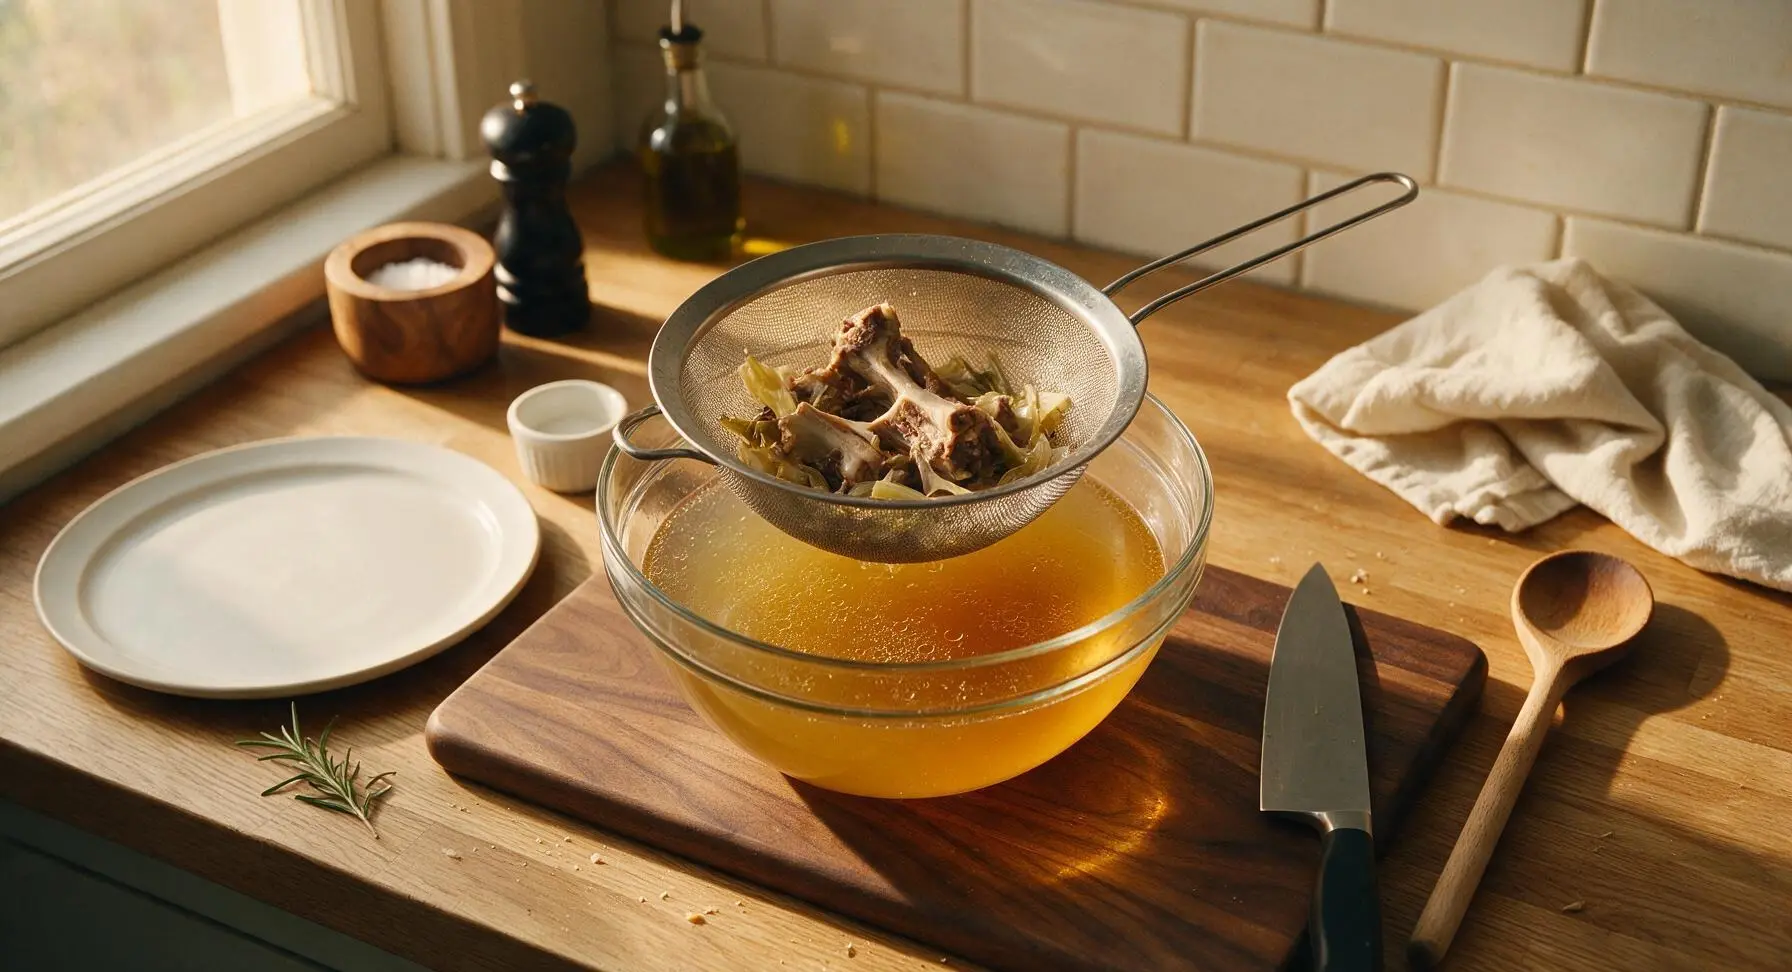
Set the fine-mesh stainless steel strainer over the 4-quart clear glass mixing bowl. Carefully lift the inner pot out of the Instant Pot base (use oven mitts, as the pot will be extremely hot), and pour the broth and solid contents through the strainer. Discard the spent bones, vegetables, and herbs—they have released all their flavor and nutrients into the broth.
Skim fat and season
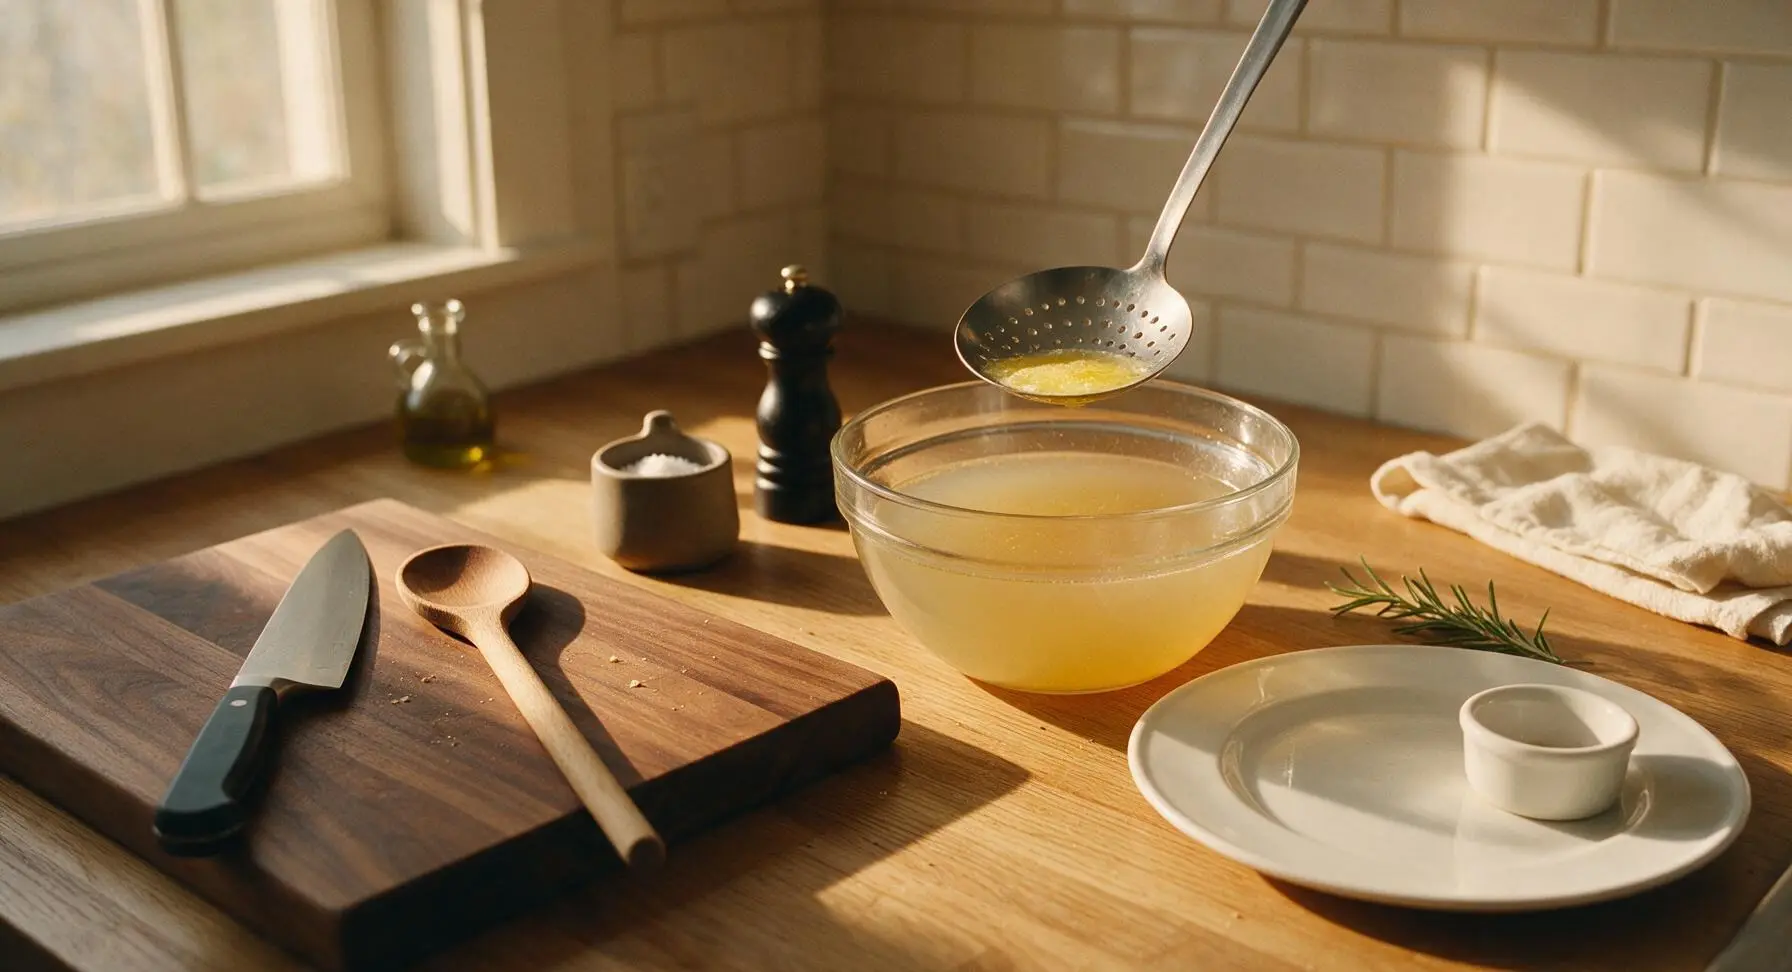
Let the strained broth rest for 10 minutes to allow rendered fat to rise to the surface. Use the slotted skimmer spoon to gently lift off and discard the top layer of pale yellow fat, if desired. For a richer broth, leave up to 1 tablespoon of fat in the broth. Season to taste with coarse sea salt, starting with 1 teaspoon and adding more until the broth tastes bright and savory, not flat or bland.
Serve or store broth
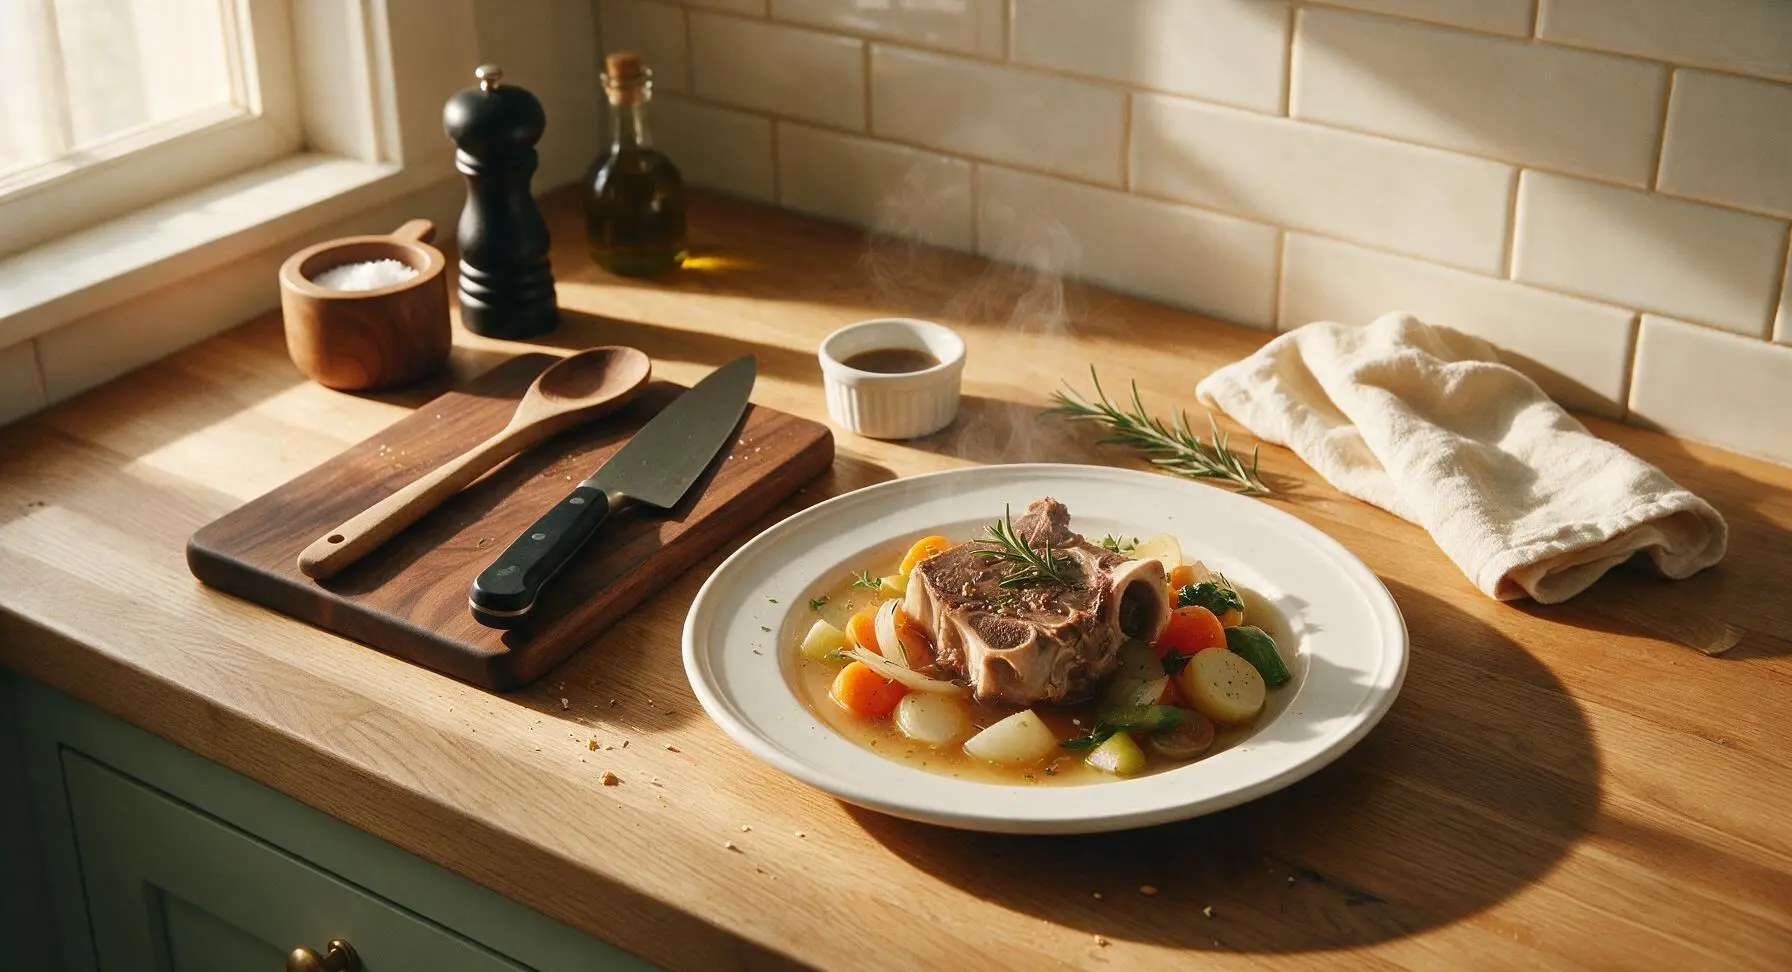
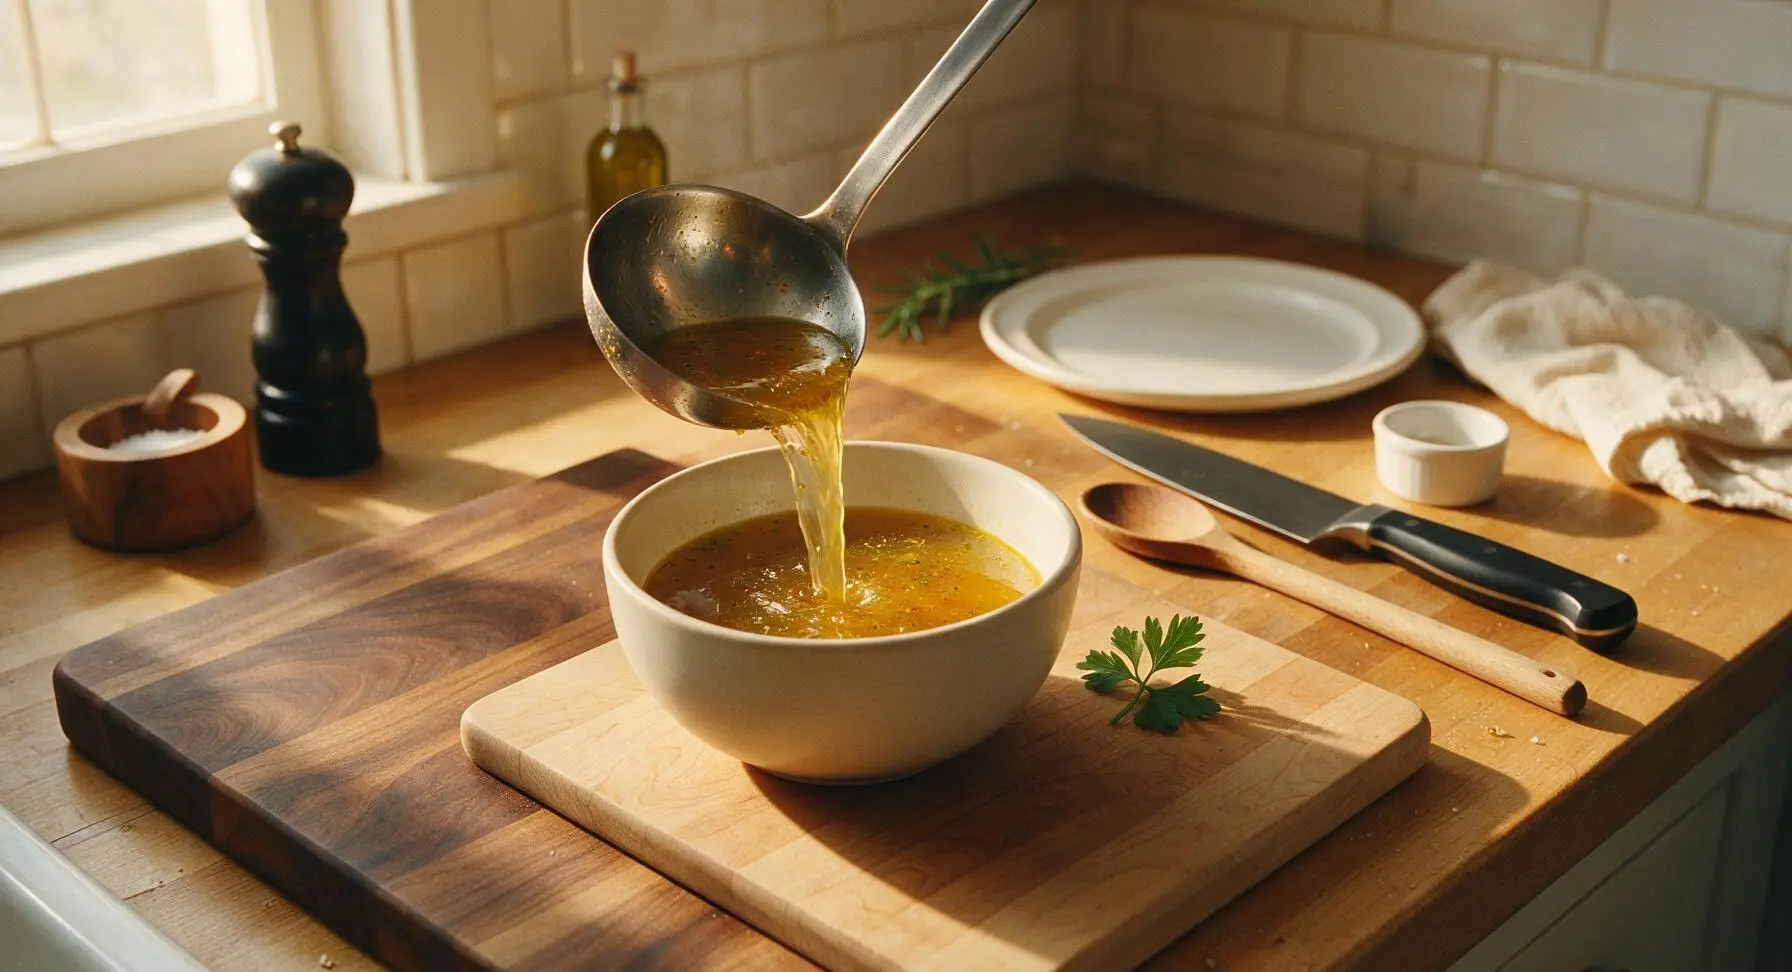
Ladle the finished warm broth into the matte cream soup bowl for immediate serving, garnished with a parsley leaf and light crack of black pepper if desired. Let remaining broth cool completely to room temperature before transferring to sealed glass jars to store in the refrigerator for up to 5 days, or freezer for up to 6 months. Chilled broth will form a soft, wobbly gel, which is a sign of high collagen content from the long-simmered bones.
Tips
2.Never fill the Instant Pot above the marked 2/3 max fill line for broth: bubbling liquid and small bone fragments can expand under high pressure and clog the steam release valve, creating a safety risk.
3.Wait to salt your broth until after straining: liquid reduces slightly during pressure cooking, so salting early can lead to overly salty broth. Tasting and adjusting salt at the end guarantees perfectly balanced, bright savoriness.
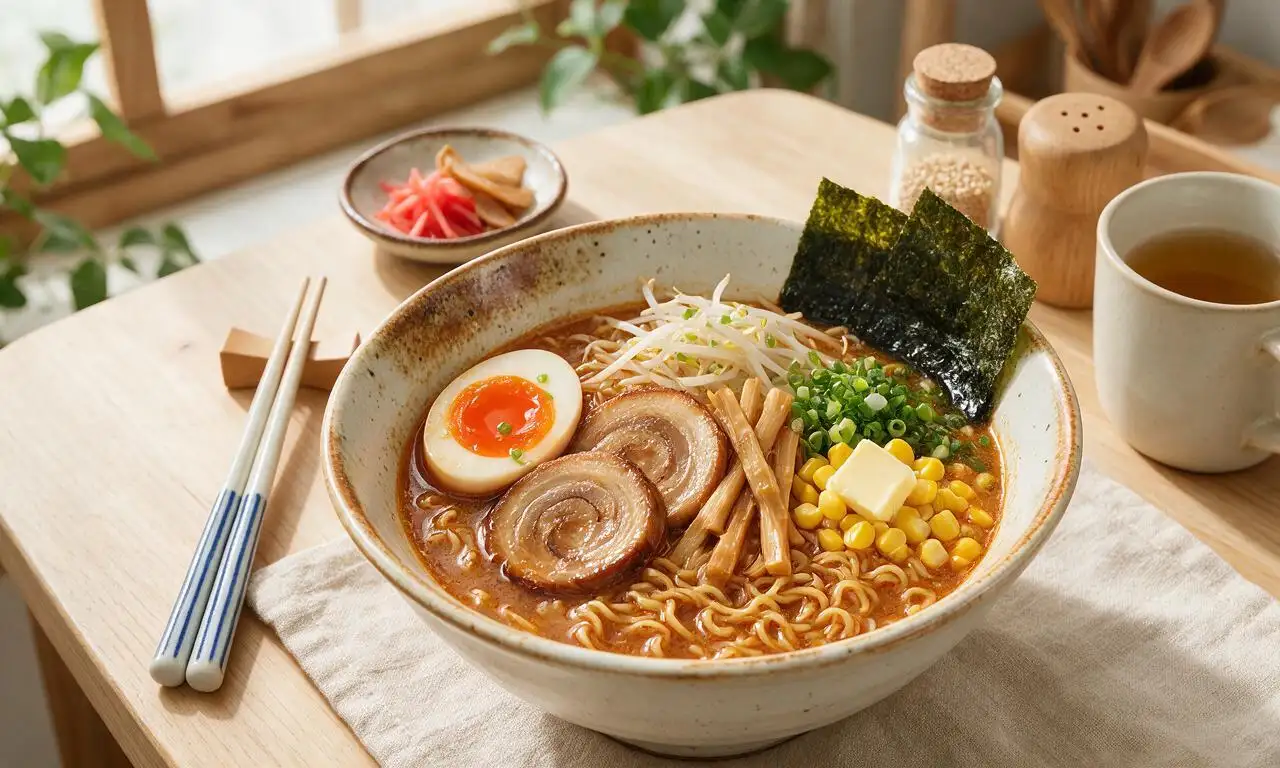
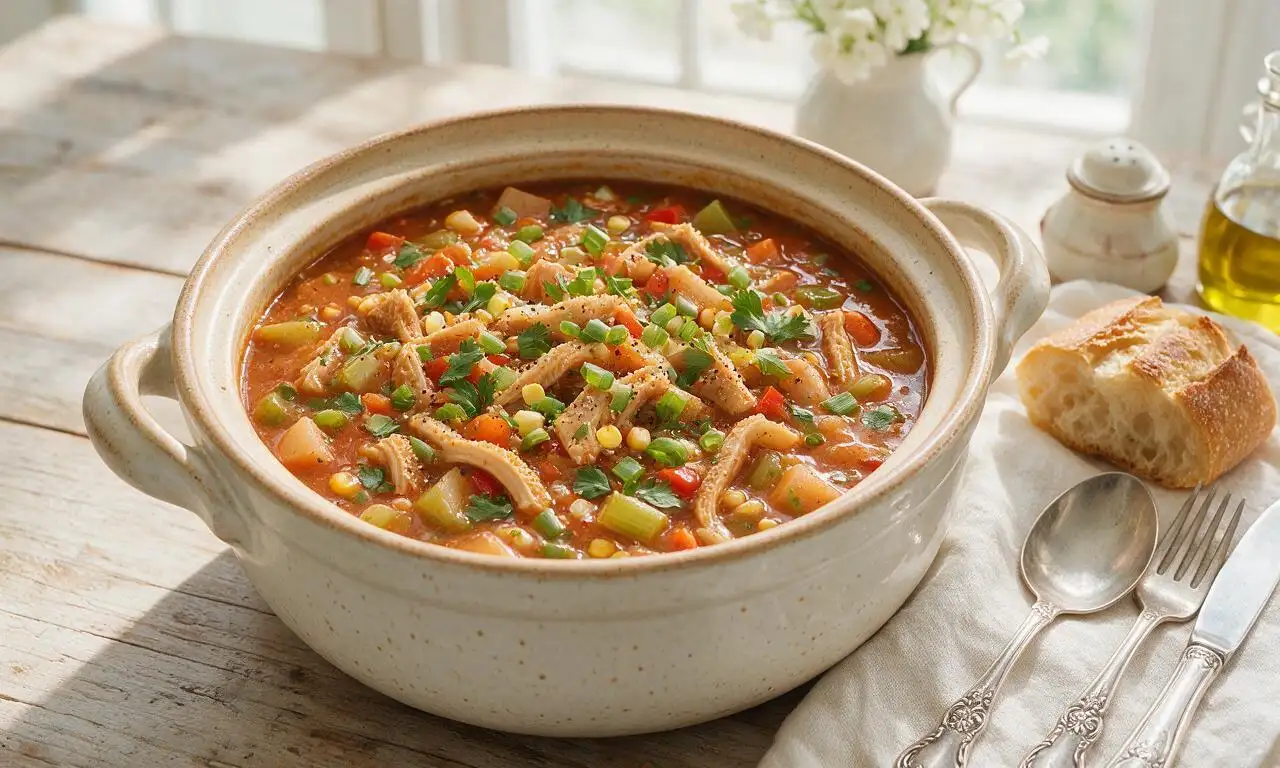
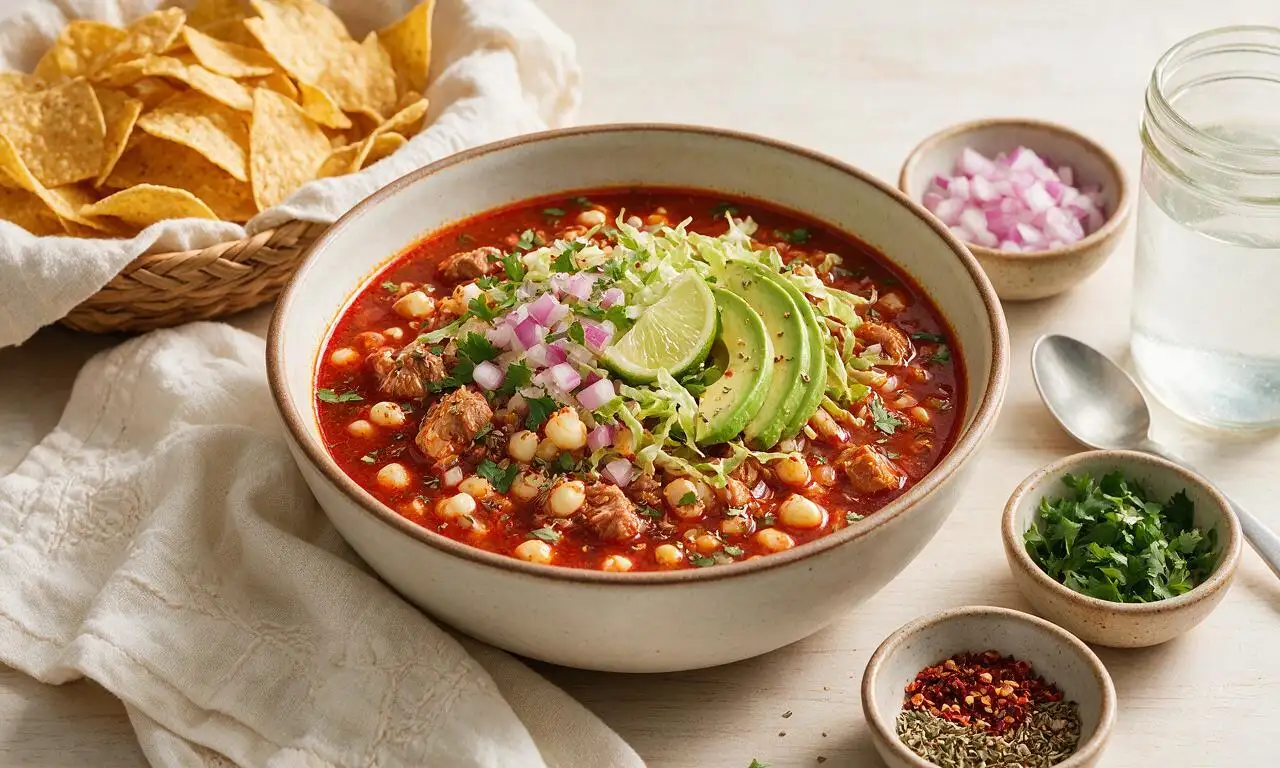
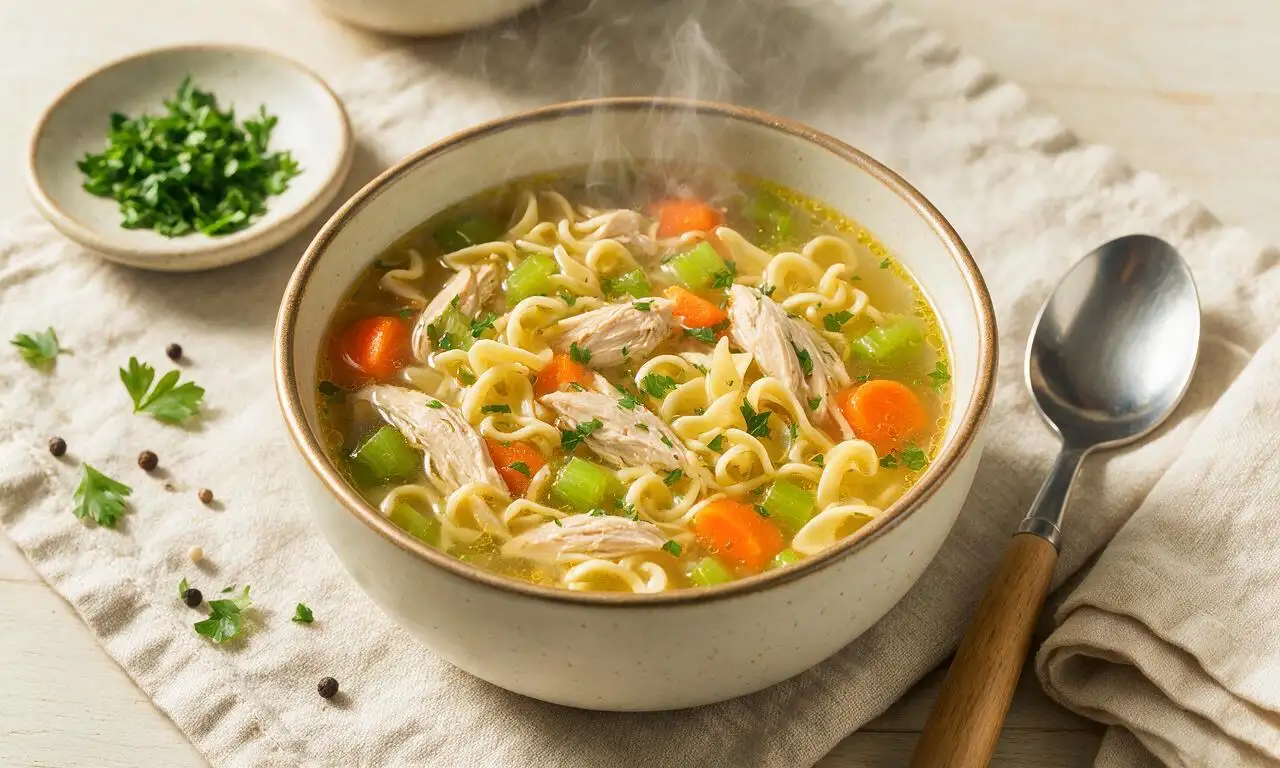
OMG this Instant Pot bone broth is a total game changer! I used to simmer mine on the stove for 12+ hours and could never get that deep, rich flavor, but 2 hours 45 minutes in the IP? Chef’s kiss. I made a big batch for my weekly meal prep, added some to soups, used it to cook rice, even sipped a mug straight when I felt a cold coming on. 10/10 will make every Sunday from now on!
Really solid bone broth recipe! Cook time felt way more doable than the stovetop method I’ve used for years. Only reason I knocked off a star is I wish it mentioned how to get that extra golden color – mine came out a little paler than I expected, but the flavor was spot on. Used it for my smoked chicken noodle soup last night and the whole family raved.
SO good! I’ve been scared to make homemade bone broth because I thought it was super complicated, but this easy difficulty rating was no lie. I threw in some leftover turkey bones from Thanksgiving (yes I still had them frozen, don’t judge) and it turned out better than any store bought carton I’ve ever bought. My gut feels so happy drinking a warm cup every morning!
Brought a big batch of this broth to our neighborhood potluck last weekend, set up a little sipping station with toppings like green onion, chili oil, and parmesan rinds, and people went WILD. So many people asked for the recipe I lost count. Who knew bone broth would be the hit of the potluck? Not me, but I’ll take it!
Game. Changer. I have three kids under 7 and zero time for long, fussy recipes, but this was so set-it-and-forget-it. I tossed all the ingredients in before school drop off, ran errands, and came home to the house smelling amazing. My kids loved it! I served it with little grilled cheese dippers for dinner and even my pickiest eater asked for seconds.
Decent recipe, but I found the cook time a little short for my taste. I let mine go for an extra 45 minutes on high pressure because I like my broth so gelatinous it wiggles when it’s cold. Flavor was good, just wish it noted that extra time gives you that extra collagen boost.
Made 6 quarts of this yesterday and portioned it out into freezer bags for the next month. Works perfect for quick weeknight ramen, risotto, and even poaching eggs. No more wasting money on overpriced store bought broth that’s full of weird additives. This is way cheaper and tastes 100x better.
OMG I made this when I was knocked flat with a sinus infection last week and it literally felt like a hug in a mug. I added a little extra garlic and ginger like my grandma used to, and it cleared my sinuses right up. So easy to make even when you can barely stand up, that’s how simple the recipe is!
Super easy, super cost effective! I saved all the bones from rotisserie chickens we ate over the last two weeks, plus veggie scraps from my freezer bag, and this cost me basically nothing to make. Only heads up: make sure you don’t overfill your Instant Pot! I almost had a boil over mess because I stuffed too many bones in first try.
If you’re making tonkotsu-style ramen at home, STOP what you’re doing and use this bone broth as your base. I added a little miso and soy sauce after cooking, and my partner thought I ordered takeout from our favorite local ramen shop. We ate two bowls each, no regrets. 10/10.
As someone with celiac, I’m always paranoid about store bought broths having hidden gluten or cross contamination. This recipe is so easy to make at home, I know exactly what’s in it, and it tastes way better than any of the expensive gluten free certified broths I’ve been buying for years. Absolute staple for my kitchen now!
Made this on a cabin trip last weekend, brought my 6 quart Instant Pot, and it was the perfect cozy post-hike treat. We sipped mugs of it around the fire after a long snowy hike, and it warmed us right down to our toes. Even added a splash of apple cider vinegar like the recipe says, couldn’t taste it at all but I know it helped pull all the good nutrients out of the bones.
Wait y’all, I’ve never made ANYTHING from scratch before, like I burn toast half the time. But this recipe was actually easy enough for me? My broth turned out perfect first try, no mess ups! I was so proud I texted a photo to my whole family. Can’t wait to use it to make soup for my roommate when she gets home from work tonight.
Really great base recipe! I smoked my bones for an hour before tossing them in the IP, and it gave the broth this insane deep, smoky flavor that was perfect for making chili last night. Would absolutely recommend adding that smoky twist if you have a smoker, it’s next level. Only note: I’d suggest skimming the fat off the top after it cools if you don’t like super rich broth.