
Irish Cream Balls
intro
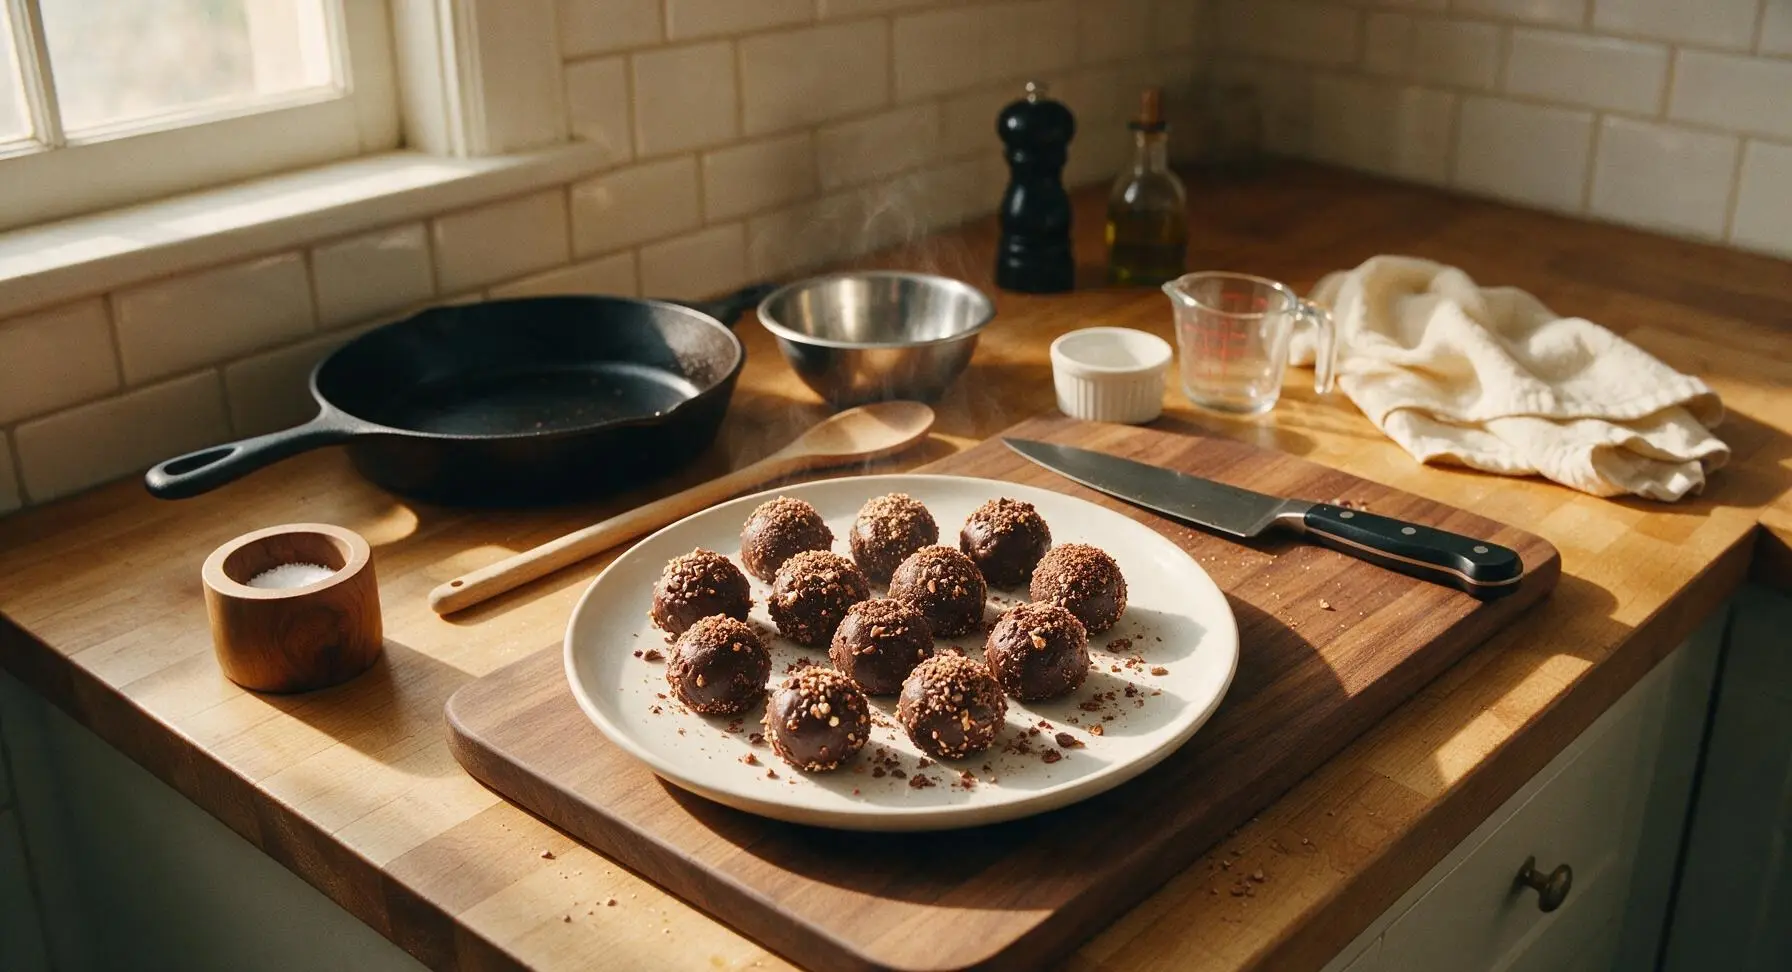
Rich, fudgy, gently boozy no-bake confections rolled in crunchy, cocoa-kissed toppings, perfect for holiday cookie tins, gifting, and festive winter gatherings.
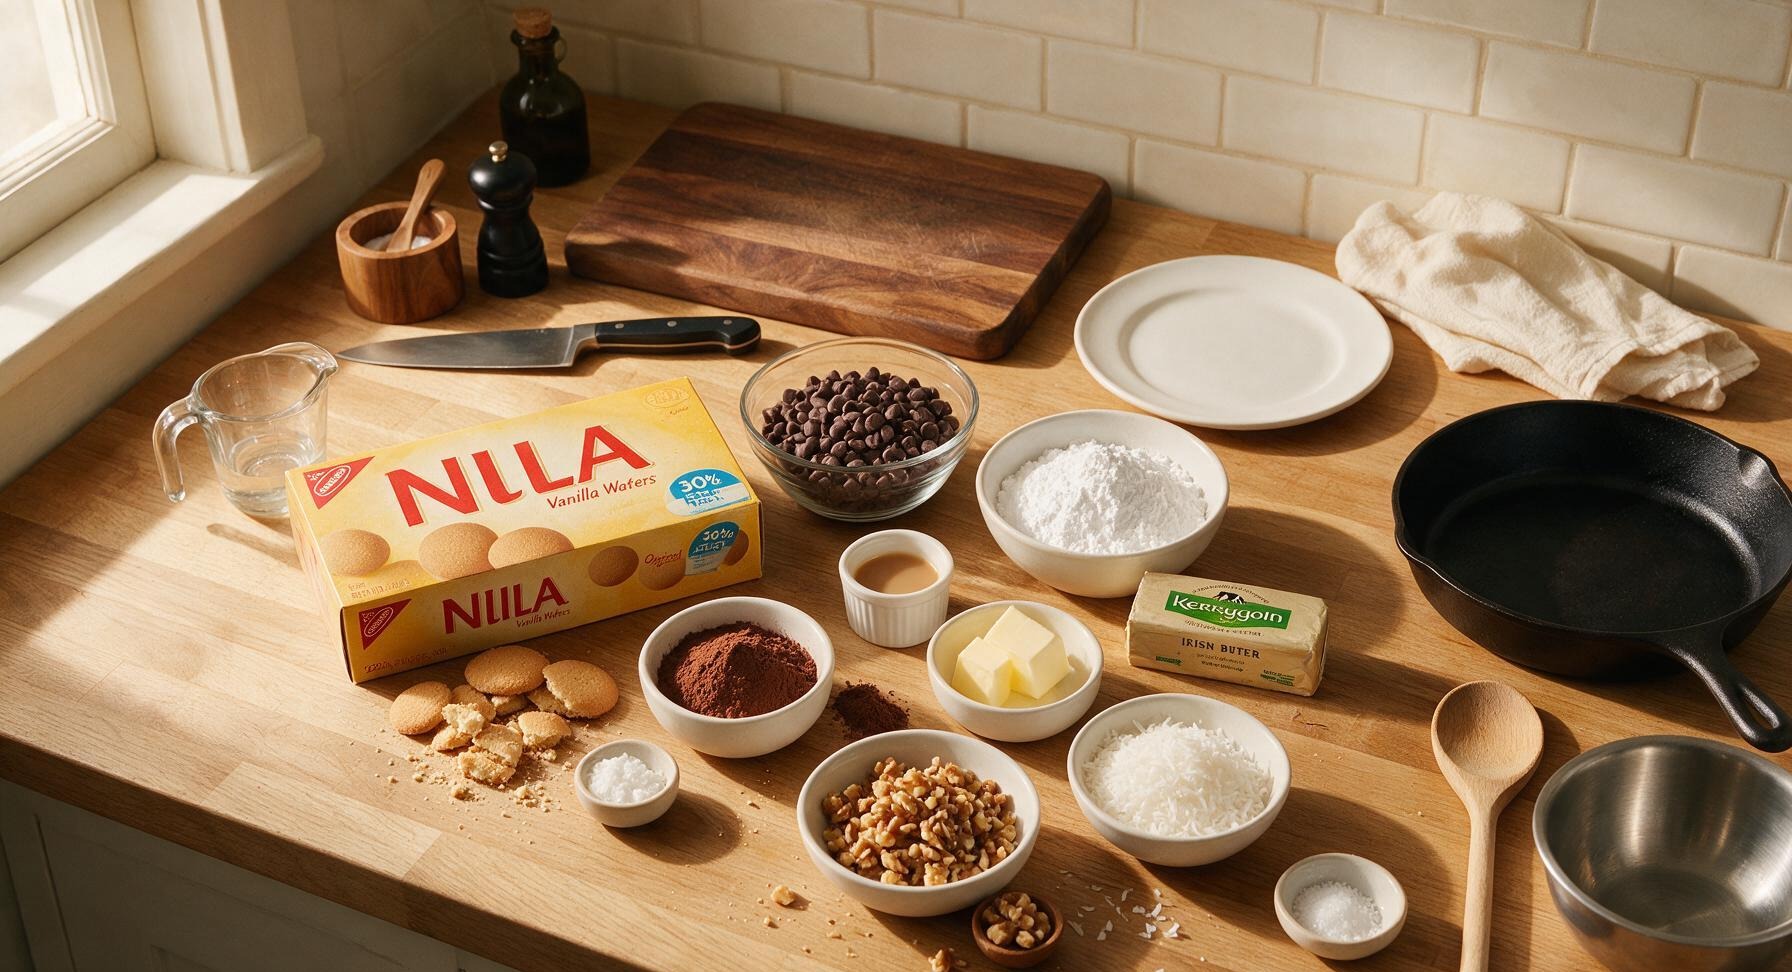
Ingredients
Steps
Crush Cookie Crumbs
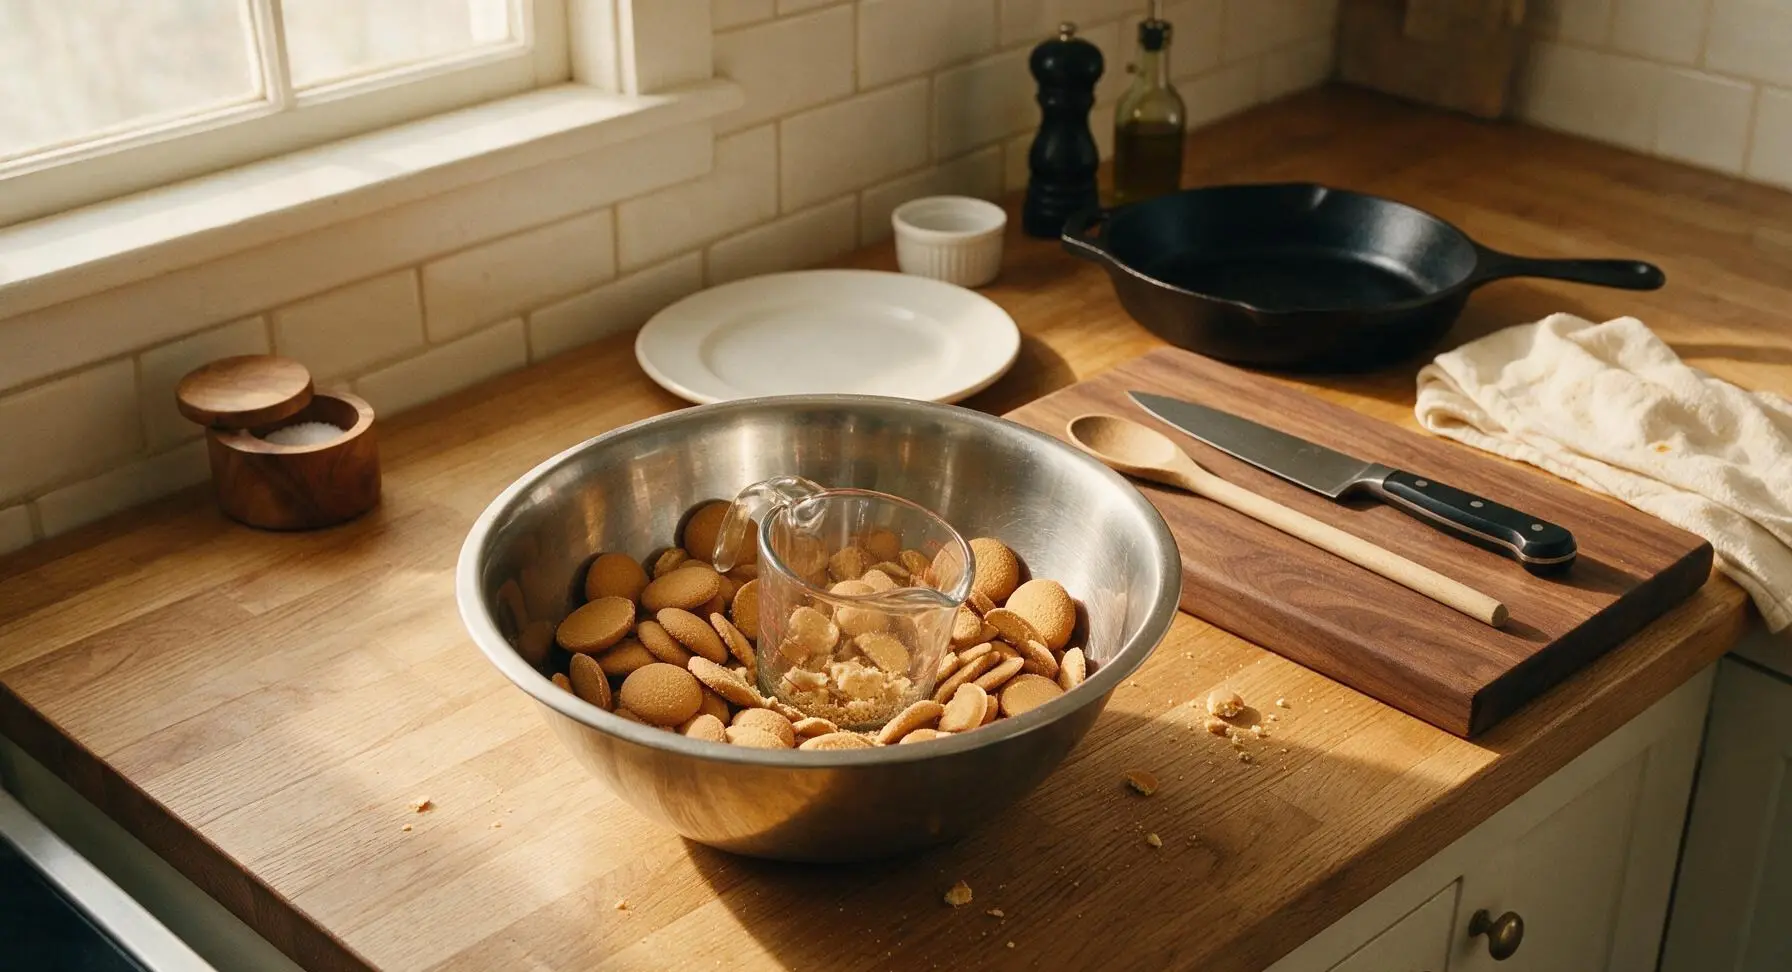
Place all vanilla wafer cookies into the large stainless steel mixing bowl. Hold the clear glass measuring cup by its handle and use its flat base to firmly press and grind the cookies into uniform fine crumbs, with no chunks larger than 3mm remaining. Aim for a texture similar to coarse sand, with a few slightly larger crumbs for subtle texture. Wipe any stray crumbs from the counter edge with the corner of the linen towel if needed.
Melt Chocolate Base
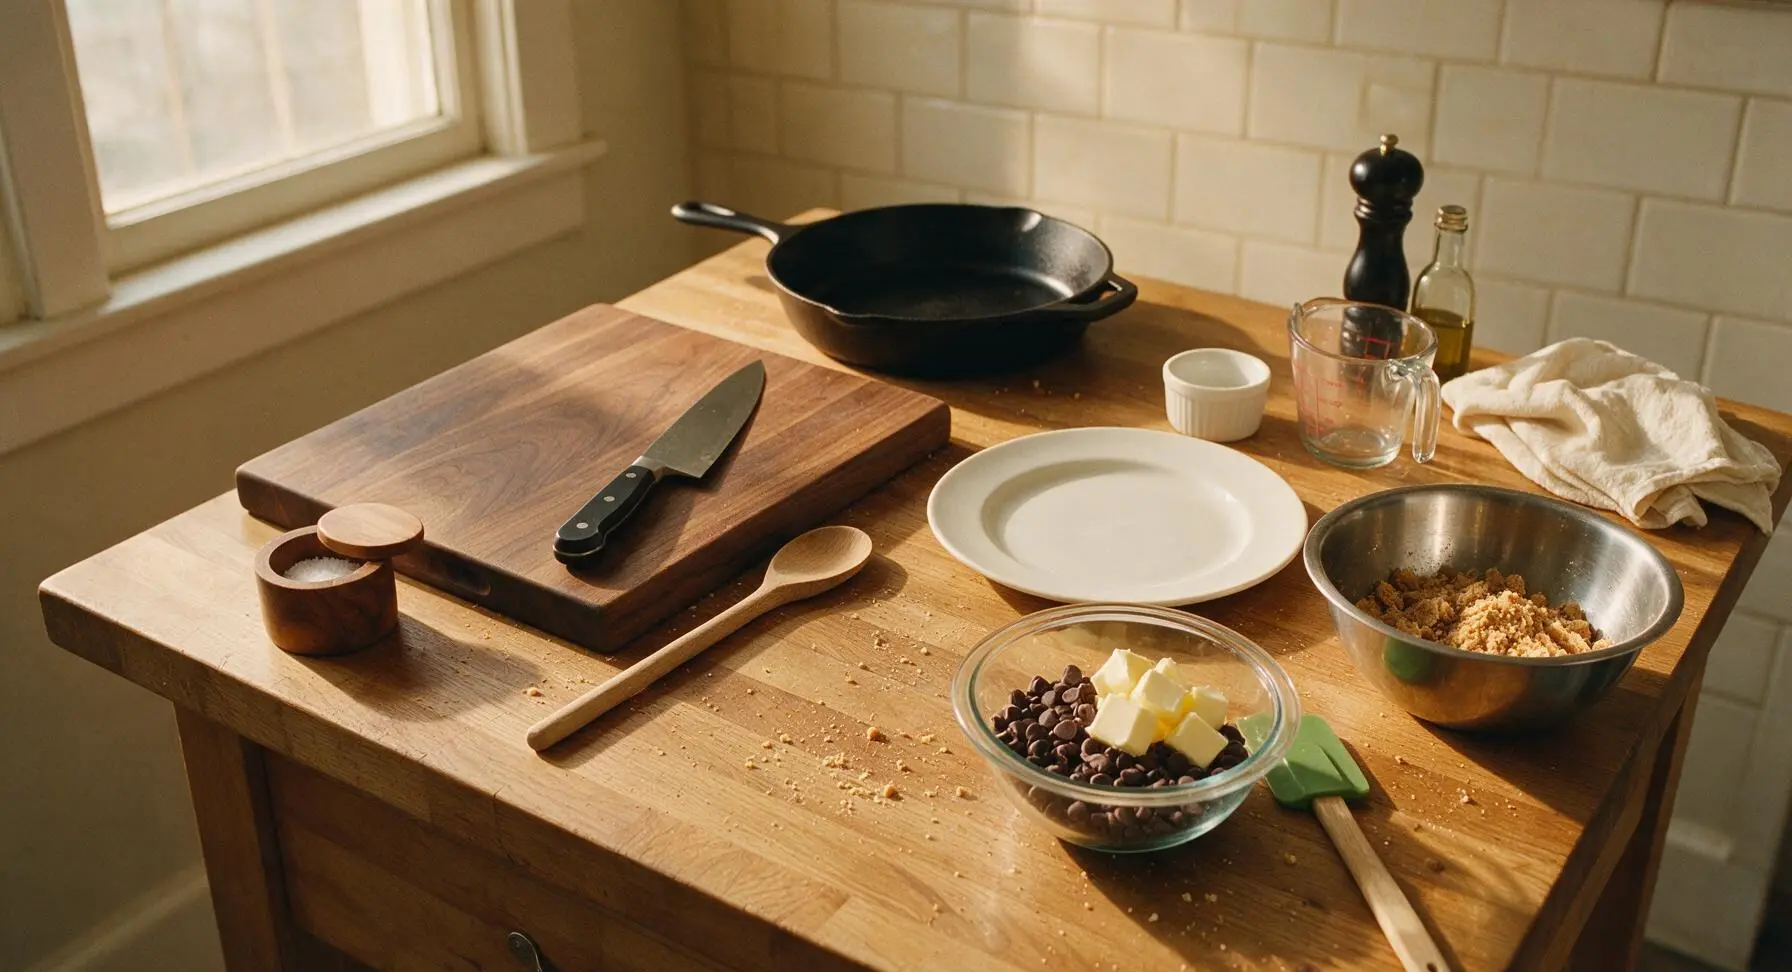
Place the semi-sweet chocolate chips and unsalted butter into the medium glass microwave-safe bowl. Microwave in 30-second bursts, stirring thoroughly with the green silicone spatula between each burst, until the mixture is completely smooth and glossy, with no lumps remaining. This will take approximately 90 seconds total; do not overheat, as chocolate will seize and become grainy. Stir in the pinch of fine sea salt once melted.
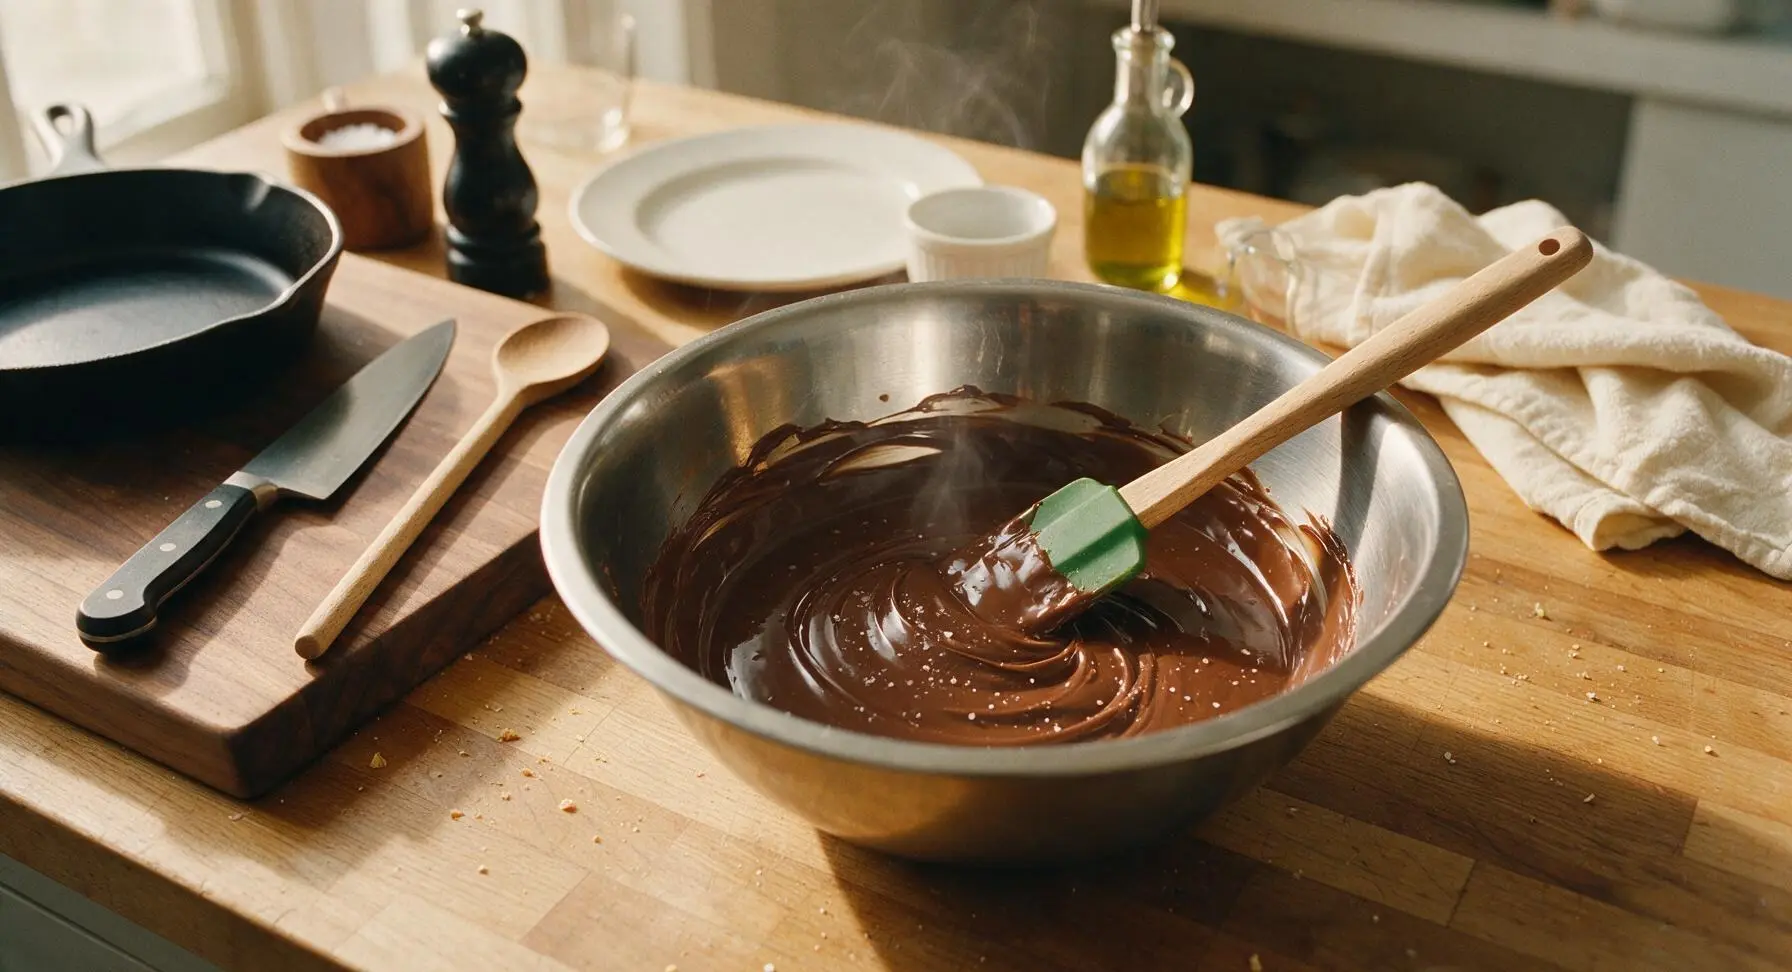
Mix Dough Ingredients
Pour the melted chocolate mixture, Irish cream liqueur, sifted powdered sugar, 2 tablespoons of cocoa powder, and 1/2 cup of finely chopped walnuts into the large mixing bowl with the cookie crumbs. Use the green silicone spatula to stir all ingredients together thoroughly, scraping the bottom and sides of the bowl repeatedly, until a thick, uniform, fudgy dough forms. The dough should hold together firmly when squeezed between your fingers, with no dry crumb pockets remaining.
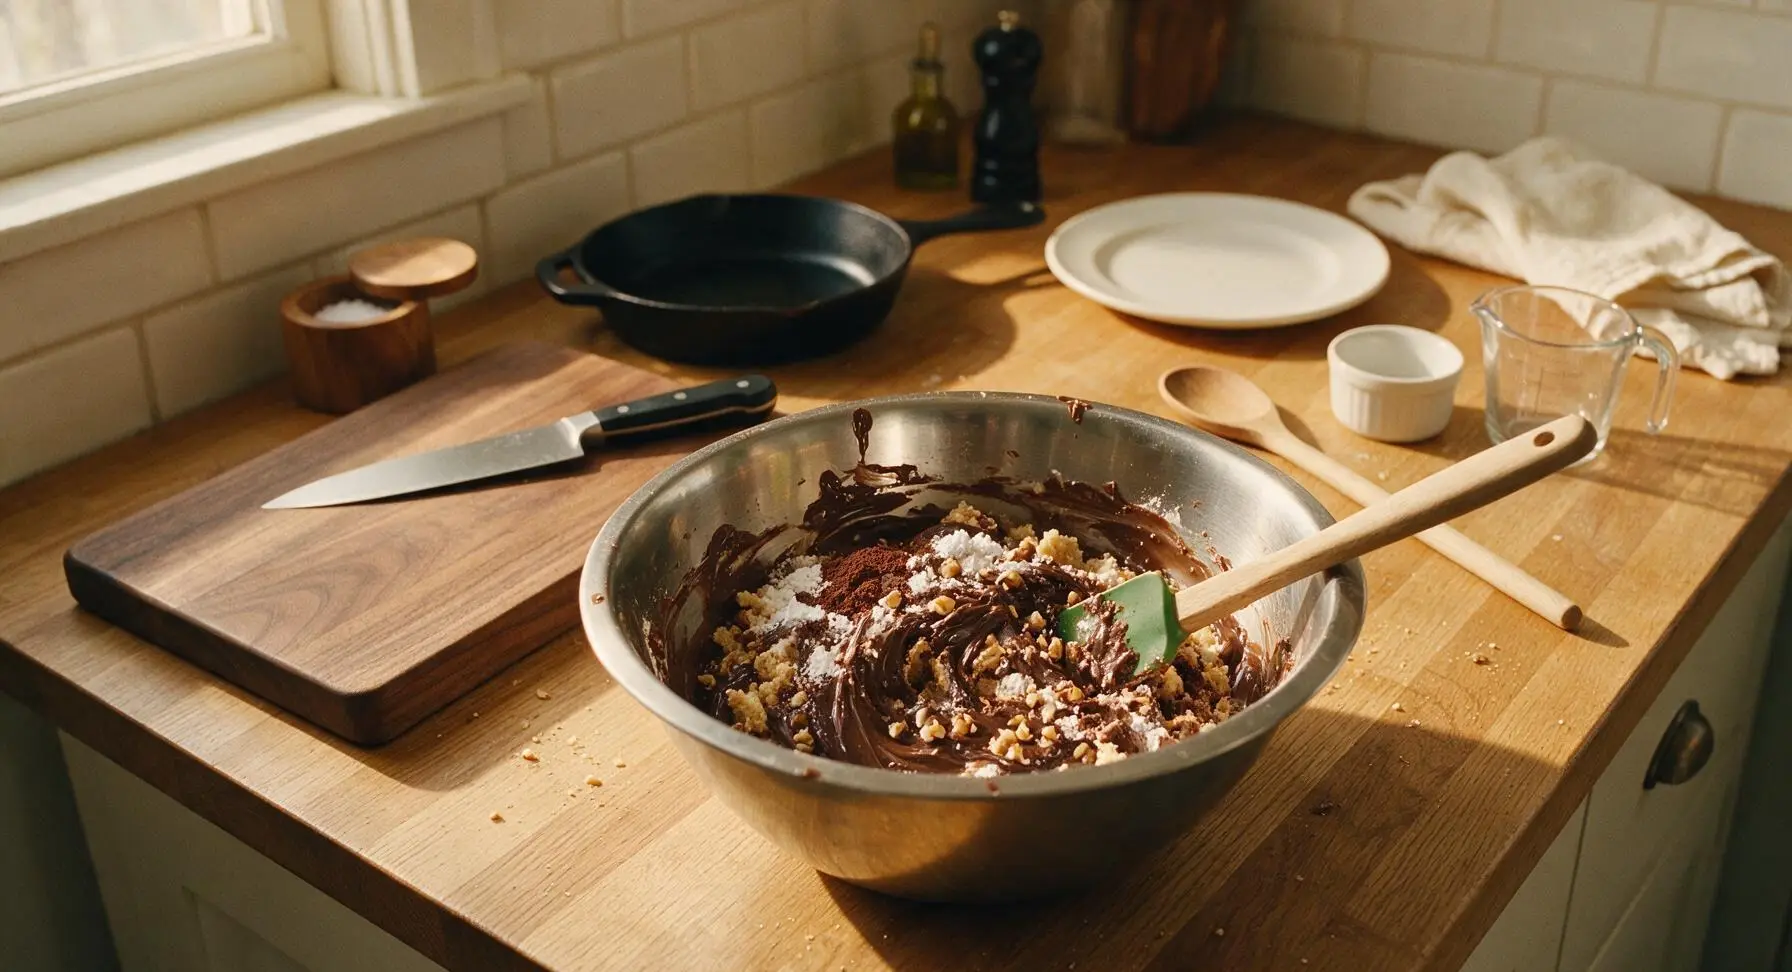
Chill Dough Firmly
Line the light aluminum baking sheet with the cut sheet of unbleached parchment paper, smoothing out any wrinkles with your hand. Press a piece of plastic wrap directly against the surface of the dough to prevent a skin from forming, then place the bowl in the refrigerator to chill for 45 minutes, until the dough is firm enough to scoop and hold its shape without sticking to your hands.
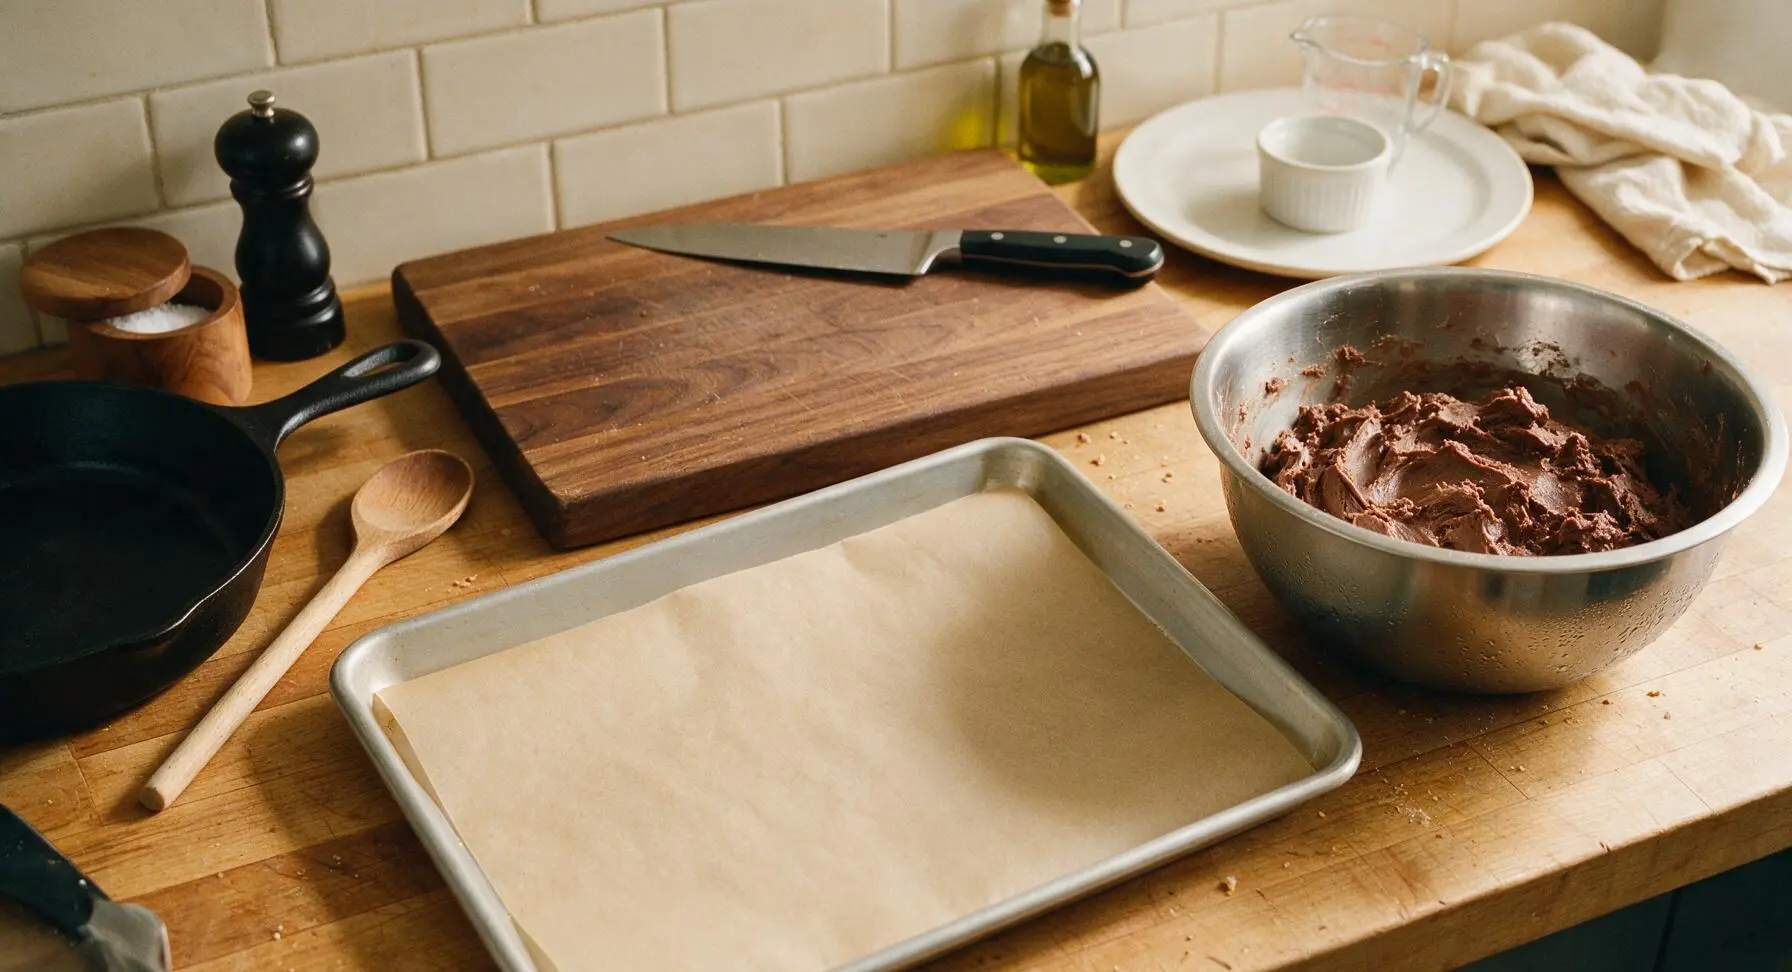
Portion Dough Balls
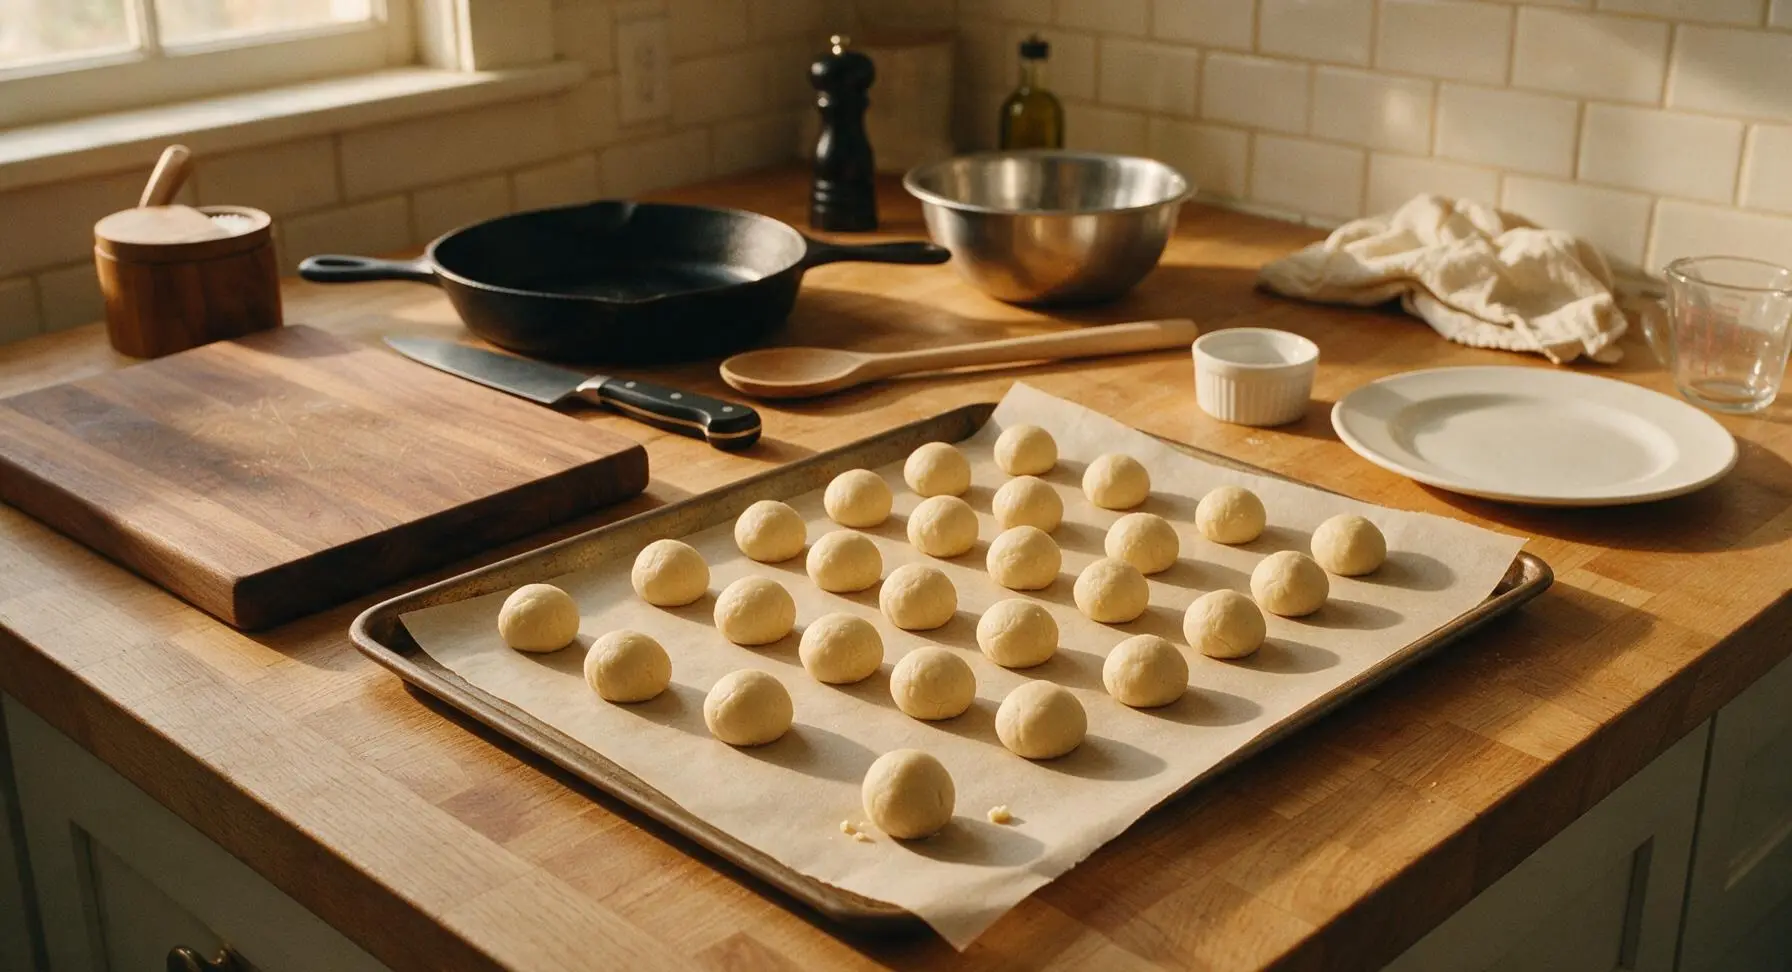
Remove the chilled dough from the refrigerator. Use the 1-tablespoon spring-loaded cookie scoop to portion uniform mounds of dough, dropping them 2cm apart onto the parchment-lined baking sheet. You should yield approximately 24 equal portions. Once all dough is scooped, roll each portion between your clean palms to form smooth, round 2.5cm balls, returning them to the parchment sheet as you work. If the dough becomes sticky as you work, return it to the fridge for 10 minutes to firm up again.
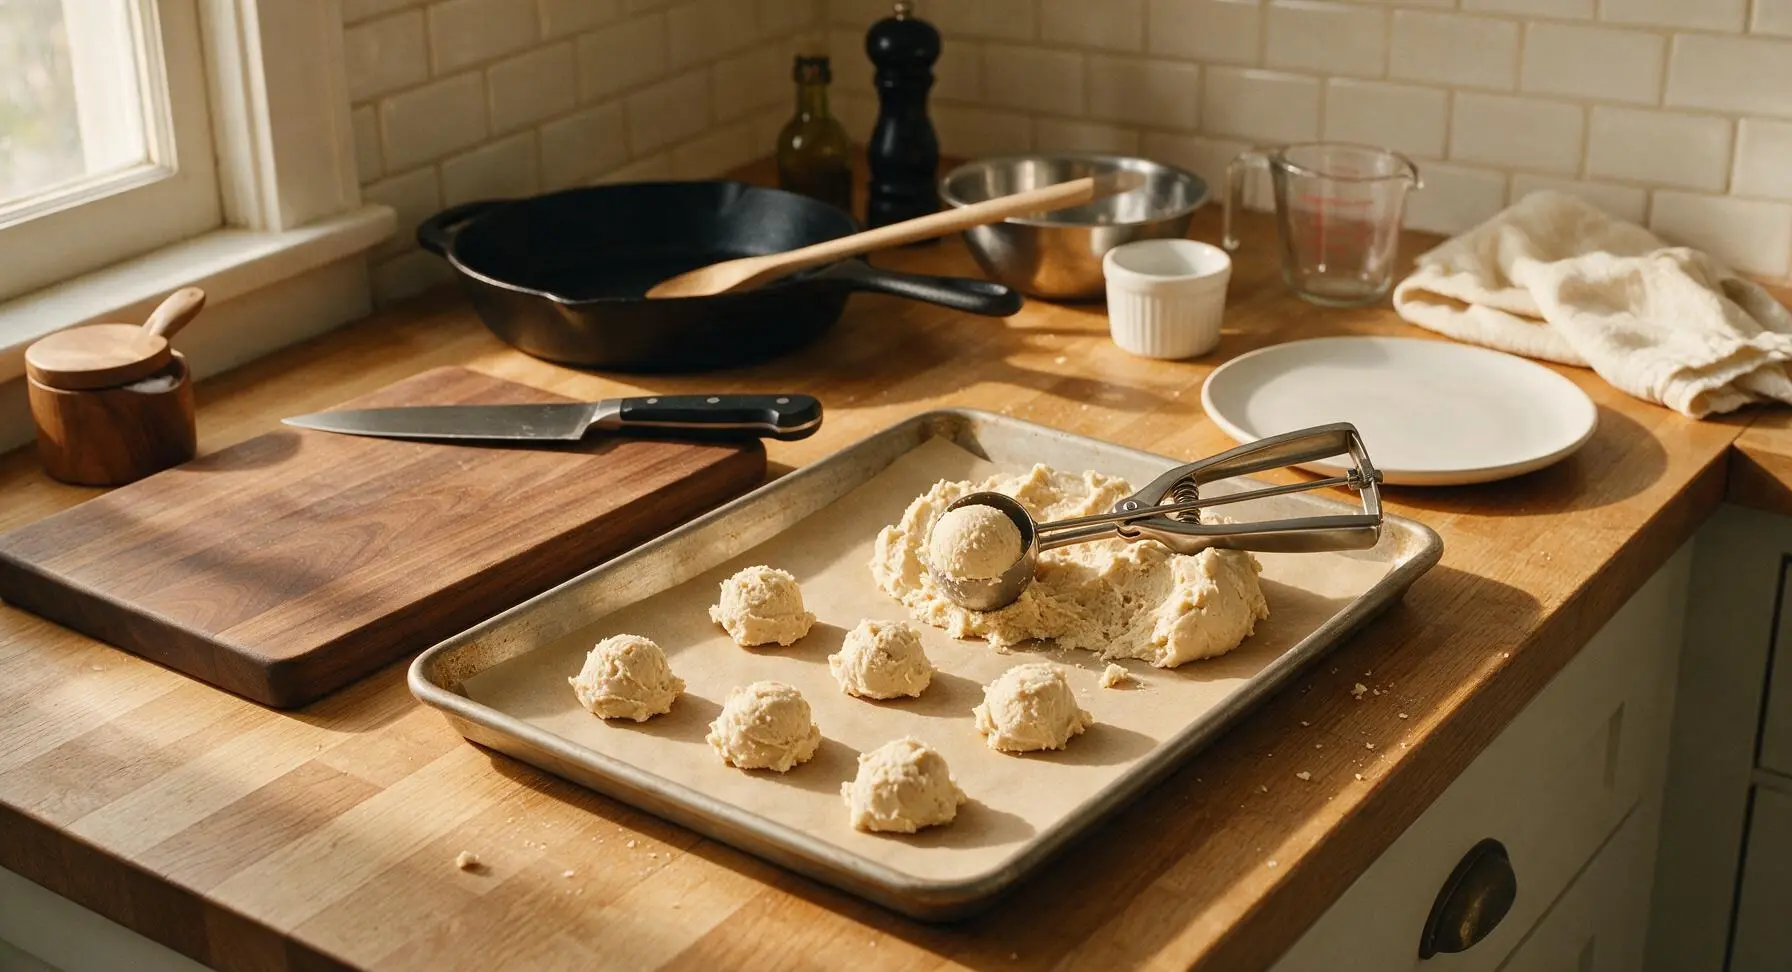
Prep Topping Stations
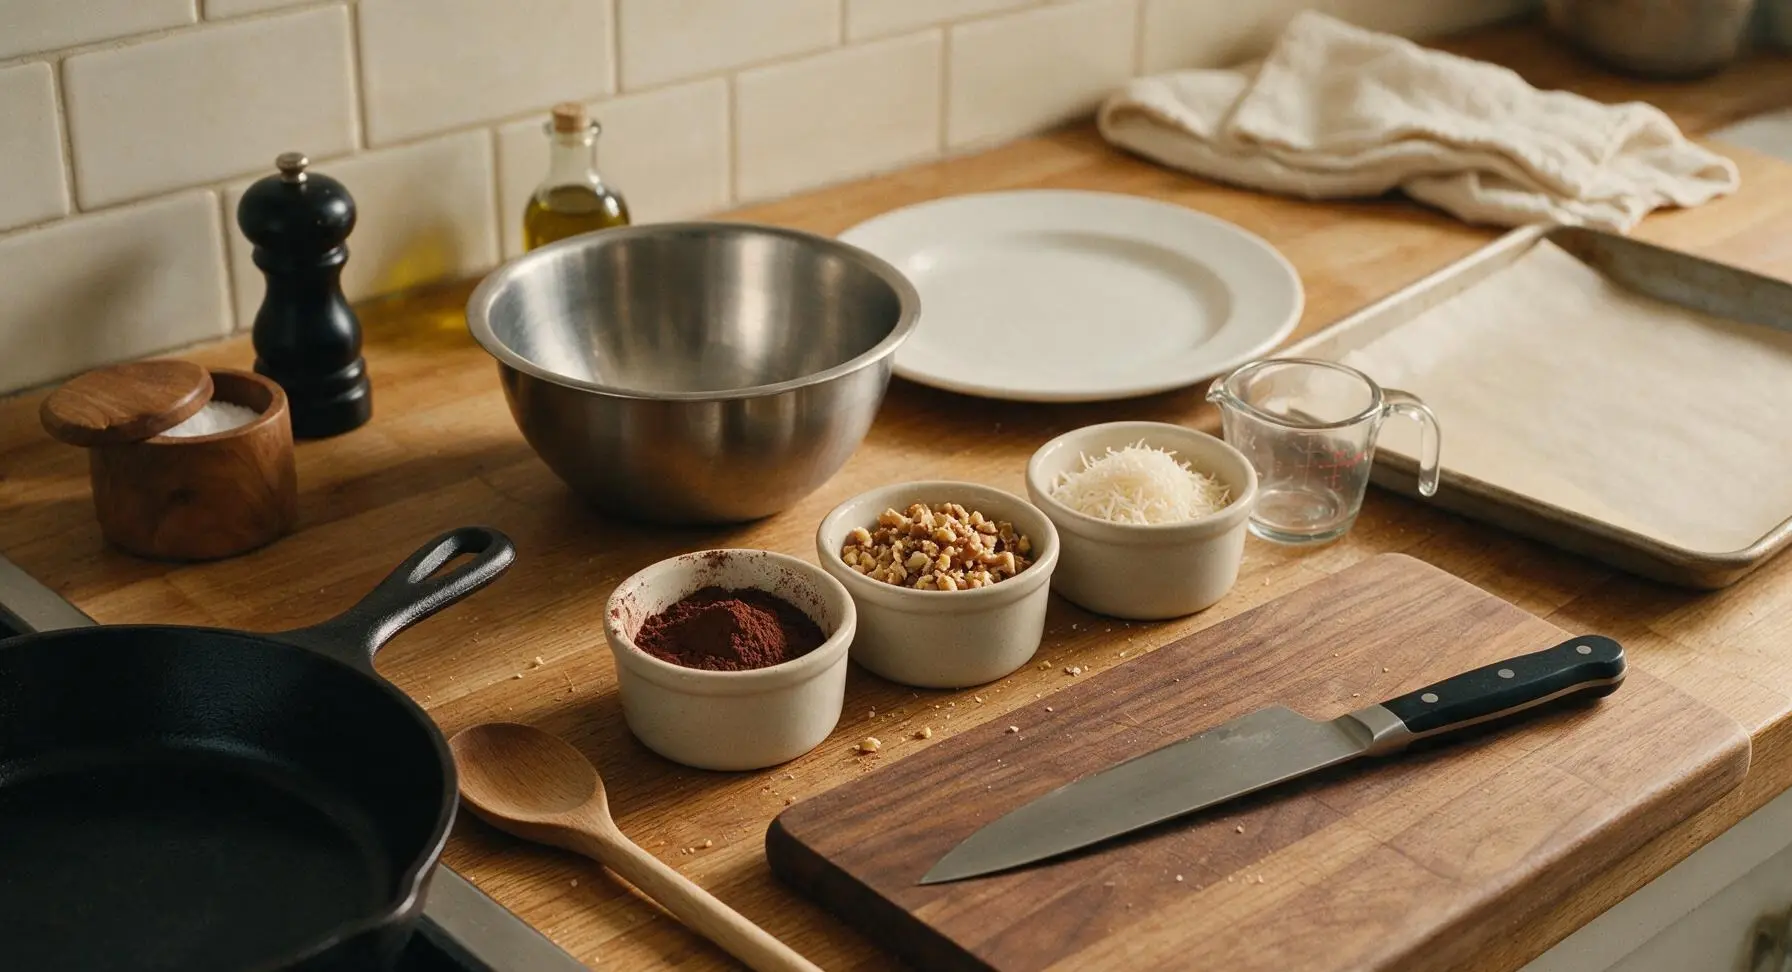
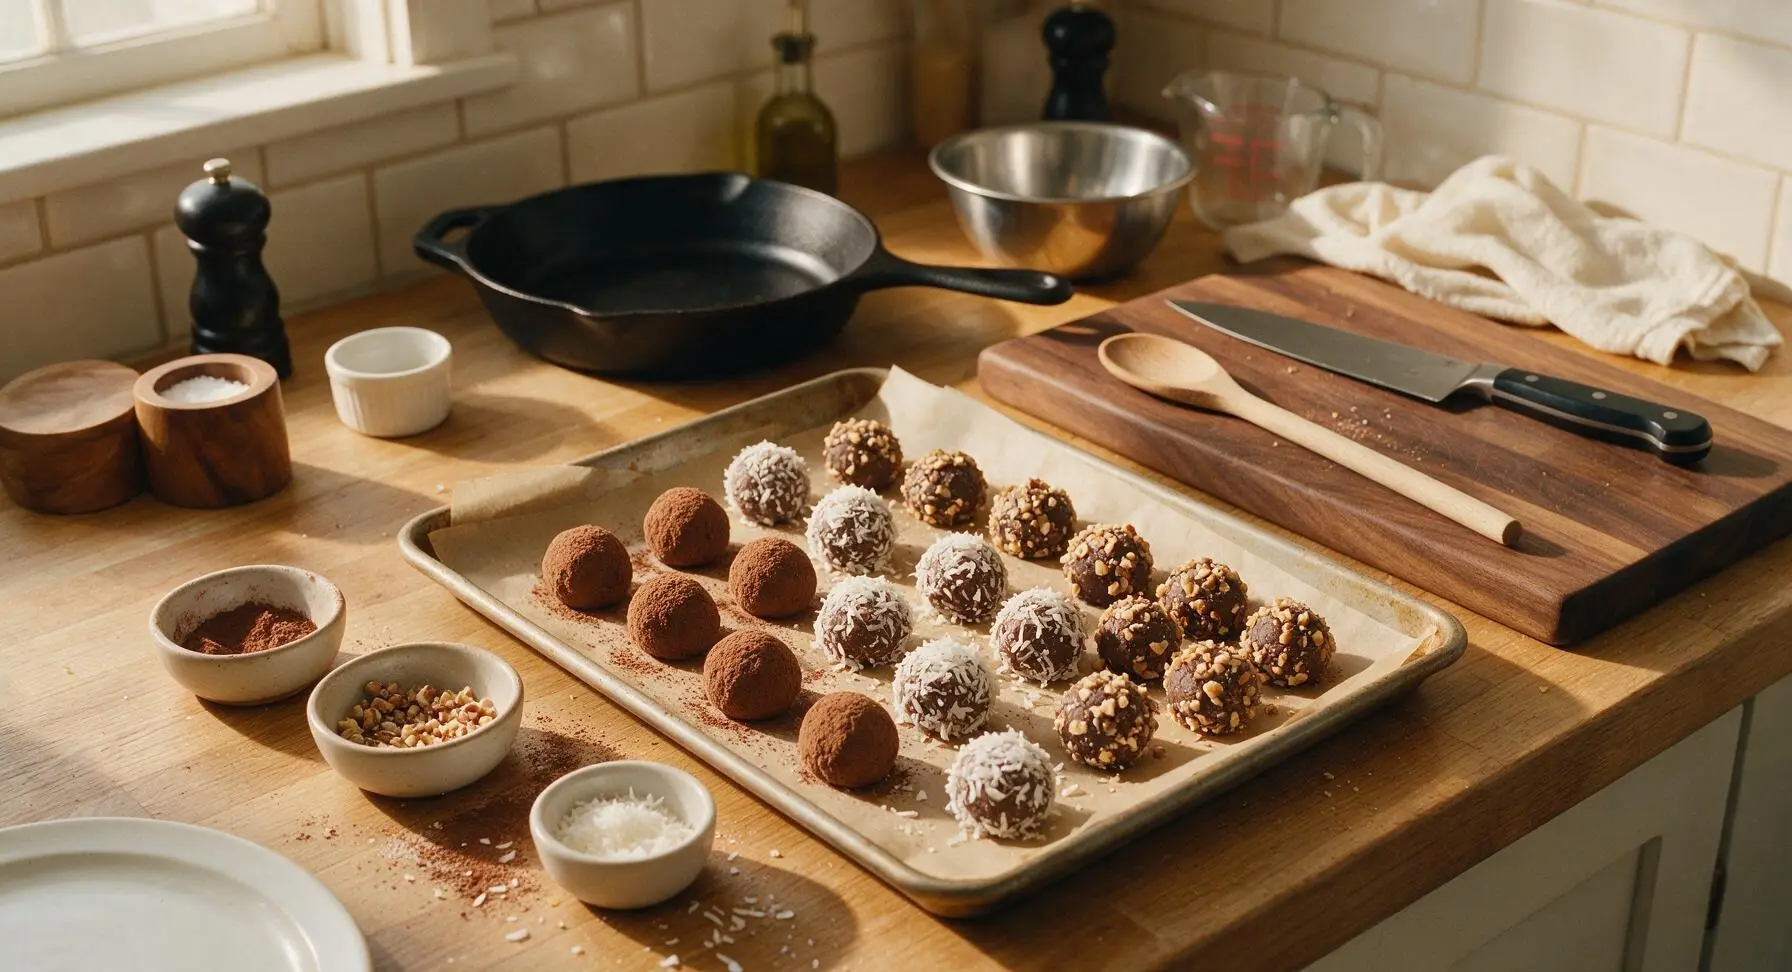
Place the three matte off-white ramekins in a row on the counter next to the baking sheet of dough balls. Fill the first ramekin with the remaining unsweetened cocoa powder, the second with the remaining 1/2 cup of finely chopped toasted walnuts, and the third with the sweetened shredded coconut. Stir each topping lightly with a finger to break up any clumps, so coatings apply evenly.
Coat Balls Evenly
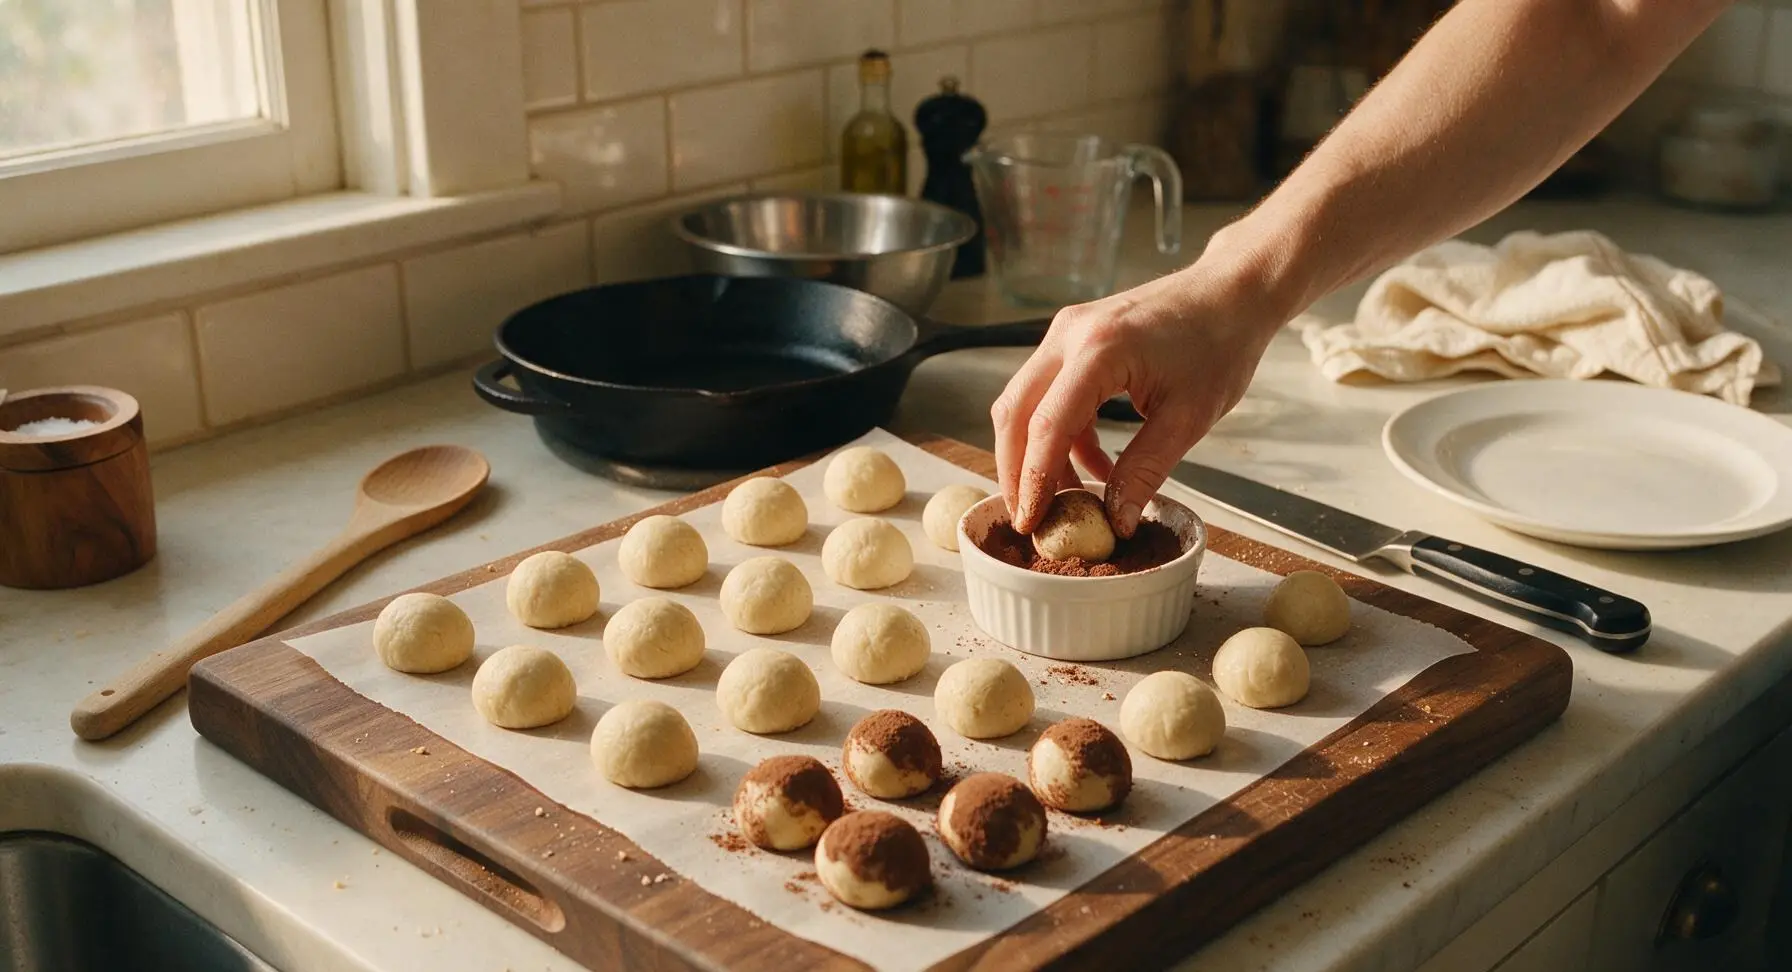
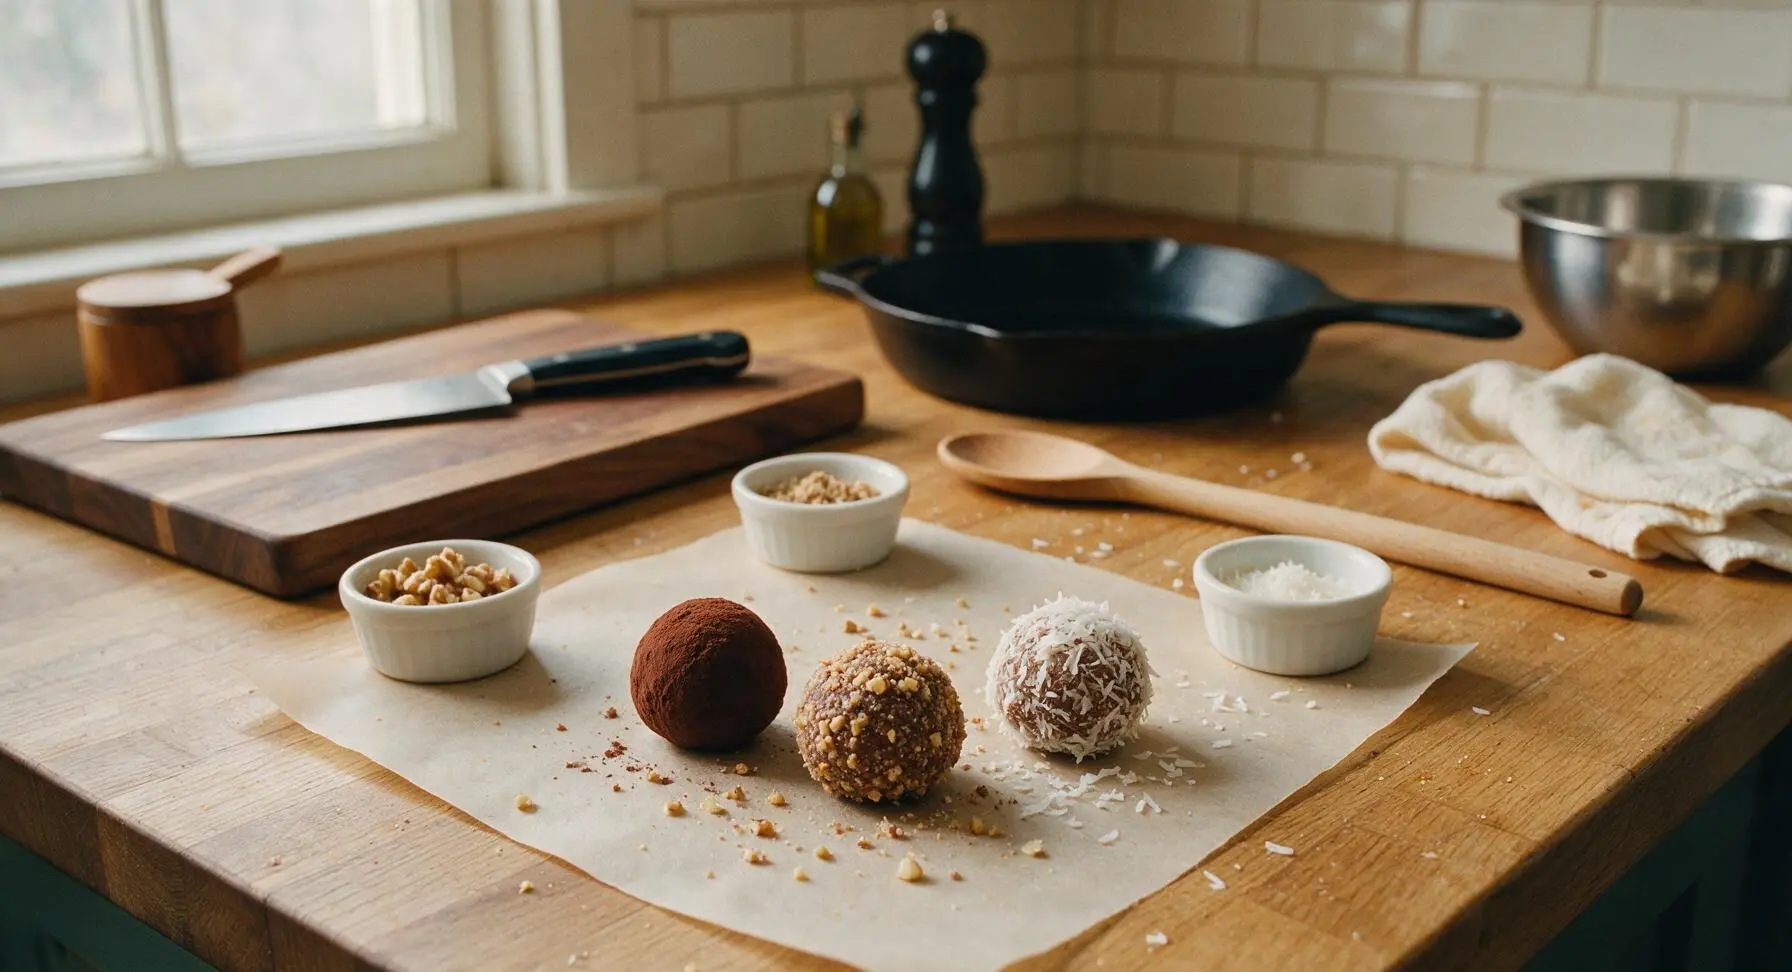
Working one ball at a time, roll each chilled dough ball in your chosen topping until fully and evenly coated, pressing lightly so the topping adheres to the surface. You can coat all balls in one topping, or mix and match for a varied platter. Return each coated ball to the parchment-lined baking sheet as you finish. If toppings fail to stick, lightly dab the ball with a tiny amount of extra Irish cream before rolling.
Chill Before Serving
Once all balls are coated, return the baking sheet to the refrigerator for 15 minutes to set the coatings firmly. Transfer the finished Irish Cream Balls to the matte cream ceramic serving platter, arranging in a loose mound for serving. The balls can be stored in an airtight container in the refrigerator for up to 2 weeks, making them ideal for advance gifting.
Tips
2.Always chill the dough thoroughly before scooping and rolling: warm, soft dough will stick to your hands and cookie scoop, creating misshapen balls and causing toppings to slide off instead of adhering evenly. If dough becomes sticky mid-prep, return it to the fridge for 10 minutes to firm back up.
3.Toast walnuts for 5 minutes in a 175°C (350°F) oven before chopping and adding to the recipe: toasting amplifies the nuts' rich, earthy flavor and adds extra crunch, elevating the final texture and taste far beyond what raw walnuts provide.






OMG these are SO good! I whipped these up in literally 2 minutes last night for my kid’s soccer team potluck and every single parent asked for the recipe. I added a little extra crushed pecans on the outside for crunch, chef’s kiss.
As someone who burns literally every baked good I try, these were a total game changer! No oven needed, done in 2 minutes, and my roommate said they taste like they came from a fancy bakery. Will be making these every weekend from now on.
These are delicious! Only reason I’m not giving 5 stars is I wish the recipe noted you should pop them in the fridge for 10 minutes after rolling so they hold their shape better. I rolled mine and set them out right away and they got a little soft at my family dinner. Flavor is 10/10 though!
Made these for my St. Patrick’s Day get together and they were gone in 10 minutes flat. People were coming back for thirds! I rolled half in green sprinkles to be festive, such a fun easy treat.
Wait, 2 minute cook time? I thought that had to be clickbait but no — literally mixed everything up, rolled into balls, and done. My husband said these are better than the fancy truffles we got for our anniversary. Insane.
These are really tasty but I found the mixture a little too sticky to roll at first. I added an extra quarter cup of cookie crumbs and that fixed it, just thought I’d share for anyone else who runs into that!
Brought these to my buddy’s game night last weekend and everyone lost their minds. So boozy, so chocolatey, zero effort. 10/10 would make again.
My kids loved it! Wait, before anyone comes for me — I used the non-alcoholic Irish cream syrup so it was totally kid friendly, and they gobbled them up after school. Perfect quick snack.
Rolled these in dark cocoa powder instead of powdered sugar and they taste like fancy Irish cream truffles. Total game changer for anyone who likes less sweet treats.
Meal prepped these for the week to have as a little after work treat and they’re holding up perfect in the fridge. Portion control is hard though because they’re so good I want to eat 5 at a time lol.
I was supposed to bring a dessert to my book club and totally forgot until 10 minutes before I had to leave. These came together so fast I even had time to roll them in gold sprinkles to look fancy. Everyone thought I spent hours making them!
Tried these with a splash of extra whiskey mixed in because I like my treats extra boozy, and it was chef’s kiss. Don’t overdo it though or the mixture gets too wet!
I’ve made these for 3 different potlucks in the last month and I’m already getting requests to bring them to the next neighborhood block party. So easy to transport, no mess, everyone loves them.
These are my new go-to last minute dessert for date night. My boyfriend thinks I’m a baking genius now, little does he know it took me 2 minutes total. Win win!
Made these in my dorm room with just a bowl and a spoon, no fancy equipment needed. My floor mates are already begging me to make another batch. Way better than the dining hall cookies lol.
I’ve been making Irish cream truffles for 40 years and this recipe is so much simpler than my old go-to. Tastes just as good, half the work. I’ll be using this from now on!
Made these for our Taco Tuesday last night and they were the perfect sweet finish after all the tacos and margaritas. The creamy Irish cream flavor pairs so well with spicy food, who knew?!
I rolled these in crushed Oreos instead of regular cookie crumbs and oh my GOD, next level. If you’re an Oreo fan you have to try this swap. Life changing.