1.What makes a toasted Italian grinder different from a regular Italian sub?
▾
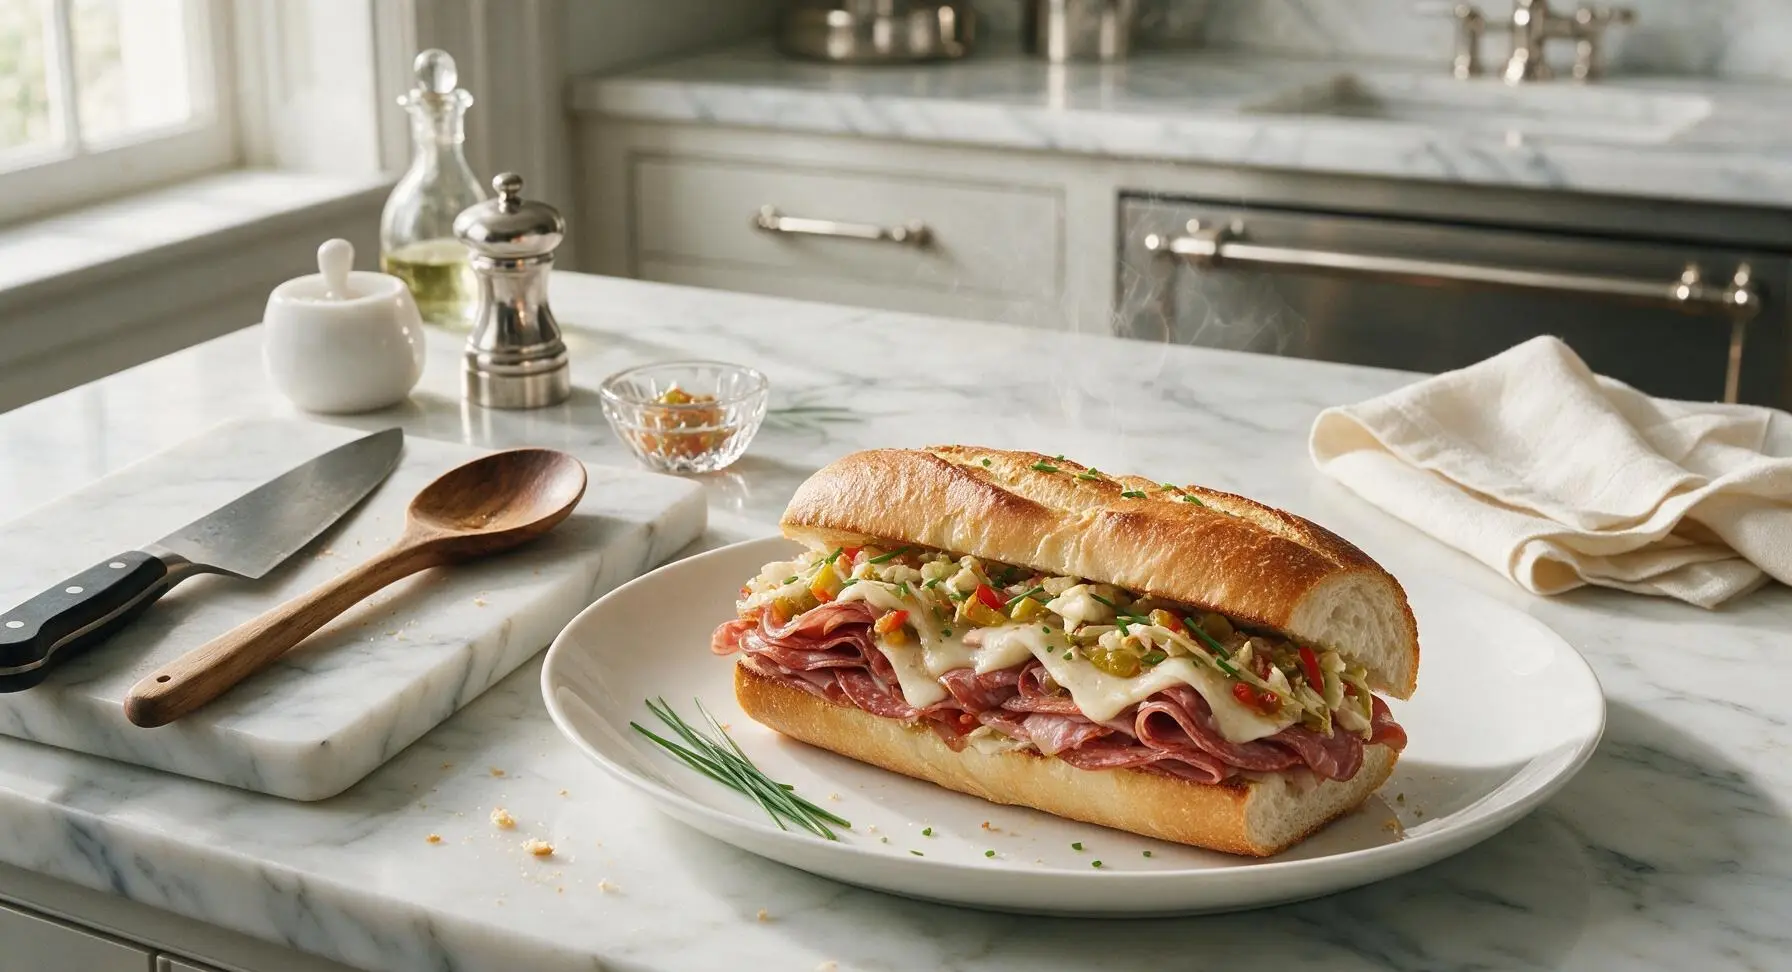
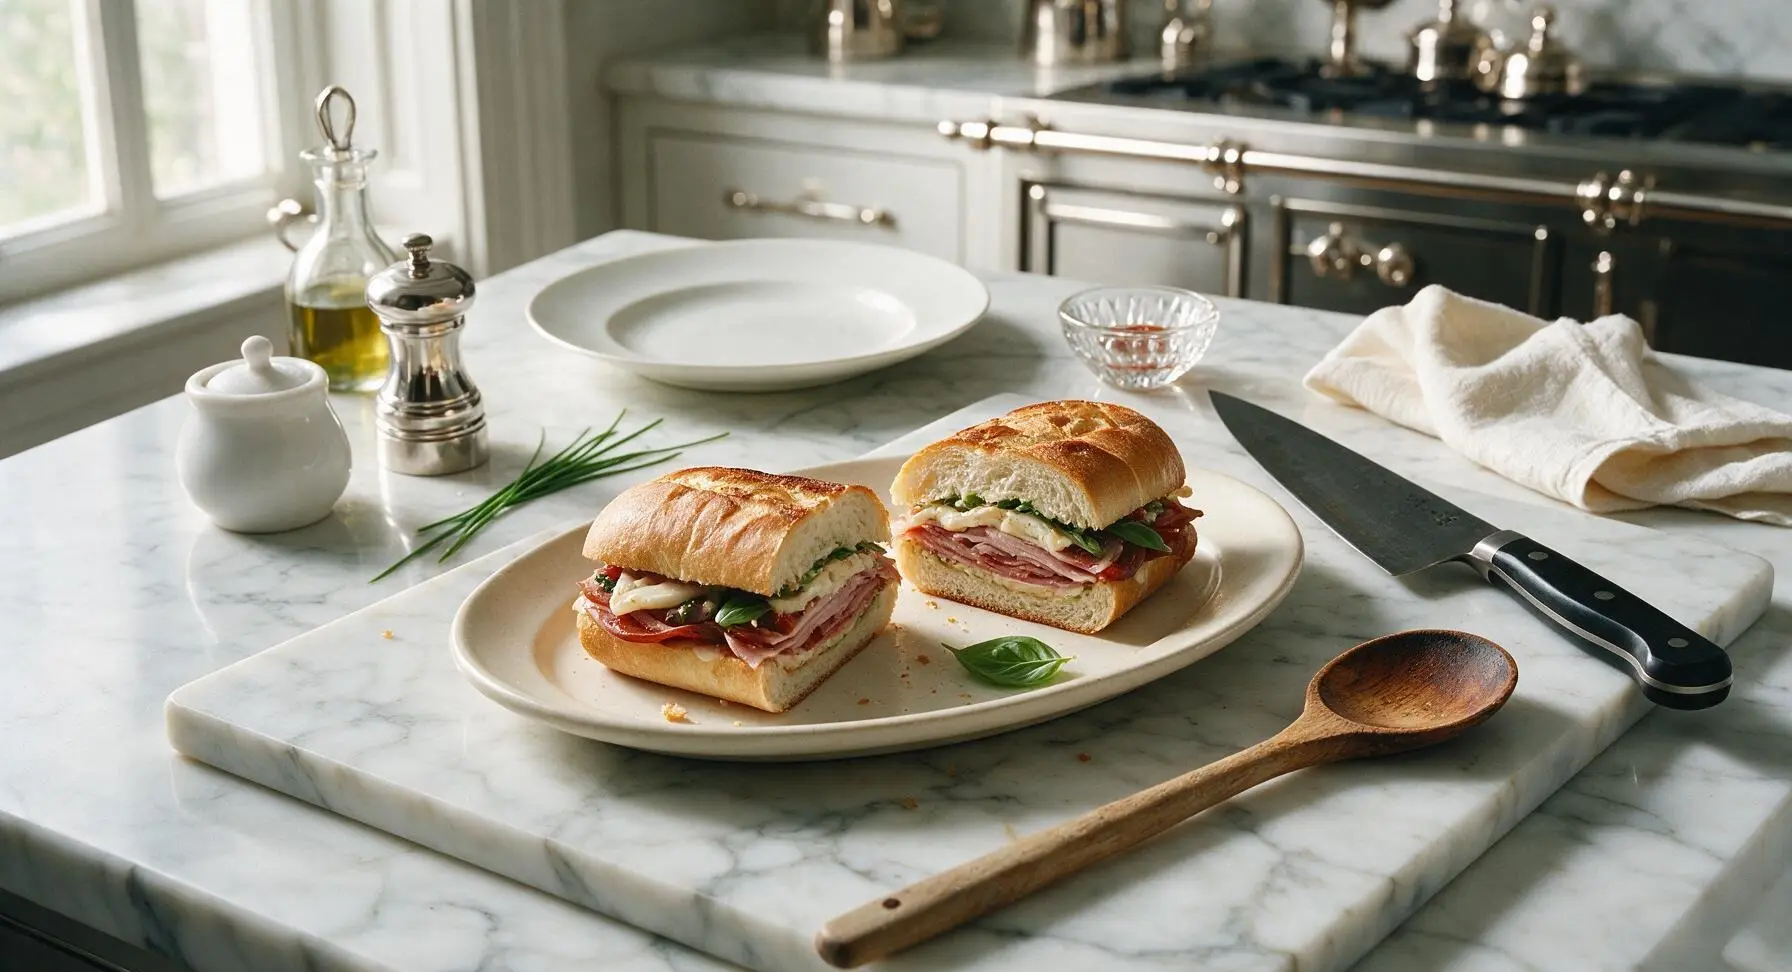
Great question! Unlike a cold Italian sub, a classic grinder gets lightly toasted to melt the provolone, crisp the crusty hoagie roll, and warm the cured meats just enough to bring out their savoriness. It also includes tangy giardiniera and zesty grinder salad instead of plain raw veggies, for bright, layered flavor that holds up beautifully for picnics or on-the-go meals.
2.Can I use different cured Italian meats if I don’t have capicola or pistachio-studded mortadella?
▾
Absolutely! Stick to roughly 4–5 ounces of thinly sliced cured meat per 8-inch roll to keep the perfect filling-to-bread ratio. Great swaps include spicy soppressata for capicola if you like heat, plain mortadella if you can’t track down the pistachio-studded variety, or even thin prosciutto. Just skip thick-cut meats, as they’ll make the sandwich feel overly dense and hard to bite through.
3.How do I toast the grinder so the bread is crispy but not rock hard?
▾
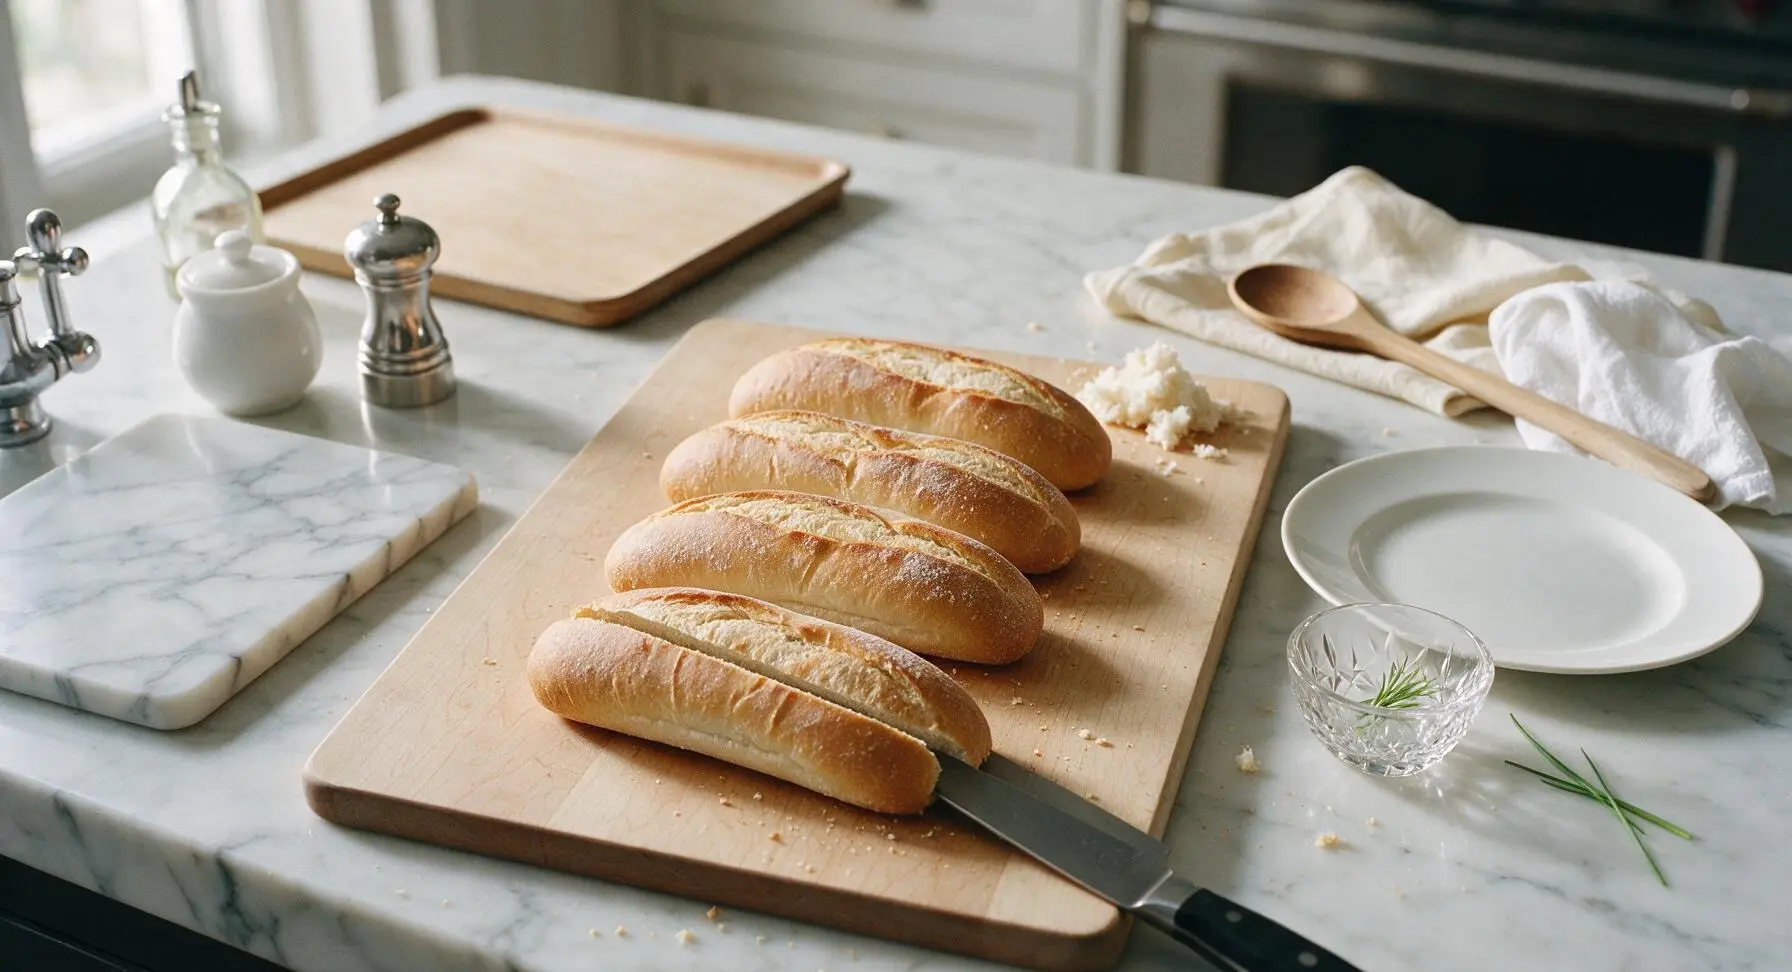
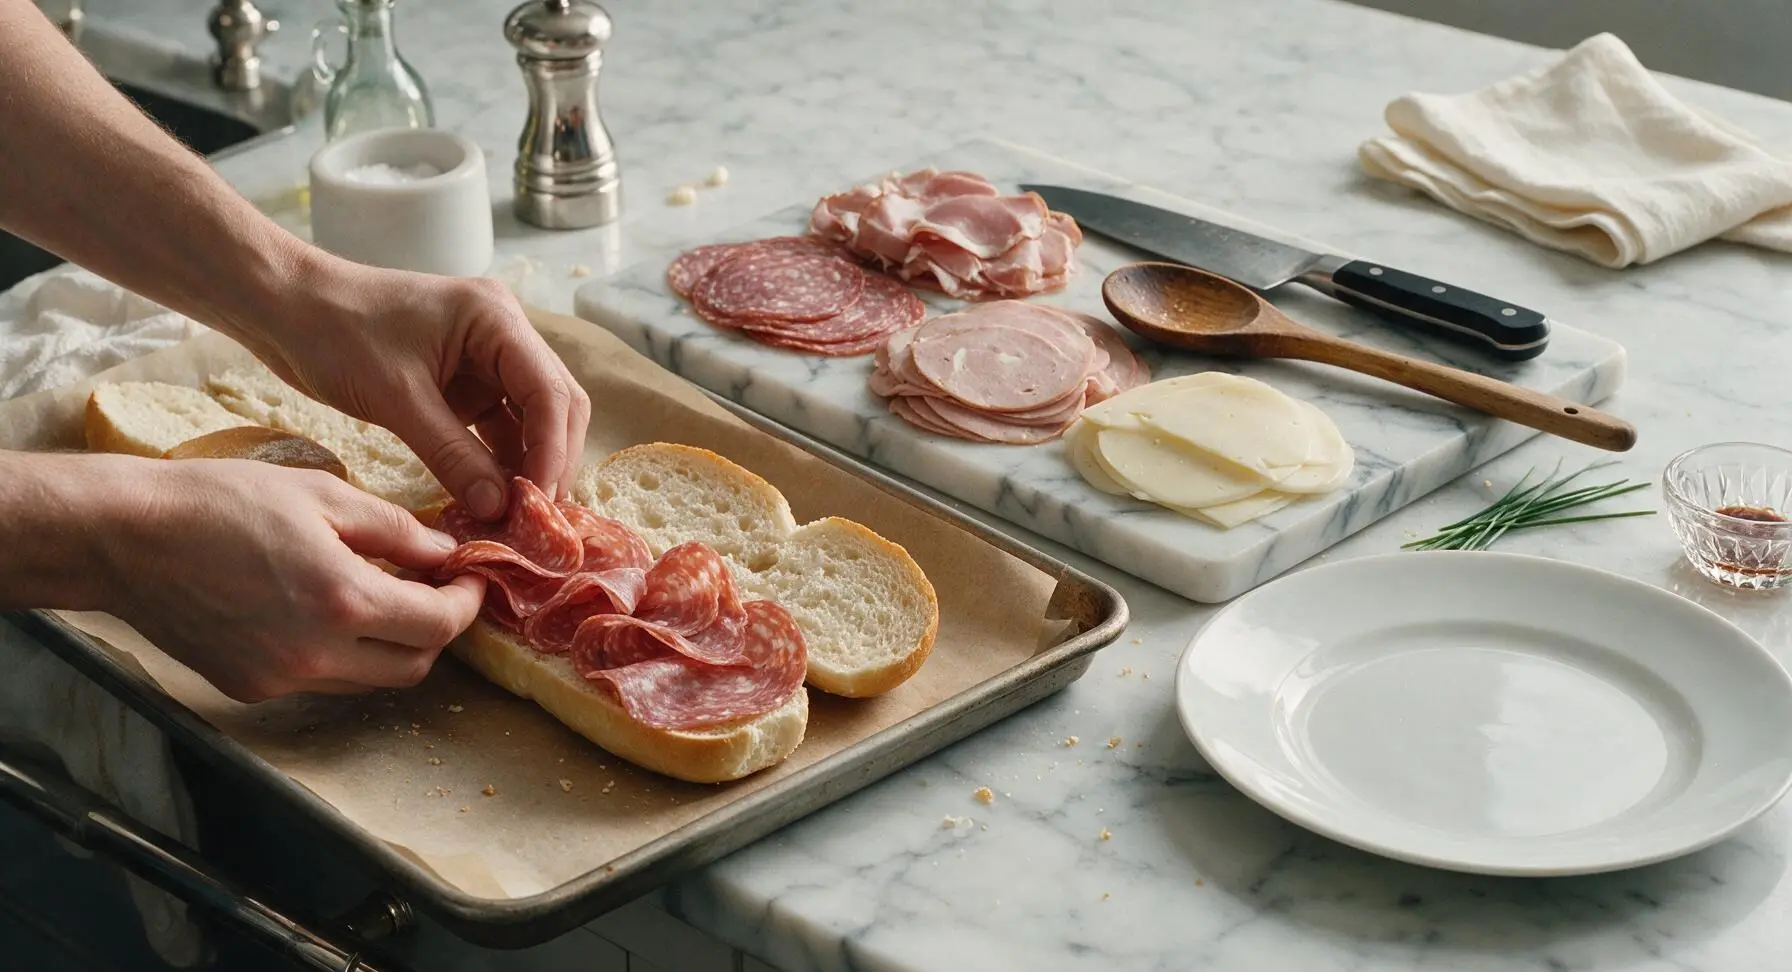
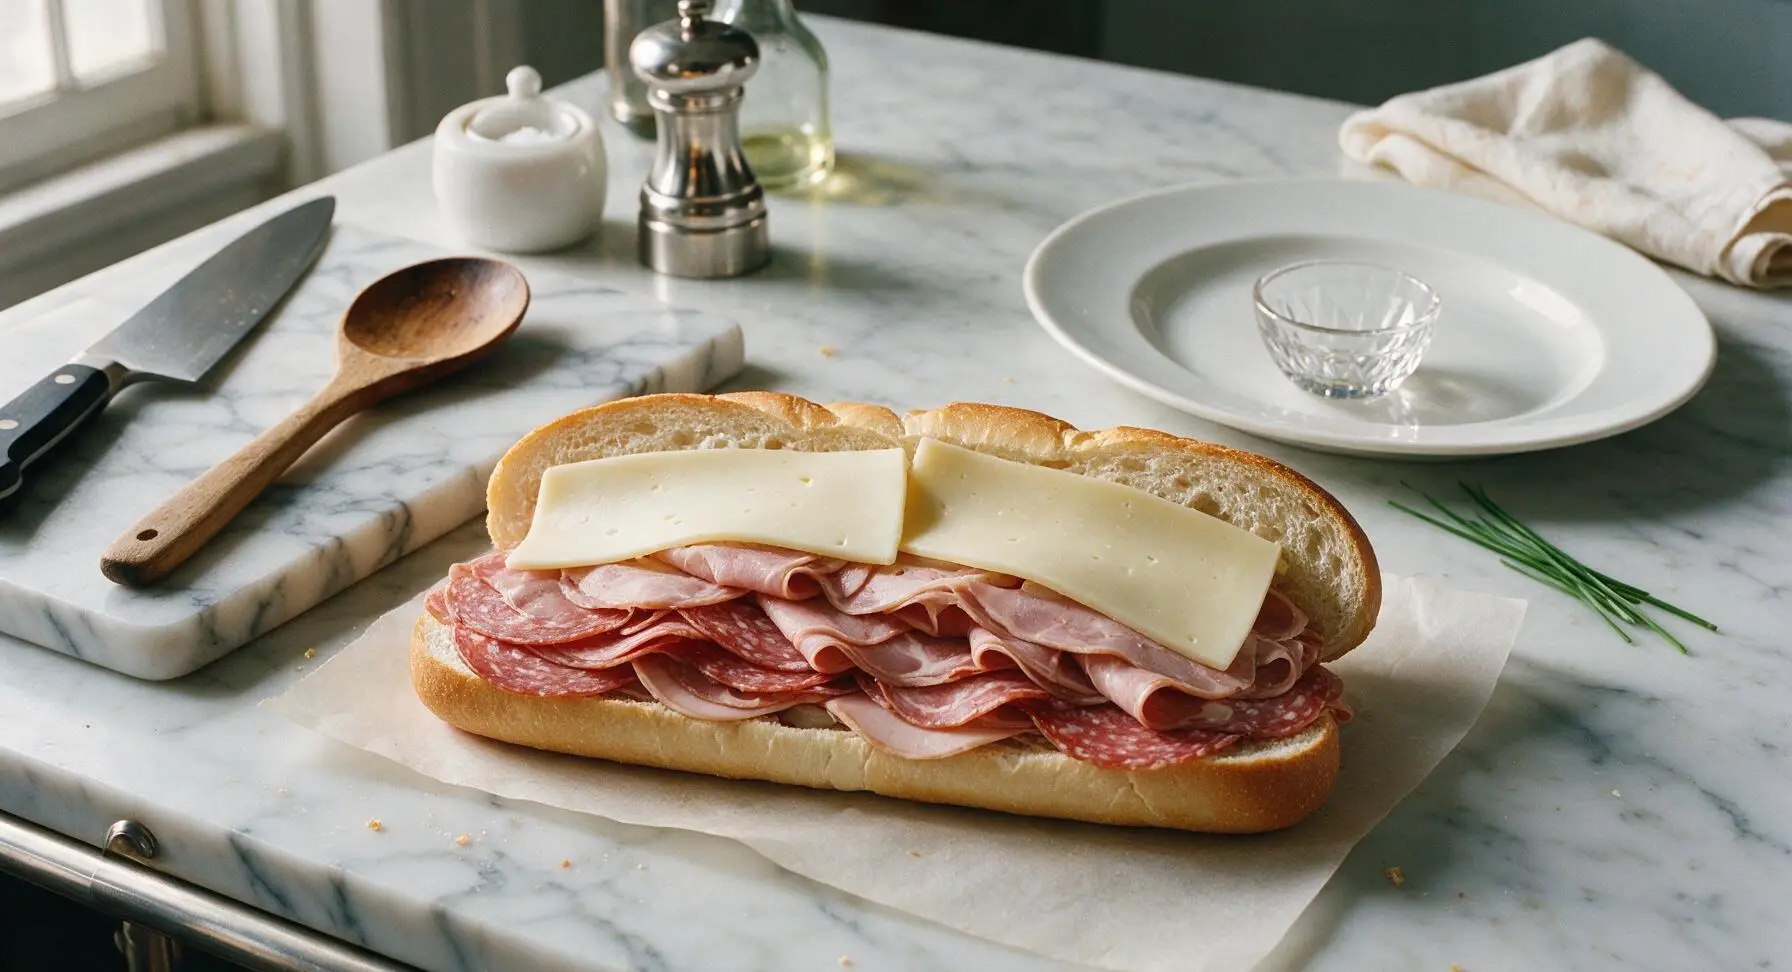
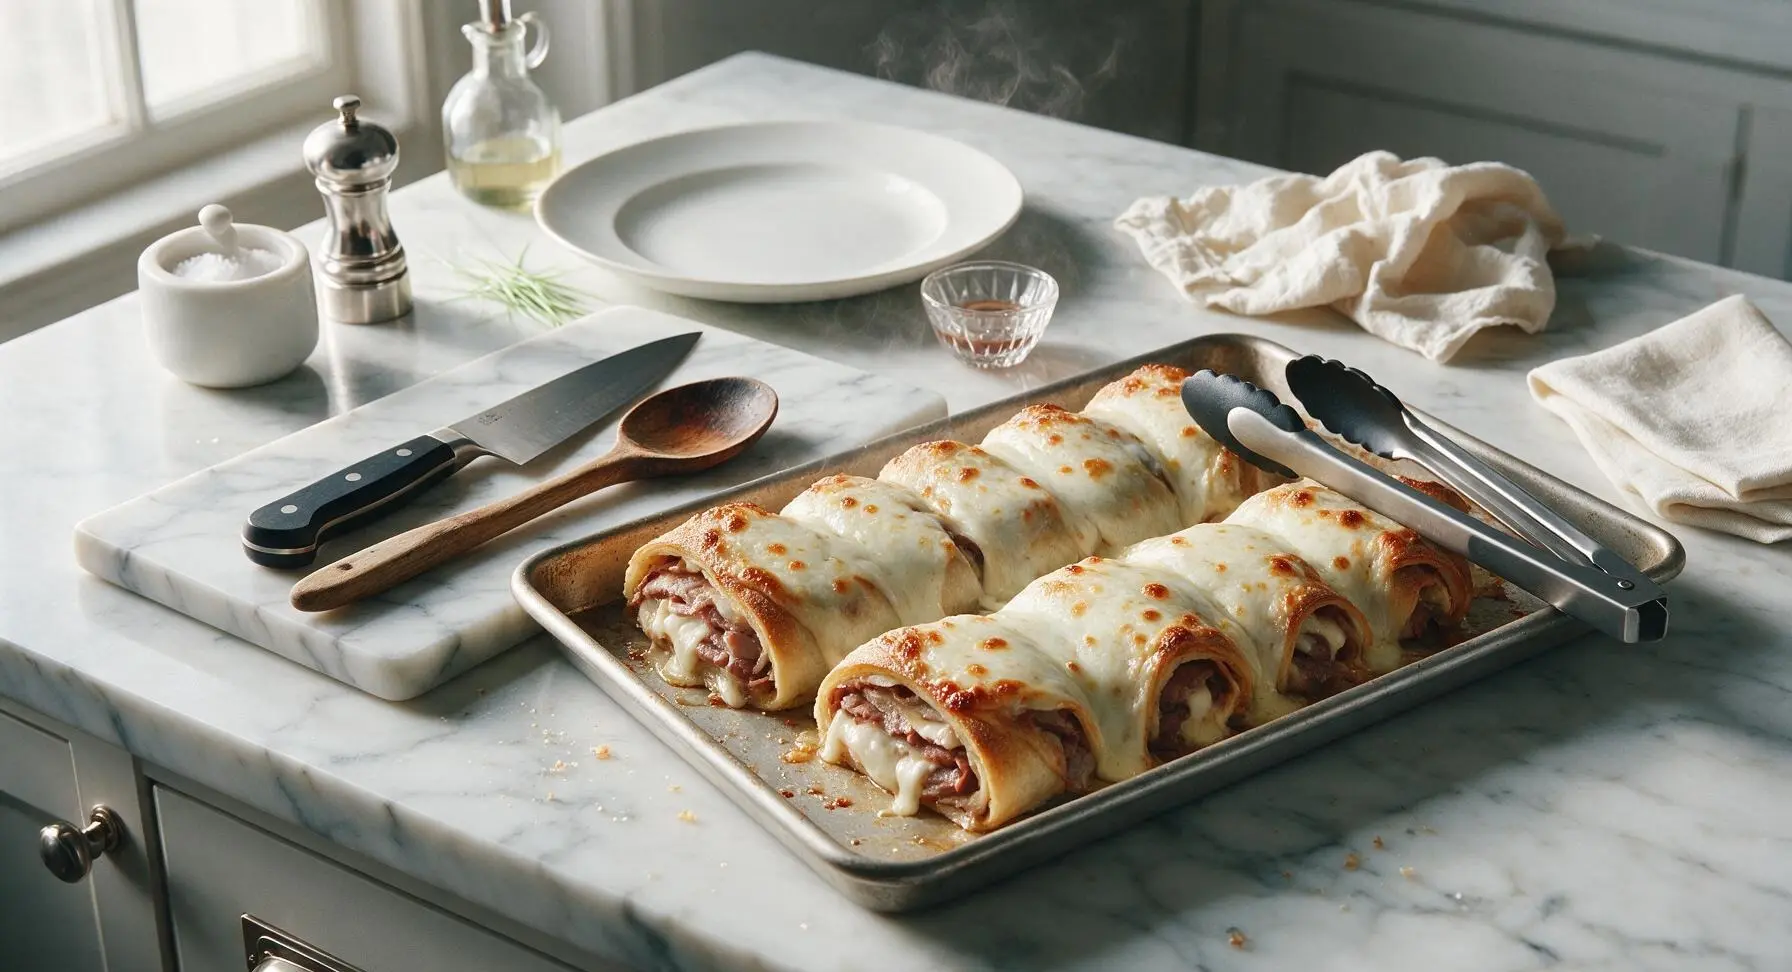
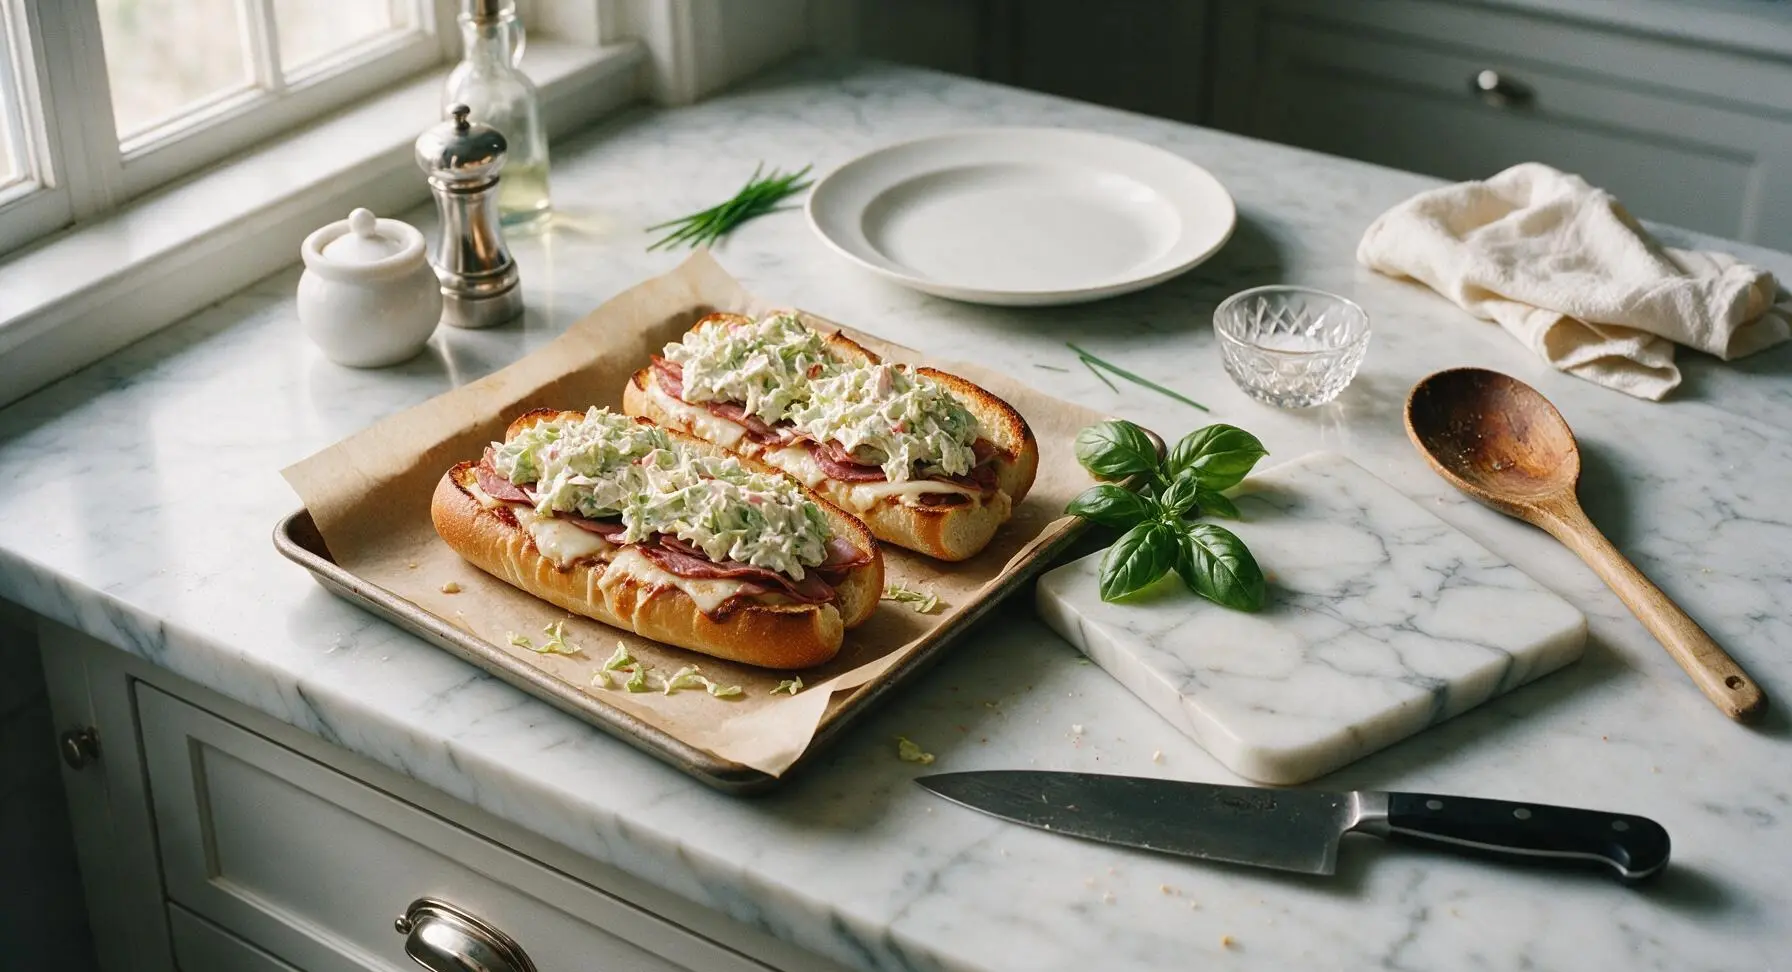
Great pro tip here: Split your hoagie rolls lengthwise, lay them cut-side up on a baking sheet, and broil on low for 1–2 minutes right after layering the provolone and cured meats. Watch them extremely closely—you want the cheese fully melted and the cut side of the roll lightly golden, not charred. Pull them before the outer crust gets too brittle, so it still has a pleasant soft chew.
4.What’s in the zesty grinder salad that’s traditional for these sandwiches?
▾
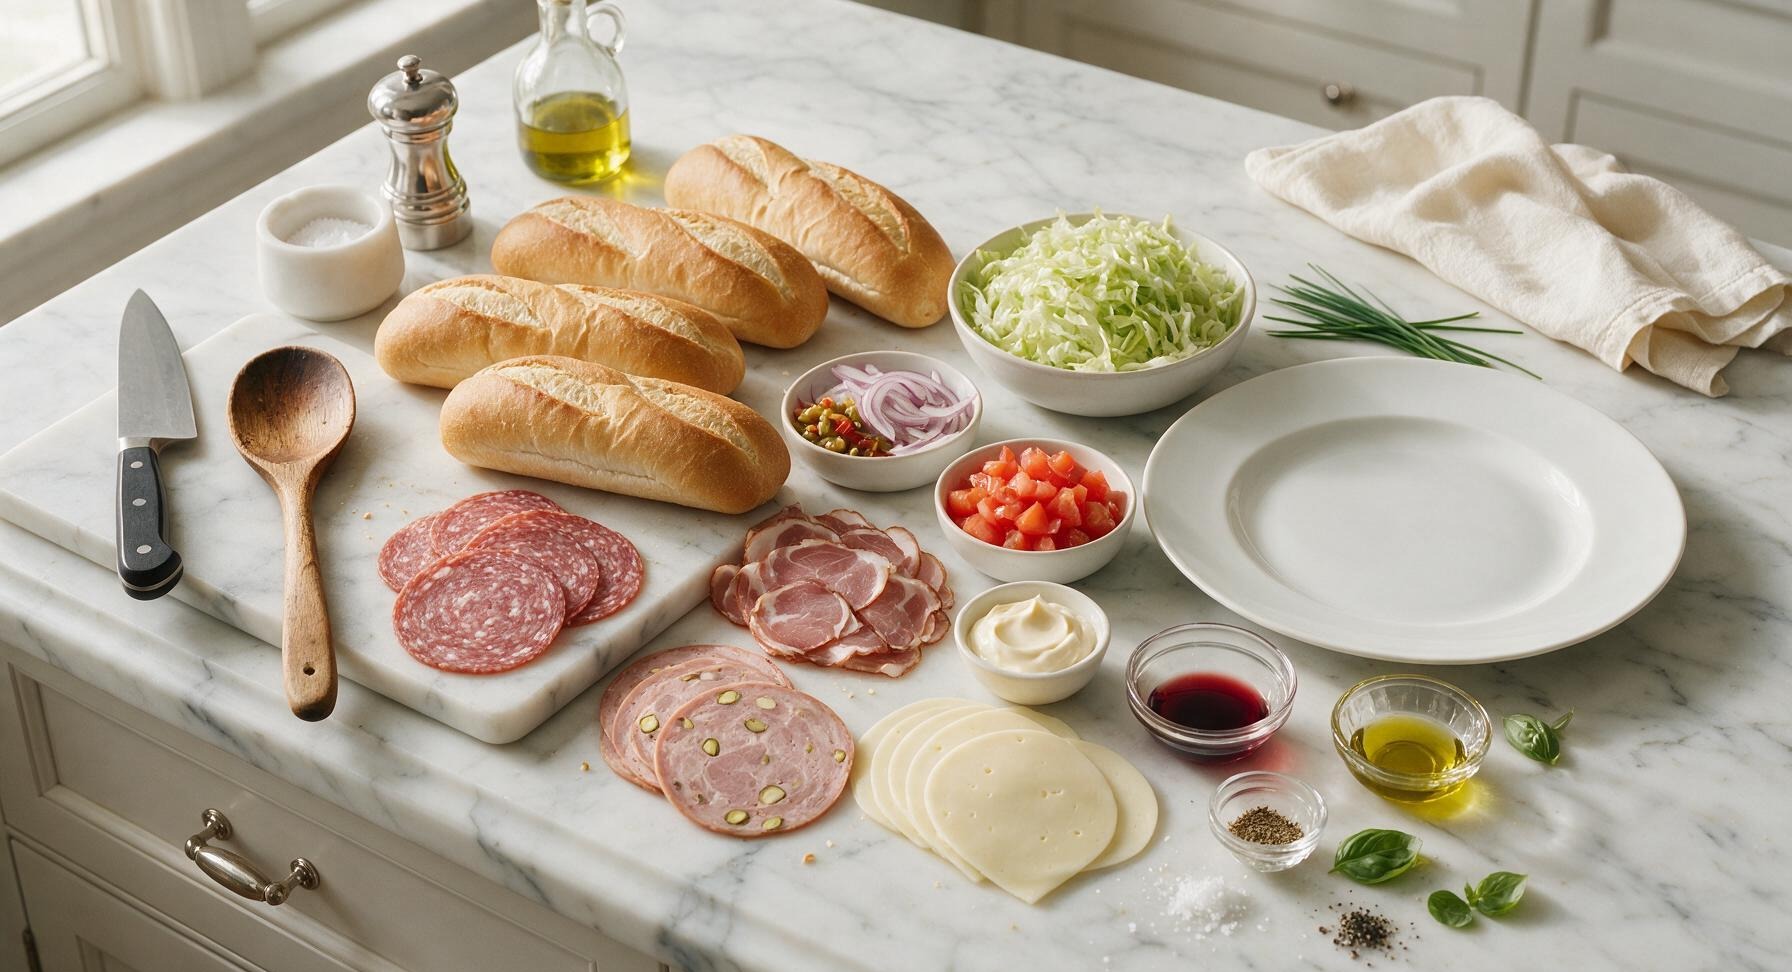
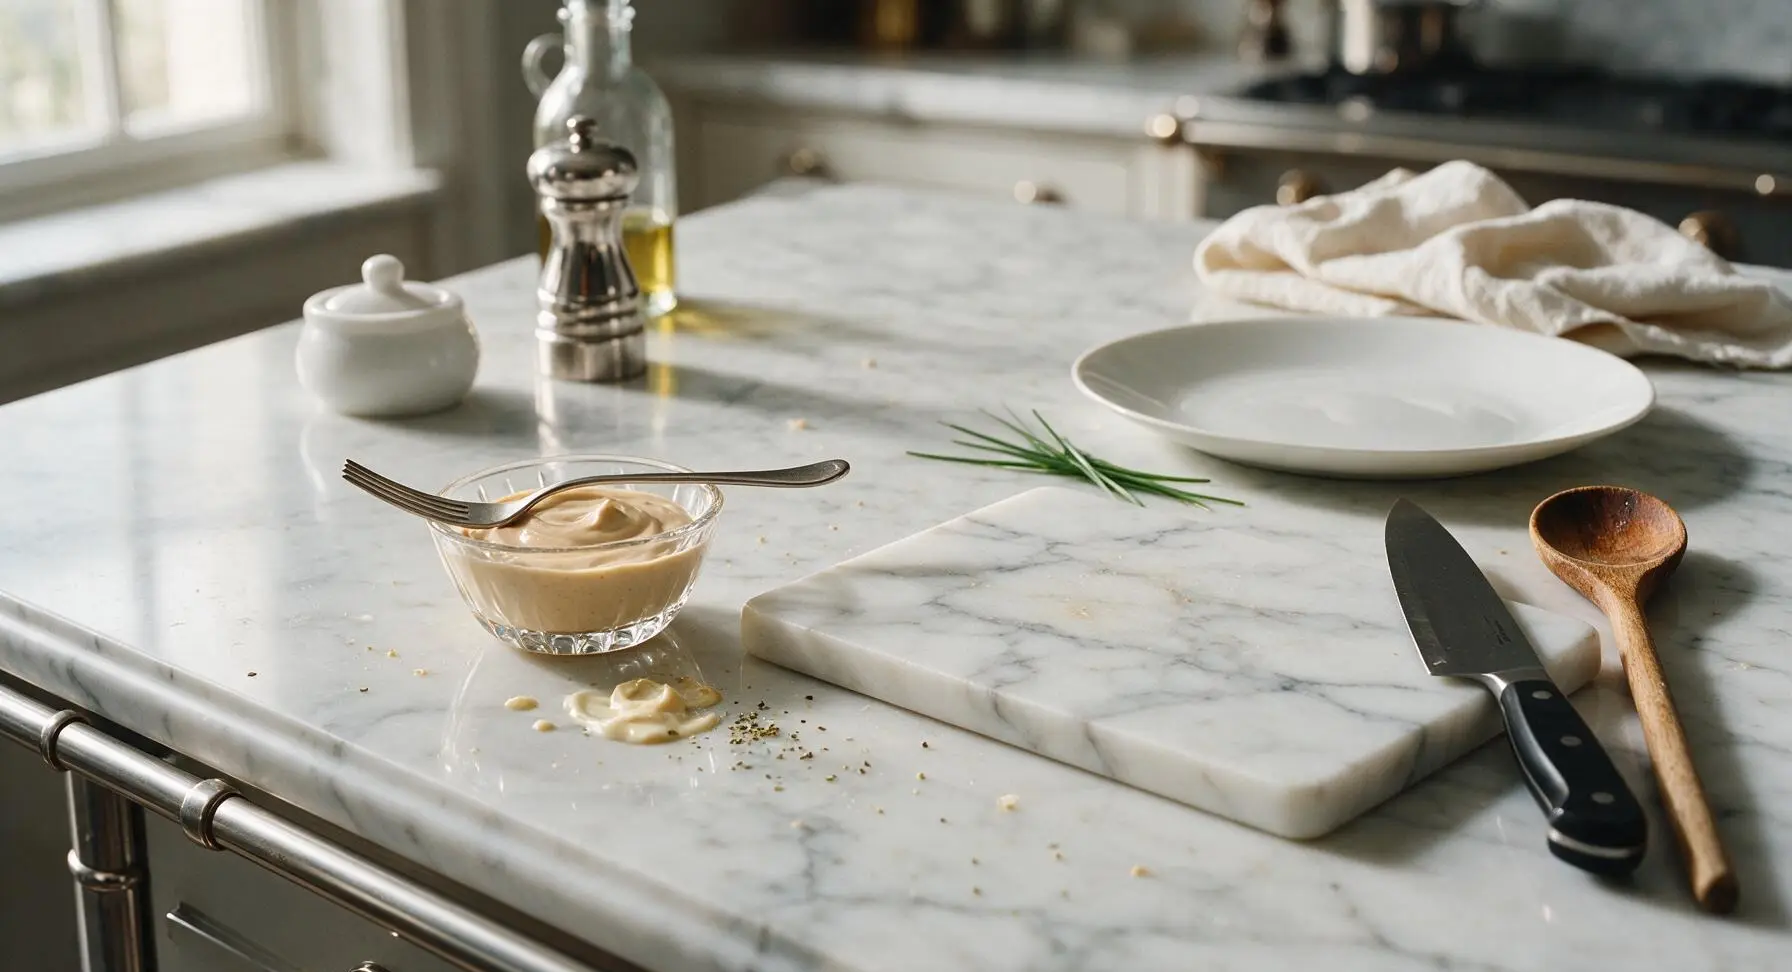
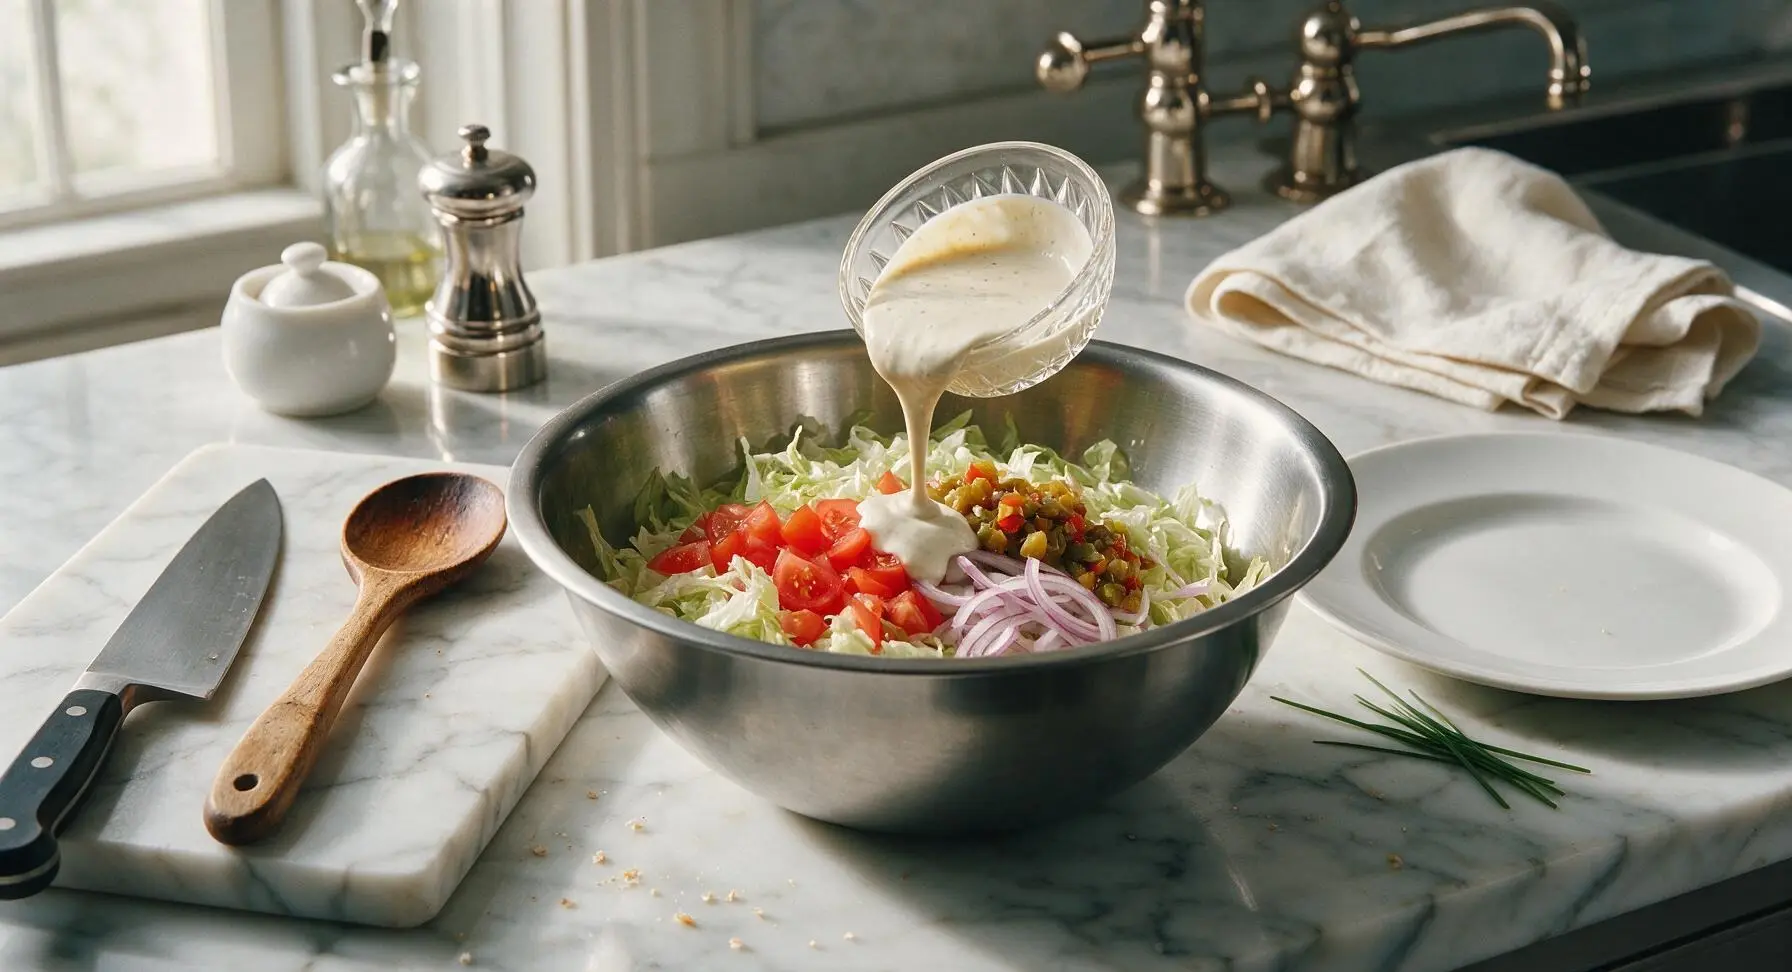
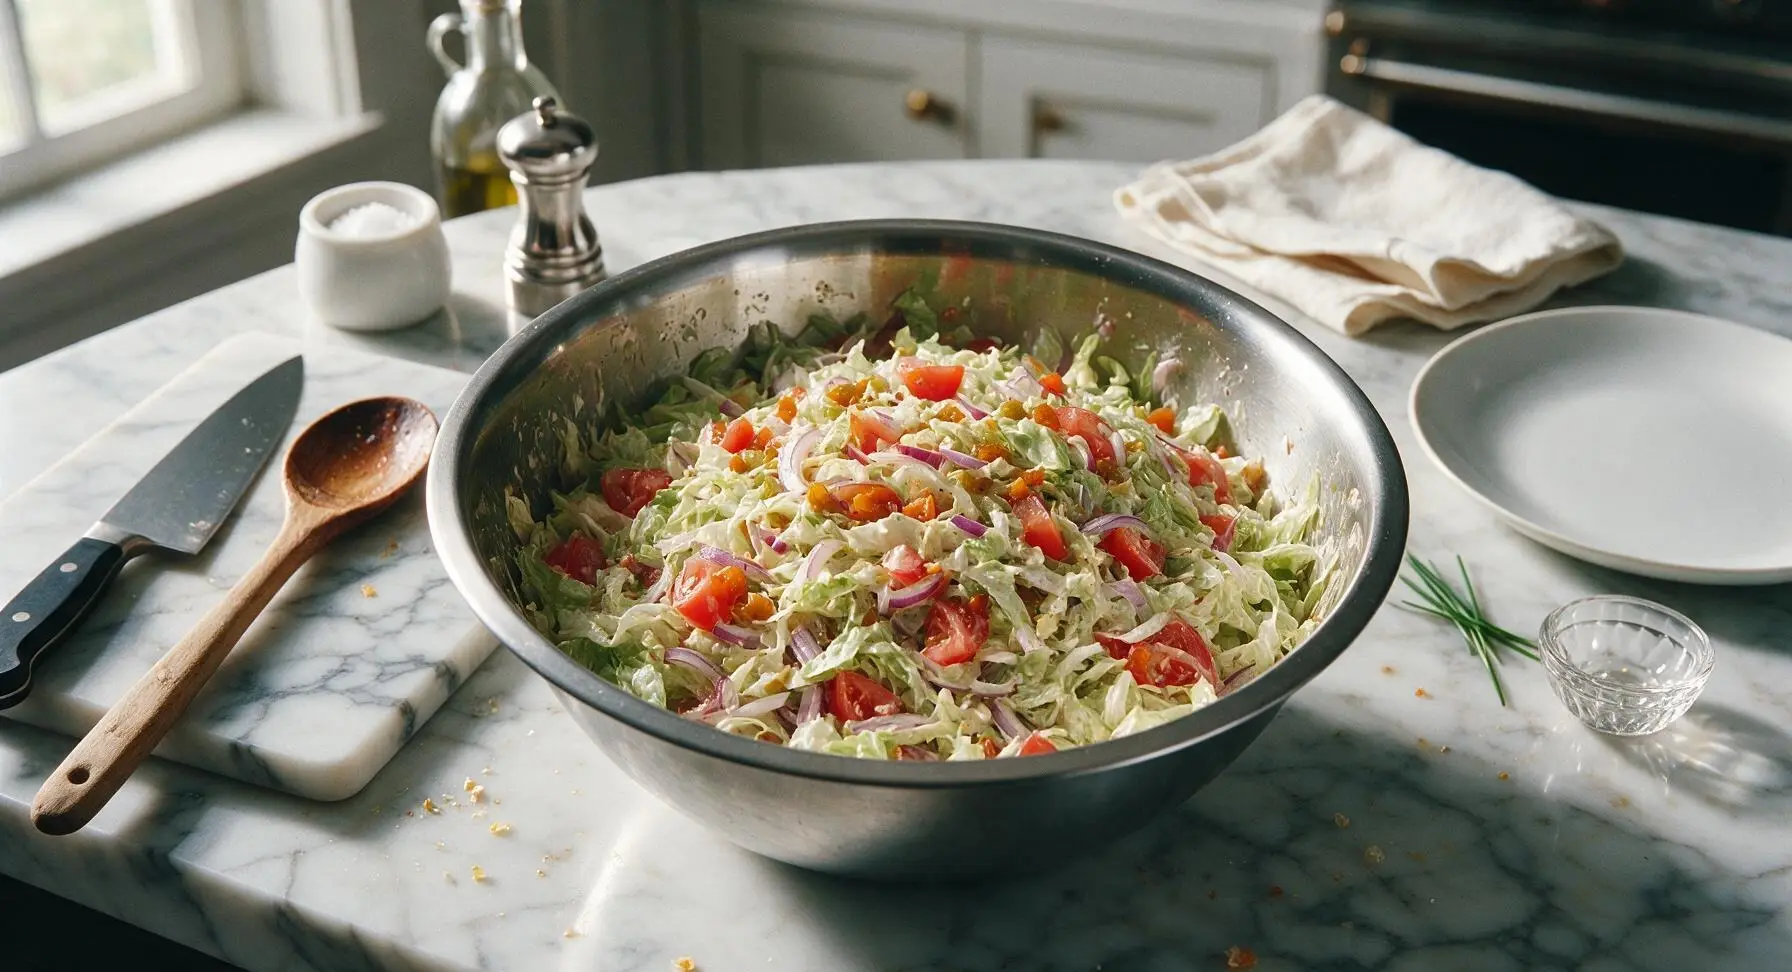
Classic grinder salad is a quick, tangy slaw made from finely shredded iceberg lettuce, thin slices of red onion, a splash of red wine vinegar, a small dollop of mayo, a pinch of dried oregano, salt, and black pepper. It’s creamy, bright, and cuts through the richness of the cured meats and melted cheese perfectly—don’t skip it, it’s core to the iconic grinder flavor.
5.Is mild or hot giardiniera better for this classic grinder?
▾
That totally comes down to your heat preference! Mild giardiniera brings that signature tangy, pickled veggie crunch without any burn, making it great for kids or folks who avoid spice. Hot giardiniera adds a zingy chili kick that pairs beautifully with the salty cured meats and creamy provolone. I always set out both options when serving these at picnics or game days.
6.How do I keep my grinder from getting soggy if I’m packing it for a picnic?
▾
Smart question! First, let the toasted meat and cheese layer cool for 2–3 minutes before adding the grinder salad and giardiniera, so trapped steam doesn’t make the bread mushy. Pat excess brine off your giardiniera before piling it on, too. A thin layer of melted provolone against both cut sides of the roll also creates a handy moisture barrier to fight sogginess for 3–4 hours.
7.Can I make these grinders ahead of time for meal prep?
▾
You can partially prep them ahead, but I don’t recommend fully assembling them more than 4 hours in advance. Toast the rolls with meats and cheese, let them cool completely, then wrap tightly in foil and refrigerate for up to 2 days. Wait to add the grinder salad and giardiniera until right before you eat, so veggies stay crisp and bread doesn’t turn mushy.
8.What’s the best cheese swap if I don’t have provolone on hand?
▾
Provolone is ideal because it melts smoothly and has a mild, slightly smoky flavor that doesn’t overpower the delicate cured meats. If you don’t have it, low-moisture mozzarella is the closest swap, as it melts beautifully without getting greasy. For a bolder pick, use thin-sliced fontina, but skip strongly flavored cheeses like sharp cheddar that clash with the sandwich’s profile.
9.How much meat should I pile on each 8-inch hoagie roll for the perfect ratio?
▾
Aim for about 4 to 5 ounces of total thinly sliced cured meat per 8-inch roll, split evenly between the Genoa salami, capicola, and pistachio mortadella. That works out to roughly 3–4 thin slices of each meat, layered loosely so every bite has a mix of flavors. Don’t overstuff it, as too much meat makes the sandwich hard to bite through and throws off the filling balance.
10.Do I need a fancy panini press to toast these grinders properly?
▾
Not at all! You don’t need any special equipment to get that perfect toasty texture. A regular oven broiler works beautifully, but you can also toast the assembled (pre-salad) sandwiches in a dry skillet over medium heat, pressing down gently with a spatula for 1–2 minutes per side, just until the cheese melts and the bread crisps to light golden brown.
11.Do I really need pistachio-studded mortadella, or can I skip it?
▾
Pistachio-studded mortadella adds a wonderful rich, slightly silky texture and subtle nutty sweetness that balances the salty savoriness of the Genoa salami and capicola. It’s a classic addition to authentic Italian grinders, but if you can’t find it or don’t care for it, swap it for plain mortadella or thin-sliced deli ham for a similar mild, creamy meat element.
12.Should I butter the hoagie rolls before toasting them?
▾
You don’t have to, but a very thin spread of softened unsalted butter on the cut sides of the roll before toasting adds an extra layer of rich, crispy flavor and helps the bread toast more evenly. Just go light—too much butter will make the roll greasy and overpower the bright, tangy fillings. I like to add a tiny pinch of garlic powder to the butter for subtle extra savoriness.
13.Can I make a tasty vegetarian version of this toasted Italian grinder?
▾
Definitely! Swap the cured meats for thin slices of marinated roasted red peppers, grilled zucchini, oil-packed artichoke hearts, and even vegetarian Italian deli slices if you have them on hand. Keep the melted provolone, tangy giardiniera, and zesty grinder salad, and toast the roll the exact same way for a crispy, bright, fully vegetarian sandwich perfect for picnics.
14.How do I keep all the fillings from falling out when I take a bite?
▾
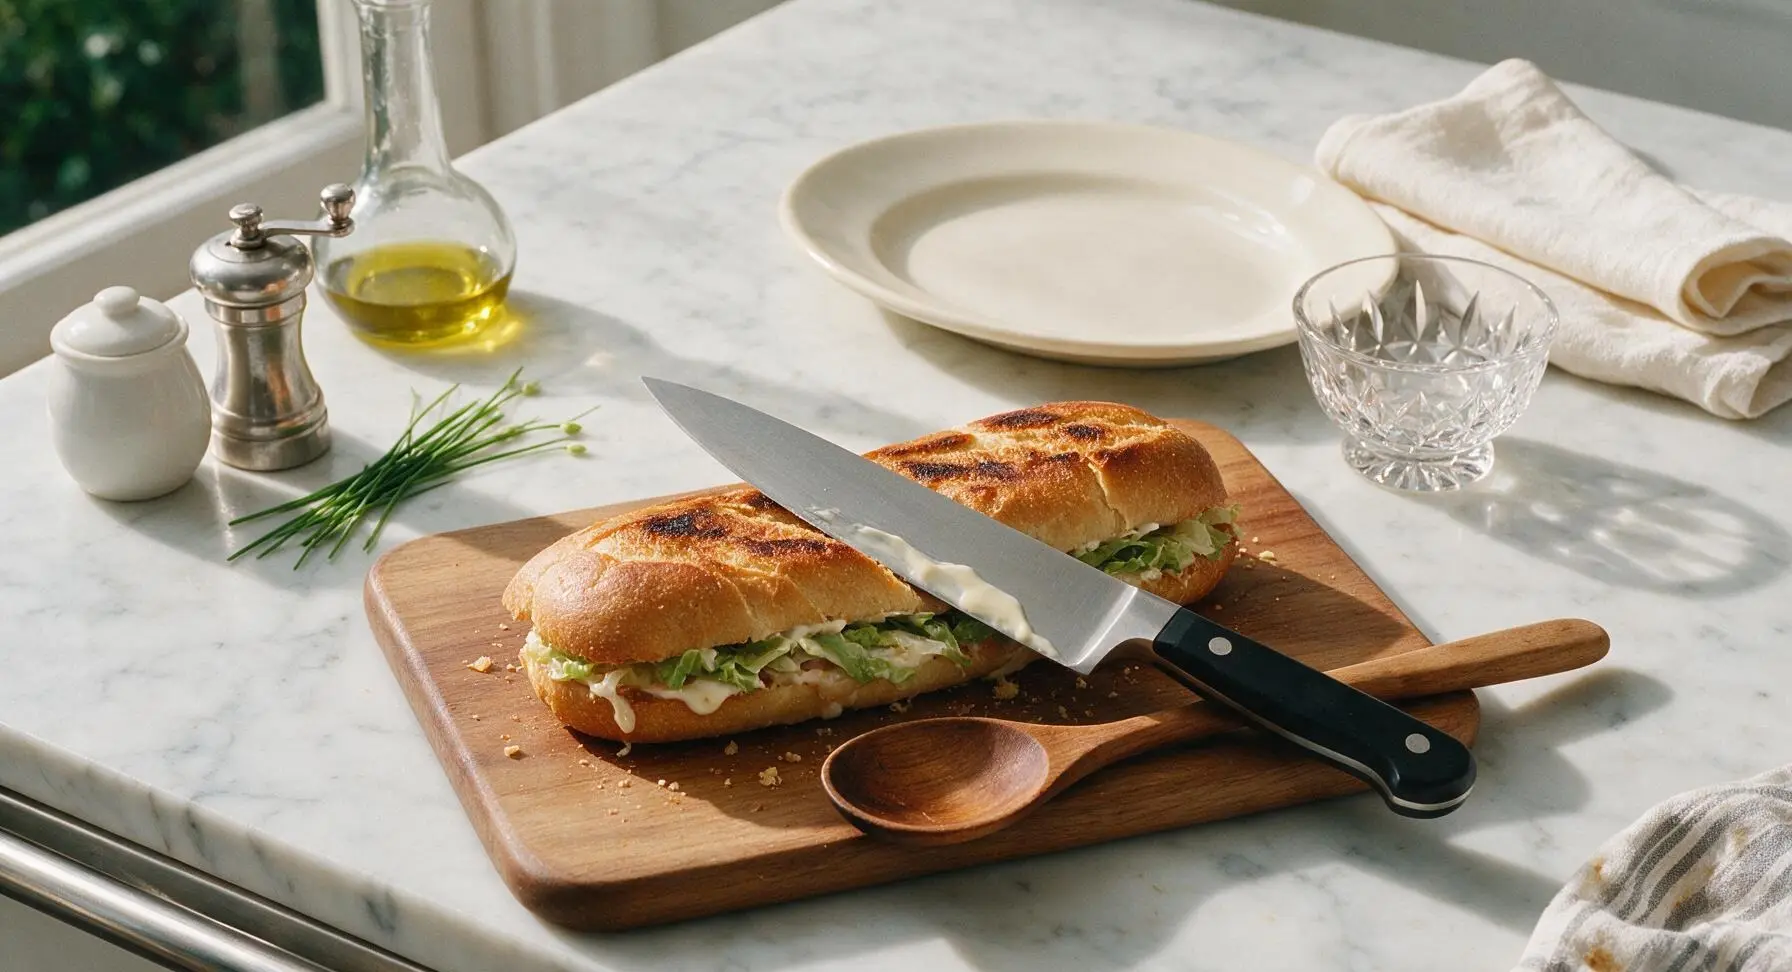
Great practical question! Layer the melted provolone so it acts like an edible glue to hold the meat slices to the roll, then pile the giardiniera and grinder salad into the slight hollow of the bottom roll instead of mounding it way high. Give the assembled sandwich a gentle press to help everything adhere, and wrap it tightly in parchment for 2 minutes before cutting it diagonally to serve.
15.What sides pair best with a classic toasted Italian grinder?
▾
These sandwiches are incredibly versatile! Classic picnic sides pair perfectly: crispy salted potato chips, tangy Italian pasta salad, crunchy dill pickle spears, or a simple arugula salad tossed in lemon vinaigrette all work beautifully. For a heartier meal, serve them with a cup of minestrone soup or garlic parmesan fries, skipping overly rich sides that compete with the bright flavors.
16.Can I add extra toppings without ruining the classic grinder flavor?
▾
Of course! The classic recipe is a perfect baseline, but you can customize it to your taste. Tasty, complementary additions include thin slices of ripe tomato, a sprinkle of grated parmesan, a light drizzle of Italian dressing, extra pepperoncini, or even a thin spread of basil pesto on the top roll. Just avoid adding so many wet toppings that the bread gets soggy, and keep the flavor balance in mind.
17.What kind of hoagie roll works best for this recipe?
▾
Look for crusty, 8-inch hoagie rolls with a soft, airy interior and a slightly chewy outer crust. Avoid overly soft, squishy white sandwich buns that will turn mushy as soon as you add fillings, and skip super hard, dense artisan sourdough rolls that are too tough to bite through easily. The ideal roll has enough structure to hold fillings without falling apart, but still has a tender bite.
18.How long should I let the toasted base rest before adding cold toppings?
▾
Let the toasted roll, melted cheese, and warm meats rest for 2 to 3 minutes after you pull them out of the broiler or off the skillet. This short rest lets the cheese set slightly so it doesn’t slide off when you pick up the sandwich, and lets excess steam escape so it doesn’t wilt the grinder salad or turn the bread soggy. It’s a tiny step that makes a huge difference in final texture.







OMG this grinder is SO good! Threw it together for last night’s family dinner and even my super picky 8 year old asked for seconds. The toasty bread with all the cured meats and melted provolone? *Chef’s kiss* Cook time really is only 10 minutes too, which is perfect for our chaotic weeknights with soccer practice and homework.
Solid recipe! I brought a platter of these cut up into sliders to our neighborhood potluck last weekend and they disappeared in 10 minutes flat. Only tiny note is I wish I’d added extra banana peppers for more zing, but that’s just my personal preference. Will definitely make these again for our next football watch party.
Game changer for my weekly meal prep! I pre-assembled these on Sunday, wrapped them tight, and just popped them in the toaster oven each day for lunch all week. Way better than the sad takeout sandwiches I used to grab on my lunch break. 10/10 would recommend.
Made this for my partner’s birthday lunch since he’s obsessed with East Coast style grinders, and he said it tasted exactly like the ones we got on our trip to Boston a couple years ago. It was so easy too, I didn’t even break a sweat putting it together between work meetings. This is gonna be in our regular dinner rotation for sure!
Pretty solid grinder! Flavor was totally spot on, but I over-toasted my hoagie roll the first go-round so it got a little too crunchy and scraped the roof of my mouth, oops. Definitely gonna keep a closer eye on the broiler next time.
My roommates and I made these for our movie night last weekend and we all agreed we’re never ordering delivery grinders again. We added a little extra Italian dressing and oh my gosh, *chefs kiss*. So cheap to make too, way better value than takeout!