
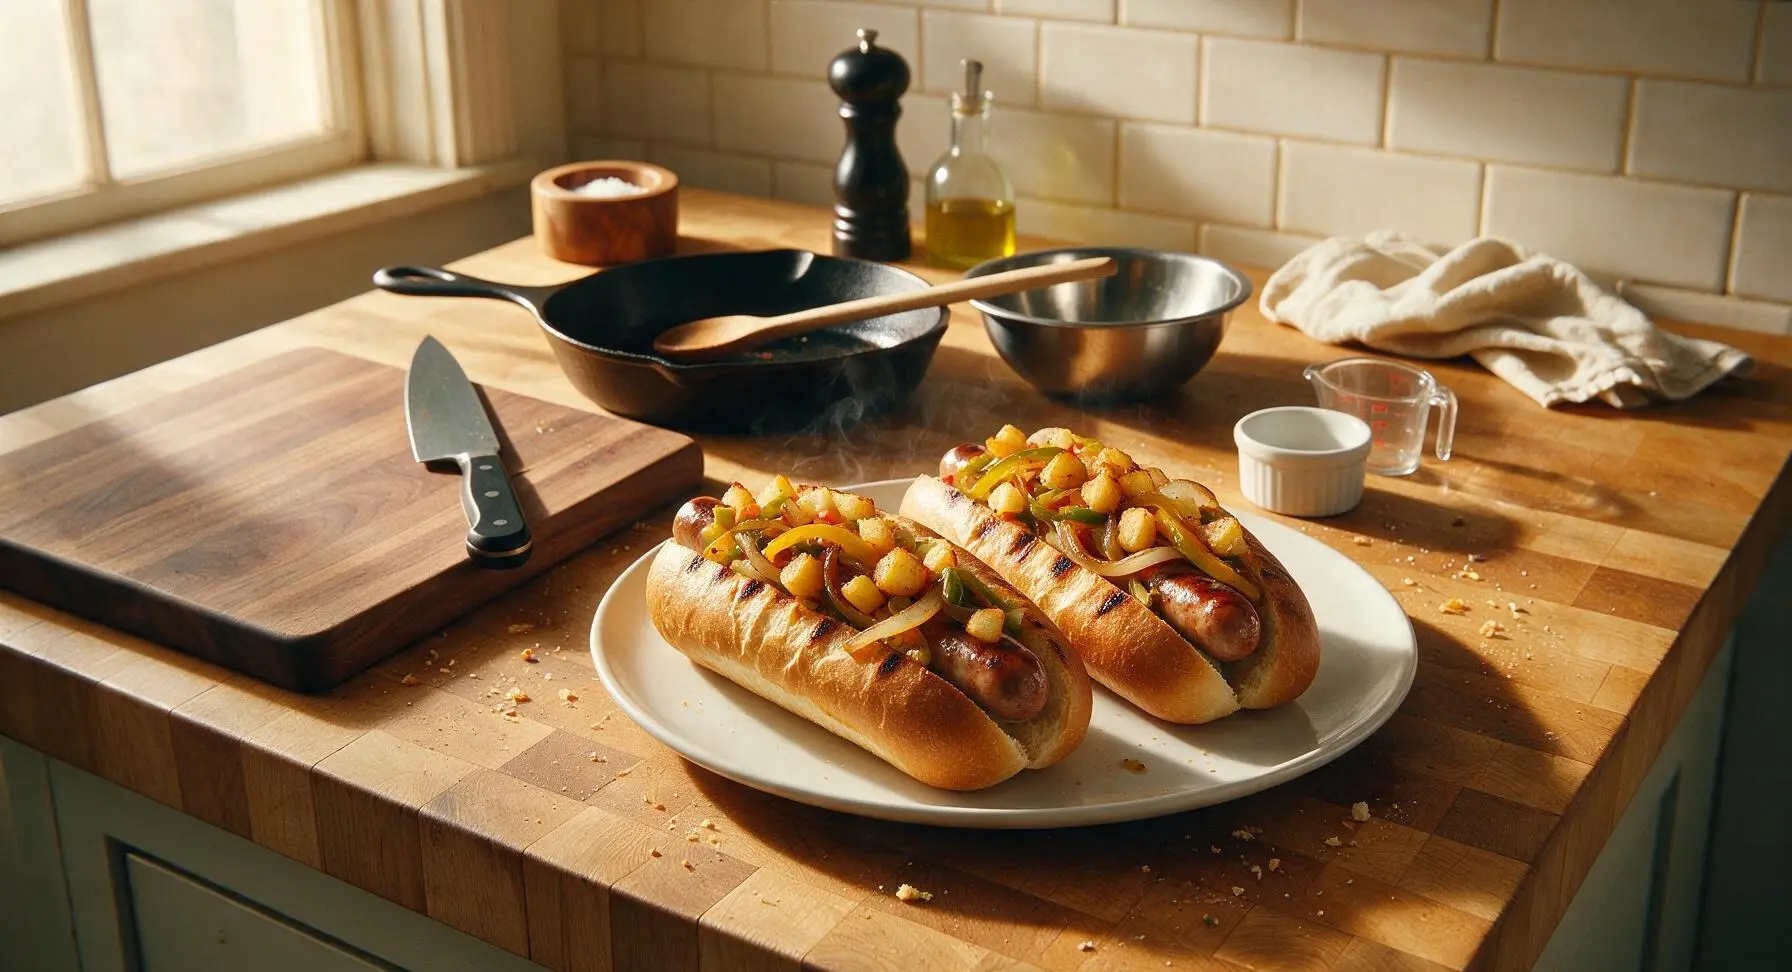
Italian HotDog

title 1
Italian HotDog
⏱️ cook time 20 minutes
🍽️ servings 4
⚡ Difficulty easy

intro

Juicy snappy grilled hot dogs piled high with crispy potatoes, sautéed peppers, onions, and tangy giardiniera on crusty Italian rolls: beloved Italian-American backyard comfort.

Ingredients
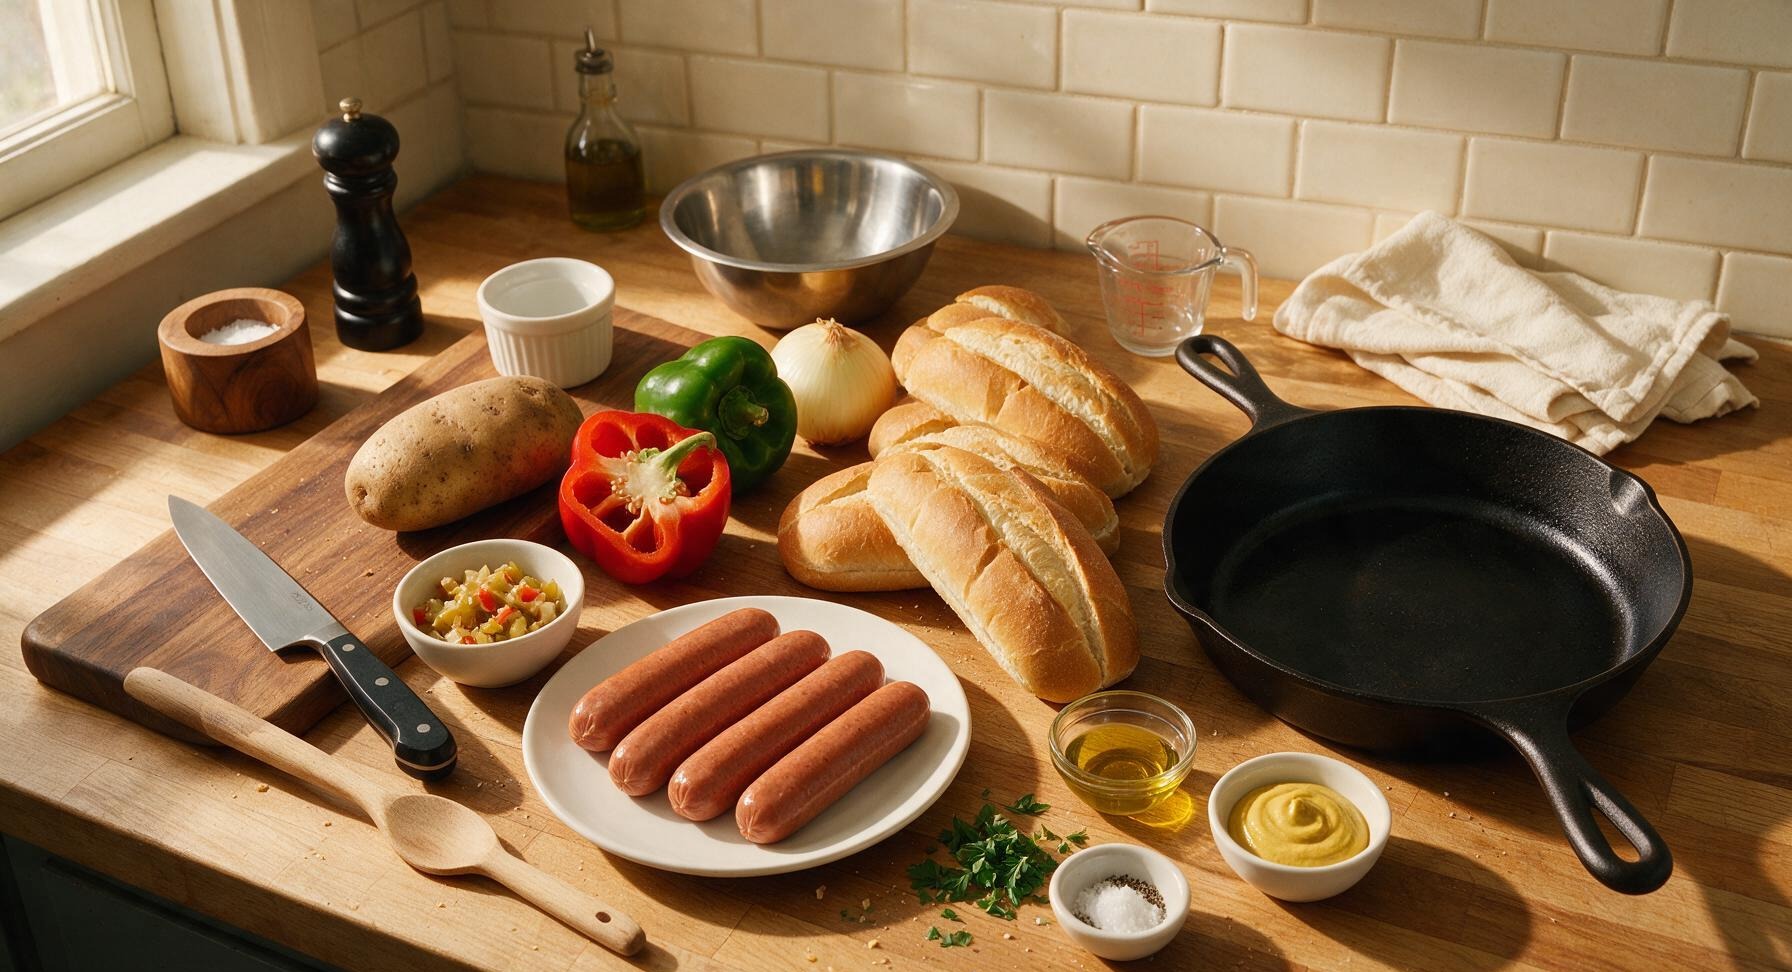
All-beef hot dog links (natural casing) 4 (approx 450g total)
Crusty Italian sub rolls 4 (15cm each, split lengthwise, hinged)
Russet potato 1 large (300g, unpeeled)
Red bell pepper 1 medium (150g, seeded)
Green bell pepper 1 medium (150g, seeded)
Yellow onion 1 large (200g, peeled)
Mild giardiniera 1/2 cup (drained, lightly chopped)
Extra-virgin olive oil 2 tablespoons
Kosher salt 1 teaspoon
Freshly ground black pepper 1/2 teaspoon
Yellow ballpark mustard 2 tablespoons
Fresh flat-leaf parsley 2 tablespoons (chopped)

Steps

1

Prep Fresh Vegetables

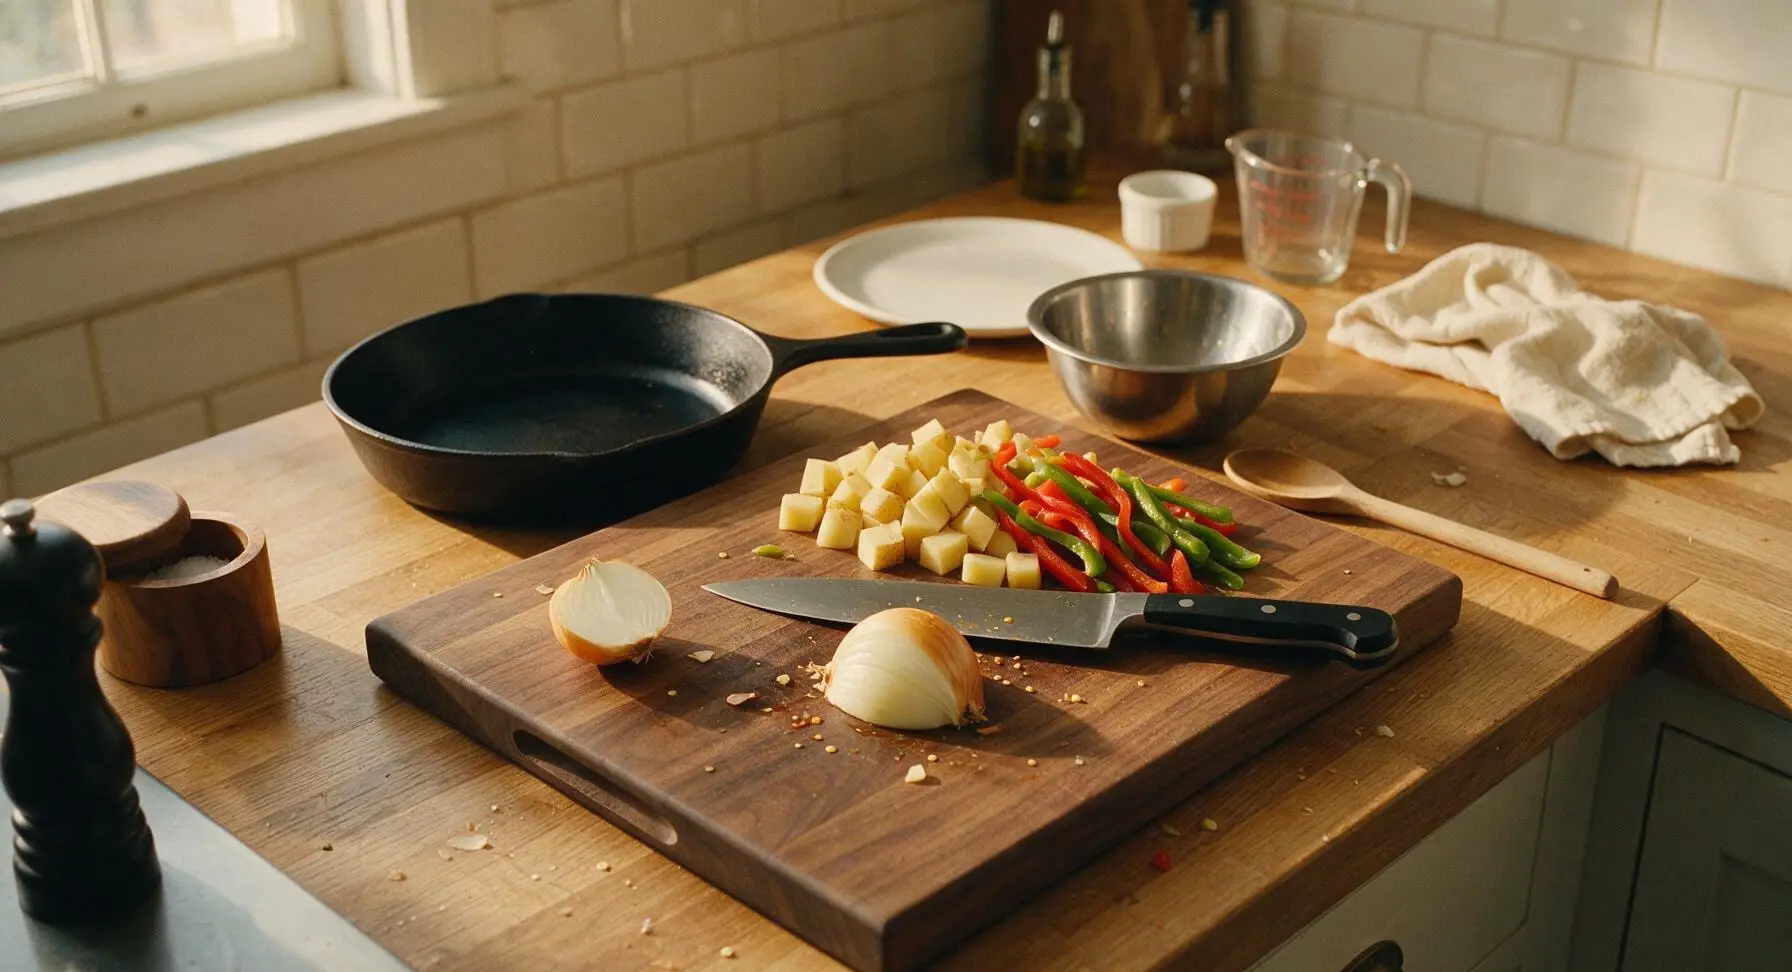
Place the whole russet potato on the acacia wood cutting board. Use the Y-shaped vegetable peeler to remove only large eyes and blemishes, leaving most of the potato skin intact for extra texture. Cut the potato into uniform 1cm (1/2 inch) cubes with the chef knife, then set aside. Next, halve and seed the red and green bell peppers, slicing them into 1cm wide strips. Peel the yellow onion, cut in half from root to tip, and slice into 5mm thick half-moons. Transfer all cut vegetables to the medium stainless steel mixing bowl, toss with 1 tablespoon of olive oil, 3/4 teaspoon kosher salt, and 1/4 teaspoon freshly ground black pepper until every piece is lightly and evenly coated.
Step 1
step1:Prep Fresh Vegetables
2

Preheat Griddle Pan

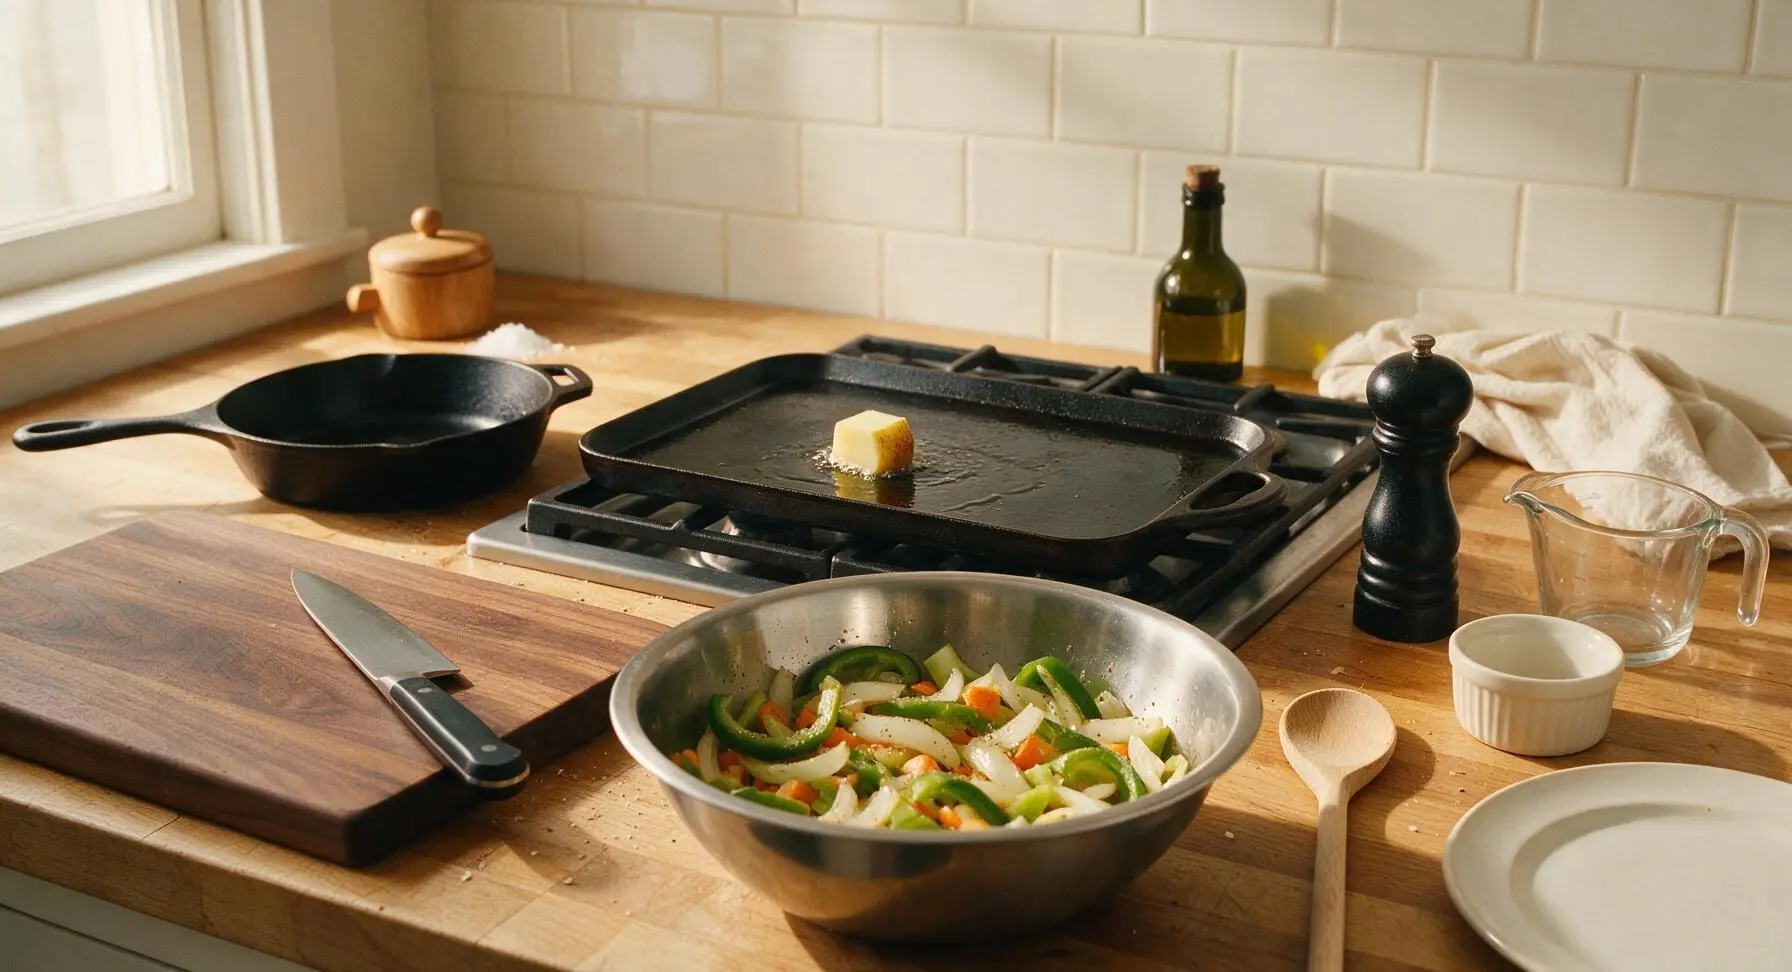
Place the 12-inch seasoned carbon steel griddle pan on the stovetop over medium heat, bringing the surface to 375°F (190°C). Let the pan preheat for 3 full minutes, then drizzle with 1/2 tablespoon of olive oil, spreading it lightly across the surface with the edge of the turner. Test the pan heat by dropping one single potato cube onto the surface: it should sizzle immediately and loudly on contact, indicating the pan is ready for cooking.
Step 2
step2:Preheat Griddle Pan
3

Crisp Potato Cubes

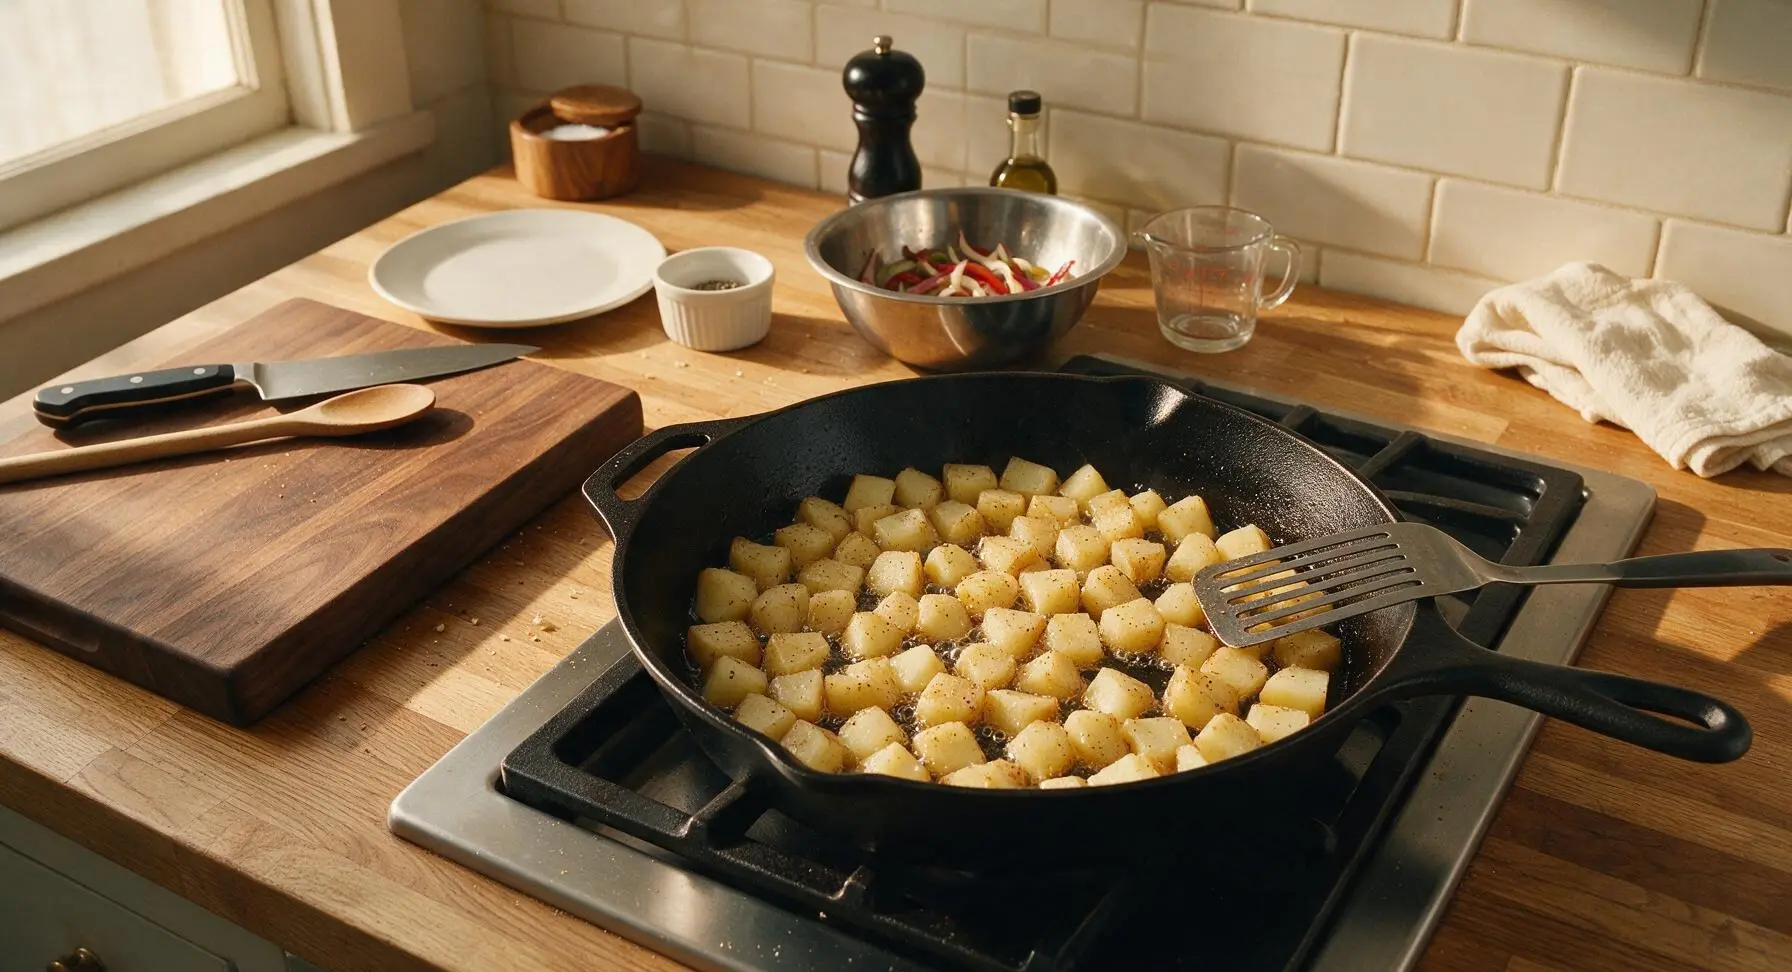
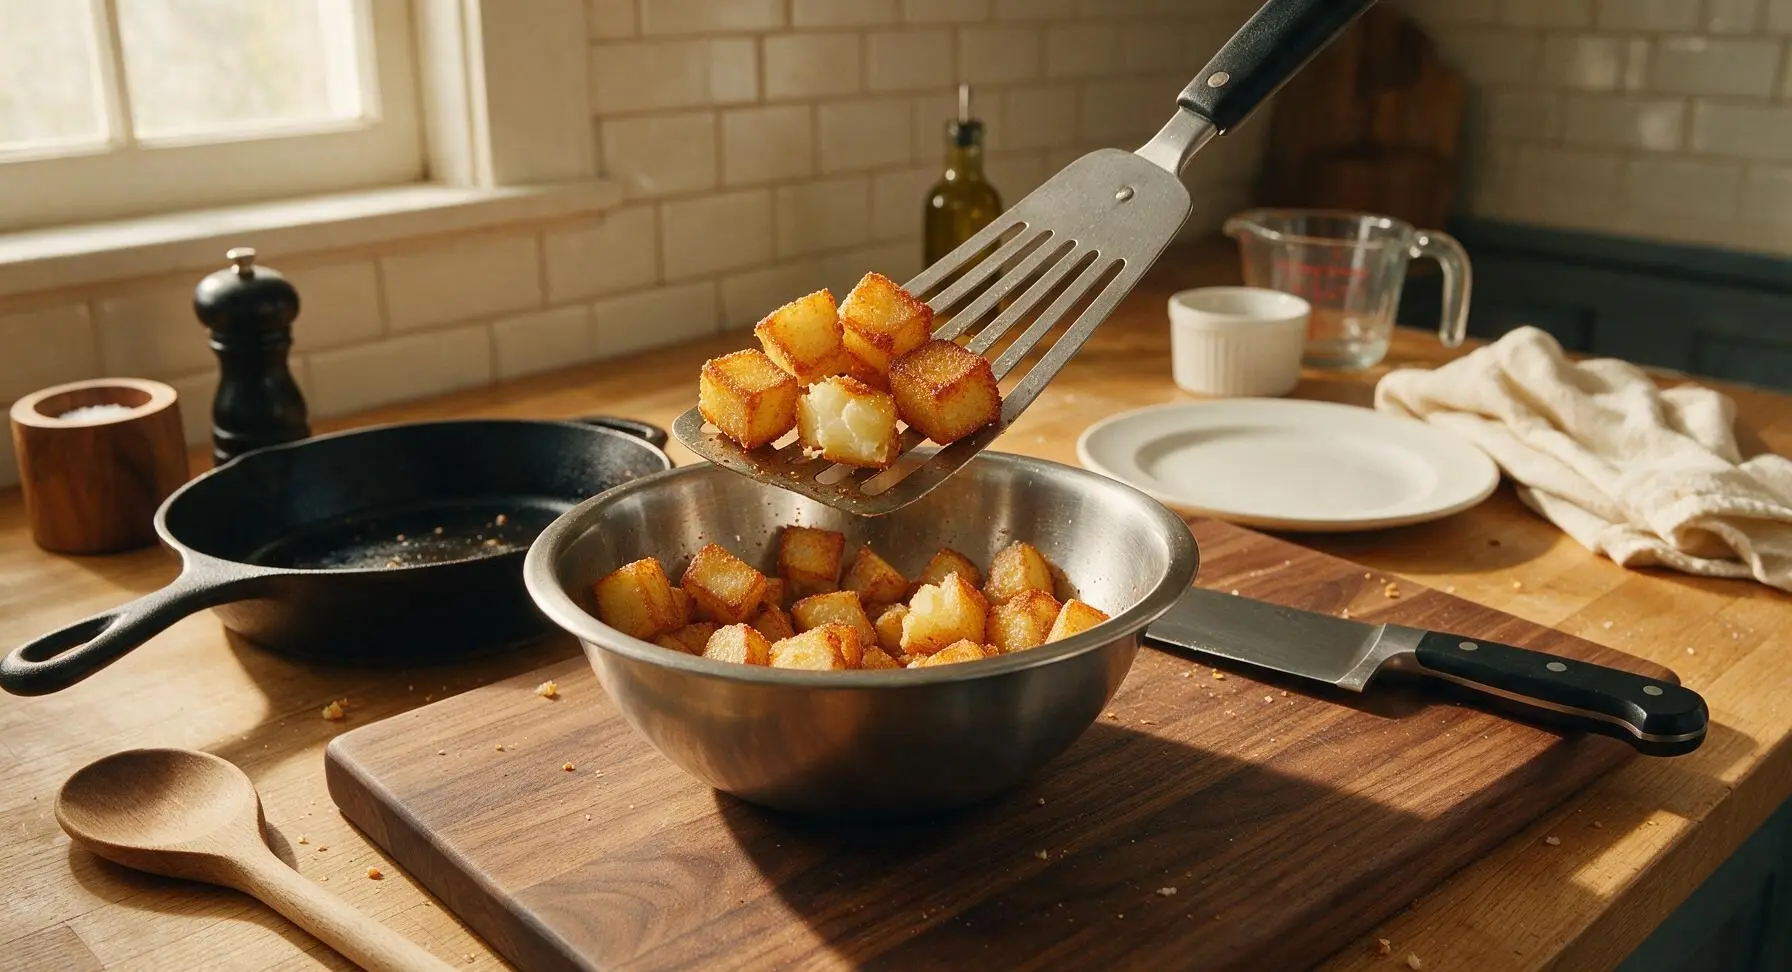
Use the slotted turner to transfer all seasoned potato cubes to the preheated griddle, spreading them in a single unstacked layer to ensure even crisping. Cook for 8 minutes total, flipping the cubes every 2 minutes, until all sides are deep golden brown and crispy, and a fork pierces the center of a cube easily with no resistance. Transfer the fully cooked potatoes to the small stainless steel prep bowl, set aside, leaving any residual oil on the griddle surface.
Step 3
step3:Crisp Potato Cubes
Step 3
step3:Crisp Potato Cubes
4

Sauté Peppers & Onions

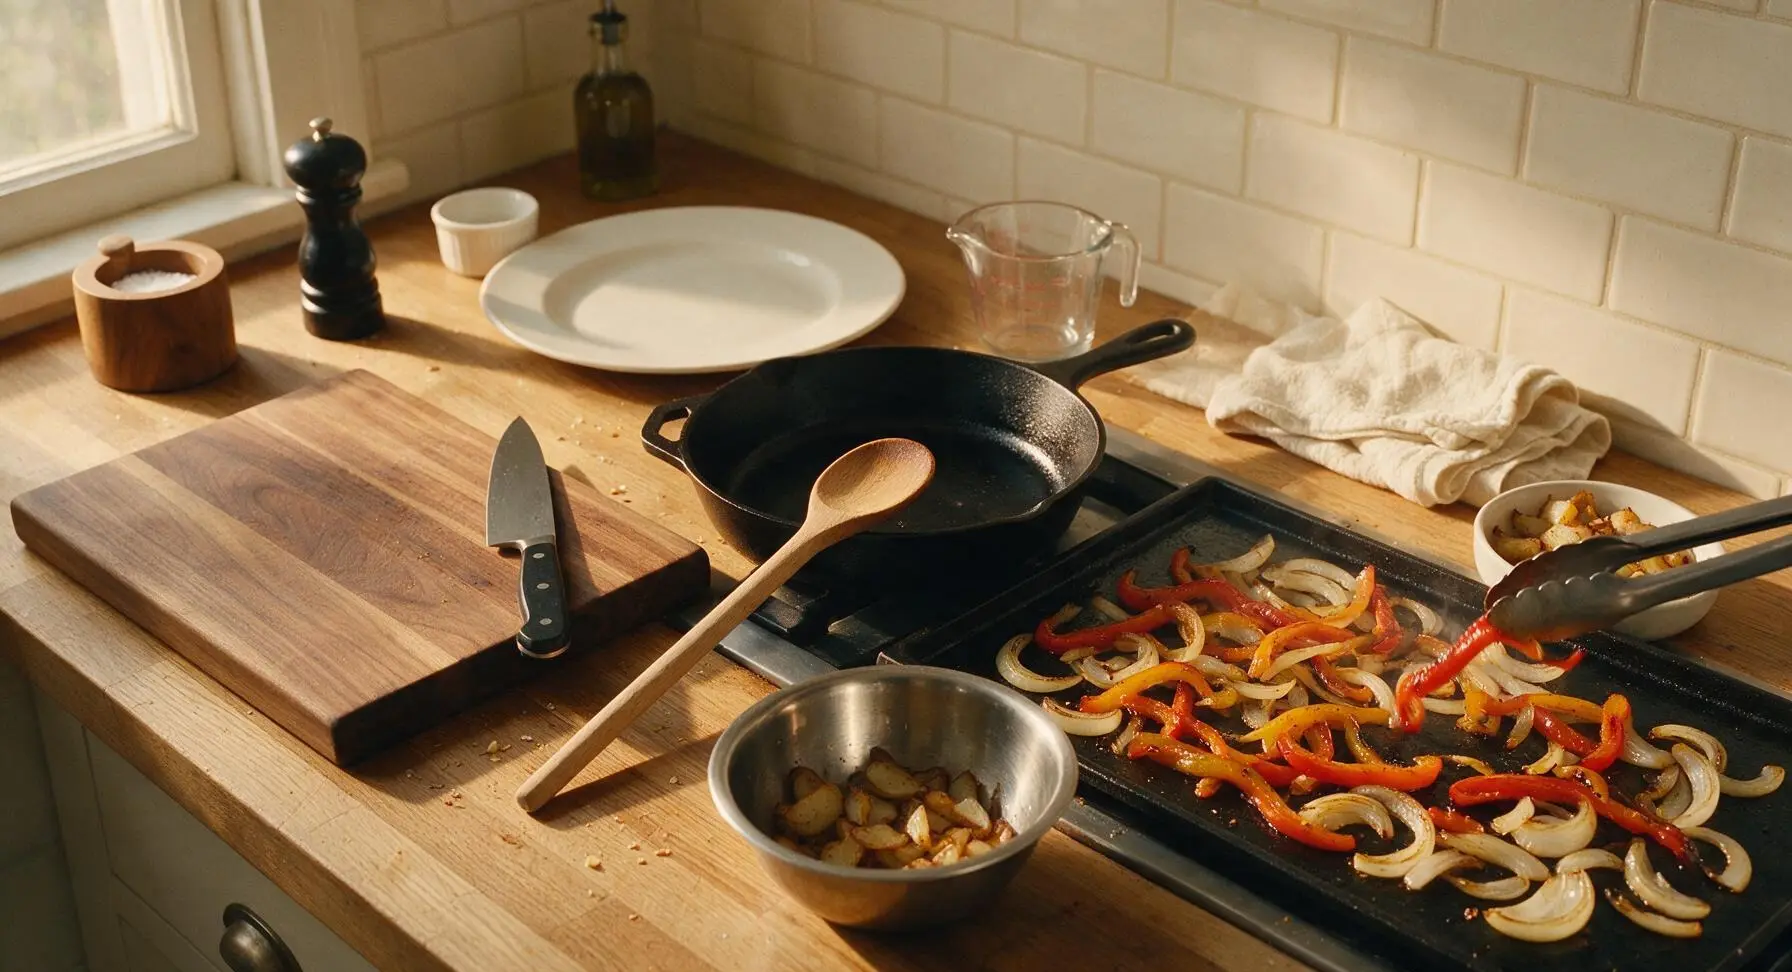
Drizzle the remaining 1/2 tablespoon of olive oil onto the griddle, then add the seasoned bell pepper strips and onion half-moons. Spread the vegetables into an even layer, and cook for 6 minutes, tossing occasionally with the silicone-tipped tongs, until the onions are soft and translucent, the peppers are tender with light brown charred edges, and the thinnest onion slices are just starting to turn golden caramel color. Season with the remaining 1/4 teaspoon kosher salt and 1/4 teaspoon black pepper, then transfer the cooked peppers and onions to the prep bowl with the crispy potatoes, tossing lightly to combine.
Step 4
step4:Sauté Peppers & Onions
5

Grill Hot Dogs, Toast Rolls

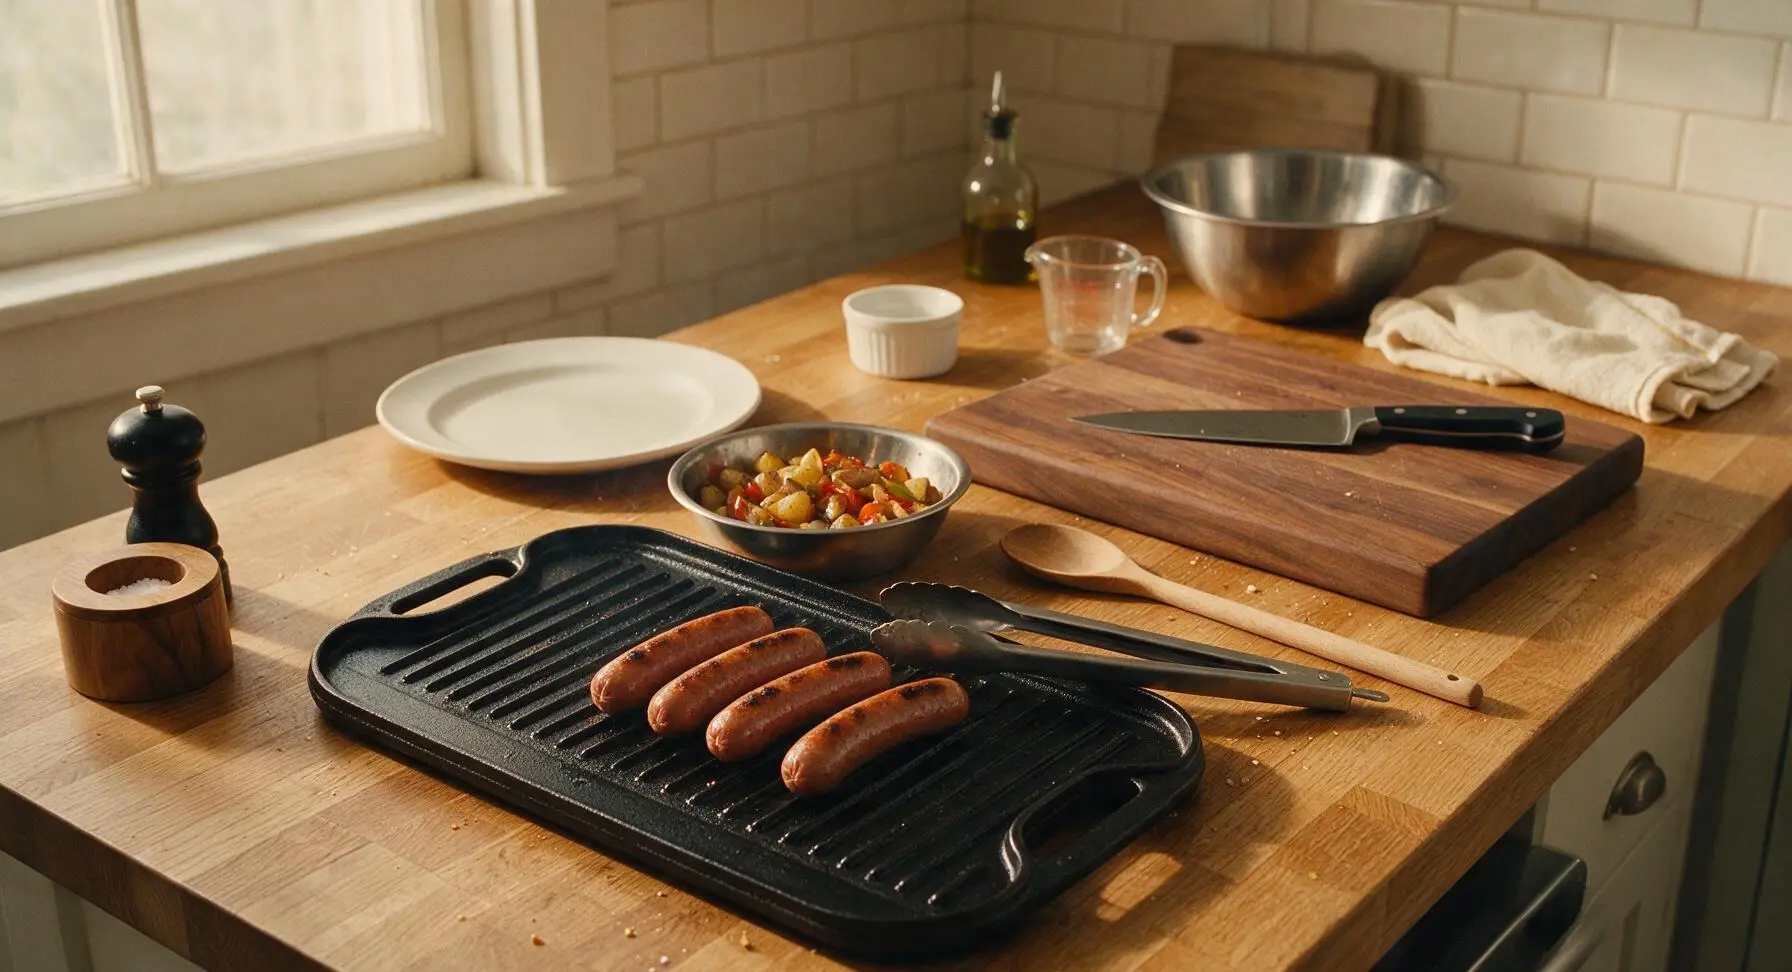
Arrange the 4 all-beef hot dogs in a single row on the empty section of the griddle. Cook for 5-6 minutes total, turning every 1.5 minutes with the tongs, until the natural casings are crisp and snappy, with dark golden char marks across every side, and the internal temperature reaches 160°F (71°C). During the final 30 seconds of cooking, place the split Italian rolls cut-side down on the cooler edge of the griddle to toast lightly until the cut surface is pale golden and slightly crisp.
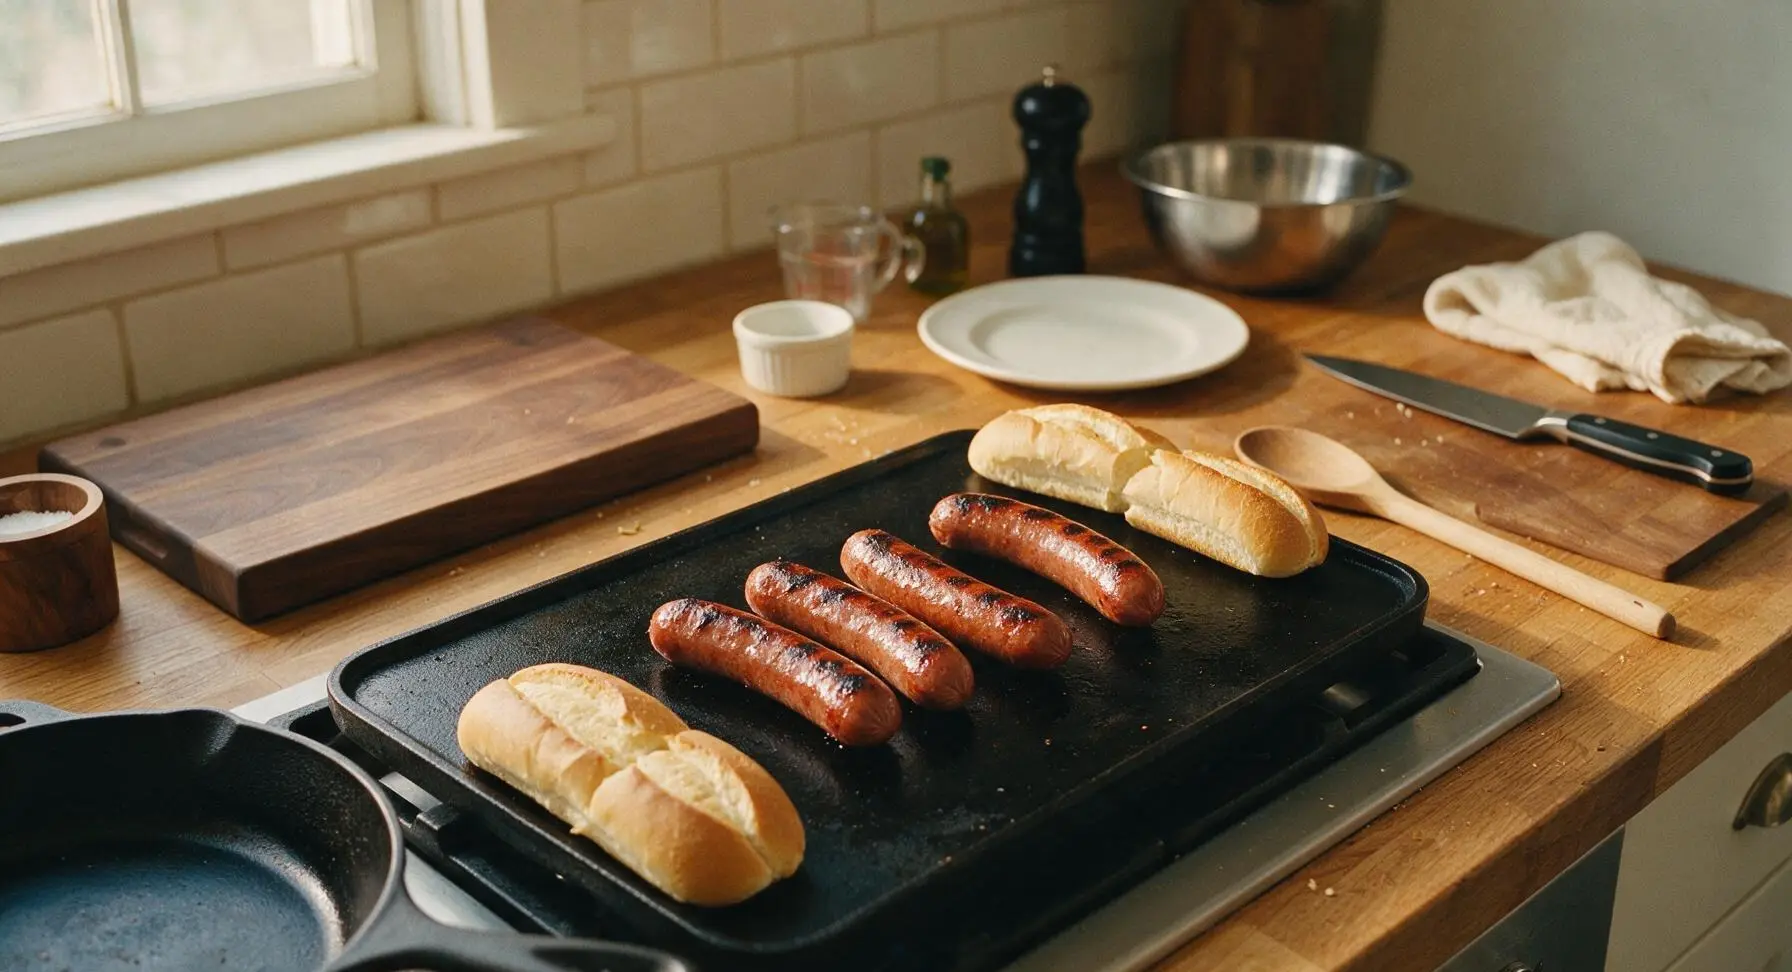
Step 5
step5:Grill Hot Dogs, Toast Rolls
Step 5
step5:Grill Hot Dogs, Toast Rolls
6

Build Sandwich Base

Set one toasted Italian roll on the oblong cream ceramic sandwich plate. Spread 1.5 teaspoons of yellow mustard evenly along the cut inner surface of each roll, then nestle one grilled hot dog into the center crease of each roll. Do not add toppings yet, to keep the roll sturdy.
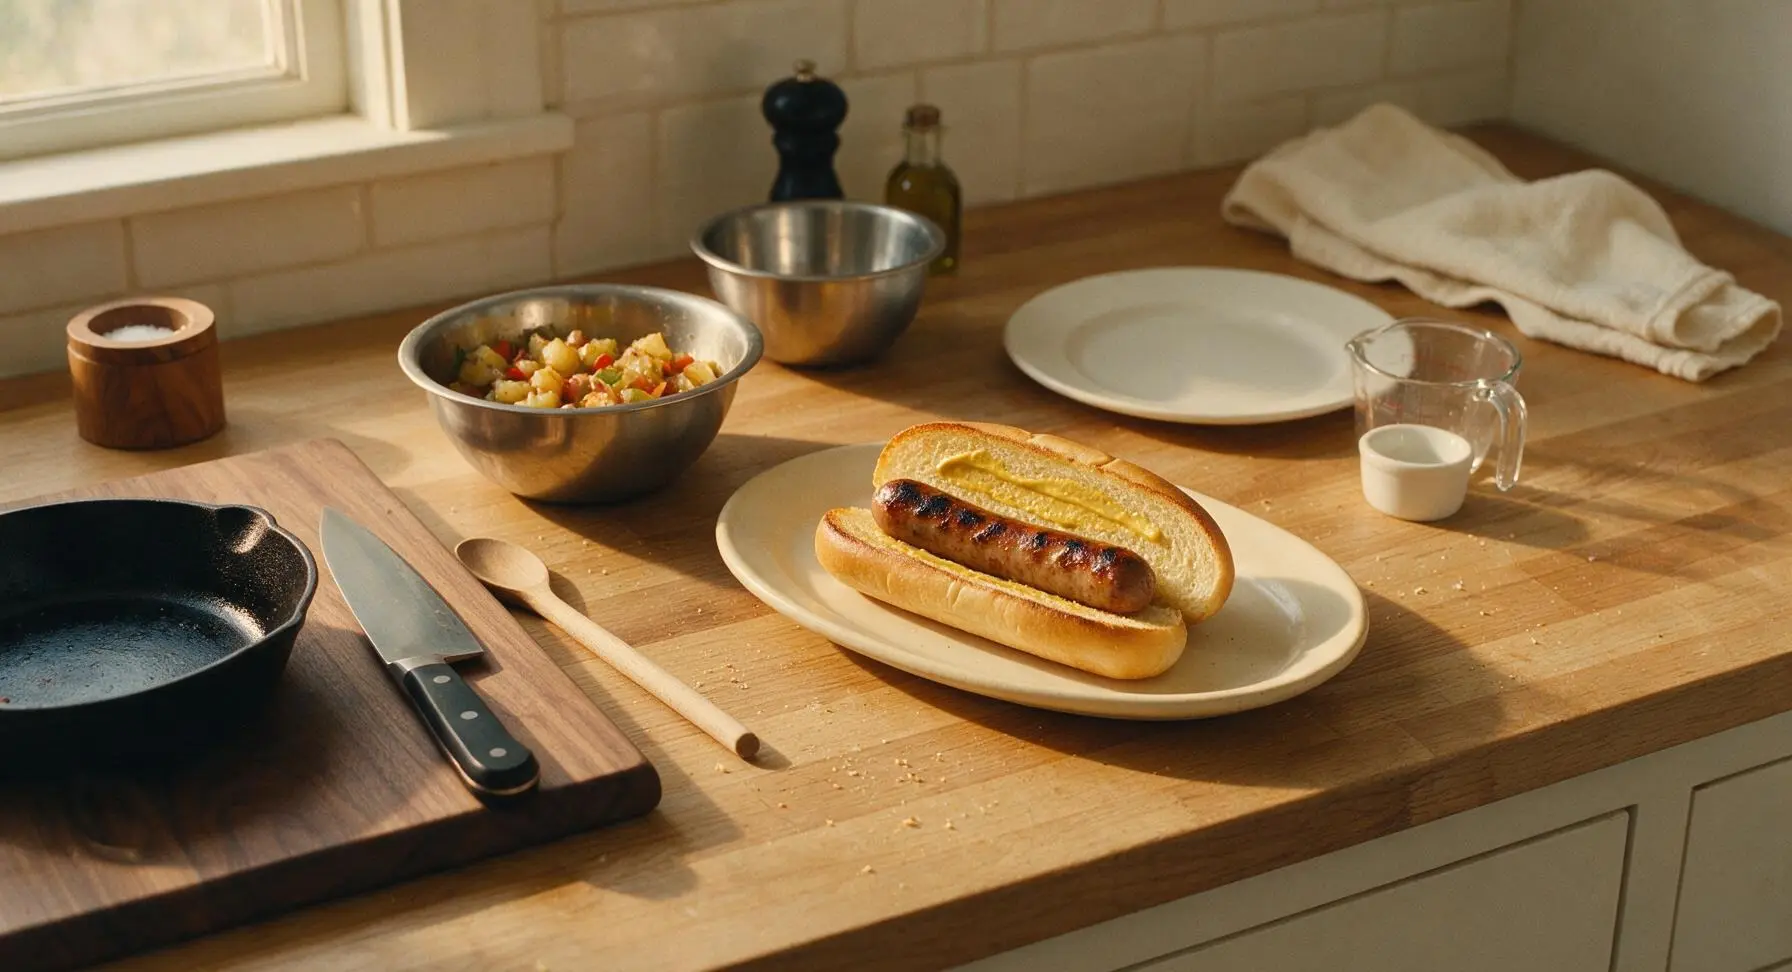
Step 6
step6:Build Sandwich Base
7

Top & Finish Sandwiches

Pile a generous 1/2 cup scoop of the potato, pepper, and onion mixture over each hot dog, letting a few pieces spill naturally onto the plate edge for a casual, hearty presentation. Top each sandwich with 2 tablespoons of drained giardiniera, a light sprinkle of chopped fresh flat-leaf parsley, and an optional extra light drizzle of mustard. Let the sandwiches rest for 1 minute before serving, so the bread absorbs a small amount of savory vegetable juice without becoming soggy.
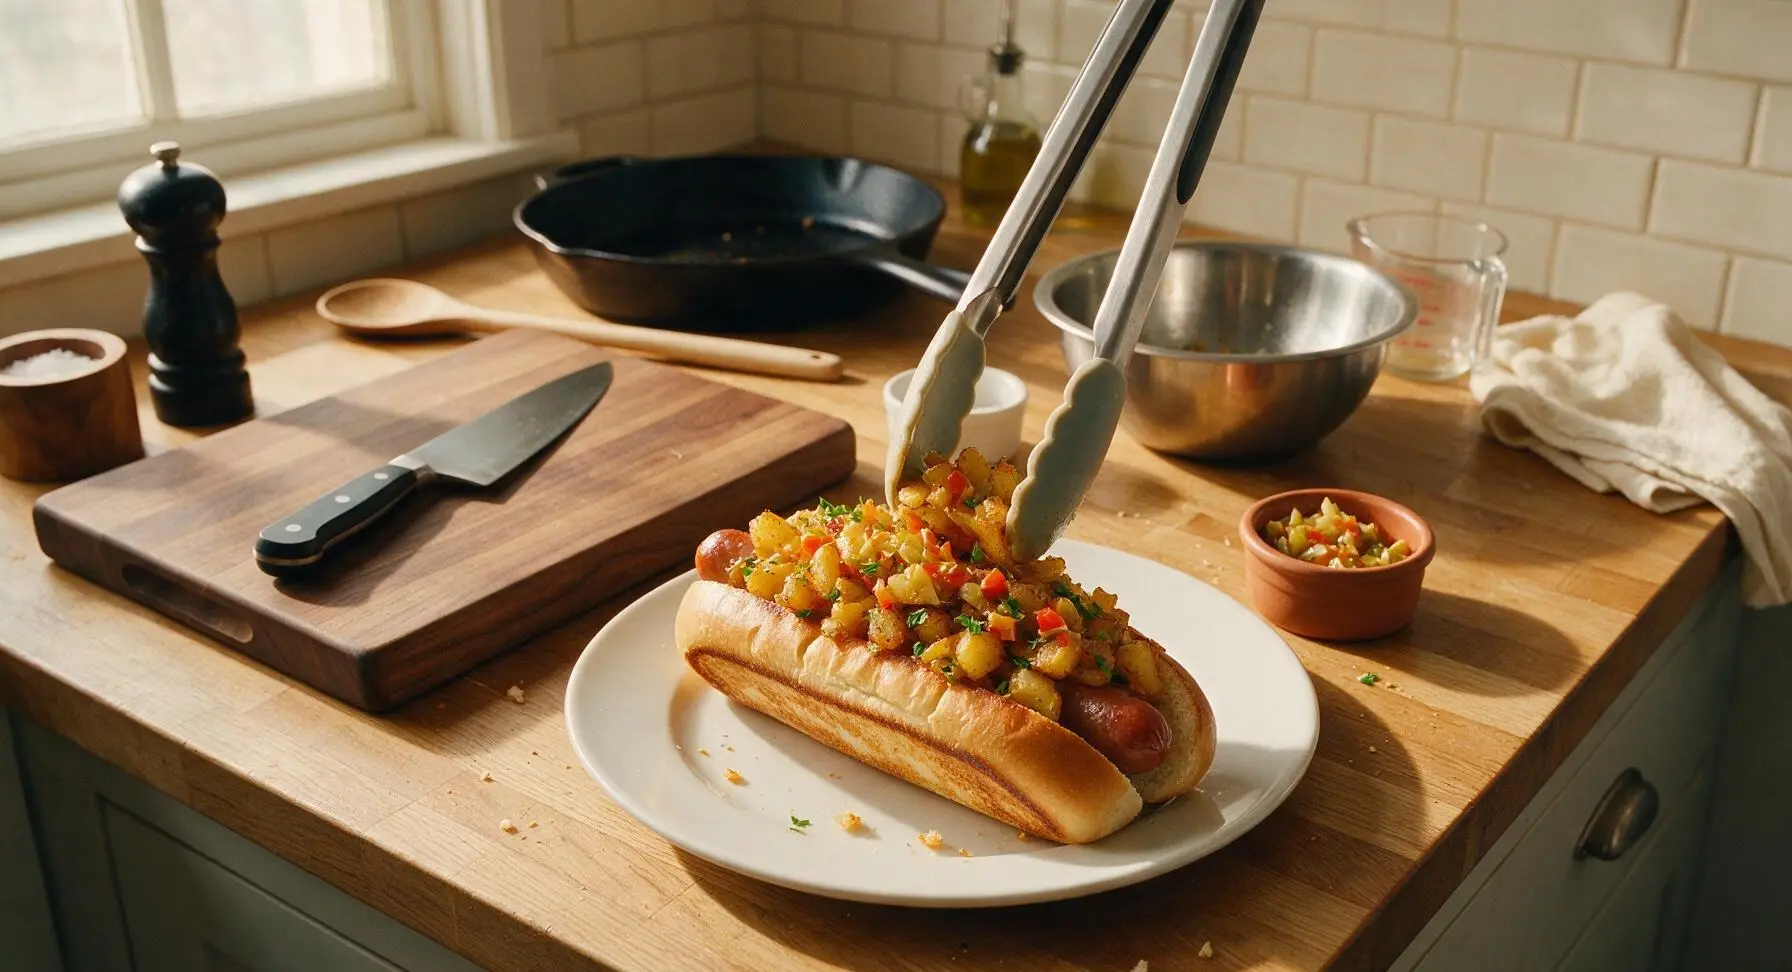
Step 7
step7:Top & Finish Sandwiches

Tips

1.Choose natural-casing all-beef hot dogs for the most authentic result: the snappy, tight casing holds up to the heavy, juicy vegetable toppings far better than skinless hot dogs, which can turn mushy and split under the weight of potatoes and peppers.
2.Cut potato cubes to a strict 1cm (1/2 inch) size: unevenly cut potatoes will either burn on the outside before cooking through, or remain pale, soggy, and under-crisped if cut too large.
3.Never press hot dogs against the griddle with the turner while cooking: this squeezes out flavorful fat and internal juices, leading to dry, bland hot dogs. Let them cook undisturbed between turns for a juicy interior and crisp, snappy casing.


✨ You May Also Like

BBQ & Grilling
🍜 United States

Tender, melt-in-your-mouth beef brisket with a crisp, spiced bark, slow-smoked to deep smoky perfection, the iconic centerpiece of Texas backyard barbecue.

⏱️ 12 hours BBQ & Grilling ★ 4.4
BBQ & Grilling
🍜 Korea

Tender, sweet-savory marinated beef short ribs, a beloved Korean BBQ staple with caramelized, slightly charred edges and deep umami flavor, perfect for outdoor summer gatherings.

⏱️ 4 hours 2BBQ & Grilling ★ 4.8
BBQ & Grilling
🍜 United States

Juicy grilled beef patties topped with smoky homemade chili, melted cheddar, and tangy pickles on toasted brioche buns for a hearty, flavor-packed handheld meal.

⏱️ 40 minuteBBQ & Grilling ★ 4.7
BBQ & Grilling
🍜 United States

A sweet, smoky, tangy BBQ sauce brightened with peak-season dark cherries, ideal for glazing grilled ribs, chicken, pork, or summer roasted veggies.

⏱️ 35 minuteBBQ & Grilling ★ 4.7
BBQ & Grilling
🍜 United States

Rich, smoky, slightly sweet homemade bourbon BBQ sauce with deep caramel notes, ideal for glazing grilled ribs, chicken, and burgers at cookouts.

⏱️ 25 minuteBBQ & Grilling ★ 4.7
BBQ & Grilling
🍜 United States

Iconic Alabama-style BBQ featuring tender hickory-smoked chicken slathered in tangy creamy white sauce, a beloved regional Southern cookout staple.

⏱️ 3 hoursBBQ & Grilling ★ 5

Italian HotDog:Frequently Asked Questions

1.Why do you specify natural casing all-beef hot dogs instead of regular skinless links? ▾
Natural casing all-beef dogs deliver that iconic snappy bite and juicy, savory flavor that defines this classic grilled Italian hot dog. Skinless links often split too easily on the grill, turn mushy under heavy toppings, and lack that satisfying textural contrast against soft veggies and crusty bread. If you can’t find natural casing, pick thick, firm all-beef franks as a backup.
2.Can I bake or air fry the potatoes instead of frying them to cut down on oil? ▾
Absolutely! Toss cubed Russet potatoes with 1 tablespoon of olive oil, salt, and pepper, then air fry at 400°F for 18-22 minutes (shaking halfway) or bake on a sheet pan at 425°F for 25-30 minutes until crispy on the edges and fluffy inside. Just make sure they’re fully crisped so they don’t turn soggy when piled on the sandwich.
3.Do I need to toast the Italian sub rolls before assembling the sandwiches? ▾
You absolutely should—this small step makes a huge difference. Lightly toast the split rolls on the cooler side of the grill for 30-60 seconds, or under a broiler for 20 seconds, until the cut sides are just golden and crusty. Toasting creates a slight barrier that keeps the bread from getting soggy from juicy hot dogs, veggie juices, and tangy giardiniera.
4.What’s the best way to grill the hot dogs so they don’t split open? ▾
Start by bringing your hot dogs to room temperature for 15 minutes before grilling, so they cook evenly without sudden temperature shock. Grill over medium direct heat, turning every 1-2 minutes with tongs (never a fork, which lets juicy fat escape) for 6-8 minutes total, until they have light char marks and are plump.
5.I don’t have giardiniera—what’s a good substitute? ▾
If you don’t have jarred tangy giardiniera, mix ½ cup of chopped pickled banana peppers, 2 tablespoons of chopped dill pickles, 1 teaspoon of olive oil, and a pinch of dried oregano for a close approximation. For extra depth, add a few chopped green olives if you have them. Skip sweet pickles, as you need that bright, briny tang to cut through rich toppings.
6.How thick should I cut the potatoes, peppers, and onions for the toppings? ▾
Cut your Russet potatoes into ½-inch cubes so they cook evenly, getting crispy on the outside and fluffy inside without burning. Slice bell peppers and yellow onions into ¼-inch thick strips—thick enough to hold their texture when cooked, but thin enough that they’re easy to bite through without pulling the whole topping out of the sandwich.
7.Can I cook the peppers and onions on the grill instead of sautéing them on the stovetop? ▾
Definitely! Toss sliced peppers and onions with a little olive oil, salt, and pepper, then cook them in a grill basket over medium heat for 10-12 minutes, stirring occasionally, until they have light char marks and are tender-crisp. Grilled peppers and onions add an extra smoky note that pairs perfectly with charred hot dogs for that classic backyard cookout feel.
8.Is there a way to prep this recipe ahead for a backyard cookout? ▾
You can prep all components a few hours early to cut down on day-of work: cube potatoes, slice peppers and onions, and set out condiments 2-3 hours ahead. Cook the potatoes and peppers/onions up to 30 minutes before serving, and keep them warm in a 200°F oven. Grill the hot dogs right before assembling for the best snappy, fresh-off-the-grill texture.
9.What’s the traditional cheese topping for these Italian hot dogs, if any? ▾
Classic New Jersey-style Italian hot dogs (the root of this Italian-American grilled version) don’t usually come with cheese, but if you want to add it, a few thin slices of sharp provolone melted on the toasted roll, or a light sprinkle of grated Pecorino Romano over the veggies, works beautifully. Skip mild American or cheddar, which overpower the other bright, savory flavors.
10.Why use Russet potatoes instead of Yukon Gold or red potatoes for the topping? ▾
Russets have a high starch content that gets perfectly fluffy on the inside and shatteringly crisp on the outside when cooked, which is the ideal texture for this topping. Waxy potatoes like red potatoes or Yukon Golds hold their shape too well, and won’t get that same light, crispy texture—they tend to turn dense or chewy when cooked for this application.
11.How do I keep assembled sandwiches from getting soggy before serving? ▾
First, always toast your rolls as noted earlier to create a moisture barrier. Layer your heaviest, driest toppings (the crispy potatoes) closest to the bread first, then add the hot dog, then peppers and onions, then giardiniera that you’ve drained well of excess brine. Don’t assemble sandwiches more than 5 minutes before you plan to serve them for the best texture.
12.Can I use turkey or plant-based hot dogs if I don’t eat beef? ▾
You can absolutely swap in turkey or plant-based links, just adjust your grilling time to match package directions, since these often cook faster than natural casing beef dogs. Look for thick, firm options rather than thin, flimsy links, so they hold up to the pile of hearty toppings. For plant-based picks, opt for a smoky, savory variety to match the classic flavor.
13.Should I boil the hot dogs first before grilling them? ▾
Skip the pre-boil for this recipe! Boiling hot dogs leaches out a lot of their savory, beefy flavor, and makes the casing rubbery instead of snappy. If you’re worried about even cooking, you can poach them gently in warm (not boiling) beer or water for 3 minutes before grilling, but room-temp dogs grilled over medium heat give the best char and texture.
14.What kind of giardiniera works best—mild or hot? ▾
That’s totally up to your heat preference! Mild giardiniera delivers that classic tangy, briny vegetable flavor without any spice, making it great for serving kids or people who avoid heat. Hot giardiniera, packed with chili flakes and pickled hot peppers, adds a zesty kick that cuts through the richness of beef dogs and crispy potatoes. Always drain excess brine first.
15.How do I portion toppings so they don’t fall all over the place when I eat? ▾
Stick to about ¼ cup of crispy potatoes, ⅓ cup of sautéed peppers and onions, and 2 tablespoons of drained giardiniera per sandwich. Pile the toppings into the trough of the split, toasted roll, nestle the grilled hot dog right in the middle, and give the roll a gentle squeeze to hold everything together. Wrap the bottom half in parchment to catch stray bits as you eat.
16.Can I add other toppings to customize this, or is that not traditional? ▾
While the classic combo of dog, potatoes, peppers, onions, and giardiniera is iconic, you can absolutely customize it to taste. Popular add-ins include split grilled sweet Italian sausage for a combo sandwich, a smear of yellow mustard, fried onions, or a sprinkle of dried oregano. Skip heavy, wet toppings like ketchup or creamy sauces that make bread soggy fast.

Comments (8)

2 days ago

OMG this was such a game changer for our weekend cookout! I’ve had Italian hot dogs at the Jersey Shore boardwalk a million times but never thought to make them grilled at home. The peppers and onions got that perfect char, and toasting the rolls on the grill too? Chef’s kiss. My husband and two boys demolished three each, no leftovers at all. Will 100% be adding this to our regular summer rotation.

yesterday

Right?! I grew up eating these in Newark and was so skeptical a grilled version would hit the same, but this recipe nailed it. I added a little sprinkle of oregano on the peppers while they cooked, *chef’s kiss*

2 hours ago

So glad your family loved them! Toasting the rolls on the grill is such a simple step but makes all the difference, right? The oregano sprinkle idea from GardenStateGrl sounds amazing, I’ll have to try that next time I make them!

3 days ago

Super easy to throw together on a busy weeknight! Cook time was exactly 20 minutes like the recipe said, which is perfect for when I’m running between soccer practice and piano lessons. My kids went crazy for these, I just wish I’d bought extra buns because we ran out halfway through dinner. Only note: I didn’t have a grill so I used my cast iron grill pan on the stovetop and it worked great!

2 days ago

So happy the grill pan swap worked for you! That’s such a great tip for folks who don’t have outdoor grill access – I’ll add that note to the recipe card soon. Next time stock up on extra buns, these go fast! 😊

1 week ago

Brought these to my neighborhood block party potluck last weekend and people were begging me for the recipe before I even set the platter down! I prepped the peppers and onions the night before to cut down on day-of work, which made assembly so easy. Even the folks who said they ‘don’t like hot dogs’ came back for seconds. SO good.

5 days ago

Wait, has anyone tried adding a little spicy giardiniera to these? I feel like that briny kick would be perfect with the grilled dogs and sweet peppers. Making these for my dad’s Father’s Day cookout this weekend and want to make them extra special!

3 days ago

Oh my god YES, I did that last time I made these! I used the hot giardiniera from the local Italian deli and it was insane. Just don’t overdo it if you’ve got people who don’t love heat.

2 days ago

That’s such a fantastic upgrade! Briny, spicy giardiniera cuts through the richness of the hot dog and the sweet caramelized peppers perfectly – I’m definitely going to mention that as a fun variation in the recipe notes. Hope your dad loves them!

2 hours ago

Full transparency, this is the first thing I’ve ever successfully made on my new apartment balcony grill and I’m so proud of how it turned out! The instructions were so straightforward and hard to mess up, even for a total cooking newbie like me. No burnt dogs, no mushy peppers, just perfect. My roommate said it’s better than the food truck down the street, which is high praise.

30 minutes ago

Congrats on the first grill win! These are such a perfect starter recipe for a small balcony grill – I make mine at least twice a month on mine, just make sure you keep the heat medium so you don’t set off the smoke alarm 😂

2 weeks ago

Made a big batch of these for my weekly meal prep and they held up so well all week! I stored the grilled dogs, peppers, and onions separate from the buns and just assembled them when I was ready to eat for lunch. Way better than sad desk salad, let me tell you. Even my coworkers were asking where I got them when I heated one up in the break room microwave.

yesterday

Made these for movie night with my partner last night and we both agreed they’re way better than regular movie night hot dogs. We used the all-beef natural casing dogs like the recipe suggested, and that snap was unreal. Only thing I messed up was I forgot to take the seeds out of the peppers so they were a little spicier than I planned, but it was still tasty.

2 hours ago

So glad you two enjoyed them! The natural casing dogs really do make such a difference for that classic snap, right? Seeding the peppers is totally optional if you like a little extra heat, so no mistake at all – that’s just a custom twist! 😊

30 minutes ago

I’m a second-gen Italian-American from Brooklyn and I was ready to be a hater when I saw a grilled Italian hot dog recipe – the classic fried version is what I grew up on, after all. But let me tell you, this grilled version is incredible! The smoke from the grill adds such a nice depth that you don’t get from frying, and the peppers and onions get so much sweeter when grilled. My wife even said she prefers it to the old family recipe (don’t tell my nonna I said that).

5 minutes ago

LMAO at the nonna comment! My nonna would disown me if I said I liked a grilled version better than her fried one, but I made these last week and I have to agree, the grill smoke is chef’s kiss. I won’t be telling her either.

just now

That means the world coming from someone who grew up on the classic version! The fried version will always have a special place in my heart too, but the grilled twist is perfect for summer cookouts when you don’t want to heat up the kitchen with a frying pan. Your secret’s safe with us – we won’t tell nonna! 😉



