1.Why do my pizzelle stick to the pizzelle iron?
▾
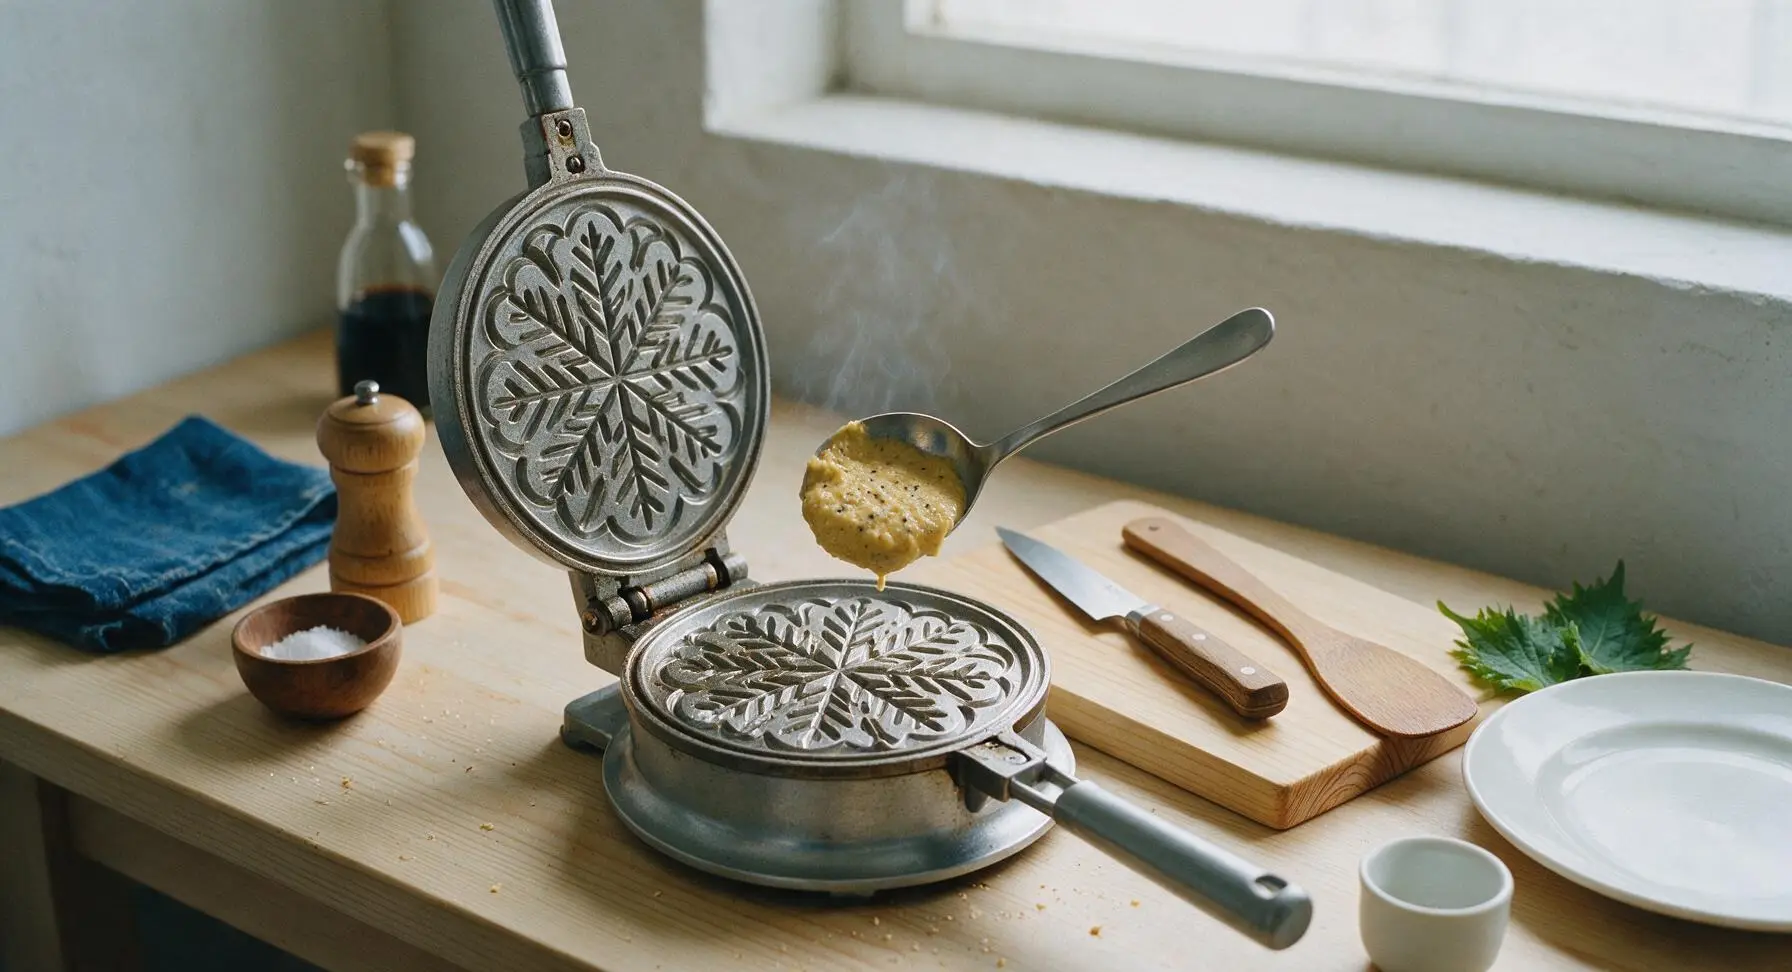
Sticking usually stems from three common issues: an underpreheated iron, unseasoned plates, or prying cookies too early. Let your iron fully preheat for 5–7 minutes before your first batch; season new irons with a light brush of melted butter for the first 2–3 cooks, and wait 2–3 seconds after opening the iron to lift cookies gently with a thin silicone spatula.
2.Can I substitute anise extract if I don’t like licorice flavor?
▾
Absolutely! Anise is traditional, but you can swap it 1:1 for pure vanilla extract, almond extract, lemon extract, or even a splash of orange blossom water for a bright, citrusy twist. If you want subtle depth without strong licorice notes, use half the measured anise and pair it with vanilla to mellow the flavor.
3.How do I get my pizzelle to stay crisp instead of going soft?
▾
Crispness relies on removing residual moisture after cooking. As soon as you lift each pizzelle off the iron, set it on a wire cooling rack in a single layer instead of stacking them while warm. Once fully cool, store them in an airtight container with a small silica gel packet or piece of plain white bread to absorb excess ambient humidity.
4.Do I need a special pizzelle iron to make these, or can I use a regular waffle maker?
▾
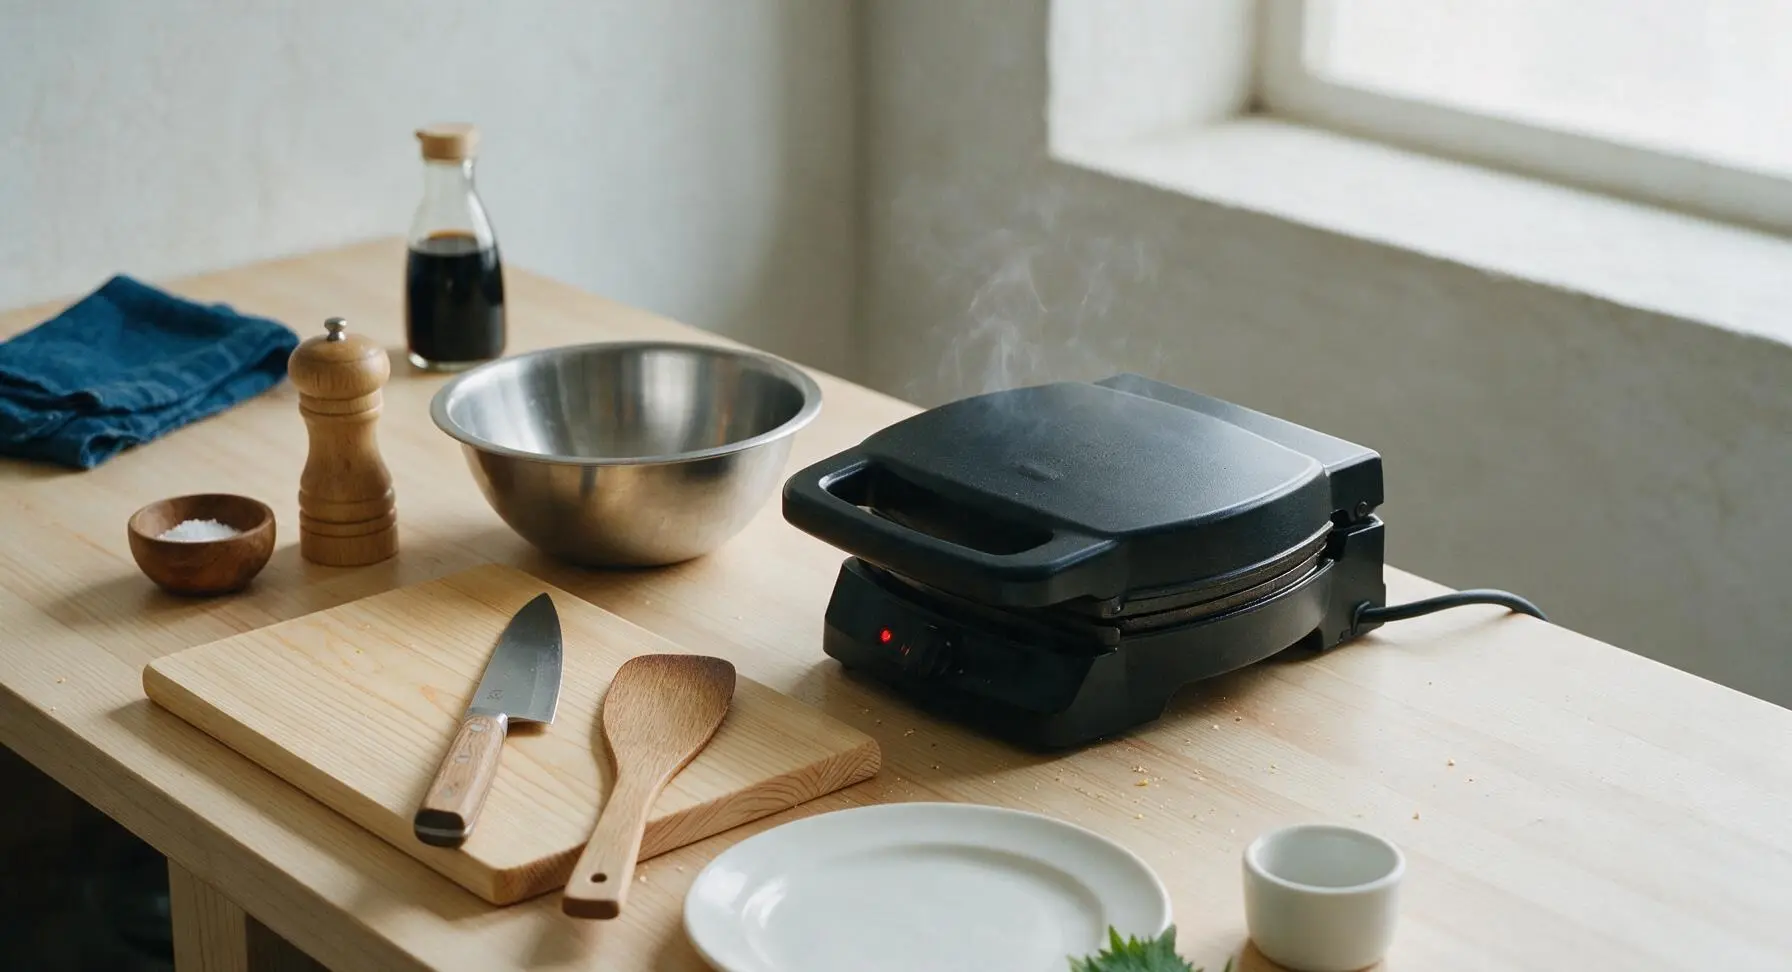
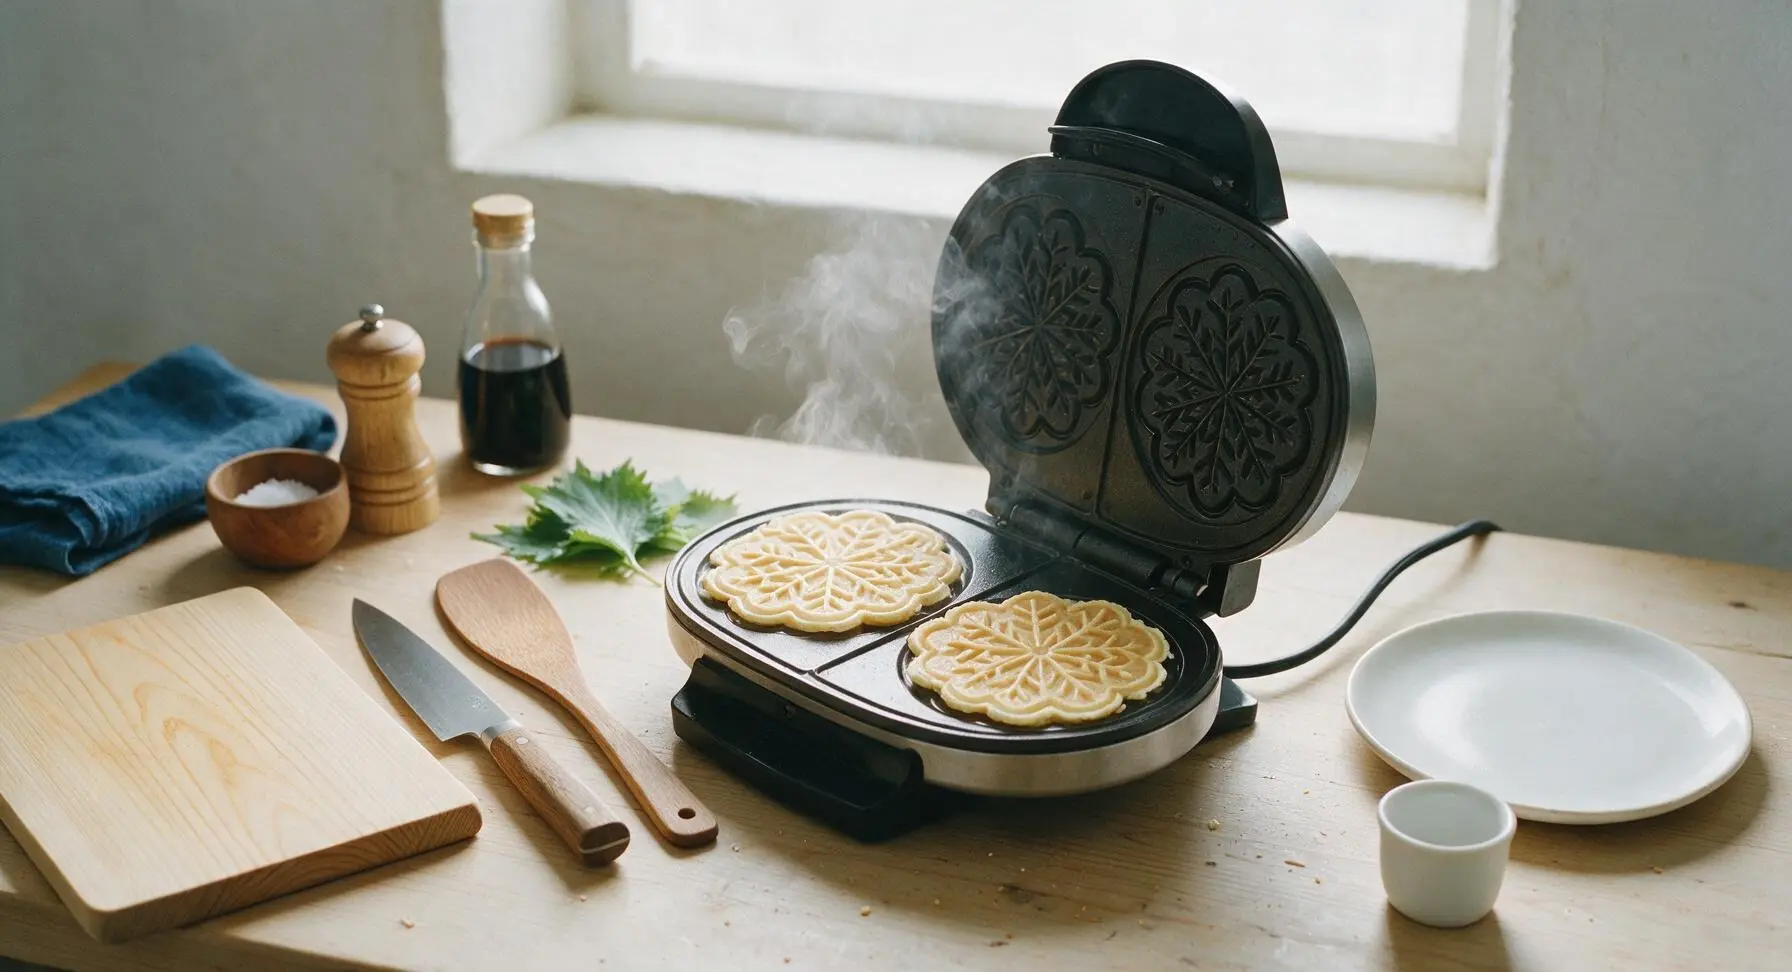
A dedicated pizzelle iron is designed to make thin, delicately patterned 3–5 inch cookies at the ideal thinness, but a standard thin waffle cone maker works in a pinch. Regular thick Belgian waffle makers are too deep, and will produce puffy, dense cookies that lack the signature crisp, delicate texture of traditional pizzelle.
5.How long do homemade pizzelle stay fresh for gifting?
▾
When stored properly in a fully airtight container at cool room temperature, away from direct sunlight or stovetop humidity, traditional pizzelle stay fresh and crisp for up to 2 weeks. For gifting, pack them in rigid tins lined with parchment paper, and avoid adding moist fillings or frosted treats to the same tin, which will soften them quickly.
6.My pizzelle are coming out too thick and cakey—what am I doing wrong?
▾
Thick, cakey pizzelle usually come from overfilling the iron, using eggs larger than the large size called for, or mixing in butter that’s still piping hot. Use exactly 1 rounded tablespoon of batter per cavity, don’t overpour, and let melted butter cool 5 minutes before mixing to avoid puffy, dense results.
7.Can I make this pizzelle batter ahead of time?
▾
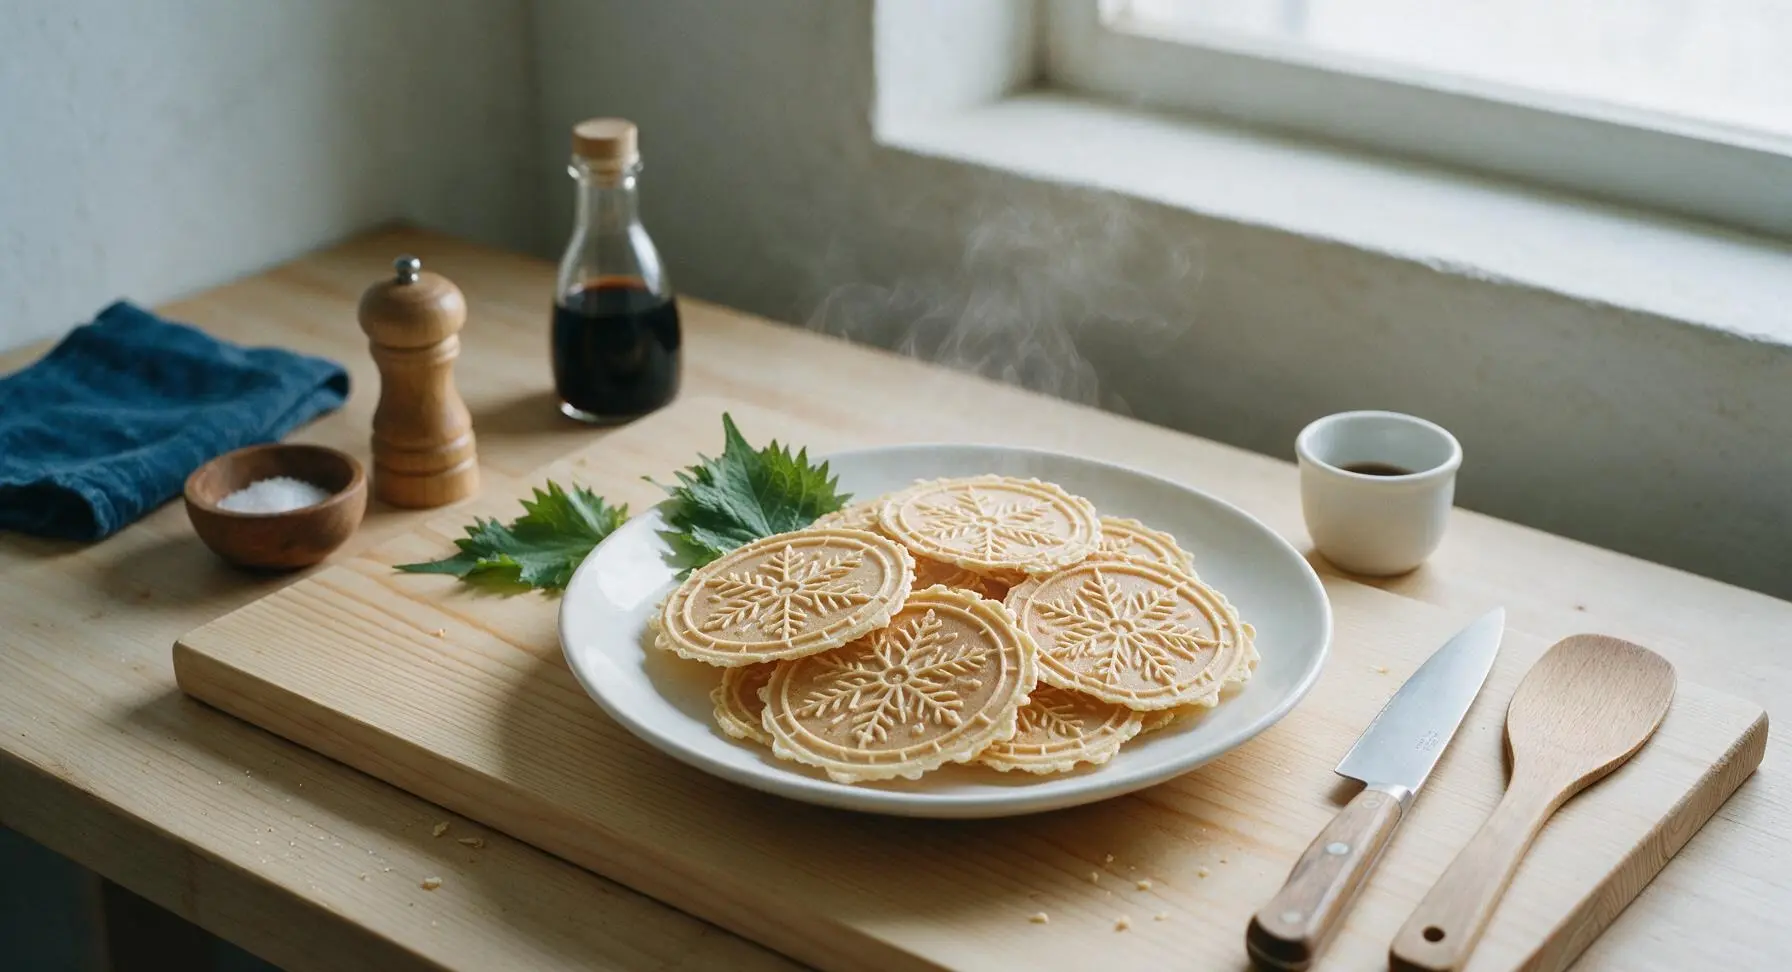
You can mix the batter, cover it tightly, and refrigerate it for up to 24 hours before cooking. When you’re ready to bake, let the batter sit on the counter for 15 minutes to take the chill off, then stir gently to recombine—chilled batter will be slightly thicker, so add ¼ teaspoon of milk if it’s too stiff to spoon easily.
8.Is it normal for the first 1 or 2 pizzelle of a batch to turn out poorly?
▾
It’s completely normal! The first couple of cookies often absorb excess residual butter from seasoning, or cook unevenly as the iron temperature stabilizes after you start pouring batter. Don’t throw those lumpy, uneven first tries out—crush them up as a crunchy topping for ice cream or yogurt instead of wasting them.
9.Can I make these pizzelle gluten-free?
▾
Yes, you can swap the all-purpose flour 1:1 for a high-quality all-purpose gluten-free flour blend that includes xanthan gum for structure. Skip single gluten-free flours like almond flour or coconut flour on their own, as they will produce greasy, crumbly cookies that don’t hold the intricate snowflake pattern well during cooking.
10.How do I shape pizzelle into cannoli shells or waffle cones while they’re warm?
▾
Pizzelle are pliable for the first 10–15 seconds after you pull them off the iron, so work quickly. To make cannoli shells, wrap the warm cookie around a wooden cannoli form and press the edge to seal; for cones, wrap around a cone mold, hold for 10 seconds until set, then cool fully on a rack before filling.
11.Why do my pizzelle have uneven, pale patches instead of a uniform golden color?
▾
Uneven pale patches almost always mean your iron hasn’t fully preheated, or you’re placing batter off-center on the plates. Let the iron heat until its ready indicator light activates, then drop batter dead-center on each cooking plate so it spreads evenly across the patterned surface when you close and latch the lid.
12.Can I reduce the sugar in this recipe for less sweet pizzelle?
▾
You can cut the granulated sugar by up to 25% without ruining the texture, but don’t reduce it more than that. Sugar plays a key role in creating the crisp, delicate snap and golden brown color of traditional pizzelle; cutting too much will leave you with bland, pale, tough cookies that don’t hold their pattern well.
13.What’s the best way to clean a pizzelle iron after making these?
▾
Never submerge your electric pizzelle iron in water, and don’t use abrasive scouring pads that scratch the nonstick or seasoned surface. Once the iron is fully cool, brush crumbs out of the plate crevices with a dry pastry brush, then wipe gently with a dry or slightly damp paper towel to remove residual butter or baked-on bits.
14.Can I add mix-ins like chocolate chips or sprinkles to the batter?
▾
Keep mix-ins very finely ground or chopped to avoid ruining the intricate snowflake pattern on the cookies. Standard mini chocolate chips will get caught in the iron crevices and cause sticking, so opt for sifted cocoa powder, finely ground toasted nuts, or tiny nonpareil sprinkles that won’t block plate details as the batter spreads.
15.My pizzelle curl up as they cool—how do I keep them perfectly flat?
▾
Curling happens when warm cookies cool unevenly, or when residual moisture gets trapped under them. As soon as you pull each cookie off the iron, set it on a flat wire rack, and lay a second lightweight wire rack on top of the first batch for the first minute of cooling to hold them flat without trapping steam that causes sogginess.
16.Can I use salted butter instead of unsalted butter in this recipe?
▾
You can swap unsalted butter for salted butter without ruining the recipe, just note that it will add a subtle salty note that balances the sweet anise flavor nicely. If you prefer a less salty taste, stick to unsalted butter, and avoid whipped butter or spreadable butter substitutes, which have added water that makes pizzelle soft.
17.How do I prevent the anise flavor from being too overpowering?
▾
Anise extract is very concentrated, so measure it carefully instead of pouring straight from the bottle. If you’re sensitive to strong licorice notes, cut the extract amount in half, or replace a portion with vanilla extract to mellow the flavor. Never use anise oil in place of extract unless diluted heavily, as it is 4x more concentrated.
18.Can I freeze baked pizzelle for long-term storage?
▾
Yes, fully cooled pizzelle freeze beautifully for up to 3 months. Stack them between sheets of parchment paper in a rigid, airtight freezer-safe container to prevent breakage, and thaw them at room temperature for 15 minutes before serving. Avoid freezing pizzelle that have been filled or dipped in chocolate, as fillings can separate or turn soggy as they thaw.
19.What’s the easiest way to transfer soft, warm pizzelle off the iron without tearing them?
▾
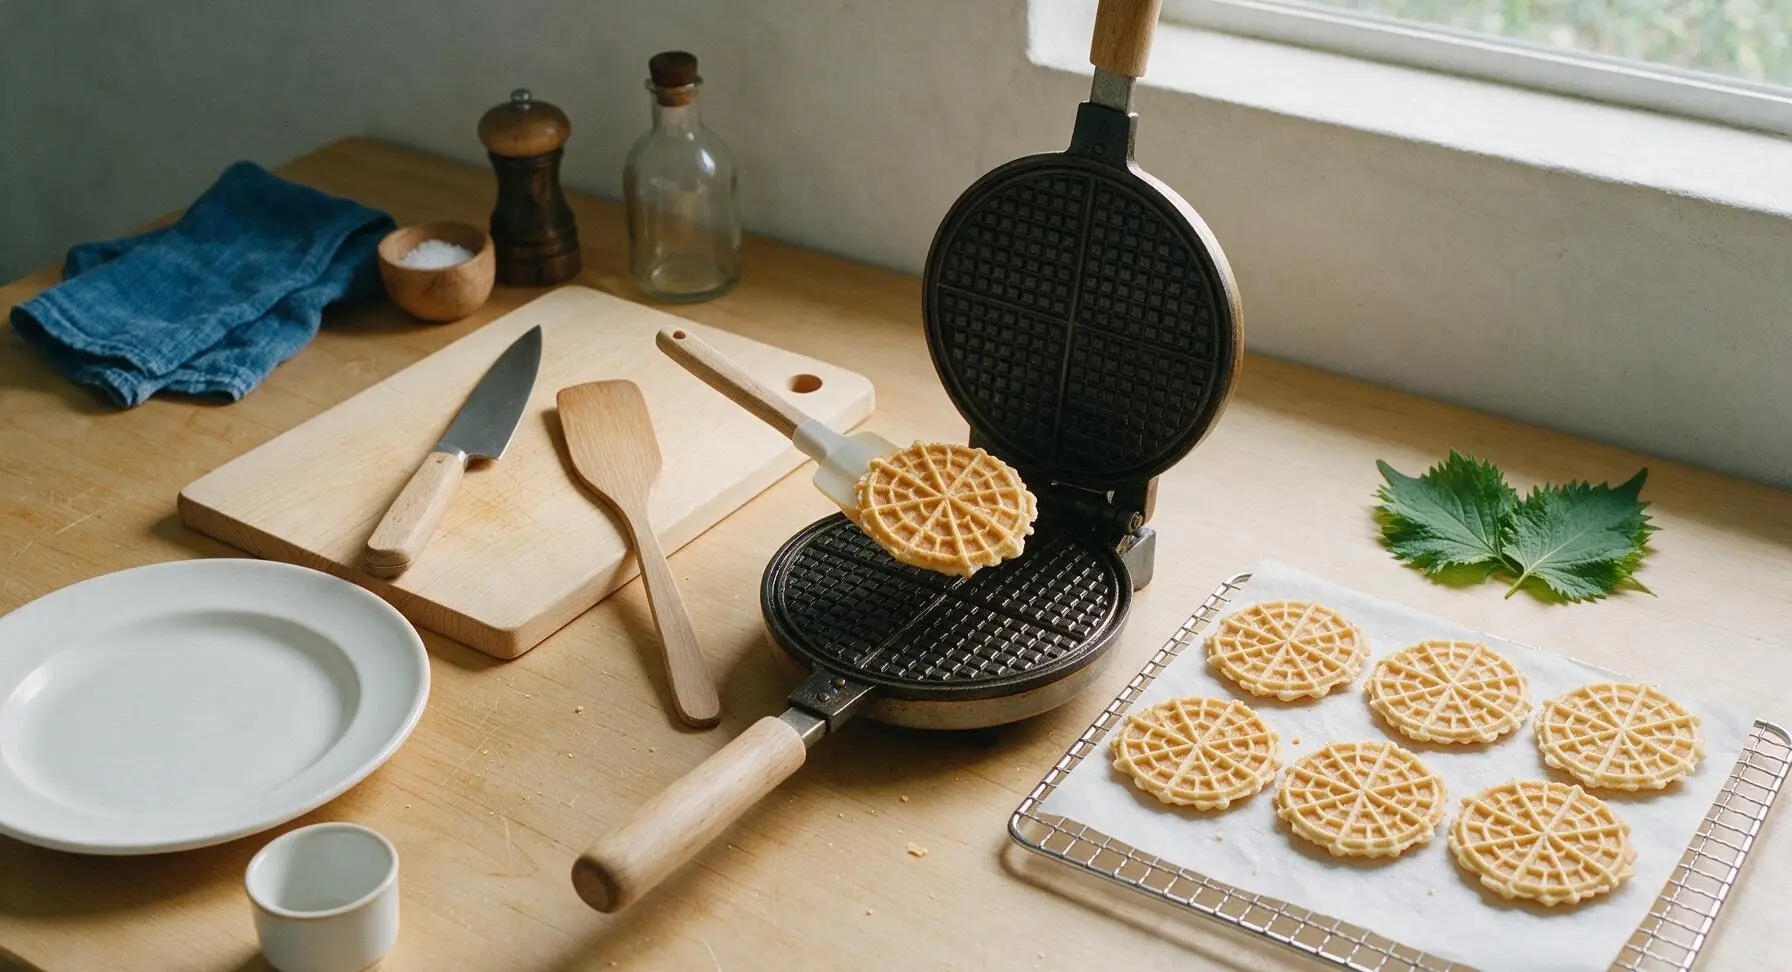
Skip metal utensils, which can scratch your iron and tear delicate warm cookies. Keep a thin, flexible silicone spatula right next to the iron: as soon as you open the lid, slide the spatula under the center of the cookie, lift gently, and transfer straight to the cooling rack. Don’t pull cookies by the edges, as they are very fragile when hot.
20.Are traditional pizzelle supposed to be very thin, or can I make them thicker for a sturdier cookie?
▾
Authentic Italian pizzelle are paper-thin with a light, snappy crispness, but you can make them slightly sturdier for sandwich cookies or chocolate-dipping by adding an extra 2 tablespoons of flour to the batter. Don’t make them too thick, though, or they’ll lose that signature delicate melt-in-your-mouth texture that makes them a holiday staple.

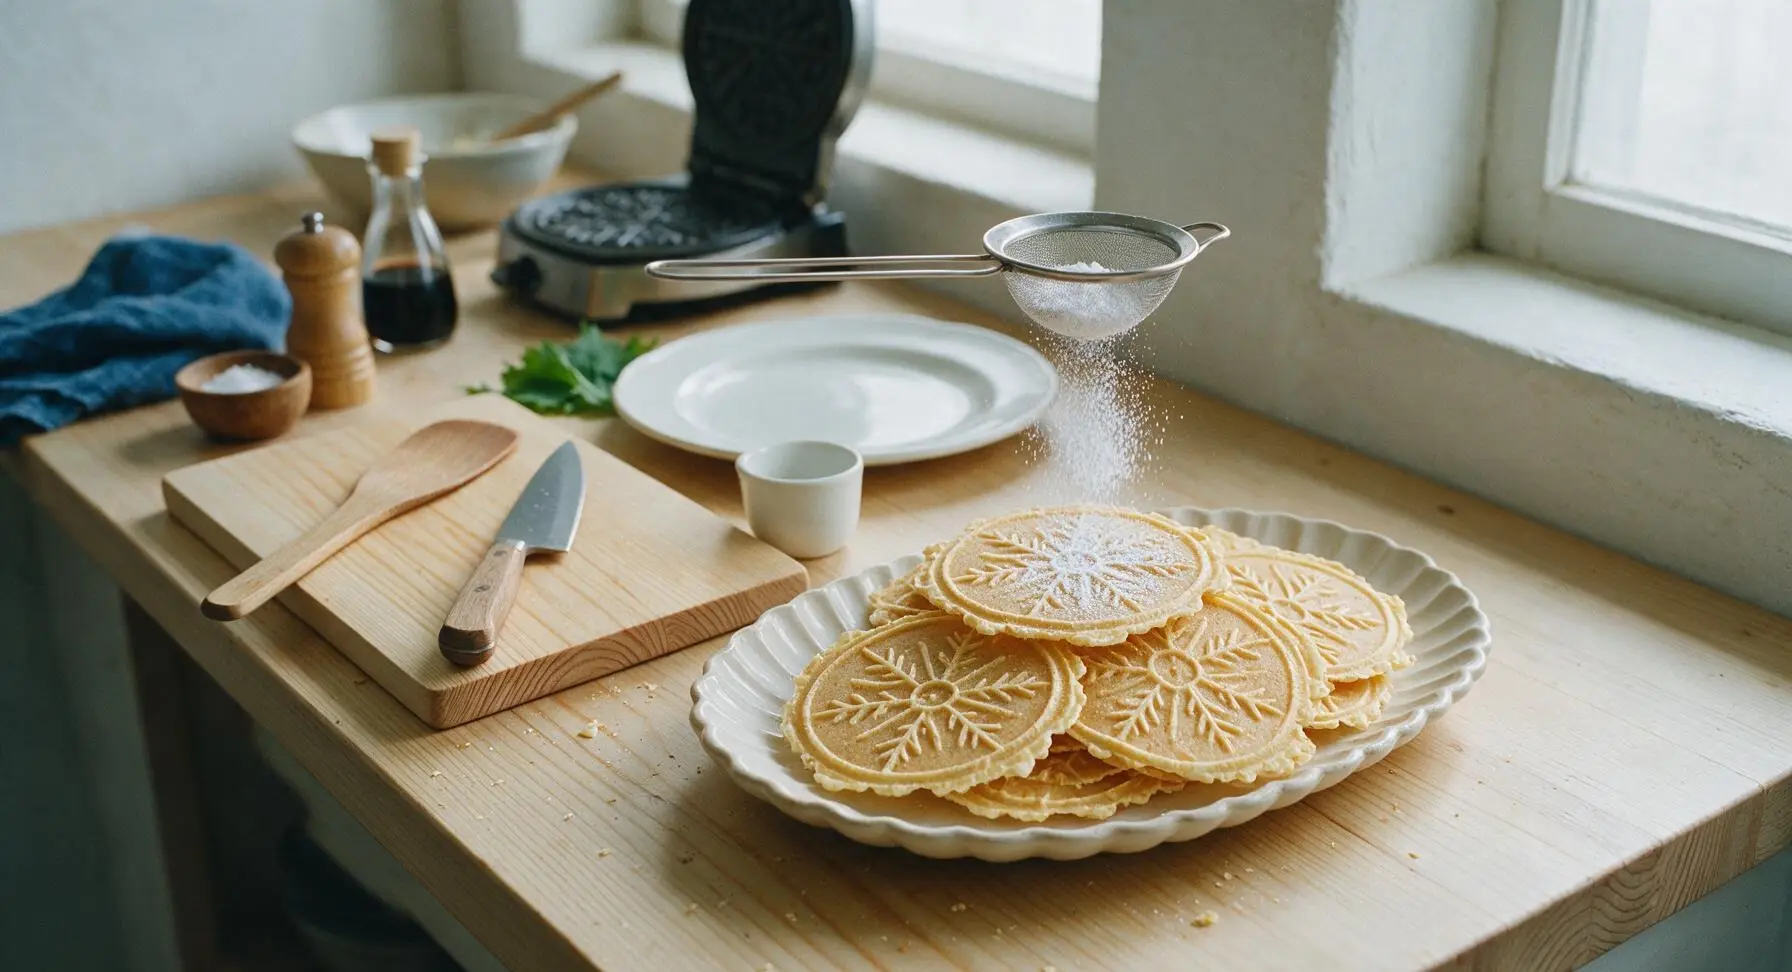






OMG these turned out exactly like my nonna used to make! I was so worried I’d mess up the texture since I haven’t used my old pizzelle press in years, but this recipe is so straightforward and easy to follow. I dusted mine with a little extra powdered sugar and brought them to last night’s neighborhood potluck, and everyone was begging for the recipe. SO good, will be making these every Christmas from now on!
Super easy recipe that came together in no time! My kids went crazy for these, they kept sneaking them off the cooling rack before I even had a chance to plate them for our Sunday family dinner. Only reason I’m not giving 5 stars is because my first batch stuck a little to the iron—probably because I forgot to give it a quick spritz of nonstick spray between the first few cookies, oops!
Total game changer. I’ve been buying store-bought pizzelle for our annual cookie exchange for years because I thought making them from scratch was too fussy, but 20 minutes cook time? Are you kidding? I knocked out three batches last night with different flavor add-ins (almond, orange, chocolate chip) and they all came out crispy and perfect. Already got three texts asking when I’m bringing more.
I made these for my grandma’s 80th birthday party since she grew up in an Italian-American household in Brooklyn, and she teared up after the first bite! Said they tasted exactly like the ones her mom used to make when she was a kid. I added a tiny drizzle of dark chocolate on half of them for extra flair and they were gone within 15 minutes of putting the platter out. 10/10, no notes.
I was today years old when I found out how easy pizzelle are to make? My wife has been bugging me to pull the pizzelle iron we got as a wedding gift out of the back of the pantry for three years, and this recipe was the perfect first test. We did half anise, half vanilla, and even made a few little ice cream sandwiches with them for dessert last night. Chef’s kiss.
I was worried this recipe wouldn’t work with the vegan butter swap I did for my dairy-free kiddo, but it came out perfectly crisp and flavorful! I used a splash of almond extract instead of anise and no one at our church potluck could tell they were dairy-free. Will absolutely be adding this to our regular holiday baking rotation.
Super solid easy recipe! Cook time was spot on, I didn’t have to adjust anything on my cheap old thrift store pizzelle iron and they came out evenly golden every time. Only tiny heads up: if you’re not a huge black licorice fan, go easy on the anise extract the first time you make these, it’s strong! I did half the recommended amount and it was perfect for my taste.