
italian pressed sandwich
intro
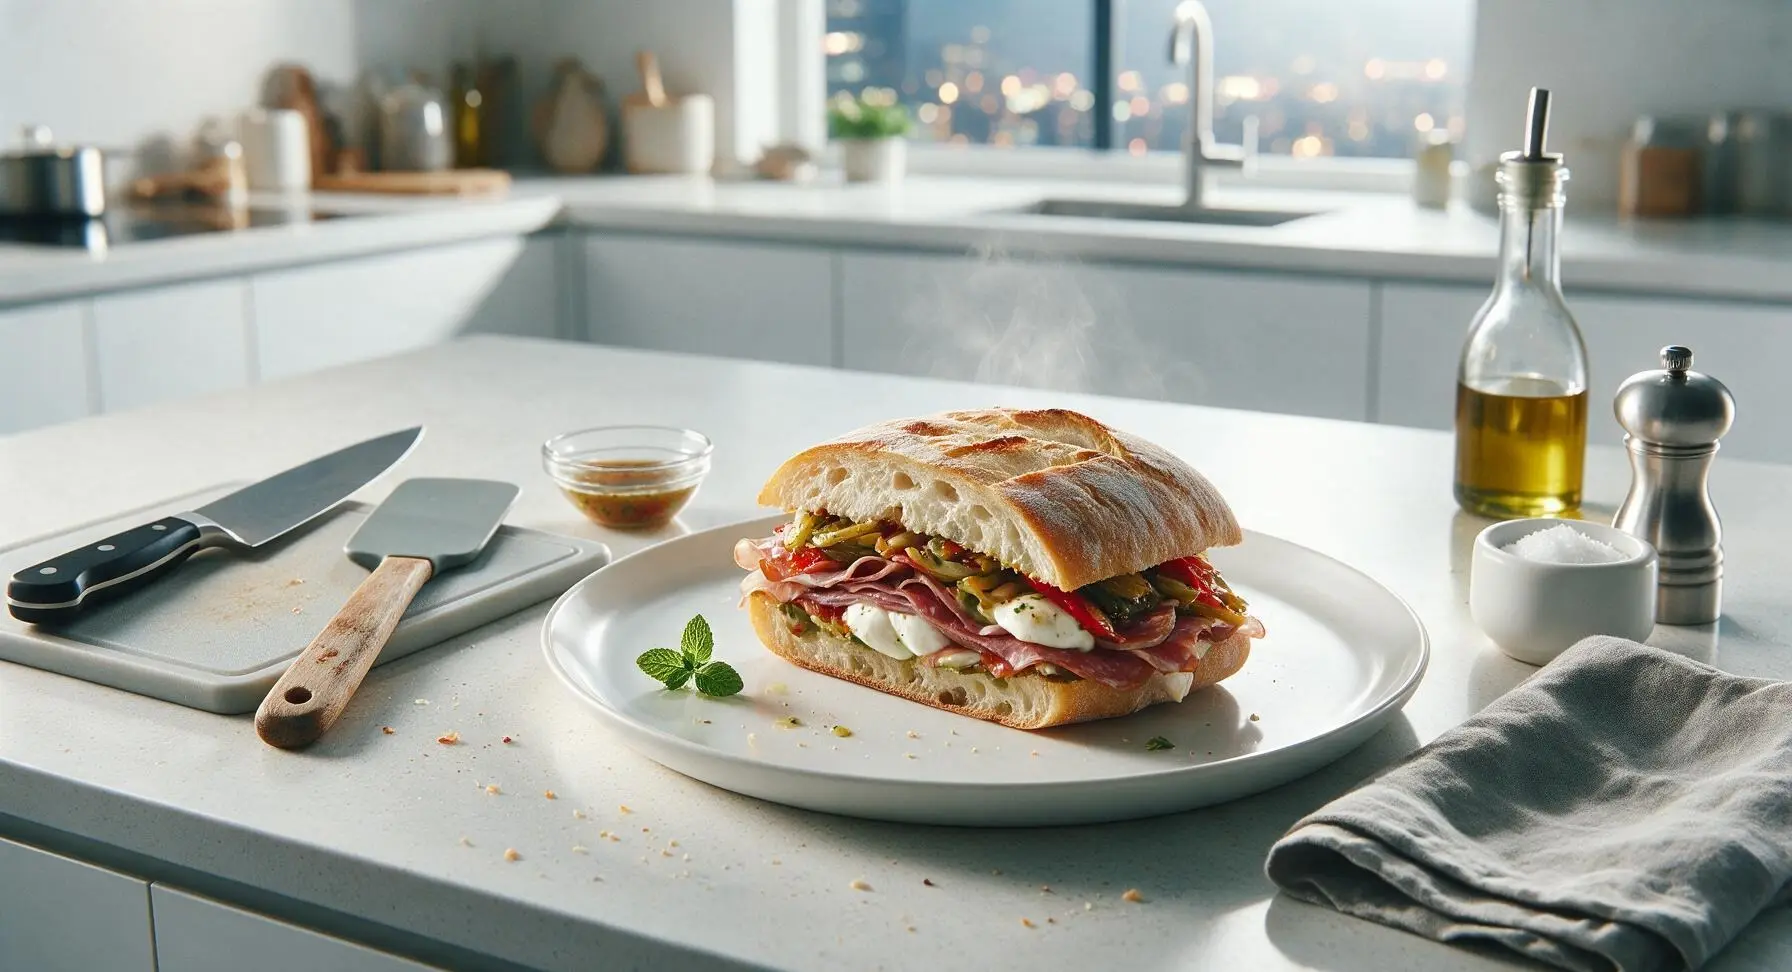
Crusty ciabatta layered with savory cured Italian meats, creamy mozzarella, tangy marinated veggies, and zesty vinaigrette, pressed until compact and flavor-packed for the perfect portable picnic bite.
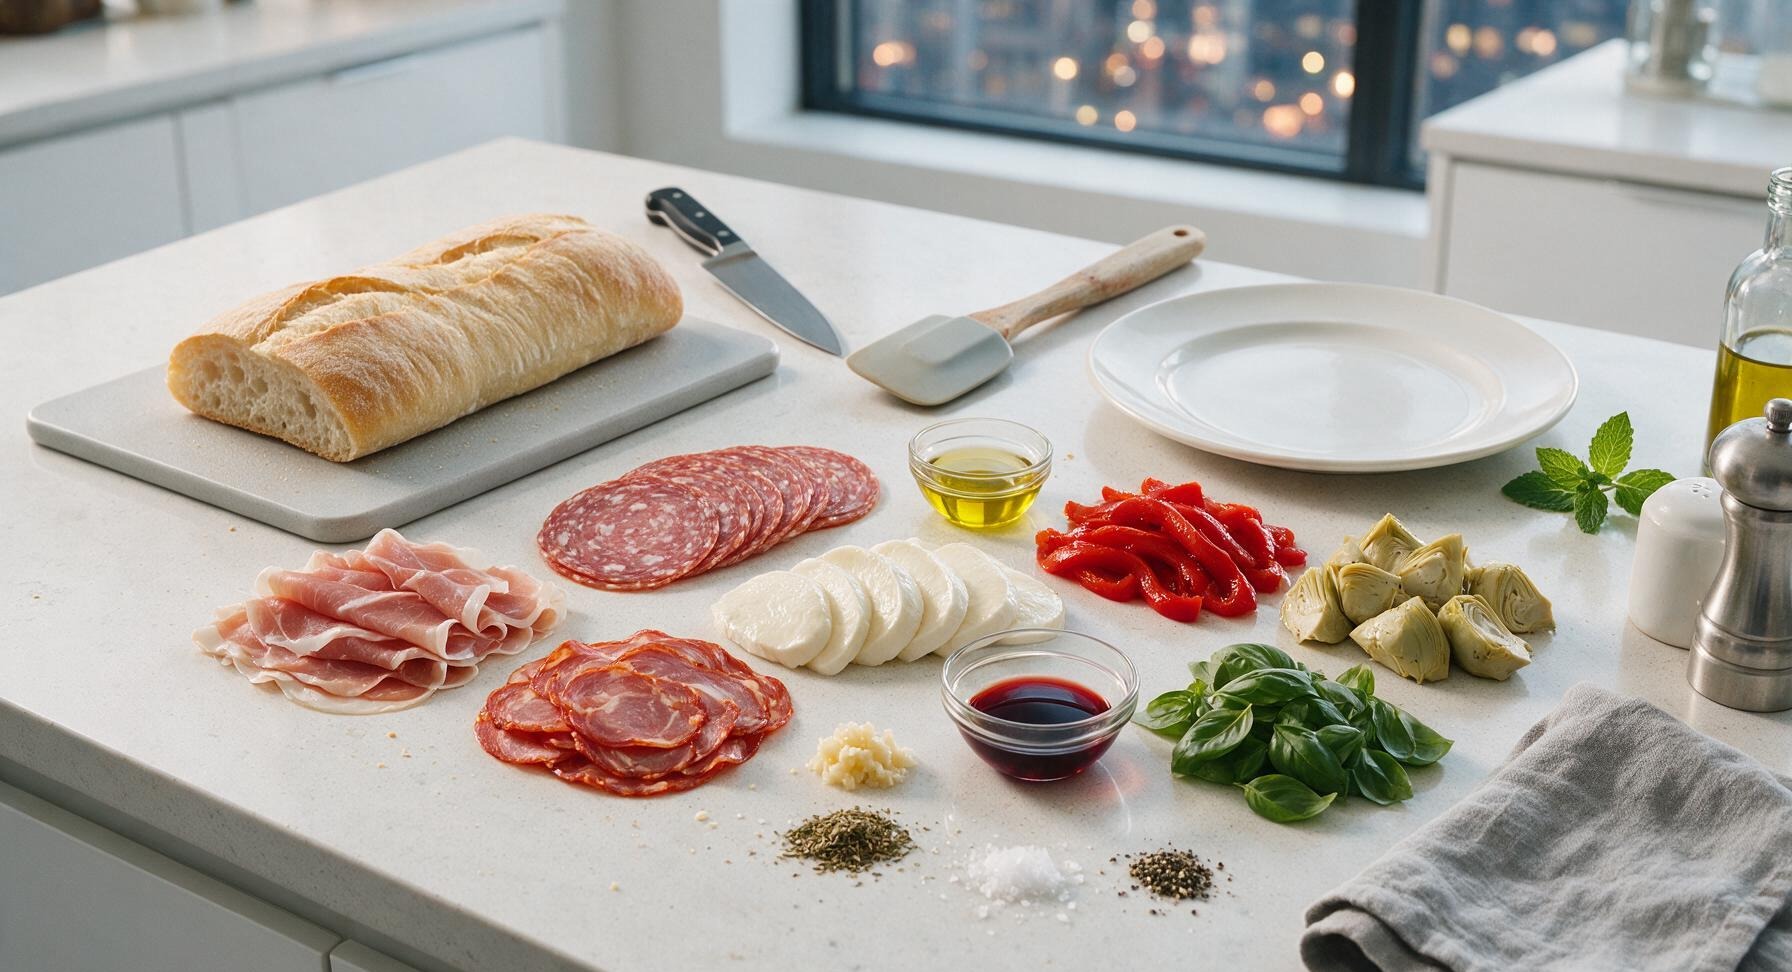
Ingredients
Steps
Whisk the Vinaigrette
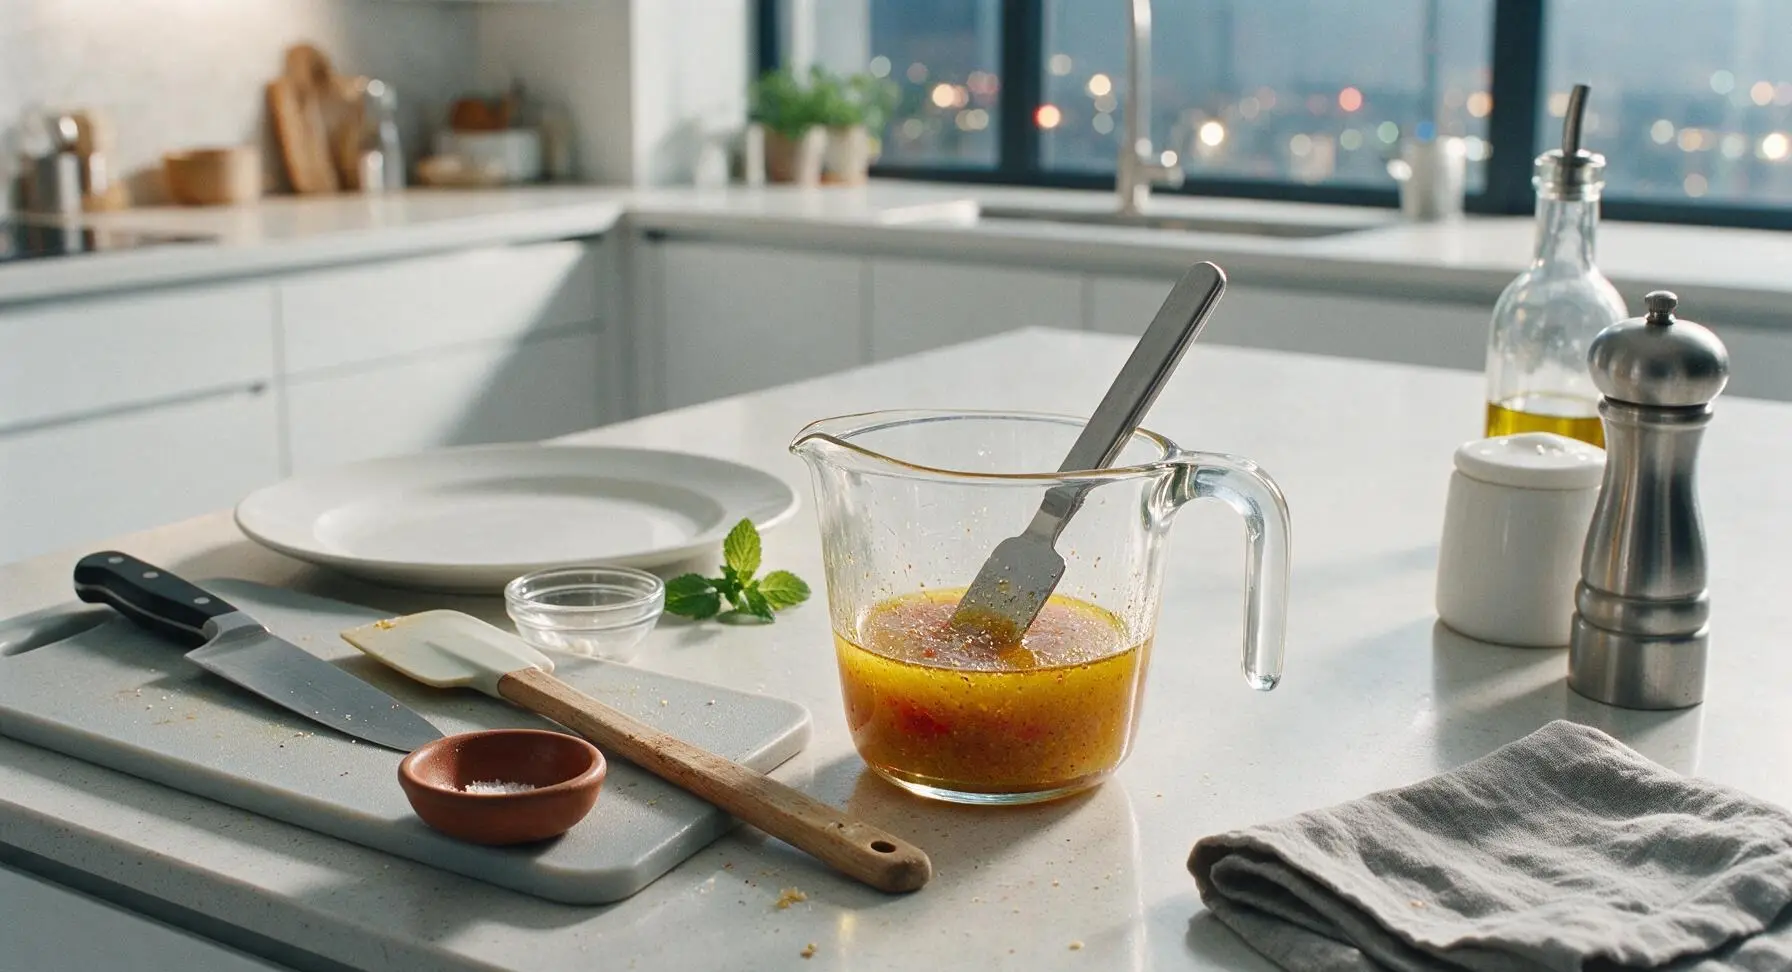
In the small clear glass measuring cup, combine 2 tablespoons extra virgin olive oil, 1 tablespoon red wine vinegar, 1 teaspoon finely minced garlic, 1/2 teaspoon dried oregano, 1/4 teaspoon flaky sea salt, and 1/4 teaspoon freshly cracked black pepper. Whisk with the matte stainless steel spreader until the mixture is fully emulsified, about 30 seconds. Set aside to let flavors meld for 5 minutes before using.
Split the Ciabatta Loaf
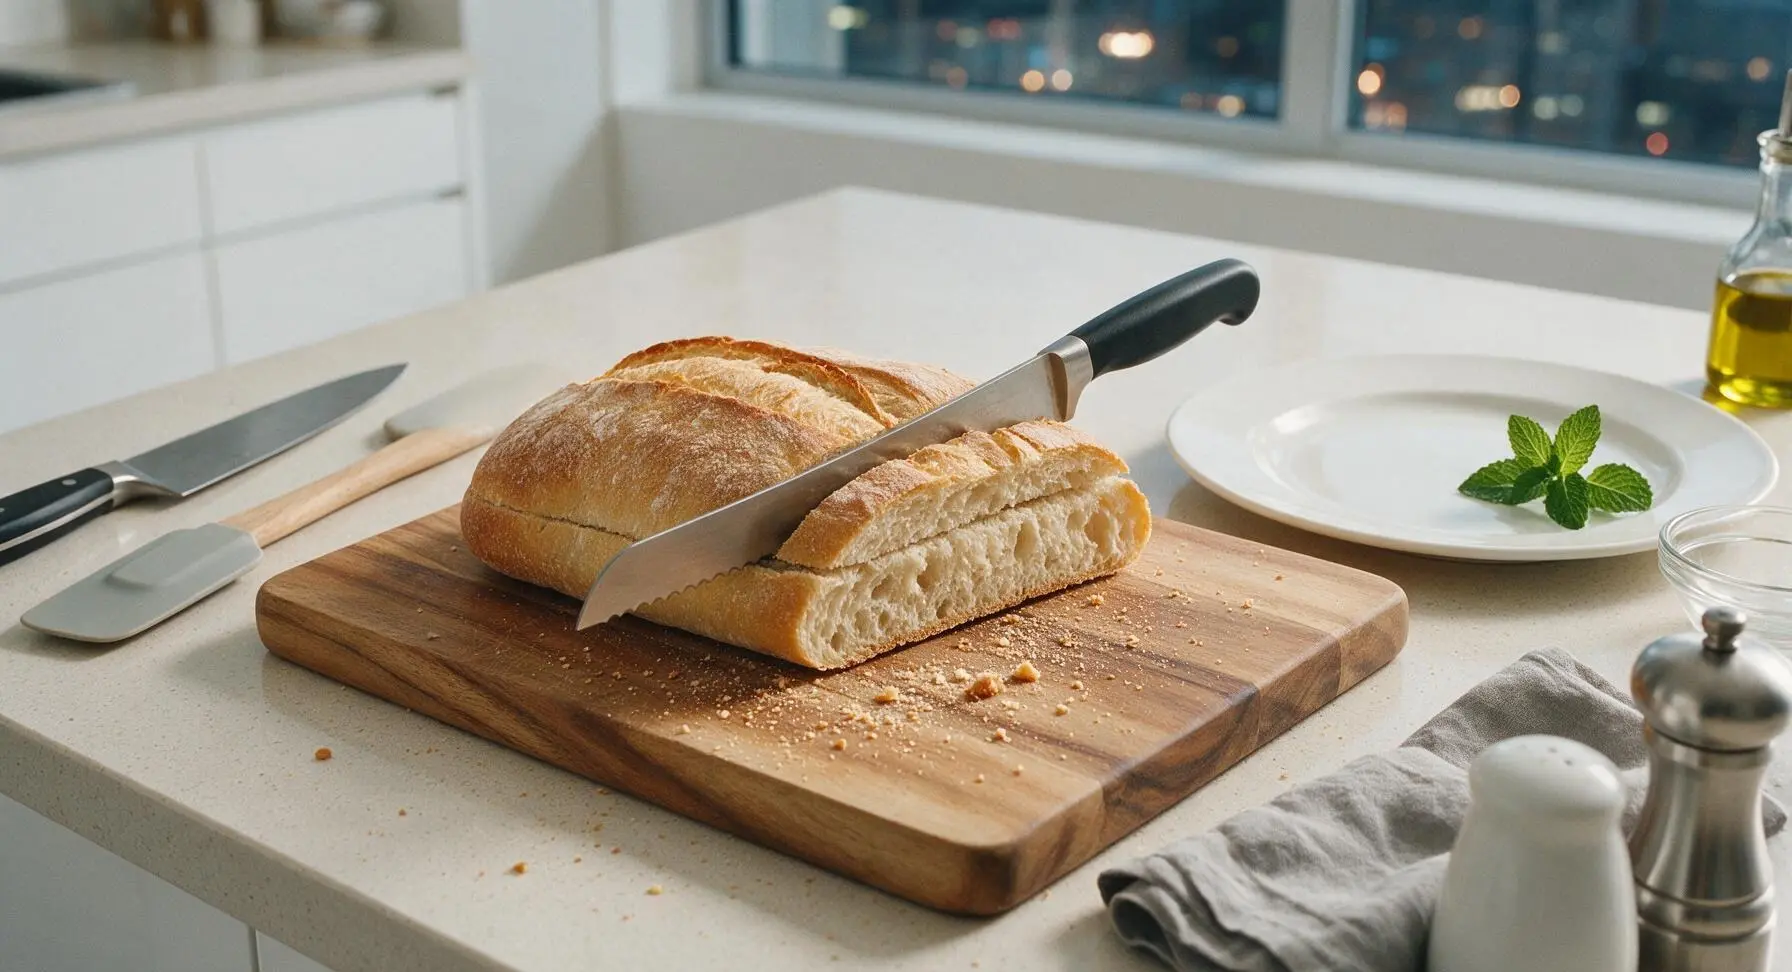
Place the whole ciabatta loaf on the center of the acacia wood cutting board. Using the serrated bread knife, slice the loaf horizontally in half to create two equal, even top and bottom pieces, keeping the long crust sides intact. Slice slowly to avoid tearing the soft inner crumb; you will hear a soft cracking sound as the knife cuts through the crisp crust. A few extra fine crumbs will fall onto the board, which is normal.
Dress Bread Cut Sides
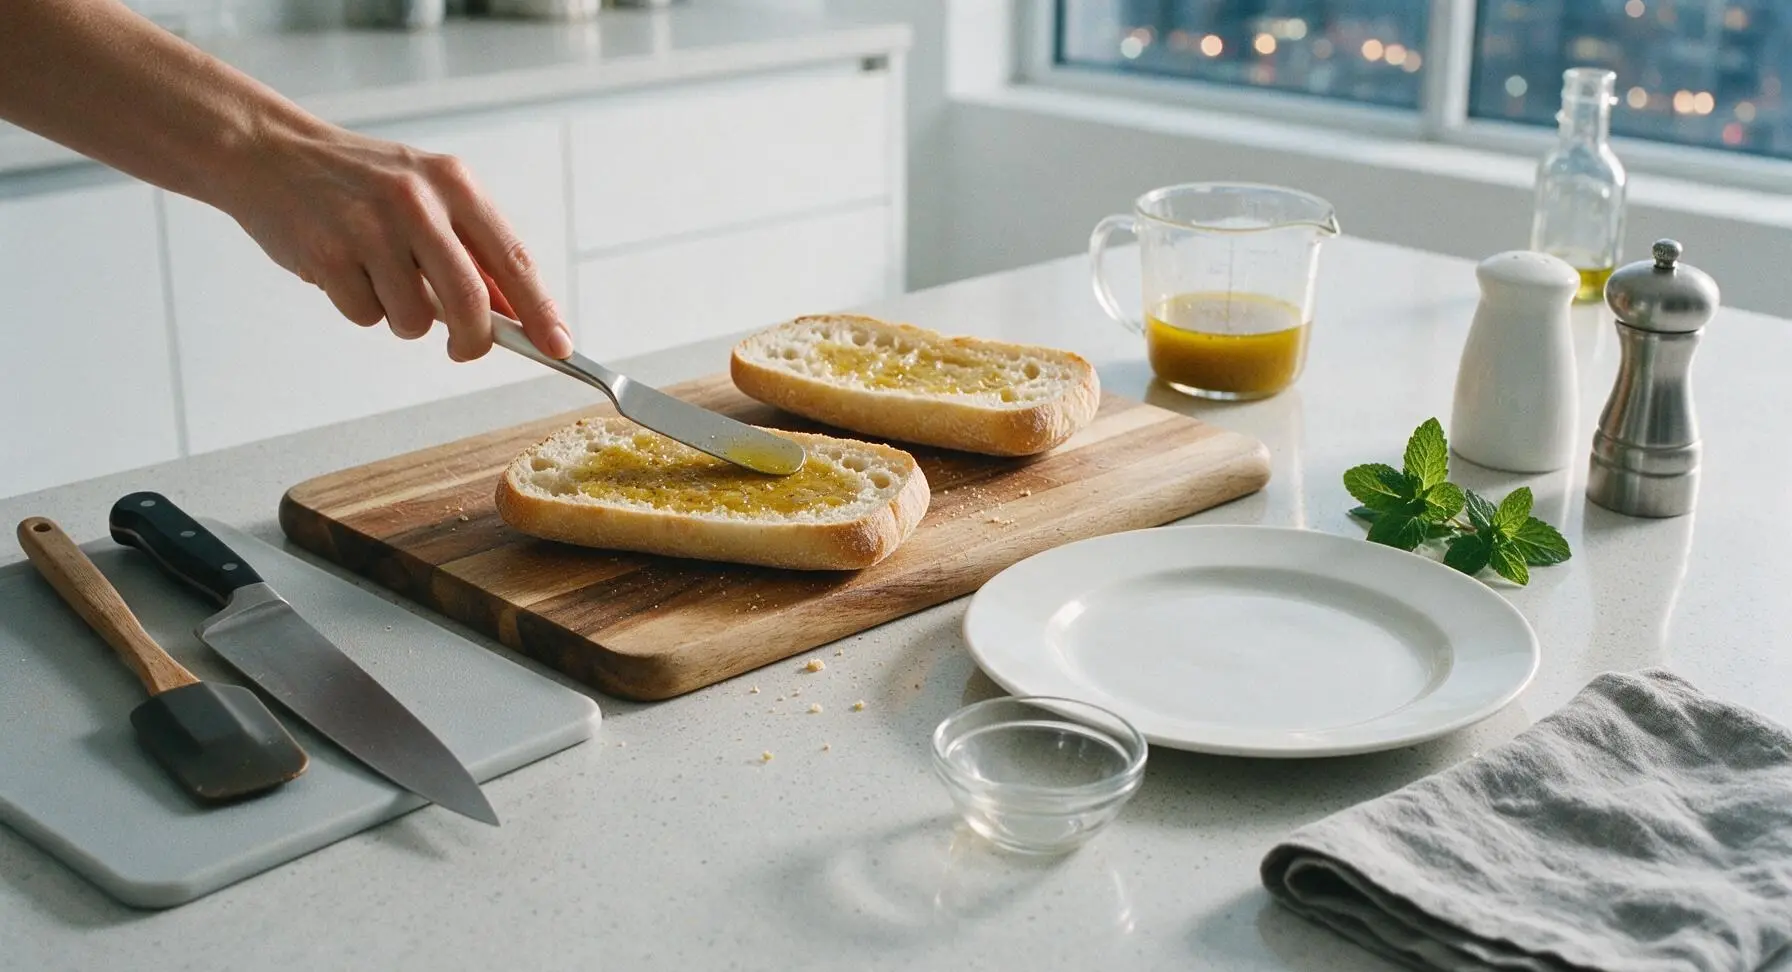
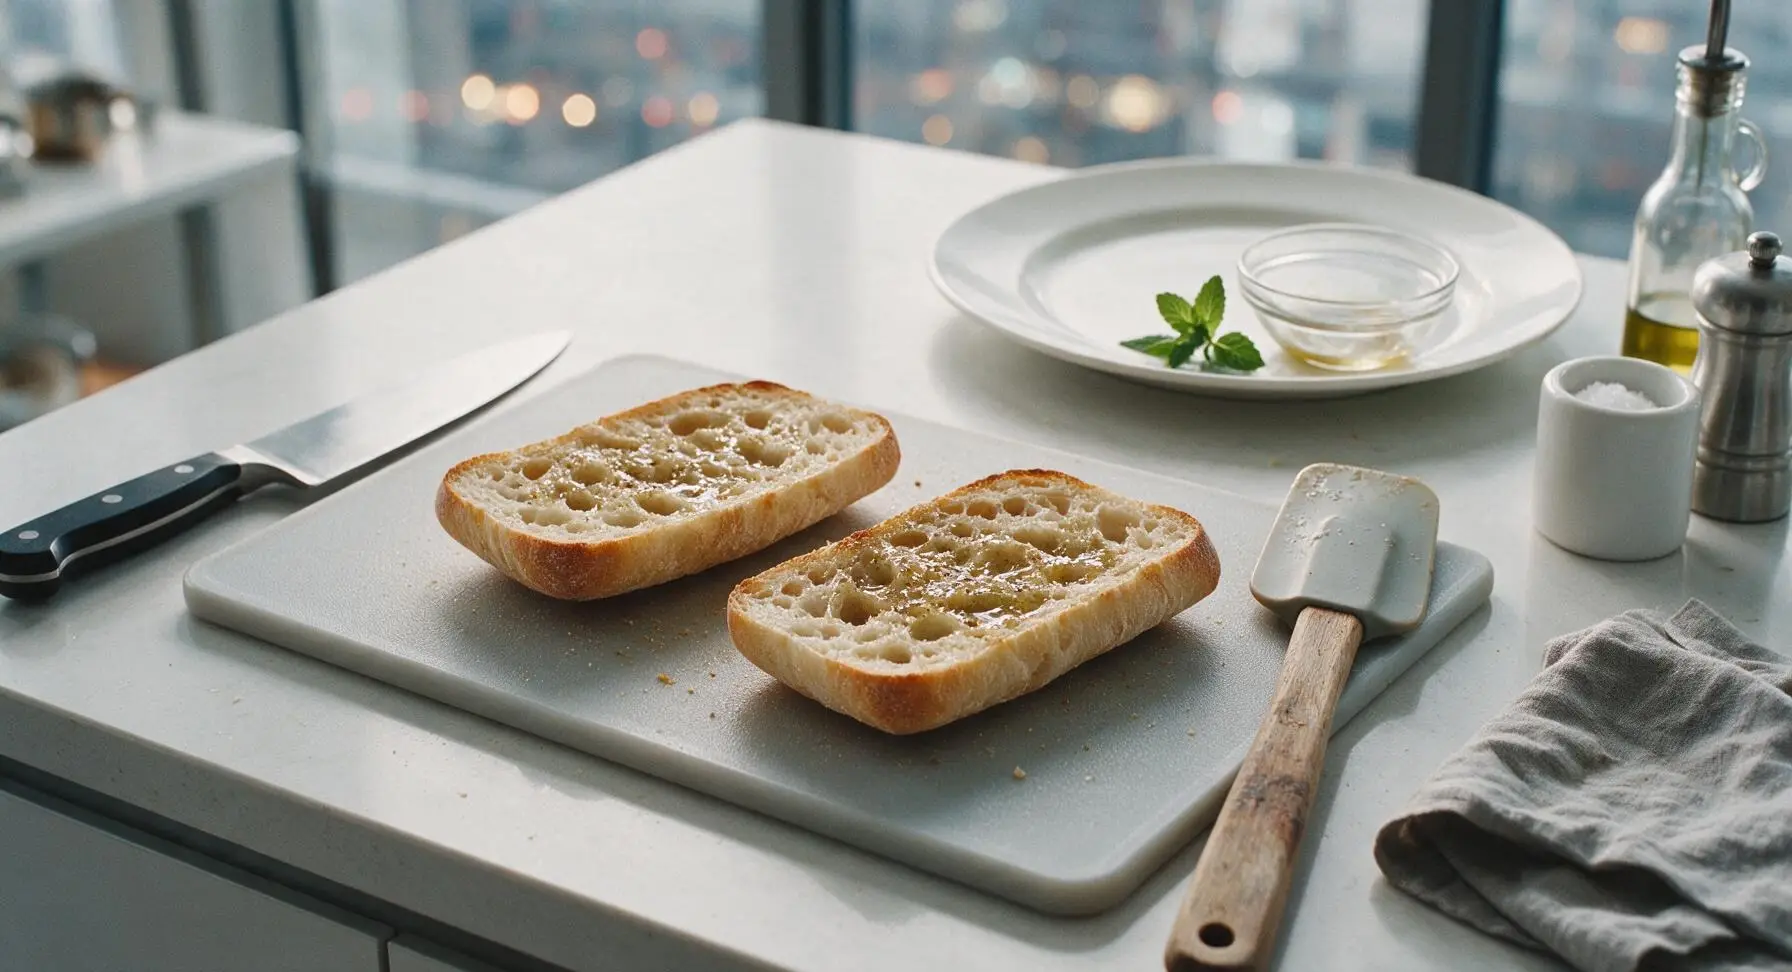
Lay both ciabatta halves cut-side up on the cutting board. Spoon half of the whisked vinaigrette evenly over the cut side of the bottom ciabatta half, using the stainless steel spreader to coat the entire surface right up to the crust edge. Drizzle the remaining vinaigrette over the cut side of the top ciabatta half, spreading evenly. Let the bread absorb the dressing for 2 minutes before adding fillings — the crumb should look slightly darkened and glistening, with no pools of excess dressing that would cause sogginess.
Layer Sandwich Fillings
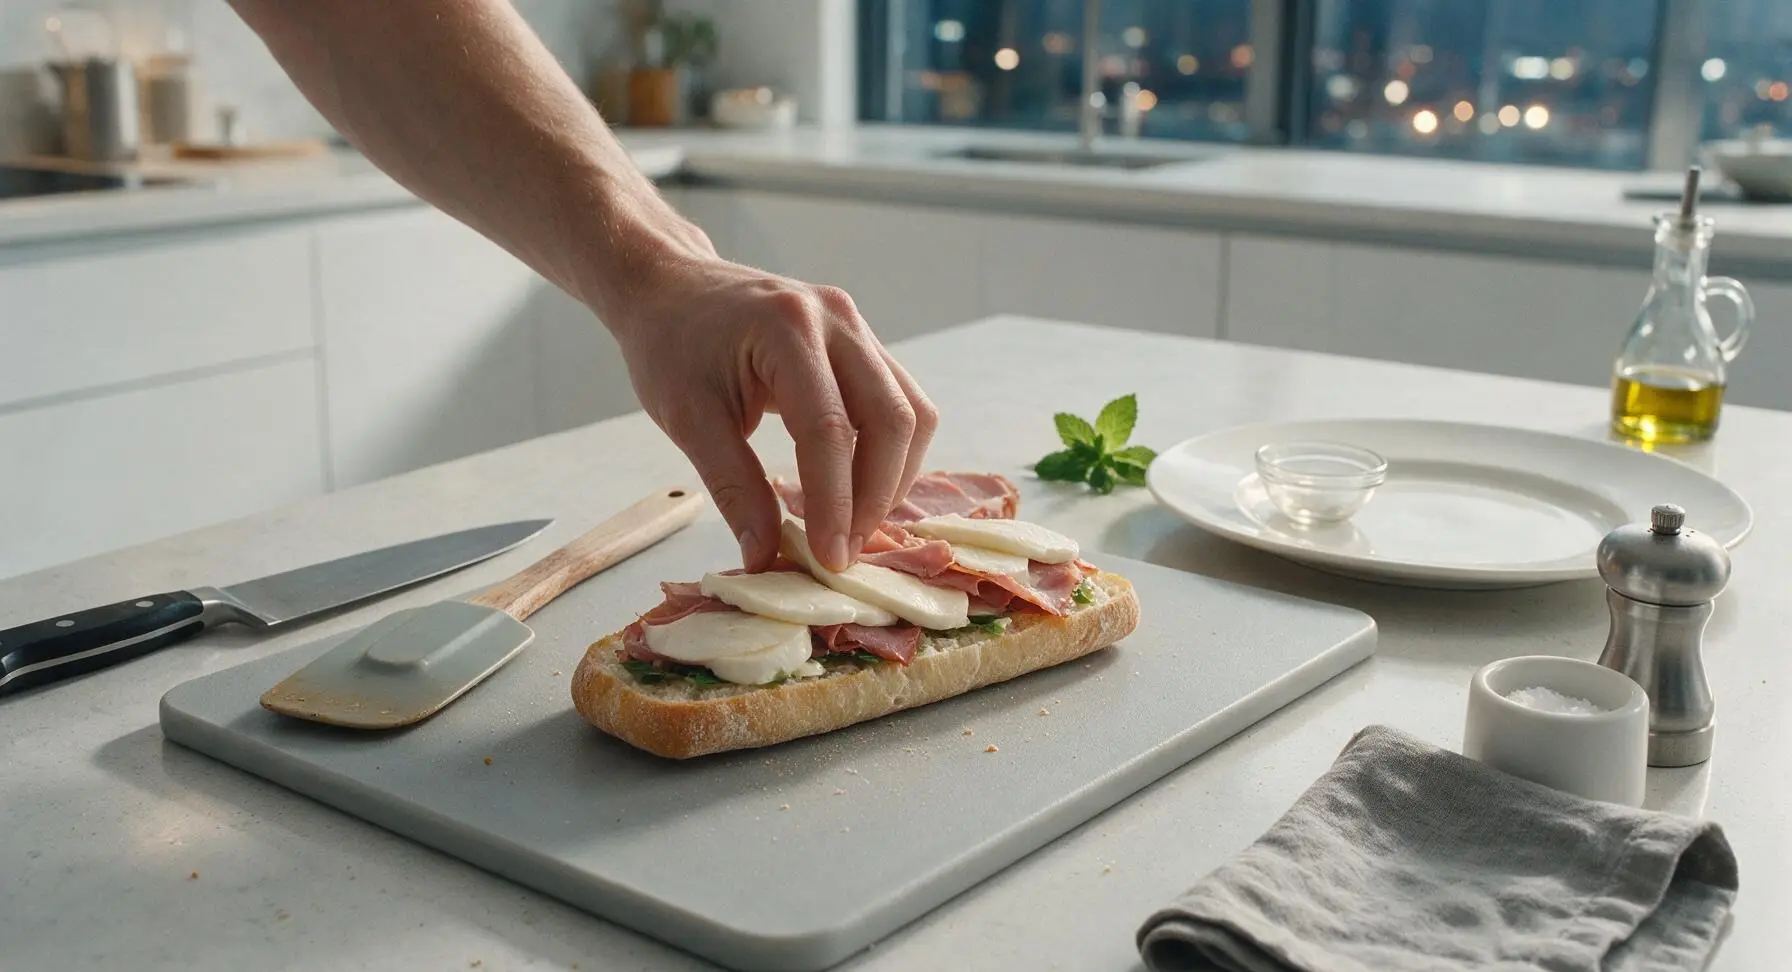
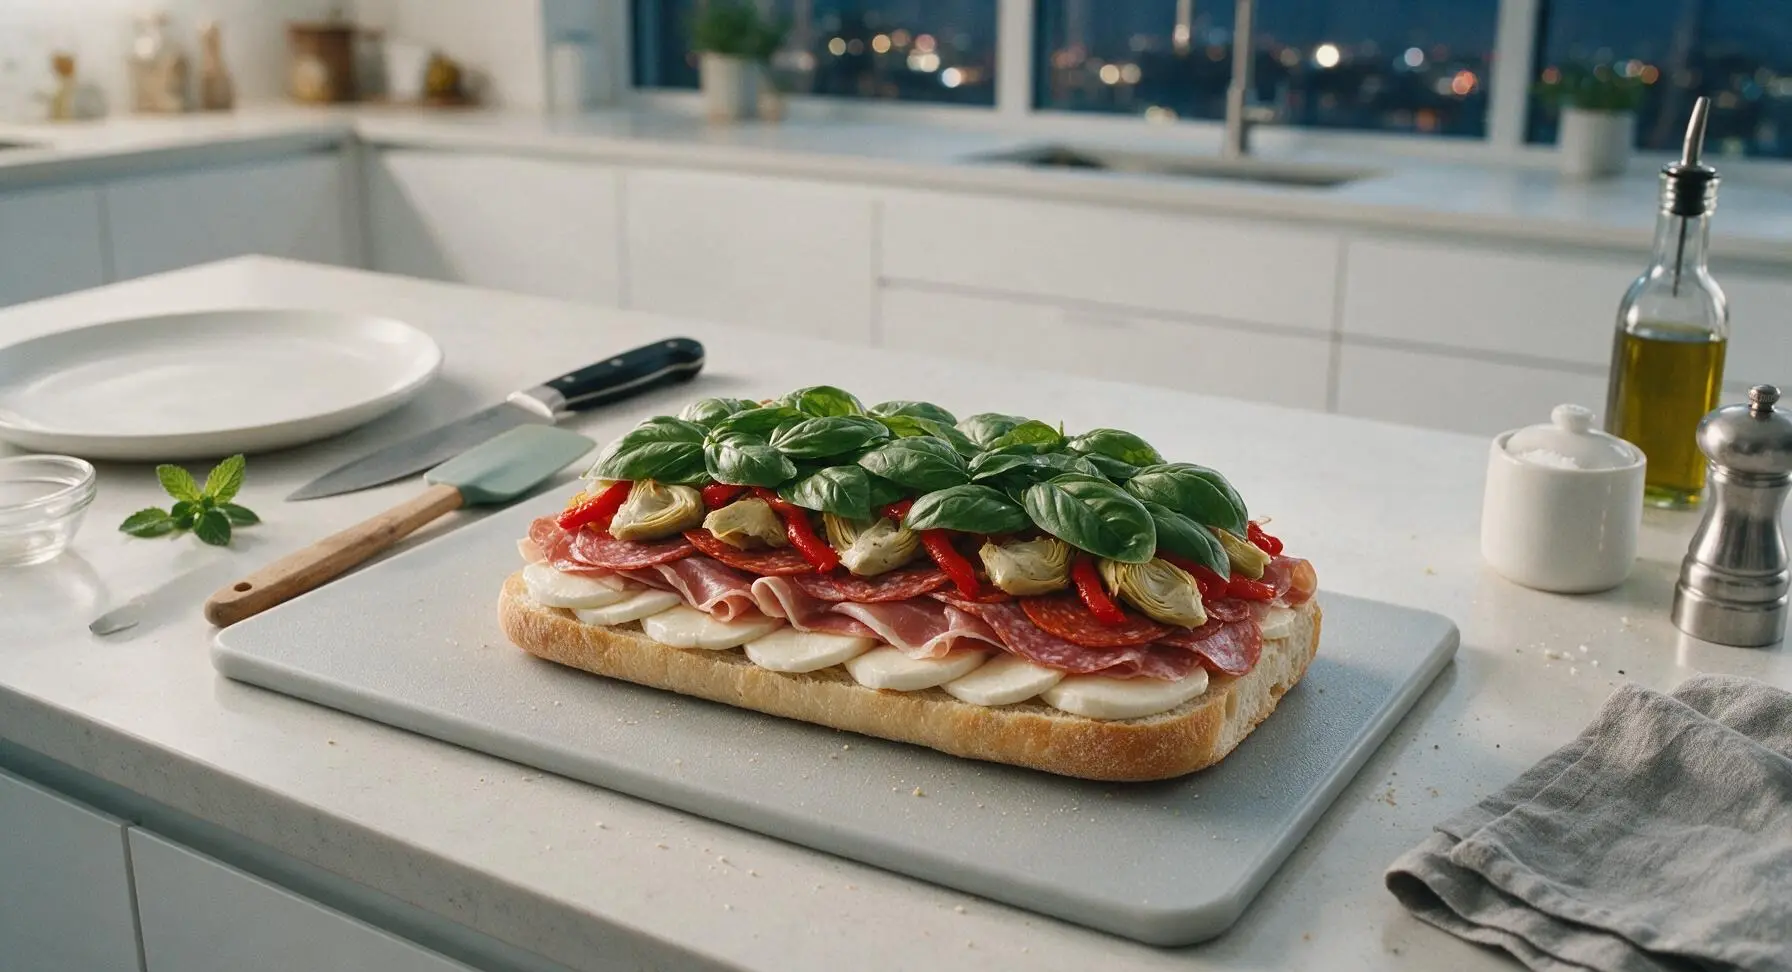
Build even layers on the dressed bottom ciabatta half, working in this order to prevent sogginess: first, arrange all the sliced fresh mozzarella in a single overlapping layer to cover the entire bread surface. Next, layer the prosciutto, Genoa salami, and hot capicola, folding slices slightly to create texture rather than laying them completely flat. Top the meats with the drained roasted red pepper strips and quartered artichoke hearts, spreading them evenly across the meat. Finish with a thick, even layer of whole fresh basil leaves, covering the veggies completely to form a moisture barrier between the veggies and the top bread half.
Wrap Sandwich Tightly
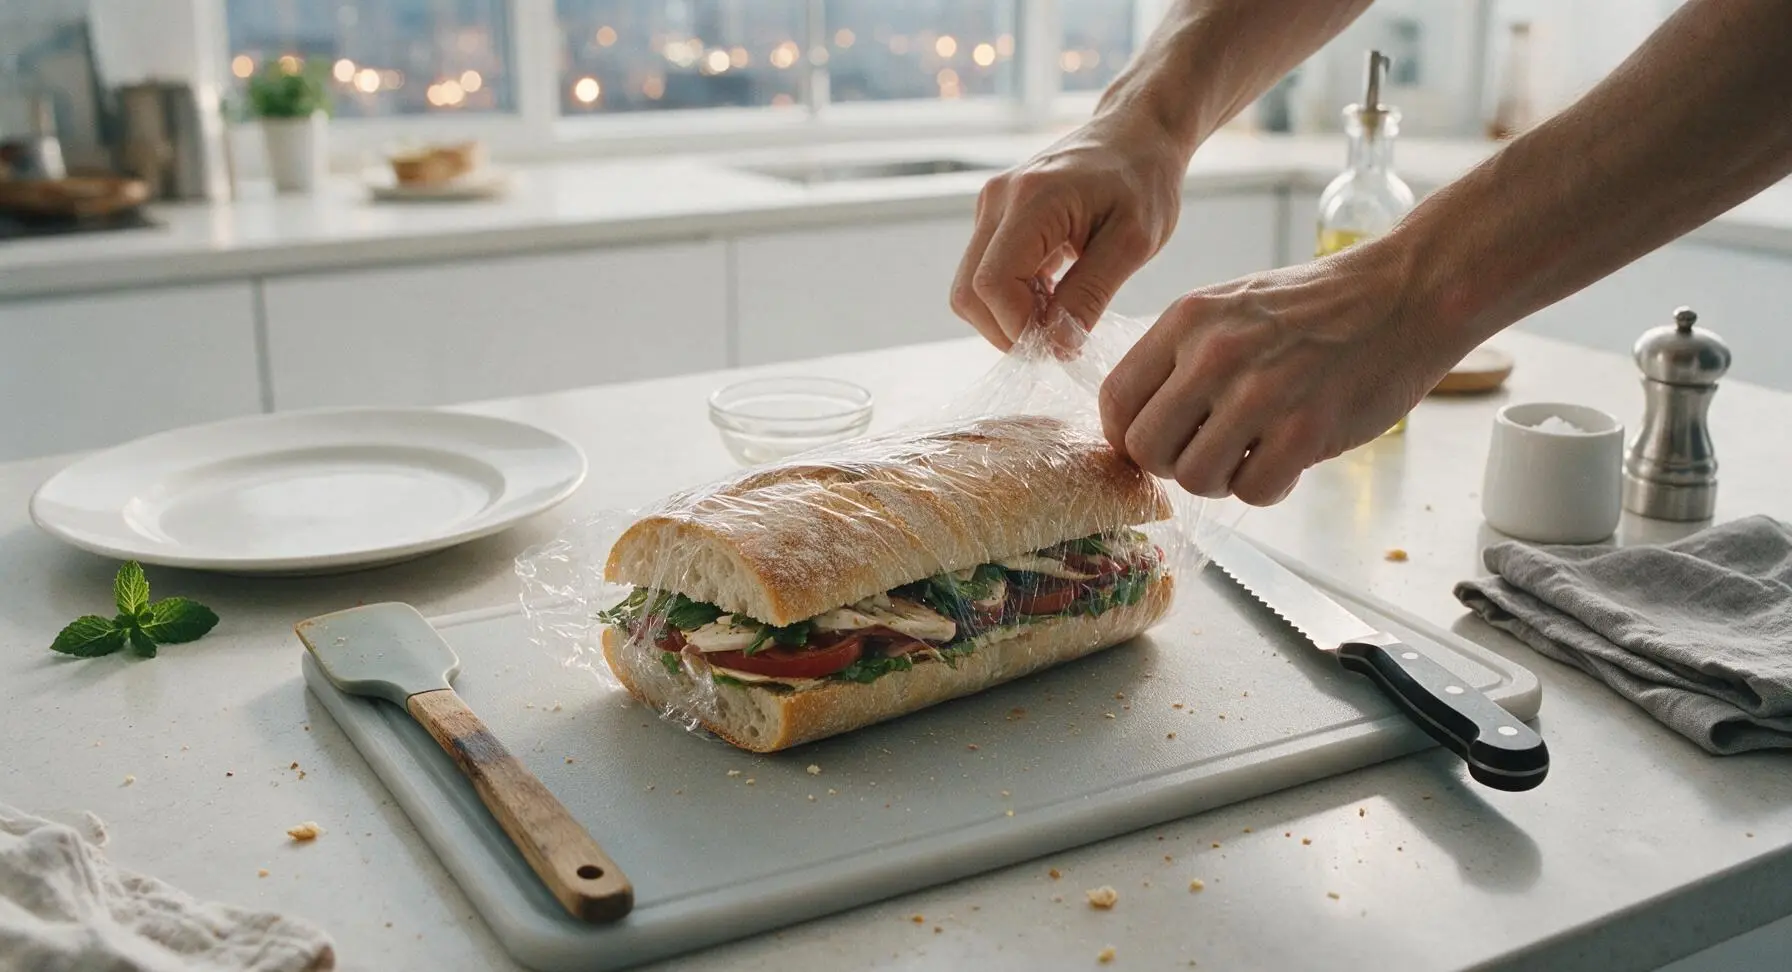
Place the dressed top ciabatta half cut-side down on top of the layered fillings, pressing down firmly with the palm of your hand across the entire top surface to compact the layers slightly. Tear off a 60cm length of plastic wrap, and wrap the entire sandwich very tightly in 2 overlapping layers of plastic wrap, ensuring no edges are exposed and the sandwich is held firmly in a compact, even shape.
Weight and Chill Sandwich
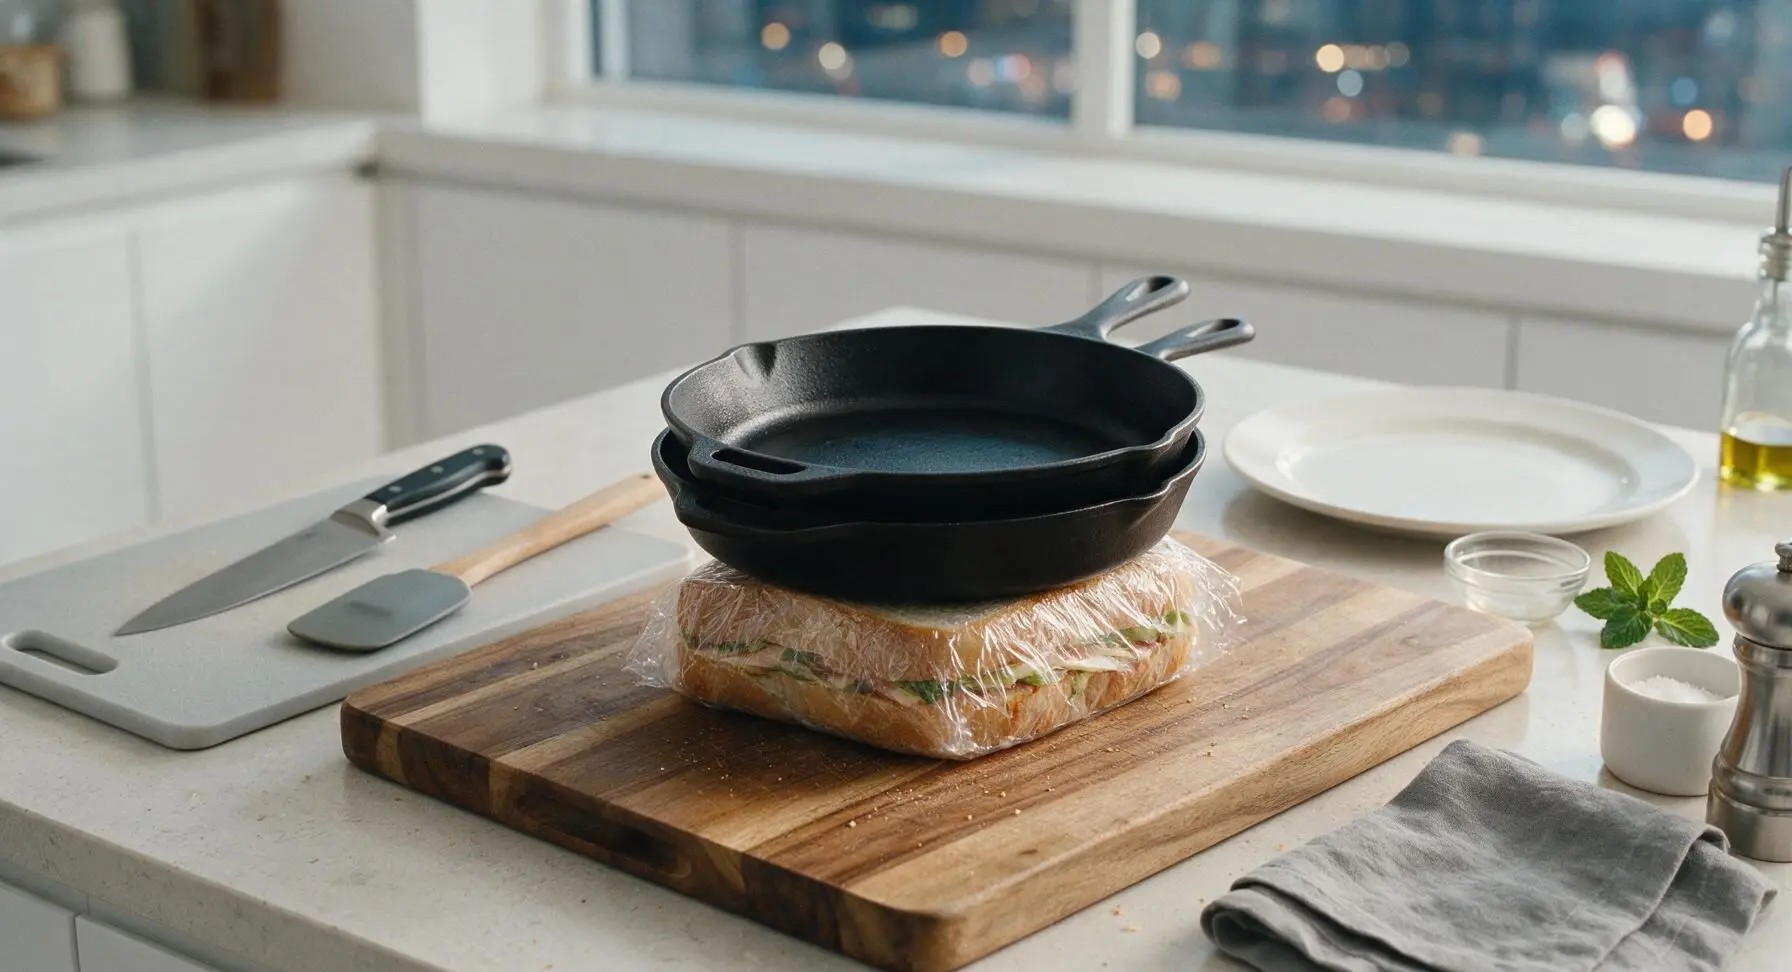
Leave the tightly wrapped sandwich centered on the acacia wood cutting board. Stack the two pre-seasoned matte black cast iron skillets on top of the sandwich, centering them so their weight is evenly distributed across the entire loaf surface. Carefully transfer the cutting board with the weighted sandwich to the refrigerator, and chill for a minimum of 3 hours (up to 12 hours) to let flavors meld and the bread compress into neat, holdable slices.
Unwrap and Slice Portions
Remove the weighted sandwich from the refrigerator, lift off the cast iron skillets and set them back on the back left counter, then unwrap the plastic wrap from the loaf. Place the pressed sandwich back on the acacia cutting board. Using the serrated bread knife, cut the sandwich crosswise on the diagonal into 4 equal, even portions, wiping the knife blade between cuts for clean edges. The layers should hold together firmly without fillings slipping out when slices are lifted.
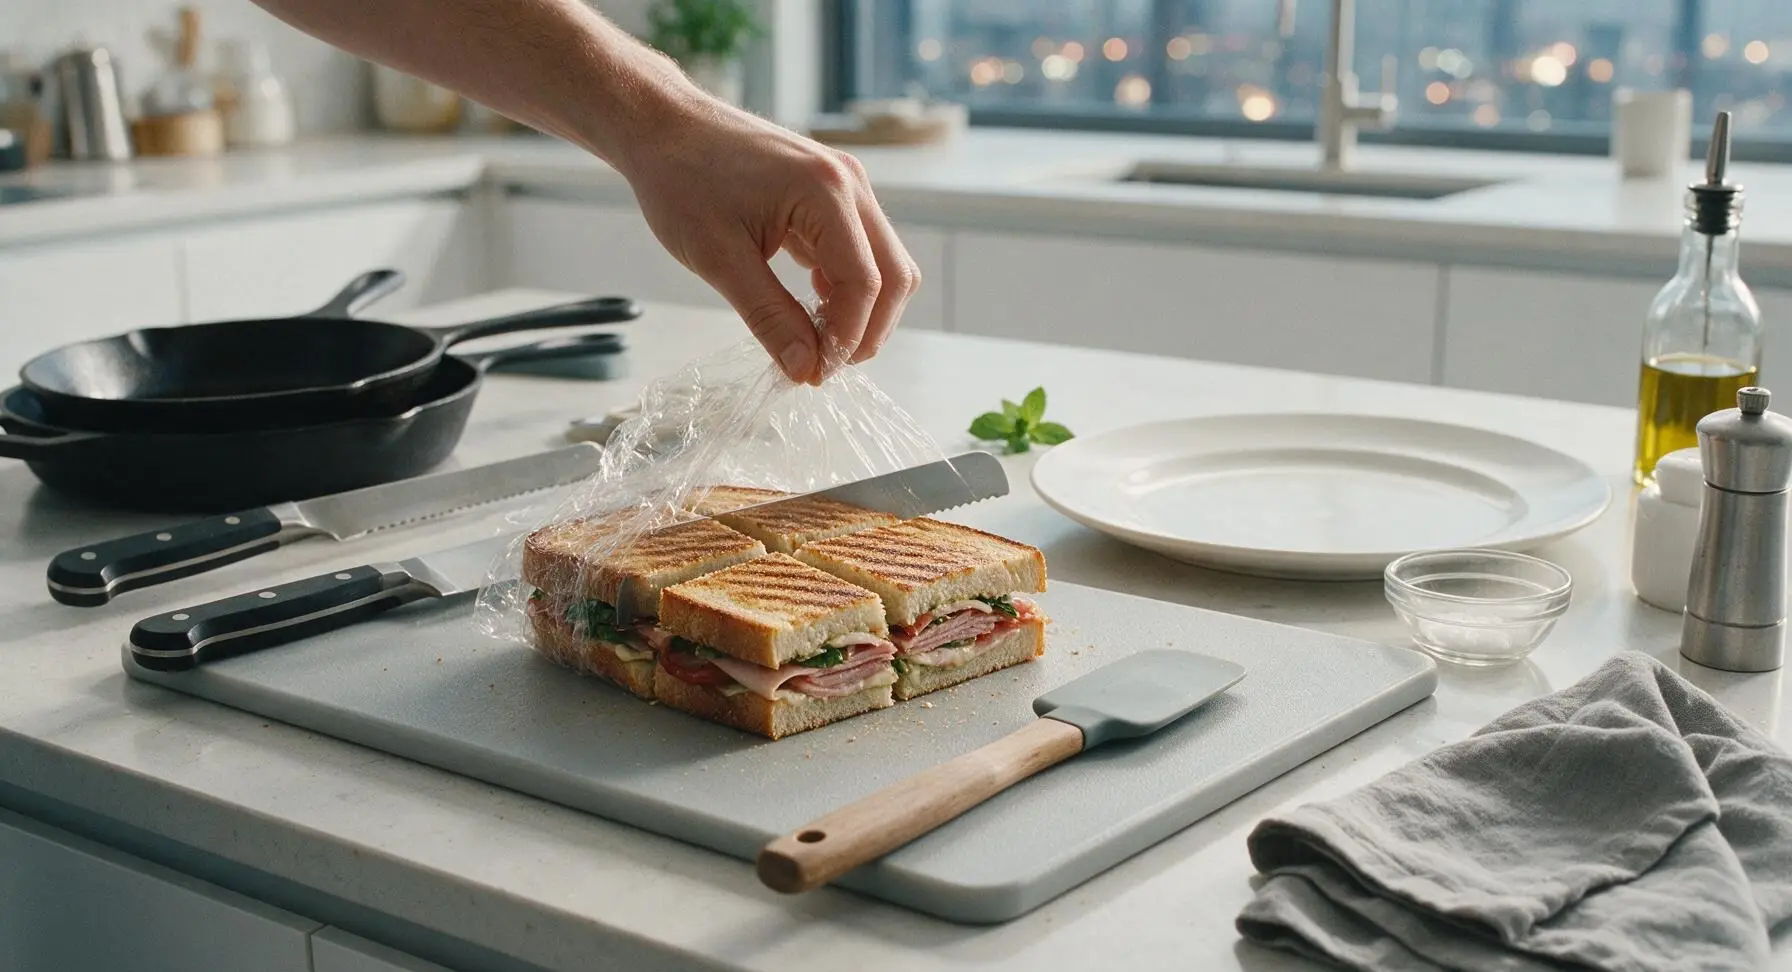
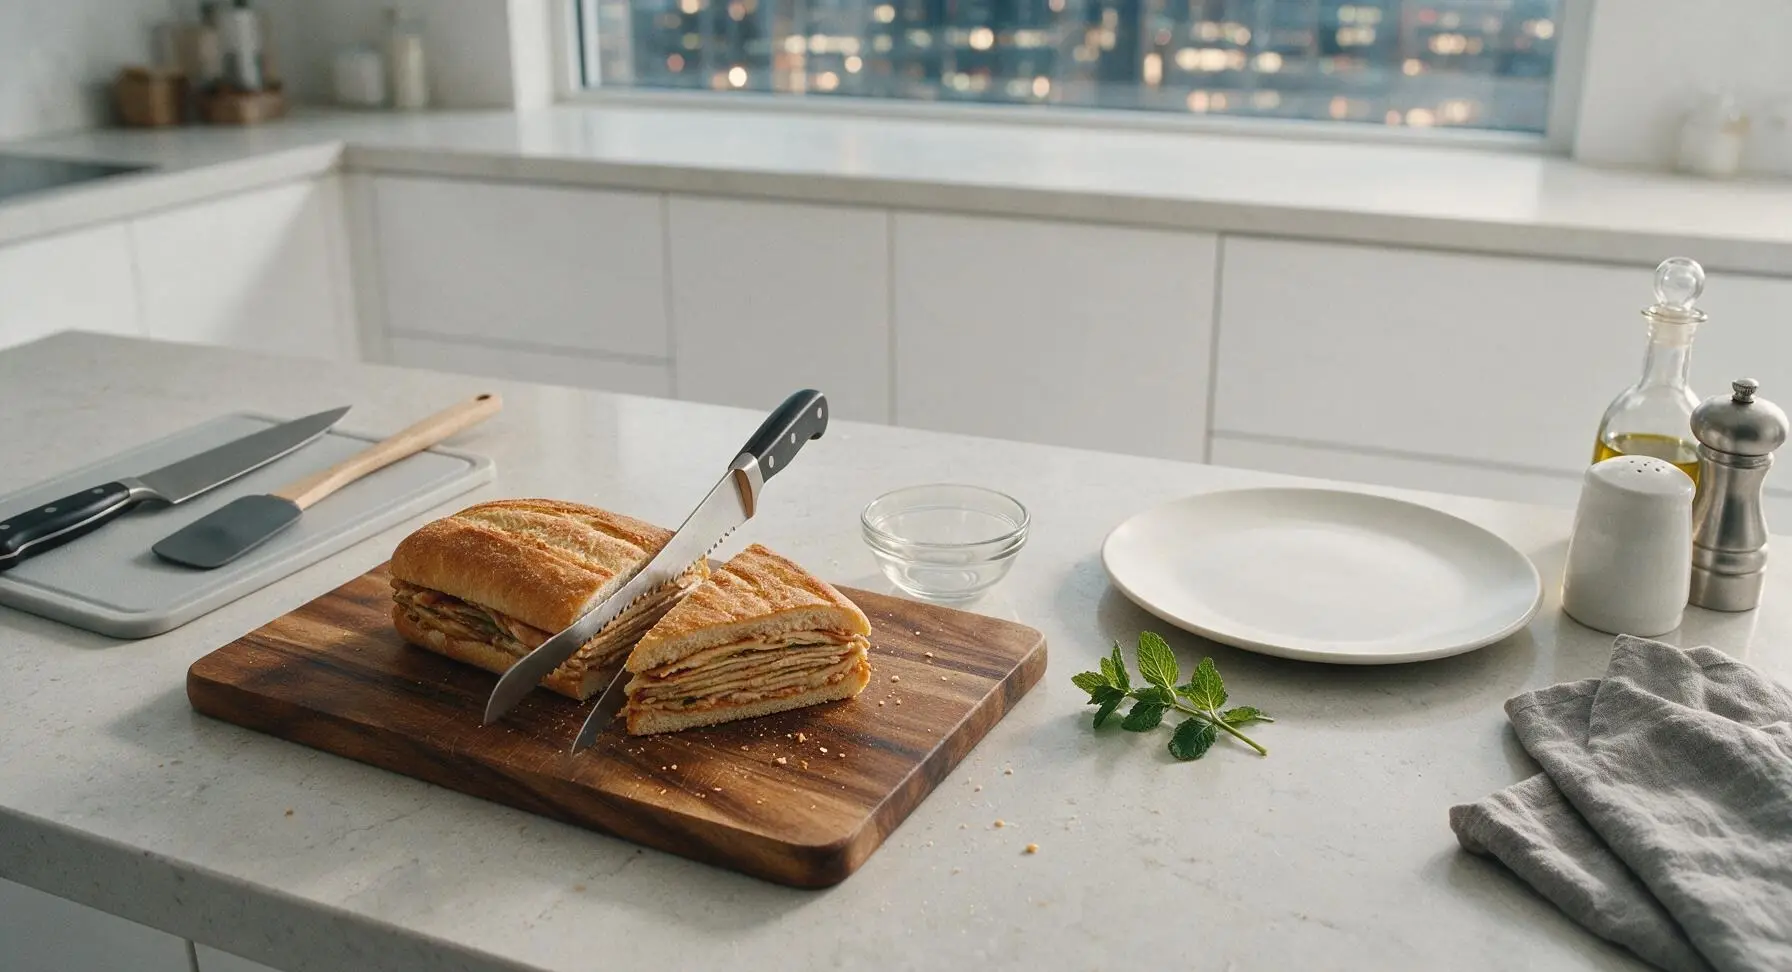
Plate for Serving
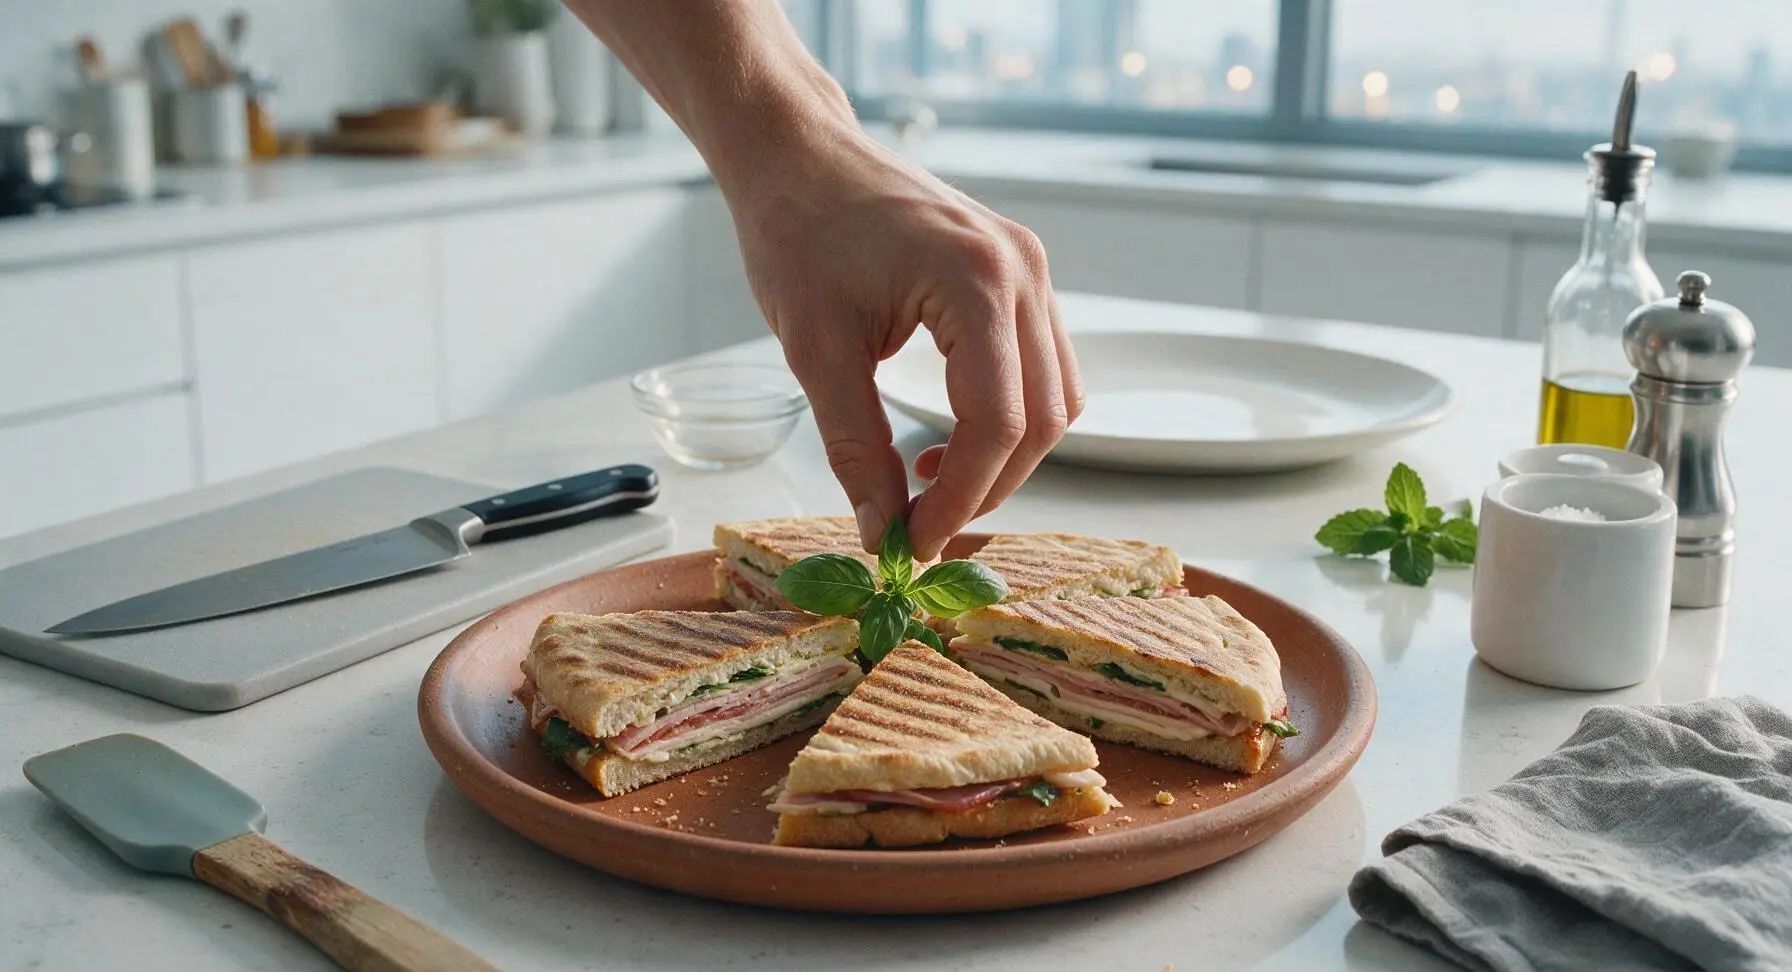
Arrange the 4 cut sandwich wedges on the rustic terracotta serving platter (moved from its back right storage position), fanning them slightly to show the distinct, even layers. Garnish with a small sprig of fresh basil plucked from the potted plant at the back right corner. Serve immediately, or pack tightly in a cooler for transport to a picnic.
Tips
2.Use day-old, slightly firm ciabatta instead of ultra-fresh soft bread. Firmer, drier bread stands up to the vinaigrette and weighted pressing without turning mushy, and cuts into clean, holdable slices that don’t fall apart when eaten.
3.For the most cohesive, flavorful bite, chill the weighted sandwich for at least 3 hours (and up to 12 hours) before slicing. The long, slow press allows bread, meat, cheese, herb, and dressing flavors to meld deeply, far better than assembling and serving immediately.






OMG this was such a game changer for our weekend lake trip! I prepped it the night before, let it press in the fridge while we packed up, and it was perfectly melded together by lunchtime. No heating required meant I didn’t have to mess with a cooler full of hot food, and all three of my kids devoured their slices without complaining about veggies for once. SO good, will be making this for every potluck this summer!
Took this to my buddy’s backyard BBQ last weekend and everyone was asking for the recipe before we even finished eating. I used spicy capicola, fresh mozz, and a drizzle of hot honey on mine and it slapped. Only thing I’ll note is don’t skimp on pressing time— I cut mine 20 minutes early once and the bread was a little too floppy. Super easy even for someone who burns toast half the time lmao.
Added this to my weekly meal prep rotation! I make one on Sunday, slice it into individual portions, wrap them tight, and grab one on my way to work all week. It holds up way better than I thought it would, no soggy bread even by day 3. 10/10, easy, minimal cleanup, no cooking required which is perfect for these brutal Arizona summer days when I refuse to turn my oven on.
I was a little nervous to bring a cold sandwich to our office potluck because we usually have hot casseroles and dips, but this was the first plate to get wiped clean! A coworker who’s gluten free even asked if I could make it with GF bread next time, so I’ll definitely be testing that. So simple, so flavorful, zero stress.
Made this for my dorm floor movie night and it was so cheap to put together! I grabbed all the meats and cheeses from the deli counter discount bin, used a loaf of crusty sourdough from the campus market, and pressed it under my stack of textbooks for 3 hours lmao. Everyone thought I ordered it from the fancy Italian place downtown.
I made this with gluten free ciabatta as the recipe note suggested (saw it when I browsed comments!) and it turned out perfect. I added roasted red peppers and a little pesto to mine, and my husband who swears he ‘hates cold sandwiches’ went back for seconds. Will absolutely be making this for our upcoming camping trip.
Solid recipe, super straightforward. I used prosciutto, salami, provolone, shredded lettuce, tomato, and a little Italian dressing, pressed it between two baking sheets with a couple cans of beans on top for weight. Turned out great, only reason it’s not 5 stars is I wish there was a little more guidance on how much dressing to add so it doesn’t make the bread soggy— I added a touch too much on my first go.
My nonna used to make these for our family Sunday drives when I was a kid, and this recipe tastes exactly like I remember! The key is definitely letting it press long enough so all the flavors melt together, just like she used to say. I made a big one for our family dinner last night and even my picky teen grandson loved it. Brought back so many good memories.
Perfect trail lunch! We wrapped individual slices in parchment, tossed them in our packs, and ate them halfway up our hike last weekend. No messy fillings falling out, no need to heat anything up, and they were still cold and fresh after 4 hours in the pack. Way better than the sad granola bars we usually bring.
I’m literally terrible at cooking, like I once messed up boxed mac and cheese bad, and this came out perfect! It was so easy to follow, no complicated steps, no stove or oven needed. My roommate thought I ordered takeout lmao. Definitely going to be my go-to for when I have friends over, since I don’t have to stress about burning anything.
Made this for our football watch party on Sunday and it was a touchdown! Cut it into 2 inch bite sized pieces, stuck a toothpick in each, and people were grabbing them by the handful between plays. Way easier than making sliders, no cooking, I prepped it Saturday night and it was ready to go right at kickoff. 10/10, will be on my game day rotation from now on.
I swapped out the deli meats for marinated artichoke hearts, roasted zucchini, and eggplant to make a vegetarian version and it was incredible! The pressing made all the veggies nice and compact so nothing slid out, and the flavor was so bright and fresh. My meat-eating partner even said he liked it better than the meat version I made last week.
Packed this for our picnic at the botanic gardens last weekend and it was ideal. No need to keep it super cold (though we did toss an ice pack under it just in case), no messy utensils required, and it paired perfectly with the iced tea and fruit we brought. The crusty bread got just the right amount of chewy from the dressing, not soggy at all. Such a perfect warm weather meal.
I was skeptical that a sandwich with no melted cheese could be that good, but man was I wrong. I had leftover Italian sub fixins from a party last week, used this method to press them, and it upgraded the basic subs so much. The flavors all meld together instead of each bite being just meat or just cheese, it’s chef’s kiss. Super easy, zero waste, what more could you ask for?