
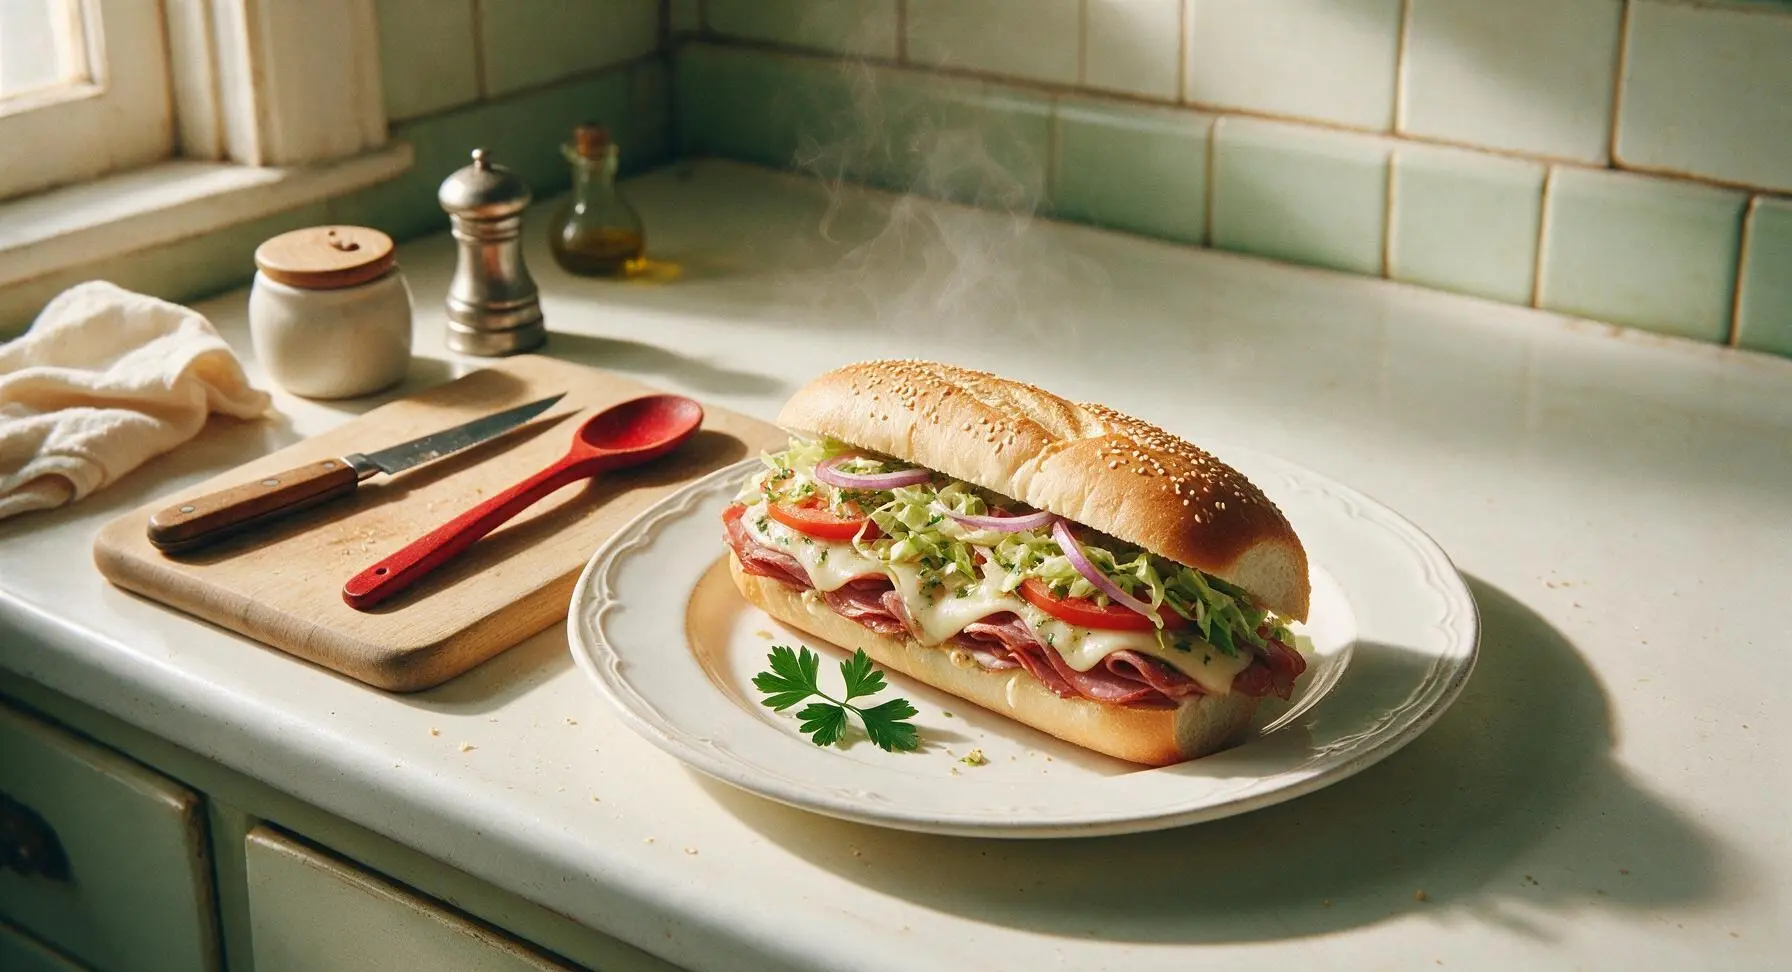
italian sub

title 1
italian sub
⏱️ cook time 3 minutes
🍽️ servings 4
⚡ Difficulty easy

intro

Stacked with savory cured meats, melted provolone, crisp fresh veggies, and zesty herby dressing on a crusty sesame hoagie roll, this classic Italian-American sub is hearty, tangy, and perfectly portable.

Ingredients
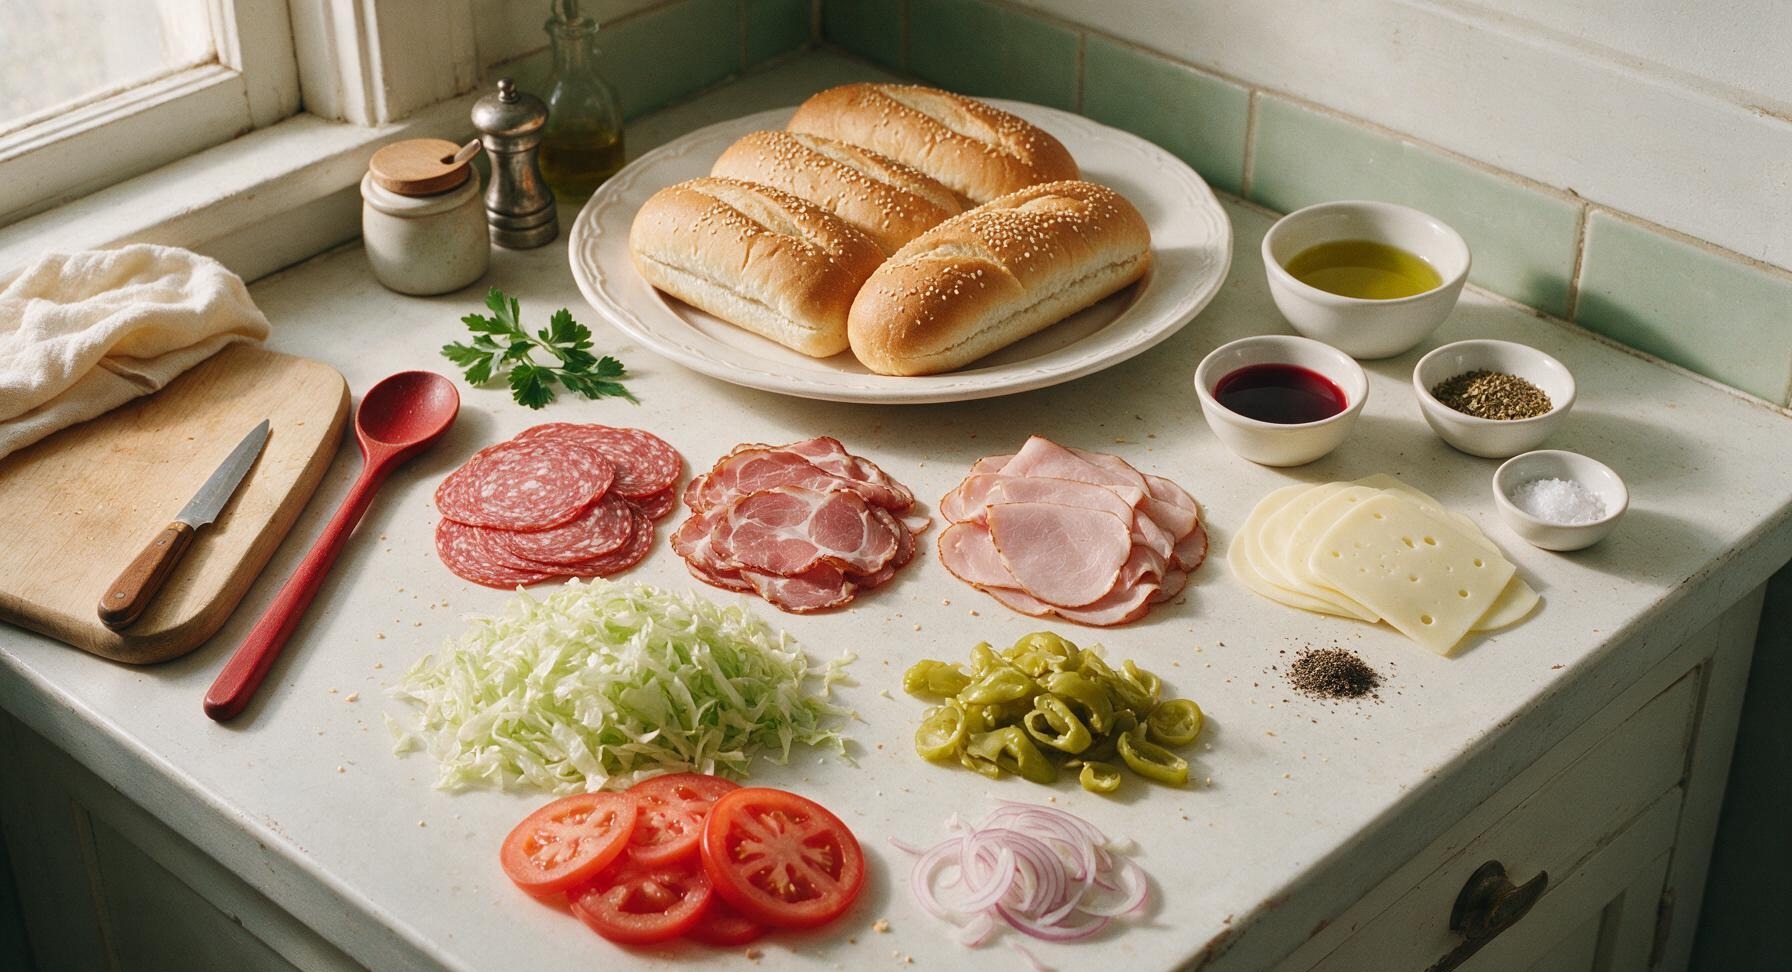
Italian hoagie rolls (sesame-seed topped) 4 rolls (600g total, ~20cm each)
Thinly sliced Genoa salami 120g
Thinly sliced capicola (coppa) 120g
Thinly sliced black forest ham 120g
Thinly sliced provolone cheese 8 slices (120g)
Shredded iceberg lettuce 2 cups (150g)
Roma tomatoes, thinly sliced 2 medium (180g)
Red onion, thinly sliced 1/2 small (60g)
Sliced pepperoncini peppers, drained 1/2 cup (70g)
Extra-virgin olive oil 3 tablespoons
Red wine vinegar 2 tablespoons
Dried oregano 1 teaspoon
Flaky sea salt 1/2 teaspoon
Freshly ground black pepper 1/4 teaspoon

Steps

1

Split Hoagie Rolls

Place the 4 hoagie rolls on the maple cutting board. Using the serrated bread knife, split each roll lengthwise, leaving a 1cm hinge along one edge so the roll does not separate completely. Pull out a small amount of the soft inner crumb from the top half of each roll to create a shallow well that will hold fillings and prevent sogginess. Stop cutting before you slice all the way through the bottom crust to keep the roll intact.
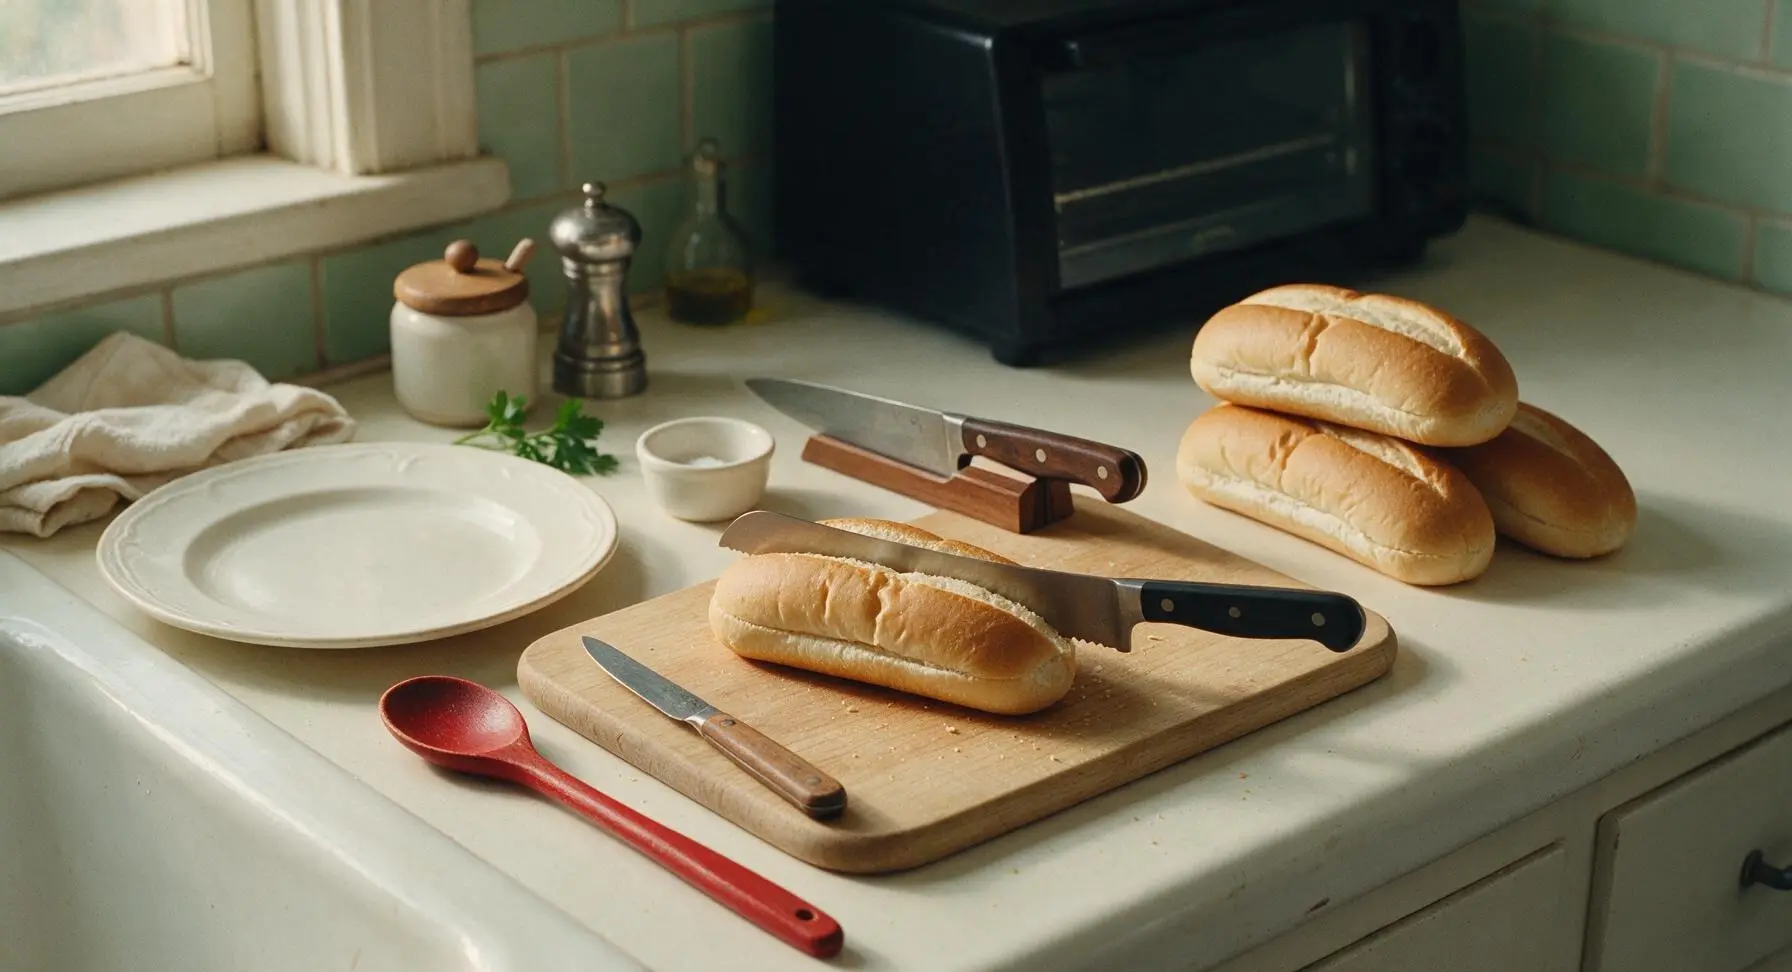
Step 1
step1:Split Hoagie Rolls
2

Toast Rolls Lightly

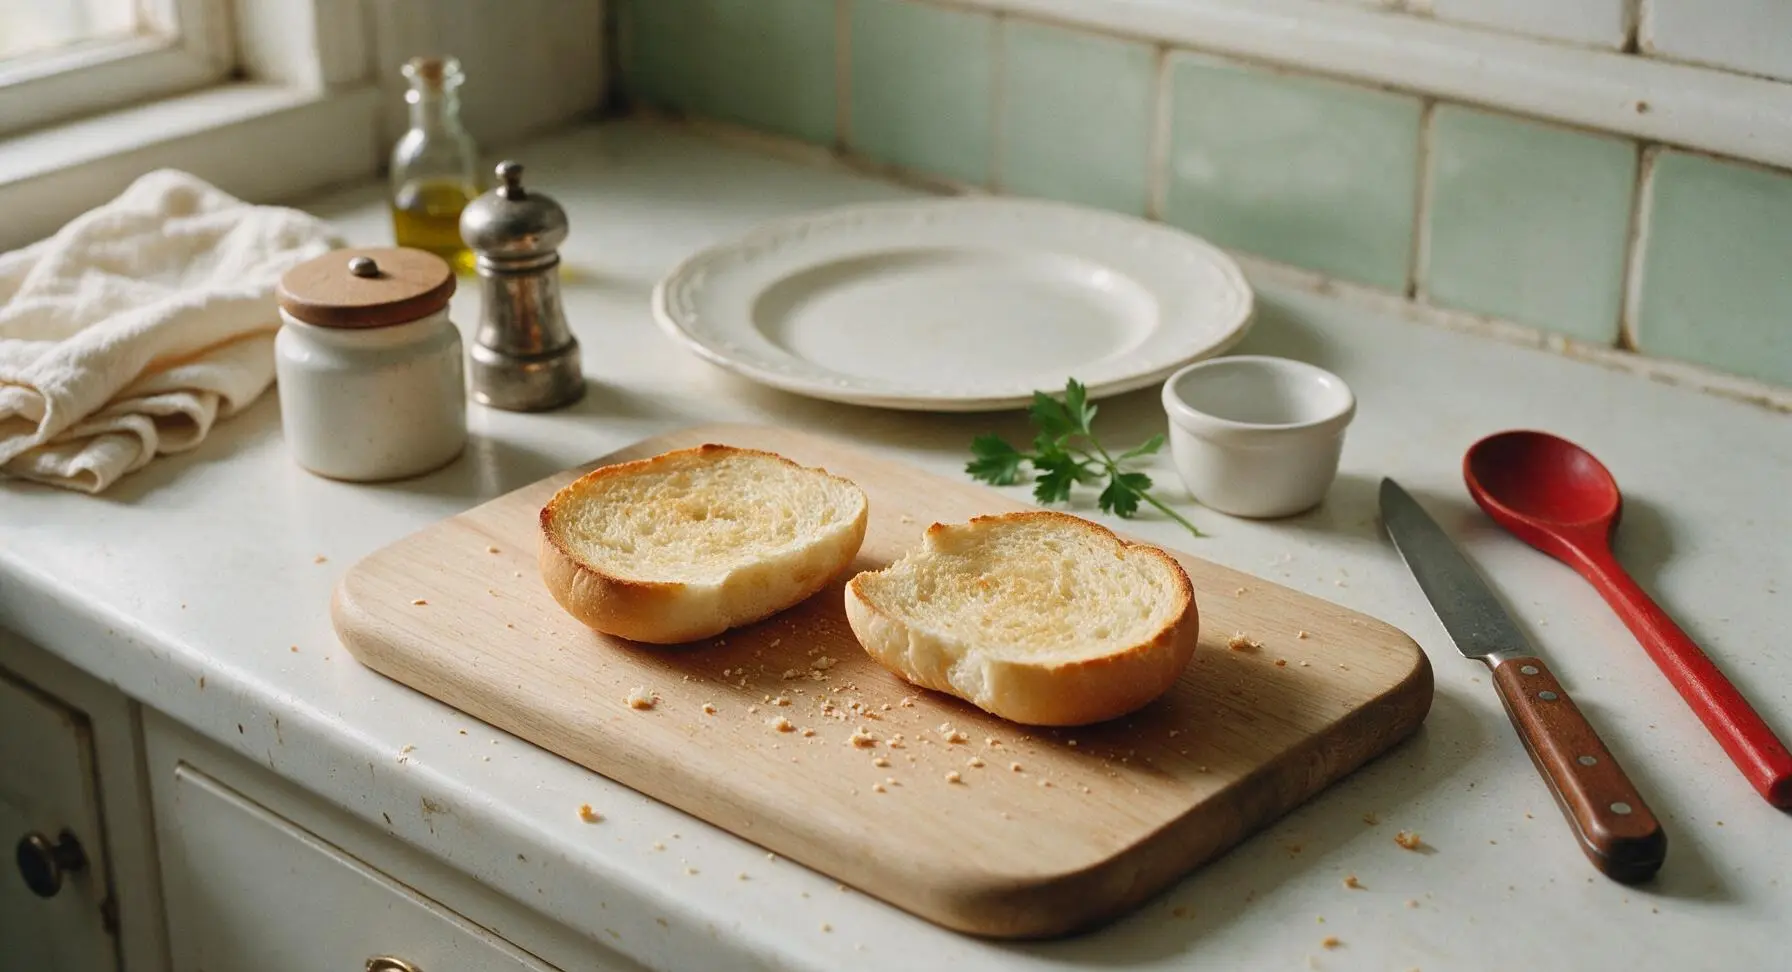
Open the split rolls and place them cut-side up on the rack of the matte black toaster oven. Toast on the medium setting for 2-3 minutes, until the cut surface is lightly golden and crisp to the touch, but the outer crust remains chewy, not hard. Remove rolls promptly and set them back on the maple cutting board to cool slightly and avoid over-toasting.
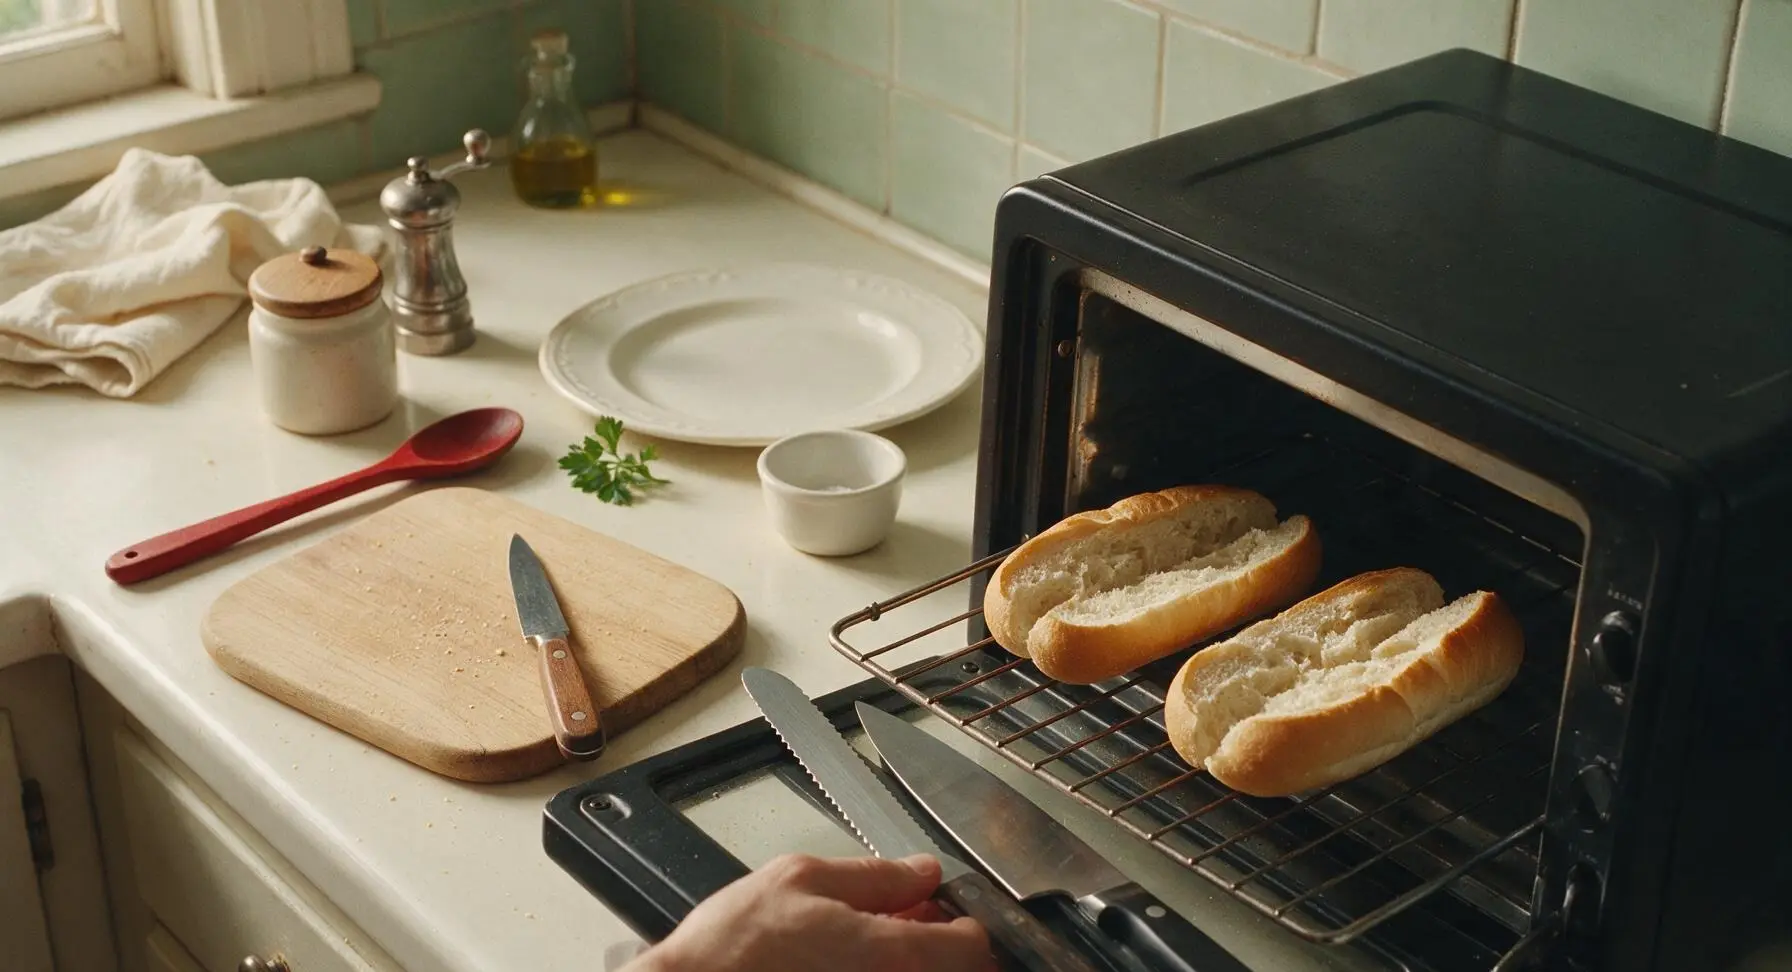
Step 2
step2:Toast Rolls Lightly
Step 2
step2:Toast Rolls Lightly
3

Layer Cheese and Meats

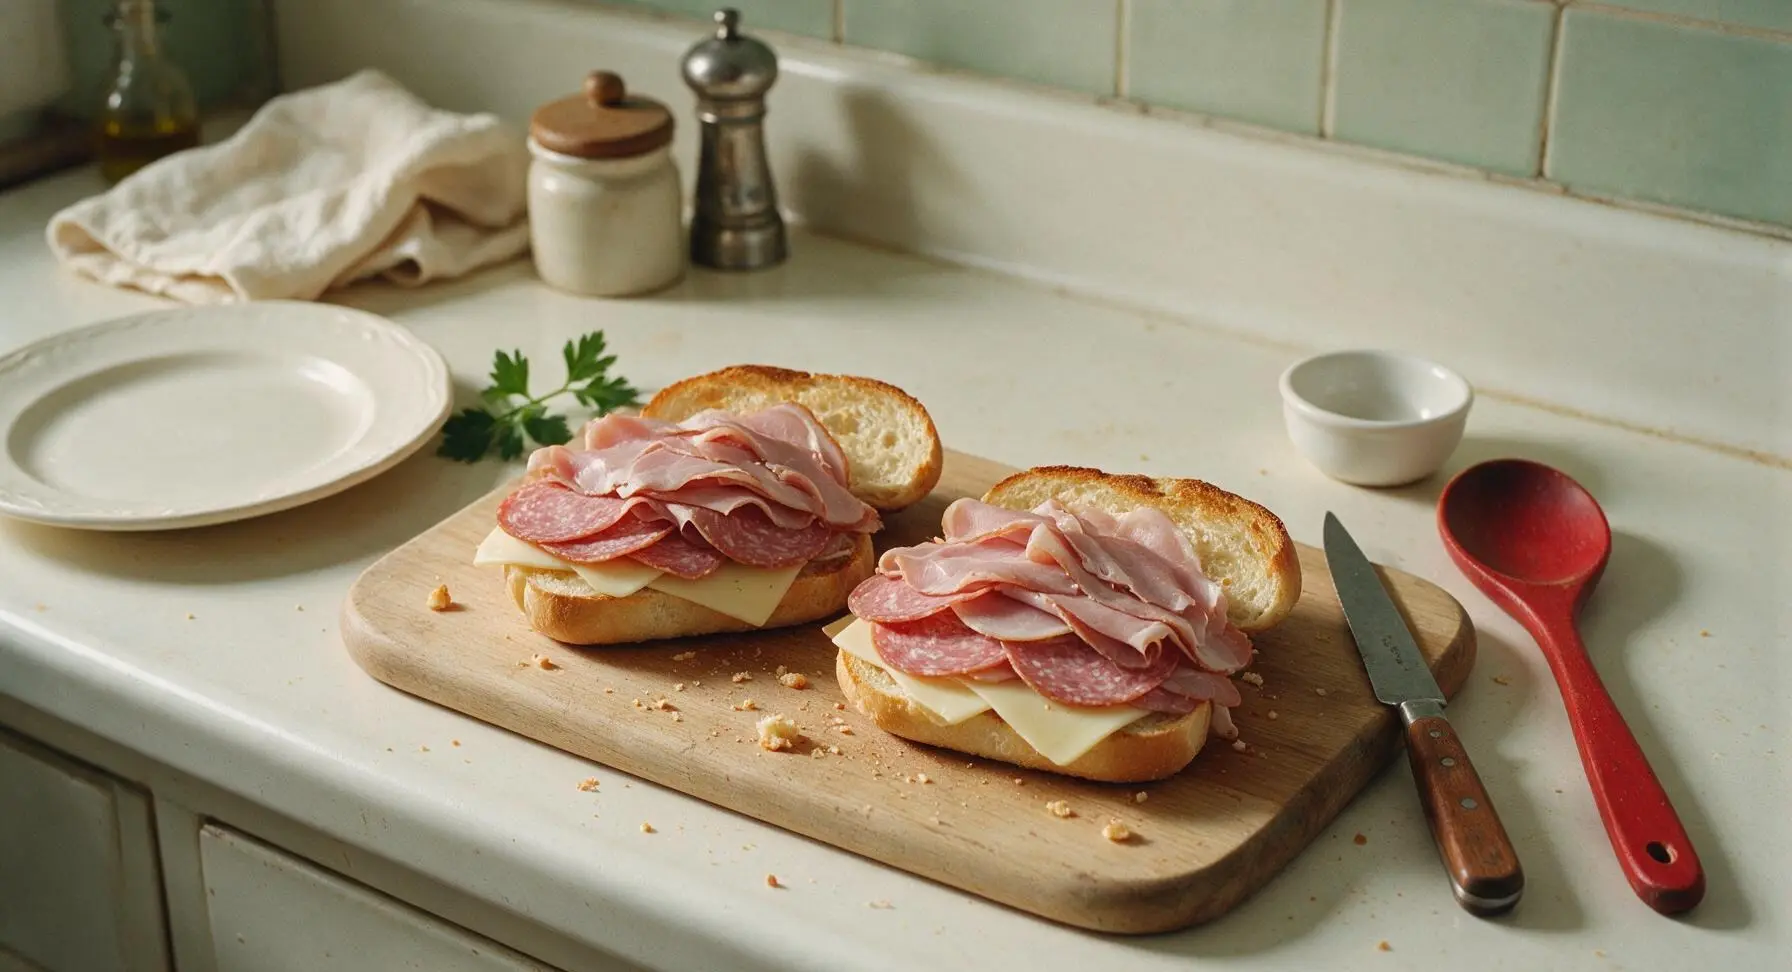
Lay 2 slices of provolone cheese on the bottom half of each toasted roll, pressing gently so the cheese adheres to the warm bread. Fold and stack the sliced meats evenly over the cheese: 30g of salami, 30g of capicola, and 30g of ham per roll, arranged so the meat edges slightly overhang the roll for a generous, hearty look. The residual heat from the toasted roll will soften the cheese slightly to create a moisture barrier.
Step 3
step3:Layer Cheese and Meats
4

Add Fresh Vegetables

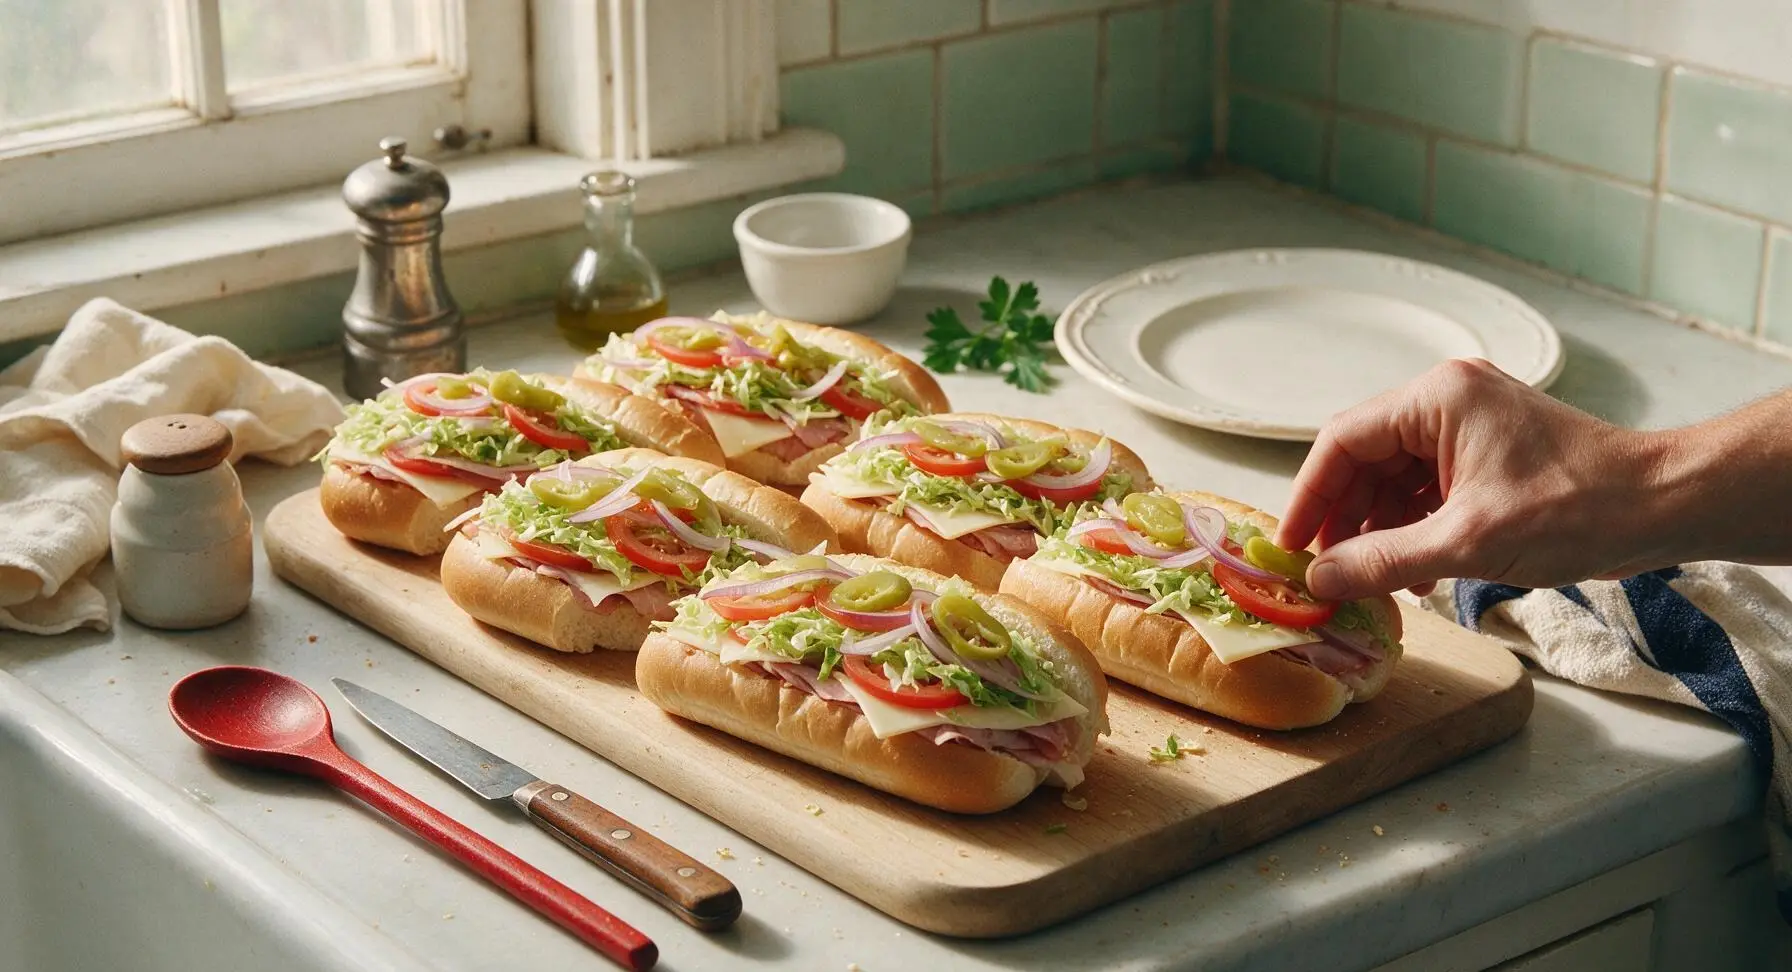
Top the layered meats with evenly distributed vegetable toppings: first a 1/2 cup mound of shredded iceberg lettuce per sub, followed by 2-3 thin tomato slices (patted dry with a corner of the navy and cream kitchen towel to remove excess juice), a pinch of thinly sliced red onion, and 2 tablespoons of drained pepperoncini slices per roll. Do not press down on the vegetables at this stage to keep them crisp.
Step 4
step4:Add Fresh Vegetables
5

Drizzle Herby Dressing

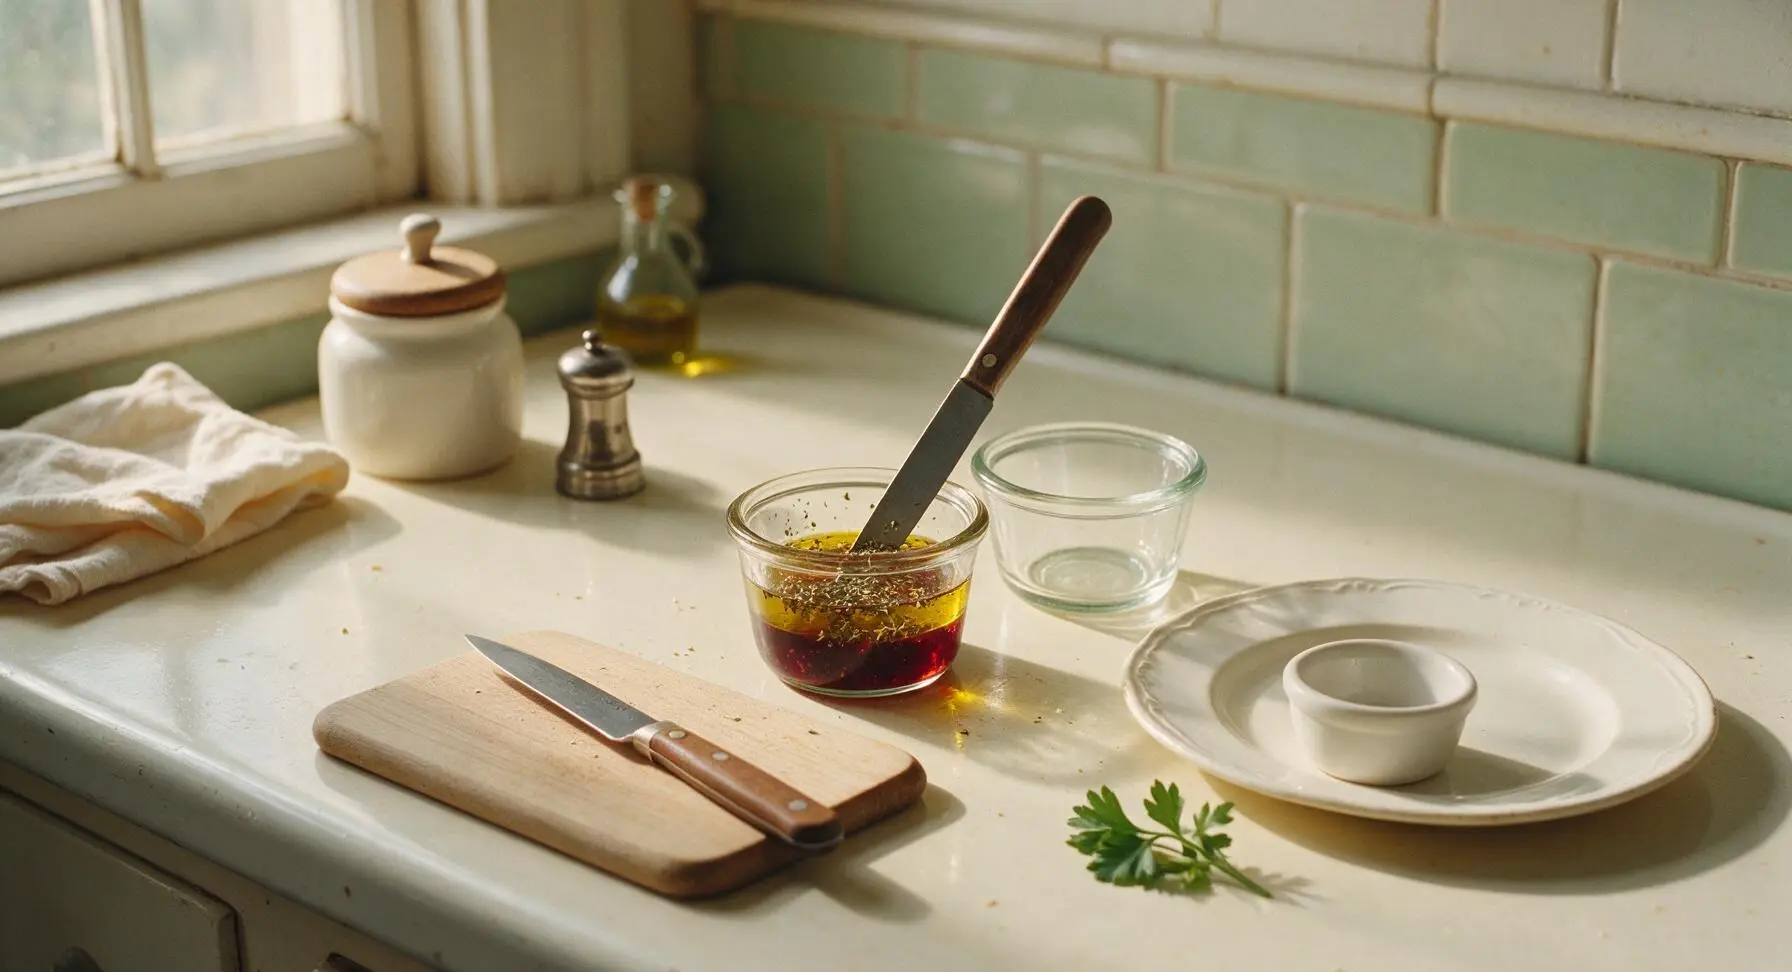
In one of the small clear glass ramekins, combine the extra-virgin olive oil, red wine vinegar, dried oregano, flaky sea salt, and black pepper. Stir with the tip of the chef knife until the mixture is evenly combined with visible flecks of oregano. Use the boar bristle pastry brush to dab the dressing evenly over the vegetable toppings and the inside of the top roll half, using approximately 1 tablespoon of dressing per sub to avoid soggy bread.
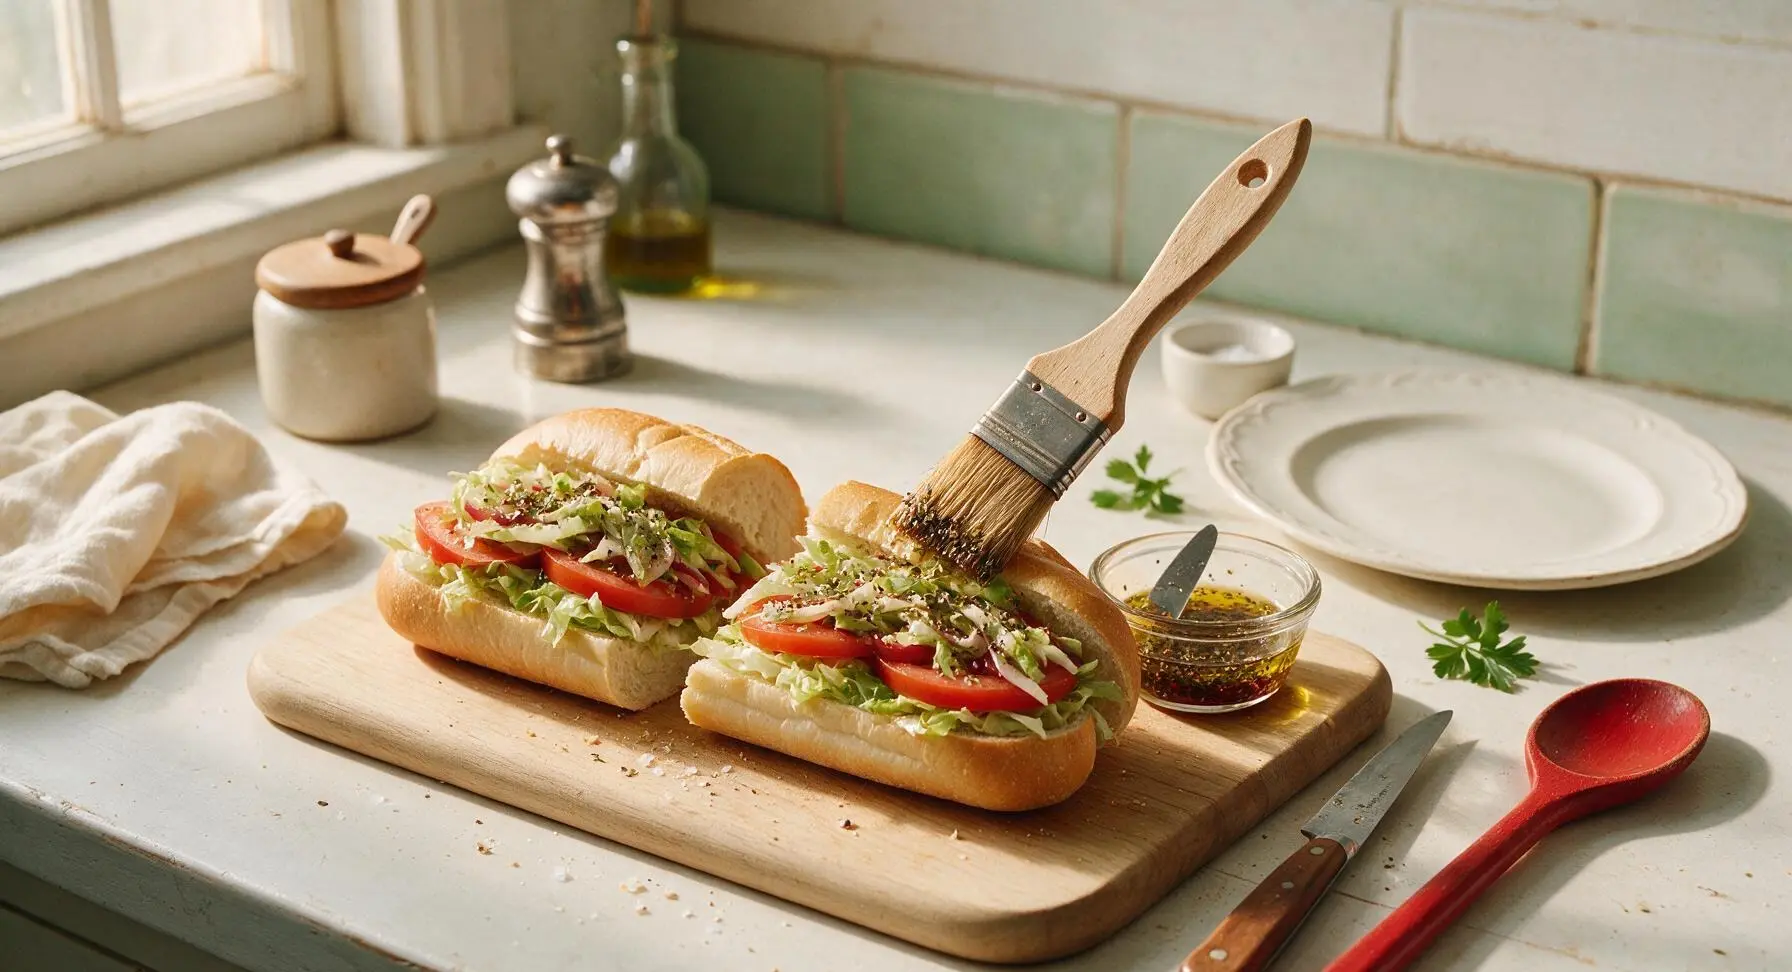
Step 5
step5:Drizzle Herby Dressing
Step 5
step5:Drizzle Herby Dressing
6

Press and Slice Subs

Close the top half of each roll over the fillings, pressing down firmly with the palm of your hand to compact the layers slightly so fillings do not fall out when eaten. Use the serrated bread knife to cut each sub diagonally across the middle, creating two equal triangular halves per roll. Let any loose shreds of lettuce or onion fall naturally onto the cutting board for a realistic, unpolished look.
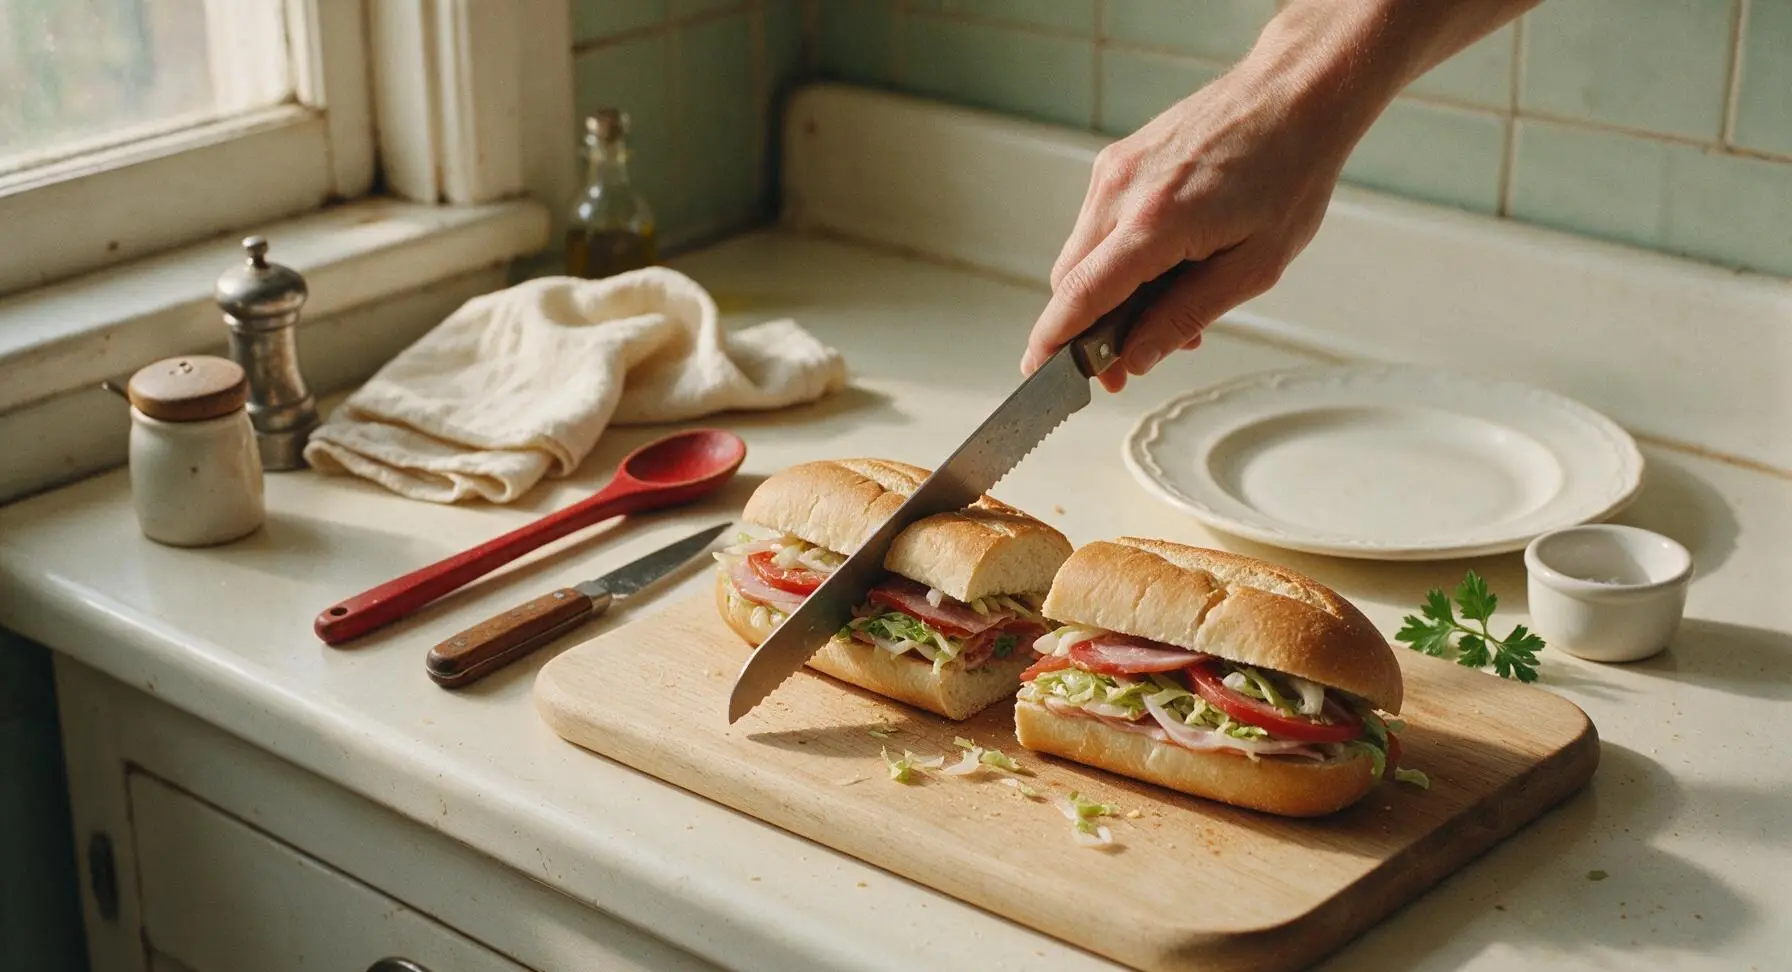
Step 6
step6:Press and Slice Subs
7

Plate and Serve

Transfer the sliced sub halves to the long rectangular matte white ceramic serving platter, arranging them fanned out so the cut cross-sections face outward to showcase the layered fillings. Garnish with a small sprig of fresh oregano plucked from the bunch on the counter. Serve immediately, or wrap tightly in parchment paper for transport to picnics or tailgates.
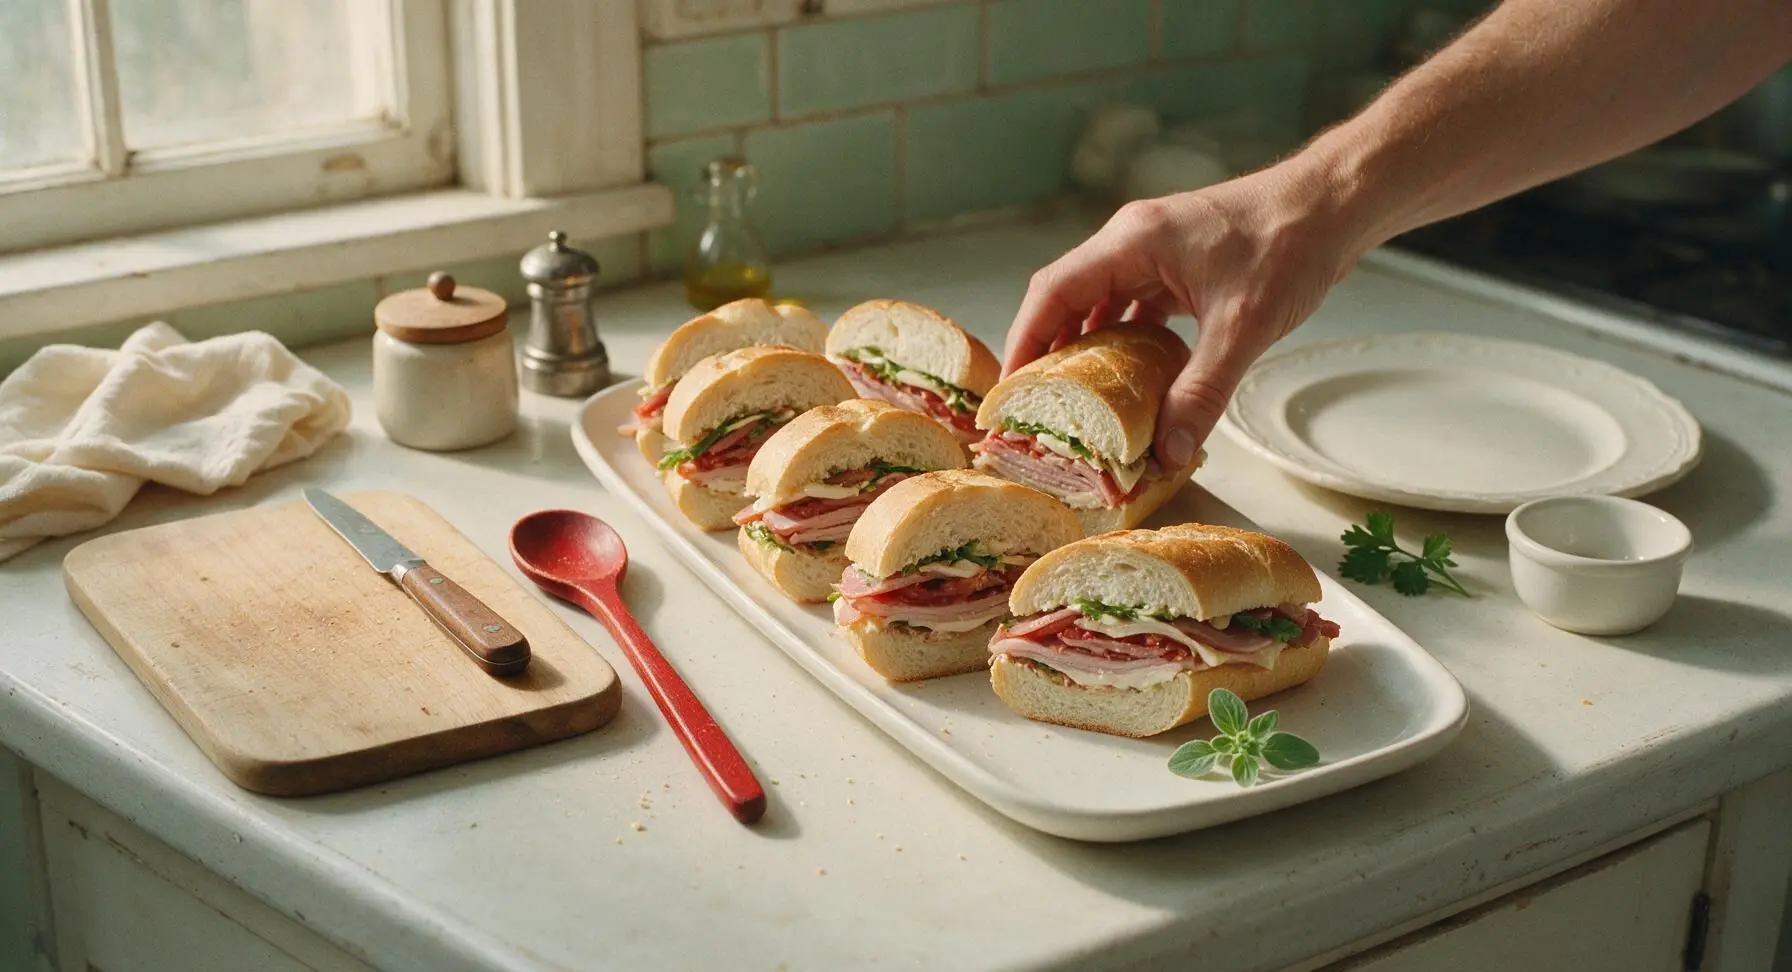
Step 7
step7:Plate and Serve

Tips

1.Always leave a 1cm hinge when splitting the rolls: this keeps the two halves connected, making the sub easier to hold and eat, and prevents fillings from falling out the bottom as you take bites.
2.Pat tomato slices dry and create a crumb well in the top roll before adding fillings: these two steps eliminate excess moisture that would otherwise turn the crisp bread soggy, even if you make the subs 2-3 hours ahead for a picnic.
3.Layer cheese directly against the warm toasted bread: the gentle heat softens the provolone to create a moisture-resistant barrier between the bread and juicier fillings, while adding a rich, creamy melted texture that defines a classic Italian sub.


✨ You May Also Like

Lunch
🍜 United States

Creamy, salty, tangy nostalgic Midwestern sandwich pairing rich peanut butter with crisp briny dill pickles for a fast, satisfying no-cook meal.

⏱️ 5 minutesLunch ★ 4.6
Lunch
🍜 United States

Crispy, melty pressed sandwich layered with savory roast pork, ham, Swiss cheese, pickles, and tangy mustard: a beloved Cuban-American comfort classic.

⏱️ 25 minuteLunch ★ 4.9
Lunch
🍜 United States

Hearty, briny New Orleans pressed sandwich stacked with cured Italian meats, provolone, and zesty olive salad, served cold for bold, portable flavor.

⏱️ 1 hour 20Lunch ★ 4.7
Lunch
🍜 United States

A tangy, creamy Southern American staple, this no-cook cheesy sandwich is packed with sharp cheddar and sweet pimentos for a satisfying, portable bite.

⏱️ 1 hour 15Lunch ★ 4.8
Lunch
🍜 United States

Crispy Cajun-spiced fried shrimp piled on crusty French bread with tangy remoulade and fresh toppings, the iconic Louisiana street food sandwich.

⏱️ 35 minuteLunch ★ 4.4
Lunch
🍜 United States

Stacked, savory deli-style corned beef sandwich with melted Swiss, tangy mustard, and crisp griddled rye— a fast, hearty, satisfying classic.

⏱️ 15 minuteLunch ★ 4.9

italian sub:Frequently Asked Questions

1.How do I keep my Italian sub from getting soggy if I’m making it ahead for a picnic or work lunch? ▾
Start by toasting the cut sides of your hoagie roll for 1-2 minutes to create a crisp moisture barrier. Pack wet toppings like dressing, tomatoes, and pickles separately in a small container to add right before eating. If you must pre-assemble, spread a thin layer of provolone on both cut roll sides to block moisture from seeping into the bread.
2.Can I substitute the cured meats if I can’t find capicola or Genoa salami at my local grocery store? ▾
Absolutely! For capicola, swap in thinly sliced spicy soppressata if you want a little heat, or extra prosciutto for a richer, saltier bite. If Genoa salami is hard to find, use regular hard salami, just opt for paper-thin slices from the deli counter instead of thicker pre-packaged cuts to keep that perfect tender, stacked texture.
3.What’s the classic zesty herby dressing used on an authentic Italian sub? ▾
The traditional dressing is a quick red wine vinaigrette: mix 3 parts red wine vinegar, 1 part extra-virgin olive oil, a pinch of dried oregano, garlic powder, black pepper, a tiny splash of Dijon, and a pinch of sugar to balance the tang. Drizzle it lightly over the veggie layer, not directly on the bread, to avoid sogginess.
4.Do I have to use a sesame seed hoagie roll, or will other types of bread work? ▾
Sesame-seed hoagie rolls are traditional for that nutty, crusty bite, but you can swap in a crusty Italian baguette cut to sub length, or a soft sourdough sub roll if that’s what you have. Just avoid overly soft, squishy white sandwich rolls—they won’t hold up to stacked meats, cheese, veggies, and dressing without falling apart.
5.What veggie toppings are traditional on a classic Italian sub, and what order should I layer them in? ▾
Classic veggie toppings are shredded iceberg lettuce, thin-sliced ripe tomato, thin-sliced red onion, dill pickle slices, and sometimes banana peppers for a little heat. Layer melted cheese and meats first on the bottom roll, then add veggies, then drizzle dressing, so toppings don’t squeeze out the sides when you take a bite.
6.Should I serve my Italian sub hot or cold? ▾
The classic Italian-American sub is often served slightly warm, just enough to melt the provolone so it gets creamy and sticks to the cured meats, without heating veggies so much they go limp. If you prefer a cold sub, skip the broiling step entirely, keep meats and cheese well-chilled, and toast the roll lightly if you want extra crunch.
7.How thin should I ask the deli to slice the meats and cheese for the best texture? ▾
Ask your deli counter to slice all cured meats and provolone to paper-thin, roughly 1/16 of an inch thick. Thin slices stack easily, don’t pull out in one big bite when you take a mouthful, and let each meat’s distinct flavor come through instead of getting overwhelmed by a thick, chewy chunk of salami or ham.
8.Can I make a vegetarian version of this classic Italian sub with the same tangy, hearty flavor? ▾
Definitely! Swap the cured meats for thinly sliced marinated roasted red peppers, oil-cured artichoke hearts, sliced fresh mozzarella, peppery arugula, and a few slices of pickled eggplant. Keep the zesty herby vinaigrette and sesame hoagie roll, and add a sprinkle of capers for that briny, salty kick you get from traditional cured meats.
9.What’s the best way to cut and serve the sub so it doesn’t fall apart when I pick it up? ▾
After assembling, wrap the full sub tightly in parchment paper or wax paper for 2-3 minutes to let the layers set, then cut it diagonally down the middle with a sharp serrated knife, right through the paper. The wrap holds layers in place as you eat, so you don’t lose half your toppings out the back of the roll mid-bite.

Comments (16)

2 hours ago

OMG this was SO good! Threw this together for a quick weeknight dinner when I forgot to thaw chicken for the meal I planned, and my whole family devoured it. The 3 minute cook time is no joke, perfect for busy nights.

30 minutes ago

So glad this saved your busy weeknight, Mike! It’s our go-to last-minute meal too—feel free to pile on extra pickles if that’s your vibe, no judgment here.

3 days ago

Game changer for my weekly meal prep! I pre-portioned the meats and cheeses on Sunday so I can assemble these in 2 minutes flat for work lunches all week. Only thing I added was a sprinkle of oregano and some sliced banana peppers, chef’s kiss.

2 days ago

Wait do the breads get soggy if you prep them ahead? I’ve had that problem with sub meal prep before!

2 days ago

Great question, Liz! If you’re prepping ahead, keep the bread separate from the wet toppings (like tomatoes, oil, dressing) until right before you eat, and you won’t have any sogginess issues!

1 week ago

Made these for our weekend tailgate and they were gone in 10 minutes flat. Everyone was asking for the recipe, zero leftovers. 10/10 will make again for the next game watch.

yesterday

My kids loved it! I was worried the salami would be too spicy for my youngest, so I swapped half for extra ham and he ate two full mini subs. No complaints from the teen boys either, which is basically a miracle.

2 hours ago

Same here! My 7 year old turns his nose up at almost everything, but he begged for seconds of these. So glad I found this!

5 days ago

As a guy who grew up going to corner delis in Jersey, I’m super picky about Italian subs. This recipe is dead on for the classic I grew up eating—pro tip, don’t skip the red wine vinegar and oil drizzle, that’s what makes it taste authentic.

3 days ago

Wait what brand of deli meat do you use? I feel like the cheap grocery store stuff never tastes as good as the deli counter.

3 days ago

Great call out on the vinegar and oil! For the best flavor, ask your deli counter to slice the meats thin (not paper thin, just thin enough to stack nicely) instead of buying pre-sliced packs—it makes a huge difference.

2 weeks ago

Made this in my dorm room with a mini toaster oven! Total lifesaver when I’m sick of dining hall food. Super easy, no fancy ingredients needed.

2 days ago

Brought a platter of these cut into bite-sized mini subs to our neighborhood potluck last weekend and I got so many compliments. Way easier to make than a bunch of different appetizers, and everyone loves a good sub.

yesterday

The mini bite-sized subs are such a smart potluck hack, Pam! Love that idea for easy serving.

1 week ago

These are perfect to pack for work lunches. Super filling, no sad desk salad for me this week! I added extra provolone because who doesn’t love extra cheese.

5 days ago

Extra provolone is the only way to go! I also add a little bit of mayo mixed with Italian seasoning on the bread, game changer.

5 days ago

Love the extra cheese call! That Italian seasoning mayo hack sounds incredible, might have to borrow that for my next batch.

30 minutes ago

Tried to make a “healthier” version with turkey once and it just wasn’t the same. Followed this recipe exactly with all the classic cured meats and it was perfect. Don’t mess with a classic, people!

5 minutes ago

LMAO I did the same thing last month! The turkey version is fine but it’s just not an Italian sub, you know? The cured meats are non-negotiable.

just now

Couldn’t agree more! The classic combo of salami, ham, and capicola is what gives this sub its signature flavor—swaps work for dietary needs, but the original hits different.

5 days ago

Made these for my grandson’s birthday party and all the kids went crazy for them. I used soft hoagie rolls like the recipe said, and even the picky eaters cleaned their plates.

5 minutes ago

Cook time is really 3 minutes? I was skeptical but yeah, if you have all the ingredients prepped, you just stack and toast a minute, done. Perfect for when I get home late from softball practice and don’t want to order takeout.

just now

Told you it was fast! It’s the perfect post-practice, no-fuss meal—hope you’re adding a side of chips to go with it, too.

3 days ago

I’m not much of a cook, like I can barely make toast without burning it, and even I nailed this recipe. My wife thought I ordered takeout from the local sub shop, total win.

2 days ago

LOL same! I’m the worst at cooking fancy stuff and these came out perfect on the first try. My husband thought I spent 30 minutes in the kitchen, nope, 3 minutes flat!

2 weeks ago

Solid recipe, but I wish it included a note about toasting the bread just enough so it’s crispy on the outside but still soft inside. I over-toasted mine the first time and it was too crunchy. Still tasted great, just a texture thing.

1 week ago

I made this for our family movie night last week, served with some kettle chips and root beer floats, and it felt like a fun little diner night at home. The kids picked their own toppings which made it even more fun.

5 days ago

The build-your-own sub bar idea is so good for parties! I did that for my kid’s soccer team end of season party and it was a huge hit.

5 days ago

Build-your-own toppings are such a fun way to serve these! Everyone gets exactly what they want, and it cuts down on prep time for you too. Win-win.

just now

Tried this with both regular hoagie rolls and everything seasoned hoagie rolls, and the everything ones are insane. Adds so much extra flavor for barely any extra effort. Highly recommend!

2 hours ago

I added pepperoncini and a thin layer of pesto to mine, and it was chef’s kiss. Way better than the $12 subs from the shop down the street, I’ll be making these at home from now on.

30 minutes ago

That pesto addition sounds amazing, Dave! I’m going to have to test that out this weekend—thanks for the idea!



