
jackson morgan banana pudding cream
intro
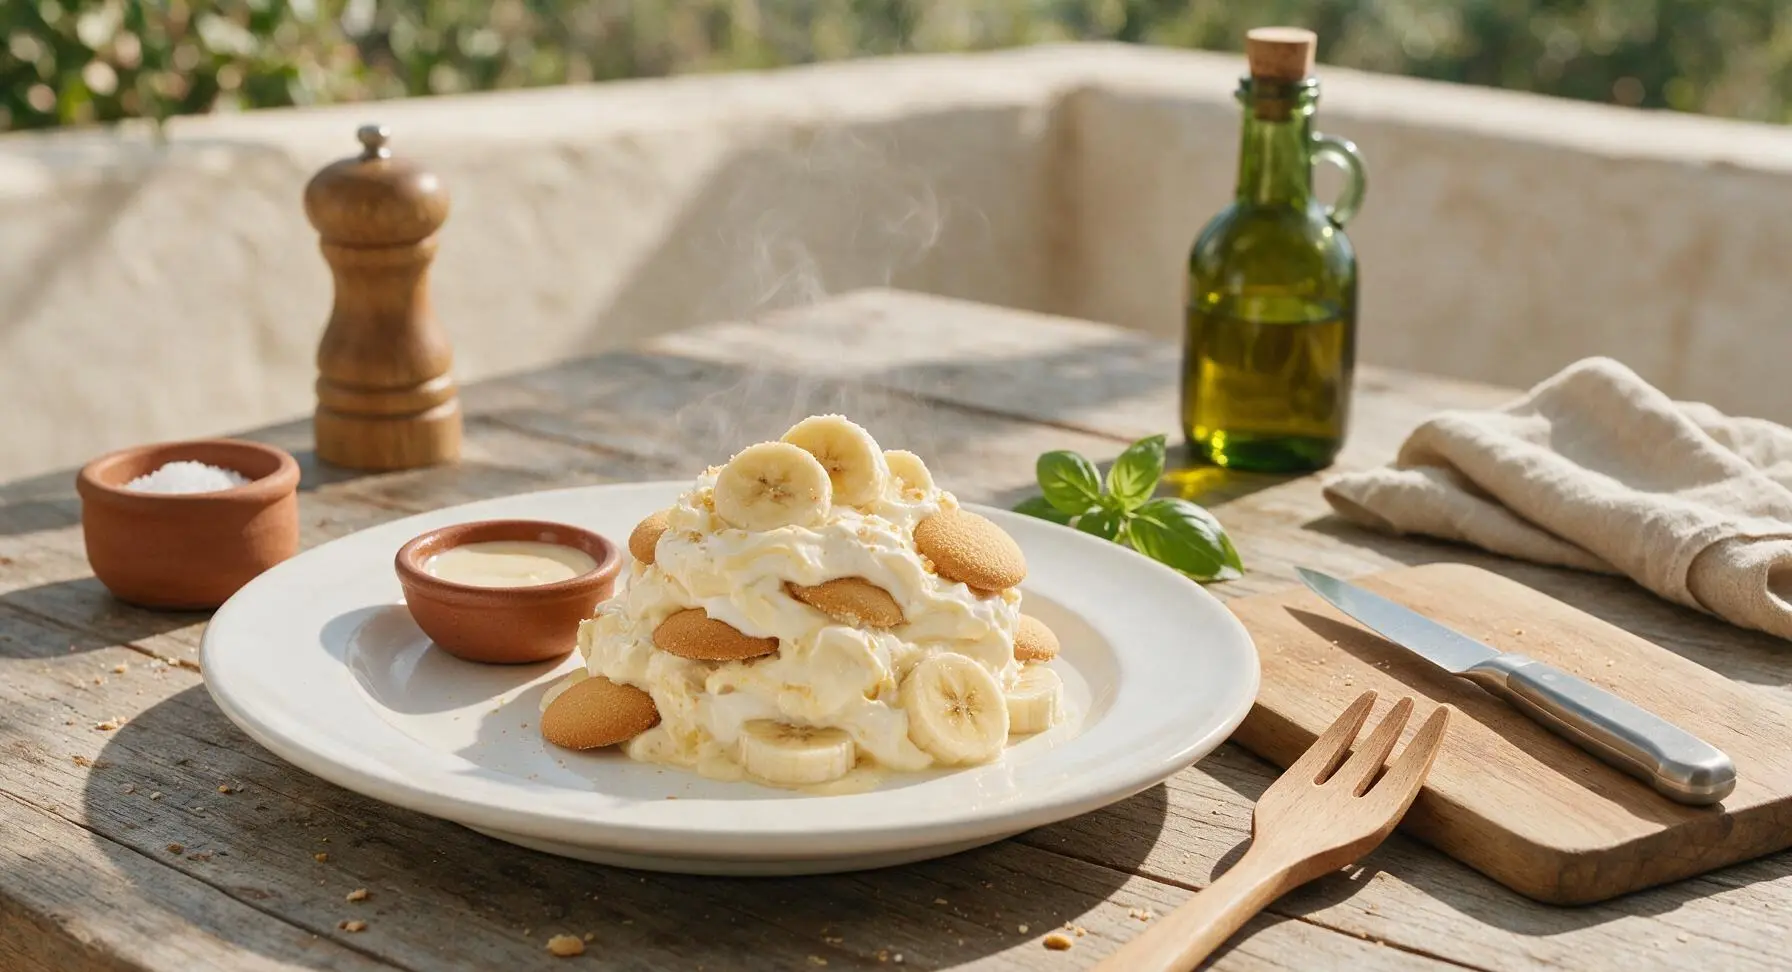
A boozy, creamy twist on classic Southern banana pudding, swirled with Jackson Morgan banana cream liqueur, layered with crisp vanilla wafers and ripe, sweet bananas.
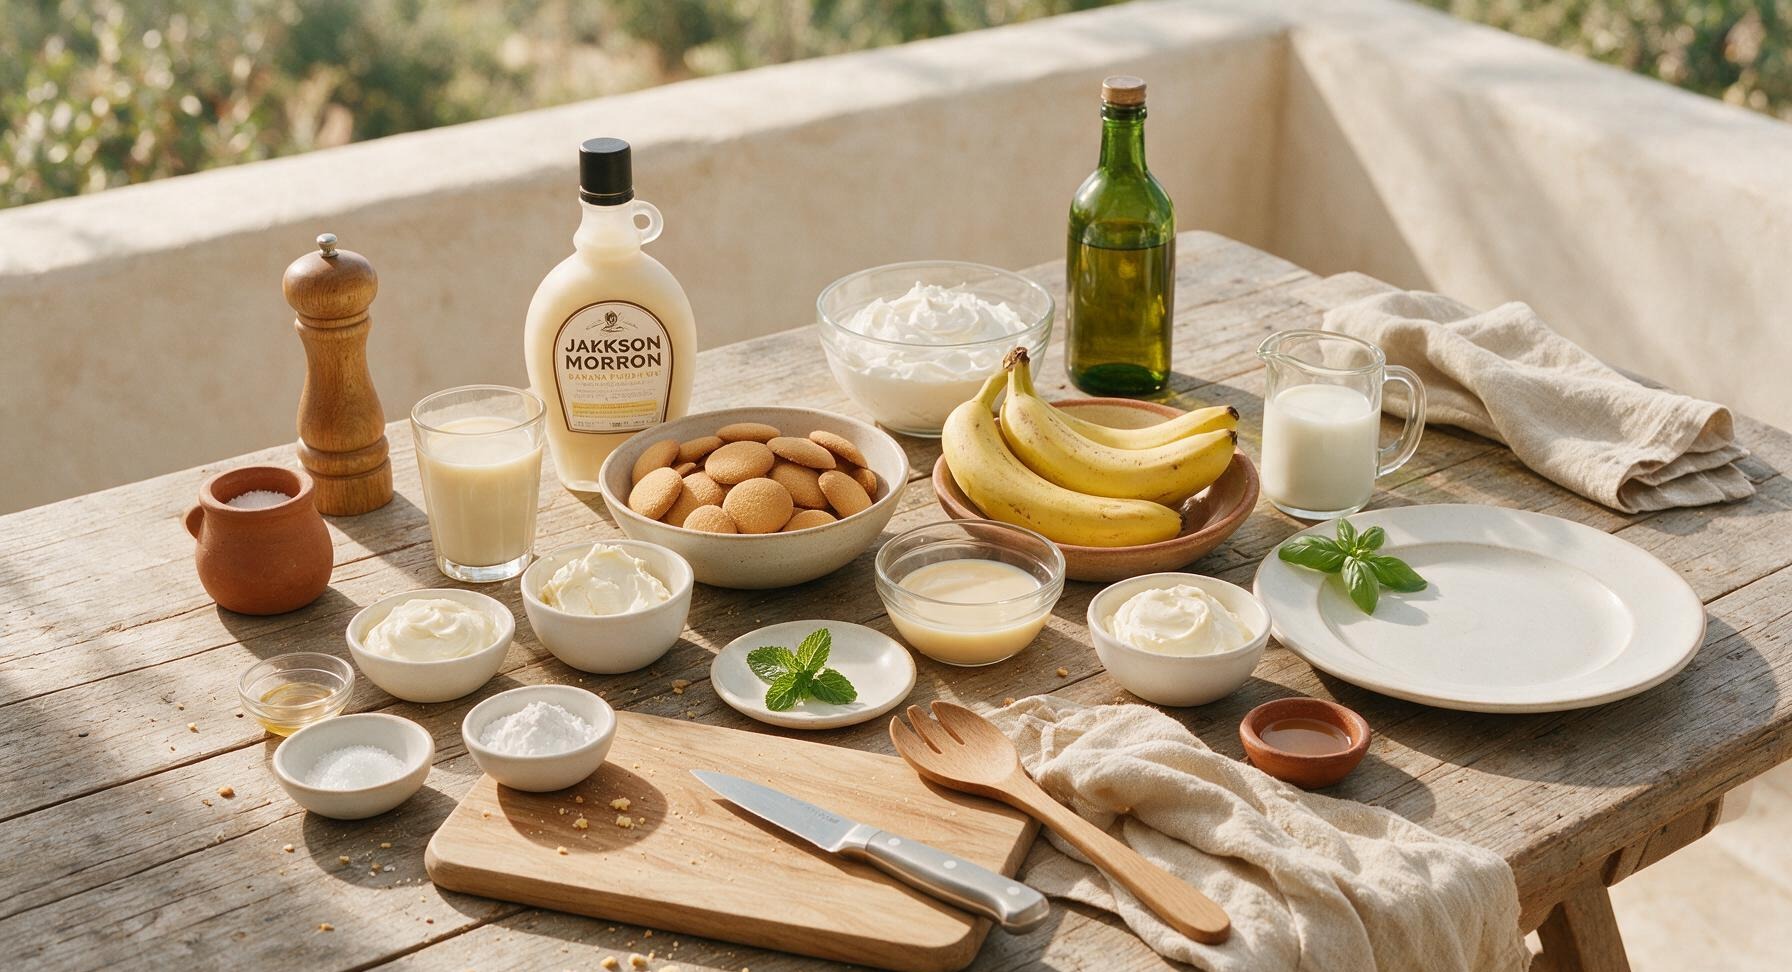
Ingredients
Steps
Mix Cream Cheese Base
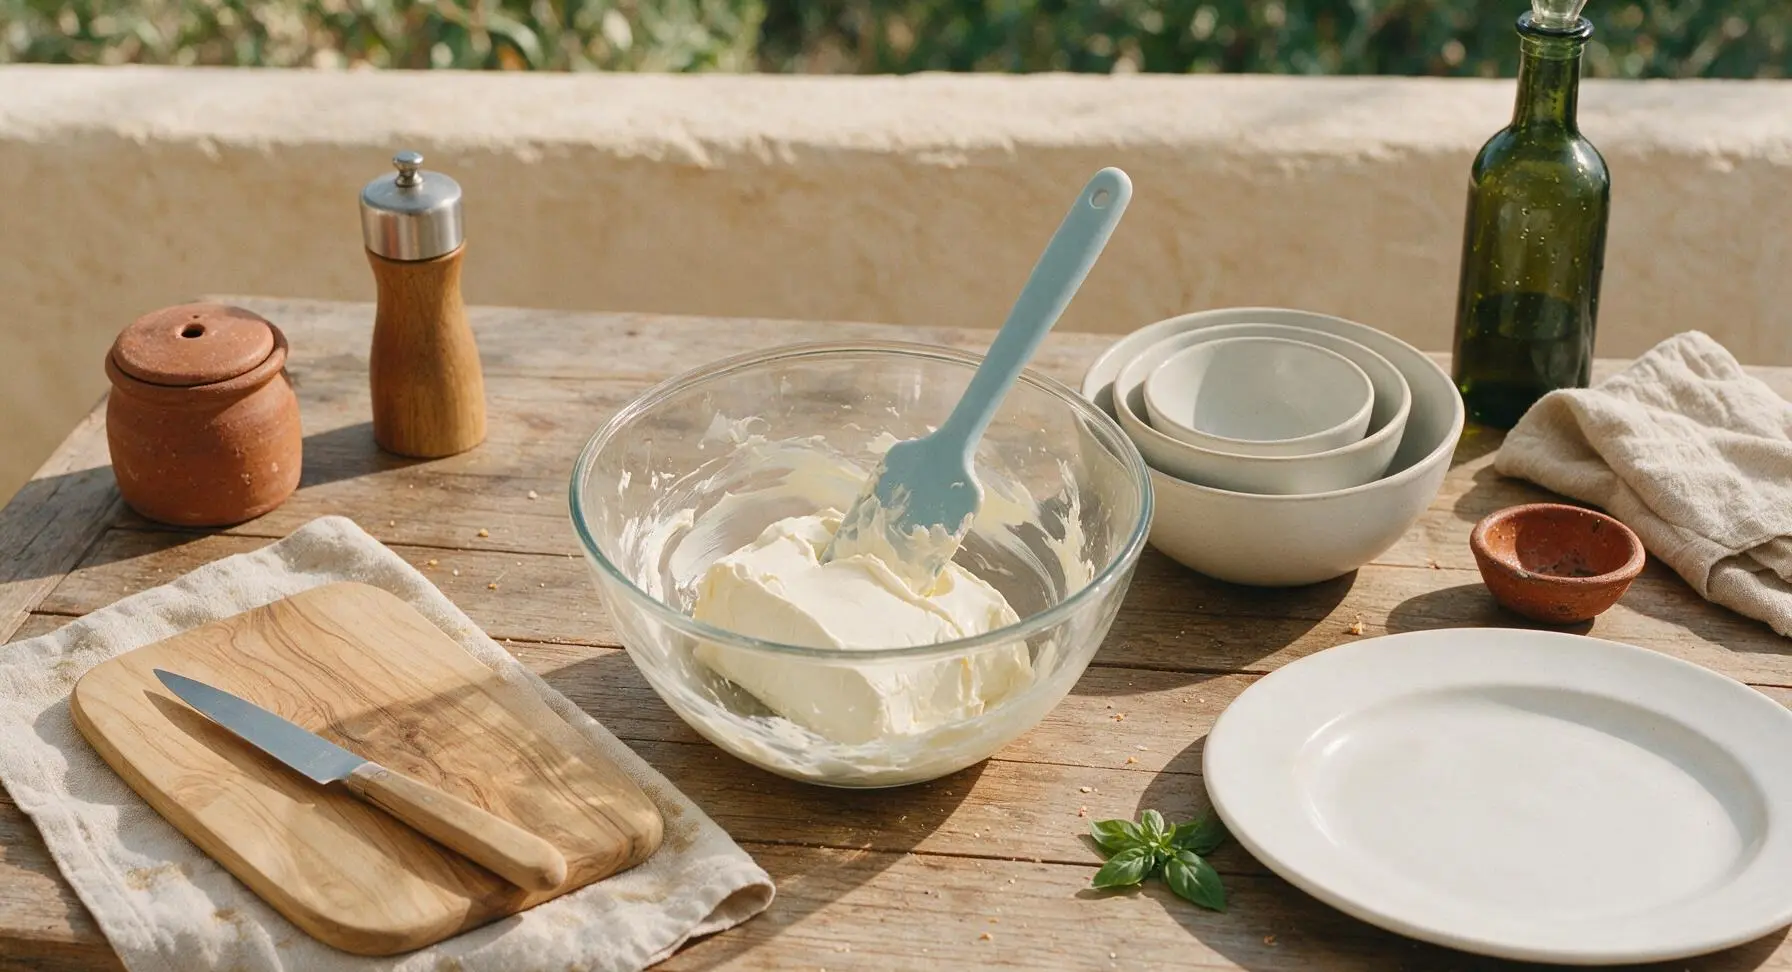
Retrieve the large clear glass mixing bowl from the stacked set at center right, placing it in the center of the work surface. Add the 8oz softened room-temperature cream cheese to the bowl. Use the light blue silicone spatula to beat the cream cheese for 2 minutes until completely smooth, with no visible lumps. Scrape down the sides of the bowl halfway through to ensure even mixing; the base should be silky and spreadable, not grainy.
Whisk Pudding Filling
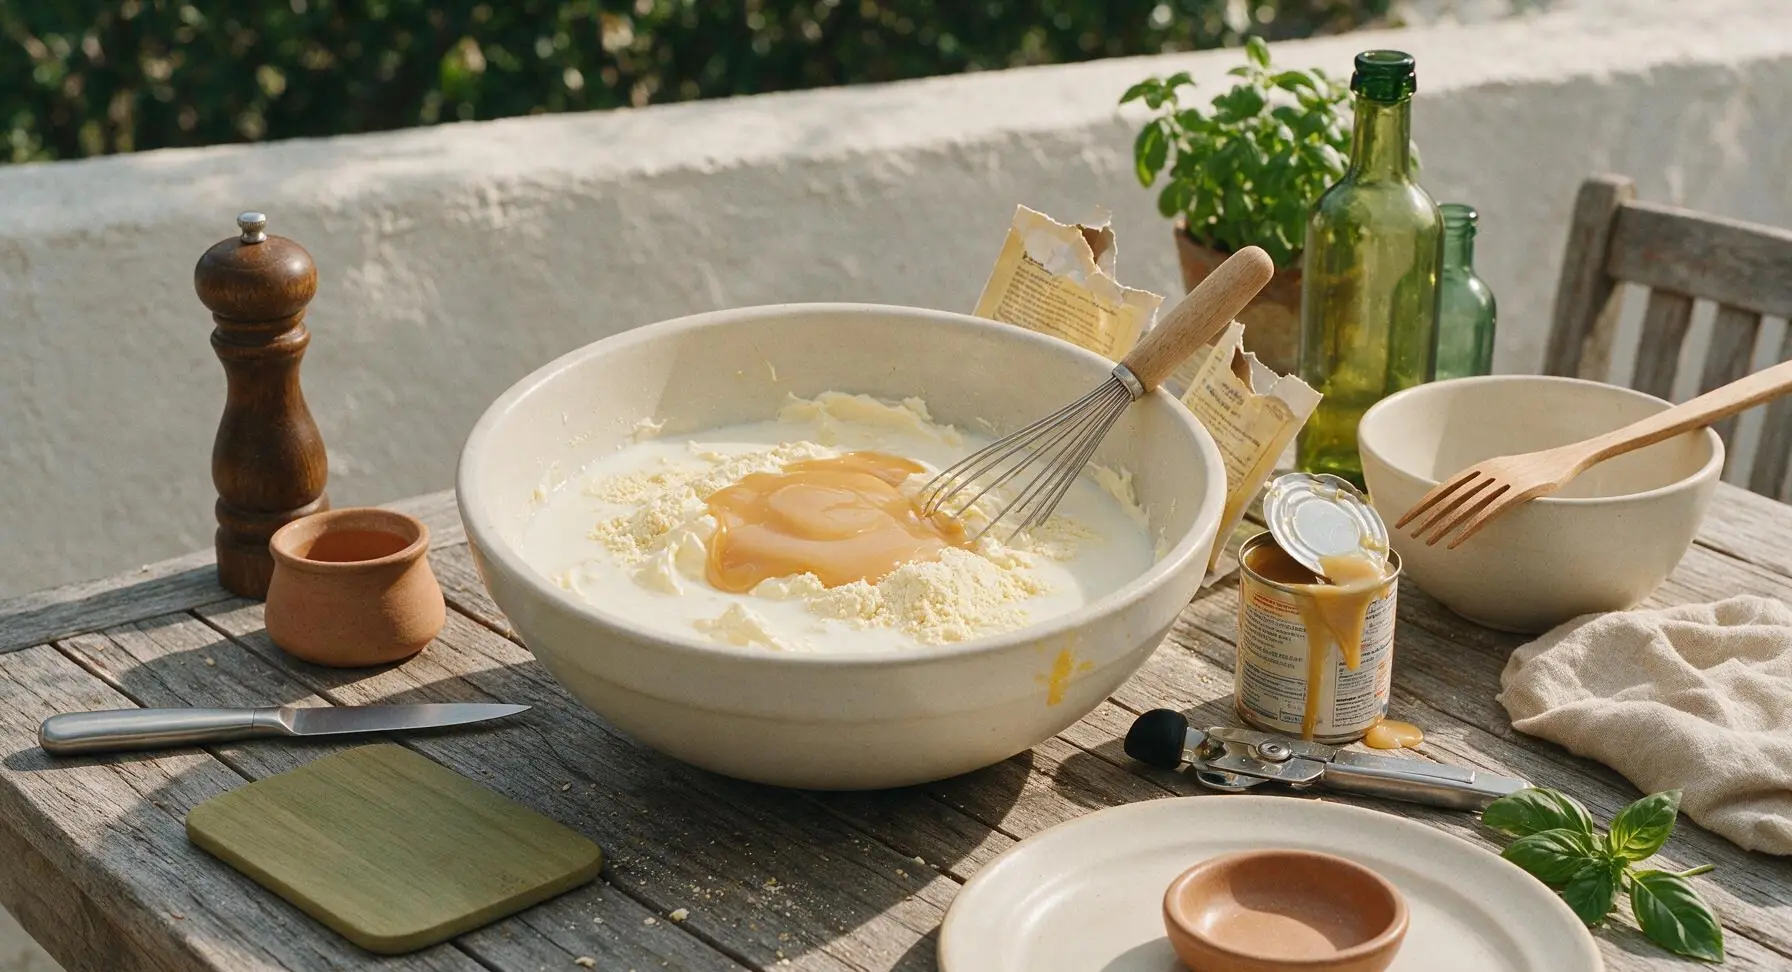
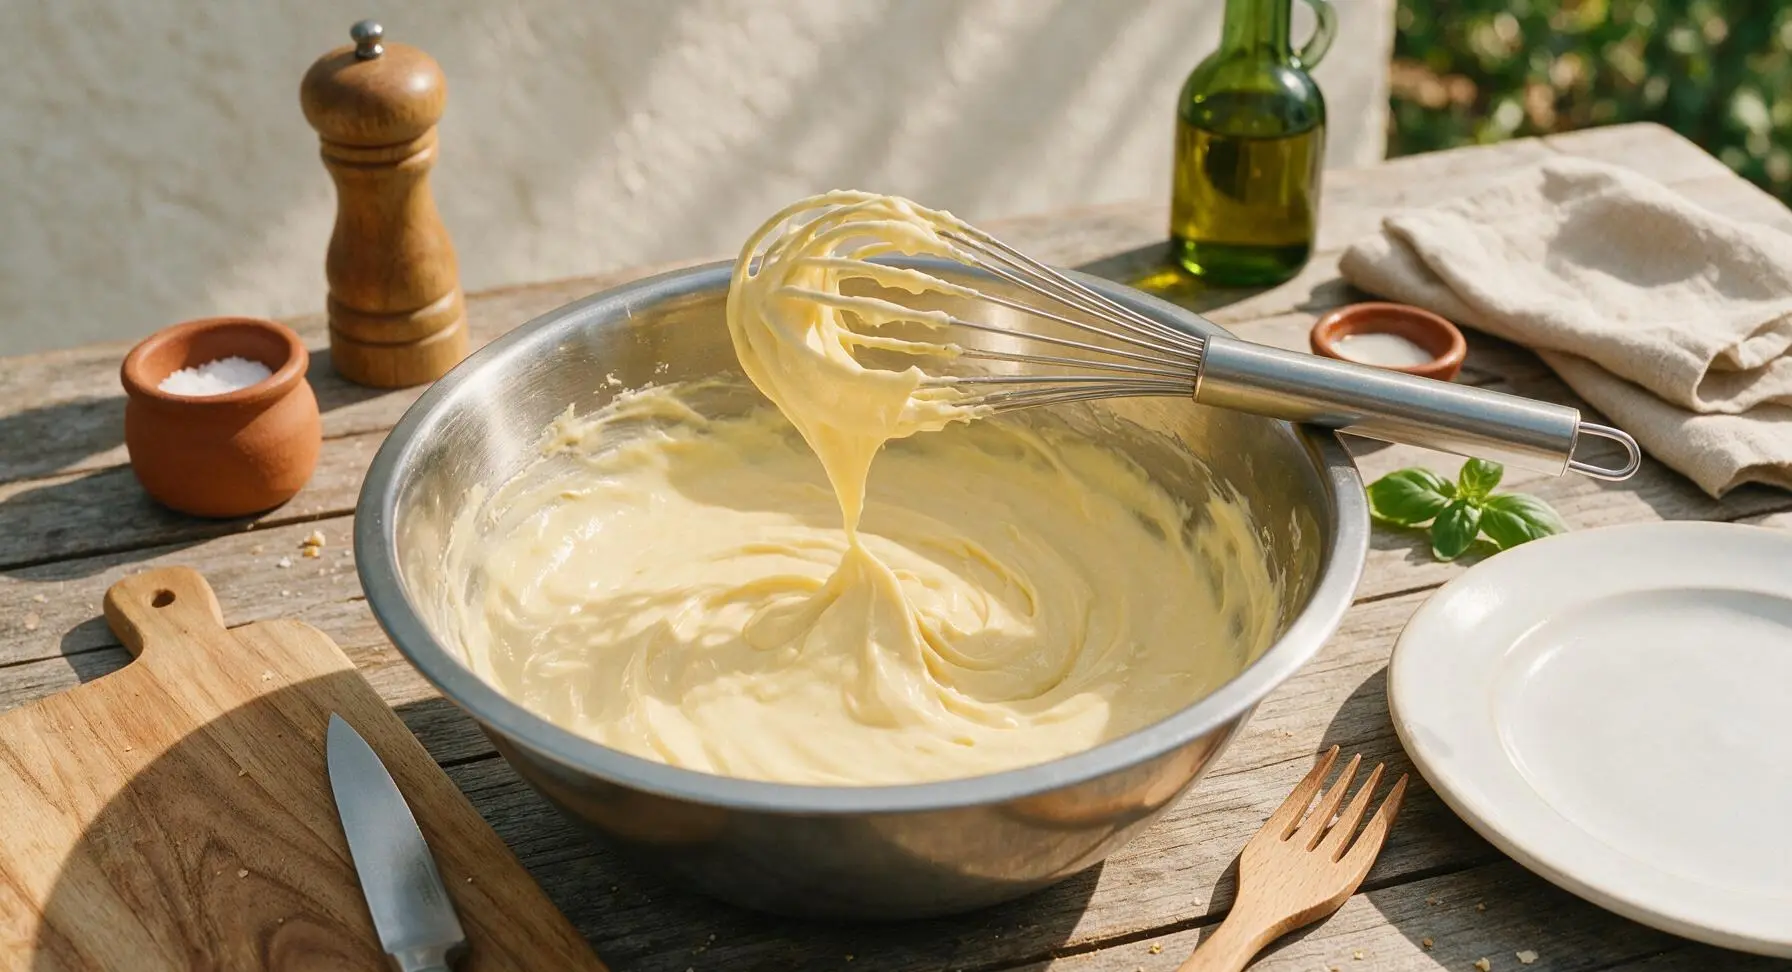
First, use the matte silver manual can opener to open the 14oz can of sweetened condensed milk. Add the sweetened condensed milk, 2 cups cold whole milk, 3/4 cup Jackson Morgan Banana Cream Liqueur, and 2 packets of instant vanilla pudding mix to the bowl with the smooth cream cheese. Use the stainless steel wire whisk to stir continuously for 2 minutes, until the mixture thickens to a soft, pudding-like consistency with no dry lumps of pudding mix remaining. Set the mixture aside to rest for 5 minutes, allowing it to set slightly.
Whip Spiked Whipped Cream
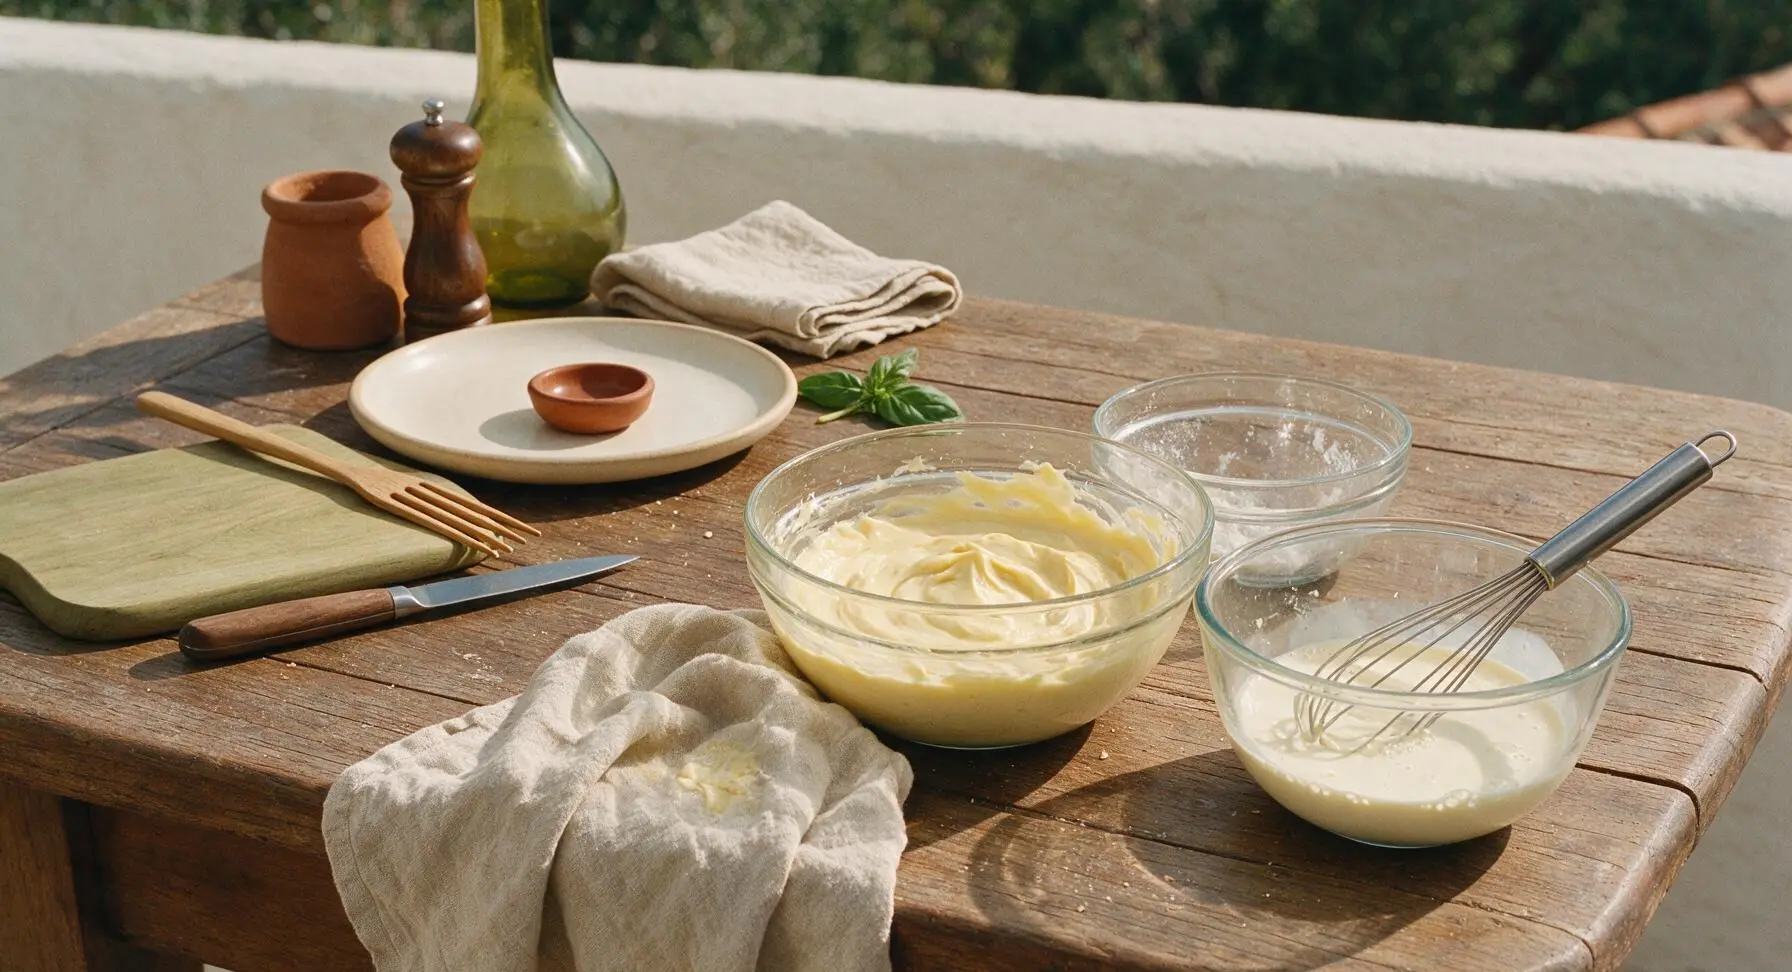
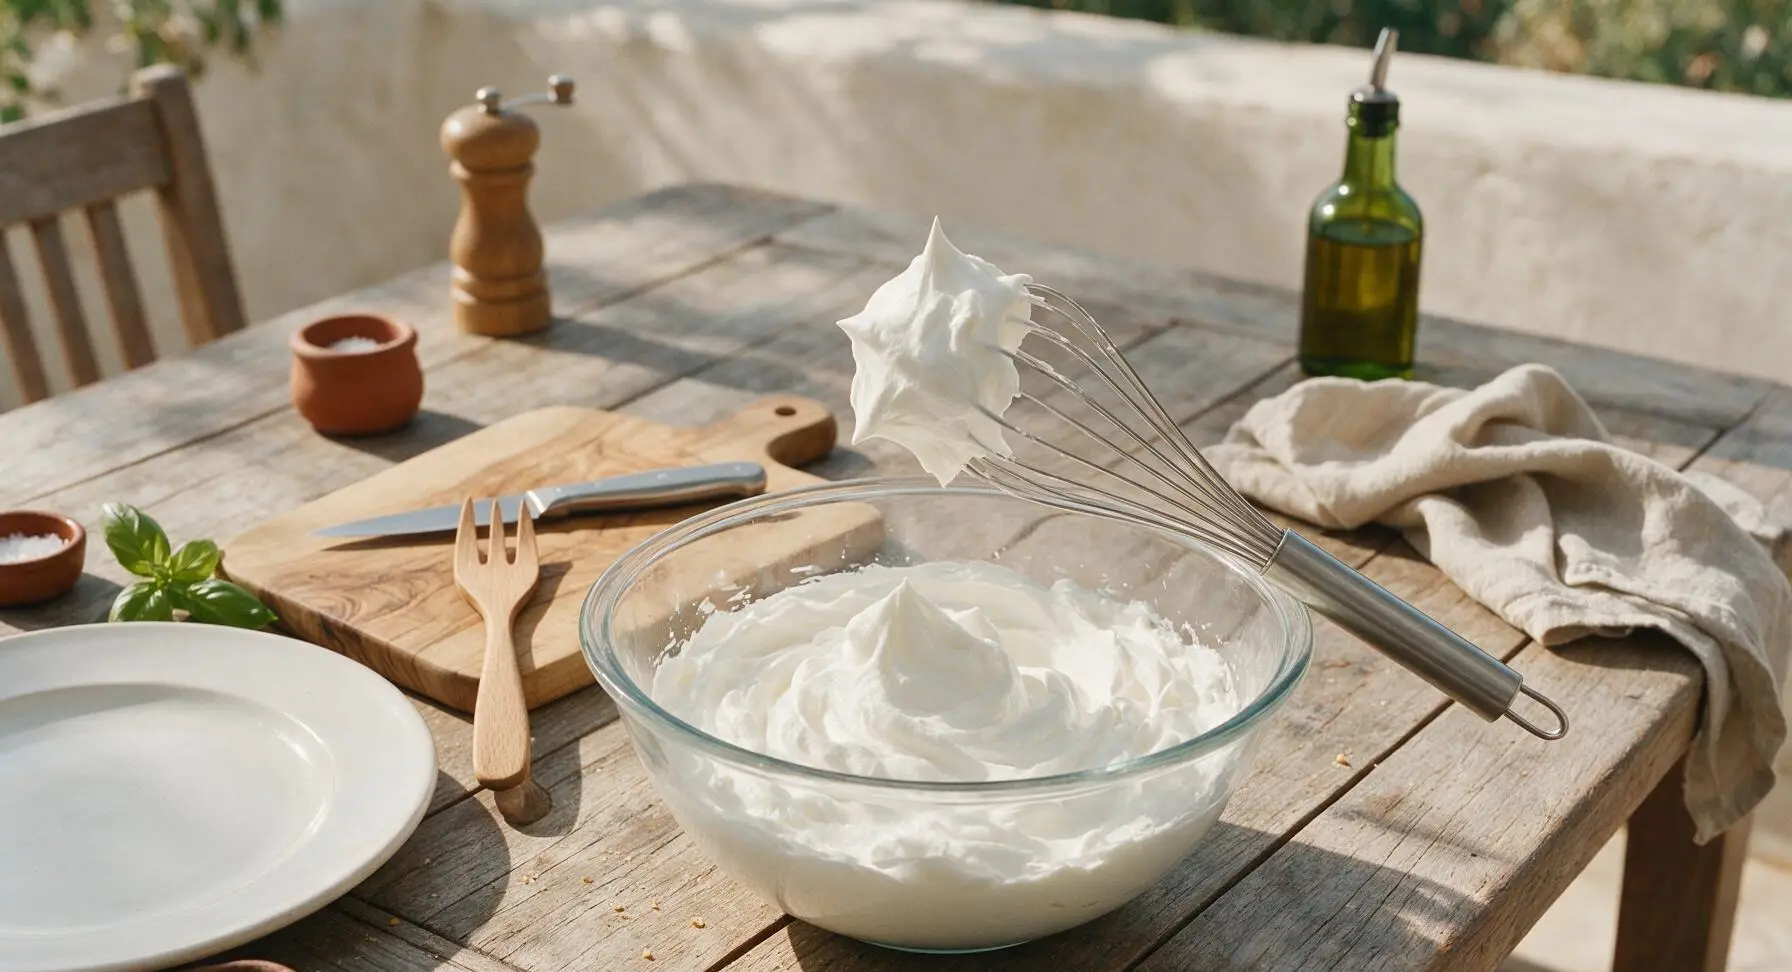
Pour the 2 cups chilled heavy whipping cream, 1/4 cup powdered sugar (from the small mixing bowl), 1 tsp vanilla extract, and remaining 1/4 cup Jackson Morgan Banana Cream Liqueur into the medium clear glass mixing bowl. Use the stainless steel wire whisk (wiped clean with the linen kitchen towel) to whip the cream vigorously for 3-4 minutes, until stiff, billowy peaks form when the whisk is lifted. Do not overwhip, as the cream will separate into butter; stop as soon as peaks hold their shape without drooping.
Slice Ripe Bananas
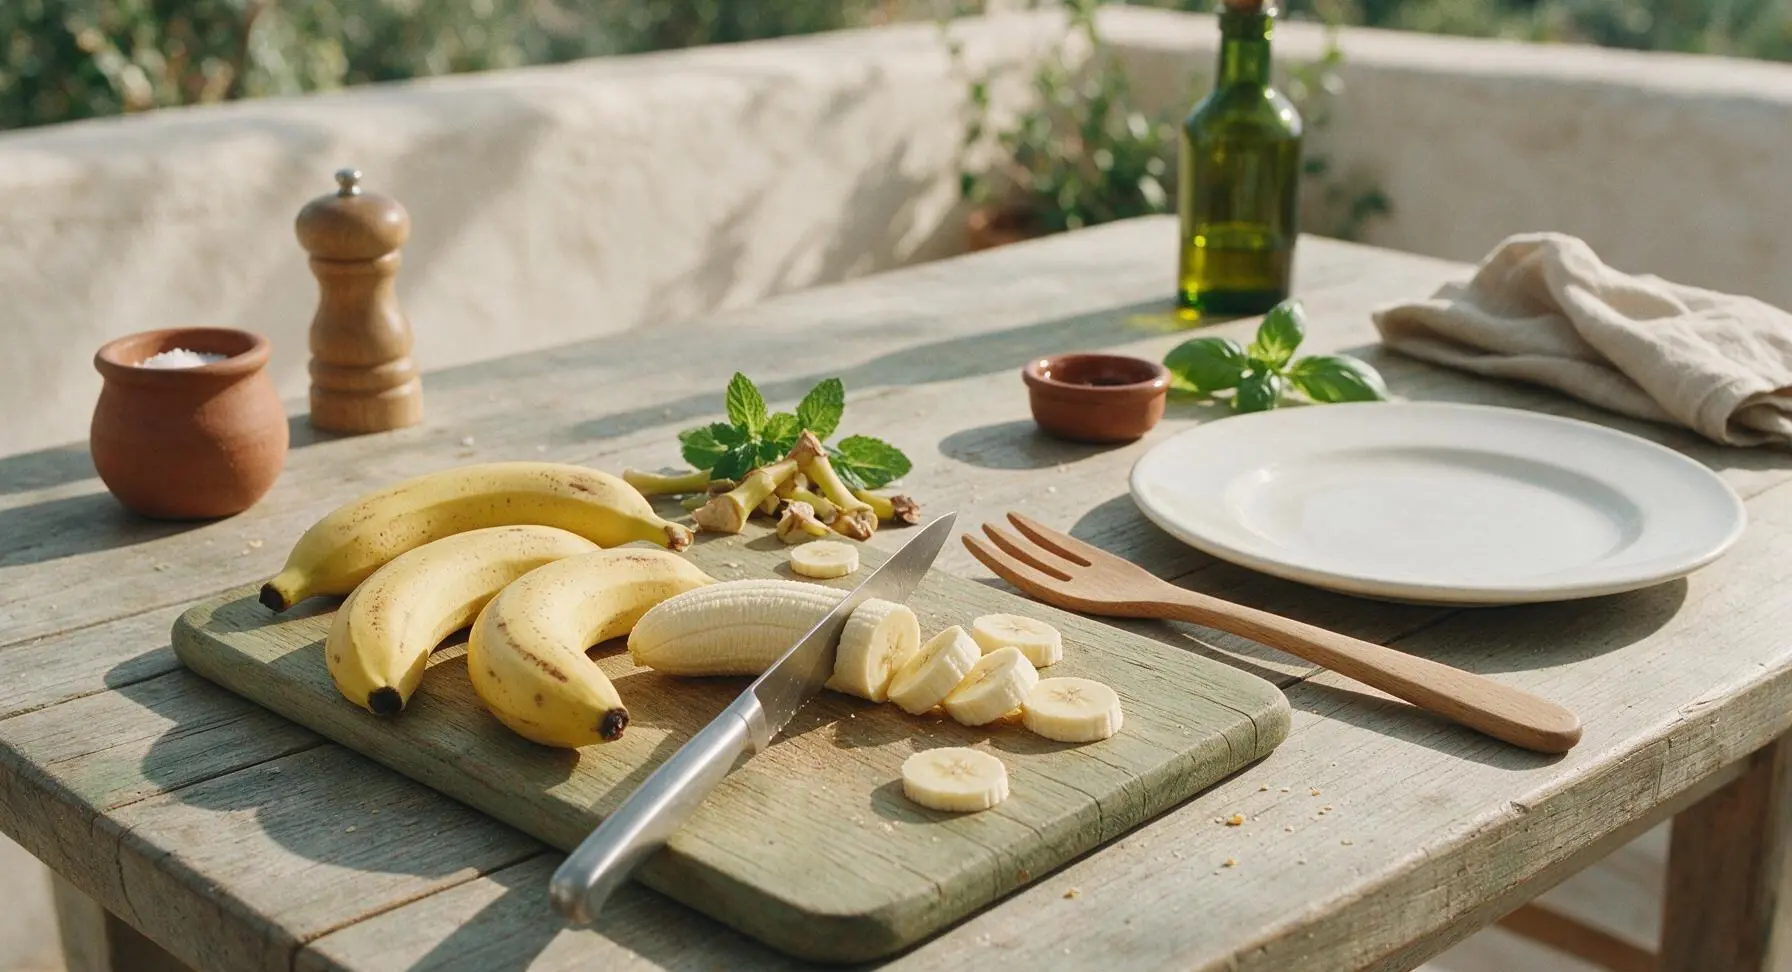
Place the 4 ripe spotted bananas on the honey oak cutting board. Use the stainless steel paring knife to slice the bananas into 1/4-inch thick round slices, discarding the stem and tip ends. Work quickly to prevent browning; if prepping more than 2 minutes ahead, toss slices with a tiny squeeze of optional lemon juice to slow oxidation.
Layer Trifle Components
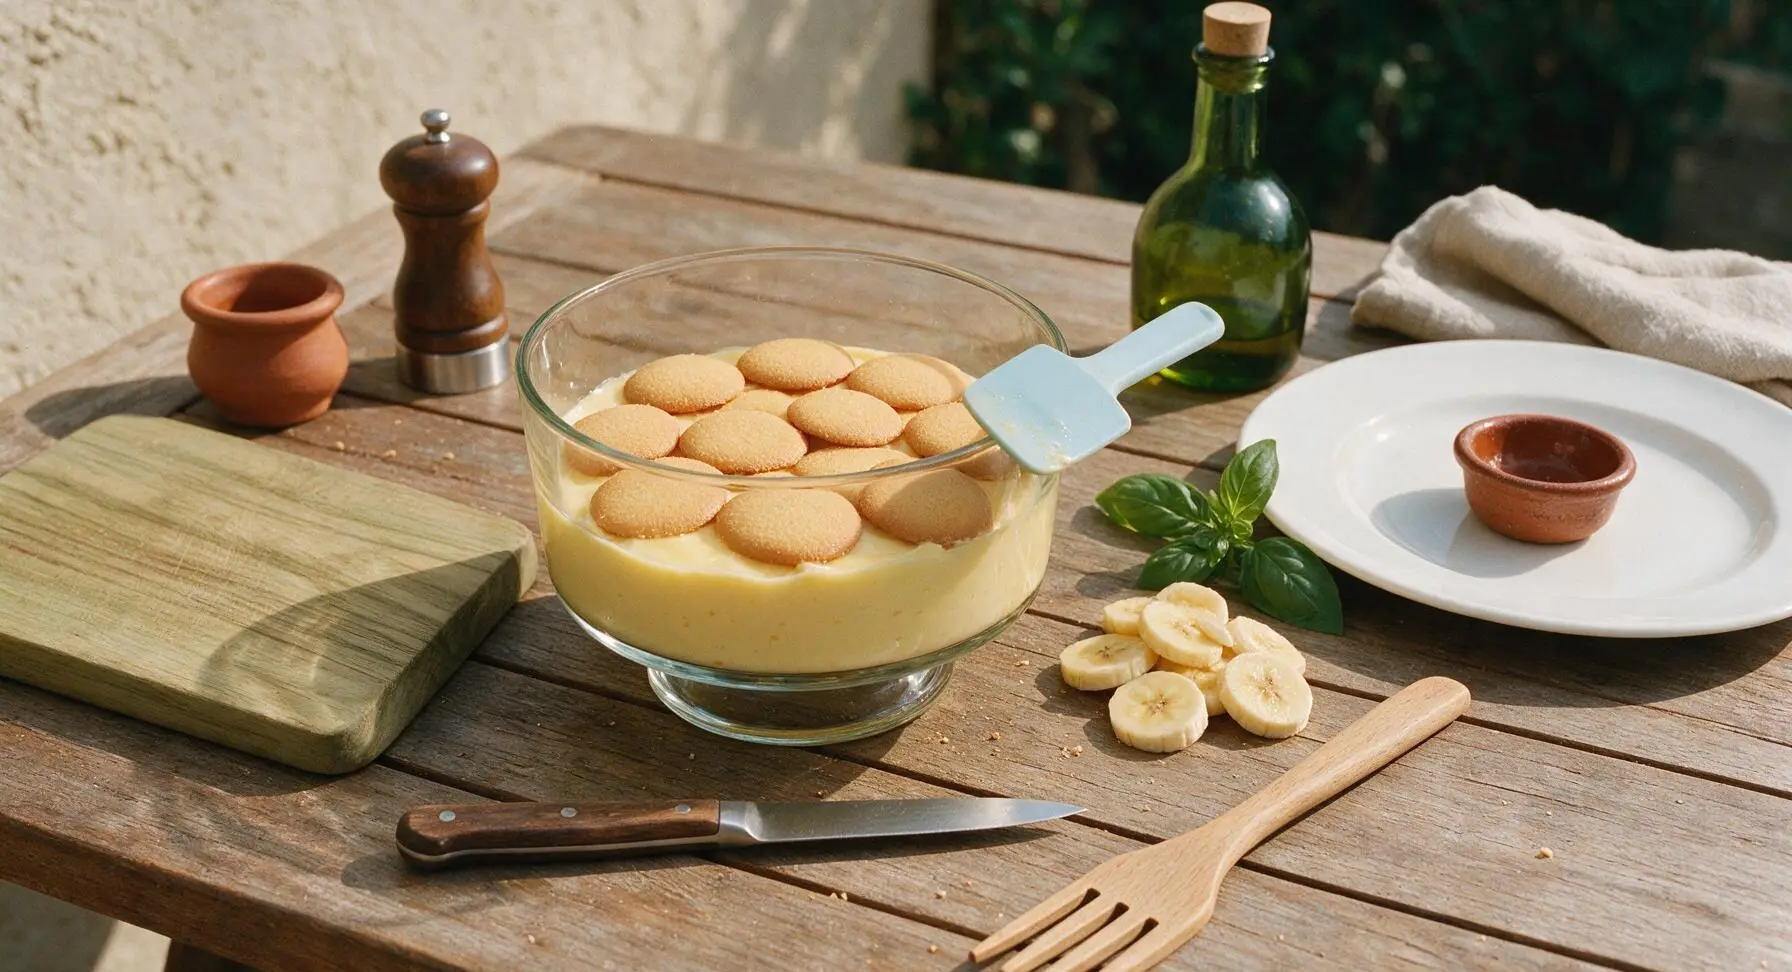
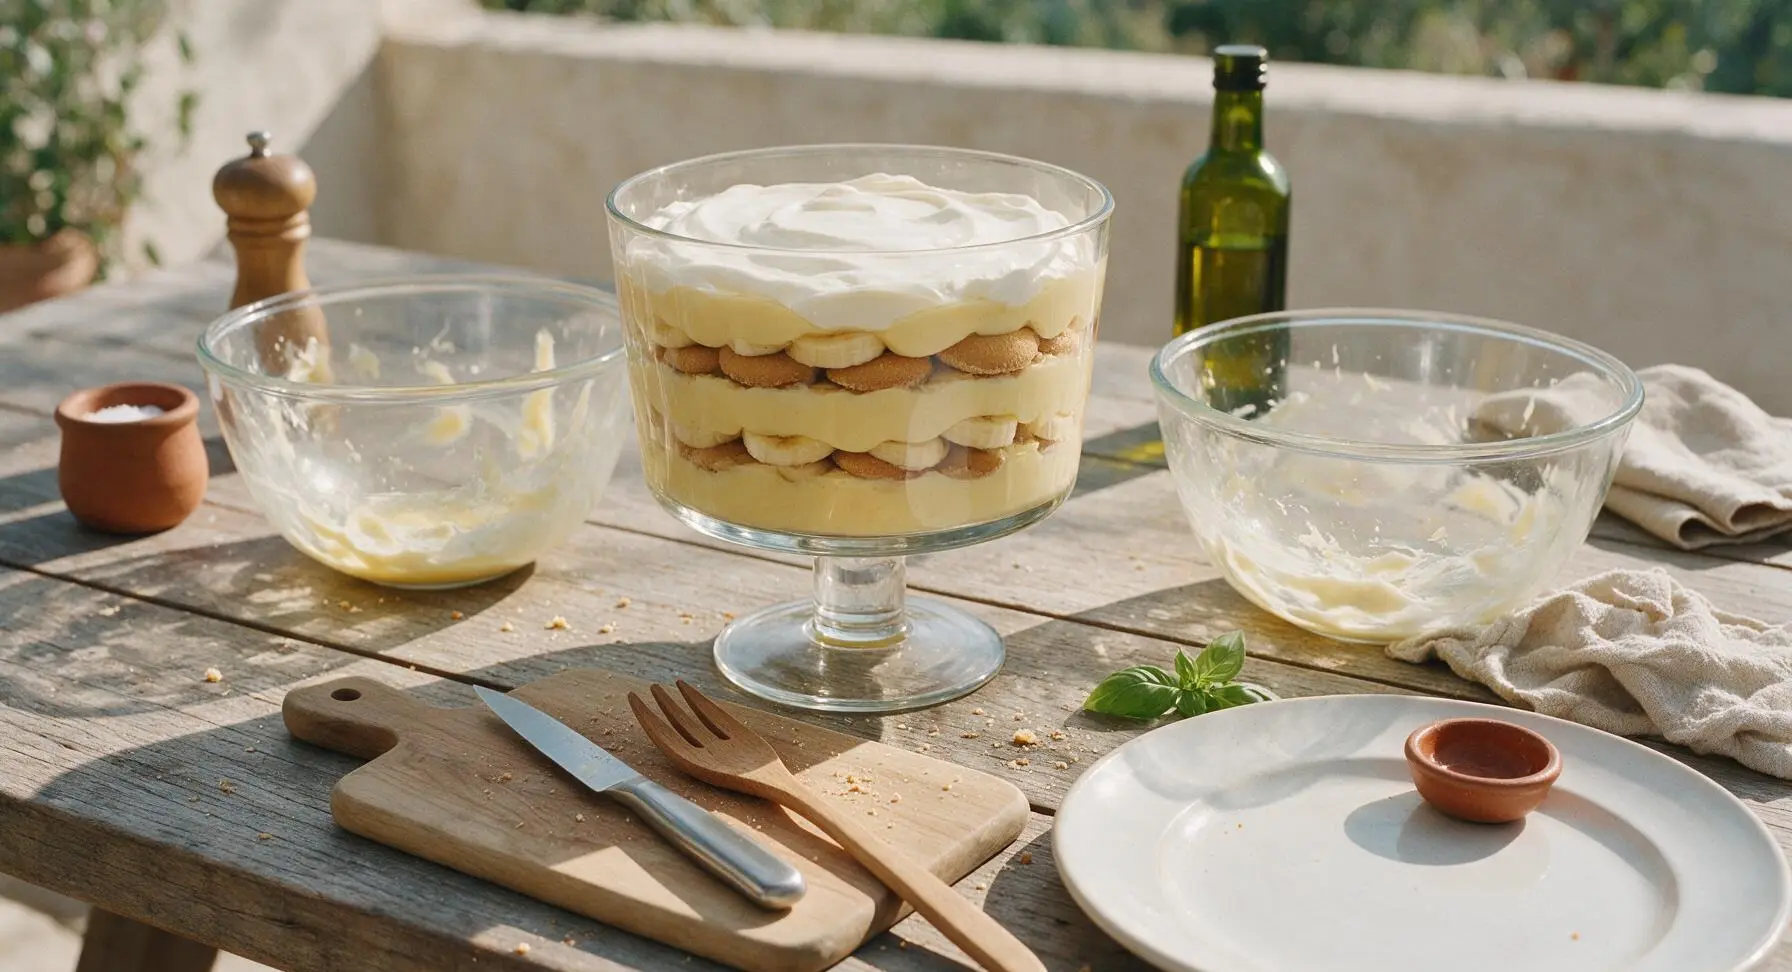
Scoop 1/3 of the thick pudding mixture into the bottom of the clear glass trifle dish, spreading it evenly with the light blue silicone spatula. Top the pudding layer with a single overlapping layer of vanilla wafers (about 1/3 of the box), followed by a single layer of sliced bananas (1/3 of the slices), then 1/3 of the spiked whipped cream spread gently over the bananas. Repeat this layering sequence two more times, finishing with a final thick layer of whipped cream on top.
Garnish and Chill Pudding
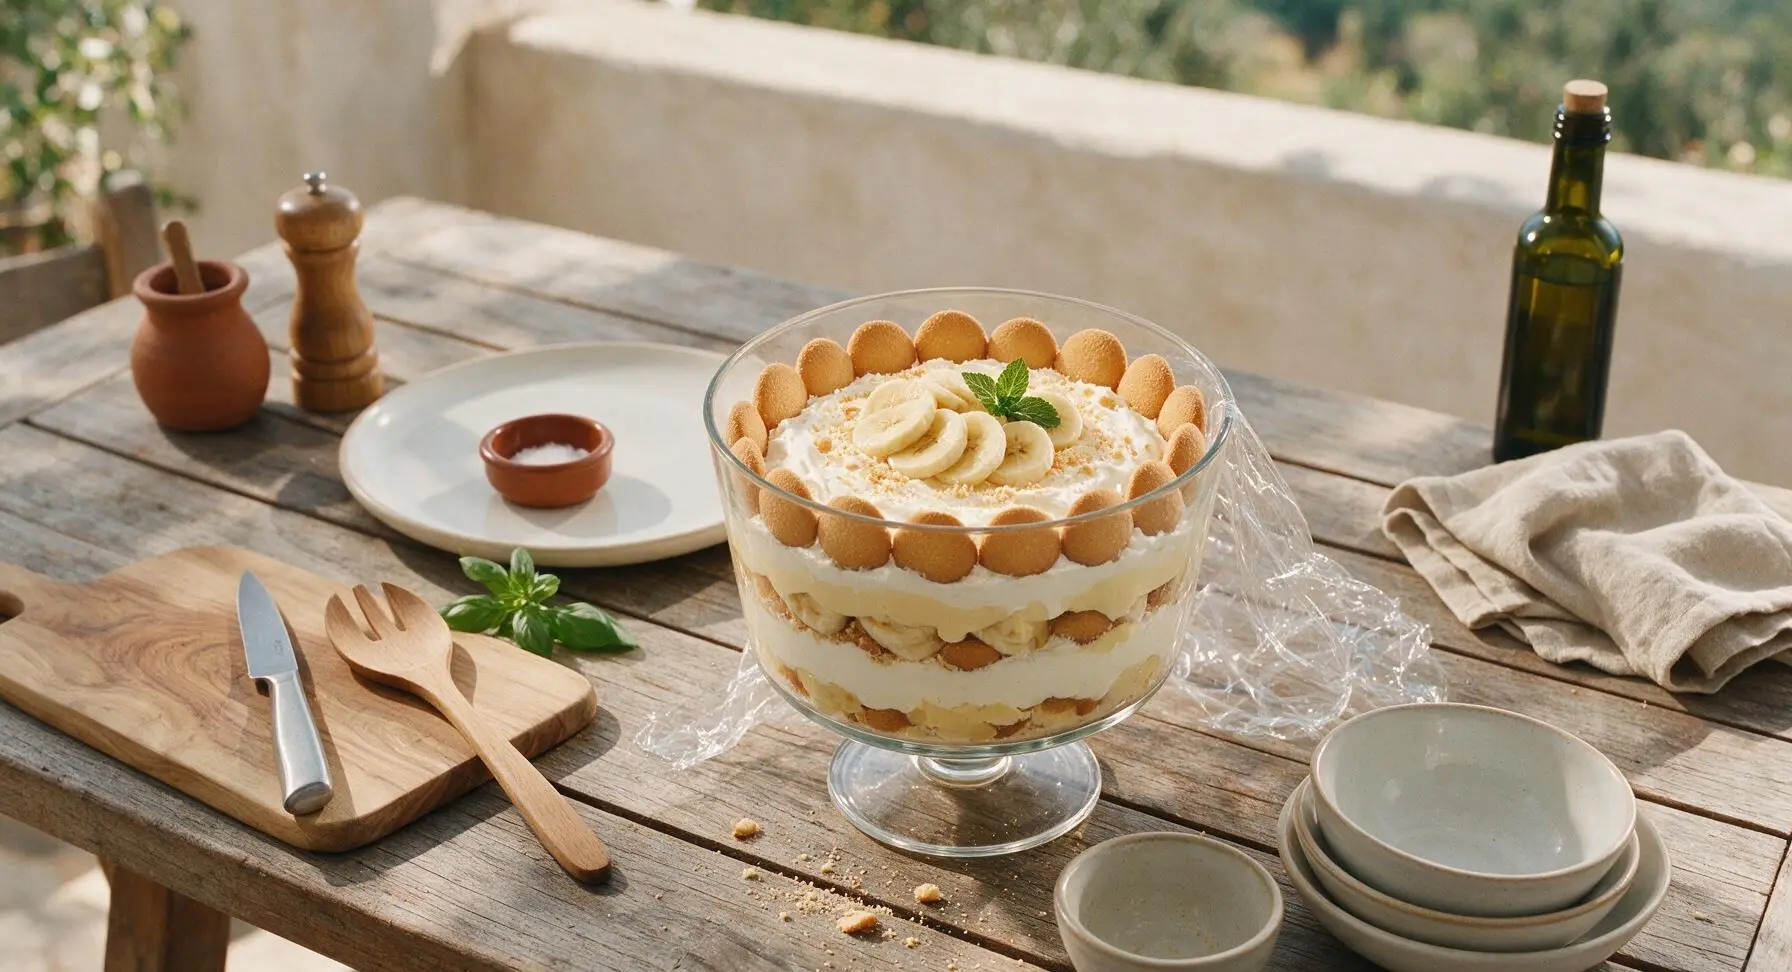
Decorate the top of the trifle with a ring of whole vanilla wafers around the outer edge, fan the remaining banana slices in a circle in the center, and tuck fresh mint sprigs next to the banana fan. Lightly crush 2-3 vanilla wafers and sprinkle the fine crumbs over the whipped cream for texture. Cover the trifle dish loosely with plastic wrap and refrigerate for at least 4 hours (or up to 24 hours) to allow the wafers to soften slightly and the flavors to meld; the pudding is ready when a spoon slides easily through all layers without resistance.
Tips
2.Do not skip the minimum 4-hour chill time: this resting period allows vanilla wafers to absorb moisture from the pudding and cream, softening to a perfect cake-like texture instead of staying crunchy or turning unpleasantly soggy too quickly.
3.Reserve 1/4 cup of whole vanilla wafers to crumble and add right before serving if you prefer extra crunch: wafers added during layering will soften fully as the pudding chills, so a last-minute sprinkle adds welcome textural contrast to the silky, creamy layers.






OMG this banana pudding cream is an absolute game changer for our Sunday family dinners! I brought it last week and every single person asked for the recipe, even my super picky mother-in-law who swears her banana pudding is the only acceptable version. No cook time? Sign me up, especially on busy summer days when I don’t want to turn the oven on. Chilled it for 5 hours right before serving and it was the perfect consistency.
SO good! I made a big batch on Sunday to portion out for weekday treats and it held up perfectly all 4 days in the fridge, no weird sogginess even with the banana slices in there. Super easy to throw together, zero cooking required which is a total win for my tiny apartment kitchen that gets so hot in the summer. Will 100% be making this on repeat.
Pretty solid overall! I added a little extra cinnamon on top because I love that warm spice with banana, and it hit just right. My only tiny note is that I wish it was a little sweeter, but that’s just my personal sweet tooth talking — my roommate thought it was perfect as written.
Made this for my kids’ end of soccer season team party and every last bite was gone in 10 minutes flat. My kids loved it so much they asked me to make it again for their birthday party next month! I was worried the no-cook texture would be weird but it was so creamy and rich, exactly like the fancy banana pudding I get at the southern restaurant downtown but way cheaper to make at home.
I tried making this with a dairy free swap (oat milk condensed milk and coconut whipped cream) for my lactose intolerant best friend and it turned out amazing! Quick question for anyone who’s made the original — is it supposed to be that thick? Mine was almost like a soft serve consistency, which we loved, but I wasn’t sure if that was because of my swaps.
Game. Changer. I’ve made so many banana pudding recipes over the years for work potlucks and this one takes the cake by a mile. No standing over the stove stirring custard for 20 minutes? No worrying about lumps? I was skeptical at first but the texture is spot on, perfectly banana-y, not too artificial tasting. Everyone was raving.
Took this to a friend’s backyard BBQ over the weekend and it was such a hit! Super easy to transport in a covered dish, didn’t get runny even sitting out for an hour in the shade. The only thing I’ll do differently next time is add a few extra vanilla wafers on top for crunch, because I’m a texture girlie through and through.
Now I’ll be honest, I was skeptical of a no-cook banana pudding — I’ve been making the cooked custard version for over 40 years for my grandkids. But my granddaughter sent me this recipe and said I had to try it, and let me tell you, it’s delicious! So quick to throw together when the grandkids show up last minute, and they gobbled it right up. I might even like it better than my old recipe, don’t tell my bridge club ladies!
Made this as a post-hike treat for my group last weekend and it was the perfect cool, creamy pick-me-up after 6 miles in the heat. I pre-portioned it into mason jars so it was easy to pass out without making a mess, and everyone was asking for the recipe before we even started the drive down the mountain. 10/10, will be a regular on our hike snack list from now on.
SO good. I ate half the batch in one sitting, no shame. I was worried it would taste like artificial banana flavoring because so many no-cook pudding recipes do, but this tastes like fresh, real banana with that perfect creamy vanilla base. Chilled it for the full 4 hours like the recipe said and it was the exact right consistency, no runny mess at all.
Made this for my husband for our first anniversary at home dinner because banana pudding is his all-time favorite dessert, and he said it’s better than the one his grandma makes (high praise, let me tell you). It was so easy to make even with me being a total beginner cook who burns toast half the time. The chill time was the hardest part because we both wanted to dig in early!
When it’s 110 degrees outside for 3 months straight, the last thing I want to do is turn on my oven or stand over a hot stove. This no-cook pudding is my new summer staple, it’s cold, creamy, and takes 15 minutes max to throw together before popping it in the fridge. I’ve made it 3 times in the last 2 weeks, oops.
Perfect for college dorm cooking! I don’t have a stove in my dorm, just a mini fridge, so I was looking for no-cook desserts I could make to impress my friends on our floor. All the ingredients are super cheap, no fancy equipment needed, and everyone on my floor is now asking me when I’m making it again. 10/10, easy, cheap, delicious.
Made this for my kid’s school bake sale and we sold out of every single cup in 20 minutes, priced higher than all the other desserts too! Parents were coming up to me asking for the recipe before the bell even rang for pickup. The only heads up I’ll give is to make way more than you think you need, because people will come back for seconds.
Good, but a little too banana-y for my taste? I think next time I’ll use one less banana and add a little extra vanilla, because the banana flavor was pretty strong. My partner thought it was perfect as written though, so it’s definitely a personal preference thing! Super easy to make, no issues with the instructions at all.
Took this to our college football tailgate last weekend and it was a total hit. I kept it in a cooler right up until serving so it stayed nice and cold, and even the guys who only eat savory tailgate food came back for a second scoop. Way easier to transport than a cake or cookies that get squished in the cooler, no mess at all.
Made this for a double date game night at our apartment last night and everyone was raving about it. I paired it with those little shortbread cookies instead of vanilla wafers because I had them in the pantry, and it was chef’s kiss. The 4 hour chill time was perfect, I made it right after work and it was ready by the time our friends showed up.
As a single dad working 60 hour weeks, I need easy, no-fuss recipes that my kids will actually eat without complaining. This checks every box — it takes 10 minutes to throw together after they go to bed, chills overnight, and they cheer when I pull it out of the fridge after dinner. 10/10, thank you for making a recipe that doesn’t require a million steps or fancy ingredients.