
jam sandwich
intro
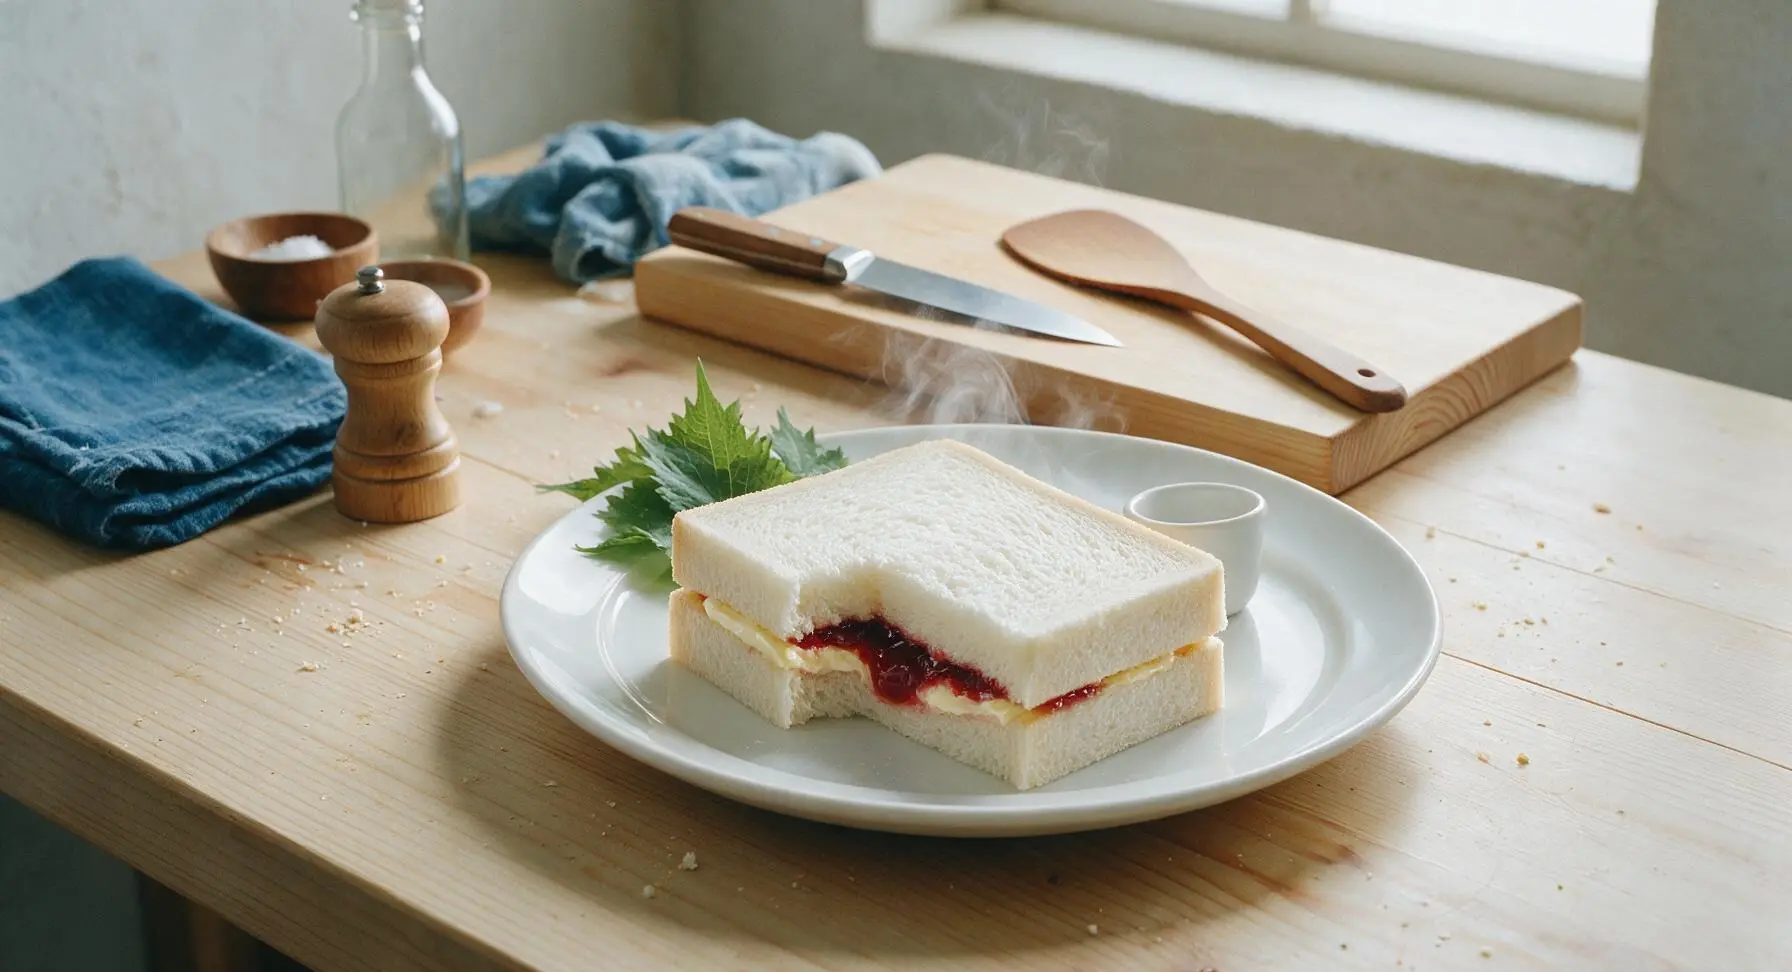
Soft pillowy white bread, thin creamy butter, and sweet fruity jam come together in this no-cook classic—quick, comforting, and perfectly portable for summer outings.
Ingredients
Steps
Arrange Bread Slices
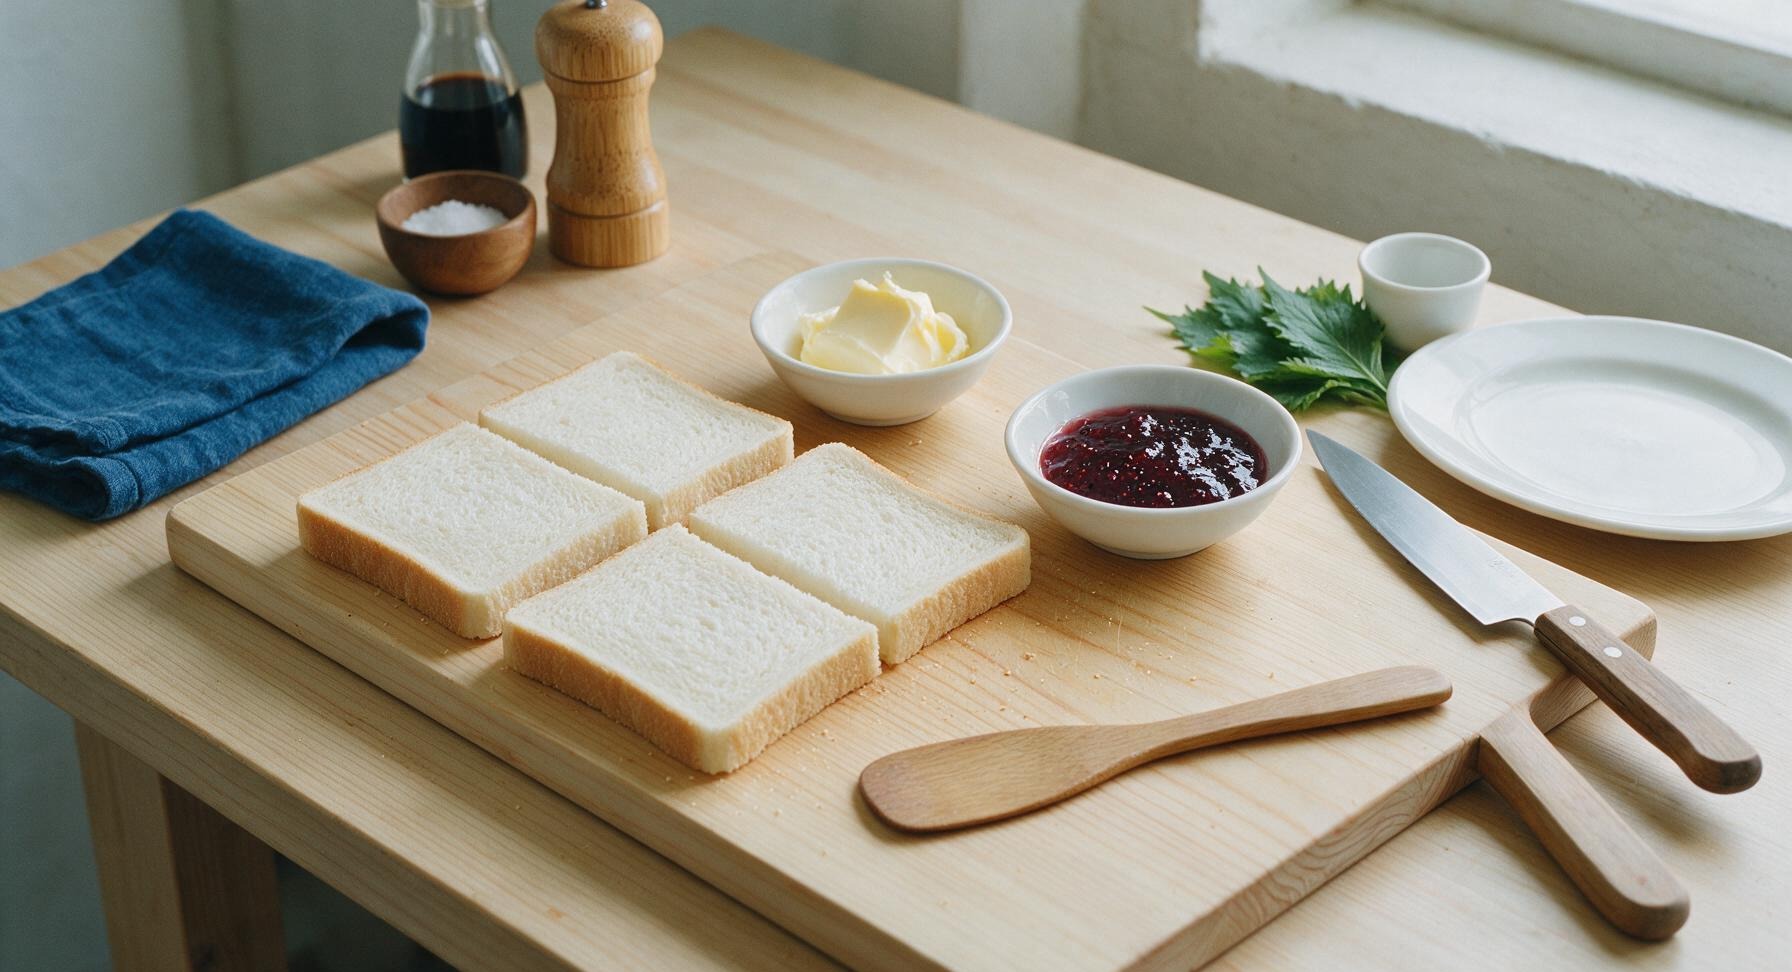
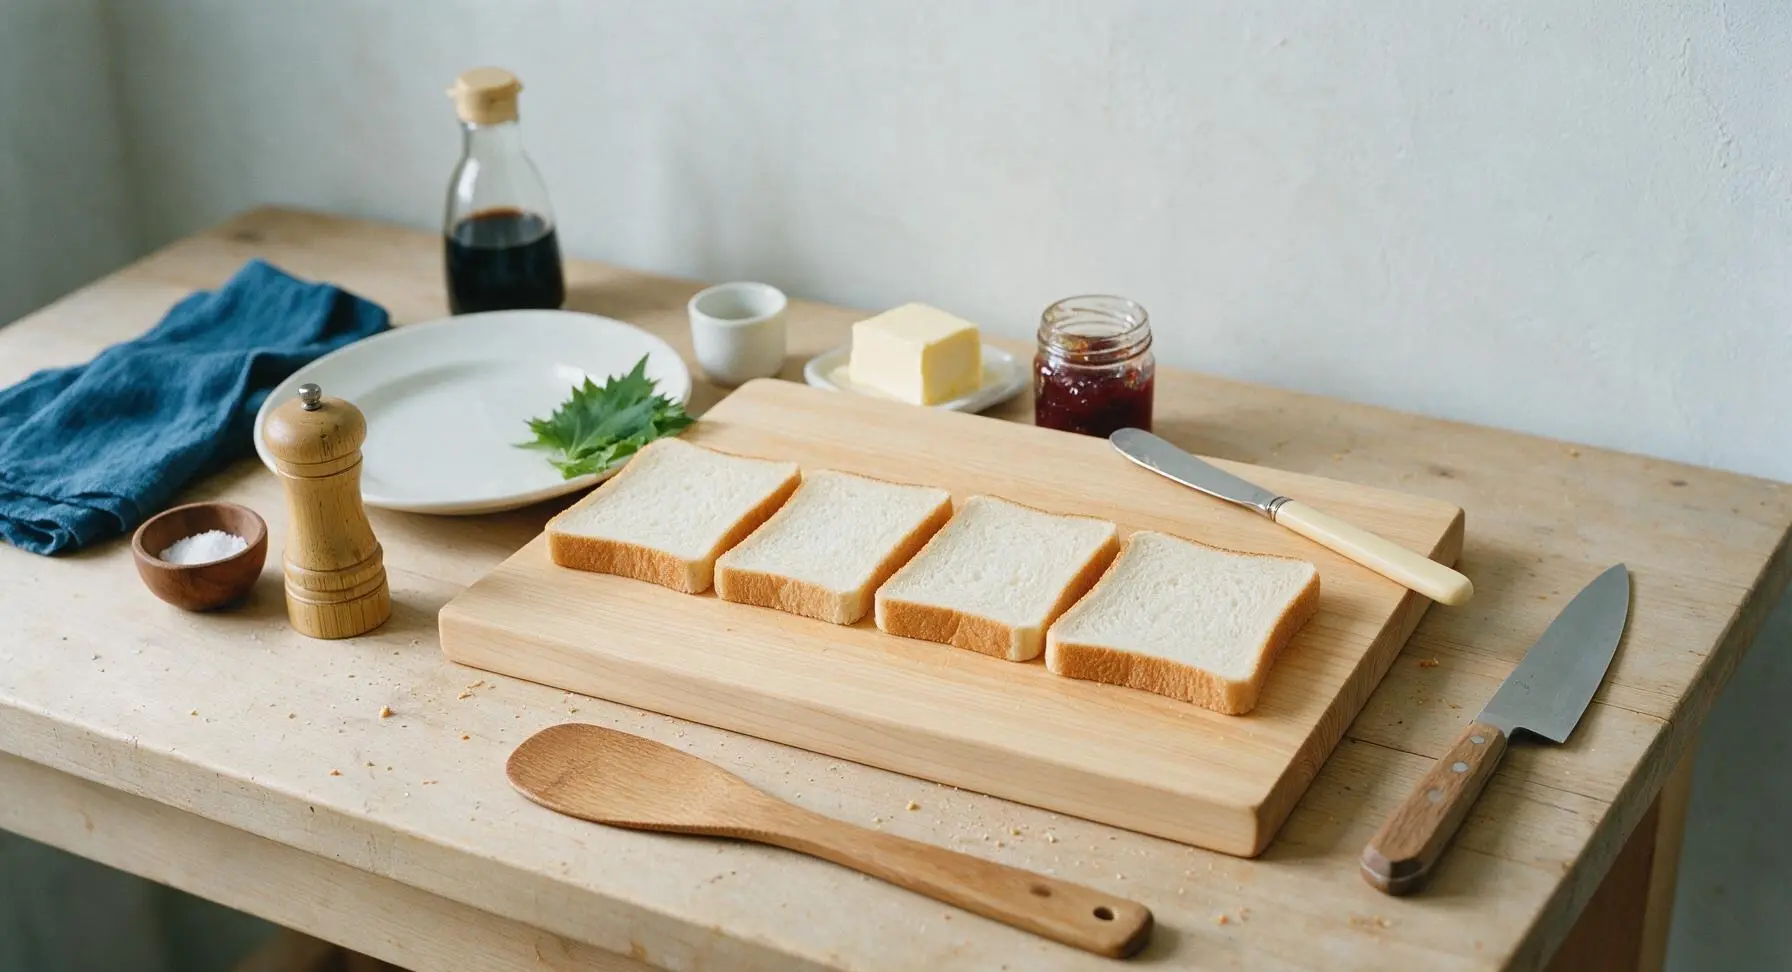
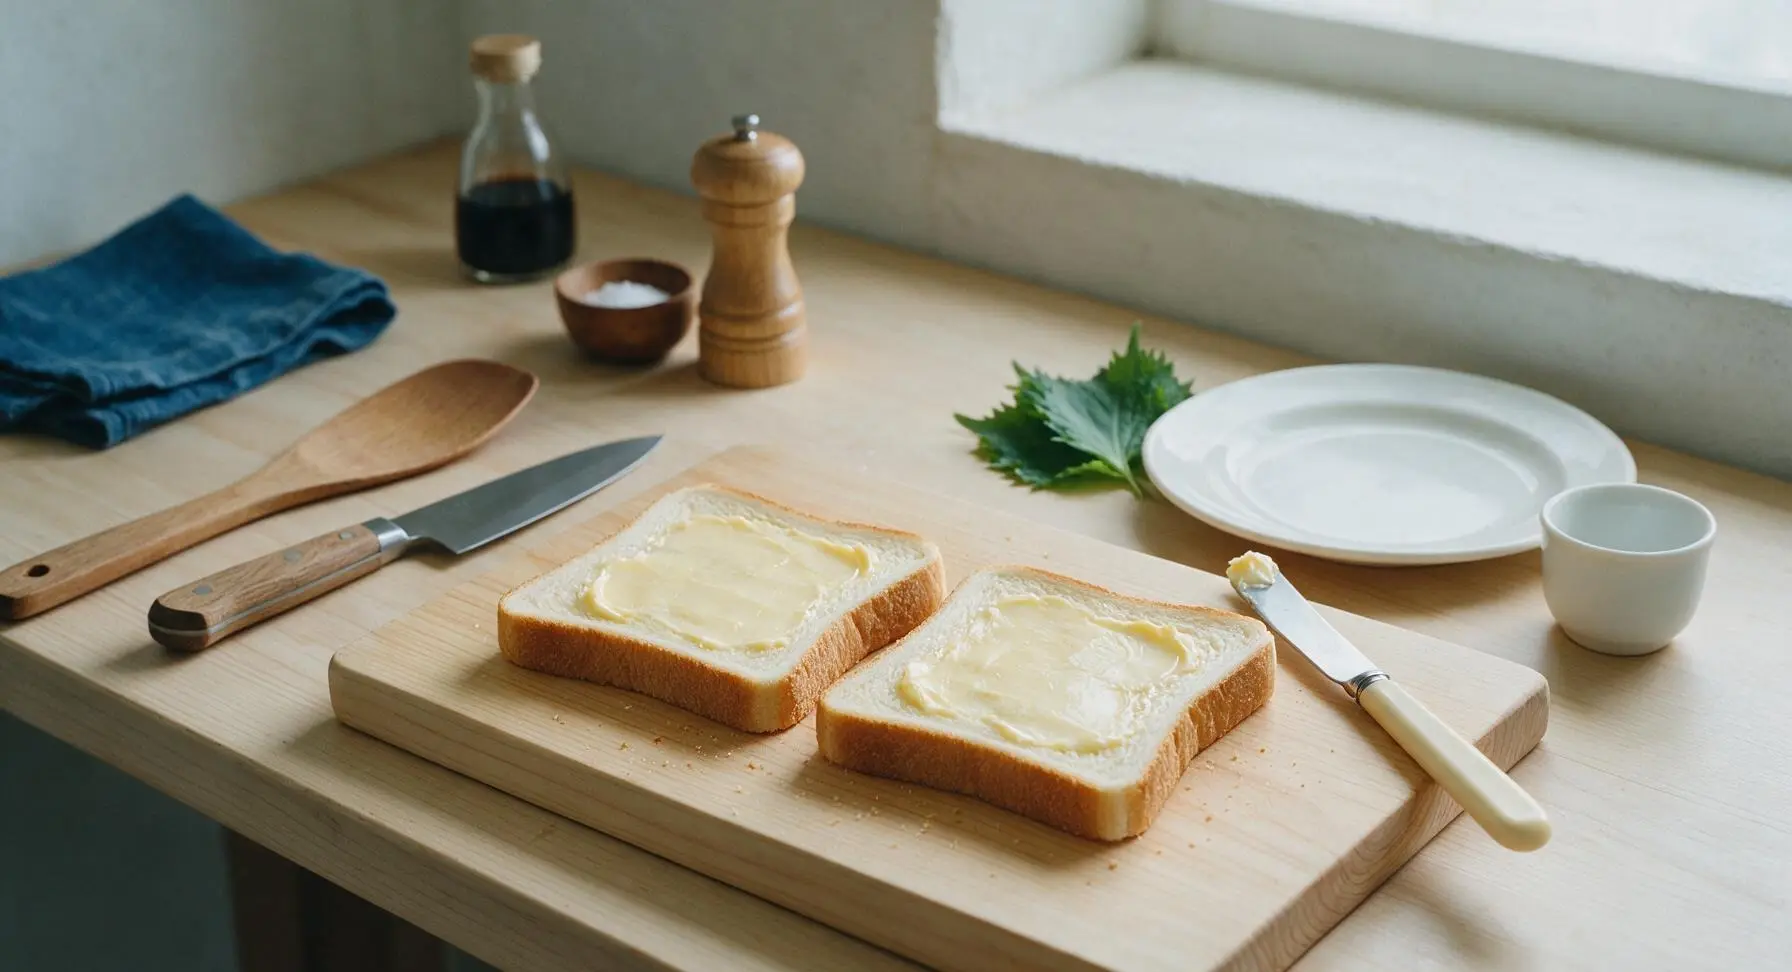
Lay all 4 slices of soft white sandwich bread flat in a single layer on the beech cutting board. Pat any loose crumbs from the bread surface with a clean finger, taking care not to tear the delicate soft crumb. Leave 2cm of space between each slice to make spreading fillings easy and even.
Spread Butter Thinly
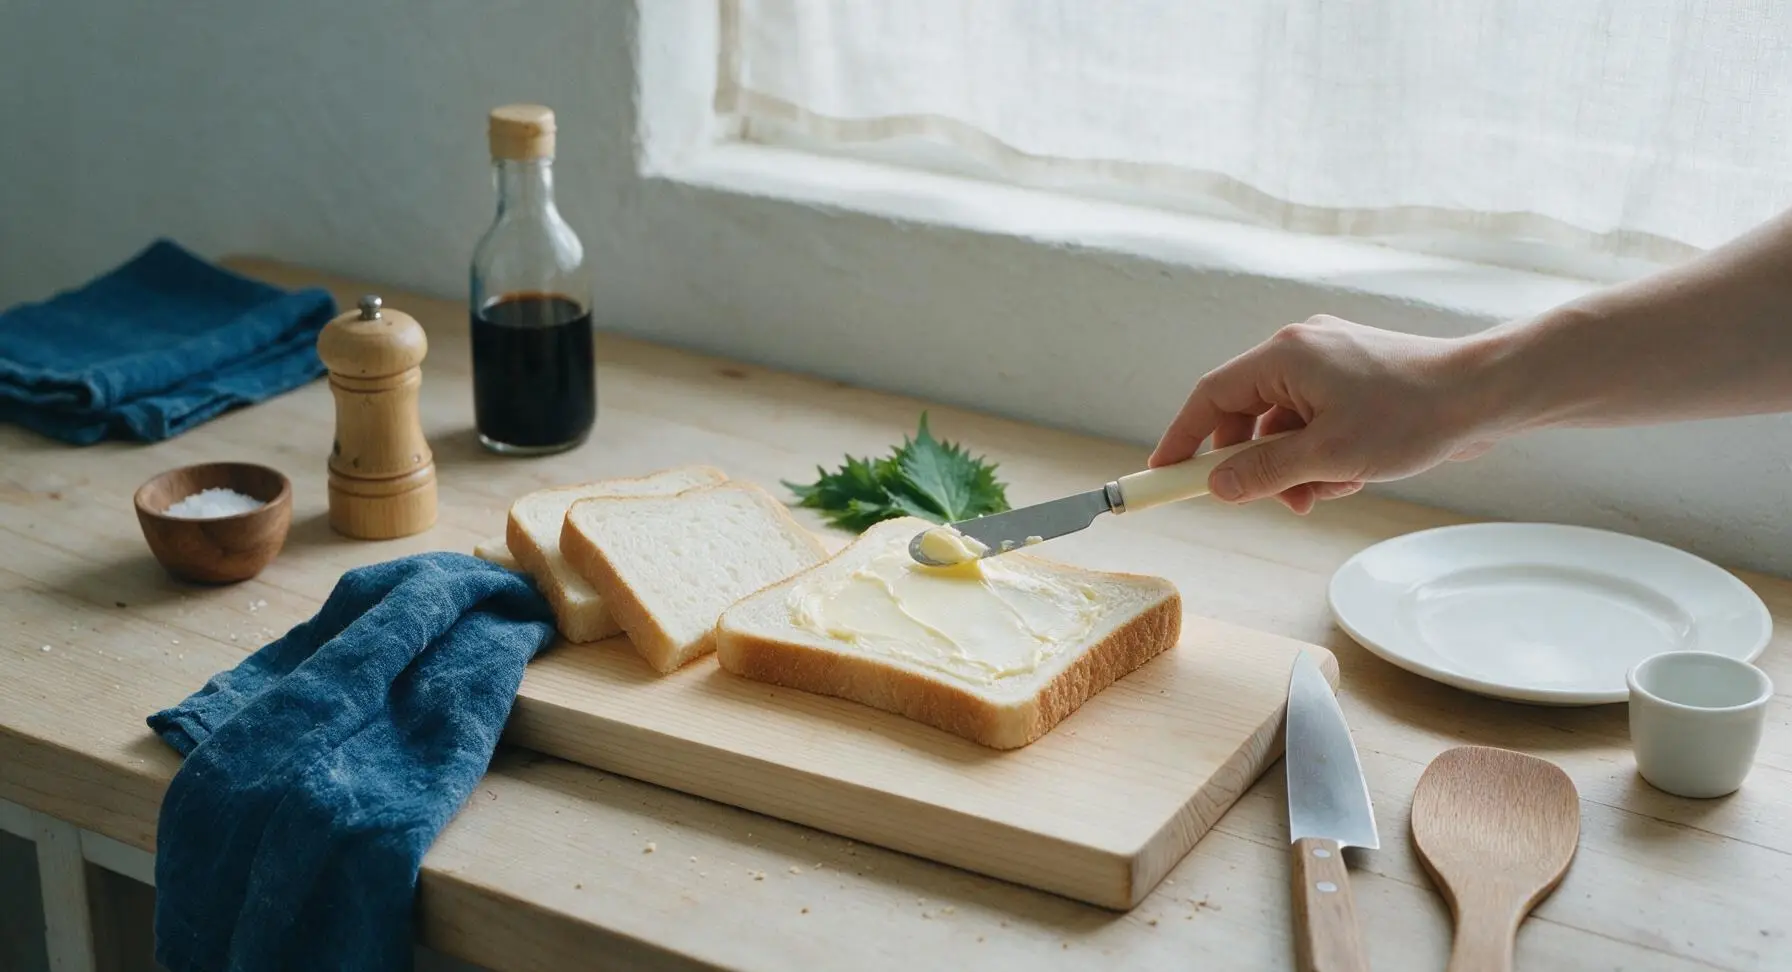
Use the cream-handled butter knife to scoop 1/2 tablespoon of softened room-temperature butter for each bread slice. Spread the butter in a thin, even layer all the way to the very edges of every slice, covering the entire surface to create a moisture barrier that prevents jam from soaking into the bread. The finished butter layer should be translucent, not thick or clumpy, with no bare spots of bread showing through.
Spread Jam Evenly
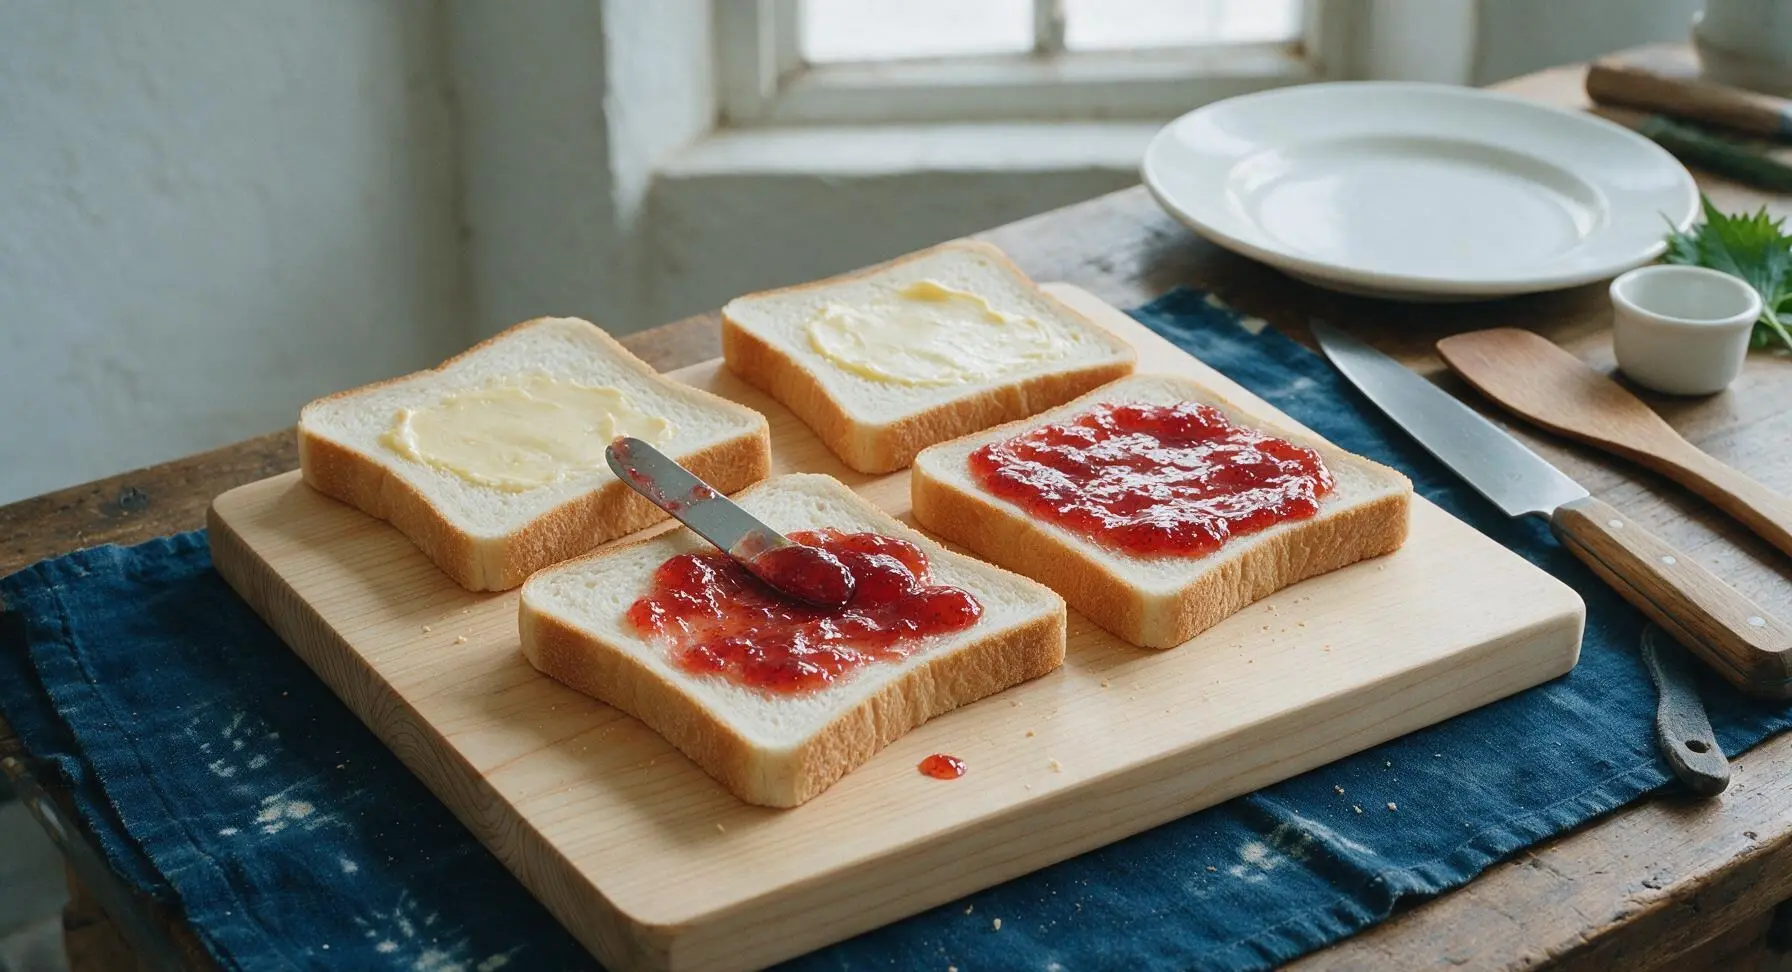
Scoop 1 tablespoon of strawberry jam onto each of 2 of the buttered bread slices. Use the flat side of the butter knife to spread the jam into a thick, even layer across the buttered surface, leaving a 2mm gap from the crust edge to prevent excessive oozing when the sandwich is pressed. Avoid spreading jam too thin—distinct, glossy fruit pieces and tiny seeds should be visible across the layer.
Assemble Sandwich Layers
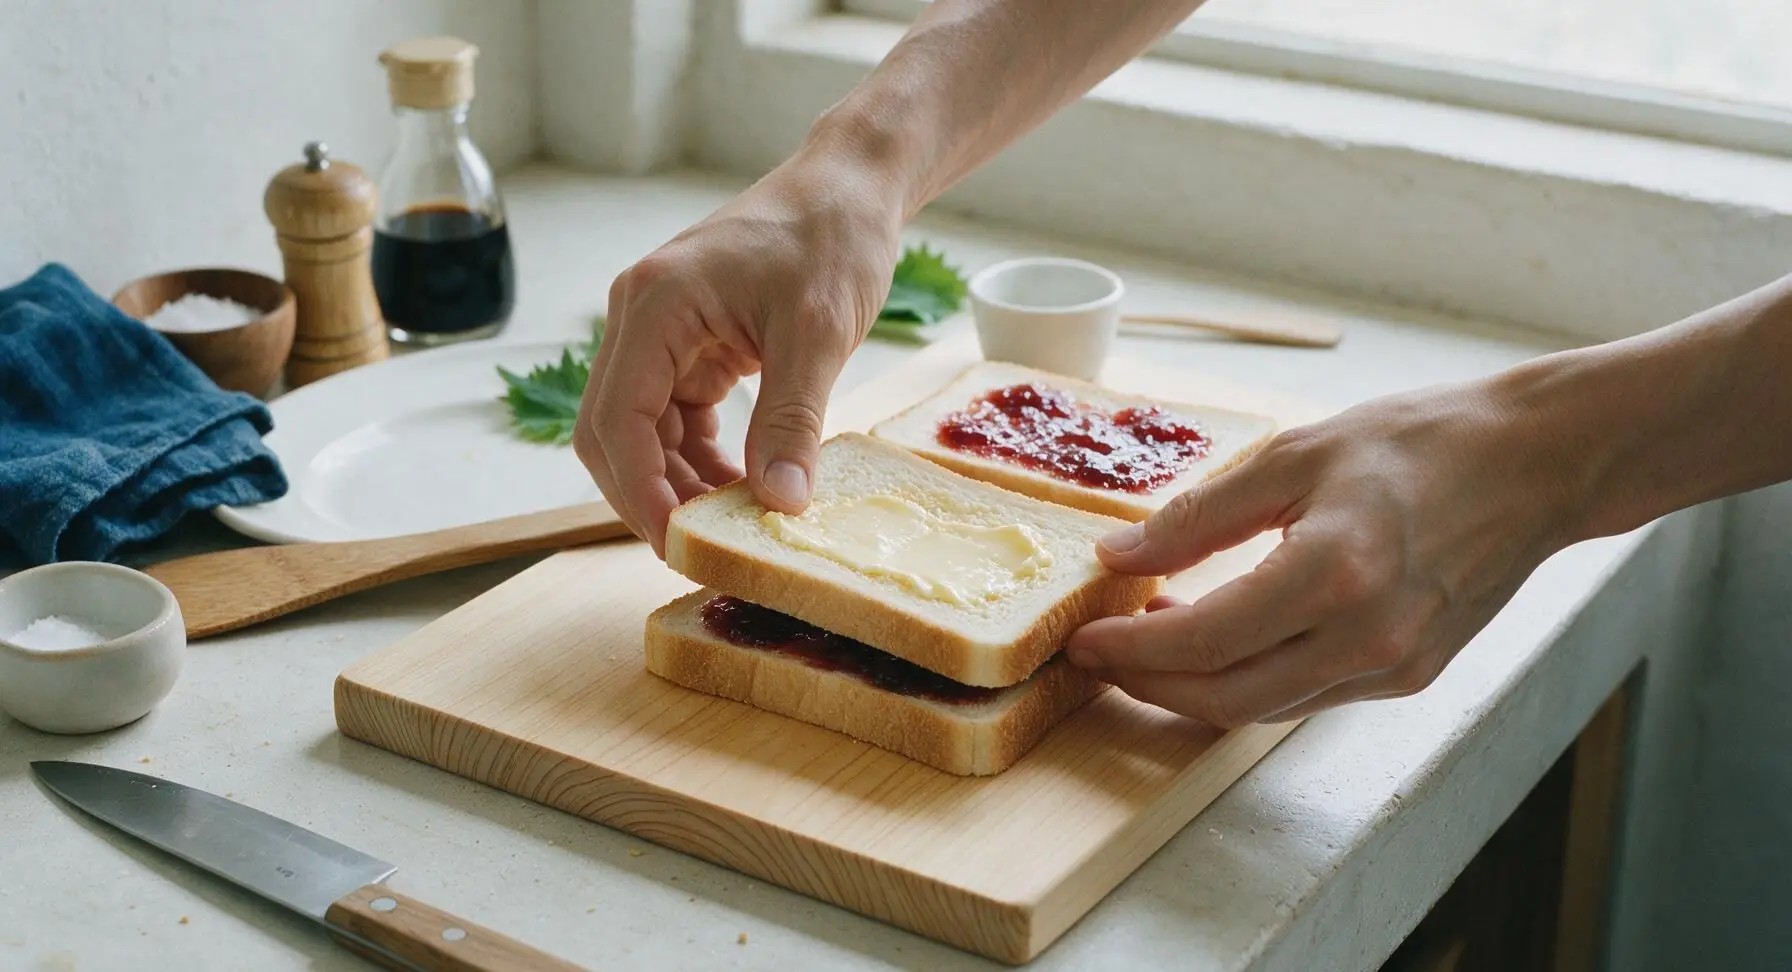
Take the remaining 2 buttered bread slices and place them butter-side down directly on top of the jam-covered slices, aligning the crust edges perfectly. Press down very gently on the top slice with the palm of your hand to help the layers stick together, applying light, even pressure across the whole surface so the jam spreads slightly to the edges without squeezing out messily.
Trim Crusts If Desired
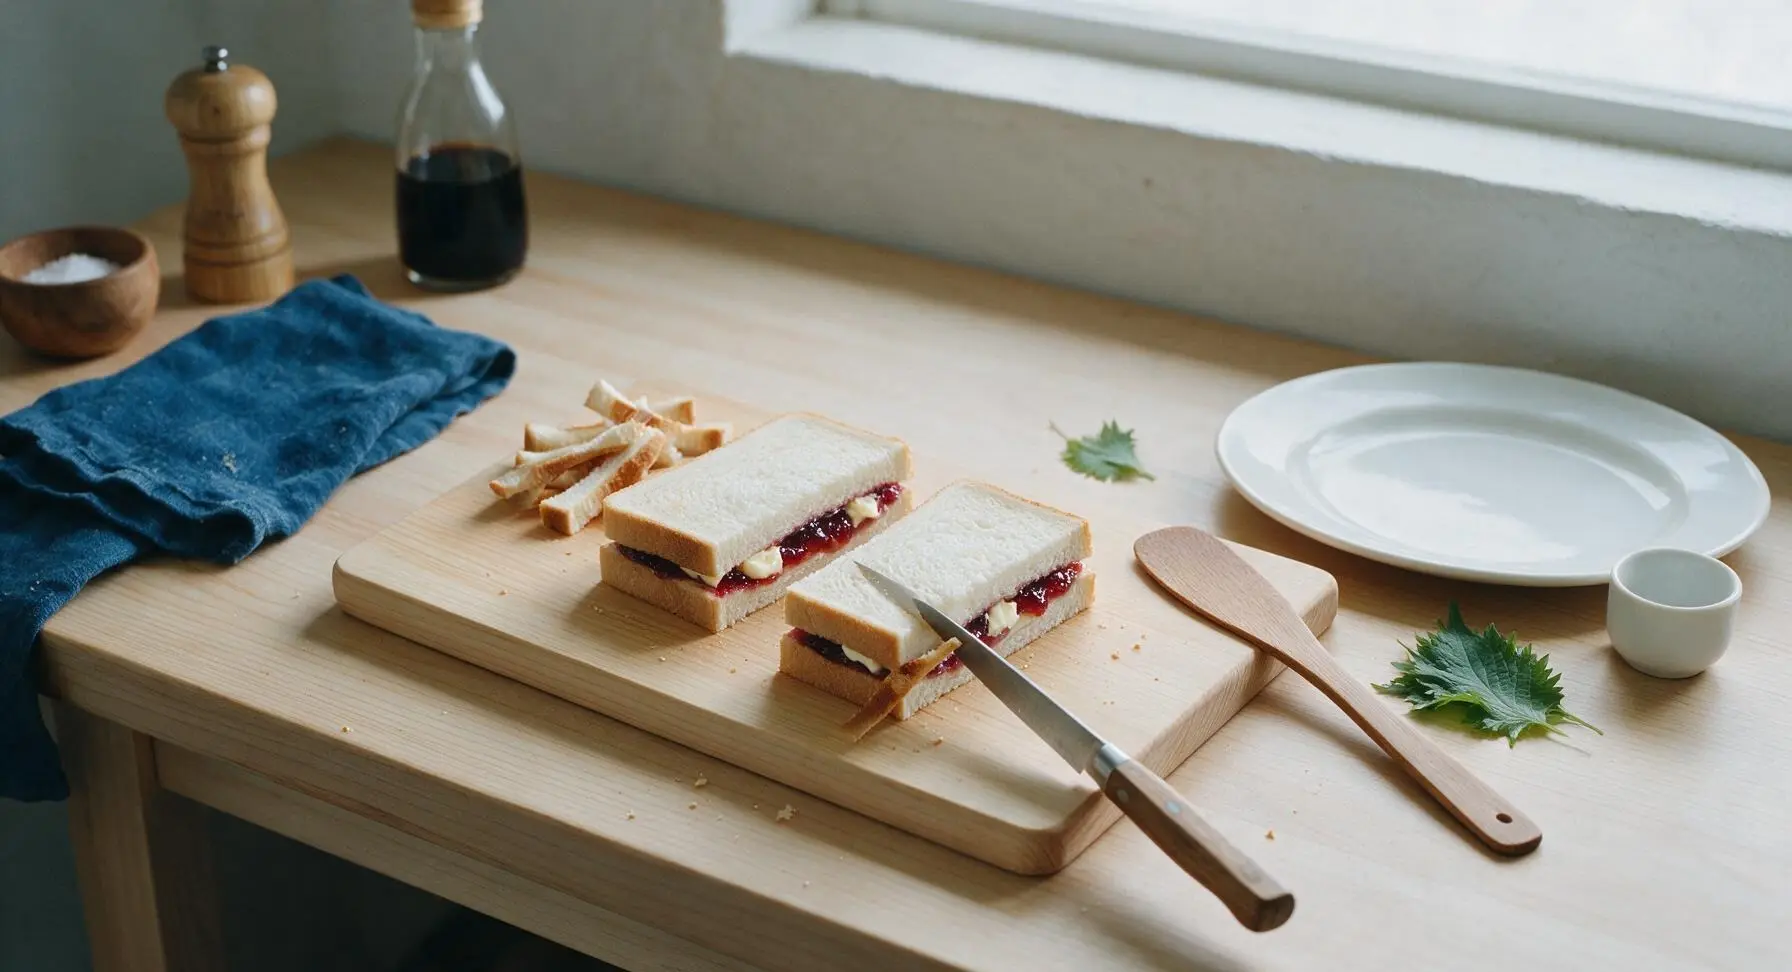
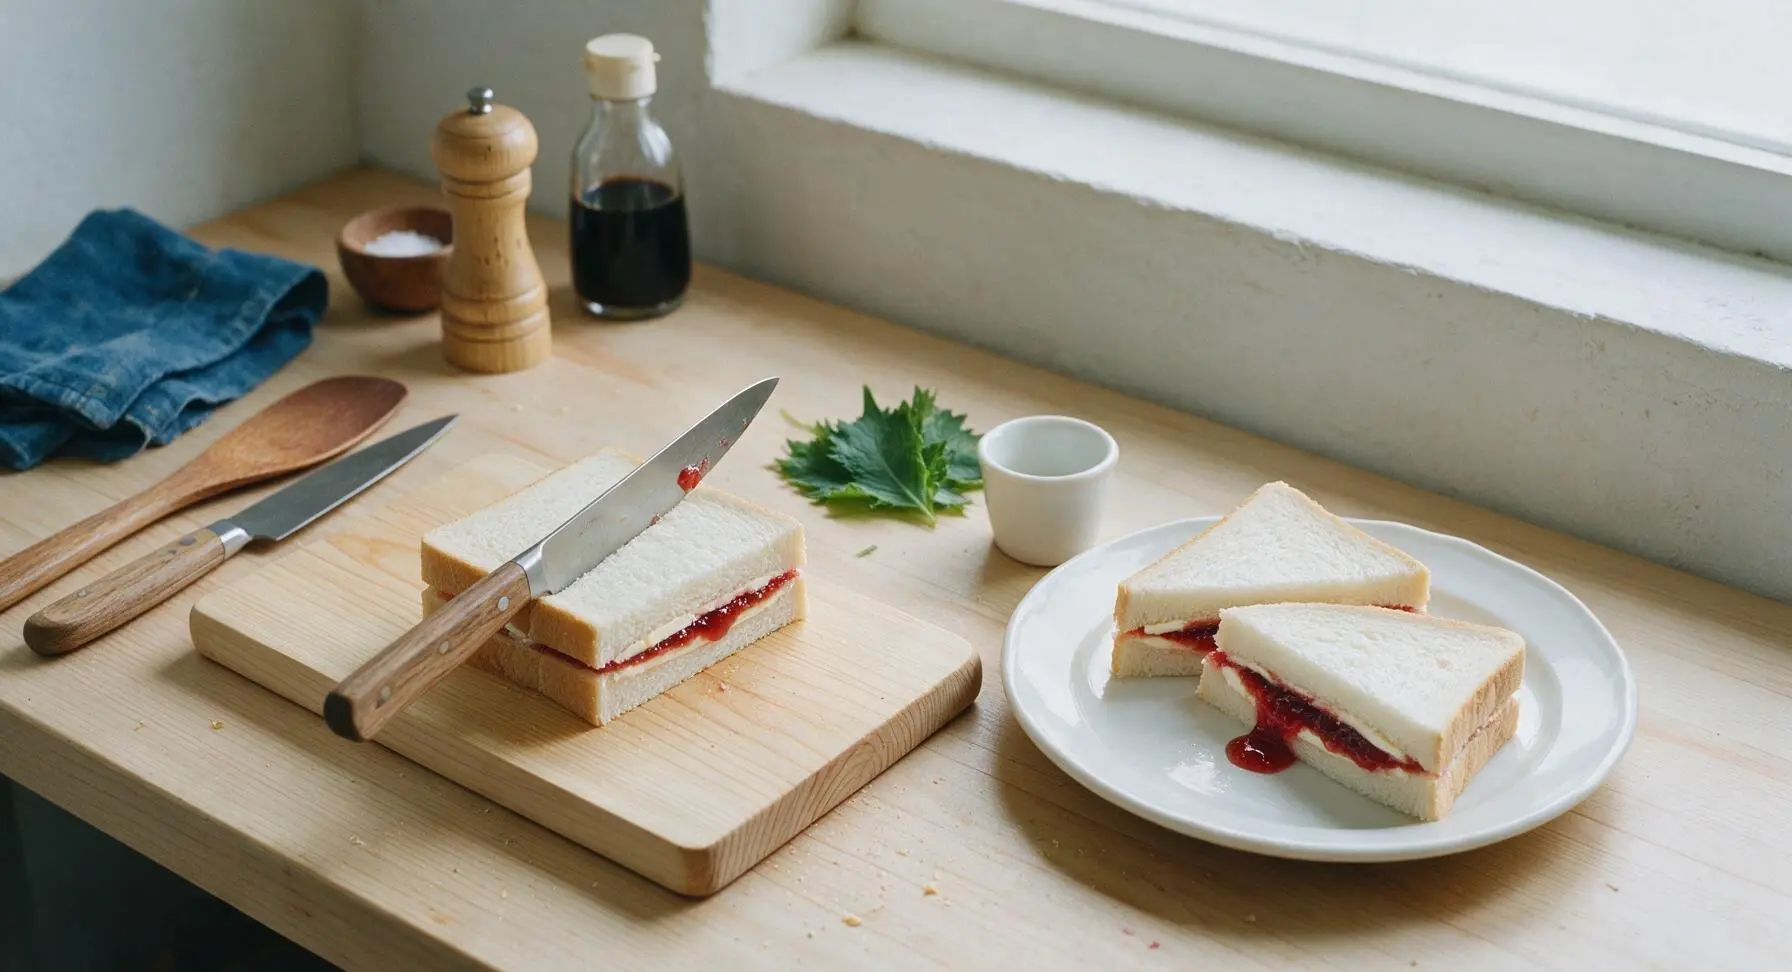
For a classic, neat picnic-style sandwich, hold the assembled sandwich steady with one hand, then use the butter knife to gently saw off the hard brown crust edges from all four sides of each sandwich. Cut slowly with a light sawing motion to avoid squishing the soft bread and squeezing out jam. Set trimmed crusts aside to snack on or save for homemade breadcrumbs.
Cut and Plate Sandwiches
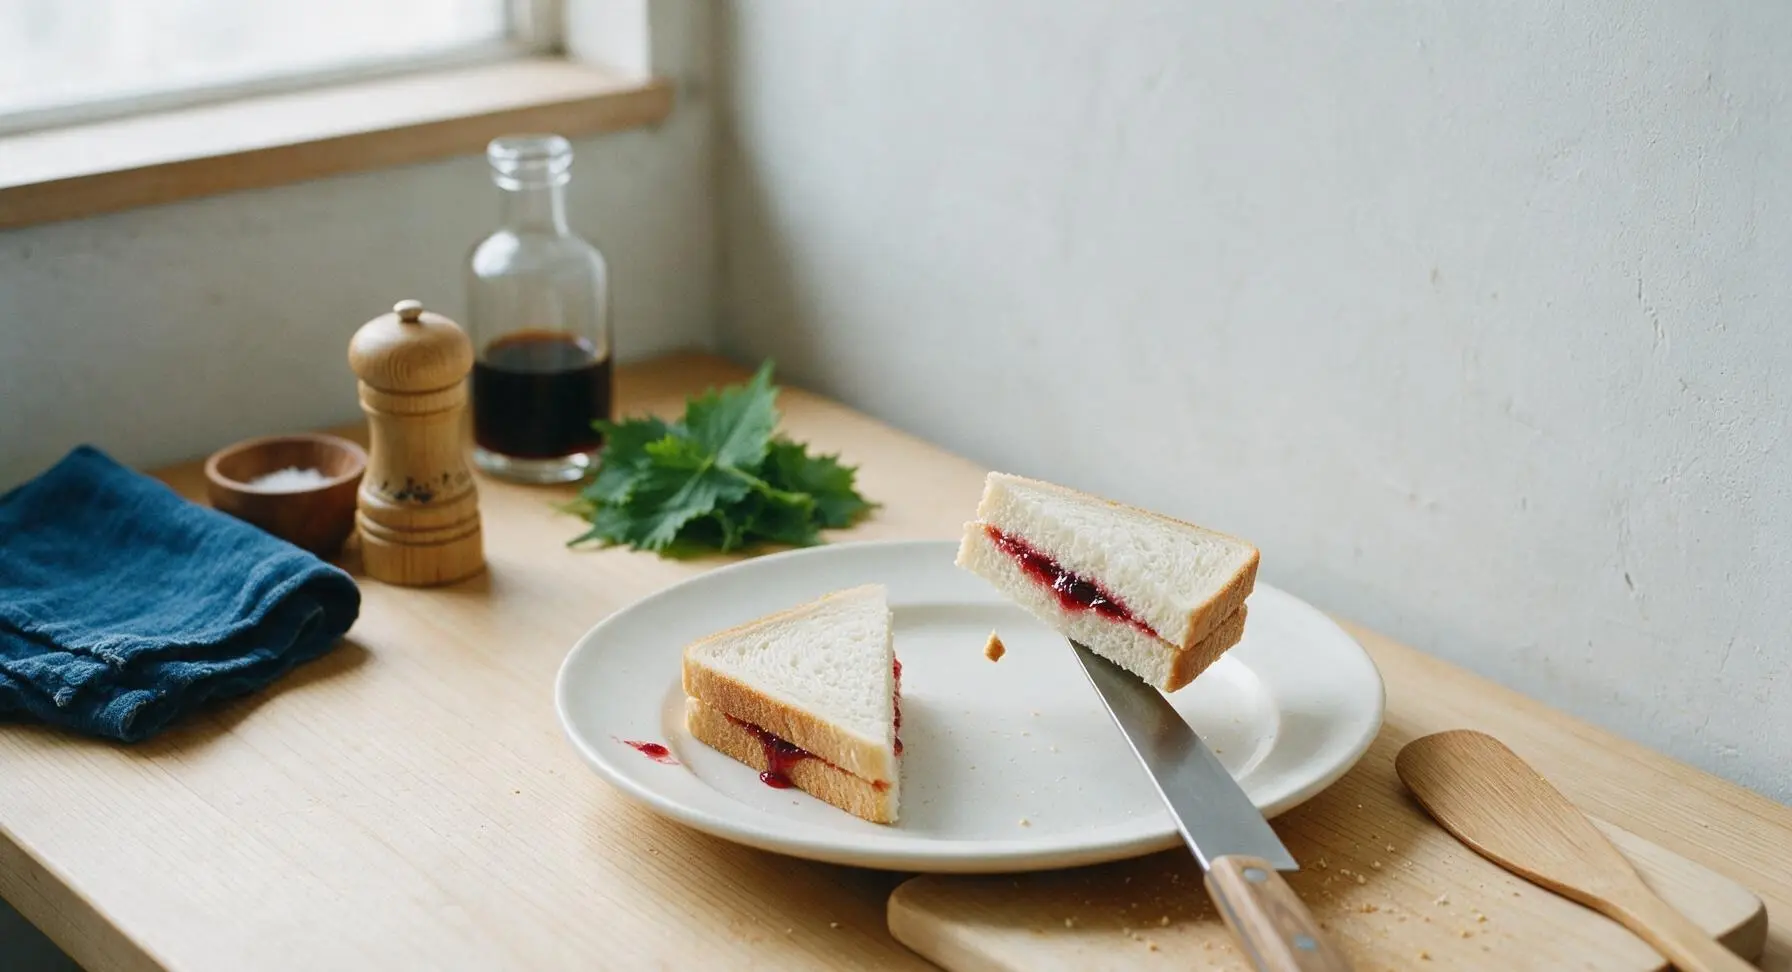
Place the tip of the butter knife at one top corner of each trimmed sandwich, then cut firmly diagonally across to the opposite corner to make two triangular halves per sandwich. Lift the triangular halves carefully with the knife and transfer them to the matte cream ceramic lunch plate, arranging them slightly overlapping so the jam-filled cut edge faces outward. Let a tiny amount of jam ooze naturally onto the plate for an inviting, homemade look.
Tips
2.Use fully softened room-temperature butter instead of cold butter straight from the fridge. Cold, firm butter will tear soft white bread when you spread it, leaving uneven clumps and bare spots that let jam seep through and create soggy patches.
3.Stick to 1 tablespoon of jam per bread slice, and leave a small gap from the crust edge when spreading. Too much jam will squeeze out the sides when you cut, hold, or bite into the sandwich, creating a sticky mess and leaving uneven filling distribution.






OMG I can’t believe I never thought to soften the butter first before spreading! No more torn bread, game changer for my weekday morning breakfasts. SO good with strawberry jam on sourdough.
My kids absolutely demolished these after school today! I used whole wheat bread and their favorite grape jam, and they asked for seconds before they even finished the first half. Total win for busy afternoons.
Wait, y’all are telling me there’s a *right* way to make a butter and jam sandwich? I’ve been slapping cold butter on bread for years and ending up with holes, can’t wait to try this method tomorrow for my work lunch.
This is exactly how my mom taught me to make these back in the 50s! Soft butter spread edge to edge so the jam doesn’t soak through the bread, people always forget that edge to edge trick. Tastes just like childhood.
Zero cook time? Perfect for my dorm room, I don’t even have a working stove right now. Grabbed some cheap white bread, salted butter, and raspberry jam from the campus market and this hit so hard during my all-nighter study sesh.
Made these for our neighborhood potluck last weekend, put little toothpicks in them to cut into bite sized triangles, and they were gone in 10 minutes. Everyone kept asking where I got the fancy appetizer recipe, lmao it’s just butter and jam.
Swapped the dairy butter for vegan salted butter and used my homemade blackberry jam, and this was such a perfect quick Saturday lunch. I don’t know why I don’t make these more often!
Tried this with my homemade sourdough and salted butter, paired with peach jam I canned last summer. 10/10, no notes. Sometimes the simplest recipes really are the best.
Packed these for our family day hike last weekend, they held up perfectly in the backpack even when it was 80 degrees out. The butter didn’t melt all messy and the jam didn’t leak all over our gear, will be a regular trail snack from now on.
Wait, is it wild that I put a little dash of cinnamon in my butter before spreading? Tastes like warm nostalgia, especially with apricot jam. Try it, trust me.
I made this for a lazy Sunday brunch with my partner, served them alongside scrambled eggs and iced coffee, and it felt like such a fancy little spread for barely any effort. Will be adding this to our regular weekend rotation.
I keep all the fixings at my desk now for busy work days when I don’t have time to run out for lunch. Takes 2 minutes to put together, way better than the overpriced sandwiches from the deli downstairs.
I made these for my little sister’s tea party birthday, cut them into little heart shapes with a cookie cutter, and all the 7 year olds went feral for them. Easiest party food I’ve ever made, zero stress.
I used to make these for my students when we’d have classroom reading parties, and now I make them for my grandkids when they come visit. This recipe is exactly the right ratio of butter to jam, no skimping on either!
I meal prepped a batch of these for my work week lunches, kept them in an airtight container in the fridge, and they stayed perfect for 3 whole days! No soggy bread, no jam leaking, I was shocked.
I ate these all the time as a kid but hadn’t made one in years, made one this morning with my coffee and it was like a little hug. Sometimes you don’t need fancy ingredients to make something that makes your day better.
Made these after soccer practice last night for the kids and their friends, I thought I made enough for everyone but the parents started eating them too! Had to run inside to make a second batch, lmao.
I used that fancy European style salted butter for this and homemade raspberry jam, and let me tell you, it felt like a gourmet meal for like $2 total. 10/10, will be treating myself to these on the regular.
I know it’s called a classic lunch or snack sandwich but I eat these for dinner at least once a week when I don’t feel like cooking. No dishes, no prep, 2 minutes to make, tastes better than takeout most nights.