
jello chocolate pudding
intro
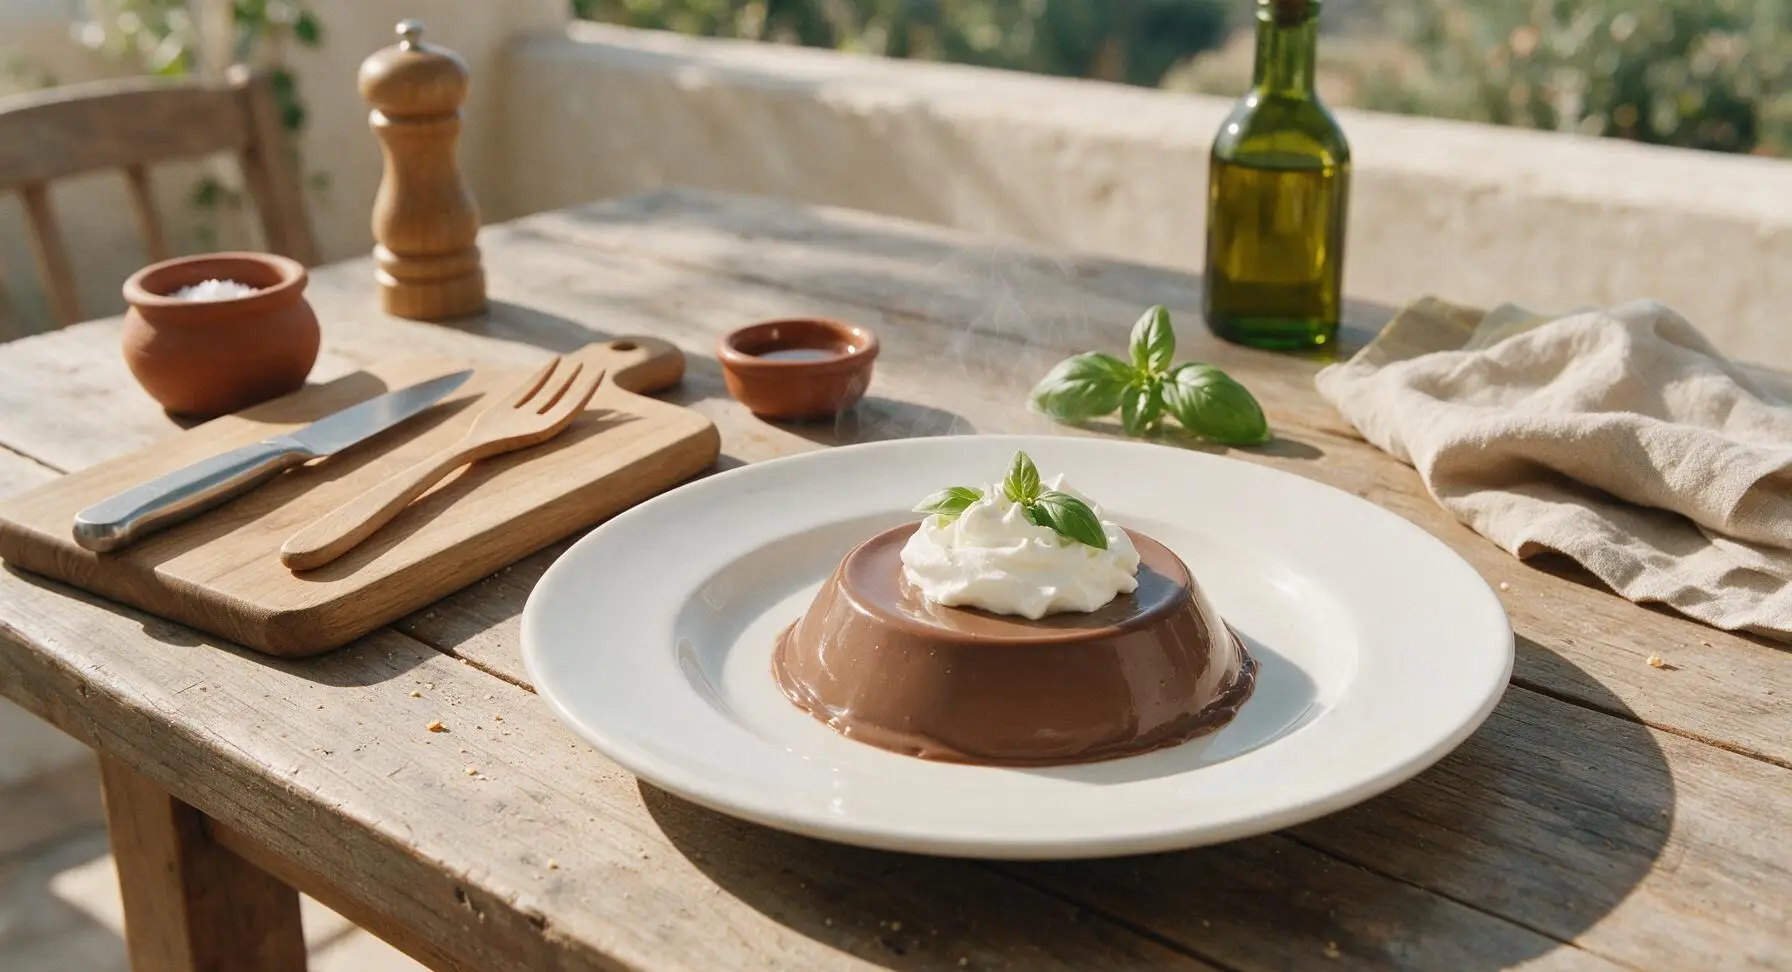
Silky, rich, nostalgic Jell-O chocolate pudding—deeply chocolatey, perfectly set, topped with fluffy fresh whipped cream for a quick, no-fuss comforting treat.
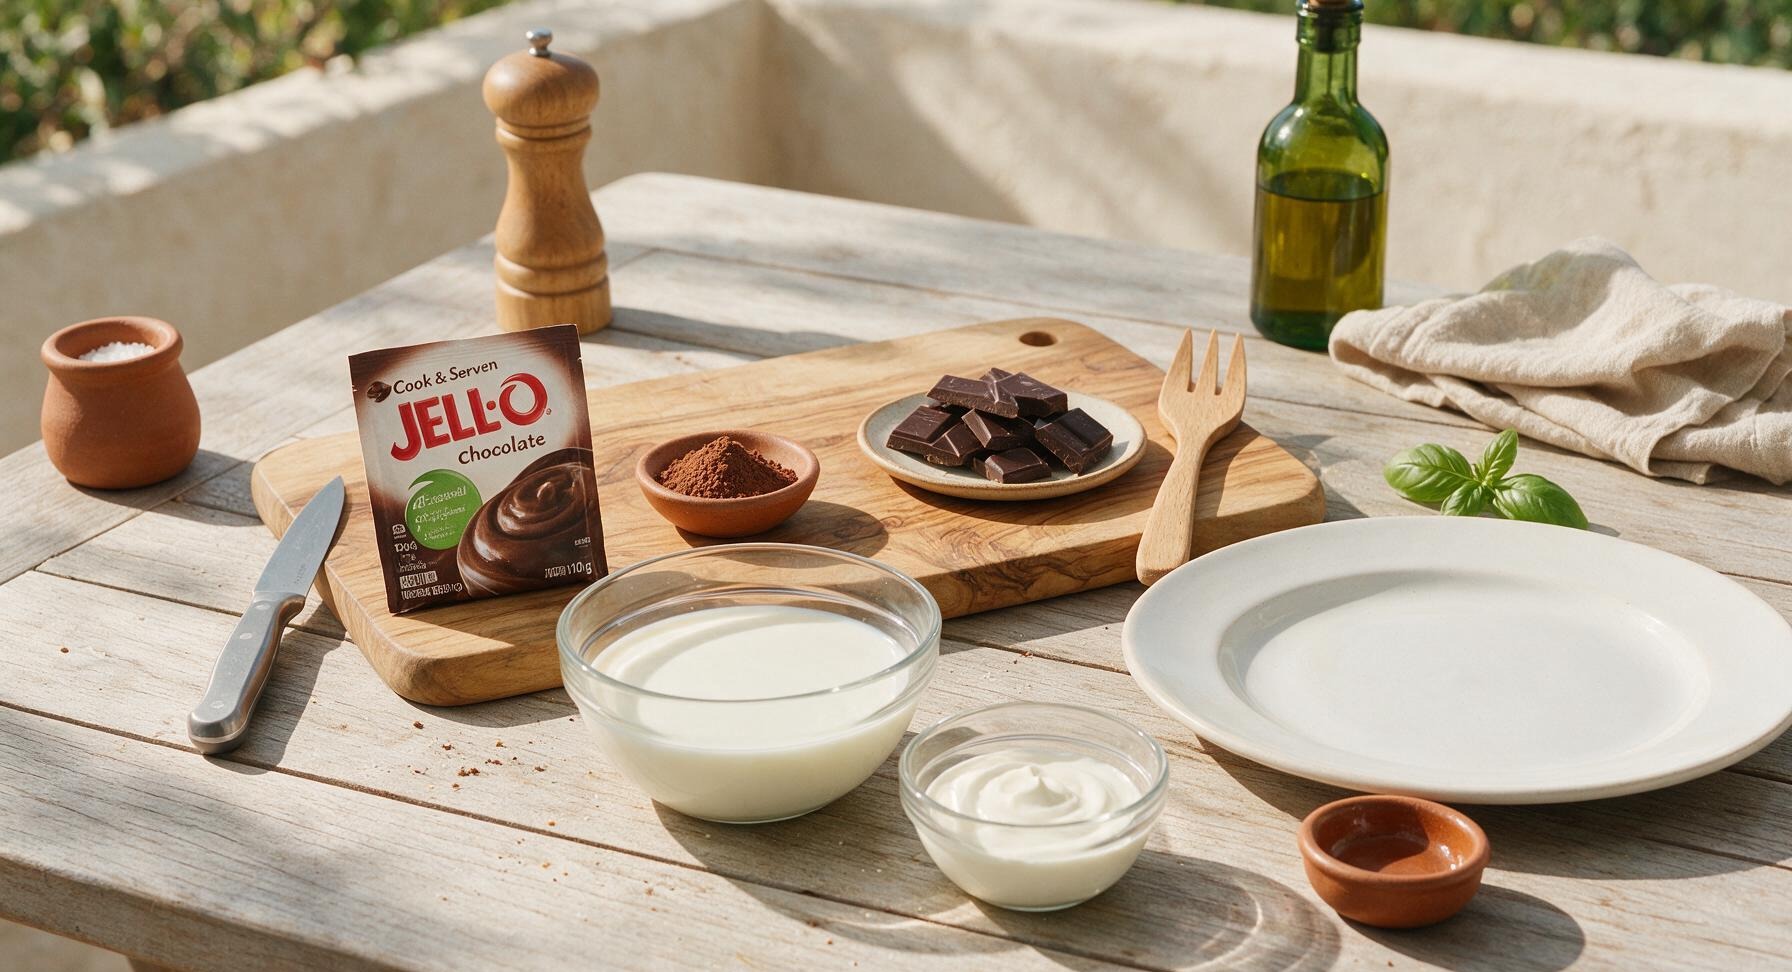
Ingredients
Steps
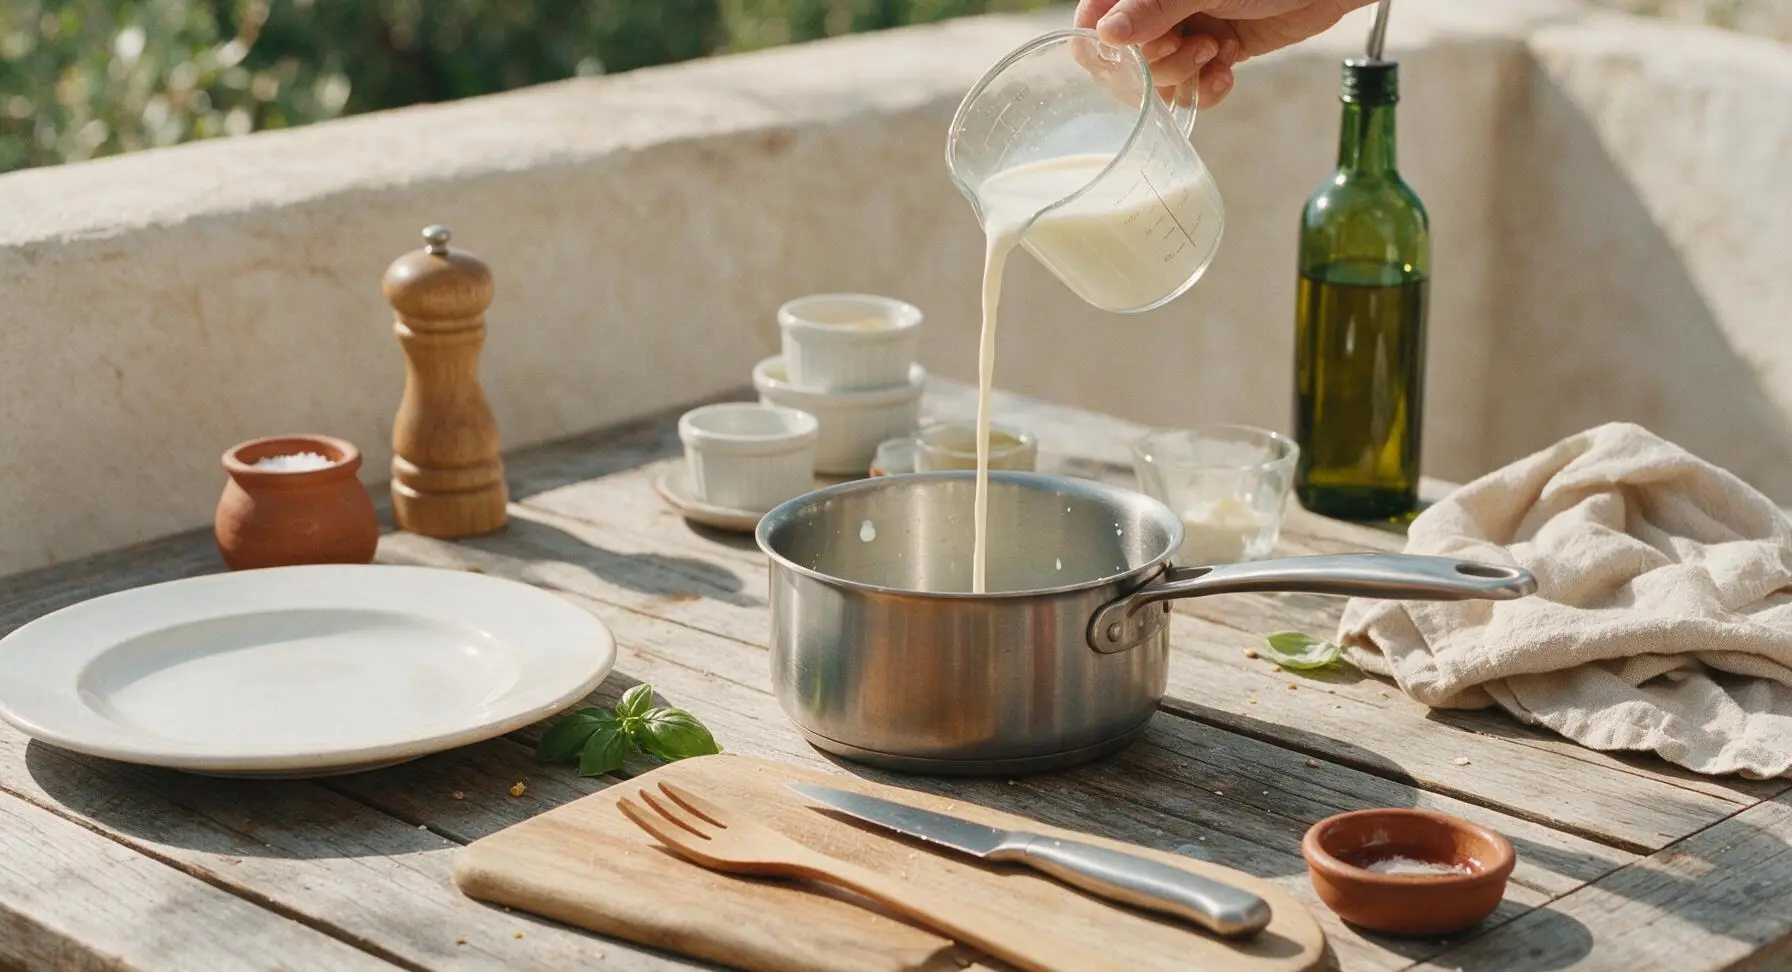
Measure Cold Milk
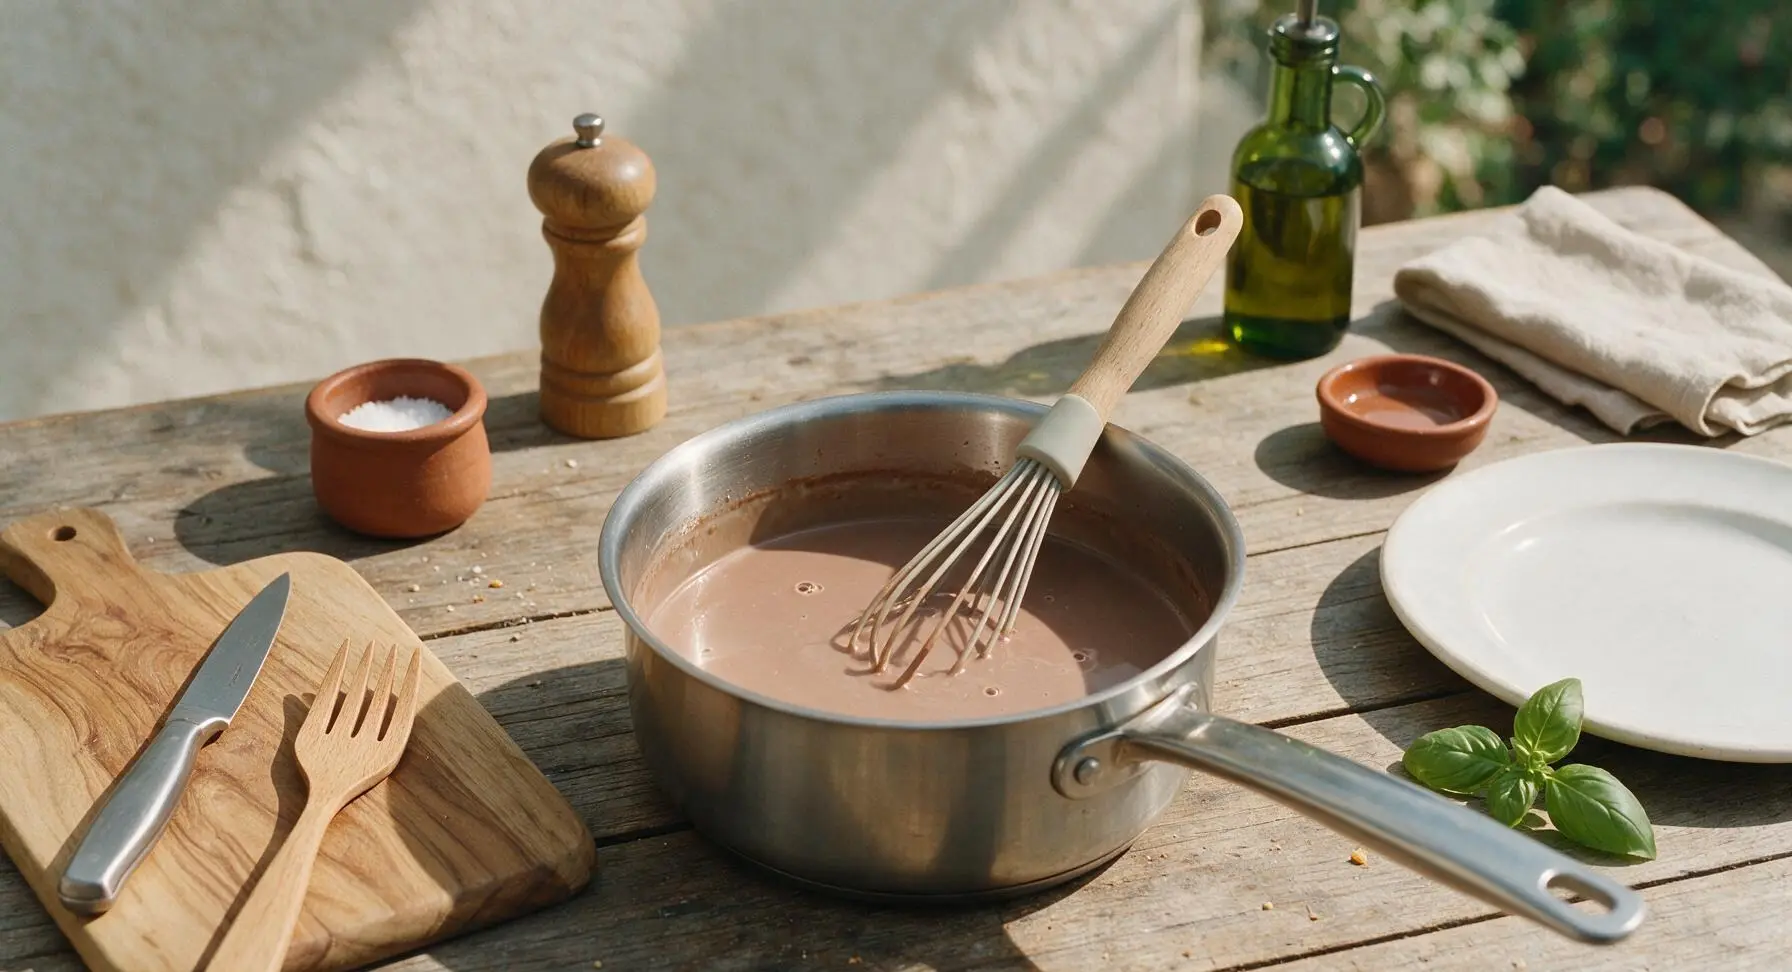
Retrieve the 1.5L stainless steel saucepan from its permanent back right storage spot and place it in the center work zone. Pour exactly 480ml (2 cups) of cold whole milk into the saucepan, taking care not to splash. Do not preheat the pan yet—adding pudding mix to cold milk is the key to avoiding lumps.
Whisk in Pudding Mix
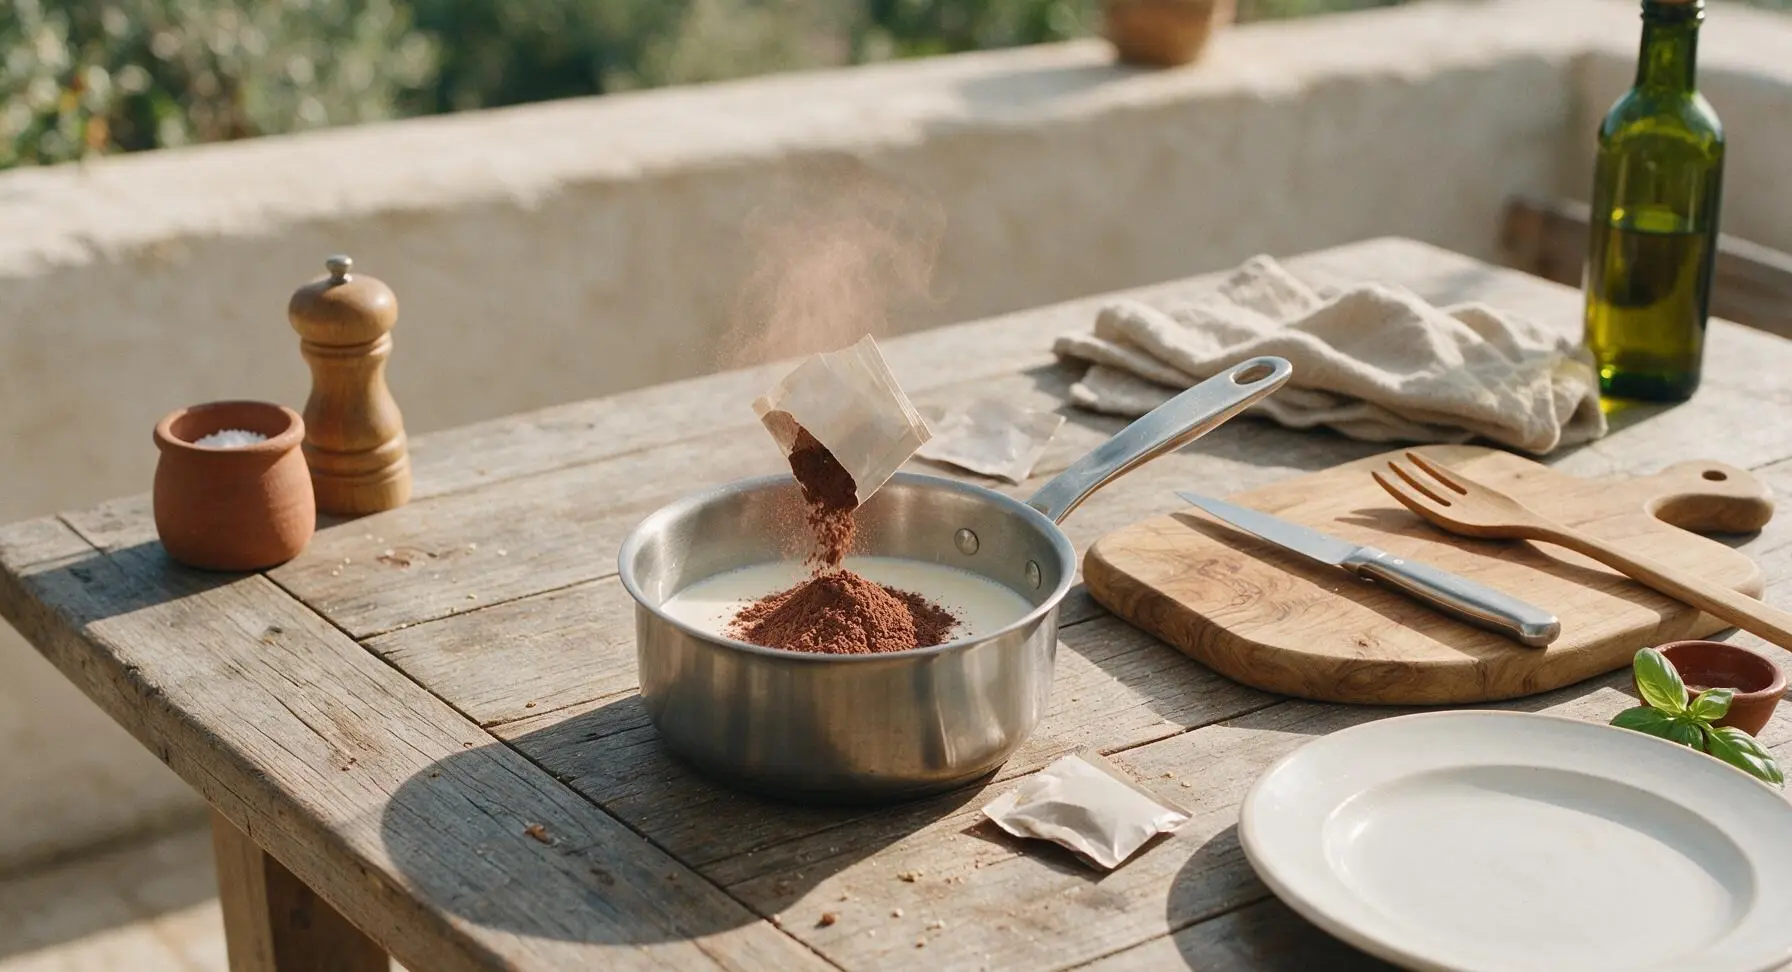
Pour the entire 110g (3.9oz) of chocolate pudding mix powder into the cold milk in the saucepan. Retrieve the silicone-tipped whisk from the back left utensil holder, and whisk slowly for 30 seconds until all dry powder is fully dissolved, with no clumps visible on the pan bottom or surface.
Cook Until Thickened
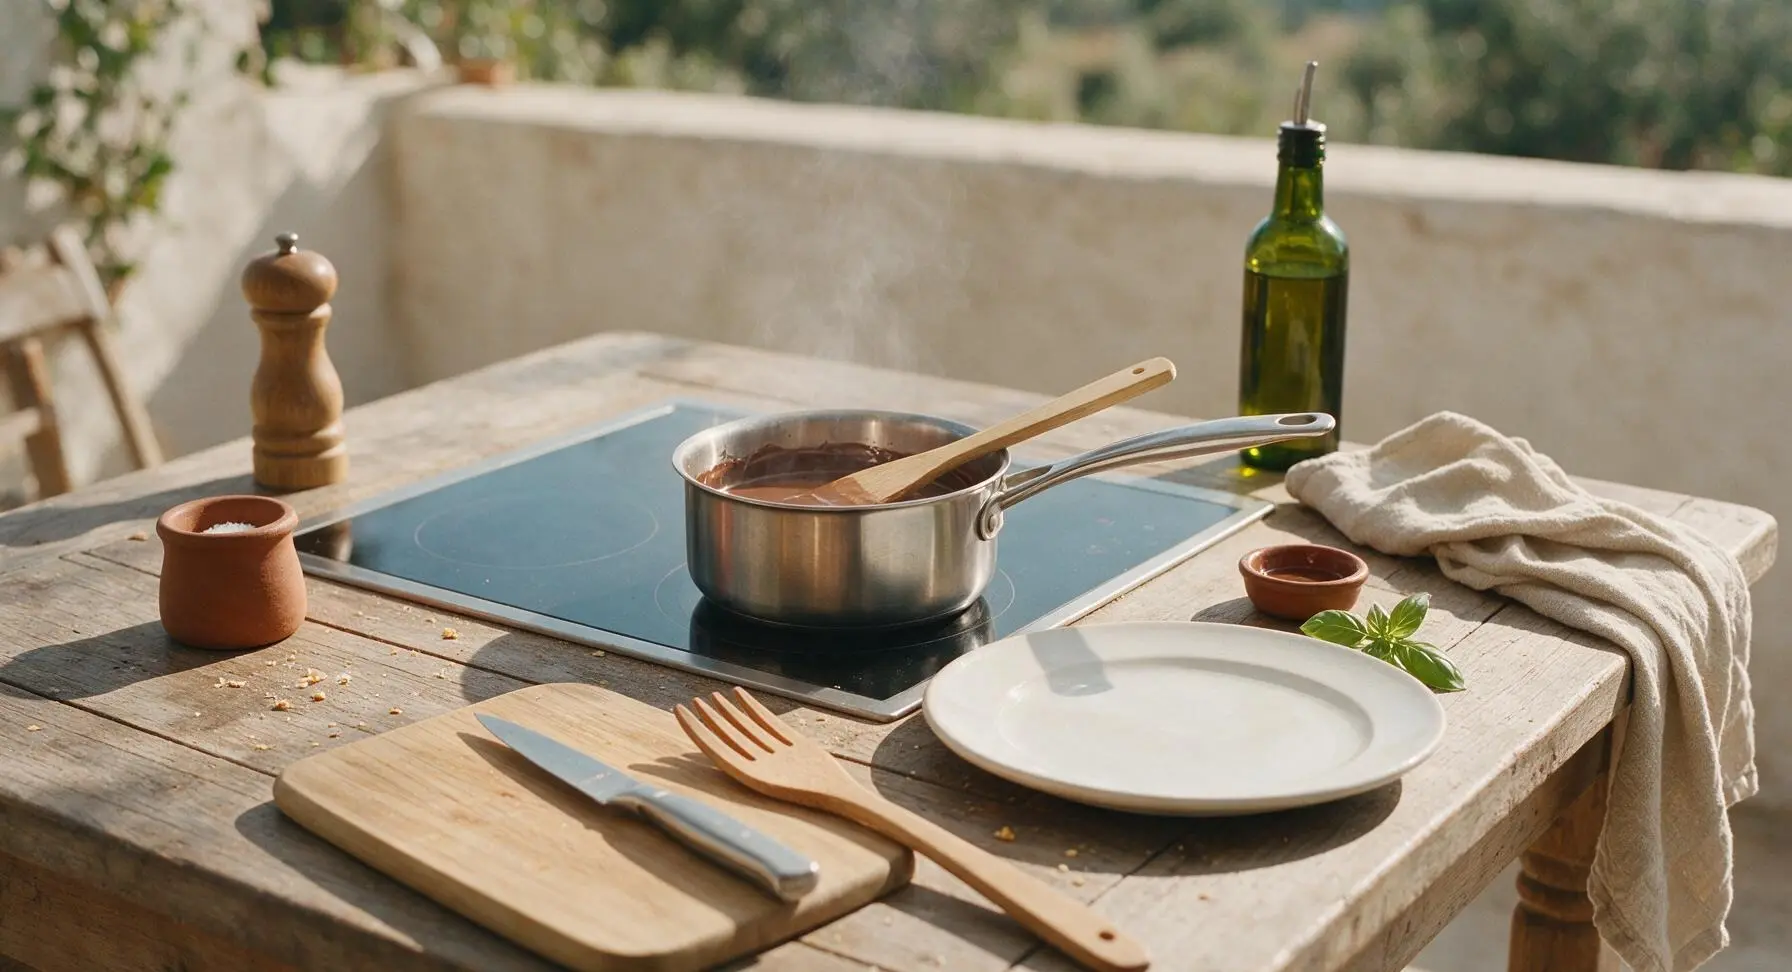
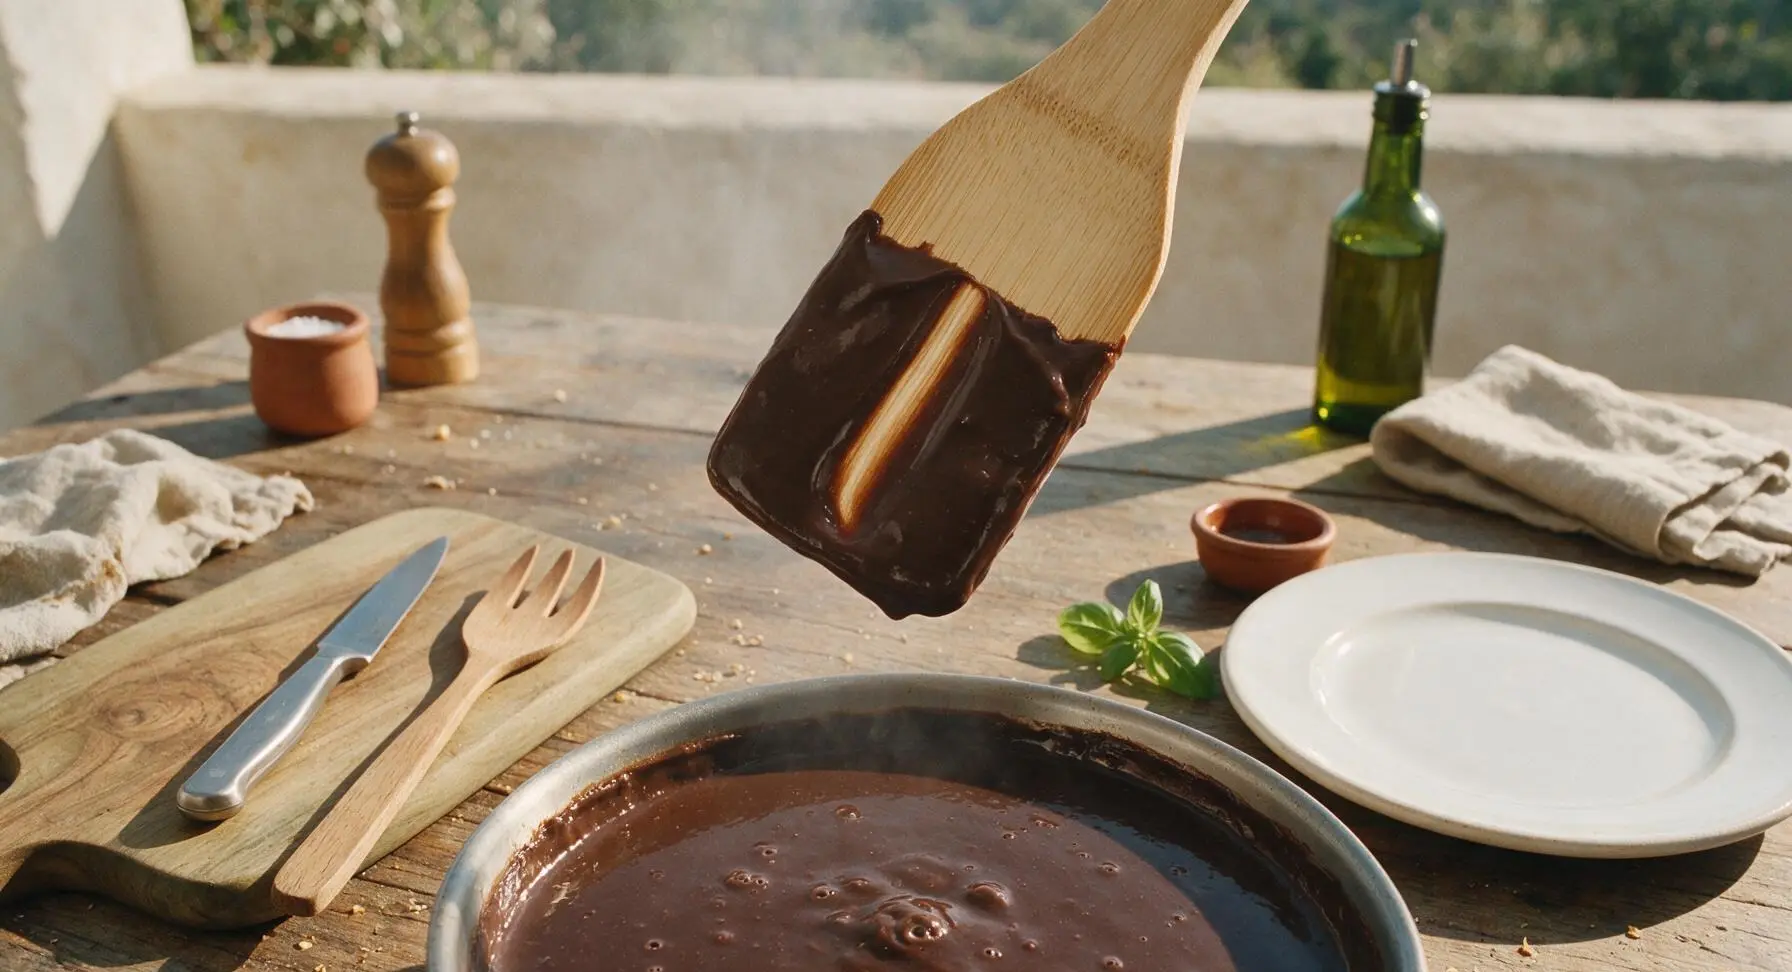
Move the saucepan to the center back induction cooktop zone, set heat to medium (~175C/350F). Stir constantly with the light bamboo spatula as the mixture heats, cooking for 7-9 minutes until the pudding reaches a gentle, rolling bubble that does not disappear when stirred. The pudding is done when it thickens enough to coat the back of the spatula in a smooth, opaque layer that holds a clean line when you run a finger through it.
Remove From Heat
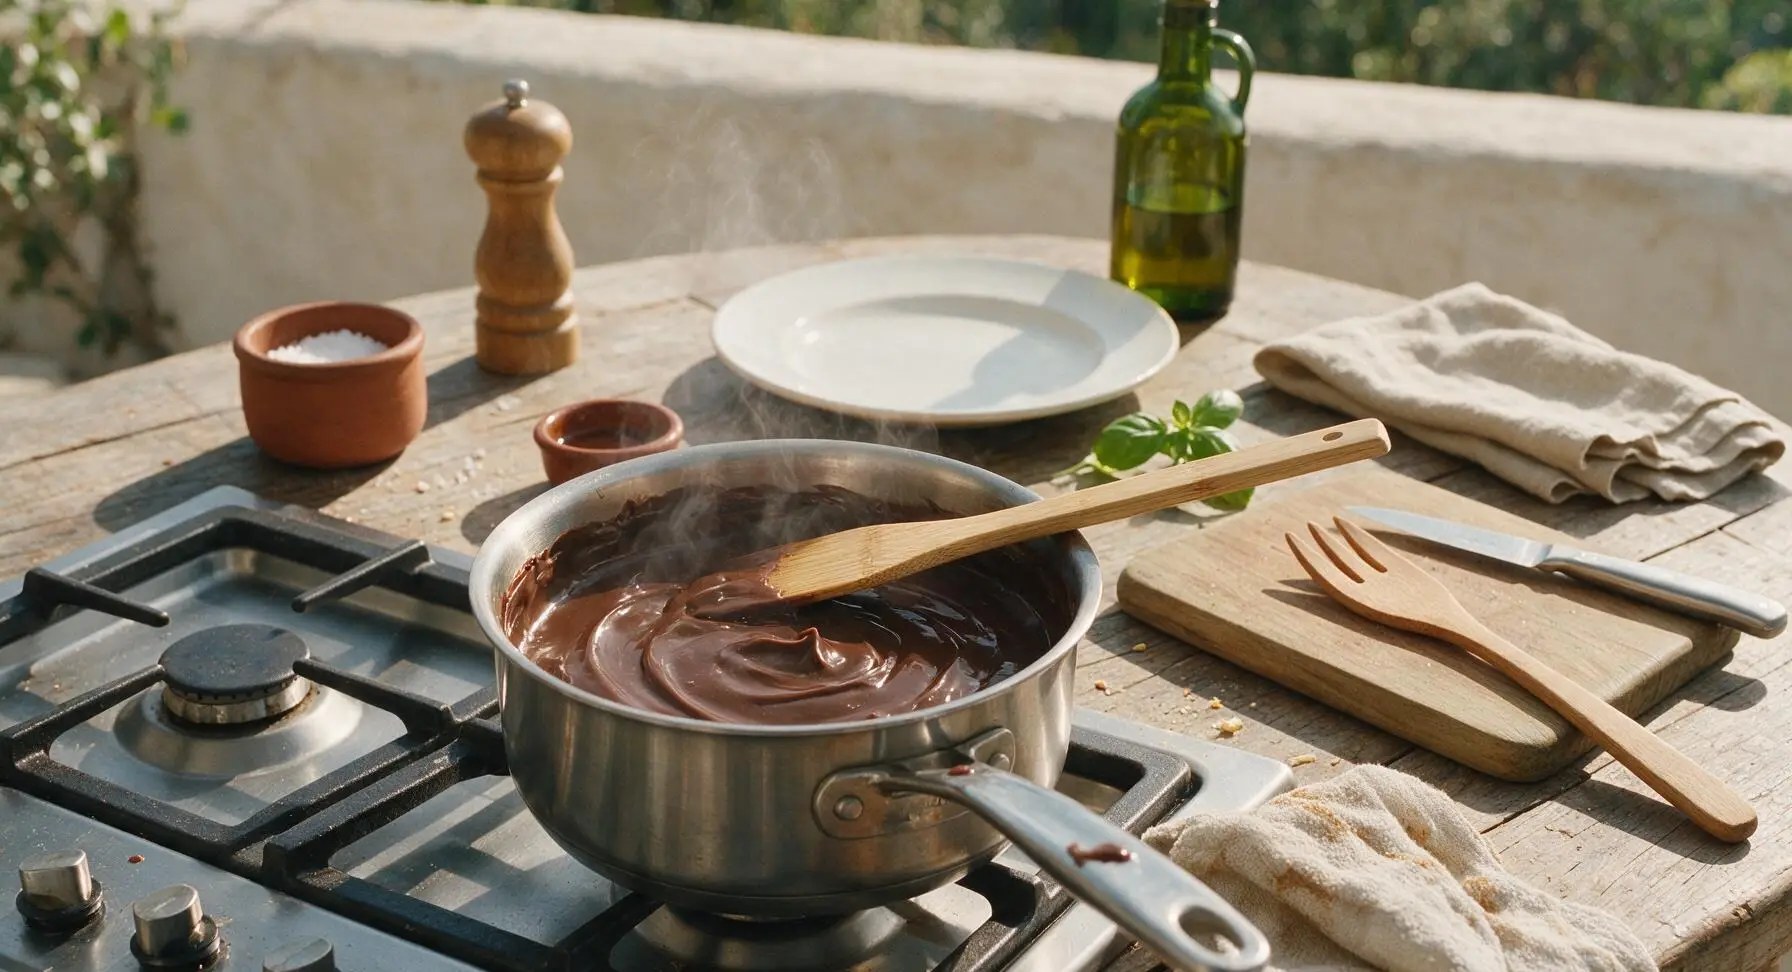
Turn off the induction cooktop immediately once the pudding reaches the thick bubbling stage, and move the saucepan back to the front center work zone away from residual heat. Let rest 5 minutes, stirring once gently after 2 minutes to release trapped steam and prevent a tough skin from forming on the pudding surface.
Pour Into Serving Cups
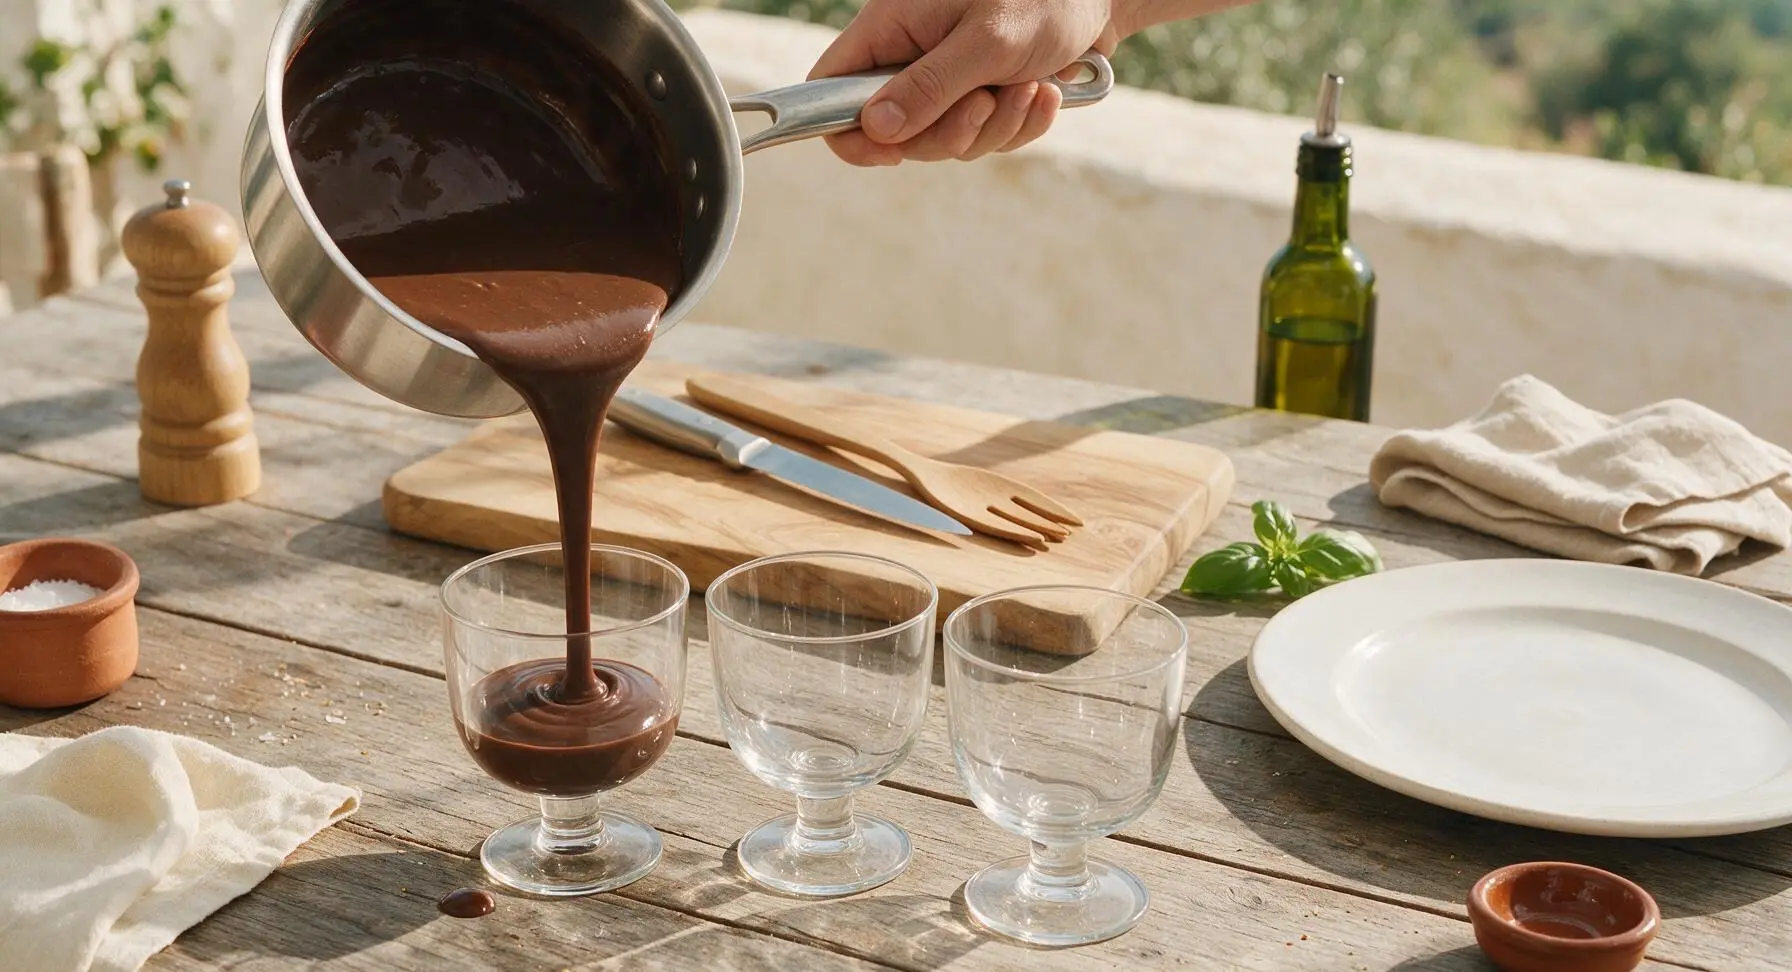
Retrieve the four clear stemmed glass dessert cups from their back center storage spot, and arrange them in a neat row in front of the saucepan. Pour the warm pudding evenly between the four cups, filling each to 1cm below the rim to leave space for whipped cream. Wipe any large drips from the cup exteriors with the corner of the permanent cream kitchen towel, leaving small natural drips as-is.
Chill Until Fully Set
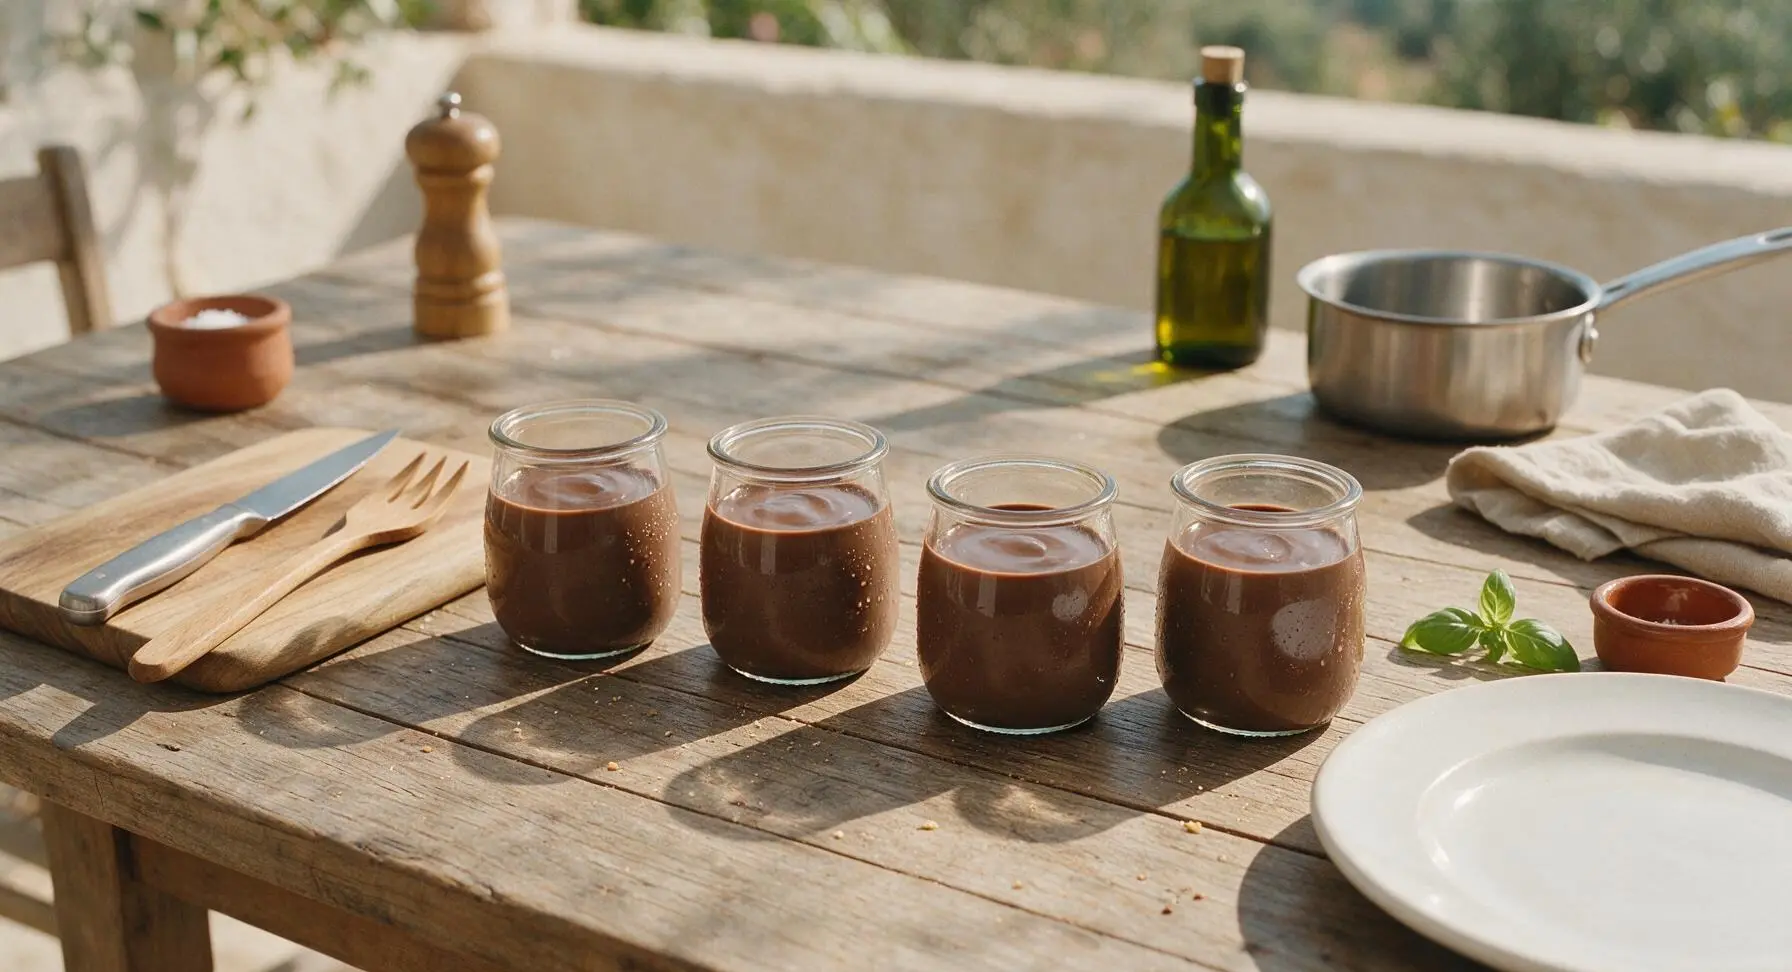
Carefully transfer the filled dessert cups to the refrigerator, and chill uncovered for a minimum of 2 hours, until the pudding is firm to the touch with no liquid jiggle in the center when a cup is nudged. Avoid covering the cups for the first 30 minutes to prevent condensation from dripping onto the pudding surface.
Whip Cream Topping
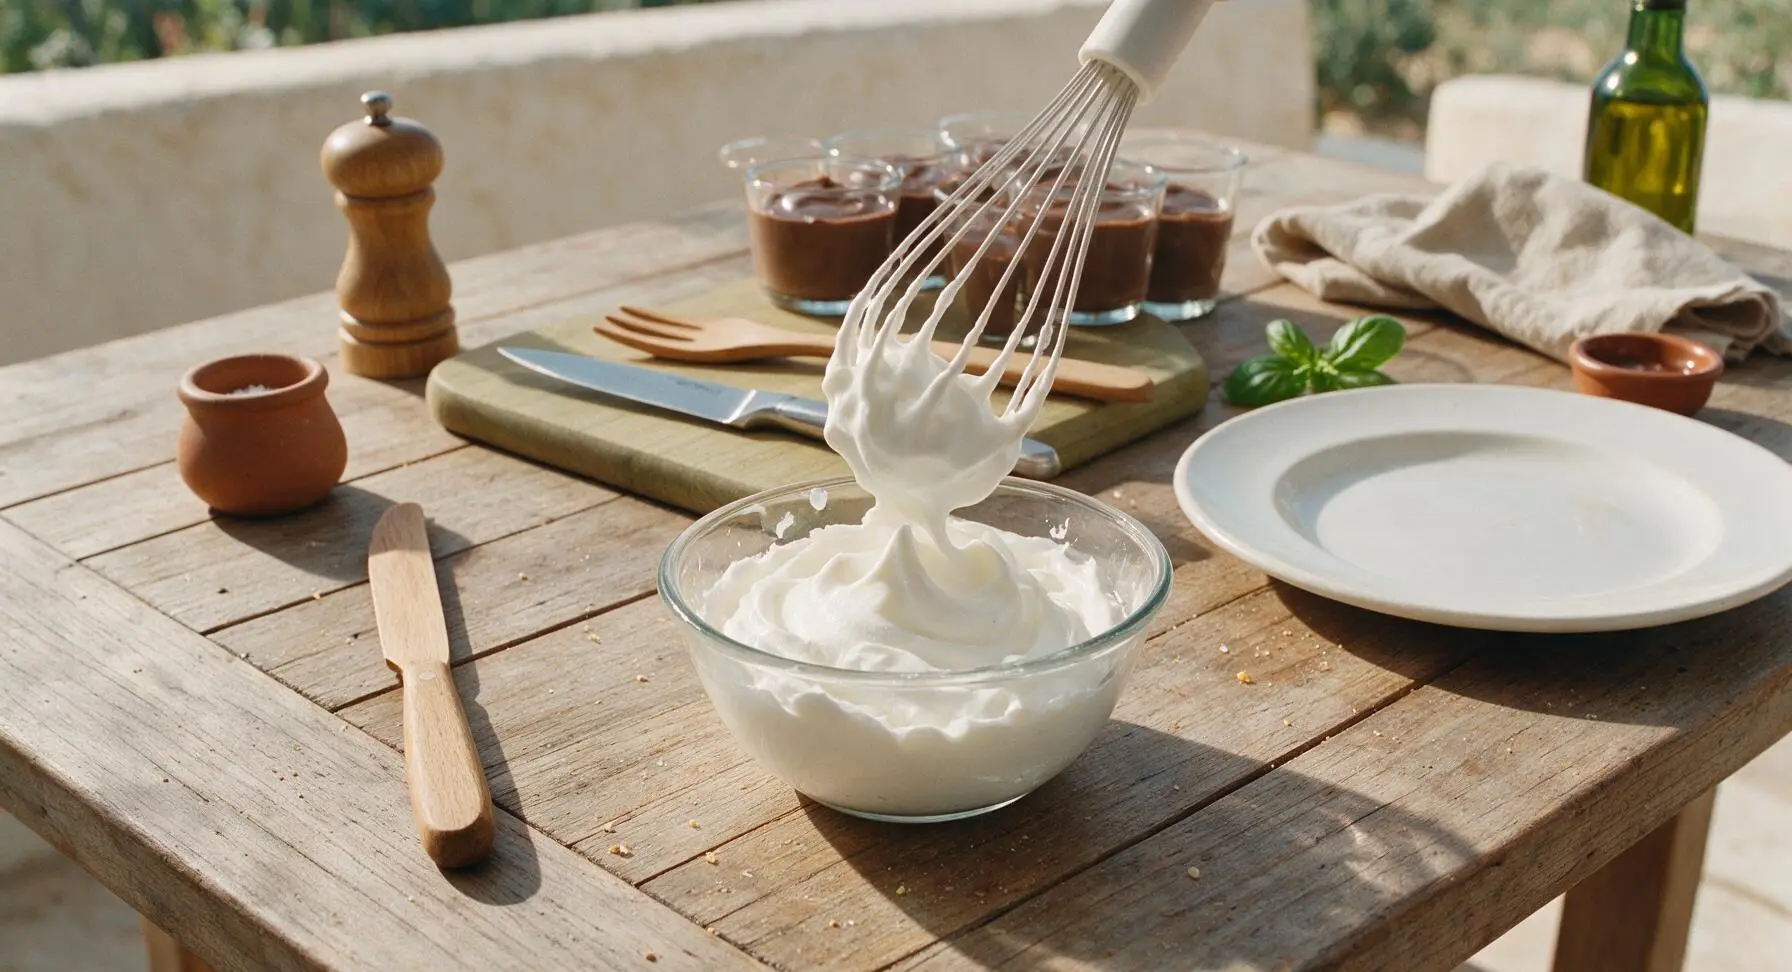
Pour 120ml (1/2 cup) of cold heavy cream into a small clean glass bowl, and whip with the clean silicone-tipped whisk for 2-3 minutes until soft, billowy peaks form that gently droop when the whisk is lifted. Do not overwhip to the point of forming stiff, grainy butter.
Garnish and Serve
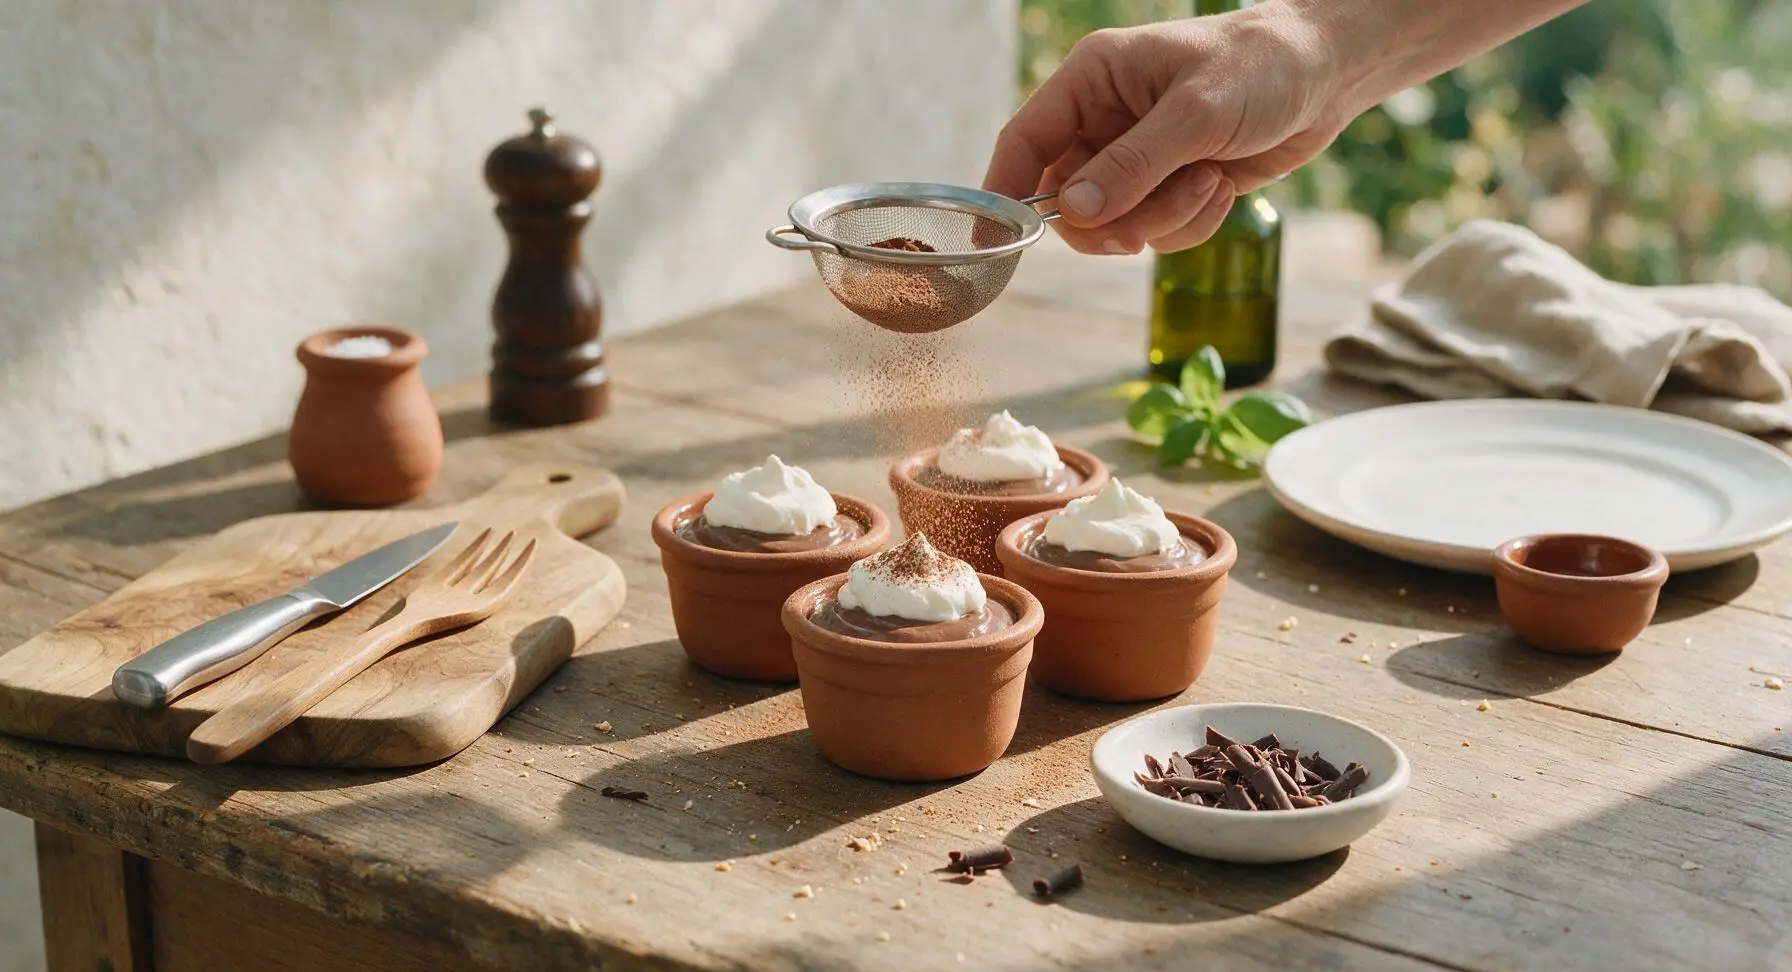
Top each set pudding cup with a 2-tablespoon dollop of freshly whipped cream. Use the fine-mesh sieve to dust a light layer of unsweetened cocoa powder over the cream, then scatter a few thin dark chocolate curls over top for garnish. Serve immediately, or keep covered and chilled for up to 3 days.
Tips
2.Stir constantly while the pudding comes to a boil: the cornstarch in the pudding mix settles quickly to the pan bottom, and will scorch and turn bitter if left unstirred for as little as 30 seconds.
3.Skip pressing tight plastic wrap directly on the pudding surface while chilling: many recipes recommend this to prevent skin, but it traps condensation that drips onto the pudding, creating watery, uneven spots. Leaving the pudding uncovered for the first 30 minutes of chilling lets excess steam escape without ruining the glossy top.






OMG this was SO good! I made this last night for my kids’ after-school snack and they begged for seconds before they even finished their first bowl. It’s so much creamier than the regular boxed cook-and-serve Jell-O pudding, I can’t believe it only takes 10 minutes total from start to finish! Total game changer for busy weeknights when we’re running between soccer practice and homework. 10/10 will be making this every week from now on.
I brought this to our neighborhood block party potluck last weekend and people were hounding me for the recipe before we even finished dessert! It was so easy to throw together right before we left, no fancy hard-to-find ingredients needed, no fancy equipment either. I topped mine with a dollop of fresh whipped cream and dark chocolate shavings, and it looked like it came from a fancy downtown bakery. The only tiny tweak I made was adding a pinch of flaky sea salt on top, chef’s kiss.
This is such a perfect easy meal prep treat! I made a big batch on Sunday and portioned it into little lidded cups for my work lunches all week. It stays perfectly creamy in the fridge the whole time, no weird rubbery skin on top like some homemade puddings get. Super satisfying when that 3pm chocolate craving hits, way better than dropping $5 on a candy bar from the office vending machine. I added a tiny extra splash of vanilla and a tablespoon more cocoa because I love super rich chocolate, and it was chef’s kiss. Only reason it’s 4 stars instead of 5 is I wish the base recipe had just a little more cocoa punch, but that’s totally personal preference!
I was so sure homemade pudding would be fussy and hard to get right, with constant lumps no matter how much you stir, but this was genuinely foolproof! My 8 year old even helped me stir it on the stove and it turned out perfectly smooth, zero lumps at all. We ate it warm right after cooking with some crushed graham crackers on top, it tasted like a warm chocolate hug. Will absolutely be making this for our next Sunday family dinner, my husband is already asking when we can have it again.