
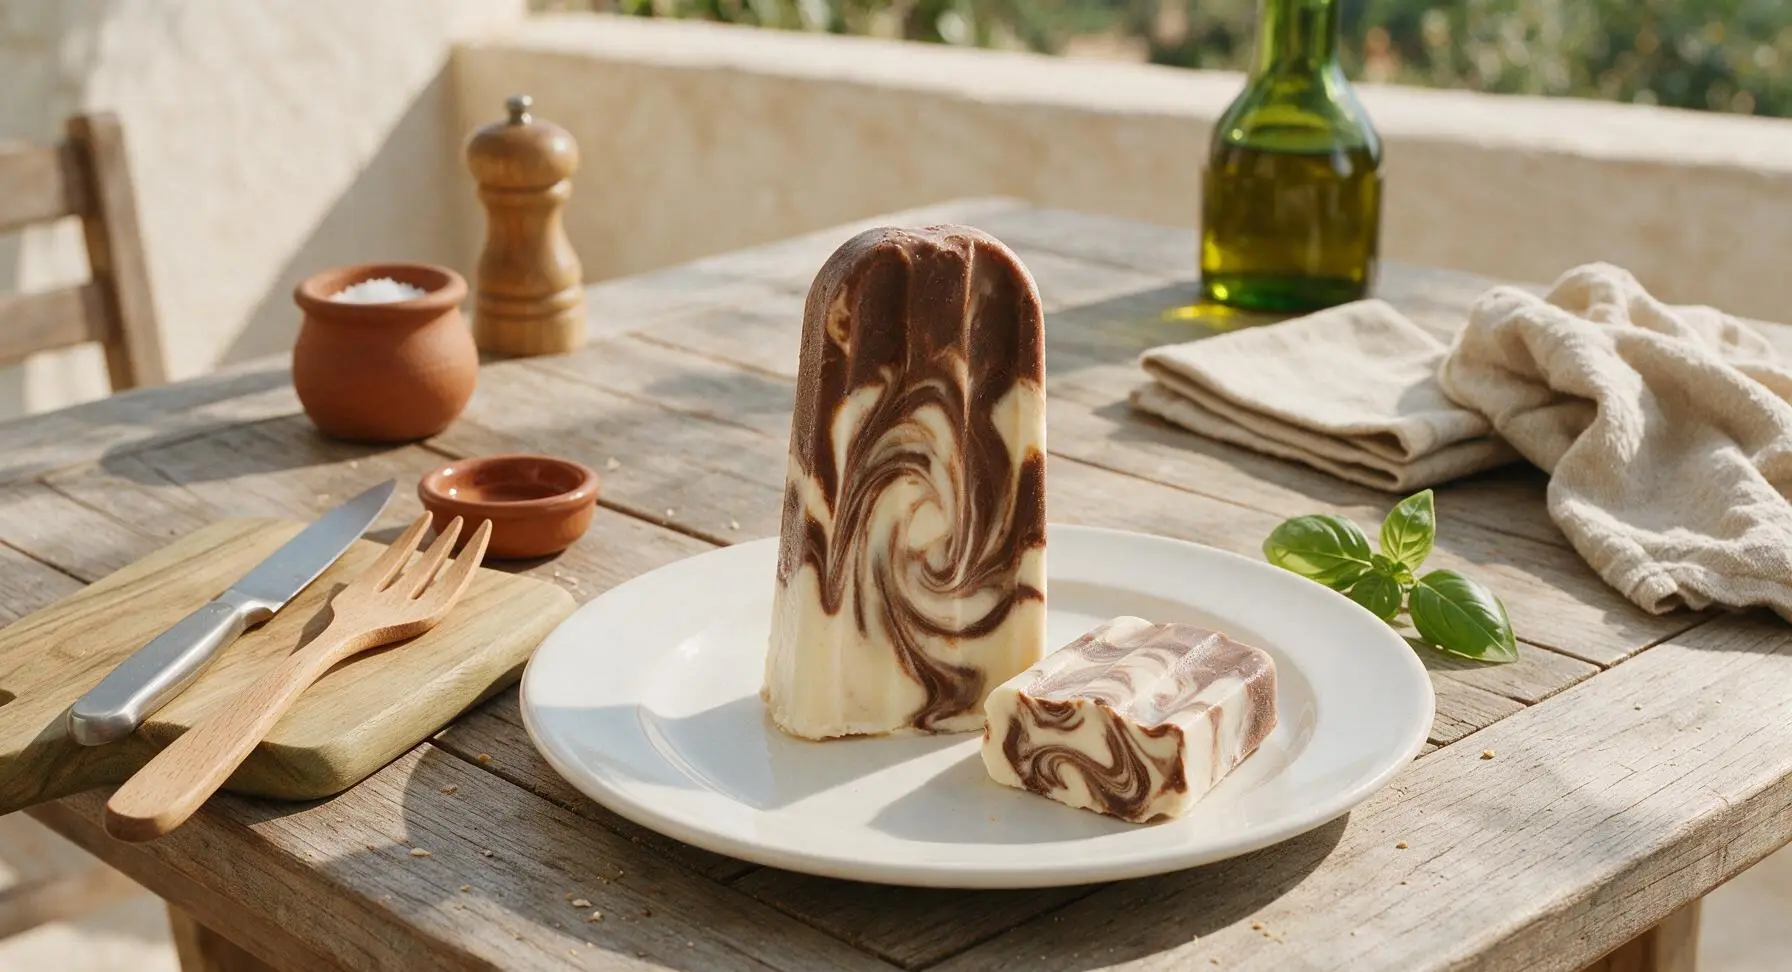
jello pudding pops

title 1
jello pudding pops
⏱️ cook time 4 hours (inactive freezing time)
🍽️ servings 8
⚡ Difficulty easy

intro

Creamy, marbled vanilla-chocolate frozen pudding pops, the nostalgic childhood treat with a smooth, non-icy texture, perfect for cooling down on hot summer days.

Ingredients
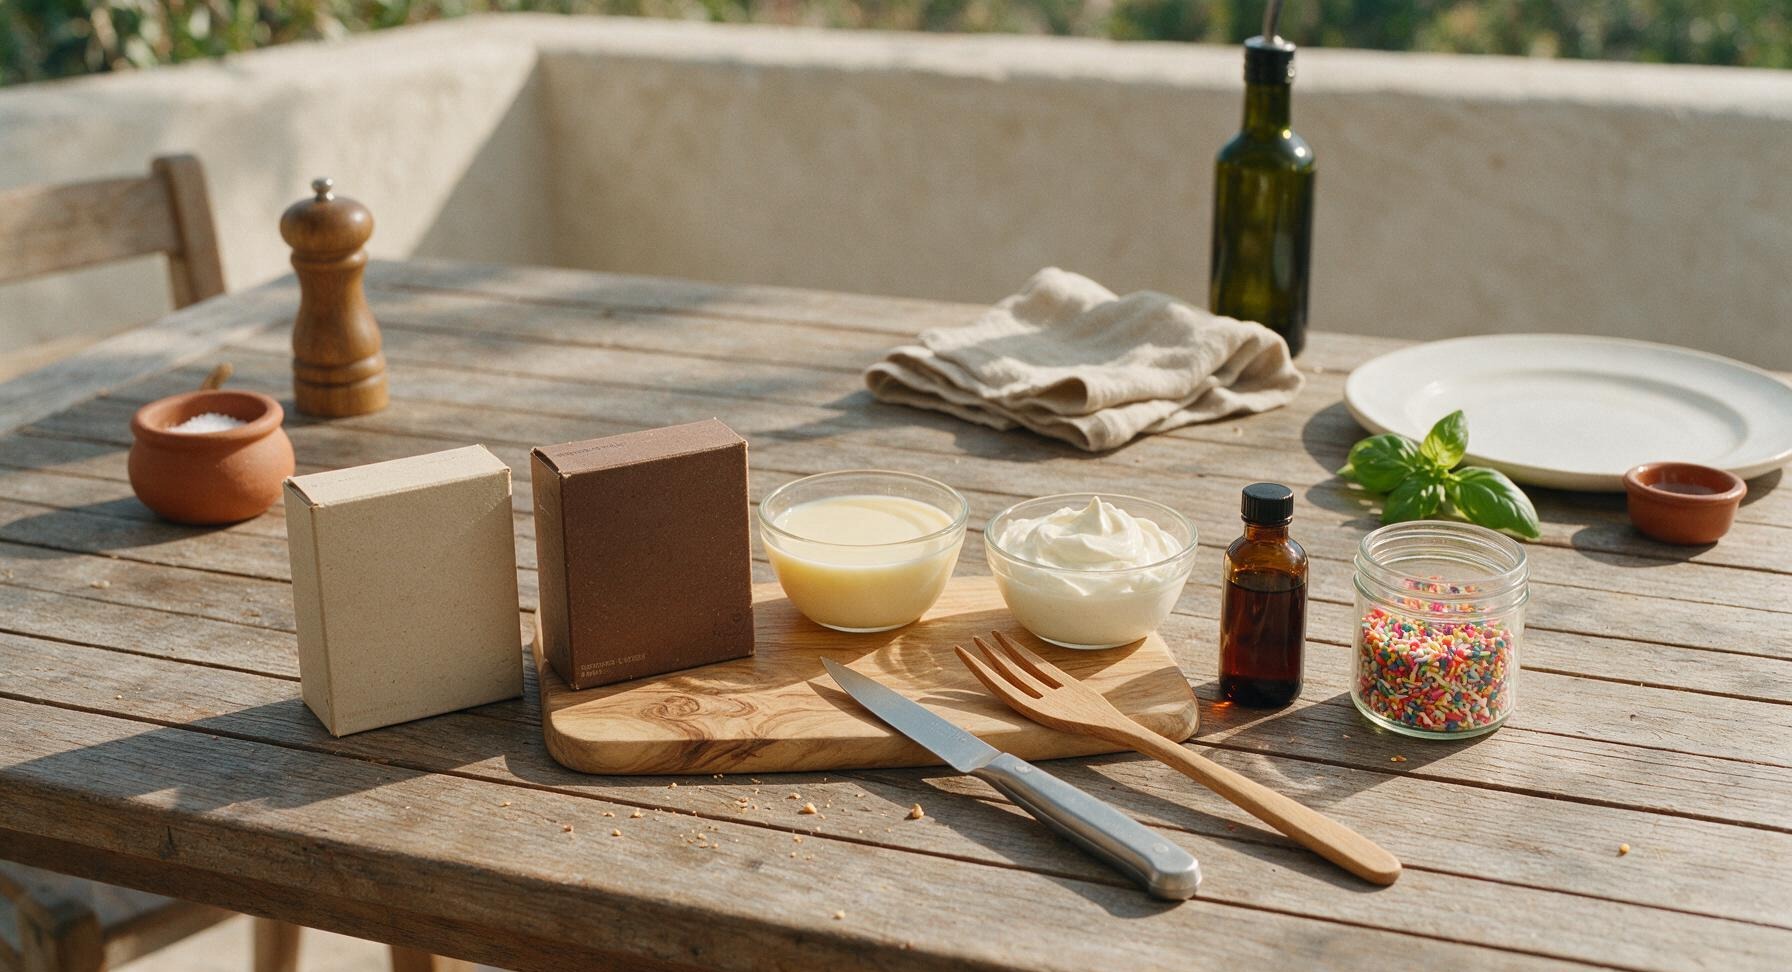
Instant vanilla pudding mix 3.4 oz (96g)
Instant chocolate pudding mix 3.9 oz (110g)
Cold whole milk 4 cups (960ml)
Heavy whipping cream 1/2 cup (120ml)
Pure vanilla extract 1 tsp
Rainbow sprinkles (optional) 2 tbsp

Steps

1

Divide Pudding Mixes

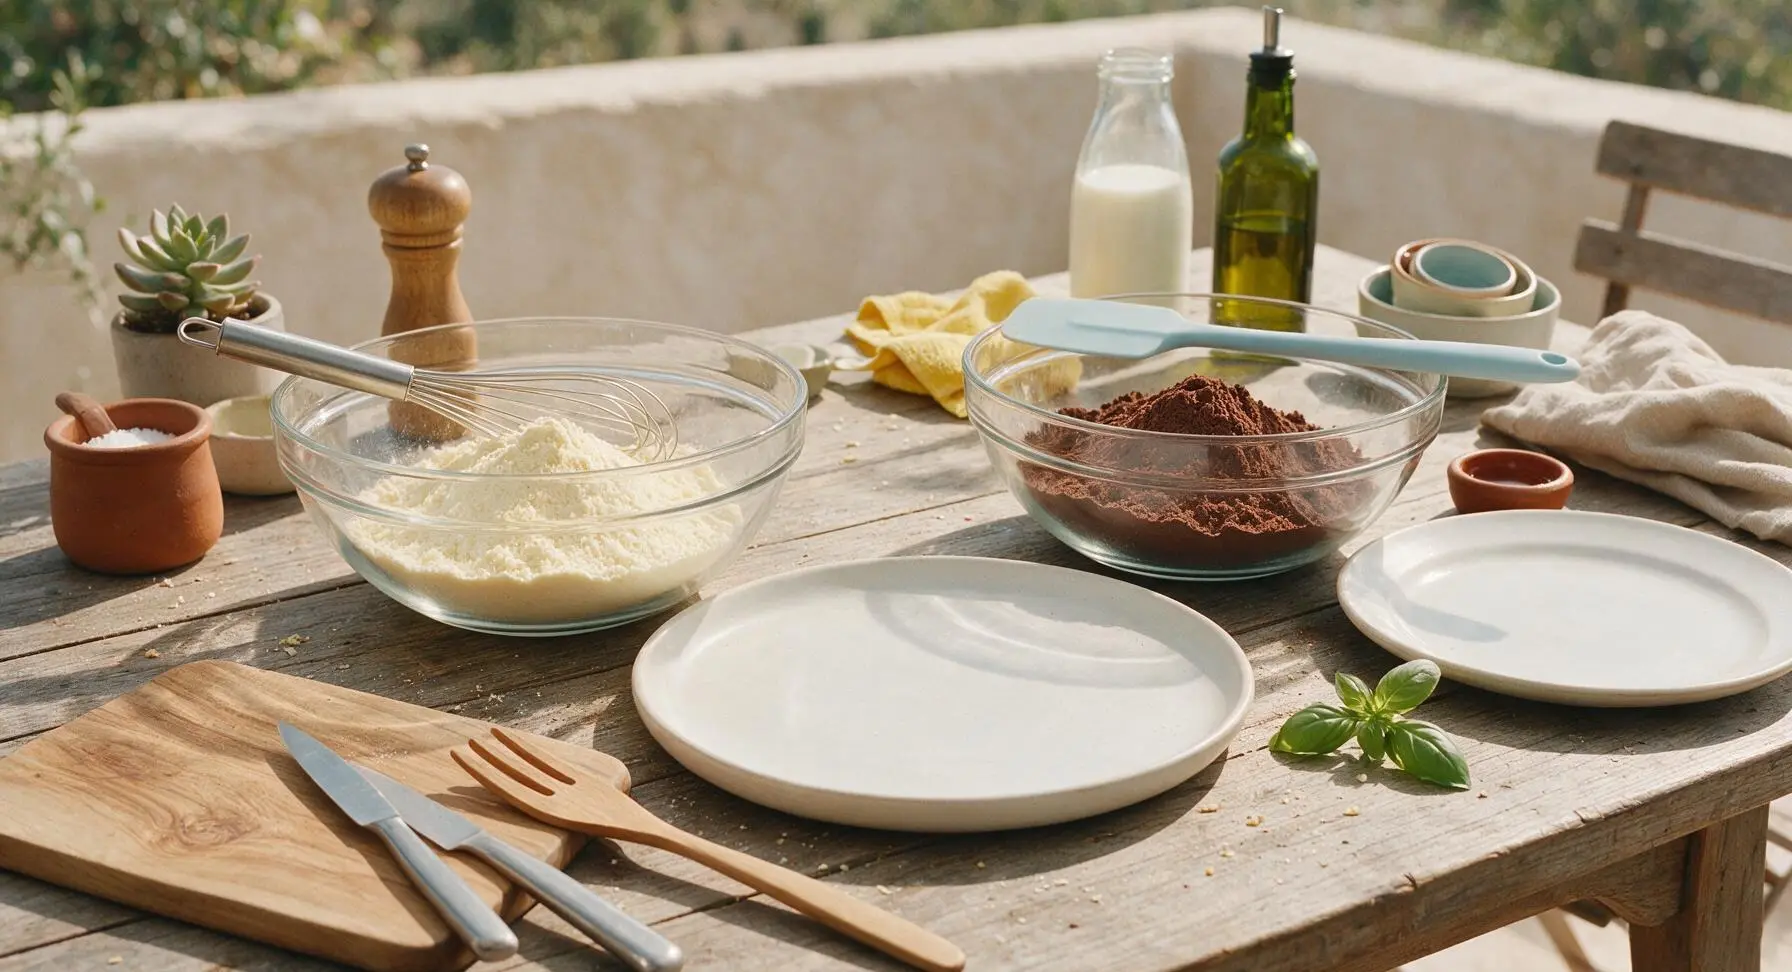
Set the two identical 2-quart clear glass mixing bowls on the counter, flanking the central matte white serving platter. Tear open the instant vanilla and chocolate pudding mix packets, pouring all 3.4oz of vanilla powder into the left bowl, and all 3.9oz of chocolate powder into the right bowl. Wipe any stray powder specks from the counter with the corner of the fixed yellow lemon towel if needed.
Step 1
step1:Divide Pudding Mixes
2

Mix Vanilla Pudding Base

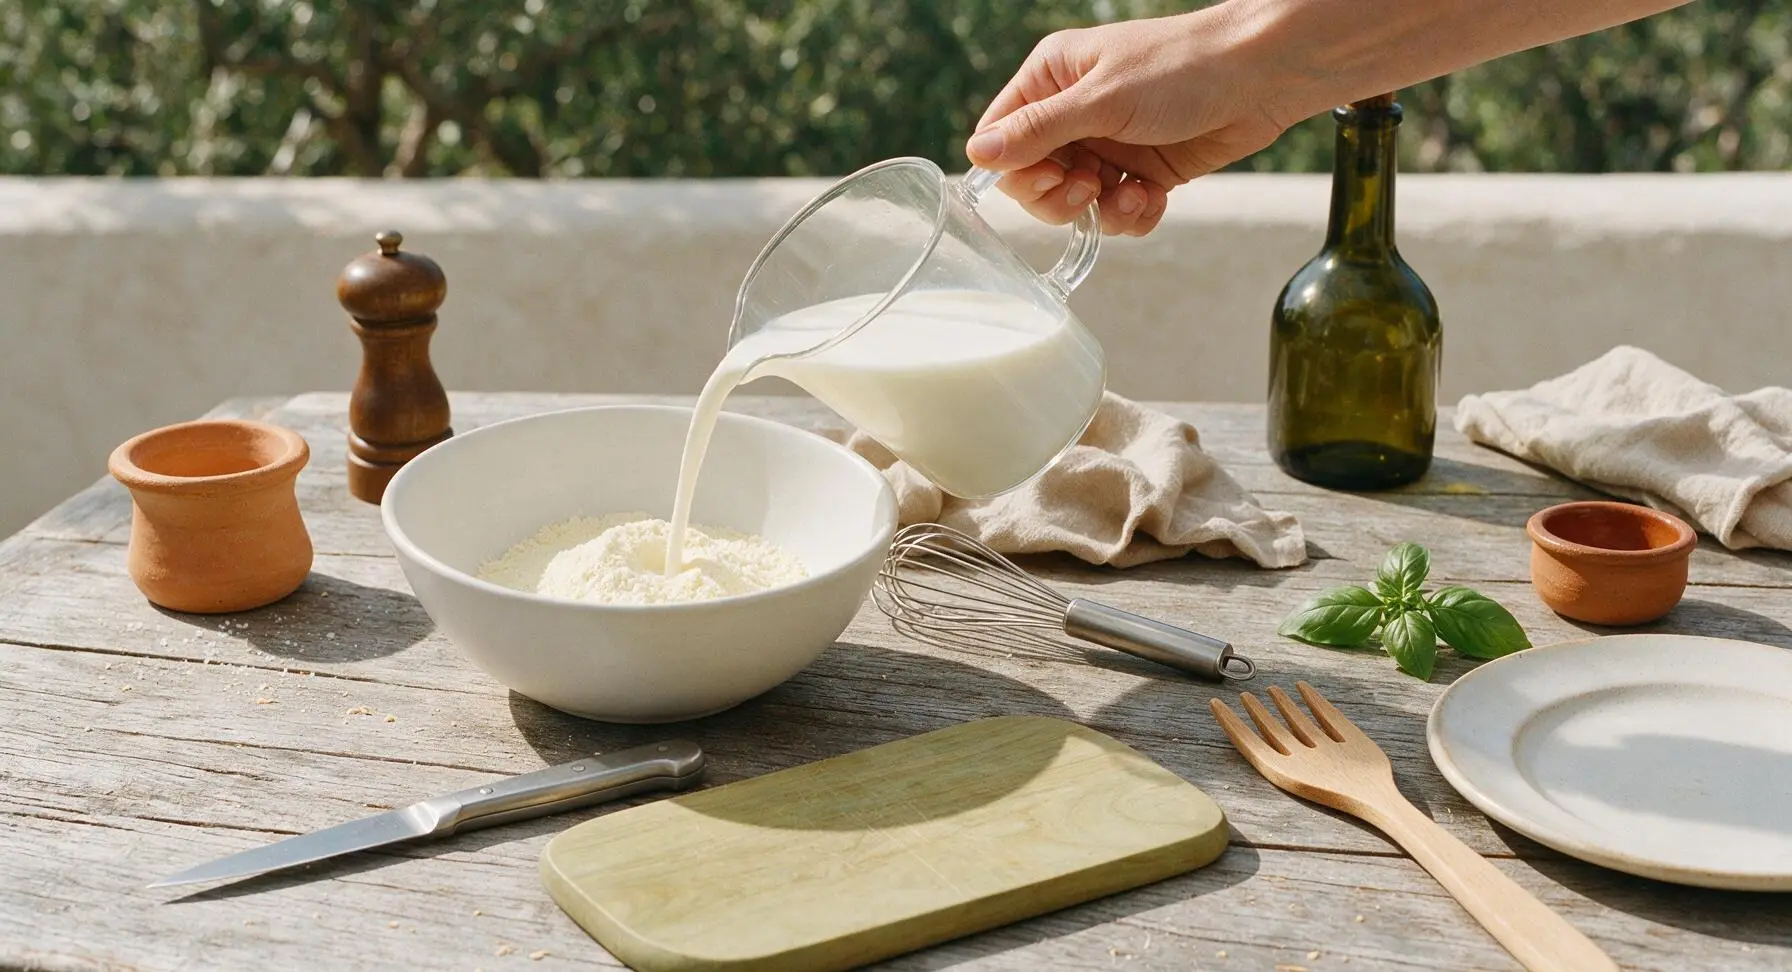
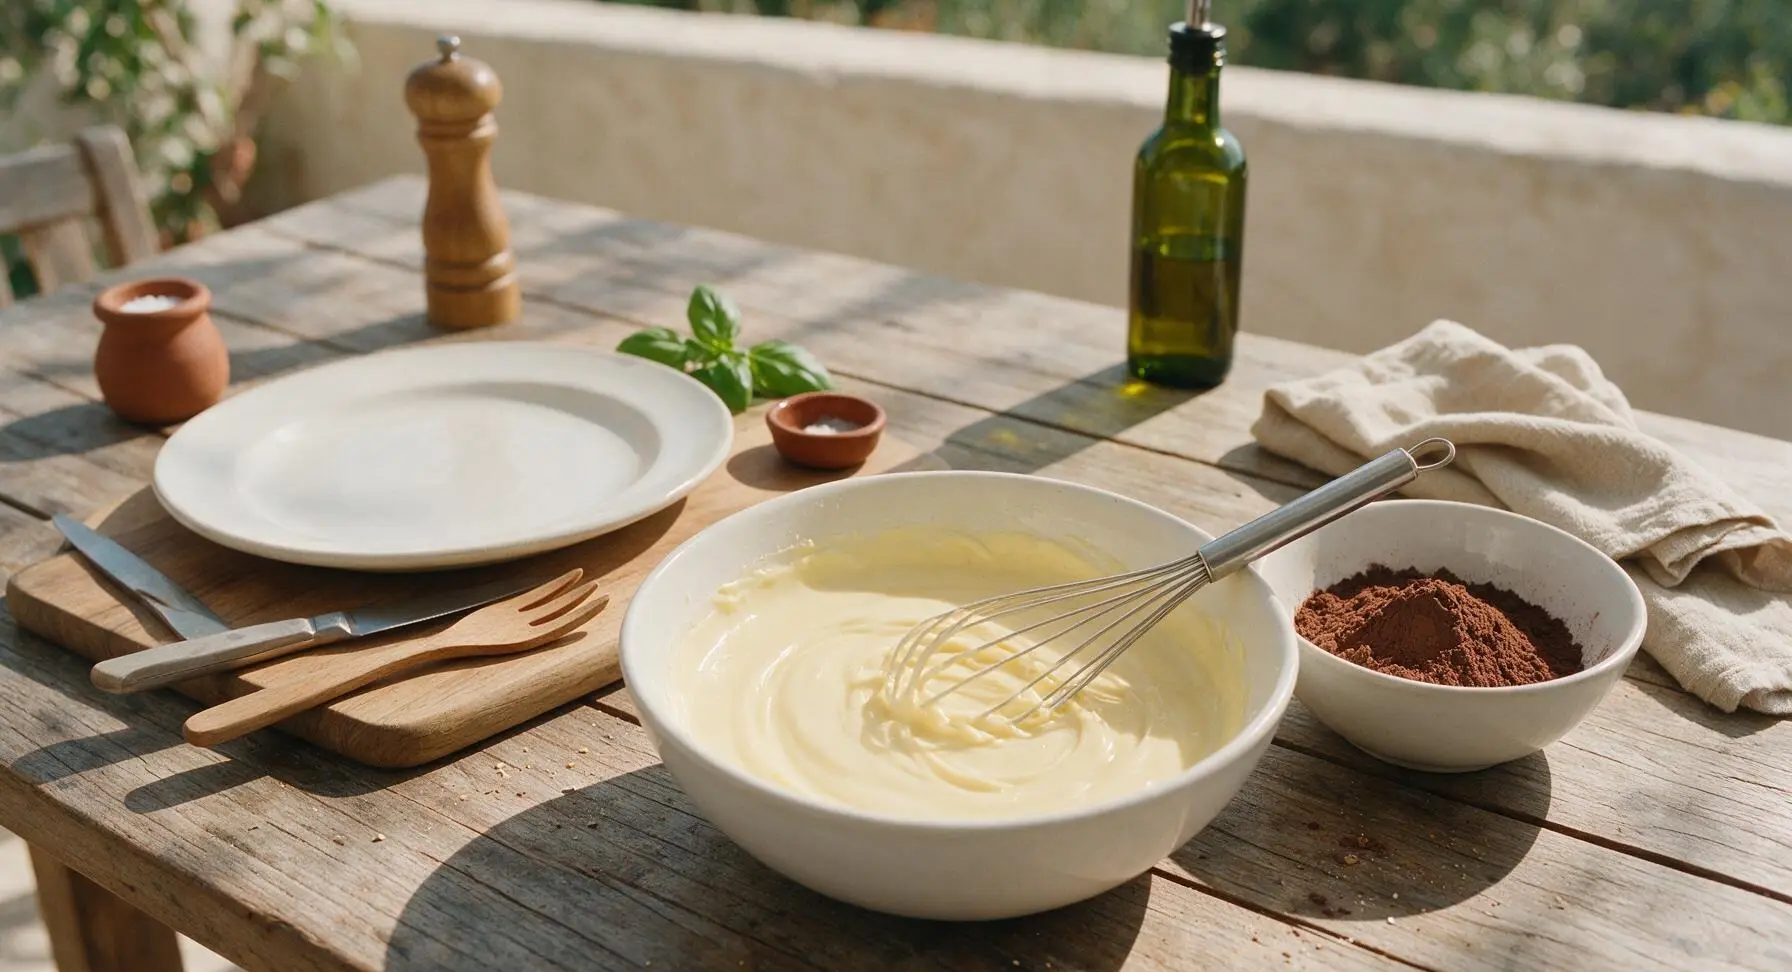
Pour 2 cups of cold whole milk and 1/4 cup of heavy whipping cream into the left bowl with the vanilla pudding powder. Add 1/2 tsp of pure vanilla extract. Whisk vigorously with the stainless steel wire whisk for exactly 2 full minutes, until the mixture is completely smooth with no visible lumps. The pudding will thicken slightly as you whisk, but will remain fully pourable, with the consistency of heavy cream.
Step 2
step2:Mix Vanilla Pudding Base
Step 2
step2:Mix Vanilla Pudding Base
3

Mix Chocolate Pudding Base

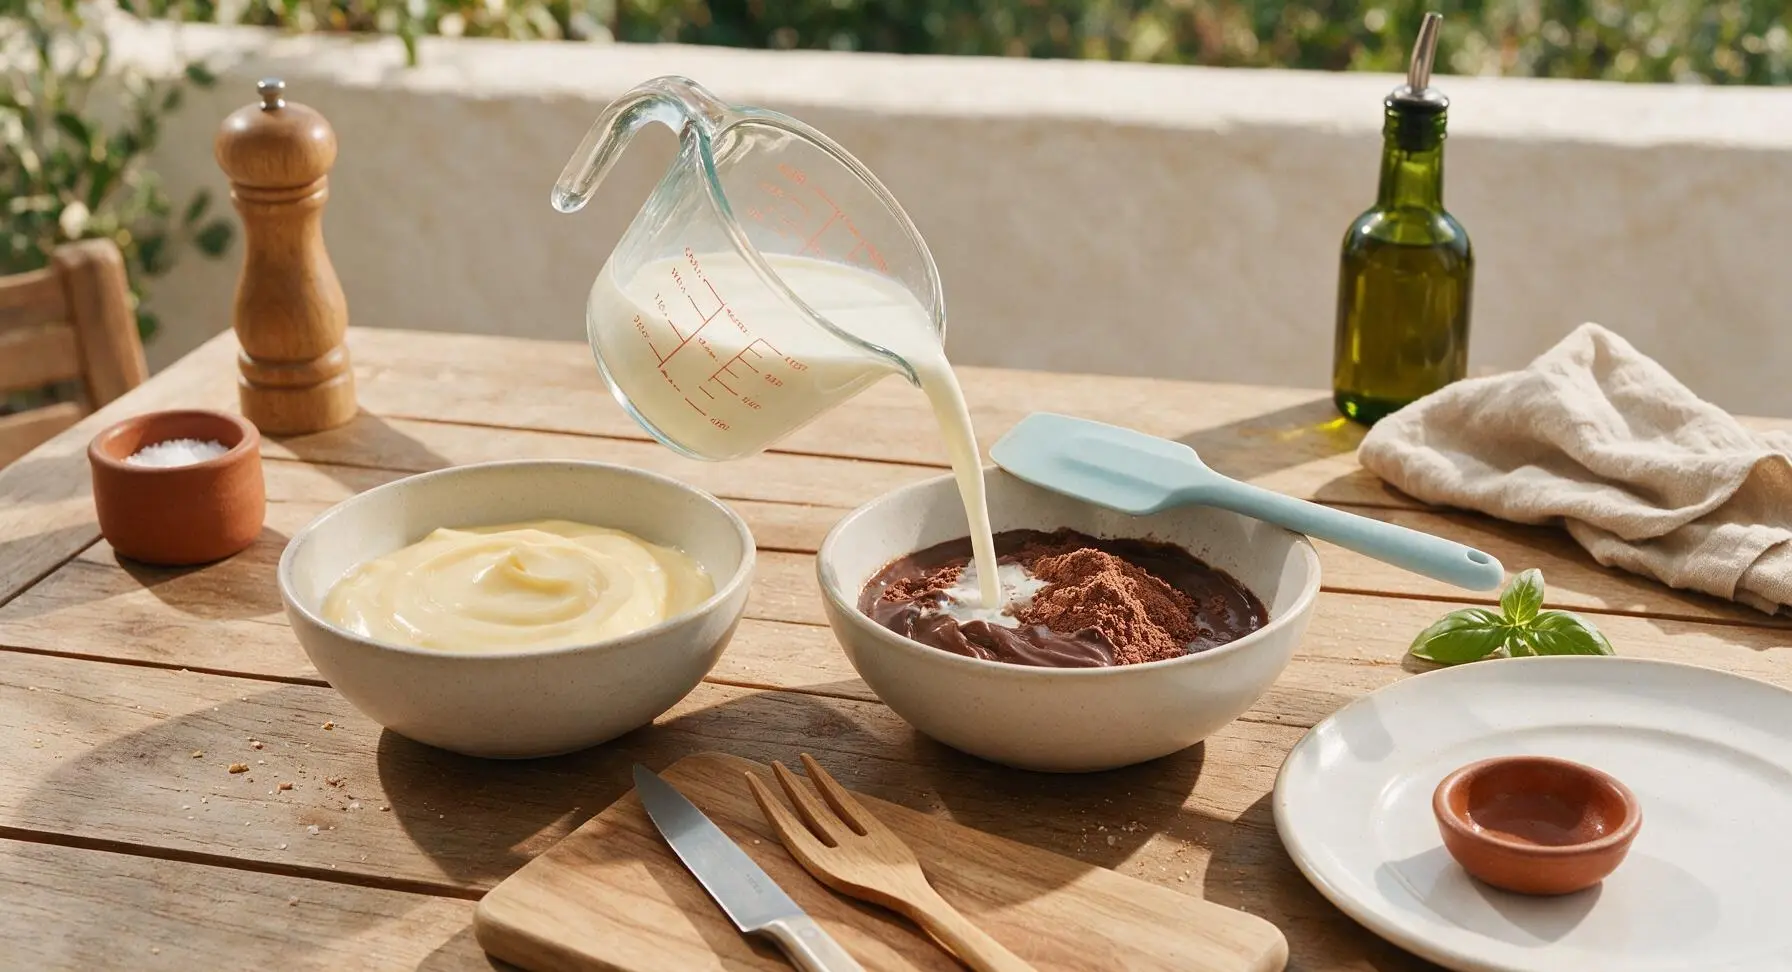
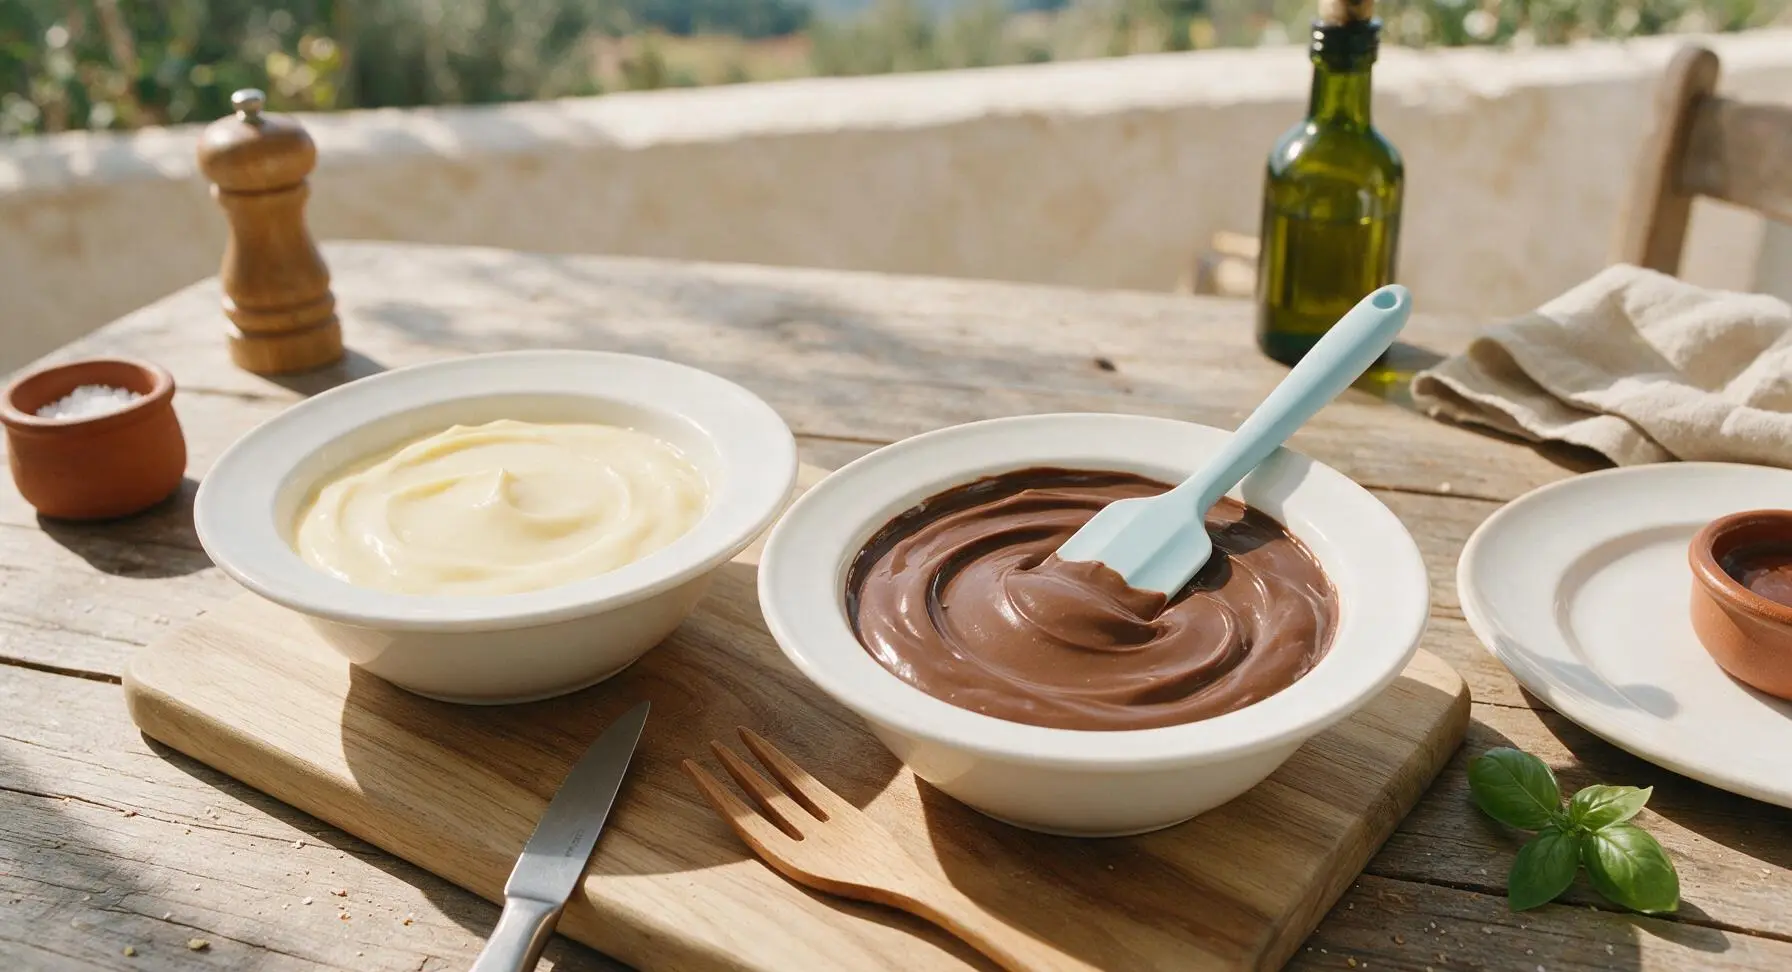
Pour the remaining 2 cups of cold whole milk and remaining 1/4 cup of heavy whipping cream into the right bowl with the chocolate pudding powder. Add the remaining 1/2 tsp of pure vanilla extract. Stir thoroughly with the pale sky blue silicone spatula for exactly 2 full minutes, scraping down the sides of the bowl every 30 seconds to incorporate all trapped dry powder, until the mixture is completely smooth, glossy deep brown, and free of lumps, with the same thick pourable consistency as the vanilla pudding.
Step 3
step3:Mix Chocolate Pudding Base
Step 3
step3:Mix Chocolate Pudding Base
4

Layer Pudding in Molds

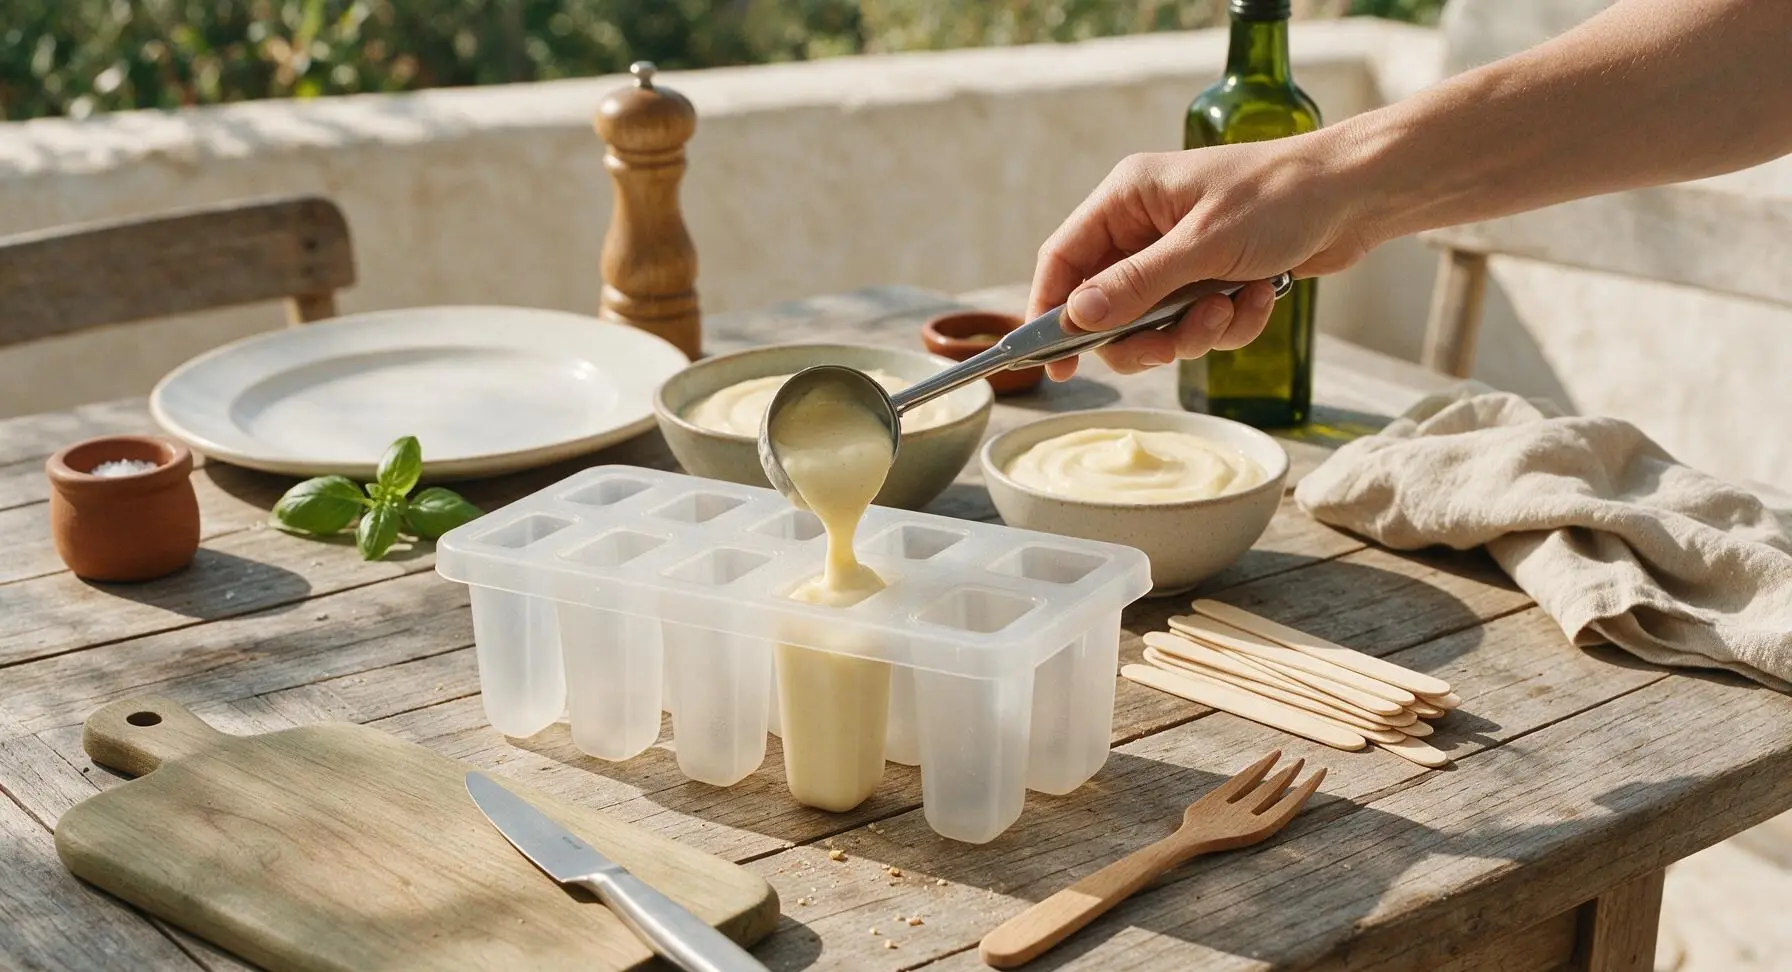
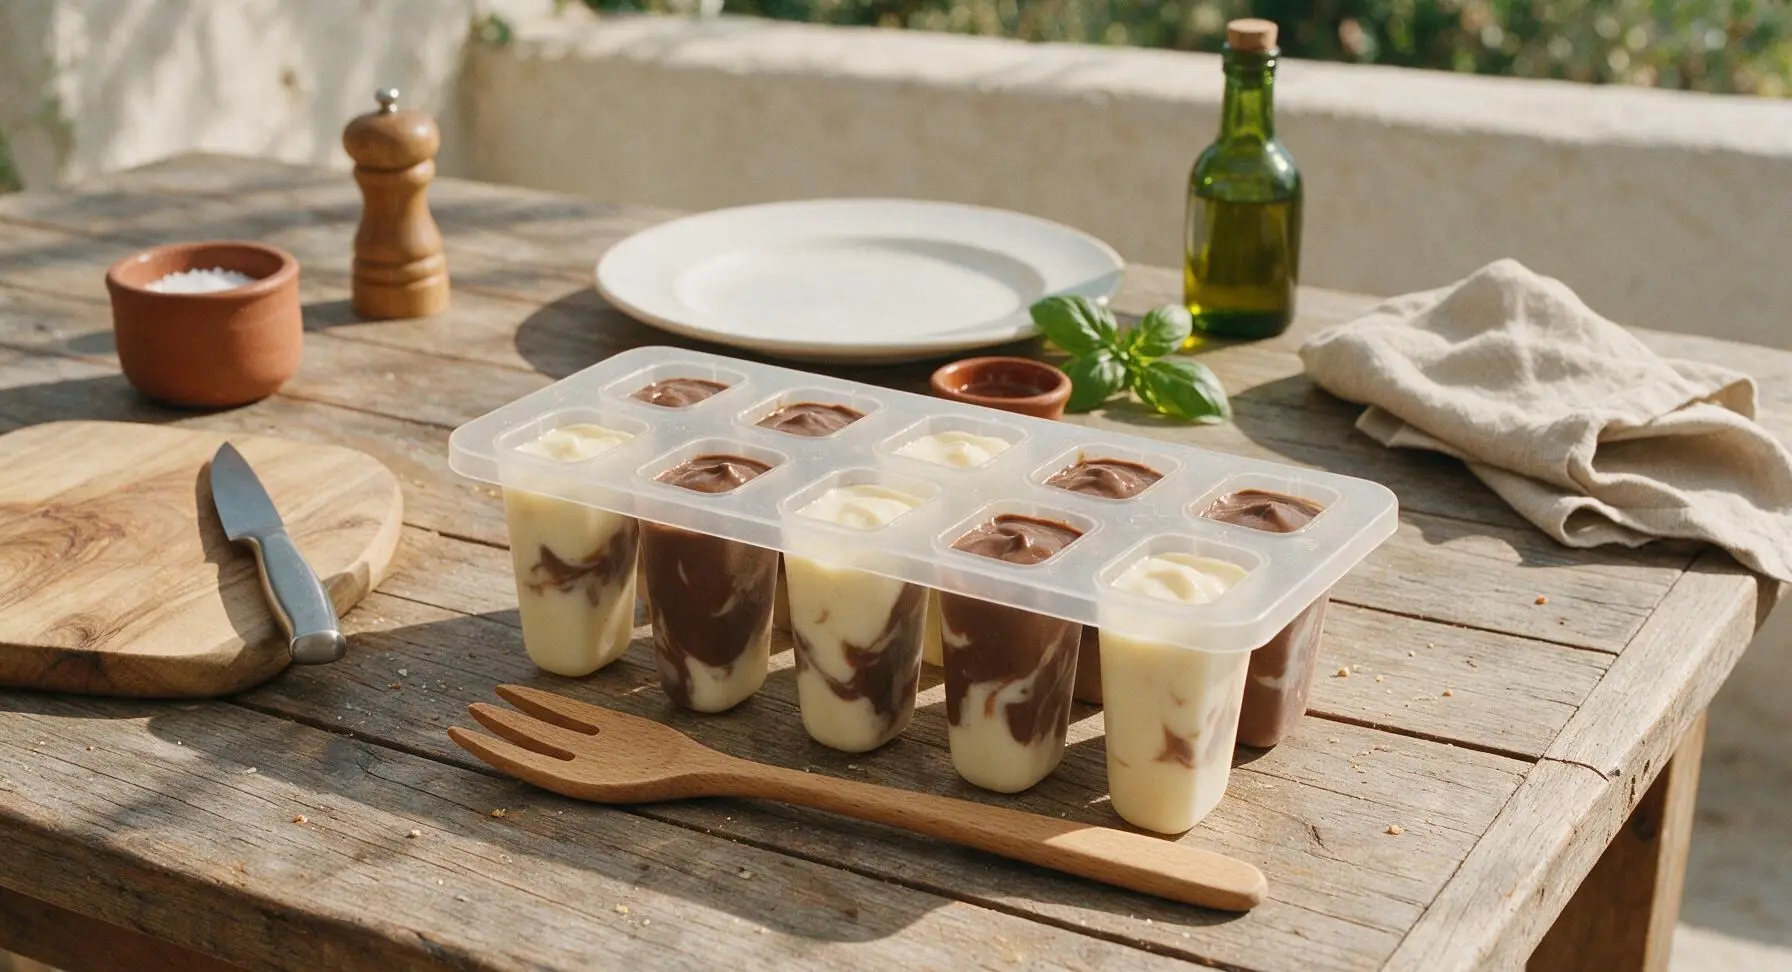
Set the frosted semi-transparent 8-cavity popsicle mold on the counter in front of the two mixing bowls. Use the 2-tbsp stainless steel scoop to alternate scoops of vanilla and chocolate pudding into each mold cavity, filling each cavity to exactly 1/4 inch below the rim to leave room for expansion as the pops freeze. Do not stir the layers after pouring; the random scooping will create a natural marbled swirl as the puddings settle together.
Step 4
step4:Layer Pudding in Molds
Step 4
step4:Layer Pudding in Molds
5

Add Sticks and Sprinkles

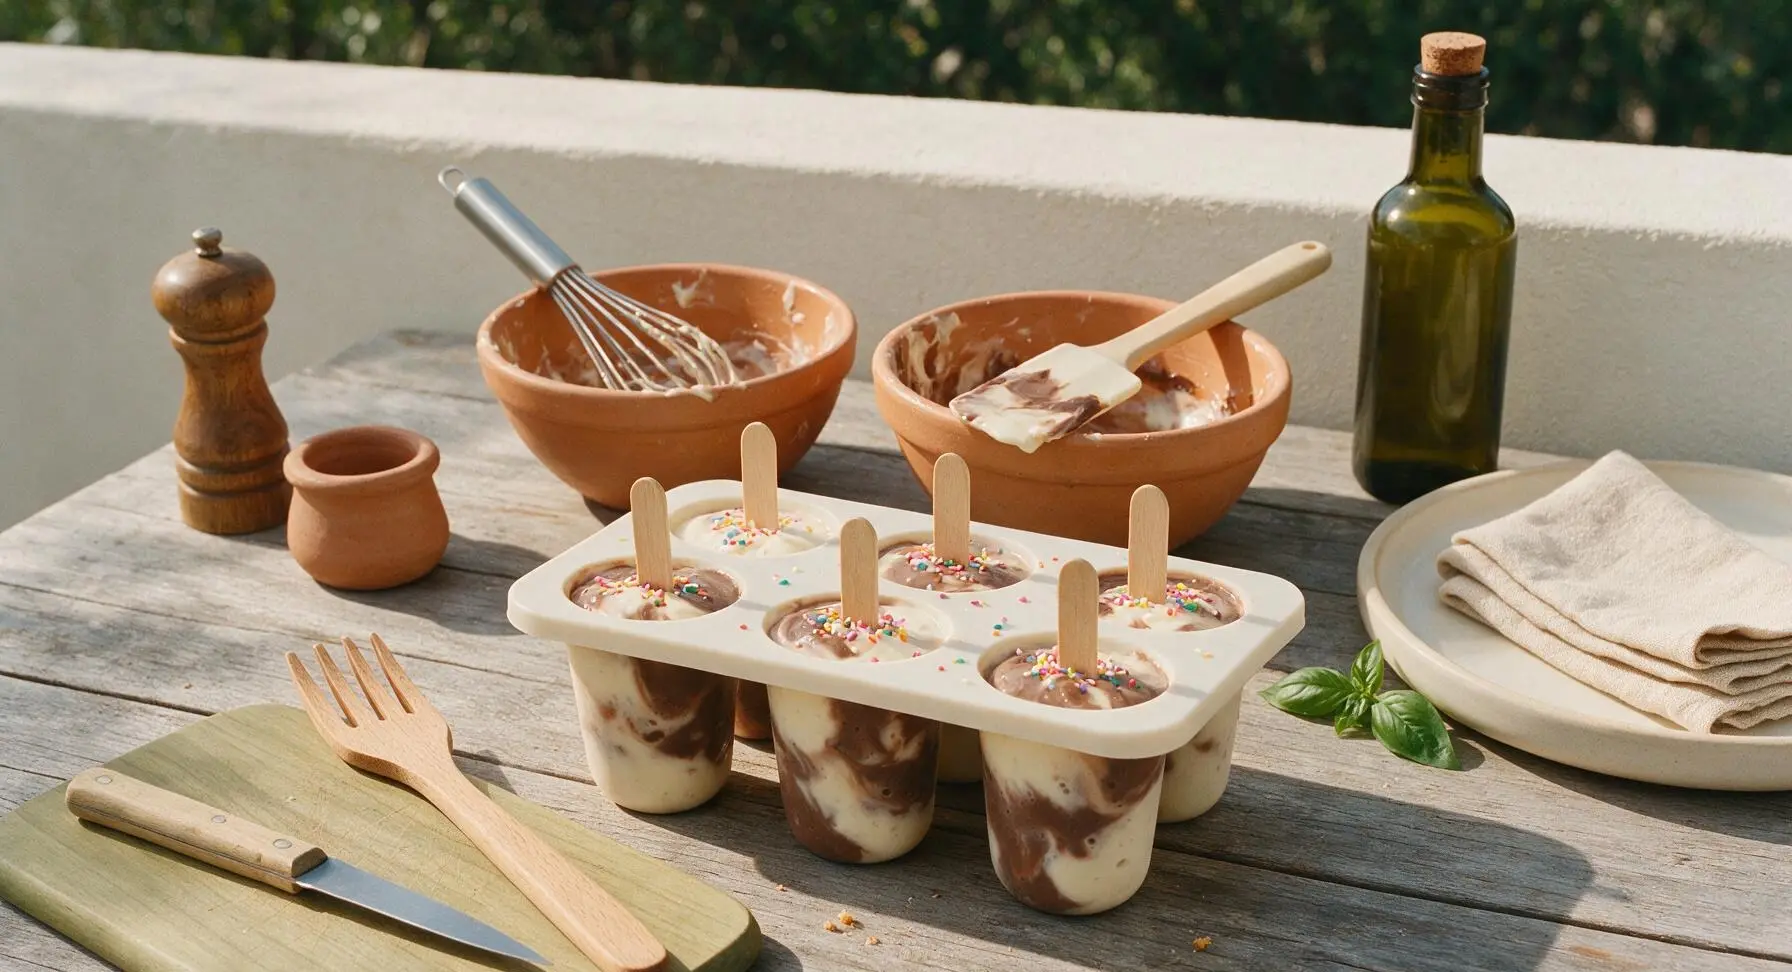
If using rainbow sprinkles, sprinkle 1/4 tsp of sprinkles across the top surface of each filled mold cavity (this will become the decorated top of the pop once unmolded). Insert one natural birch wood popsicle stick into the exact center of each mold cavity, pushing it down until it is 2/3 of the way into the pudding, so the thickened pudding holds the stick perfectly upright.
Step 5
step5:Add Sticks and Sprinkles
6

Freeze Until Solid

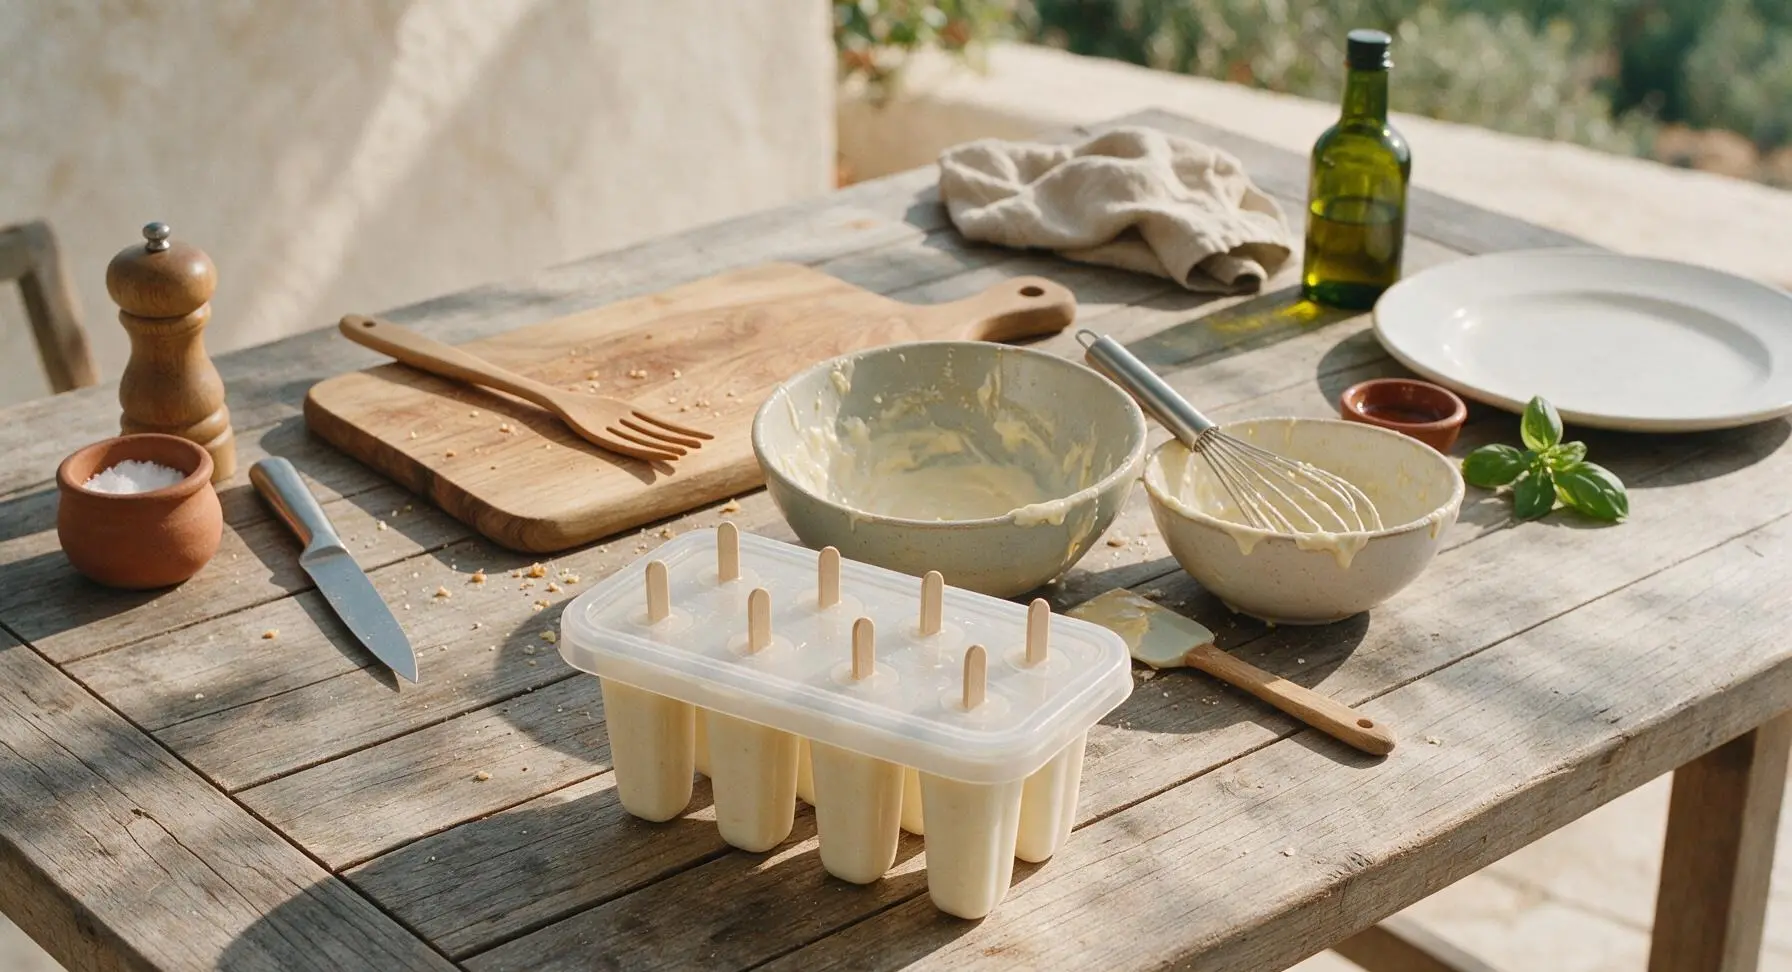
Press the matching plastic lid securely onto the popsicle mold to prevent freezer burn and ice crystal formation on the pop surfaces. Transfer the mold to a level middle shelf in a freezer set to 0°F (-18°C). Freeze for a minimum of 4 hours, or ideally overnight, until the pops are completely solid and firm when you press the outside of the mold cavity with your finger.
Step 6
step6:Freeze Until Solid
7

Unmold Pops Gently

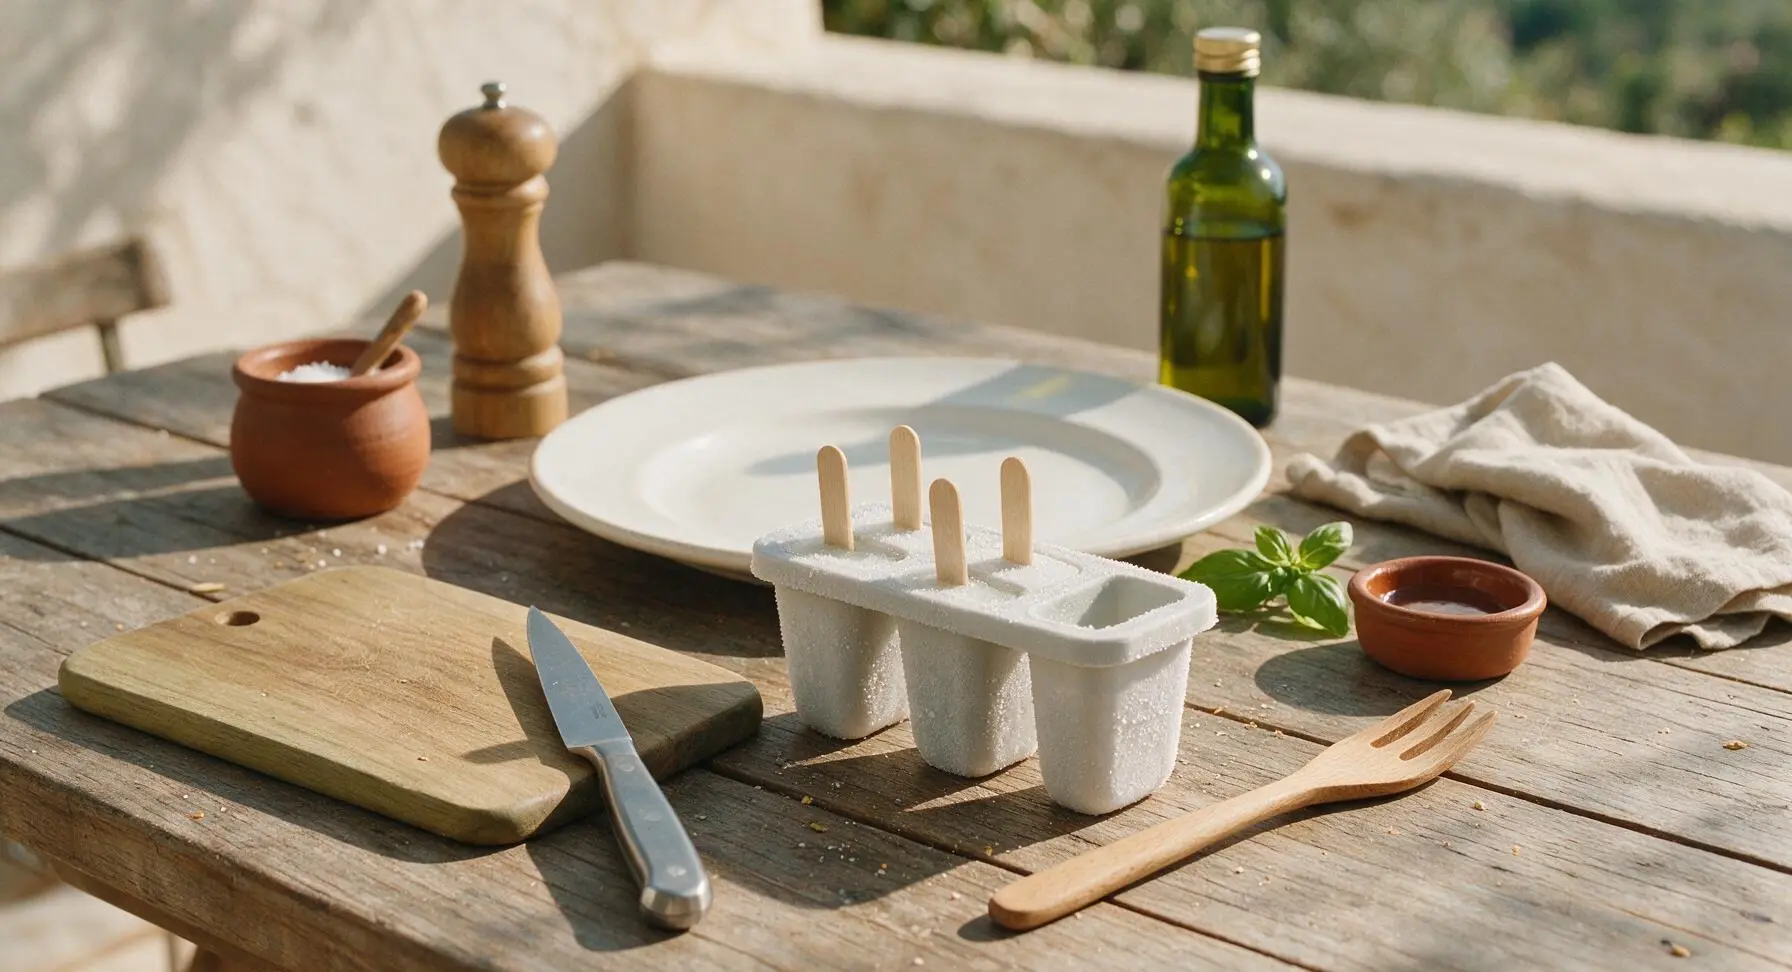
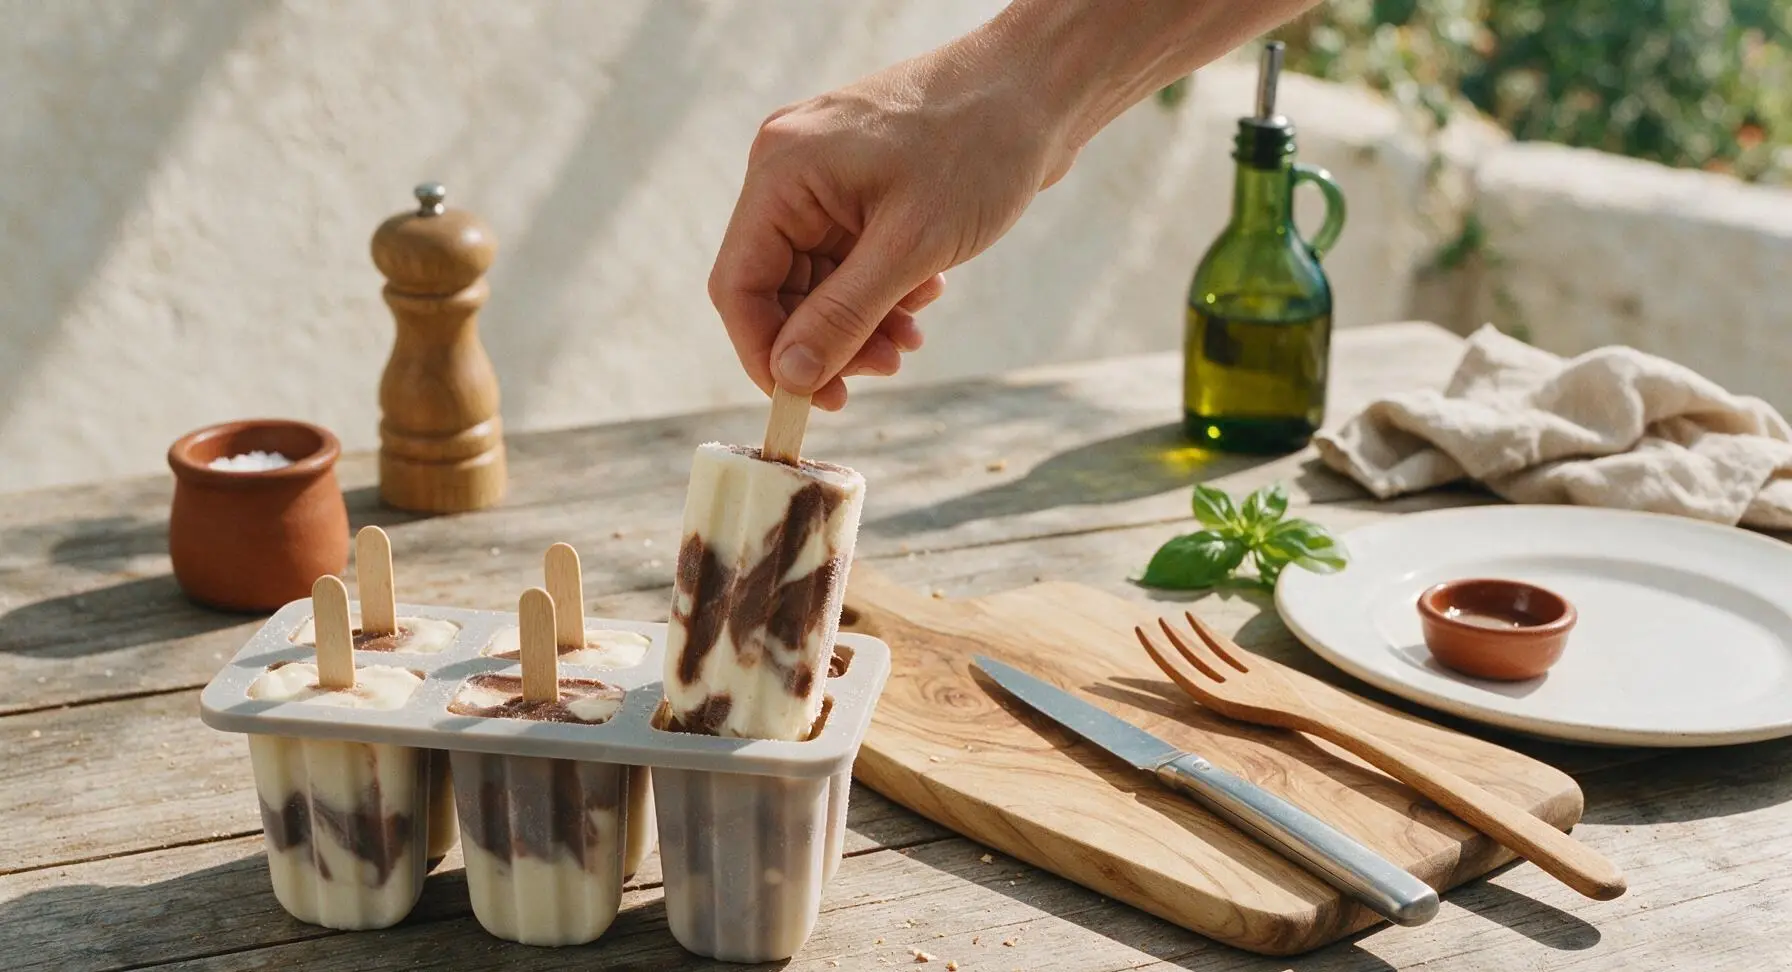
Remove the frozen popsicle mold from the freezer after the full freezing time. Peel off the mold lid, then let the mold sit at room temperature for 3 to 5 minutes to slightly soften the outer 1mm layer of the pops, which makes clean unmolding easy. Do not run hot water over the mold, as this will melt the pops too quickly and cause drips. Grip each popsicle stick and pull straight up slowly to release the pop from its cavity.
Step 7
step7:Unmold Pops Gently
Step 7
step7:Unmold Pops Gently
8

Plate and Serve

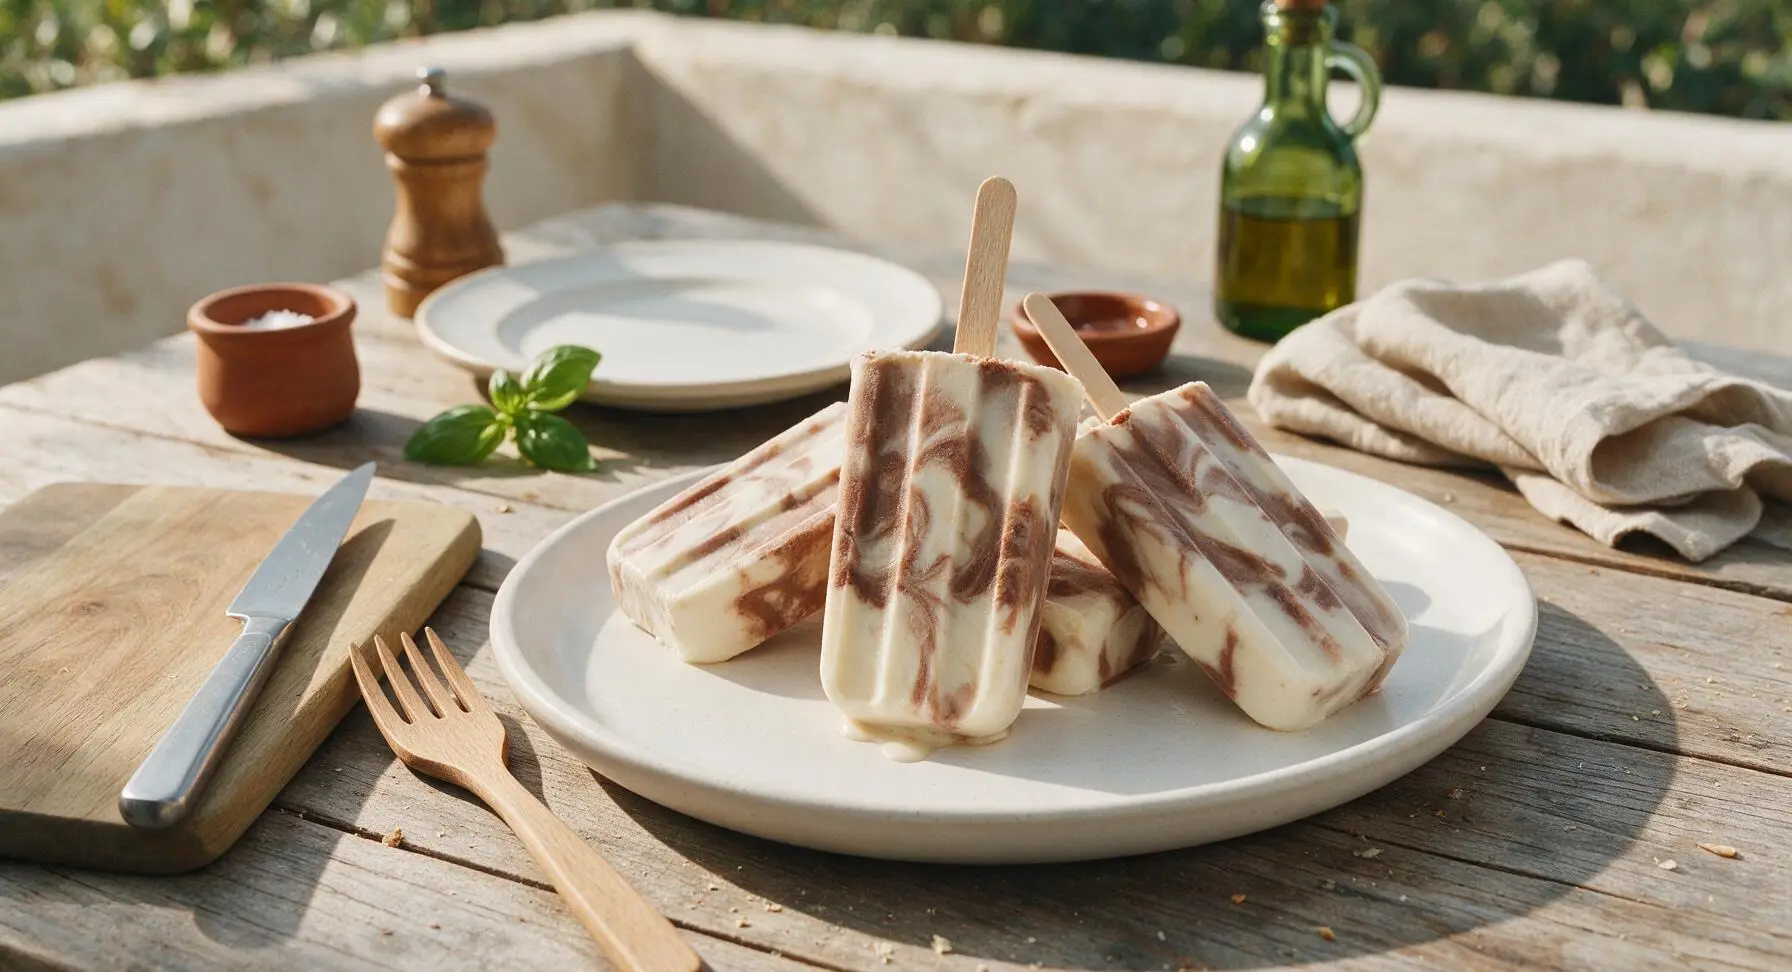
Arrange the unmolded pudding pops on the 12-inch matte white ceramic serving platter, leaning them gently against each other for support. Serve immediately, as the pops will start to soften and melt after 5 to 7 minutes at room temperature. If not serving immediately, store unmolded pops in a sealed airtight freezer bag for up to 2 weeks.
Step 8
step8:Plate and Serve

Tips

1.Swap 1/2 cup of the whole milk for heavy cream to cut down on large ice crystal formation during freezing; the extra milk fat creates a luxuriously smooth, creamy texture that matches the classic 1980s store-bought pudding pop consistency, rather than a grainy, icy texture.
2.Resist the urge to stir the pudding layers after pouring them into the mold; random, unblended scoops create a beautiful, distinct marbled vanilla-chocolate swirl, while over-stirring will mix the two flavors into a uniform muted brown with no visible pattern.
3.Let the frozen mold rest at room temperature for 3 to 5 minutes before unmolding instead of running it under hot water; hot water will shock the frozen pops and melt the outer layer into messy drips, while the short room-temperature rest lets the pops release cleanly from the plastic with smooth edges.


✨ You May Also Like

Desserts & Baking
🍜 Italy

Creamy, coffee-kissed classic Northern Italian no-bake dessert, with layers of rum-spiked mascarpone cream, soft ladyfingers, and a rich cocoa dusting.

⏱️ 4 hours 3Desserts & Baking ★ 4.7
Desserts & Baking
🍜 France

Flaky, shatteringly crisp, buttery French croissants with golden exteriors and soft, airy layered interiors, perfect for pairing with coffee for a special morning treat.

⏱️ 12 hours Desserts & Baking ★ 4.5
Desserts & Baking
🍜 United States

Warm, spiced baked apples topped with a fluffy golden biscuit crust, this cozy dessert pairs perfectly with vanilla ice cream for cool-weather comfort.

⏱️ 55 minuteDesserts & Baking ★ 4.6
Desserts & Baking
🍜 United States

A star-spangled classic American blueberry pie with buttery flaky crust and bright sweet-tart filling, perfect for summer patriotic gatherings.

⏱️ 1 hour 25Desserts & Baking ★ 4.7
Desserts & Baking
🍜 United States

A beloved no-bake regional Maine candy with a chewy coconut-potato center coated in rich dark chocolate, a New England holiday staple since the 1870s.

⏱️ 2 hours 3Desserts & Baking ★ 4.8
Desserts & Baking
🍜 France

Luxuriously creamy, floral frozen custard made with aromatic Tahitian vanilla beans, boasting a smooth, rich texture that melts slowly on the tongue.

⏱️ 3 hours 3Desserts & Baking ★ 4.5

jello pudding pops:Frequently Asked Questions

1.Why do my homemade pudding pops turn out icy instead of smooth and creamy? ▾
That unwanted icy texture almost always comes from using low-fat dairy or skipping the heavy whipping cream in this recipe! Stick to cold whole milk and the measured heavy cream—their fat content slows large ice crystal formation. Also avoid extra liquid, and keep the freezer door closed as they set to prevent temperature swings that cause ice buildup.
2.Can I use sugar-free instant pudding mixes to make these lower in sugar? ▾
Absolutely! Sugar-free instant vanilla and chocolate pudding mixes work perfectly here with no texture adjustments needed. Just be sure to use the same 3.4 oz box size as standard instant pudding, and keep the whole milk and heavy cream measurements exactly the same to preserve that rich, non-icy, nostalgic mouthfeel.
3.How do I get a clean marbled swirl without blending the two flavors completely? ▾
The key is to work gently and avoid over-stirring! Spoon small, alternating dollops of vanilla and chocolate pudding base into your molds, then run a thin wooden skewer or popsicle stick through the layers once or twice in a slow zig-zag. Too much stirring will blend the flavors into a uniform milk chocolate shade instead of distinct marbled streaks.
4.Do I need special popsicle molds to make these, or can I use household items? ▾
You don’t need fancy specialty molds at all! Disposable 3-oz paper cups work great as a budget swap: pour the base in, cover the top tightly with aluminum foil, then poke a wooden popsicle stick through the foil center to hold it upright as it freezes. Small reusable silicone cups also work for super easy pop removal.
5.How long do these pudding pops need to freeze before they’re ready to eat? ▾
For the ideal firm but not rock-hard texture, let them freeze for a full 6 to 8 hours, or overnight if you have the time. If your freezer is set extra cold, let the pops sit at room temperature for 1 to 2 minutes before unmolding to keep them from snapping when you pull them out of the molds.
6.Can I add mix-ins like chocolate chips or sprinkles to these pops? ▾
You definitely can, just add them at the right time to avoid sinking! Toss mini chocolate chips, rainbow sprinkles, or crushed vanilla wafer crumbs into the molds right after you swirl the two pudding flavors, before inserting sticks. Stick to small mix-ins—large chunks make pops hard to bite through and can get stuck during unmolding.
7.Why won’t my pops come out of the mold cleanly without breaking? ▾
This usually happens when pops aren’t fully frozen, or you pull too hard on the stick. First confirm they’ve frozen for a full 6 hours. If they still stick, run the outside of the mold under warm (not boiling) tap water for 10 to 15 seconds, then gently wiggle the stick as you pull, and they’ll slide right out intact.
8.Can I make these ahead for a party, and how long do they keep in the freezer? ▾
These are ideal for party prep! Once fully frozen, pop them out of the molds and store them in an airtight freezer-safe zip-top bag with a sheet of parchment between each pop to prevent sticking. They’ll stay creamy and delicious for up to 2 weeks, as long as your freezer holds a consistent 0°F temperature.
9.Do I need to let the instant pudding fully set before pouring it into the molds? ▾
You don’t need to let it set fully like you would for regular bowl pudding! After whisking the instant pudding mixes with cold milk, heavy cream, and vanilla, let the base rest just 5 minutes to thicken slightly (this makes swirling easier) before pouring. If it sets too long, it will be too thick to pour cleanly for smooth marbling.

Comments (20)

2 days ago

OMG these were a total game changer for our after-school snack rotation! My picky middle son usually turns up his nose at anything with jello, but he ate two pops yesterday and asked if we could make them every week. The marbled swirl looks way fancier than the actual effort it takes, too.

30 minutes ago

Wait, can I use sugar-free jello and pudding for this? I’m trying to cut back on added sugars but still want a fun summer treat for my partner and I. These look so good I don’t want to mess them up!

5 minutes ago

Great question! Sugar-free jello and instant pudding work perfectly here, just make sure to follow the same liquid measurements listed to get that creamy, smooth texture that freezes up nicely. Let us know how they turn out if you give them a try!

1 week ago

Brought these to our neighborhood block party last weekend and everyone was asking for the recipe! I made half with strawberry jello/vanilla pudding and half with lime jello/lemon pudding, the flavor combo options are endless. Pro tip: run the pop molds under warm water for 10 seconds if they stick when you’re trying to pull them out.

2 days ago

Oh the lime/lemon combo sounds chef’s kiss! I was planning on doing raspberry jello/vanilla pudding for my pool party this weekend, might add a lime batch too!

5 days ago

I’ve been making regular pudding pops for years but the marbled jello twist is next level. The little fruity swirls add such a bright pop of flavor that keeps each bite interesting, not just one note the whole time. 10/10, will be a staple in my freezer all summer.

yesterday

Made these with my 7 year old last night and we had a total blast! Super easy for little hands to help with pouring and swirling, no fancy equipment needed. Only issue was ours came out a little icy instead of creamy? Did I mess up a step somewhere?

2 hours ago

I had that happen the first time I made them too! I accidentally used regular whole milk instead of the half and half the recipe calls for, swapped it out for the second batch and they were perfectly creamy.

30 minutes ago

So glad you got to make these with your kiddo! The icy texture usually happens if the mixture gets too watery, or if you don’t let the dissolved jello cool slightly before mixing with the pudding. GrandmaMia’s tip about using full fat half and half is spot on too, that makes a huge difference for that rich, creamy bite!

2 weeks ago

So happy this recipe is naturally gluten free! I’m always hunting for easy frozen treats I can bring to my celiac support group potlucks, and these fit the bill perfectly. No weird specialty ingredients required, just stuff I already keep in my pantry.

1 week ago

That makes us so happy to hear! We love sharing recipes that work for lots of different dietary needs without sacrificing any fun or flavor. Hope your support group loves them as much as we do!

2 hours ago

Wait, do I need actual popsicle molds to make these? I live in a dorm and don’t have a ton of kitchen stuff, but these look way cheaper and better than the overpriced popsicles they sell at the campus convenience store.

30 minutes ago

I used little disposable paper cups and cheap wooden popsicle sticks when I didn’t have molds! Just pour the mix in, cover the top with foil, poke the stick through the foil so it stays upright, and freeze. Works like a charm.

5 minutes ago

Great hack from WeeknightChef! You don’t need fancy popsicle molds at all — disposable cups, even cleaned out yogurt cups work perfectly if that’s what you have on hand. Just leave a little room at the top for the mixture to expand as it freezes.

3 days ago

These taste just like the jello pudding pops I used to make for my kids back in the 80s, but the marbled swirl makes them feel extra special. My grandkids went wild for them when they visited last weekend, I already sent the recipe to my daughter so she can make them at home.

1 week ago

Made these for our Father’s Day cookout and they were the perfect light dessert after all the burgers and hot dogs. I did an orange jello + vanilla pudding swirl that tasted just like a creamsicle, it was chef’s kiss.

5 days ago

Orange creamsicle flavor is such a good call! I’m doing a cherry jello + chocolate pudding version for our 4th of July cookout, can’t wait to see how they turn out.

5 days ago

I meal prepped a batch of these on Sunday and they lasted me the whole work week for a little after-dinner treat. So much better than buying expensive frozen desserts from the grocery store, and I know exactly what’s in them. 10/10 for easy meal prep!

3 days ago

Wait, how do you keep them from getting freezer burn if you store them for a week? I only made enough for one night last time, want to make a bigger batch this weekend.

2 days ago

Love that these work for meal prep! To prevent freezer burn, just wrap each pop individually in plastic wrap or stash them in an airtight freezer bag once they’re fully frozen, they’ll stay perfectly creamy for up to 2 weeks that way.

2 days ago

Made these for my pool party this past weekend and they were the perfect poolside treat! They don’t melt into a sticky mess all over your hand as fast as regular ice cream, and the bright colors looked so cute in my ice bucket. Everyone asked for the recipe!

yesterday

So glad they were a pool party hit! The slightly firmer texture from the jello makes them way less messy for outdoor gatherings in the heat, which is one of our favorite things about them too.

30 minutes ago

Has anyone tried making these with plant-based milk and vegan jello/pudding? I’m dairy free and have been craving a good creamy frozen pop that doesn’t taste like coconut overload. These look so good I’m dying to try them.

5 minutes ago

I made them with barista blend oat milk and vegan instant pudding last week! They turned out super creamy, just don’t use regular thin oat milk because that gets icy. I haven’t found vegan jello I love yet, so I used a little berry puree for the swirl and it worked great.

just now

Thanks for sharing that great tip, GlutenFreeGigi! We’ve tested these with barista blend oat milk and it works beautifully for a dairy-free version. If you can find vegan jello, it swaps 1:1 with regular, but fruit puree makes a delicious, all-natural swap too!

1 week ago

These are way cheaper and tastier than the neon sugar ice pops I usually buy for the team dugout. I made a batch last week for our game and every single kid (and parent!) grabbed one after the last inning. Will be making these on repeat all baseball season.

yesterday

Loved that this recipe is easy enough for my toddler to help with! She had so much fun stirring the pudding and drizzling the jello to make the swirls, no complicated steps that little kids can’t join in on. The pops were such a fun reward for her help too.

30 minutes ago

Love that! My boys are always begging to help in the kitchen but most recipes are too fussy for them, can’t wait to try making these with them this weekend.

2 hours ago

Wait, the recipe says 4 hours freeze time? I pulled mine out after 3 hours and they were still totally slushy in the middle. Did I do something wrong or do I just need to leave them in longer?

30 minutes ago

Freeze times can be totally different depending on how cold your freezer is! My chest freezer gets super cold so mine were done in 3.5 hours, but my kitchen fridge freezer takes closer to 5.5 hours to get solid. Just leave them a little longer, they’ll set!

5 minutes ago

Great point from MountainMamaBakes! The 4 hour time is an estimate for a standard 0°F home freezer. If your freezer is packed full or runs a little warm, it can take an extra 1-2 hours for the pops to fully set. They’re ready when they’re firm all the way through when you give the stick a little wiggle.

3 days ago

I keep these stashed in my work freezer for when that 3pm sugar craving hits. They’re sweet enough to satisfy the craving but not so heavy that I feel sluggish for the rest of the work day. Total game changer for office snacks.

2 days ago

That’s such a smart idea! We love keeping a batch stashed for midday treats too, they hit so much better than an overpriced candy bar from the vending machine.

5 days ago

I added a handful of rainbow sprinkles into the mix before freezing and it made the pops look so fun and festive! The sprinkles didn’t get weird and crunchy in the freezer like I was worried they would, they added the perfect little extra pop of texture. 10/10, will be adding sprinkles every time.

1 week ago

These are such a great treat to bring on camping trips! I made a batch before we left, stashed them in the cooler, and they were the perfect cold treat after a long day of hiking. Way easier to pack than regular ice cream that melts all over everything.

3 days ago

Camping treats! That’s such a good idea, I never would have thought to bring popsicles camping. Do they hold up okay in a regular cooler with ice, or do you need a fancy dry ice set up?

2 days ago

What a fun camping hack! As long as your cooler stays nice and cold, they hold up great — no dry ice needed if you’ve got enough regular ice packed in tight. Perfect for sticky post-hike cool downs!

2 weeks ago

I’ve made so many jello pop recipes over the years that turn out rubbery or weirdly textured, but these are perfect every single time. The ratio of pudding to jello is spot on, no weird gummy texture just creamy, fruity goodness. Already bookmarked this as my go-to pop recipe.

1 week ago

Good to know! I’ve had bad luck with rubbery jello pops before too, that makes me way more excited to try these this weekend in my dorm.

2 days ago

Living in Arizona where it’s 110 degrees for half the year, I go through so many frozen treats in the summer. These are so cheap and easy to whip up, I don’t feel bad making a batch every few days to keep in the freezer for when we need to cool down after playing outside.



