
joanna gaines banana pudding
intro
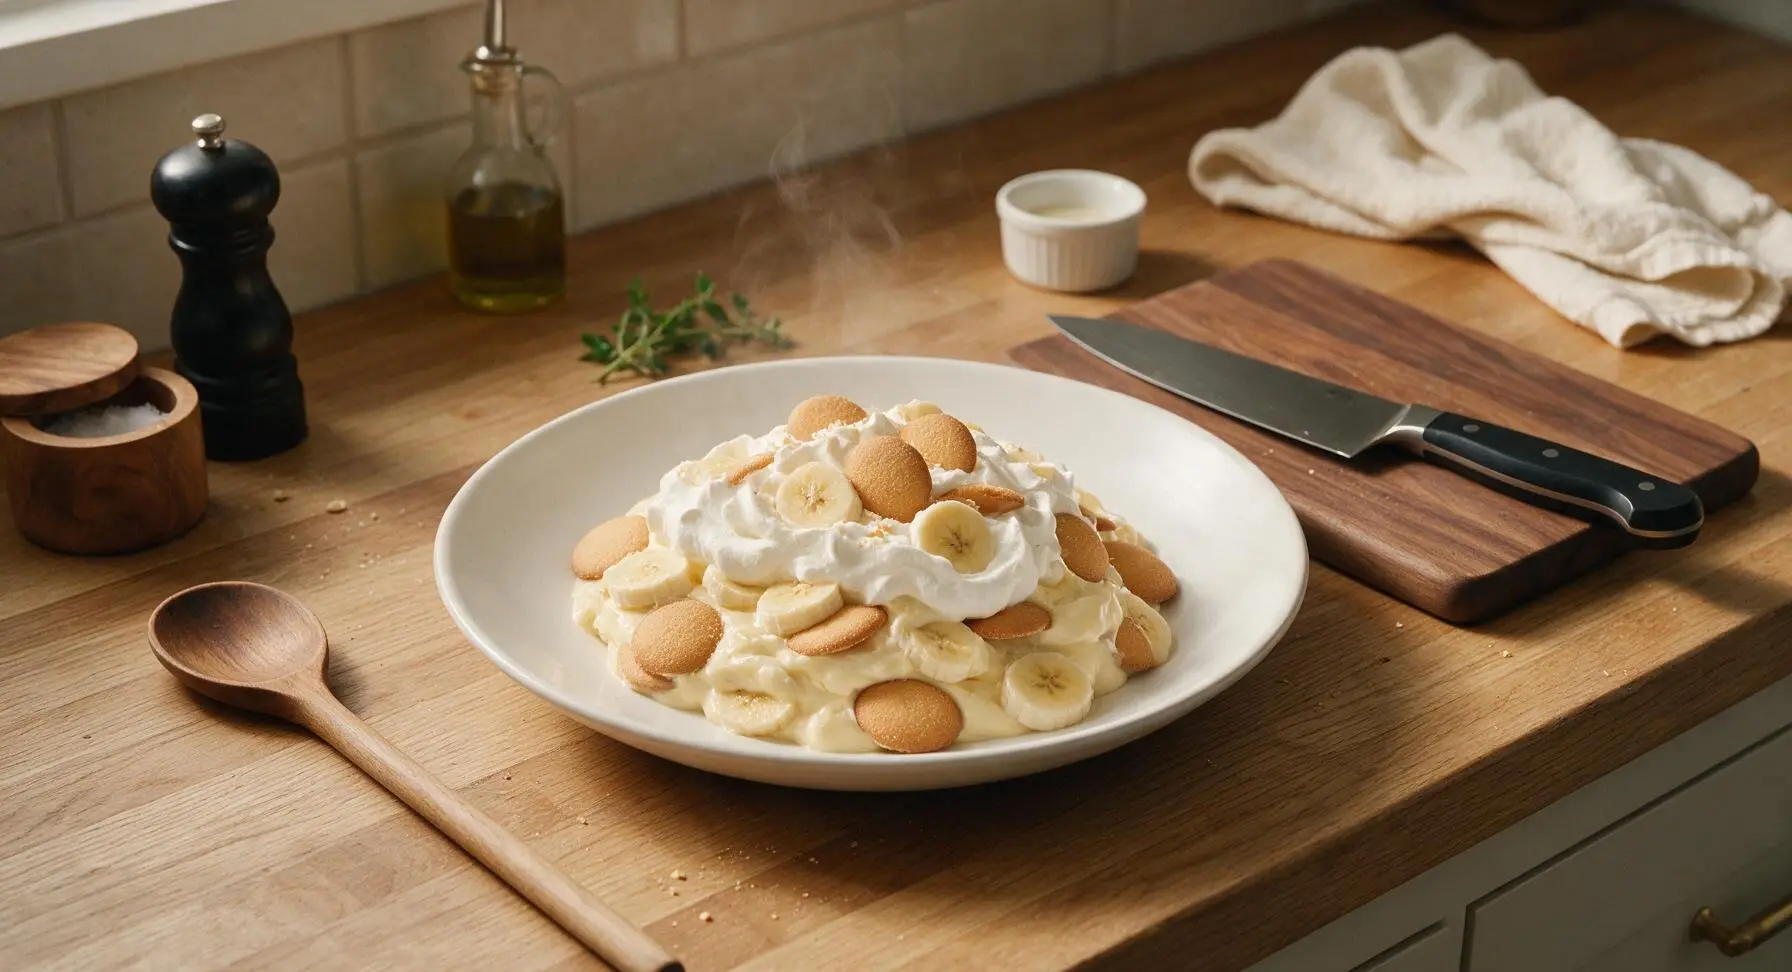
Creamy, nostalgic Southern-style banana pudding from Joanna Gaines, layered with crisp vanilla wafers, ripe bananas, and fluffy whipped cream for the ultimate crowd-pleasing chilled treat.
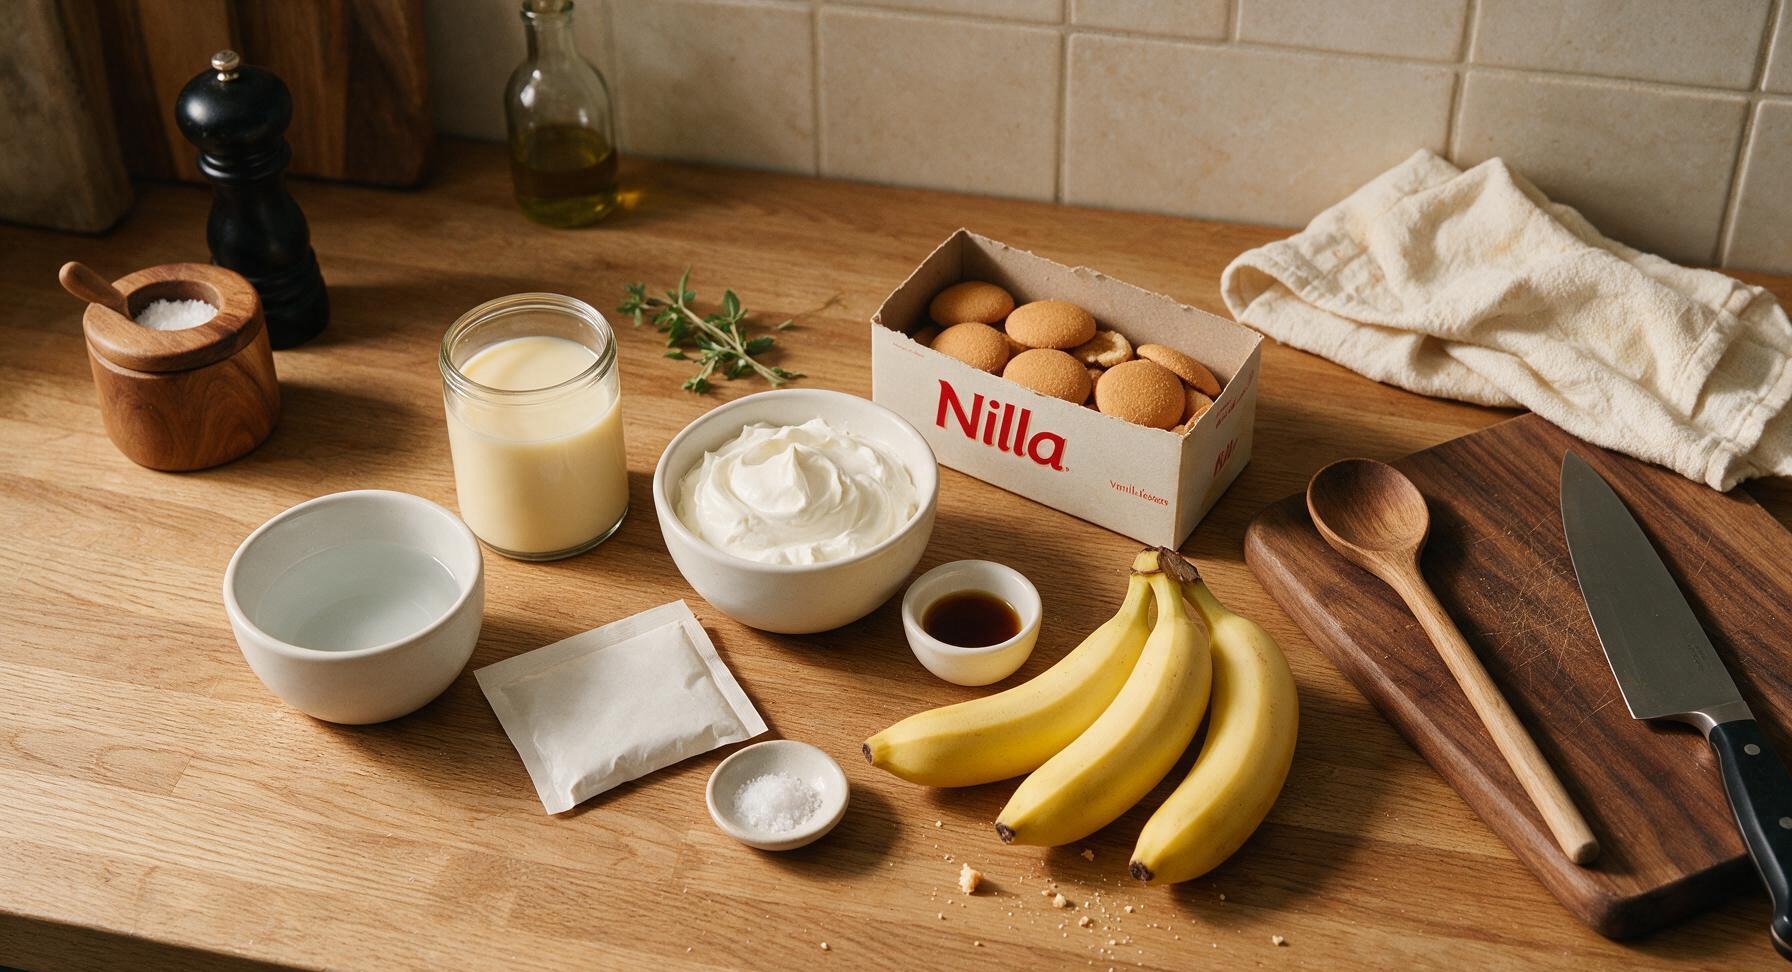
Ingredients
Steps
Whisk Pudding Base
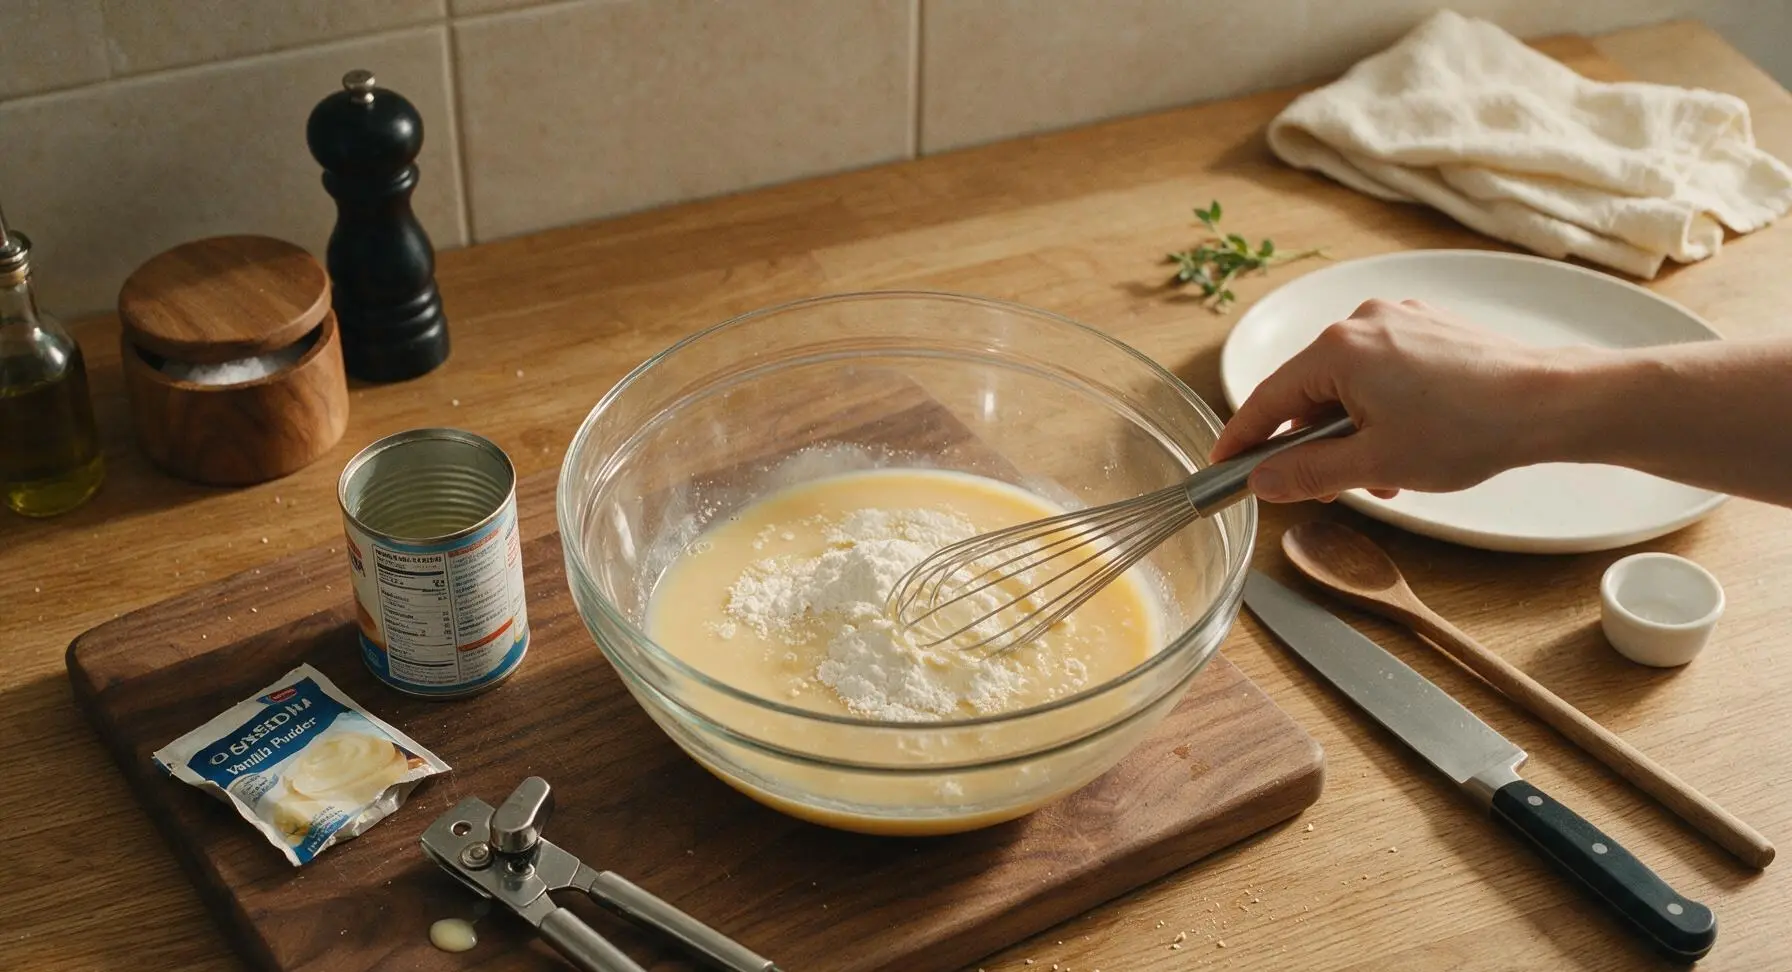
Open the can of sweetened condensed milk using the stainless steel can opener, and pour it into the large clear glass mixing bowl. Add 1.5 cups cold water and the full packet of instant vanilla pudding mix. Use the stainless steel wire whisk to stir continuously for 2 full minutes, until the mixture is completely smooth, with no lumps of pudding powder remaining. Let the mixture rest at room temperature for 5 minutes, until it thickens slightly to a soft, pourable custard consistency.
Chill Pudding Mixture
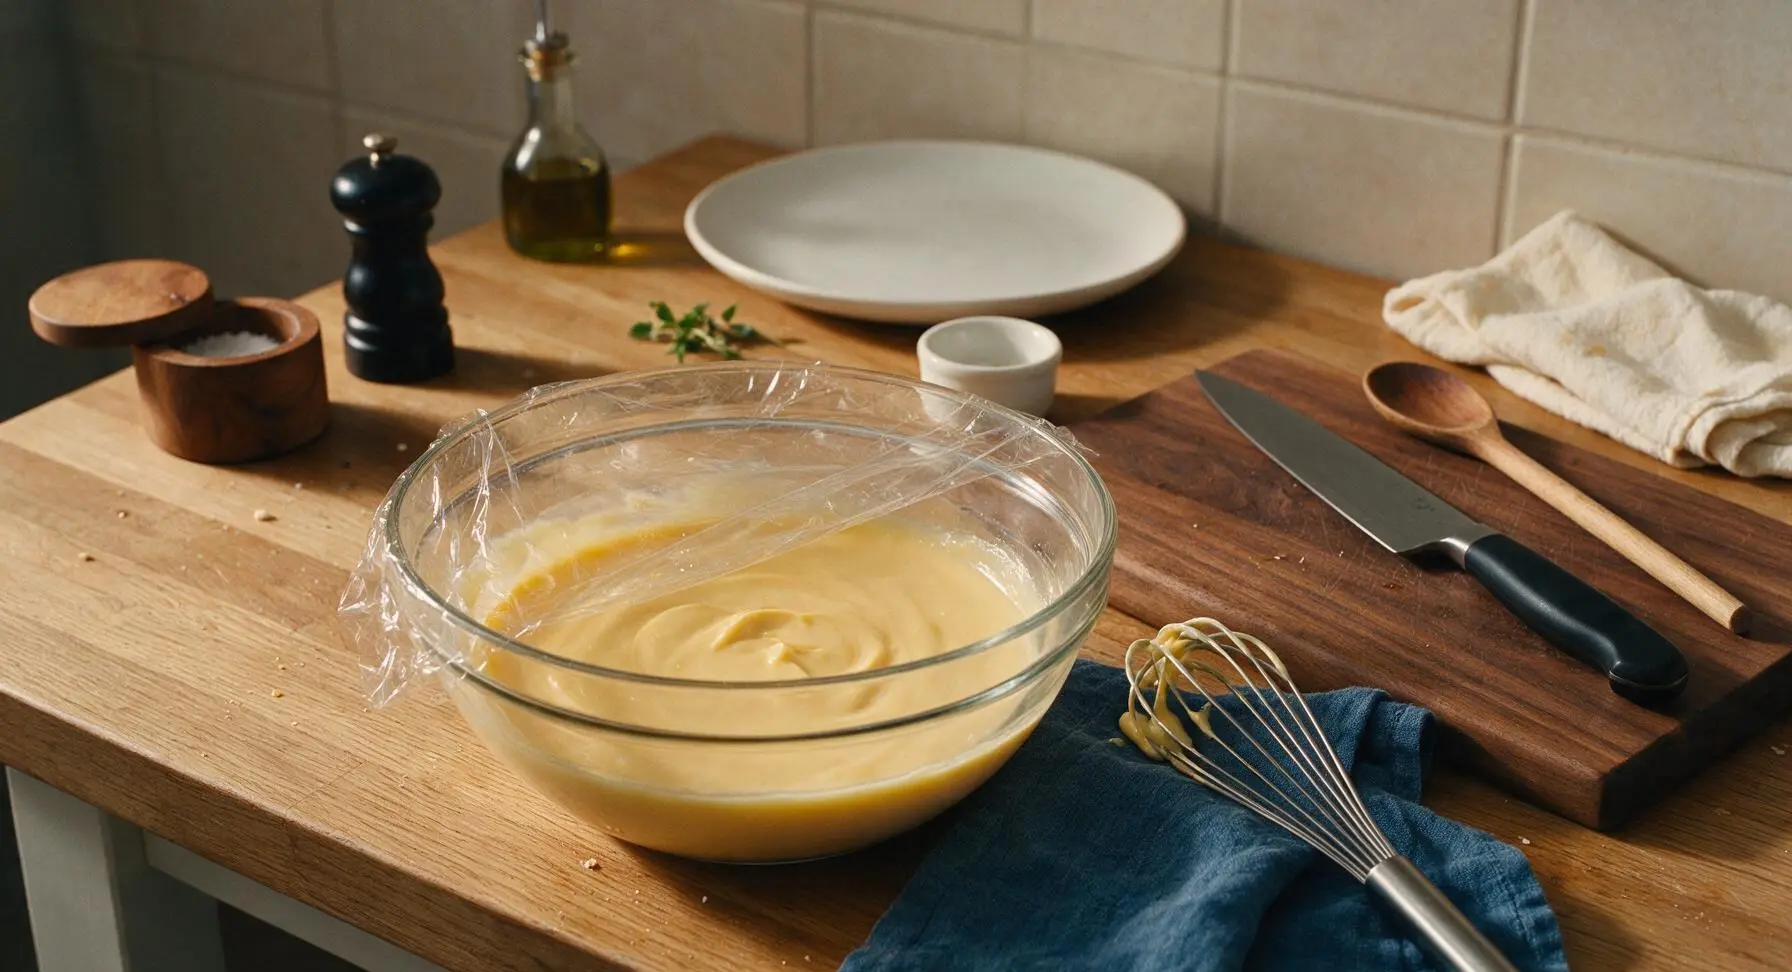
Once the pudding base is smooth and slightly thickened, cover the mixing bowl loosely with a small piece of plastic wrap (pressed directly to the surface of the pudding to prevent a skin from forming) and place it in the refrigerator for 1 hour, until it is fully set and firm to the touch. This chill step is critical to prevent runny layers once the pudding is assembled.
Whip Fresh Cream
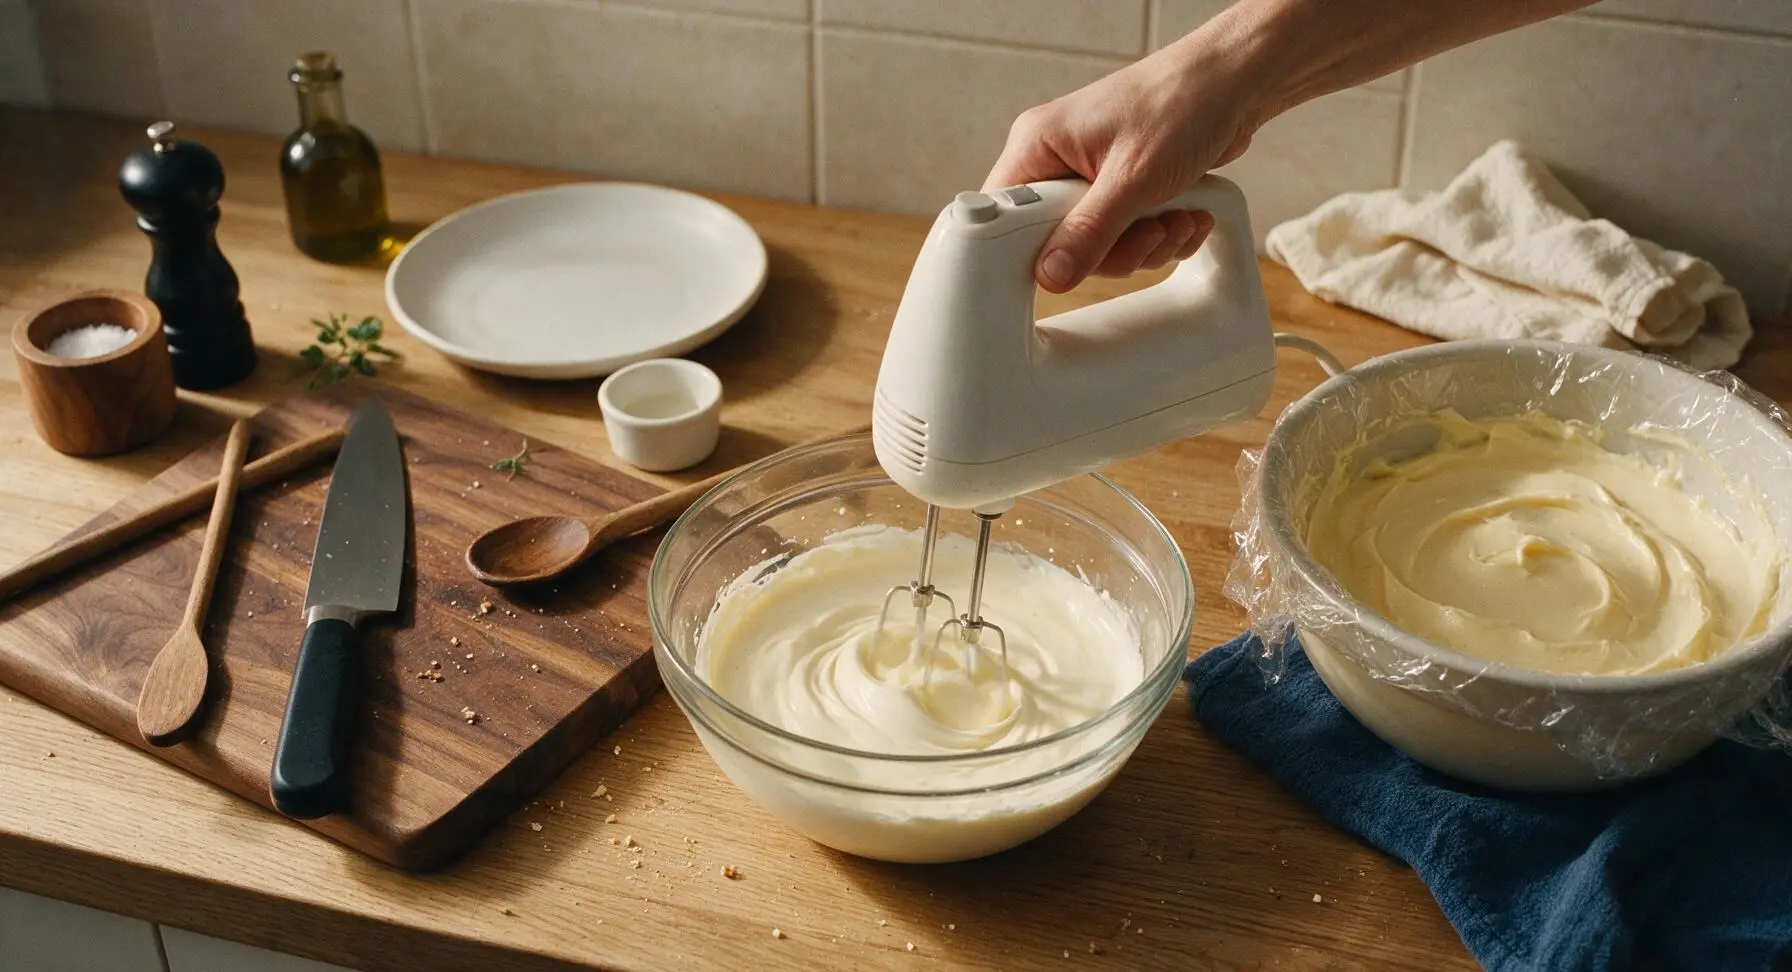
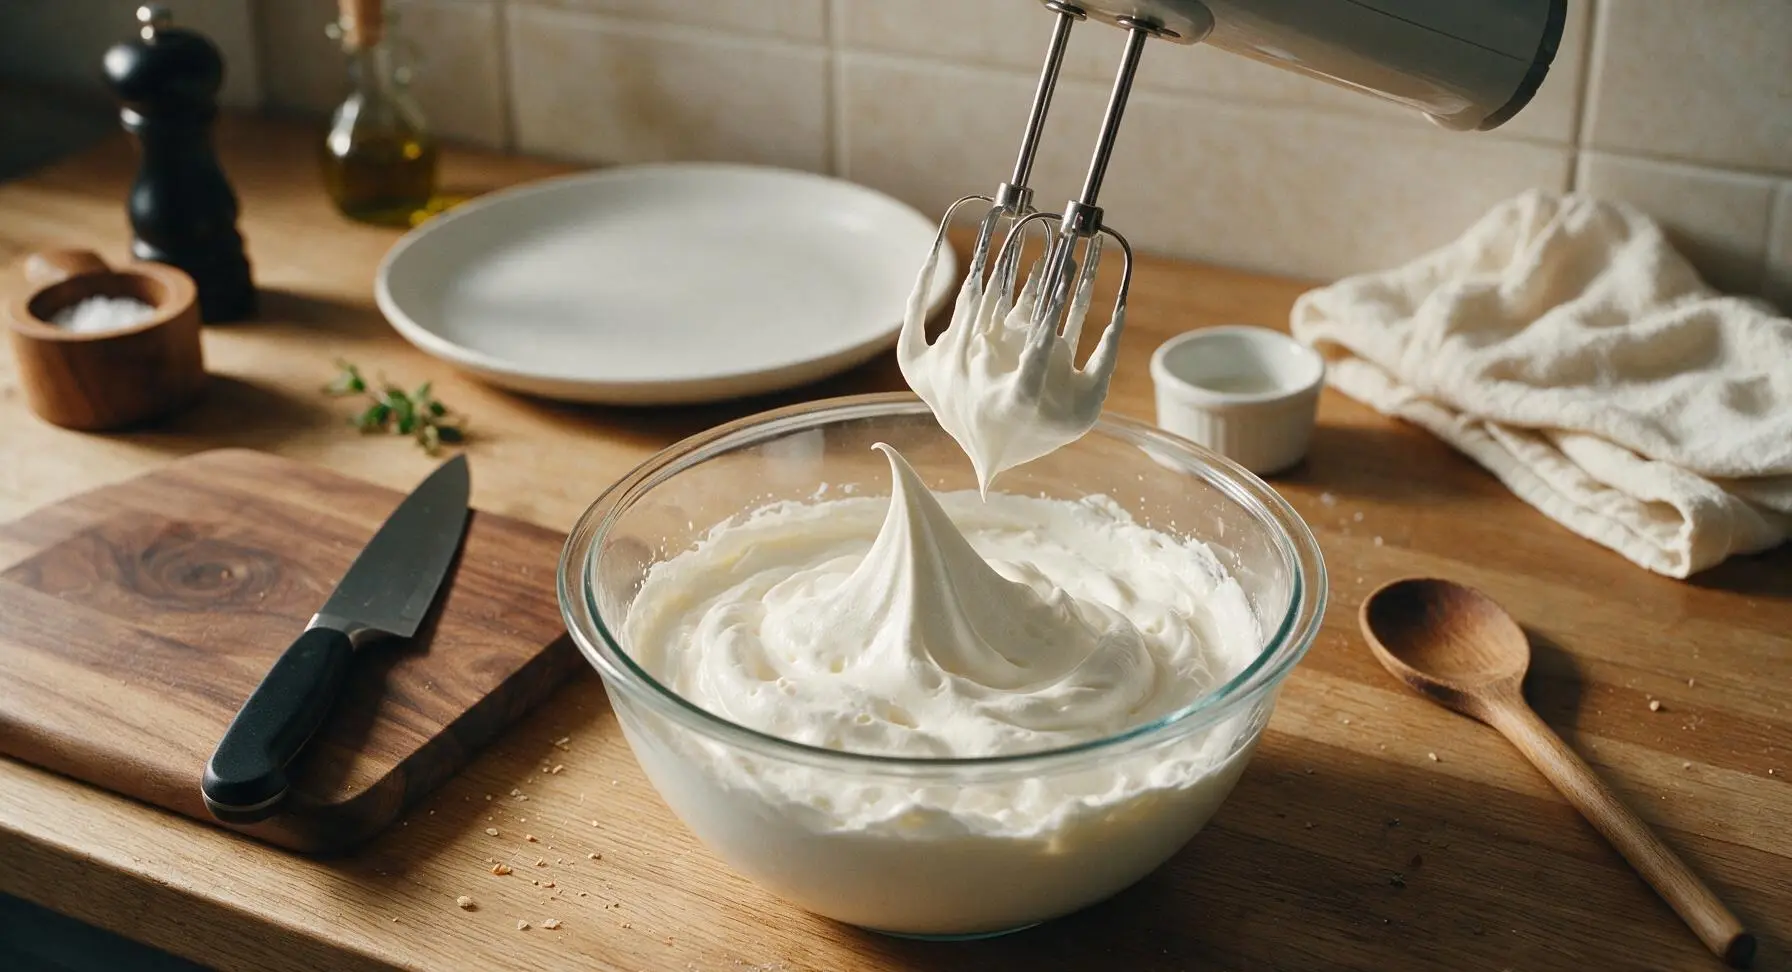
Remove the fully chilled pudding base from the refrigerator and set it back in its fixed position on the counter. Pour 2 cups chilled heavy cream, 1 teaspoon pure vanilla extract, and 1/8 teaspoon fine sea salt into the medium clear glass mixing bowl. Use the handheld electric mixer on medium-high speed to whip the cream for 2-3 minutes, until stiff, glossy peaks form that hold their shape when the beaters are lifted; do not overwhip, as this will cause the cream to curdle and separate.
Fold Cream Into Pudding
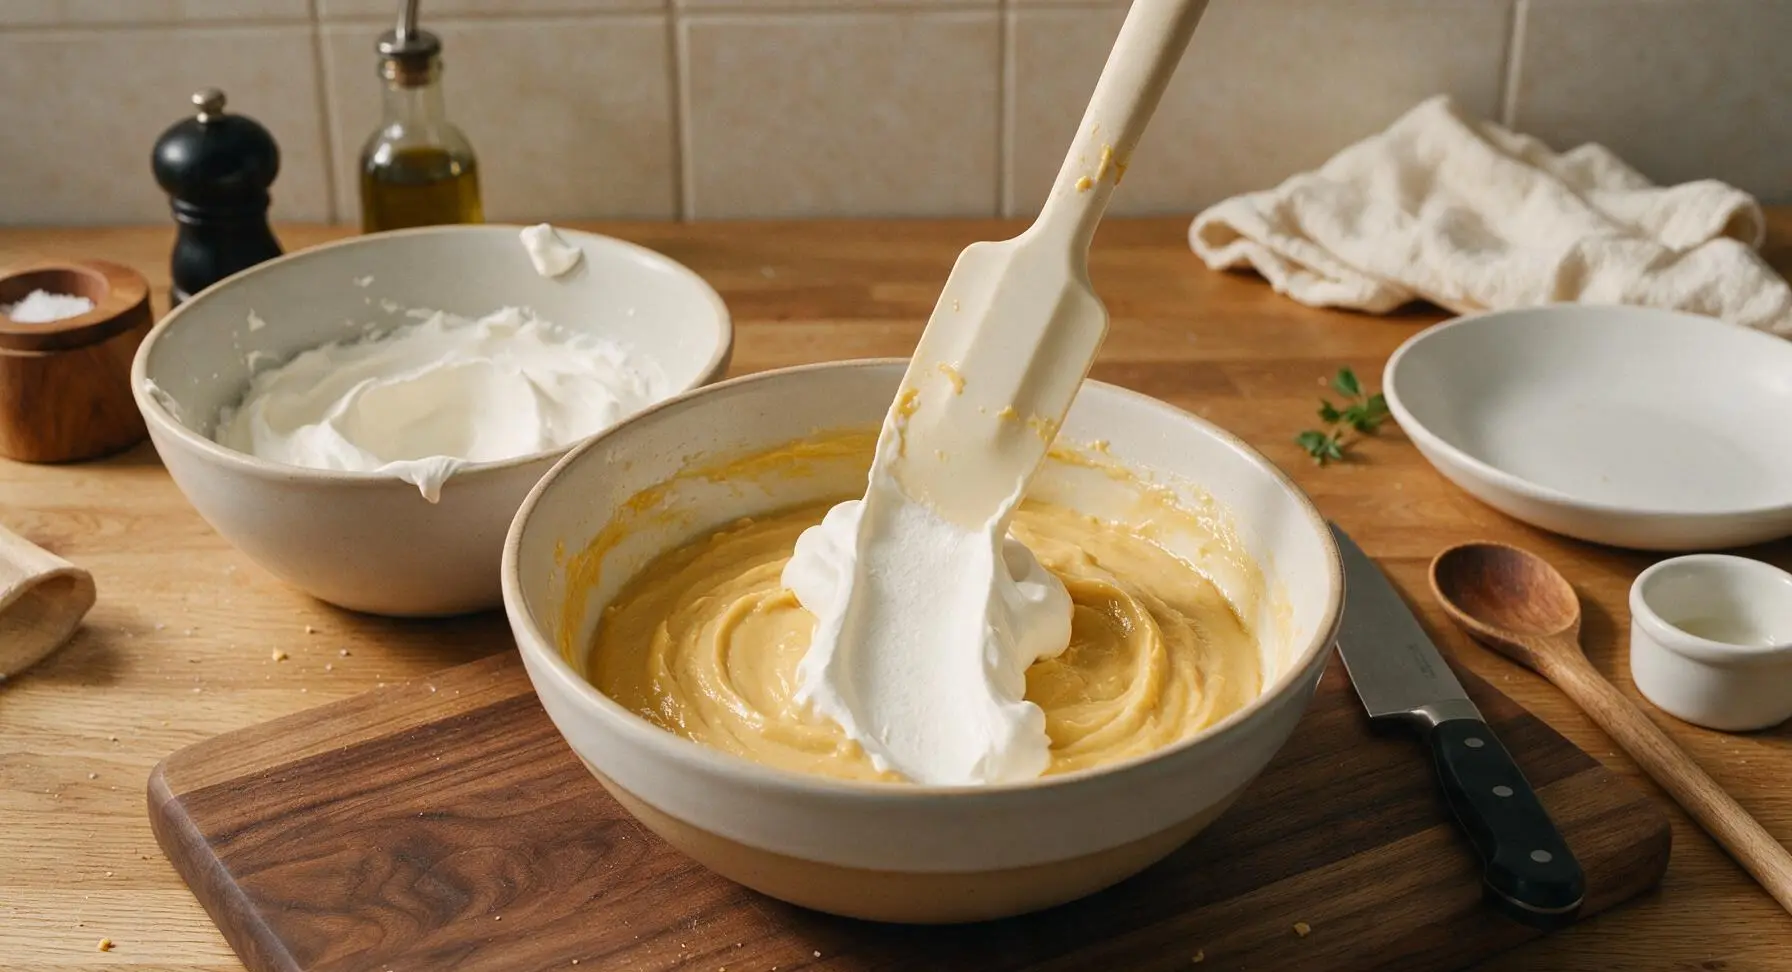
Scoop one third of the whipped cream into the chilled pudding base, using the cream white silicone spatula to gently fold it in to lighten the dense pudding. Once fully incorporated, add the remaining whipped cream in two equal batches, folding slowly and gently (do not stir vigorously, as this will deflate the air in the cream and make the pudding dense) until no white streaks of cream remain, and the pudding is a uniform pale creamy yellow color.
Slice Ripe Bananas
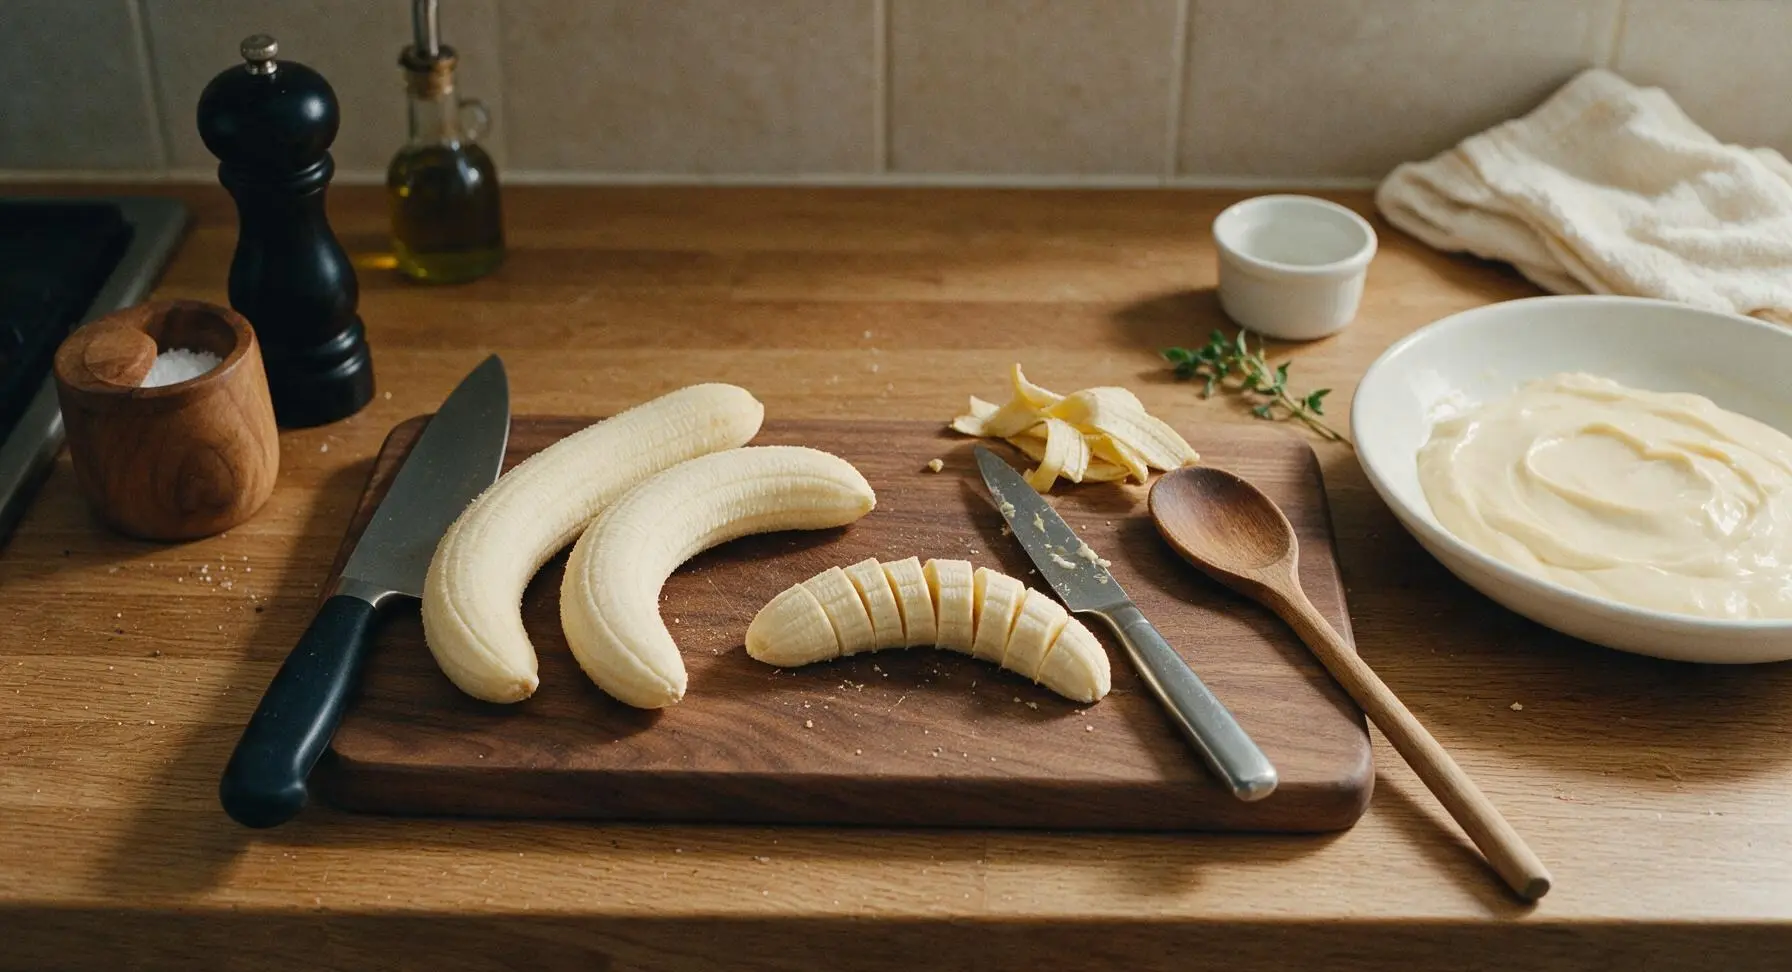
Peel all 4 ripe but firm bananas, and place them on the small honey maple cutting board. Use the stainless steel paring knife to slice the bananas into 1/4-inch thick rounds, cutting on a slight diagonal for larger, more attractive slices. Discard any bruised or overly soft spots; finished slices should be firm enough to hold their shape, not mushy or translucent.
Layer Pudding Components
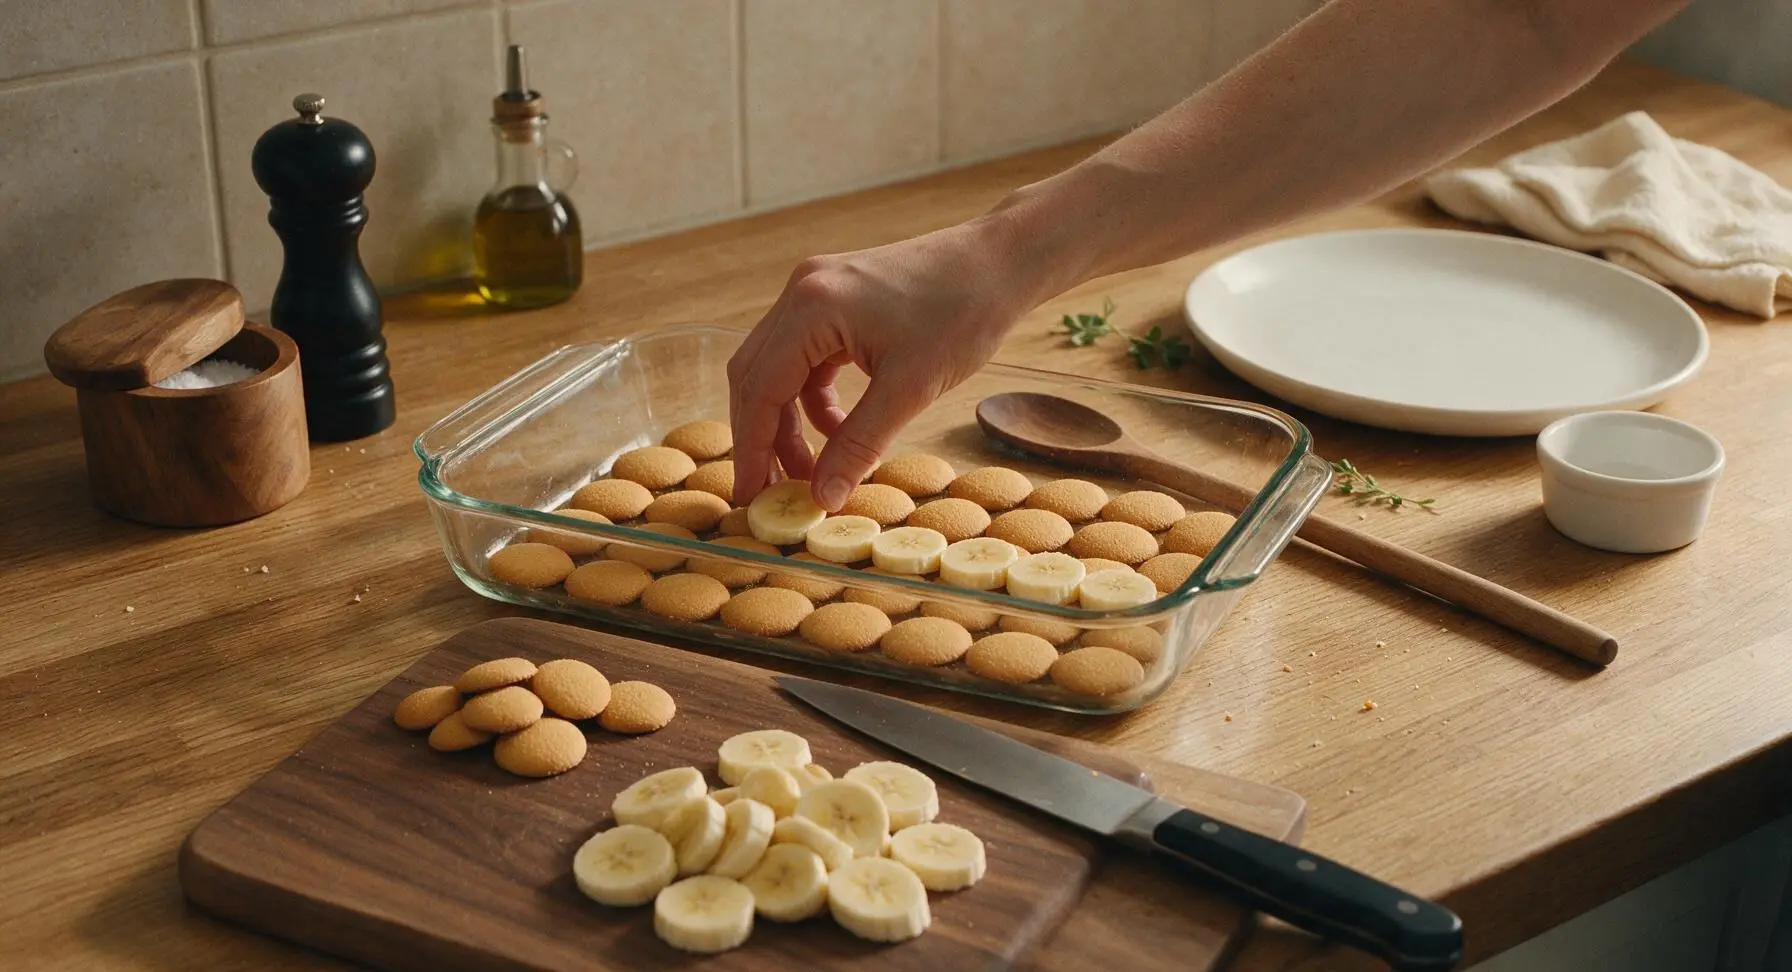
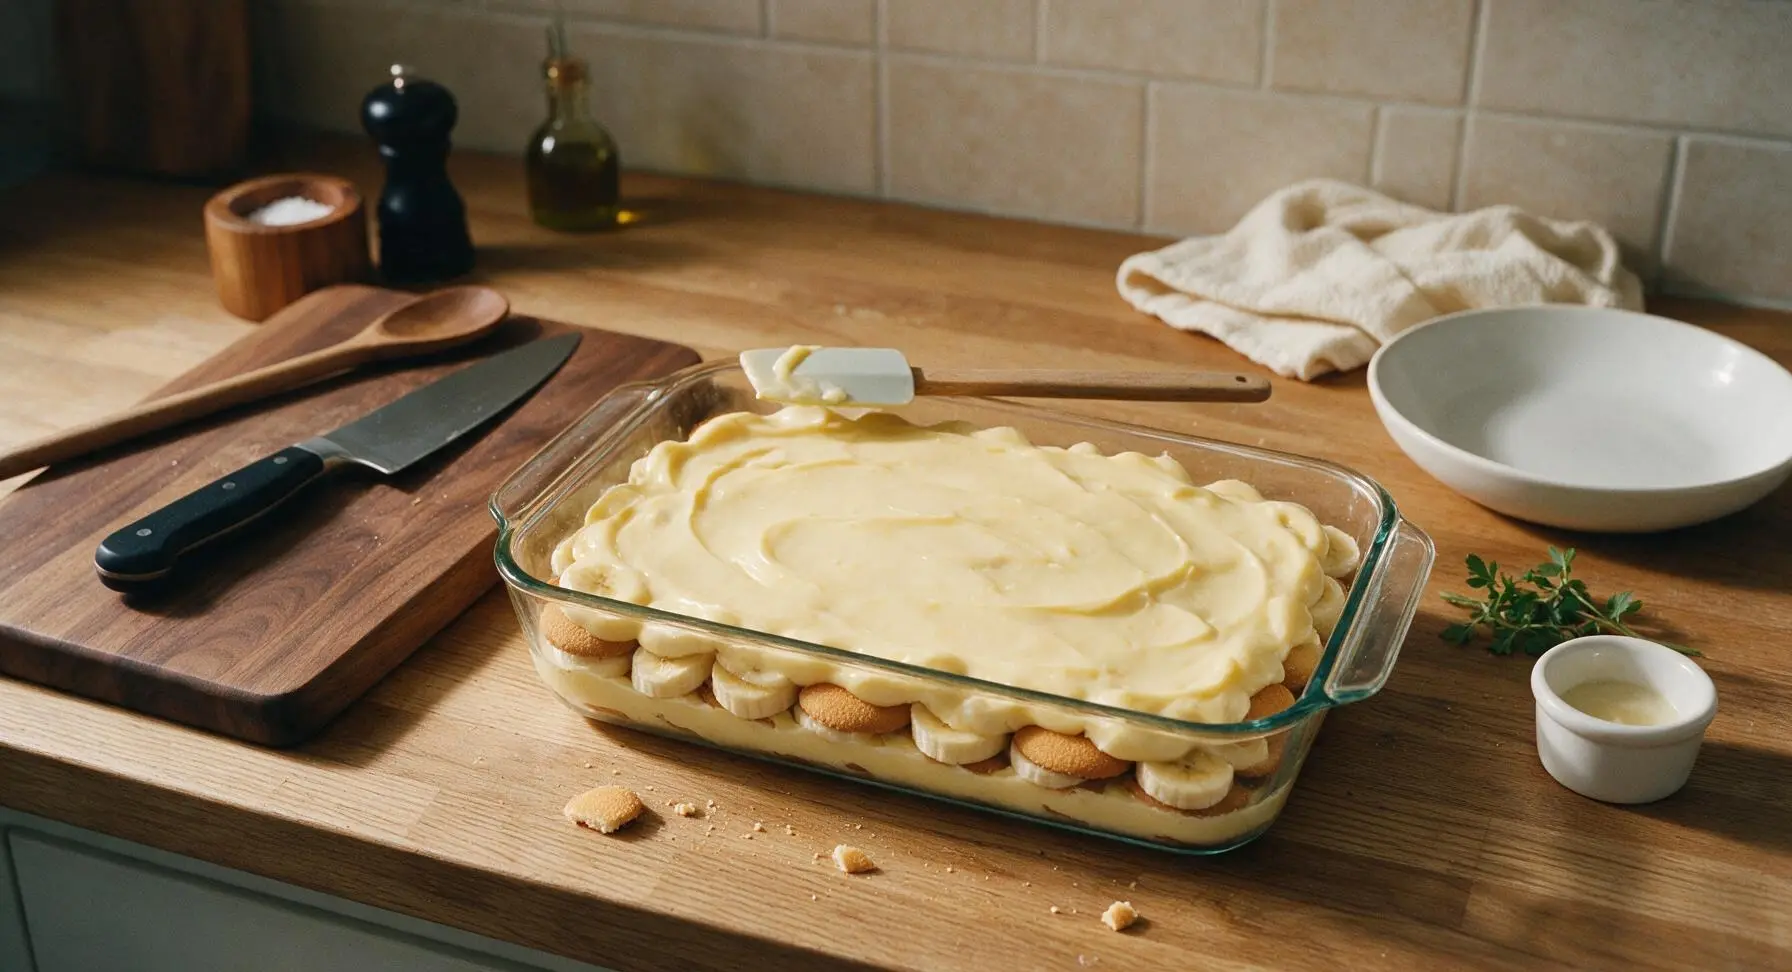
Begin assembling the pudding in the 9x13 clear glass baking dish: first, arrange a single even layer of vanilla wafers across the bottom of the dish, overlapping slightly to cover the glass completely. Top the wafers with half of the sliced banana rounds, arranged in an even, closely packed layer, then spread half of the creamy pudding mixture over the bananas, smoothing gently with the spatula to cover every banana slice. Repeat the layers once more: another single layer of vanilla wafers, the remaining banana slices, then the remaining pudding mixture, spread smooth and even across the top.
Top and Chill Pudding
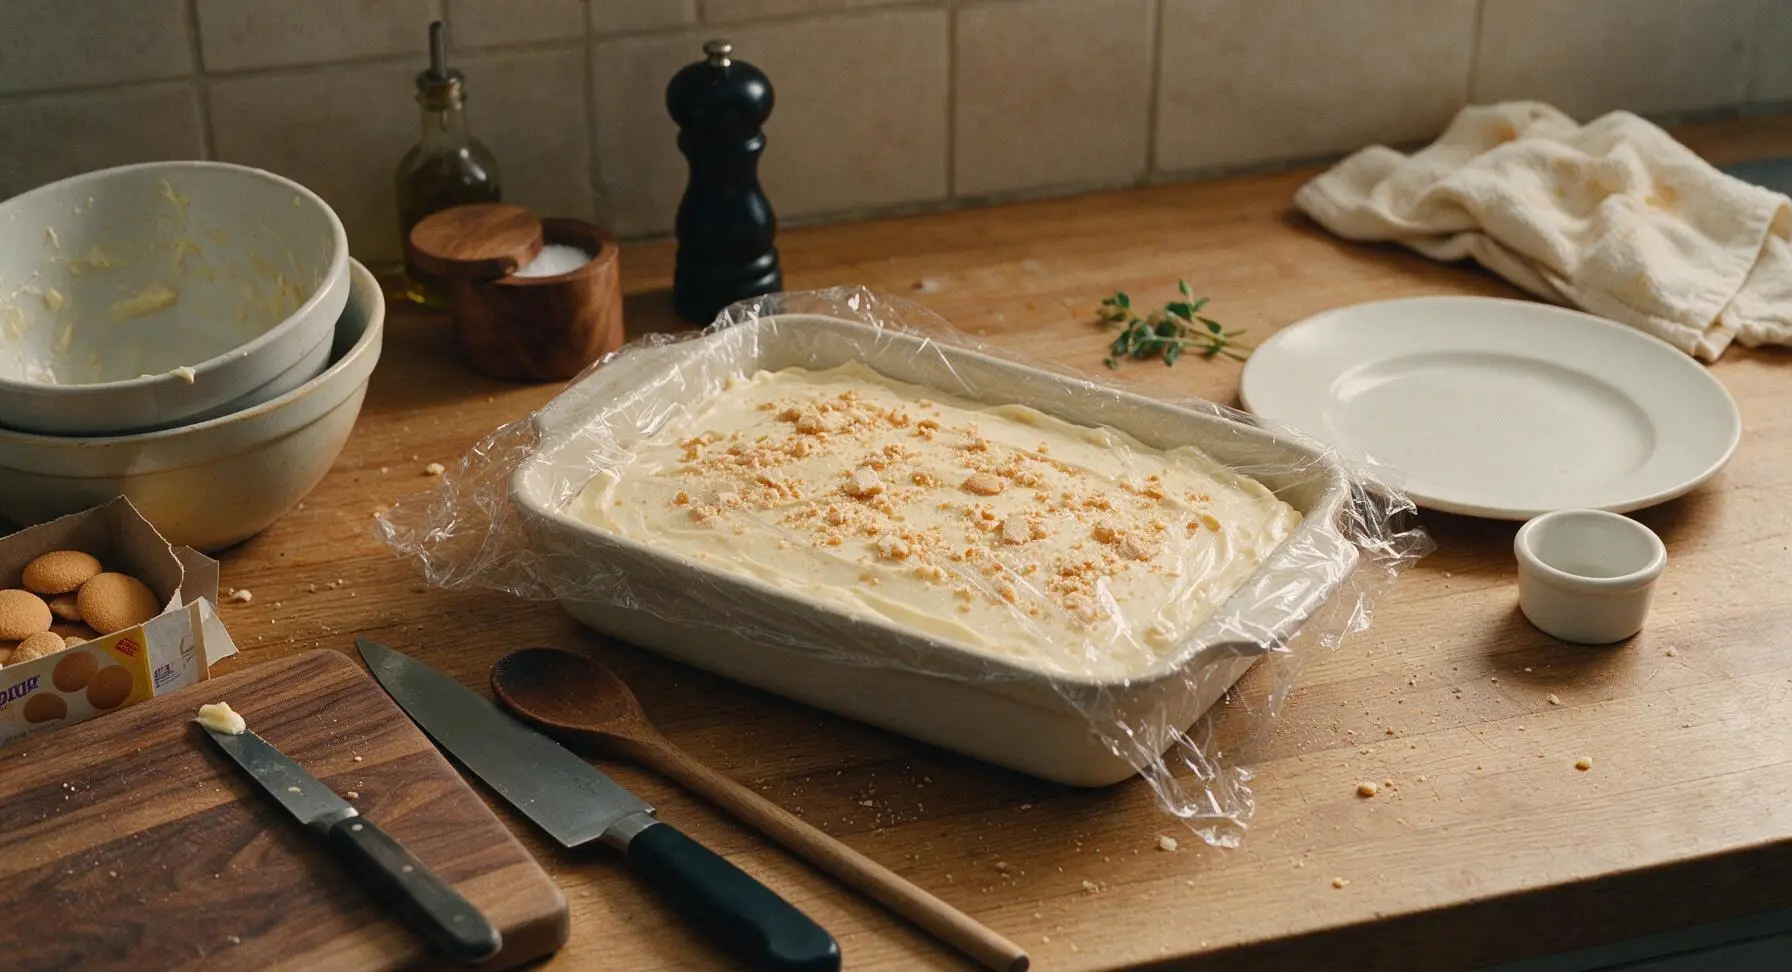
Crumble 6-8 extra vanilla wafers into coarse, uneven crumbs, and sprinkle them evenly across the top of the smooth pudding layer. Cover the baking dish tightly with plastic wrap (pressed lightly to the pudding surface to prevent skin formation), and refrigerate for a minimum of 3 hours (and up to 24 hours) until the pudding is fully set, and the wafers have softened slightly to a tender, cake-like texture. Right before serving, garnish with a few extra whole vanilla wafers and fresh mint leaves, if desired.
Tips
2.Press plastic wrap directly to the surface of the pudding base (and later, the fully assembled dish) before chilling to prevent a thick, rubbery skin from forming on top of the pudding as it sets. This keeps the texture perfectly smooth and creamy, with no chewy top layer.
3.For the best texture, avoid assembling the pudding more than 24 hours in advance. While the wafers are meant to soften slightly as they absorb pudding and banana moisture, longer chill times will make them mushy, and the banana slices will begin to brown and lose their bright, sweet flavor.






OMG y’all, I made this for our Sunday church potluck and it was GONE in 10 minutes flat! I was worried the no-stovetop aspect would make it taste flat but no, it was perfectly creamy, not too sweet, and the vanilla wafer layers got that perfect soft-but-still-a-little-crunchy texture. My 7 year old asked for thirds, even though he swears he ‘hates banana stuff’. Total game changer for easy summer desserts!
Super easy to throw together after work when I totally forgot I was signed up to bring dessert for my kid’s soccer team dinner! Only reason I’m knocking off one star is I only chilled it for 2 and a half hours because I was super crunched for time, so the layers didn’t set quite as firm as I wanted. The flavor was still chef’s kiss though, every single parent asked me for the recipe.
I was so skeptical of no-cook banana pudding because my grandma’s old family recipe uses a stovetop custard that takes forever to make, but this is SO easy and tastes just as rich! I portioned it into individual little cups for my work lunches this week and they held up perfectly for 4 days in the fridge. Will absolutely be adding this to my regular rotation, especially since I don’t have to heat up my whole apartment making custard when it’s 90 degrees out. My roommate even stole two cups and said it’s the best dessert I’ve made all year!