
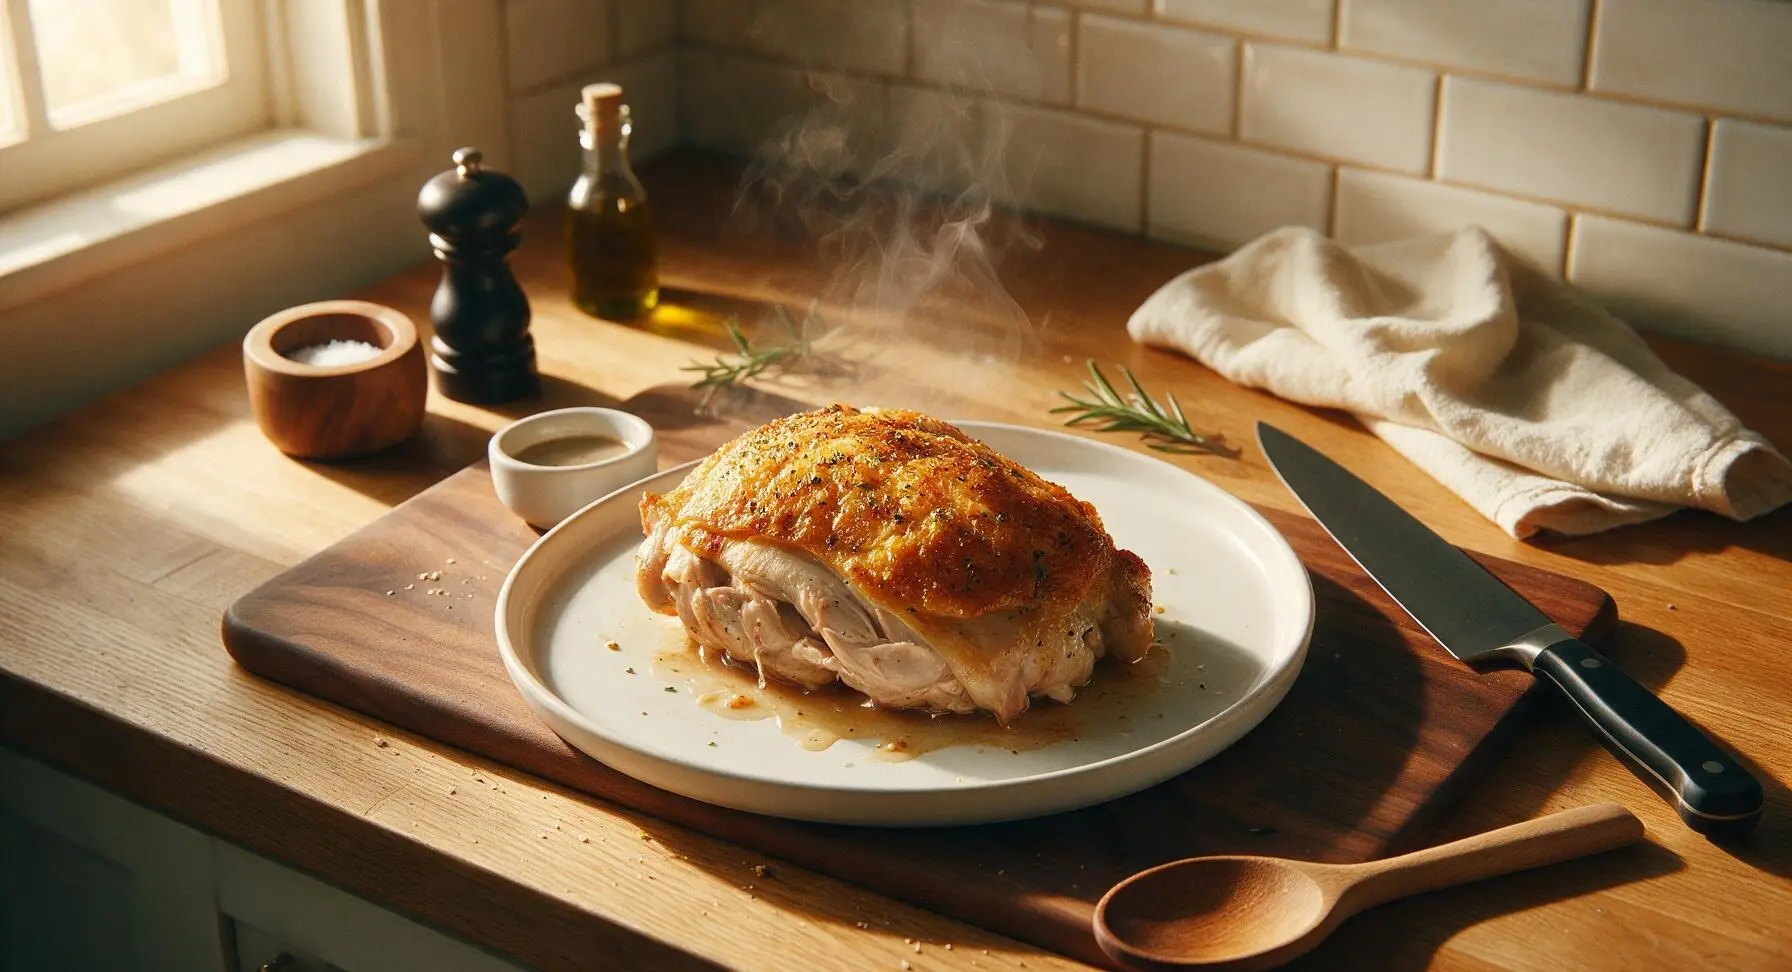
juicy baked chicken

title 1
juicy baked chicken
⏱️ cook time 40 minutes
🍽️ servings 4
⚡ Difficulty easy

intro

Crisp, golden herb-flecked skin gives way to tender, juice-dripping chicken, seasoned simply and baked slowly for a cozy, no-fuss Sunday family meal.

Ingredients
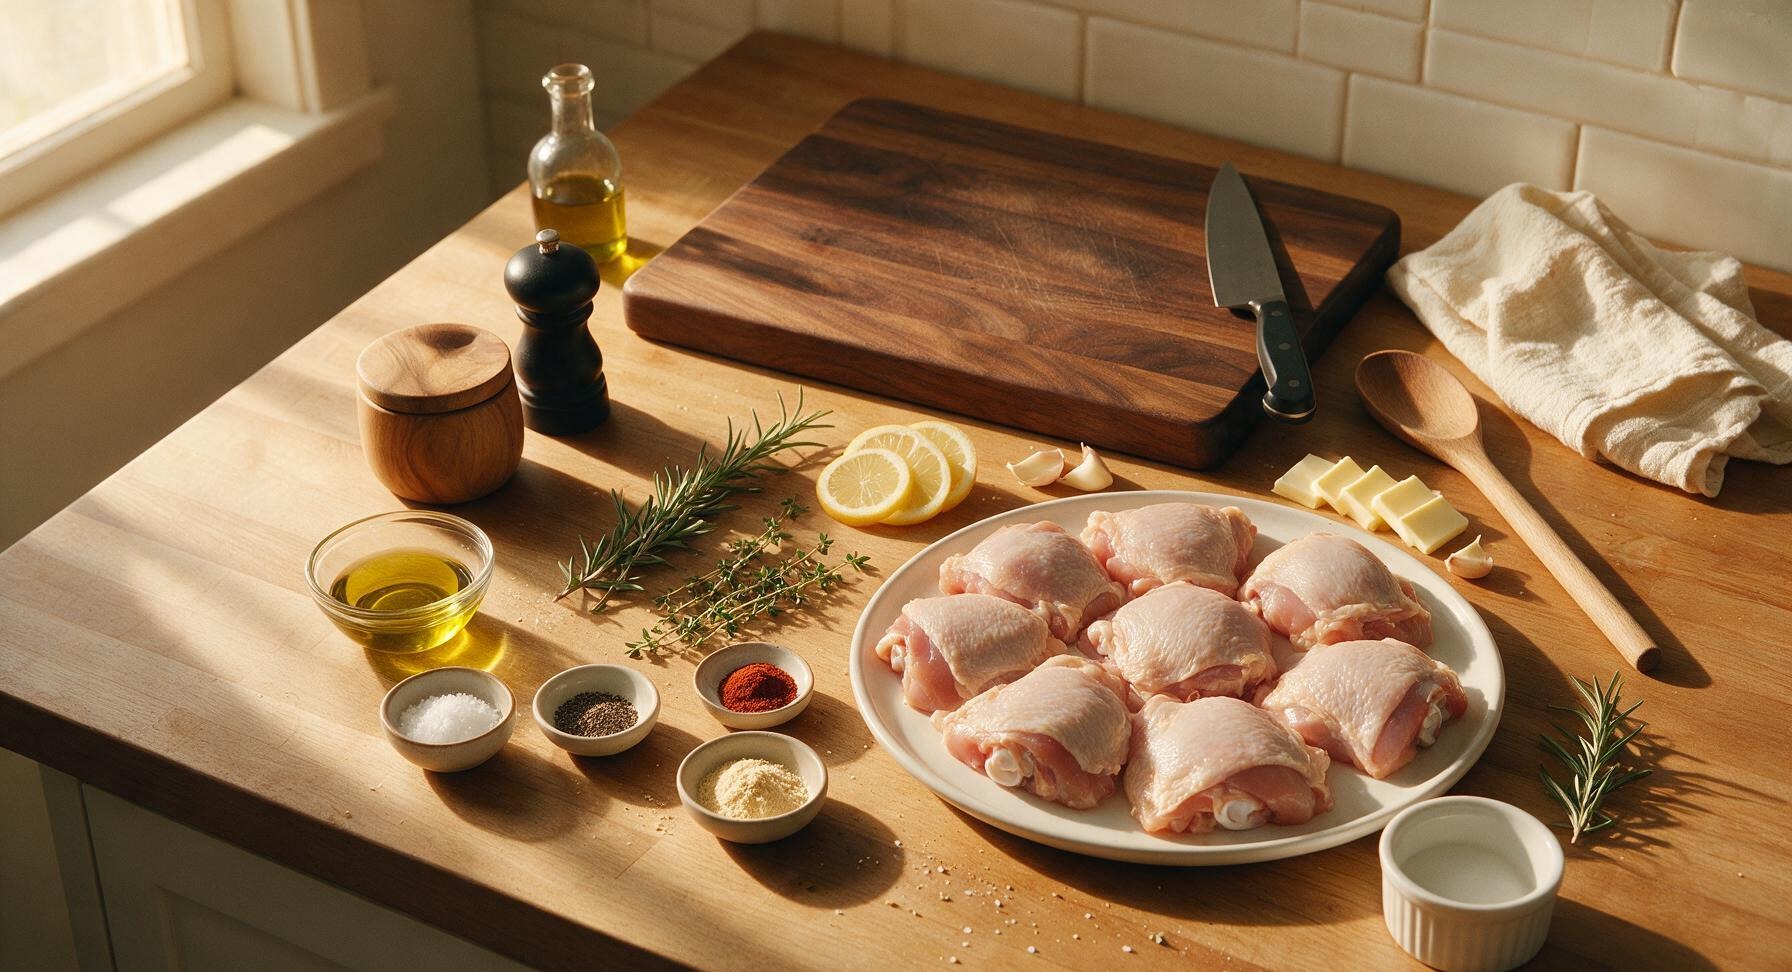
Bone-in, skin-on chicken thighs 1.2kg (8 pieces, ~150g each)
Extra-virgin olive oil 2 tablespoons
Kosher salt 1.5 teaspoons
Freshly ground black pepper 1 teaspoon
Garlic powder 1 teaspoon
Smoked paprika ½ teaspoon
Fresh rosemary 2 sprigs (10cm each)
Fresh thyme 4 sprigs
Medium lemon 1 (sliced into 6 thin rounds)
Unsalted butter 2 tablespoons (cut into 8 thin pats)
Garlic cloves 3 (lightly crushed)

Steps

1

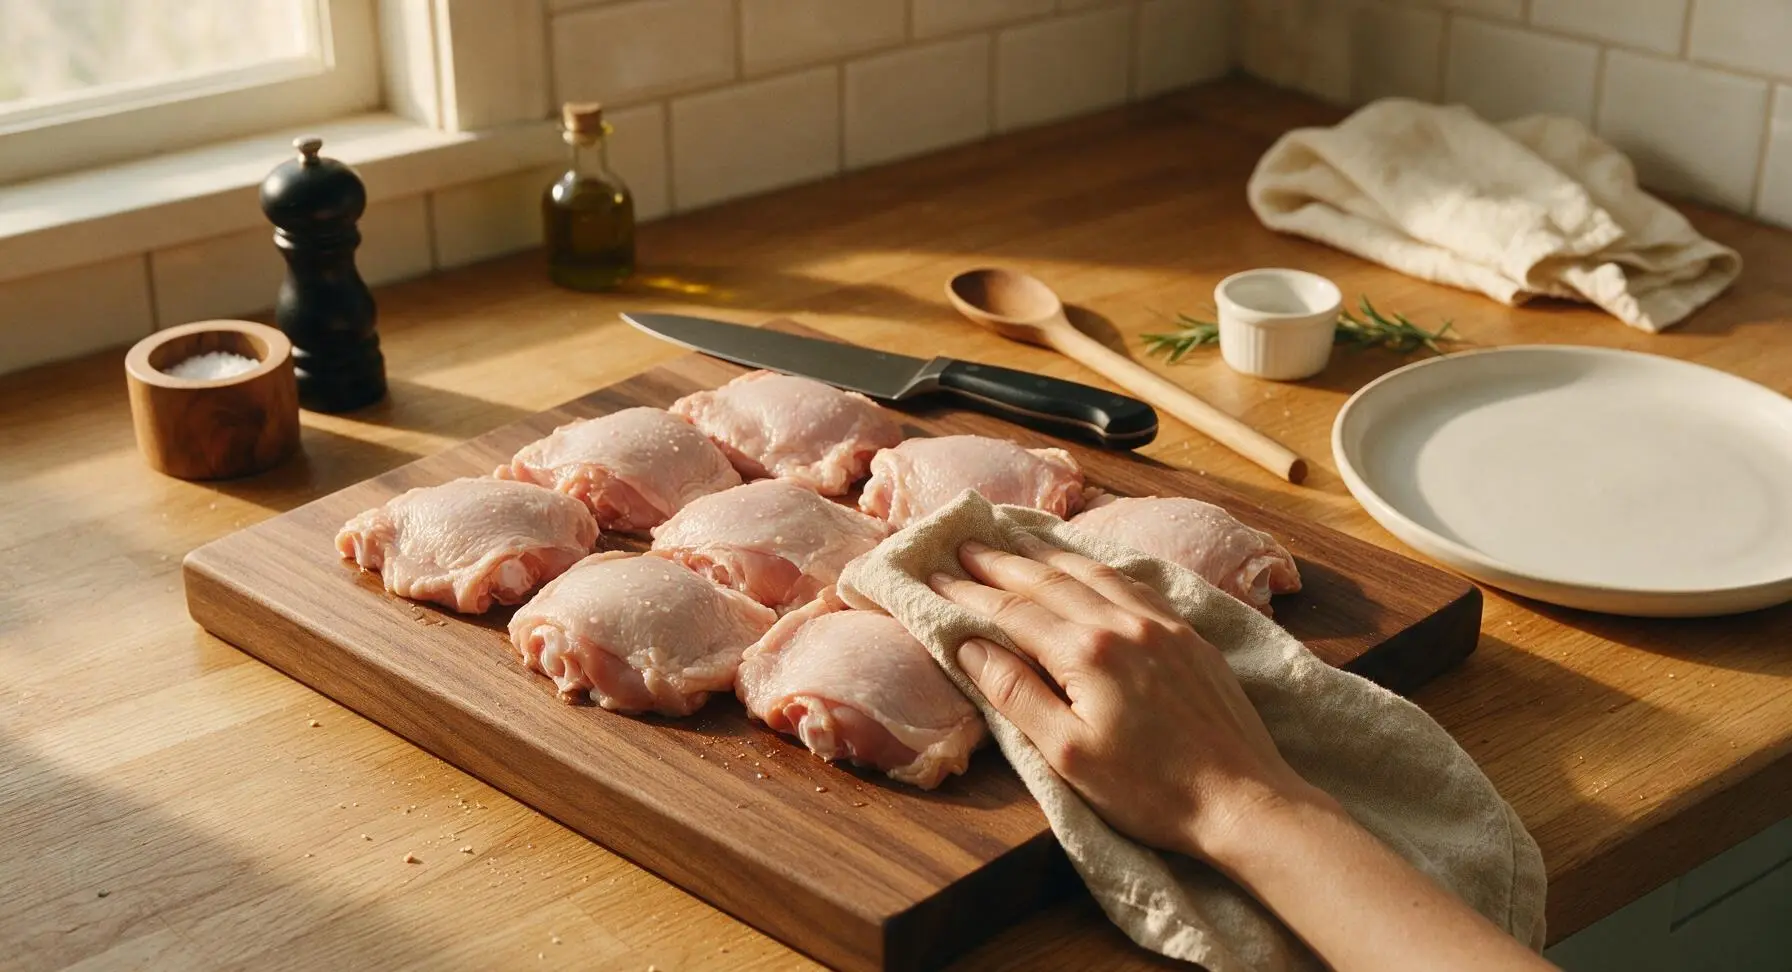
Pat Chicken Dry

Remove the 8 bone-in, skin-on chicken thighs from their packaging, placing them in a single layer on the maple cutting board. Use a clean corner of the oatmeal linen towel to thoroughly pat every surface of the chicken (especially the skin side) completely dry, wiping away all visible surface moisture and any residual packaging liquid. Wipe away any pooled liquid from the board with the towel. Dry skin is critical for crisp, rendered skin that locks in meat juice during baking.
Step 1
step1:Pat Chicken Dry
2

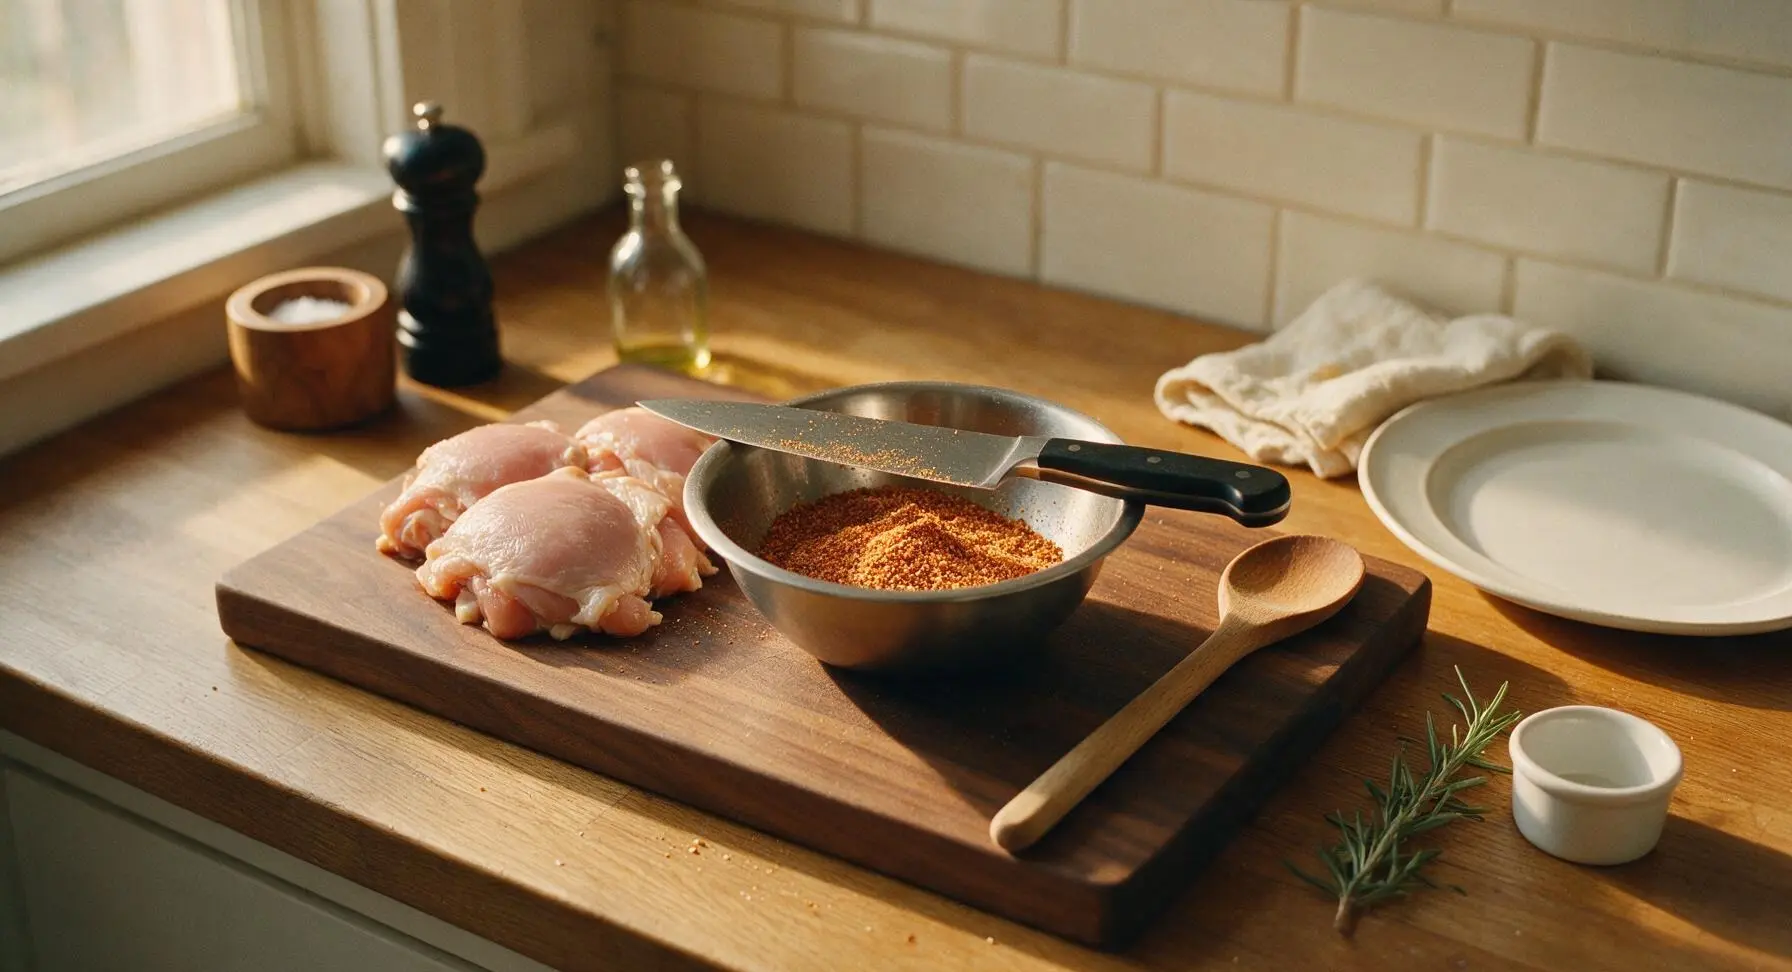
Mix Spice Blend

In the small brushed stainless steel mixing bowl, combine 1.5 teaspoons kosher salt, 1 teaspoon freshly ground black pepper, 1 teaspoon garlic powder, and ½ teaspoon smoked paprika. Stir the spices with the tip of the chef knife to blend evenly, breaking up any small clumps of paprika or garlic powder until the mixture is a uniform warm tan-red color.
Step 2
step2:Mix Spice Blend
3

Season Chicken Evenly

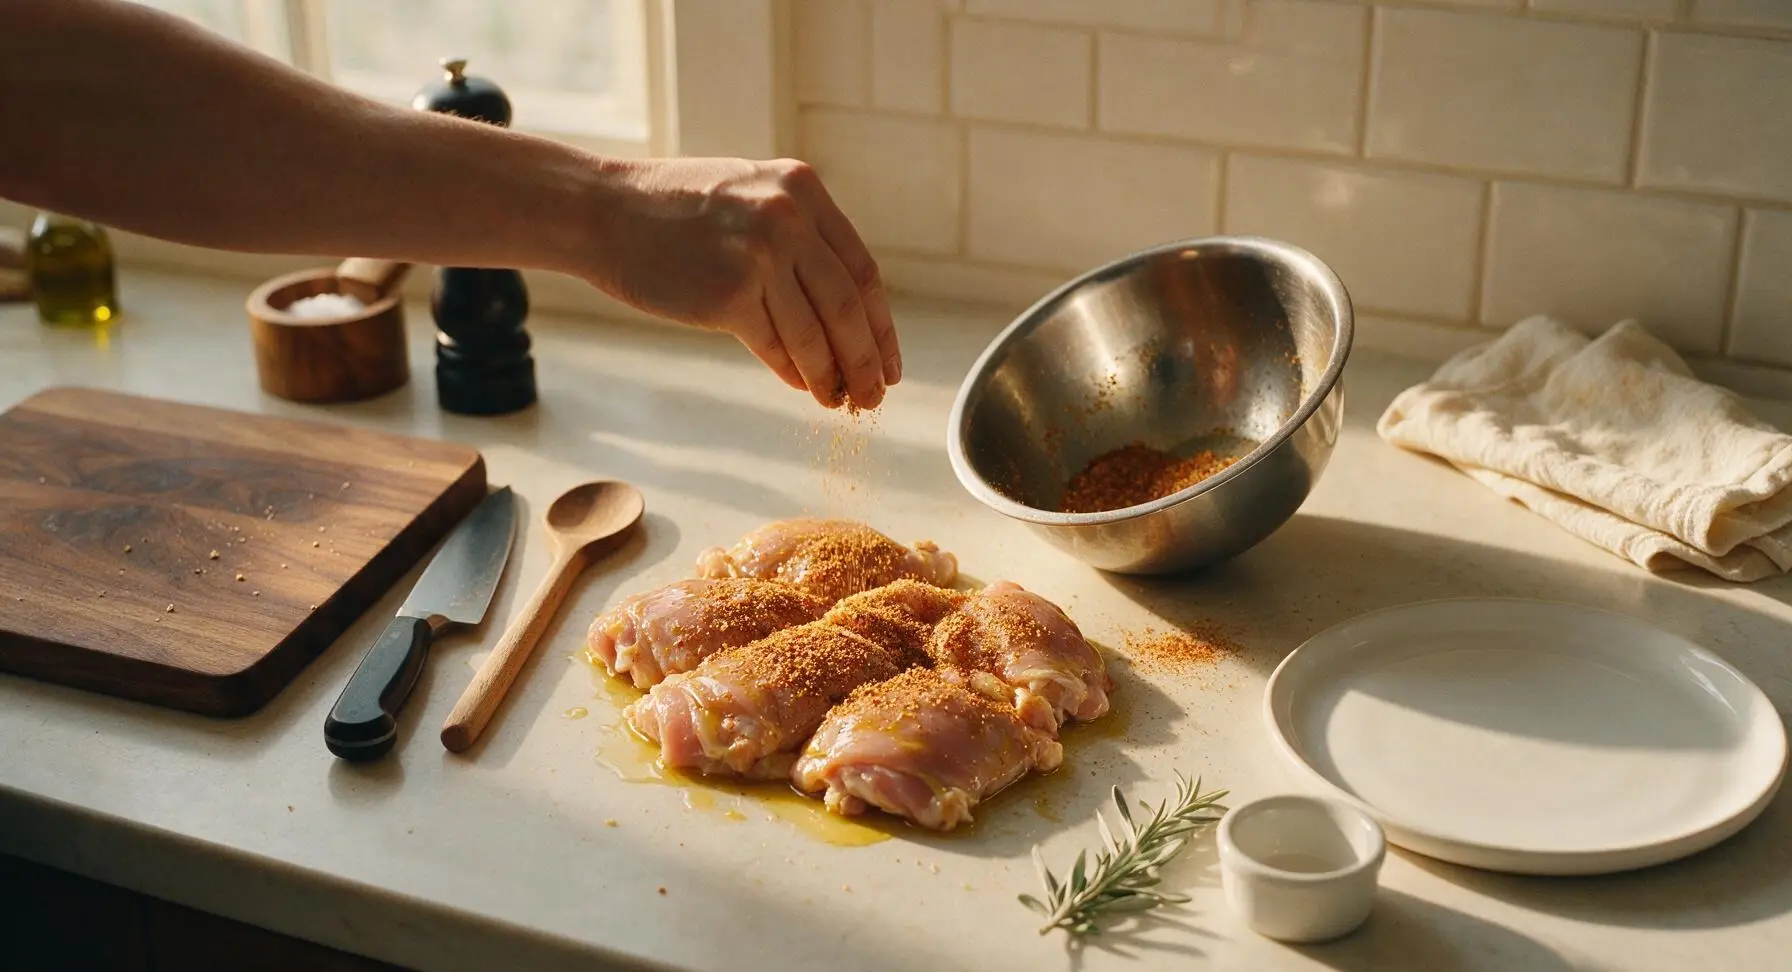
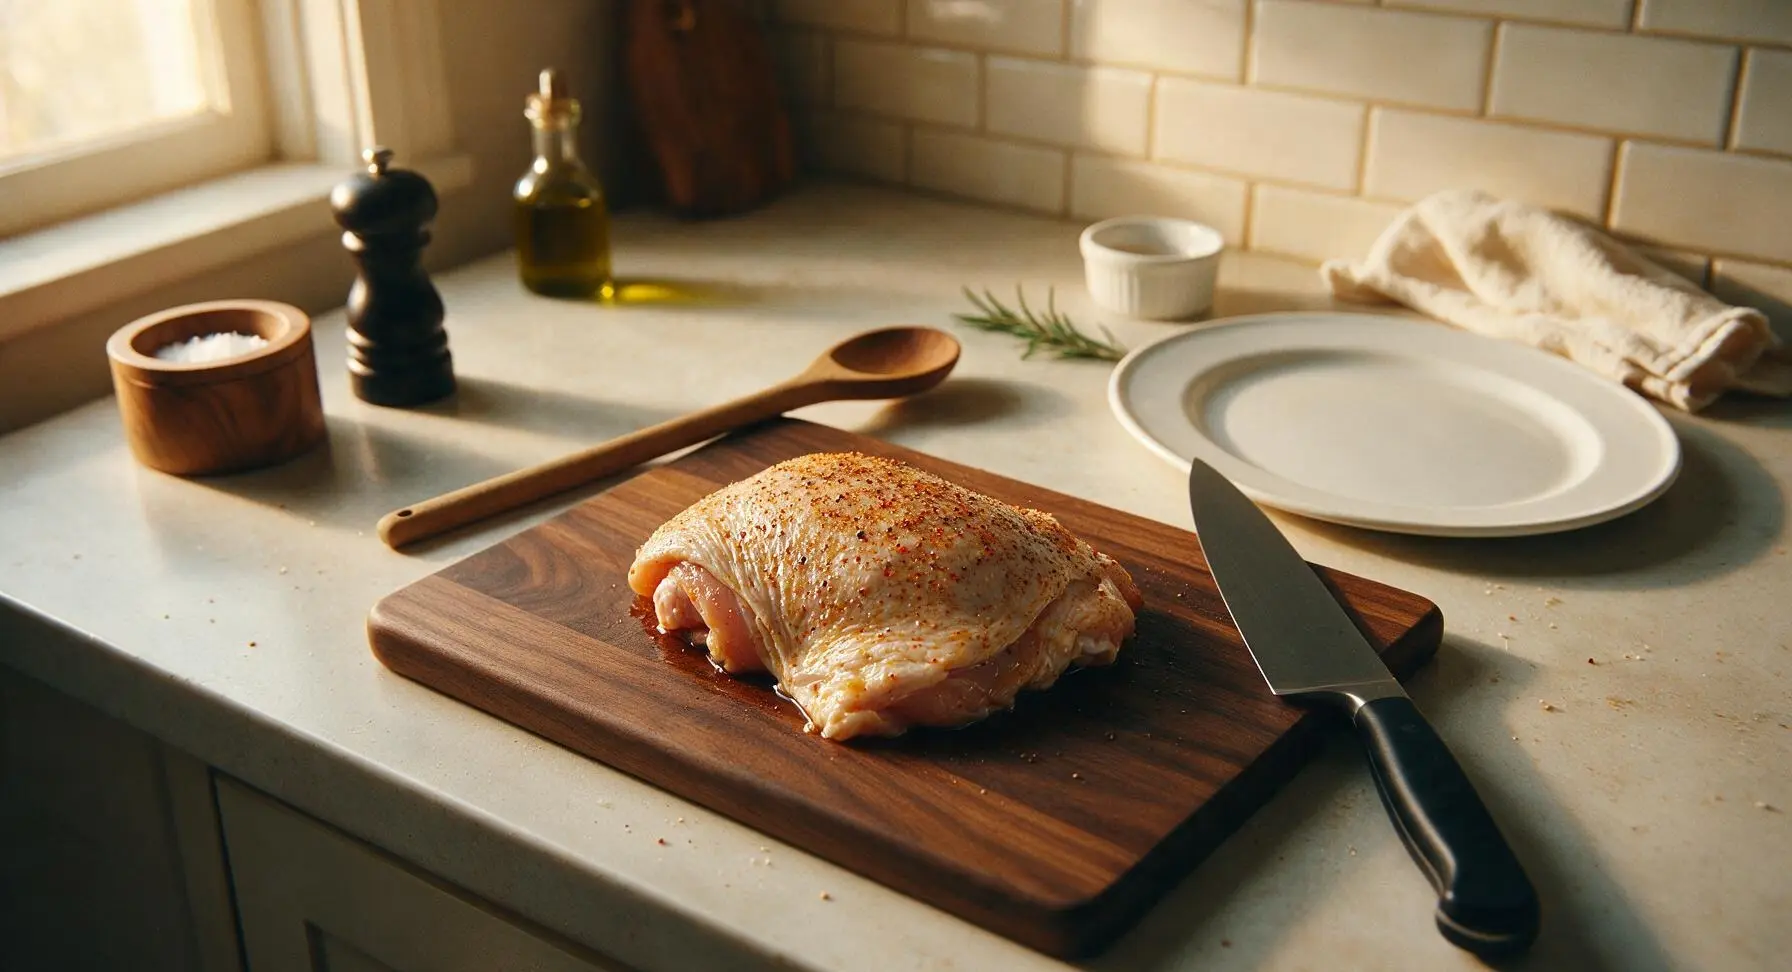
Drizzle 1 tablespoon of extra-virgin olive oil over the dried chicken thighs, tossing gently with clean hands to coat every surface in a thin, even layer of oil. Sprinkle the entire spice blend evenly over all sides of the chicken, rubbing the spices gently into the skin and exposed meat to ensure full coverage, with no bare patches of skin left unseasoned.
Step 3
step3:Season Chicken Evenly
Step 3
step3:Season Chicken Evenly
4

Prep Baking Setup

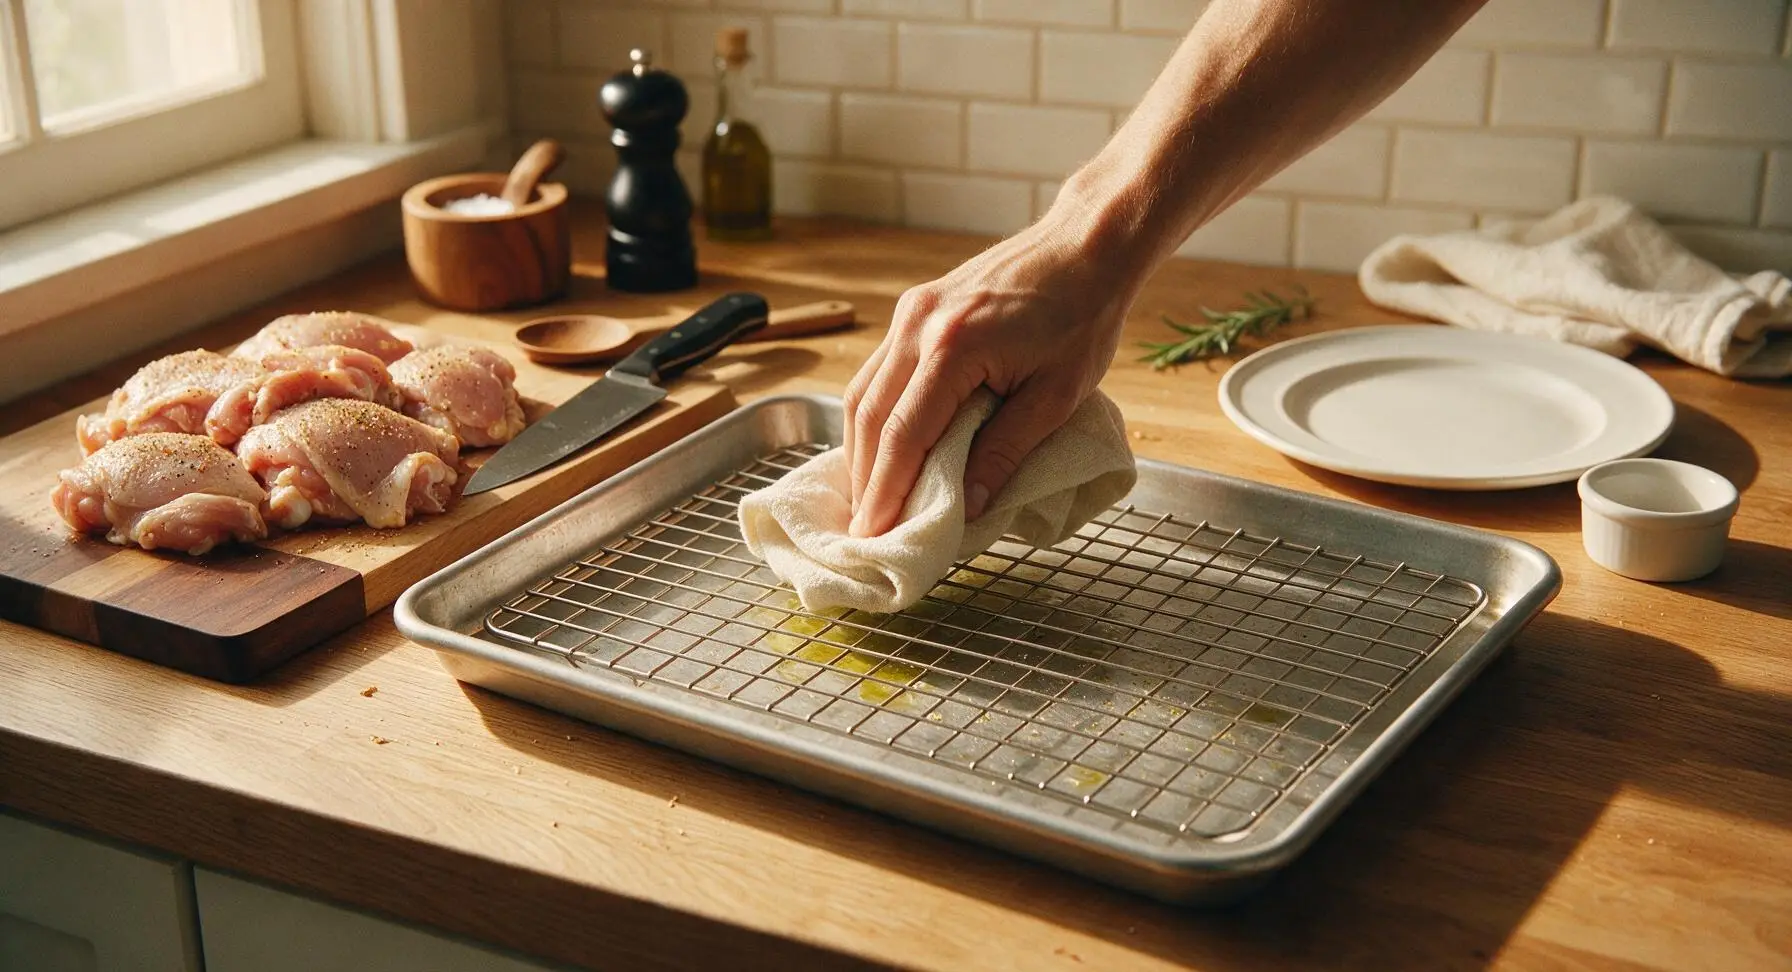
Set the stainless steel wire rack securely inside the heavy-gauge aluminized steel rimmed baking sheet. Drizzle the remaining 1 tablespoon of olive oil over the rack surface, wiping lightly with a clean corner of the linen towel to create a thin non-stick coating. Elevating chicken on a rack allows hot oven air to circulate under every piece, crisping skin on all sides instead of steaming the bottom skin against the hot baking sheet.
Step 4
step4:Prep Baking Setup
5

Arrange Chicken and Aromatics

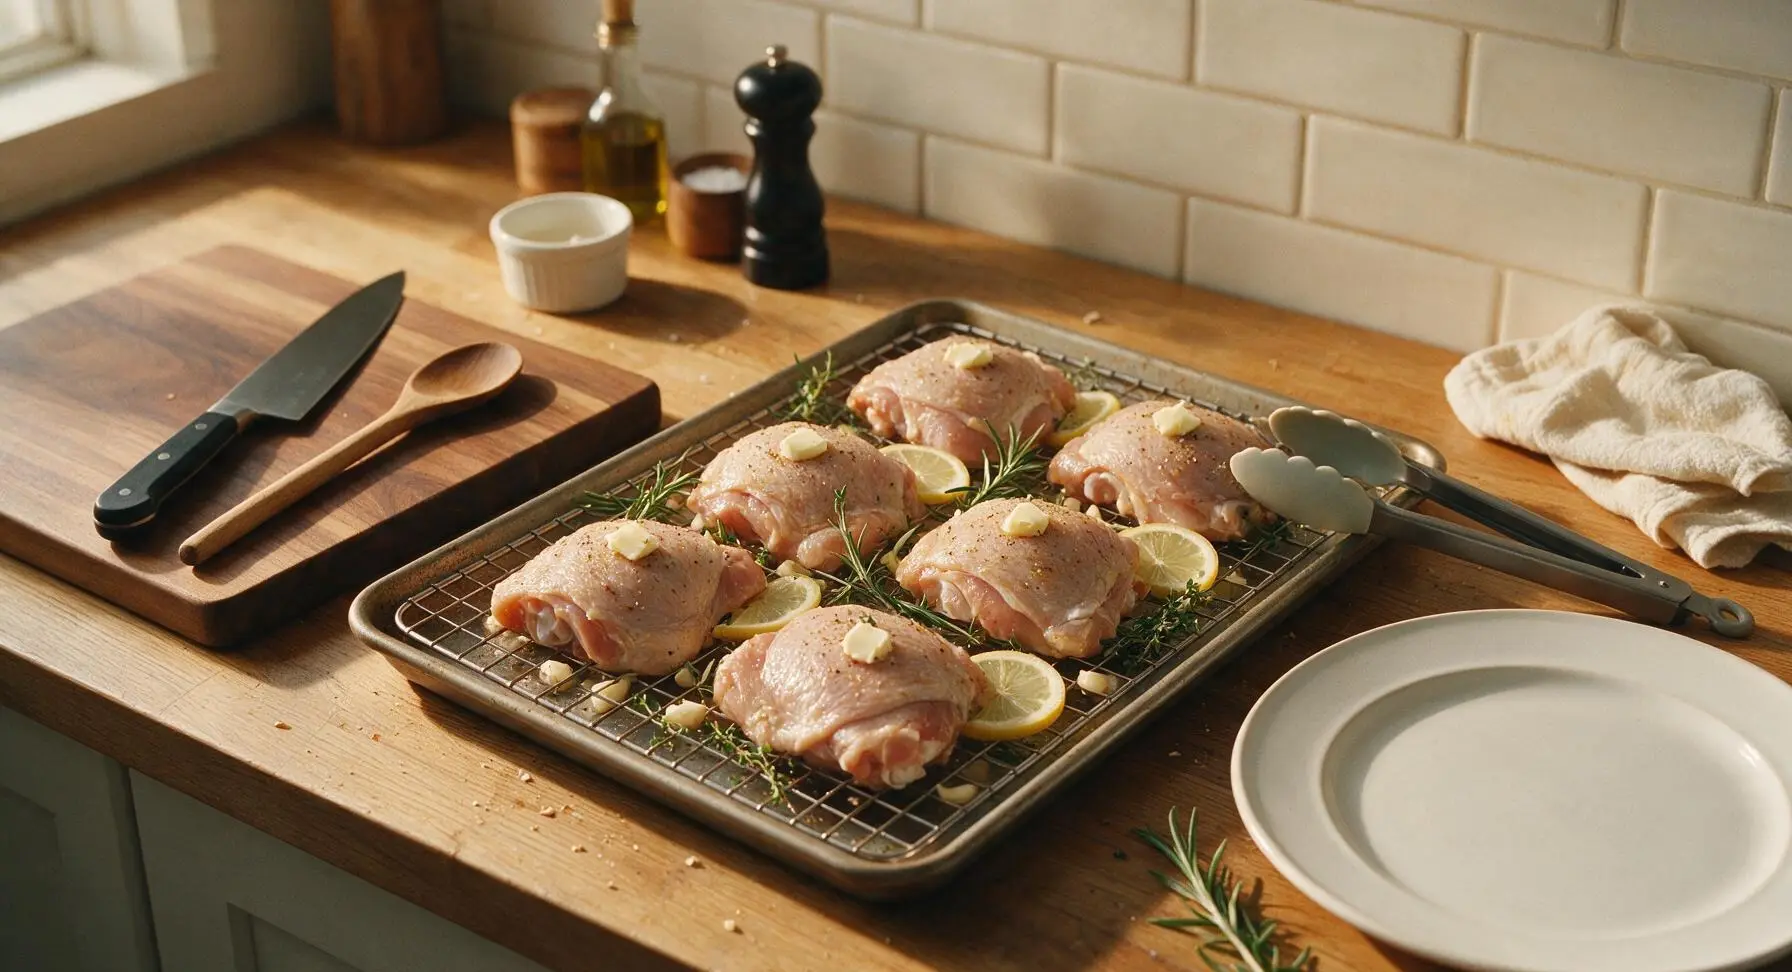
Use the silicone-tipped kitchen tongs to lift each seasoned chicken thigh, placing them skin-side up on the oiled wire rack. Leave 1cm of space between each piece to allow unobstructed air flow. Tuck the crushed garlic cloves, rosemary sprigs, thyme sprigs, and lemon slices in the gaps between the chicken pieces on the rack. Place one thin pat of butter on top of each chicken thigh to baste the skin as it melts during baking.
Step 5
step5:Arrange Chicken and Aromatics
6

Bake to Safe Temperature

Carefully slide the baking sheet with the rack and chicken into a preheated 425°F (220°C) oven, positioned on the middle oven rack. Bake for 35-40 minutes, until the skin is deep golden and crisp, and the instant-read meat thermometer reads 165°F (74°C) when inserted into the thickest part of the thigh, held away from the bone. Cooking past this temperature will cause the meat to seize up and release its moisture, leading to dry chicken.
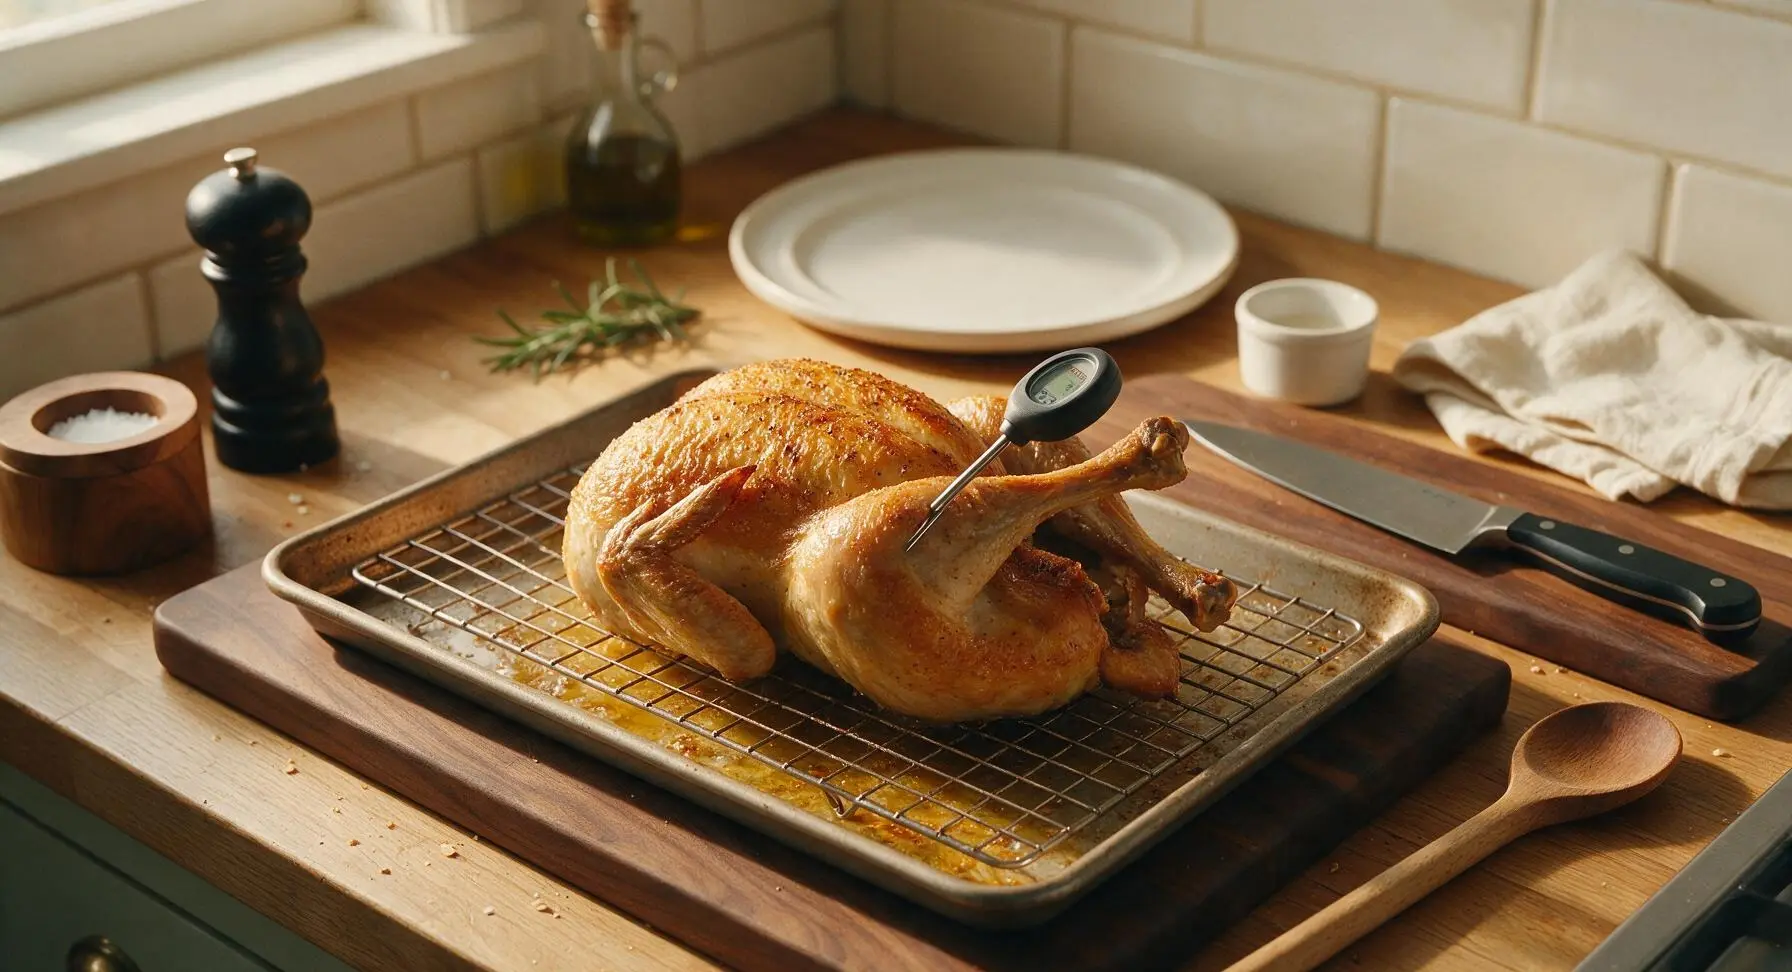
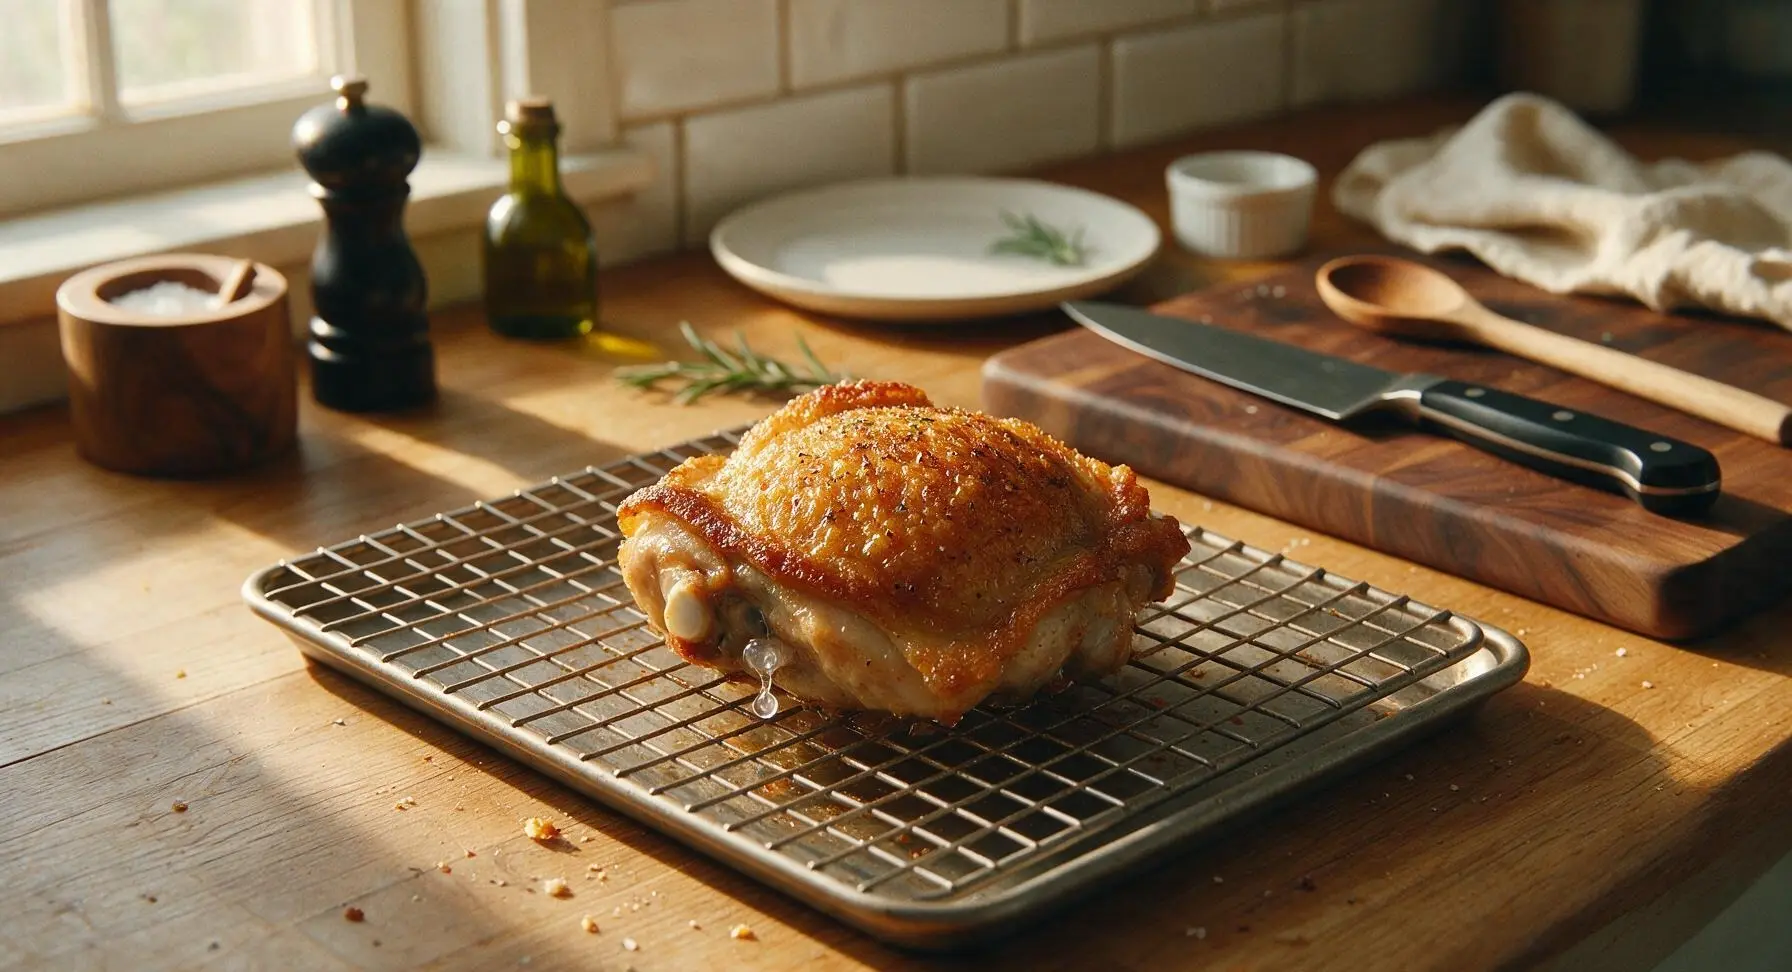
Step 6
step6:Bake to Safe Temperature
Step 6
step6:Bake to Safe Temperature
7

Rest Before Serving

Use the silicone-tipped tongs to transfer the baked chicken thighs to the matte cream stoneware dinner plate, leaving the spent aromatics and lemon slices on the wire rack. Loosely tent the plate with a small sheet of aluminum foil, and let the chicken rest for 10 full minutes at room temperature. Resting allows the hot, contracted muscle fibers to relax and reabsorb their juices, ensuring every bite stays moist instead of juice running out onto the plate when cut.
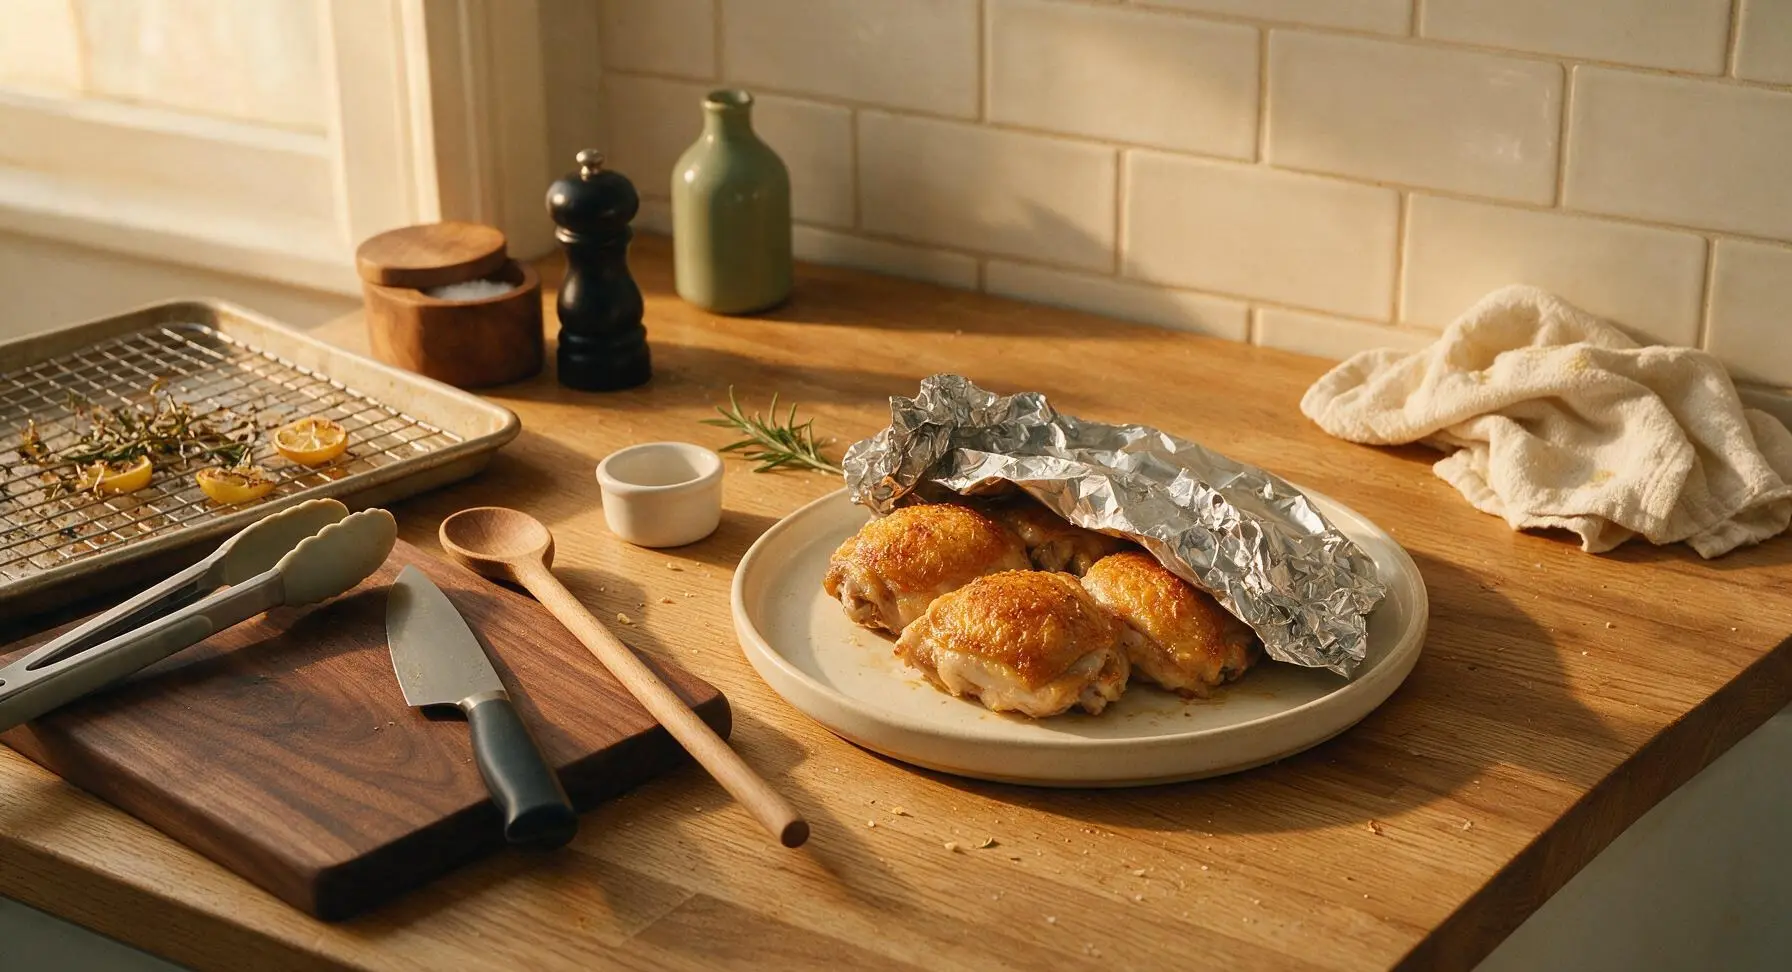
Step 7
step7:Rest Before Serving

Tips

1.Stick to bone-in, skin-on chicken thighs for this recipe: the bone conducts heat gently to prevent overcooking, while the skin acts as a natural moisture barrier and renders to a crisp, flavorful crust. Boneless, skinless cuts will dry out far faster even with careful temperature monitoring.
2.Do not skip drying the chicken skin thoroughly: excess surface moisture will steam instead of crisp in the hot oven, leading to rubbery, flabby skin that fails to lock in meat juice during baking. Take 2 extra minutes to pat every crevice of the skin dry for best results.
3.Resist cutting into the chicken immediately after pulling it from the oven: the 10-minute rest period lets hot, tight muscle fibers relax and reabsorb their juices, so every bite stays moist instead of all the flavorful juice running out onto your plate the second you slice into it.


✨ You May Also Like

Main Course
🍜 United Kingdom

A showstopping classic of tender seared beef, savory mushroom duxelles, and crisp prosciutto wrapped in flaky golden puff pastry, baked to juicy perfection.

⏱️ 2 hours 1Main Course ★ 4.7
Main Course
🍜 India

Tender charred marinated chicken simmered in a rich, spiced creamy tomato sauce, this iconic Anglo-Indian curry pairs perfectly with basmati rice or warm naan.

⏱️ 50 minuteMain Course ★ 4.6
Main Course
🍜 Thailand

Classic tangy, sweet, and savory Thai stir-fried rice noodles with shrimp, tofu, and crunchy garnishes, balancing all five core Thai flavor profiles.

⏱️ 30 minuteMain Course ★ 4.5
Main Course
🍜 United Kingdom

Crispy golden beer-battered cod and fluffy double-fried chips, served with tangy tartar sauce and malt vinegar: the timeless, beloved British pub comfort classic.

⏱️ 45 minuteMain Course ★ 4.7
Main Course
🍜 Mexico

Smoky, chile-marinated pork tacos with caramelized pineapple, fresh cilantro, and lime: a beloved classic Mexican street food perfect for casual summer gatherings.

⏱️ 1 hour 45Main Course ★ 4.8
Main Course
🍜 United States

Crunchy Fritos corn chips layered with savory beef chili and melted cheddar, topped with cool, zesty fixings for a beloved, cozy Tex-Mex comfort food.

⏱️ 35 minuteMain Course ★ 4.8

juicy baked chicken:Frequently Asked Questions

1.Why does this recipe call for bone-in, skin-on chicken thighs instead of boneless, skinless cuts? ▾
Bone-in, skin-on thighs have rich, evenly distributed fat and connective tissue that breaks down slowly as it bakes, locking in moisture for that signature juice-dripping bite. The skin also crisps into that golden, pepper-and-garlic-flecked crust, while leaner boneless cuts easily dry out during the slow bake process for a far less juicy result.
2.Can I use chicken breasts instead of thighs if that’s what I have on hand? ▾
You can, but you’ll need to adjust your cook time to avoid dry, tough meat. Stick to bone-in, skin-on breasts, pat them completely dry before seasoning, and pull them from the oven once they hit 160°F internal temp—they’ll carryover cook to the food-safe 165°F as they rest to stay as juicy as possible.
3.How do I get the chicken skin extra crispy instead of soggy? ▾
The number one trick is patting the chicken skin completely dry with paper towels before you rub it with olive oil and seasonings. Any leftover surface moisture will steam instead of crisp as it bakes. Skip covering the pan for most of the cook time too, so trapped moisture doesn’t soften that golden crust.
4.What oven temperature gives the juiciest, most evenly cooked chicken? ▾
Bake at 375°F for that perfect balance of slow, even cooking and crisp skin. This steady, moderate temperature gives the fat in the thighs time to render fully without overcooking the outer meat layers before the center is done, so every bite is tender instead of dry or rubbery.
5.How do I know when the chicken is fully done without cutting into it? ▾
Use an instant-read meat thermometer inserted into the thickest part of the thigh, away from the bone, for the most accurate read. Pull the chicken when it hits 160°F, as residual heat will bring it up to the food-safe 165°F as it rests, so you won’t lose delicious juices by cutting in early.
6.Do I really need to let the chicken rest after taking it out of the oven? ▾
Absolutely! Let it rest for 5 to 7 minutes tented loosely with foil after baking. This gives the muscle fibers time to relax and reabsorb all those hot, flavorful juices, so they don’t run all over your plate the second you cut in, leaving the meat dry and bland.
7.Why does the recipe specify kosher salt instead of regular table salt? ▾
Kosher salt has larger, flakier crystals that distribute more evenly across the chicken skin and meat, so you don’t end up with overly salty bites next to under-seasoned spots. If you only have table salt, use half the called-for amount, since its fine grains are much denser per teaspoon.
8.Can I prep this chicken ahead of time for easy weeknight meals? ▾
Definitely! You can pat the thighs dry, rub them with olive oil, kosher salt, freshly ground black pepper, and garlic powder, then store them covered in the fridge for up to 24 hours before baking. This pre-seasoning actually helps salt penetrate the meat for deeper flavor and even juicier results.
9.Should I place chicken directly on the baking sheet, or use a wire rack? ▾
For the crispiest all-around skin, set the chicken on a wire rack inside a rimmed baking sheet. This lets hot air circulate fully around every piece, so the skin on the bottom doesn’t get soggy sitting in rendered fat. If you don’t have a rack, flip pieces halfway through baking for even crisping.
10.What’s the right ratio of seasonings per chicken thigh for balanced flavor? ▾
Aim for about 1/4 teaspoon of garlic powder, 1/2 teaspoon of kosher salt, and a generous pinch of freshly ground black pepper per average-sized thigh, paired with a light 1-teaspoon coating of olive oil. This ratio gives warm, savory flavor that complements the chicken without overpowering it.
11.My chicken comes out greasy even with crispy skin—what am I doing wrong? ▾
That usually means you’re using too much olive oil, or baking at too low a temperature for too short a time. You only need a light, even coating of oil to help skin crisp, and baking at 375°F lets excess fat render fully onto the pan instead of sitting on the skin’s surface.
12.Can I add extra seasonings like paprika or dried herbs to this simple recipe? ▾
This simple seasoning blend is designed to let the chicken’s natural rich flavor shine, but you absolutely can mix in extra dry seasonings if you’d like. Skip wet add-ons like sauce or fresh herb pastes before baking, though—they add excess moisture that will make the skin soggy.
13.How long do leftovers stay fresh, and what’s the best way to reheat them? ▾
Properly stored in an airtight container, leftover baked chicken will stay fresh for 3 to 4 days in the refrigerator. To reheat without drying it out, warm it in a 350°F oven for 10 to 12 minutes; this crisps the skin back up instead of making it rubbery like the microwave does.
14.Do I need to flip the chicken pieces halfway through baking? ▾
If you’re using a wire rack to let hot air circulate fully around the pieces, you don’t need to flip them at all. If you’re placing chicken directly on the baking sheet, flip each piece halfway through the 40 to 45 minute bake time to keep skin from sticking or getting soggy on the bottom.
15.Why is my chicken skin rubbery instead of crisp even after baking the full time? ▾
Rubbery skin almost always comes from excess surface moisture on the skin before seasoning, too low an oven temperature, or covering the pan for the entire cook time. Pat skin totally dry, use a light olive oil coating, and bake uncovered at 375°F for perfect crisp skin every time.

Comments (20)

2 days ago

OMG this baked chicken was SO good! I made it for last night’s family dinner and even my super picky 7 year old asked for seconds. The meat was so juicy, no dry chalky texture like every other baked chicken recipe I’ve tried before. Total game changer for weeknights!

3 days ago

Super easy recipe, but my chicken came out a little less juicy than the photos when I followed the cook time exactly? I used boneless skinless breasts that were pretty thick though, maybe that’s why?

2 days ago

Hi Mike! That’s definitely the issue with extra thick cuts — if your breasts are over 1.5 inches thick, I recommend pounding them to an even thickness first or adding 5 extra minutes covered with foil so they cook evenly without drying out. Hope that helps for next time!

1 week ago

I make a big batch of this every Sunday for my weekly meal prep! It holds up so well in the fridge for 4 days, doesn’t get weird or rubbery when I reheat it for work lunches. 10/10, already added it to my permanent rotation.

5 days ago

Wait how do you reheat it? I tried meal prepping baked chicken before and it always gets so dry when I zap it in the microwave at work!

1 week ago

Brought this to my neighborhood potluck last weekend and people were asking me for the recipe before I even set the platter down! The seasoning is perfect, not too salty, has just enough garlic and paprika flavor that it pairs with literally any side. No leftovers, not a single piece left!

2 hours ago

Wait, can I use chicken thighs instead of breasts for this? My family prefers dark meat and I already have a pack in the fridge I need to use up tonight.

1 hour ago

I used thighs last week! Turned out amazing, just cut the cook time by like 5 minutes because thighs cook a little faster, and the skin got so crispy and good.

30 minutes ago

Great question! Thighs work perfectly for this recipe — as the other commenter mentioned, just reduce cook time by 3-5 minutes if using boneless thighs, or add 3 minutes if using bone-in skin-on to get that crispy skin. Enjoy!

3 days ago

As someone who can barely boil water without messing it up, this was so easy to pull off for my first ever cooked meal for my roommates! No fancy ingredients needed, just stuff I already had in my pantry. We all ate way too much lmao

2 days ago

That’s what we love to hear! So proud of you for nailing your first roommate dinner, this recipe is perfect for new cooks because it’s forgiving and hard to mess up when you follow the simple steps.

5 days ago

Love that this is high protein, no weird added sauces or processed ingredients. I paired it with roasted broccoli and quinoa for my post-gym dinner last night and it hit every spot. The juice that pools at the bottom of the pan? I drizzled it over my quinoa, chef’s kiss.

yesterday

Tried this yesterday and I swear the seasoning blend is better than the baked chicken my mom used to make… don’t tell her I said that though 😂 Cooked exactly 40 minutes at the temp listed and every bite was juicy, no dry bits at all.

20 hours ago

LMAO don’t let her see this comment! But for real, my son said the same thing when I made this last week, I had to pretend I was offended but even I thought it was better than my old recipe.

18 hours ago

Your secret’s safe with us! We won’t tell mom, promise. So glad you loved the seasoning blend — it’s the little bit of smoked paprika that makes it feel extra special without being overpowering.

2 weeks ago

40 minute cook time is perfect for those chaotic weeknights when I get home from work and have zero brain power to make something complicated. I just toss the chicken in the seasoning, pop it in the oven, and toss a salad while it cooks. Zero stress!

1 week ago

Same! I used to default to takeout on nights like that but this is so much cheaper and tastier, plus I know exactly what’s going into it for my kids.

30 minutes ago

Wait, do I need to cover the pan with foil for this? I’ve seen baked chicken recipes that say cover for half the time and others that say cook uncovered the whole time, I don’t want to mess it up!

15 minutes ago

I did 25 minutes covered and 15 uncovered and it turned out perfect! The foil locks in the juice so it doesn’t steam away, then uncovering lets the top get a little golden.

5 minutes ago

Great question! We recommend covering tightly with foil for the first 25 minutes of cook time, then removing the foil for the last 15 to let the edges brown slightly. That’s the trick to locking in all that juiciness without the top getting too dark.

3 days ago

Added a little pinch of cayenne to the seasoning mix to give it a tiny kick and it was *chef’s kiss*. Perfect base recipe that you can tweak however you want to match your taste preferences.

2 days ago

Love that hack! A little cayenne or even a sprinkle of parmesan on top for the last 5 minutes is such a fun way to switch up the flavor without changing the core recipe. Thanks for sharing your twist!

2 days ago

Made this for date night with my boyfriend last night and he was convinced I ordered it from a fancy restaurant down the street. The chicken was so juicy and flavorful, served it with roasted garlic mashed potatoes and roasted asparagus. 10/10 date night meal that doesn’t require fancy skills.

5 days ago

How long do I let the chicken rest after taking it out of the oven? I always skip that step and wonder if that’s why my chicken is sometimes less juicy?

4 days ago

Dude resting is non-negotiable! I let mine rest 10 minutes tented with a little foil so the juices redistribute instead of running all over the plate when you cut into it. Game changer.

3 days ago

Great catch! We recommend letting the chicken rest for 5-10 minutes after taking it out of the oven before slicing. That lets all the juices settle back into the meat instead of pouring out onto your cutting board, which keeps every bite juicy.

1 week ago

Leftovers of this made the best chicken salad I’ve had in ages! I chopped up the cold chicken, mixed it with a little mayo, celery, and grapes, and had it on sourdough for lunch today. So versatile.

5 days ago

Oh that’s such a good idea! I never thought to use leftover baked chicken for chicken salad, I usually just eat it plain with sides. Gonna try that this week.

2 weeks ago

First time making chicken that didn’t come out dry and rubbery!!! I’ve been so intimidated to cook chicken for my husband because I always mess it up, but this recipe was foolproof. He went back for thirds, y’all. Thirds!

1 week ago

I was the exact same way! I used to overcook chicken so bad it was practically jerky, this recipe was the first one that made me feel like I could actually cook meat properly.

6 days ago

This makes our day so much! There’s nothing better than nailing a simple, delicious meal for the people you love — we’re so glad this recipe gave you that win in the kitchen!

1 week ago

Made a double batch of this for our football tailgate last weekend, sliced it up and put it on sliders with pickles and honey mustard. People were raving about it the whole game. Way easier than grilling when it’s 30 degrees outside, too!

5 days ago

So happy this recipe is gluten free, dairy free, and doesn’t have any weird hidden allergens! My youngest has multiple food allergies and it’s so hard to find easy dinner recipes that the whole family can eat without modifications. This was a huge hit.

4 days ago

That means so much to us! We design our recipes to be as accessible as possible for all dietary needs, so it makes us really happy to hear your whole family could enjoy this safely with zero extra work.

yesterday

This is such a budget friendly meal! Chicken breasts were on sale at the grocery store this week, I already had all the seasonings in my cabinet, and it fed me and my two roommates for under $10 total. Can’t beat that.

20 hours ago

Right?! I’ve been so tired of seeing “easy” recipes that require 10 fancy expensive ingredients I’ll never use again. This uses totally basic stuff, which is perfect for my tight grocery budget.

18 hours ago

Budget-friendly, approachable recipes are our favorite! Eating well doesn’t have to cost a ton, and pantry staple seasonings make this perfect for when you don’t want to run to the store for special ingredients.

just now

I was worried the chicken skin would be soggy since it’s baked, but following the temp and cook time exactly, the skin was perfectly crispy while the meat was juicy all the way through. I’ll never go back to pan frying chicken and getting oil splatters all over my stove again.

2 weeks ago

I’ve been baking chicken for 50 years and I have to say, this method is better than the one I’ve been using for decades! The tip about covering with foil for the first part of the cook time is the secret I was missing all these years. My grandkids devoured it at Sunday dinner.

1 week ago

Wow, that’s the highest compliment we could ask for! We’re so honored that a recipe of ours earned a spot at your Sunday family dinner table — that’s exactly why we share these easy, reliable recipes. Hope you and the grandkids love every bite!



