1.Why do you recommend 80/20 ground beef chuck instead of leaner beef for these kettle grill burgers?
▾
That 20% fat ratio is non-negotiable for juicy, smoky results on a hot kettle grill! Leaner beef dries out fast over direct charcoal heat, and rendered fat bastes the patty as it cooks, locks in wood smoke flavor, and creates craveable crispy, caramelized edges without needing extra oil or binders mixed into the meat.
2.Do I need to add wood chips to my kettle grill to get that classic backyard smoky flavor?
▾
Absolutely, but you don’t need a ton! Toss 1-2 handfuls of presoaked, drained hickory or mesquite wood chips directly on lit coals right before adding the cooking grate. The chips will smolder instead of flaming up, wrapping patties and veggies in soft, nostalgic smoke without making burgers taste bitter or overly ashy.
3.How thick should I form my burger patties to keep them from falling apart on the grill?
▾
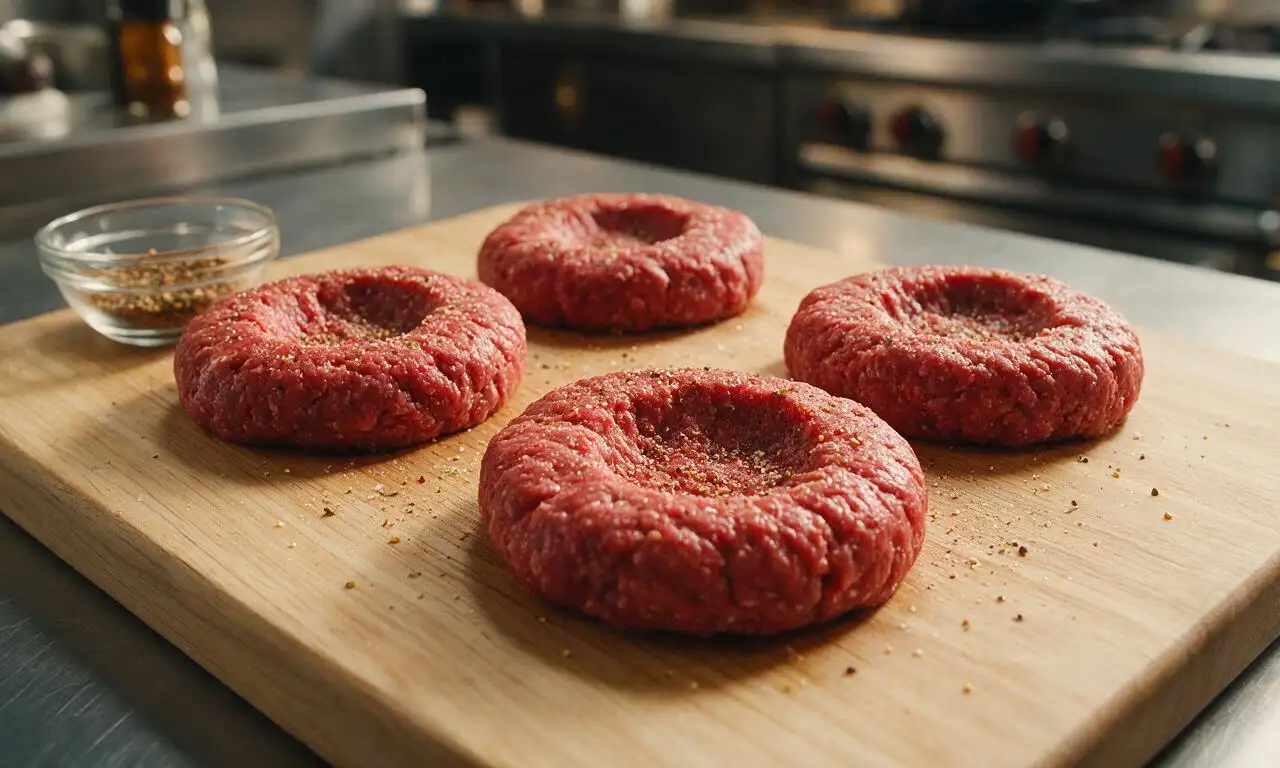
Aim for 6-ounce patties that are roughly ¾-inch thick, with a shallow ½-inch dimple pressed right in the center of each one. Don’t overwork the meat when forming—squeeze just enough to hold shape, since overmixing makes tough burgers. The dimple stops patties from puffing into domes as they cook, so they sit flat for even cheese melt.
4.Can I use a different cheese instead of sharp cheddar for these burgers?
▾
Sharp cheddar is my go-to for that classic tangy, melty bite that stands up to smoke and charred veggies, but you can absolutely swap it if you prefer! Pick a good melting cheese: American, pepper jack, smoked gouda, or provolone all work great. Skip crumbly, low-moisture cheeses like feta as your main cheese, since they won’t get that gooey, stretchy melt.
5.How should I prep the yellow onion and bell peppers to grill alongside the burgers?
▾
Slice the yellow onion into ½-inch thick rounds, and poke a toothpick horizontally through each slice to keep rings from slipping through the grill grate. Cut red and green bell peppers into large, flat 2-inch planks, scraping out all seeds and bitter white pith first. Toss veggies with a light pinch of salt and pepper before adding them to the cool side of the grill.
6.How long do I need to let charcoal burn before putting burgers on the kettle grill grate?
▾
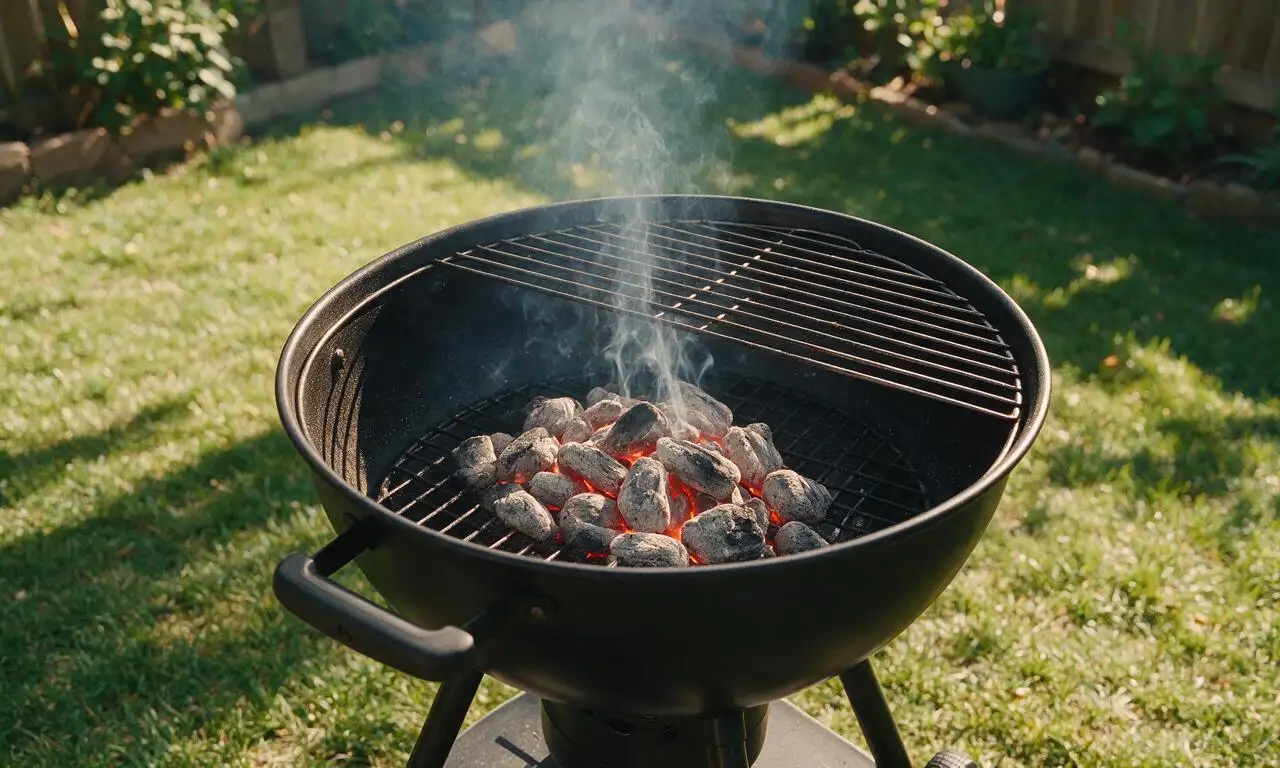
Wait until your charcoal is covered in a thin, even layer of light gray ash, which usually takes 15-20 minutes after lighting. That means coals are at a steady medium-high heat (around 450°F) instead of flaring up with harsh, sooty flame that will make burgers taste bitter and burn the outside before the inside cooks through.
7.Why does this recipe call for brioche hamburger buns instead of regular white buns?
▾
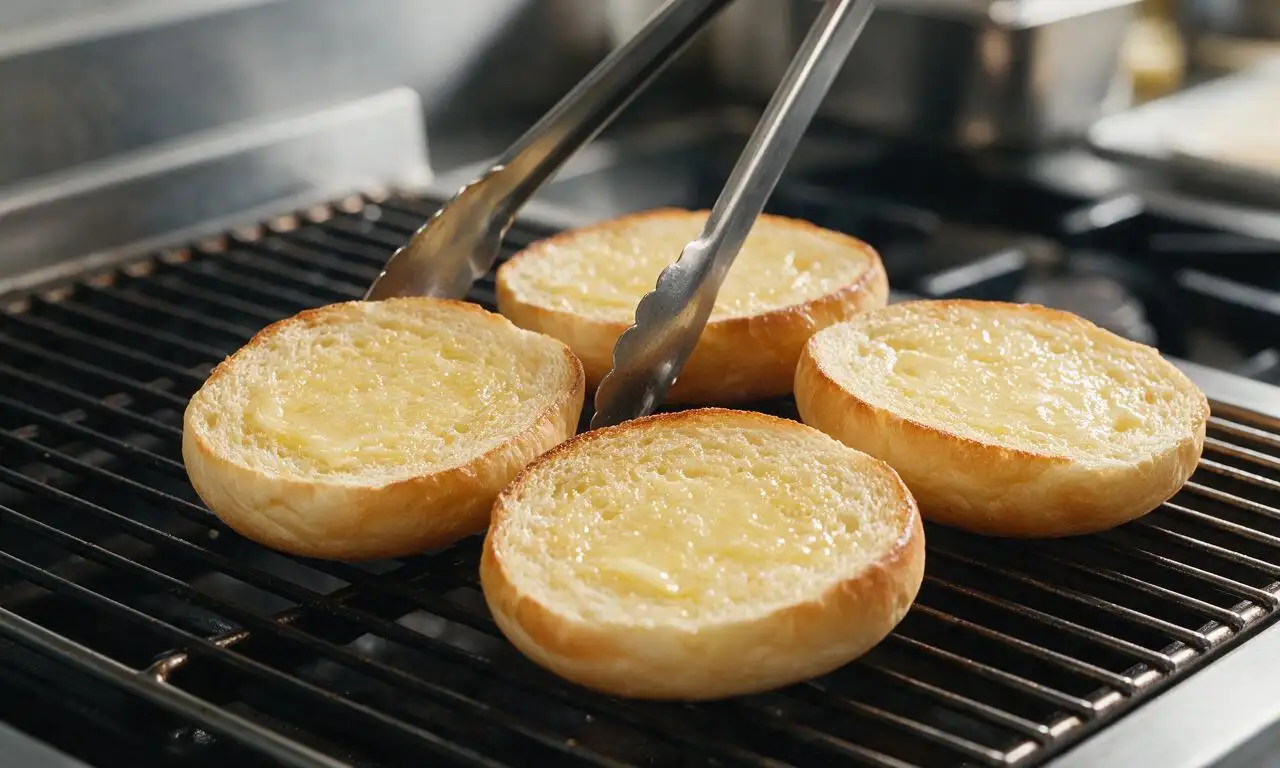
Brioche buns have a soft, slightly buttery, subtly sweet crumb that holds up perfectly to juicy patties, melted cheddar, and charred veggies without turning soggy halfway through eating. I always toast the cut sides of the buns on the cool edge of the grill for 30-60 seconds before assembling to add crunch and a sogginess barrier.
8.How do I prevent annoying grease flare-ups when cooking burgers on a kettle grill?
▾
First, don’t overpack your patties, which squeezes out excess fat too fast. Keep a small spray bottle of plain water handy to spritz sudden large flare-ups, and move patties to the cooler indirect heat spot temporarily if flames get too high. Make sure to scrub old grease off your grate before cooking to cut down on unexpected fires.
9.What internal temperature should I cook the burgers to for safety without drying them out?
▾
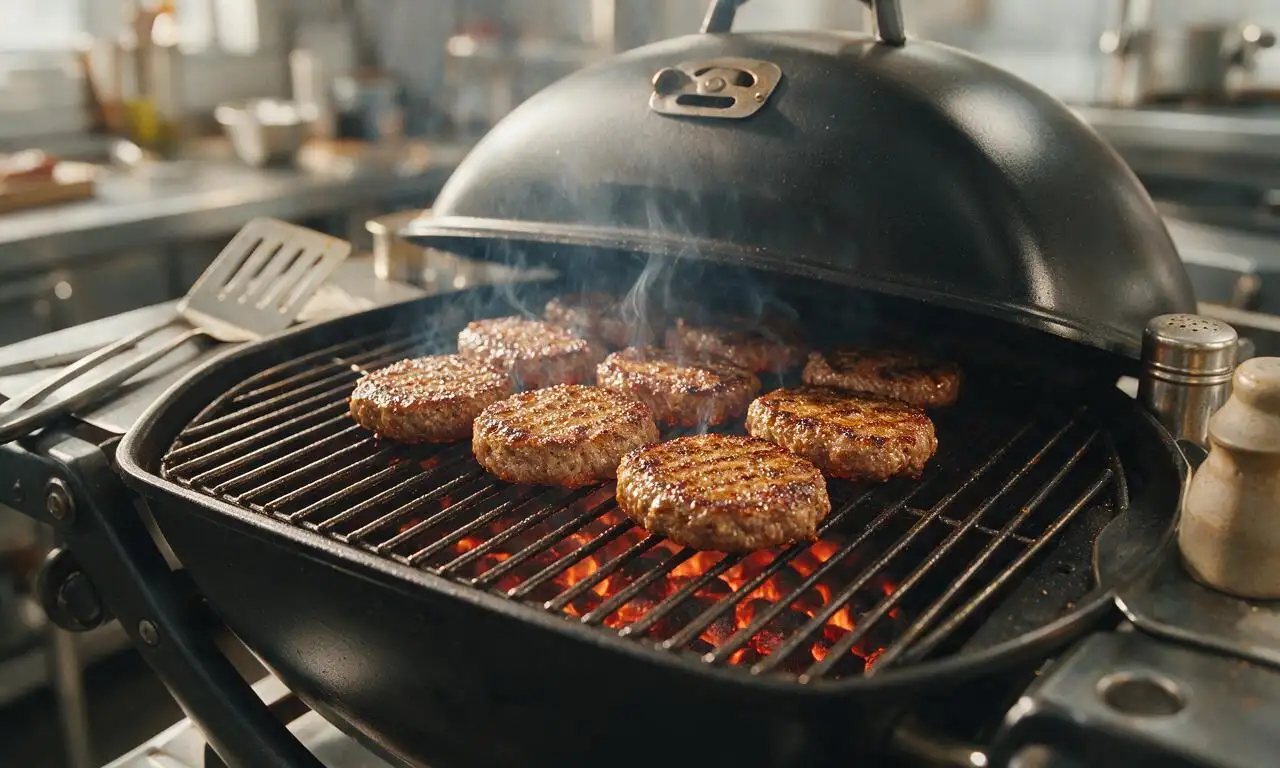
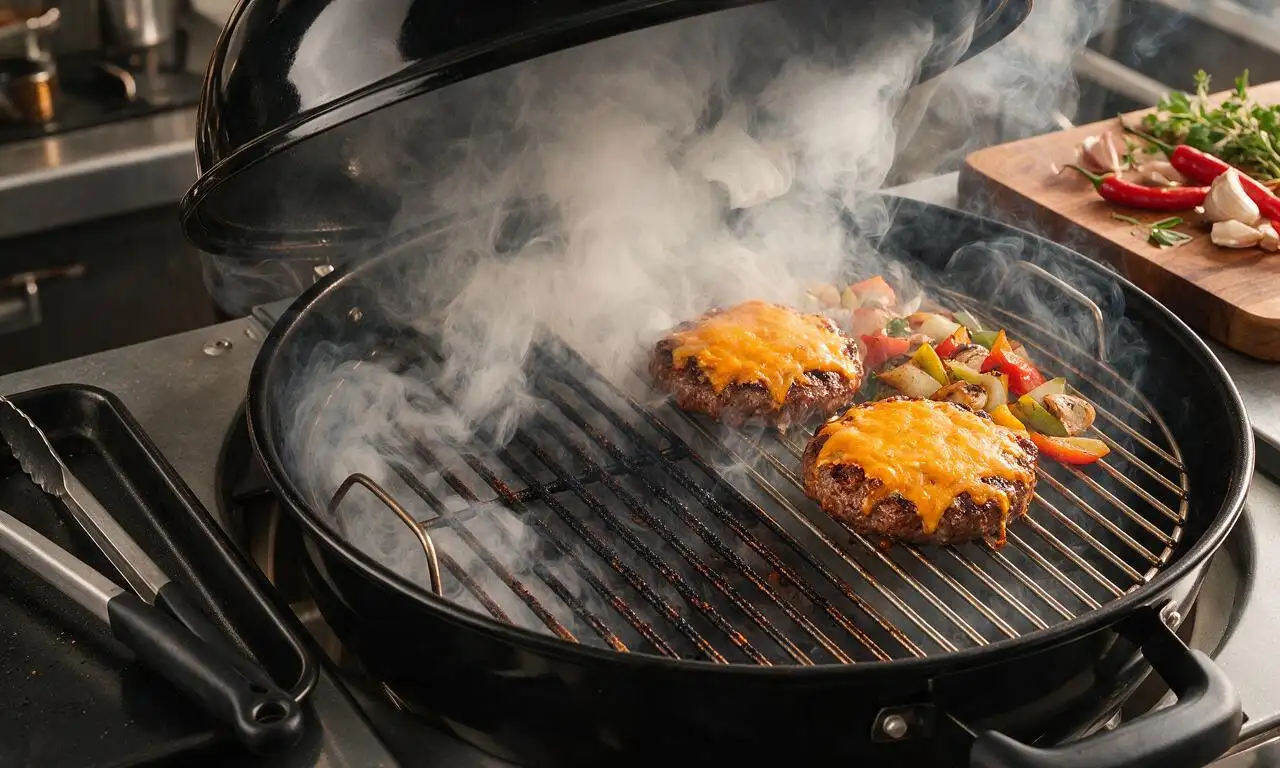
Use an instant-read thermometer stuck into the thickest part of the patty for the most accurate read: 135°F for medium-rare, 145°F for medium, and 160°F for well-done. Add your cheddar slice during the last 1-2 minutes of cooking, and close the grill lid so trapped heat melts the cheese perfectly as patties finish cooking.
10.Should I season the burger patties ahead of time, or right before grilling?
▾
Skip salting the ground beef before you form patties—salt breaks down meat proteins and can make burgers tough and dense if mixed in too early. Instead, season the outside of each formed patty generously with kosher salt and black pepper right before you set them on the hot grill for the juiciest, most tender texture.
11.Can I form the burger patties ahead of time for a backyard cookout?
▾
Absolutely! Form your patties, stack them between small squares of parchment paper so they don’t stick, and store them in a sealed container in the fridge for up to 24 hours before grilling. Let them sit at room temperature for 20 minutes before putting them on the grill so they cook evenly, instead of going straight from ice-cold to hot coals.
12.How do I set up my kettle grill for both direct and indirect heat for this recipe?
▾
It’s super simple! Pile all your lit, ashed-over coals on one half of the kettle’s lower charcoal grate, leaving the other half completely empty. That gives you a hot direct-heat zone for searing patties and getting char, and a cooler indirect-heat zone for cooking veggies, toasting buns, and escaping unexpected flare-ups.
13.Is it okay to press down on burger patties with a spatula while they cook?
▾
Resist that urge! Pressing down on patties squeezes out all that delicious, fat-rich, smoke-infused juice straight onto the coals, leaving you with dry, flavorless burgers and causing extra flare-ups. Only flip your patties once, about 4 minutes into cooking, and let them cook undisturbed the rest of the time for juicy results.
14.How do I keep the grilled onions and peppers from getting too burnt while burgers cook?
▾
Cook your veggies on the cooler indirect heat side of the grill, not right over the hot coals, while your patties sear on the direct heat side. Give veggies a 5-minute head start to soften, then move them to the very edge of the grate while you finish searing burgers and melting cheddar so they stay warm without over-charring.
15.Do I need to oil my grill grate before cooking these cheeseburgers?
▾
A light oiling helps prevent patties and veggies from sticking, but don’t overdo it. Once your grate is hot, wad up a paper towel, dip it in a little neutral canola or vegetable oil, and rub it quickly over the grates with long tongs right before adding food. Skip non-stick cooking spray on a hot grill, since it can cause sudden flare-ups.
16.How long should I let the burgers rest after taking them off the grill before assembling?
▾
Let your cheeseburgers rest for 2-3 minutes on a clean plate after pulling them off the grill, tented loosely with a small piece of foil. That short rest lets juicy, flavorful meat juices redistribute back through the patty instead of running all over your plate and making the bottom brioche bun soggy the second you take a bite.
17.What’s the best way to get deep, even smoke flavor on every part of the burger?
▾
Keep the kettle grill lid closed as much as possible while cooking! The lid traps smoldering wood chip smoke inside the grill so it can wrap around the patties and veggies, instead of floating straight up into the air. Only open the lid to flip patties, add cheese, or check doneness to keep that smoky flavor locked in.
18.Can I add extra toppings to these burgers without ruining the classic smoky flavor?
▾
Of course! The cheddar, grilled onion, and bell pepper base is delicious on its own, but you can add toppings that complement the smoke: dill pickle slices, a slather of yellow mustard, a dollop of tangy BBQ sauce, or crisp lettuce and tomato all work great. Just don’t pile on so many heavy toppings that you overpower that nostalgic charcoal smoke flavor.
19.What if I can’t find brioche buns—can I use another type of bun for this recipe?
▾
If you can’t track down brioche, reach for soft, sturdy potato hamburger buns as your next best option—they have a similar soft, rich crumb that holds up to juicy patties. Avoid thin, flimsy generic white hamburger buns, since they’ll turn soggy fast from patty juice and melted cheddar. Always toast whatever bun you use for extra sturdiness and nutty flavor.

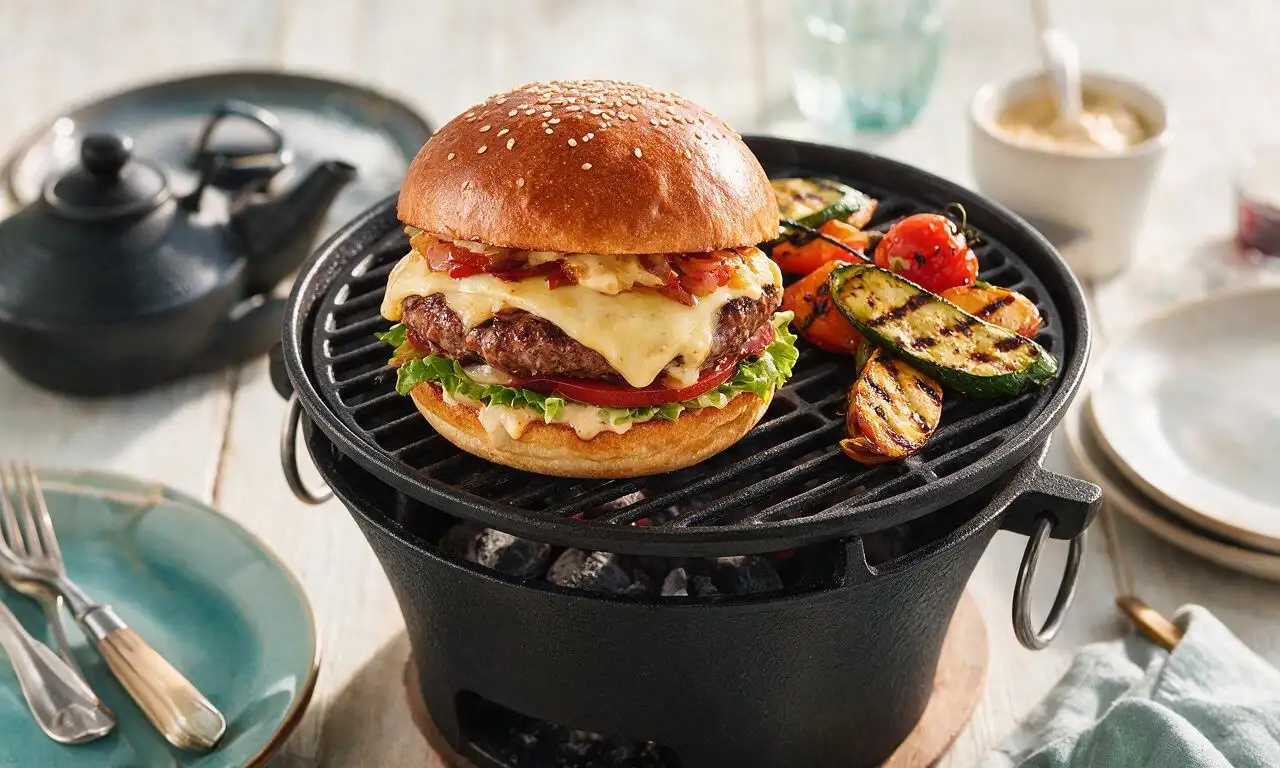
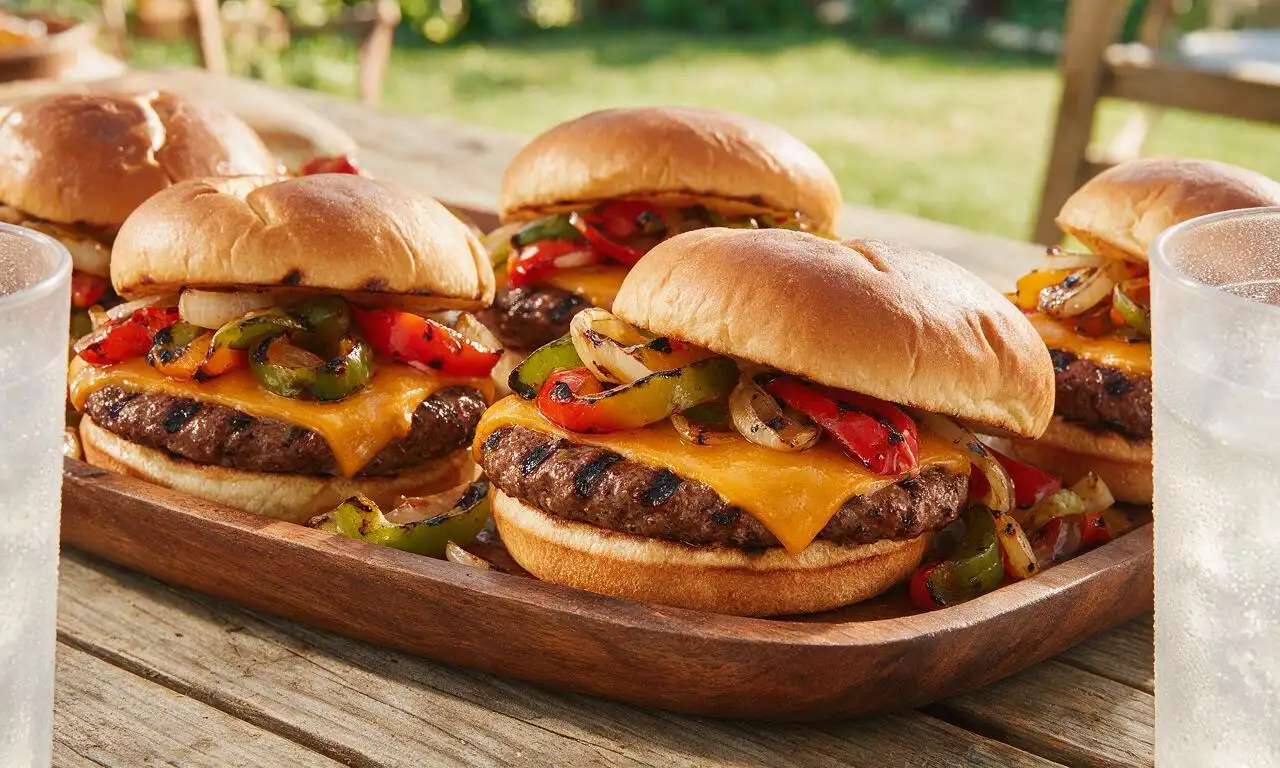






OMG these were SO good for our Father’s Day backyard cookout this weekend! I followed the tip about keeping the kettle grill vents half open to get that perfect smoky flavor without charring the patties to a crisp, and every single person at the party asked for the recipe. My kids even begged for seconds before they finished their first burger! Total game changer for my summer grill rotation, no more sad frozen patty nights for us.
I was low-key intimidated to try this because I’ve only ever used a gas grill before, but the step-by-step for setting up the two-zone fire on the kettle grill was so easy to follow! Cook time was pretty spot on too – mine took about 48 minutes total from lighting the coals to pulling the last cheeseburger off. The smokiness was chef’s kiss, way better than any fast food burger I’ve had in years. I brought these to a neighborhood potluck last weekend and they were gone in 10 minutes flat, people were even asking if I cater on the side!
Tried these last night for our regular weekly family dinner and wow, I don’t think I can make burgers any other way now! I used sharp cheddar instead of American like the recipe suggested as an easy swap, and it melted perfectly over the juicy patties. Only tiny note for my future self is I’ll prep all the toppings and toast the buns while the coals heat up next time to save a little time, since 50 minutes was a touch longer than our usual quick weeknight meals but 100% worth every extra minute. My kids ate every bite without complaining (a literal miracle!) and my husband already asked me to make these again for his birthday cookout next month.